Week12. Molding and Casting
1. Assignment and Result
About the process, I made new page and made links are below, because the long page makes me confuse.
| GROUP ASSIGNMENT | THE RESULT |
|---|---|
| review the safety data sheets for each of your molding and casting materials, then make and compare test casts with each of them | Process -> Kitakagaya: Week12 Molding and Casting |
| extra credit: try other molding and casting processes |
| INDIVIDUAL ASSIGNMENT | THE RESULT |
|---|---|
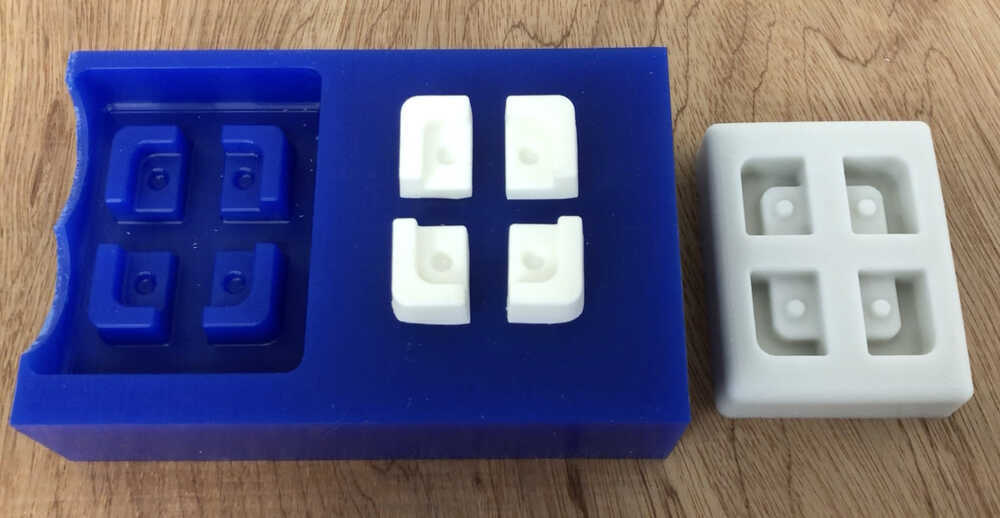
| design a mold around the stock and tooling that you'll be using, mill it (rough cut + three-axis finish cut), and use it to cast parts | I made the feet for my final Project, with Milling Molding Wax & Molding by silicone, and Casting by polyurethane resin. Process -> - Designing a mold - create Tool path - Molding & Casting |
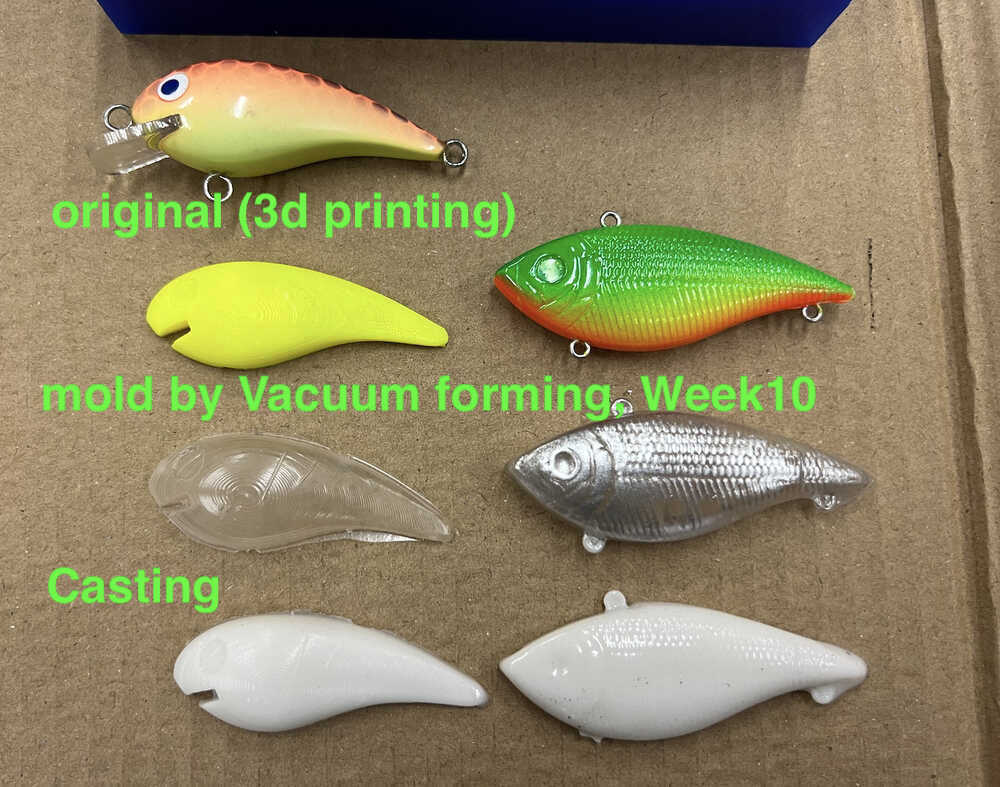
| extra credit: use more then two mold parts | - I cast silicone with the mold by vacuum forming which we made in Week10 group assignment. |
2. HEROSHOT
I made the feet for my final Project, with Milling Molding Wax & Molding by silicone, and Casting by polyurethane resin.
 As a extra, I cast silicone with the mold by vacuum forming which we made in Week10 group assignment.
3. Plan
- Check the suitable size with 3dprinting model (prototype).
- Review the safety data sheet for the materials we use. (group)
- Test casts (group)
- Design my 3D mold model (individual)
- Create my rough and finish tool path, including machine settings (individual)
- Mold and Cast the designed parts (individual)
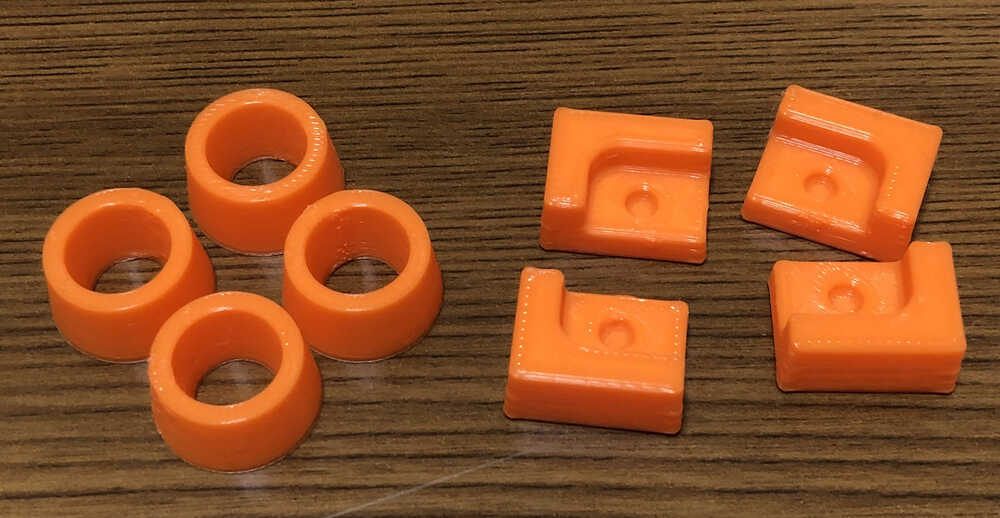
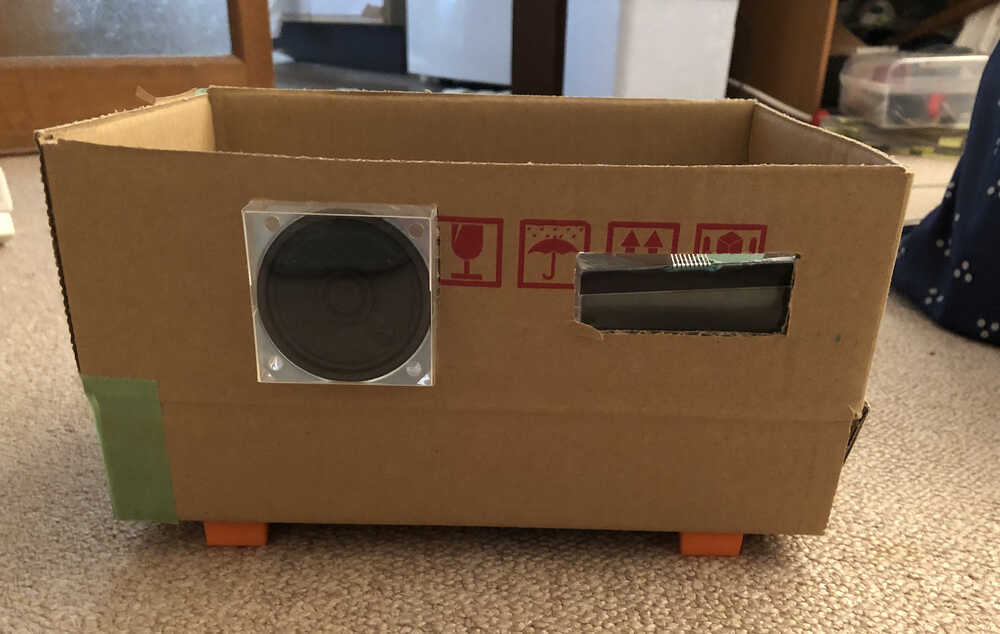
4. Prototype by 3D printing
Molding and casting has lot of waiting time. So I decide to make prototype with 3D printing, and I create the outbox in cardboard by scissors and cutters, to check the suitable feet size.
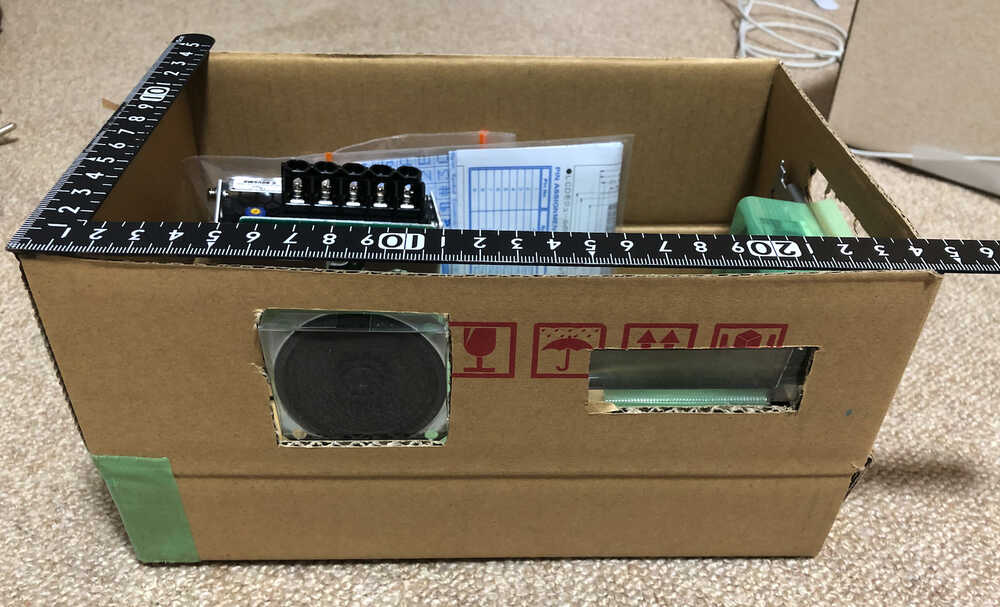
Then I output the prototype model by 3D printer.
The square shape and the size seems Ok.
Then I start to molding and casting.
5. Design files
6. My thought
- For molding and casting, a lot of thing to do.
- I learned that design a mold need Vertical walls need slightly angled. And right-angled corners should be filleted, to consider pull out Silicone mold easily.
- I learned that it is important to create the Finishing tool path with "rest machining", otherwise you should lost your time. In my case, add the rest machining, Simulation time has been reduced by 3.5 hours.
- I was very nervous when handling the materials, but I enjoyed the molding and casting work very much.