-ImageMagick
1. What is ImageMagick?
ImageMagick is a nice tool to compressed images.
2. NOTE-format
I learned below.
- JPG: high compress
- PNG: less compress
3. Install
It is the first time to use. so, in Terminal, I Install ImageMagick with below command.
brew install imagemagick
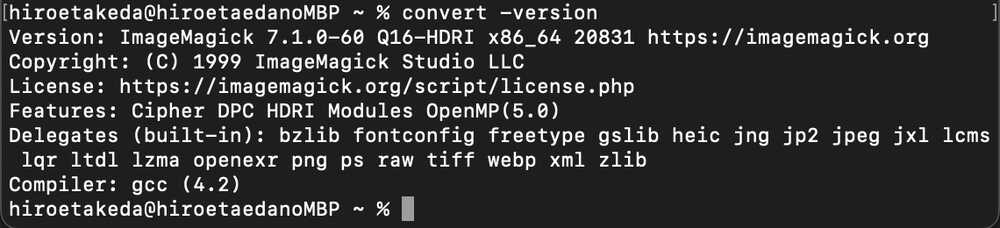
I confirm the Image Magic's version with below command.
convert -version
Version: ImageMagick 7.1.0-60 Q16-HDRI
4. Cheat sheet
Encoding in class.
5. TEST
I made new folder. (folder name: compress_photo)
Then, In terminal, I change directory to the folder.
- convert all PNGs to JPGs:
mogrify -format jpg *.png
The Result: Done
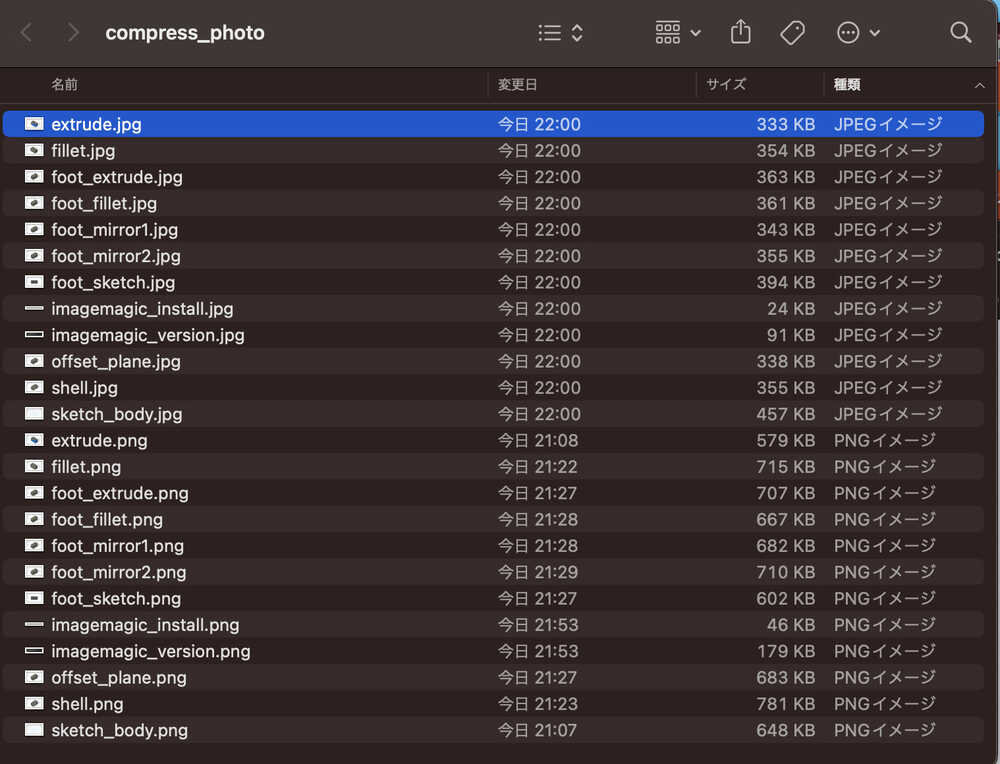
Delete the PNG's in the folder.
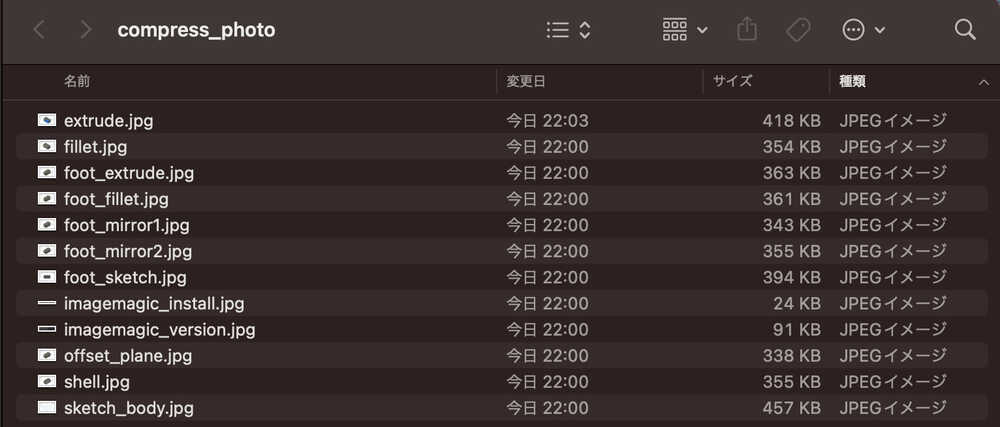
Secondly, I do the code of Encoding in class.
- compress all JPGs to quality 50% width 1000:
mogrify -quality 50% -resize 1000 *.jpg
The Result: Done!! Compared to the original PNG file, the size is much smaller.
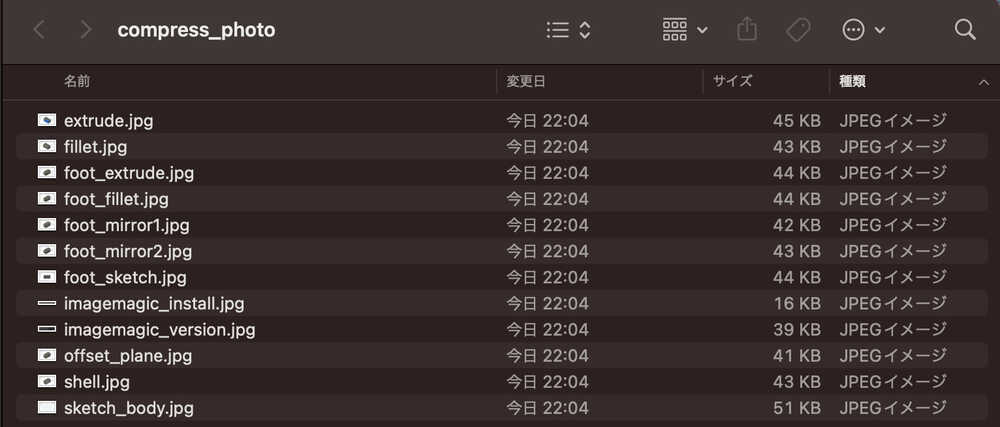
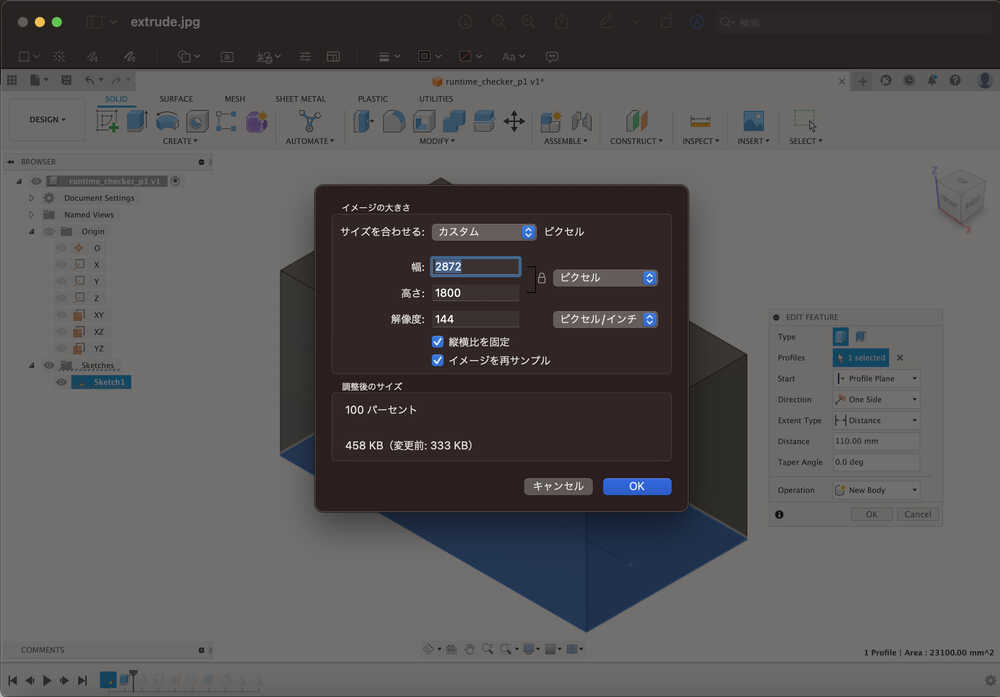
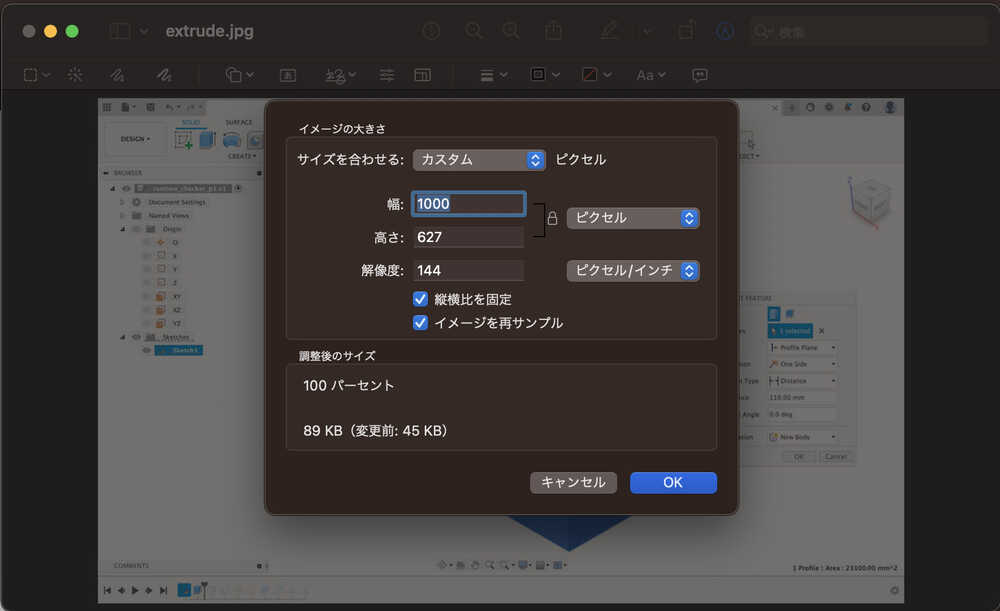
Compare the size information view:
Before: 458KB
after: 89KB
I check the compressed image results, the result image is still good to see, and the size is much smaller, it's nice! so I will use these 2 codes primarily.
6, My Impressions
- I feel scared using Terminal, so It is a task I am not good at.
- I am happy, I confirmed that it can be used without any problem.