Work log - Week 2 - February 2, 2022
This is just a way to keep a record of what I’m doing during FabAcademy Spring 2022.
2/2
- Spent a large amount of time researching different microcontrollers to use for capturing rotary encoder data.
- Started to research using Mouse Optical Sensors for rotary encoders.
- Continued to work on design for final project. Continued looking for better/cheaper solution for high resolution/precision rotary encoders.
2/3
- Discussed what type of microcontrollers to use with Dr. Harris. He discussed using a modular/extensible system using small attiny’s or samd1’s.
- Downloaded and starting to learn how to use SolveSpace. Fairly decent learning curve for CAD. Would have been completely lost with tutorials. https://solvespace.com/index.pl
- Also experimented with StructureSynth. Generative system. Not really CAD in any sense. High learning curve. Very fun to experiment and play with. Purely for artistic designs. < http://structuresynth.sourceforge.net/> Also check this out for 2d generative designs: https://www.contextfreeart.org/index.html and a modern interpretation of structure synth is here: https://github.com/kronpano/BrowserSynth
2/4
- Tried to get an OnShape account. OnShapes system failed miserably.
- Tried to install Antimony, spent a couple hours on this. No luck.
- Spent time playing around with StructureSynth and OpenSCAD.
- Looked into capturing mouse data on Raspi some more. Found some workable options I think.
- Downloaded and installed extension for using Digispark USB attiny85 with Arduino IDE.
2/5
- Spent hours learning and trying all sorts of remeshing and smoothing options in Meshlab. Hours.
- Finally got around to printing out the Ball Bearing test.
- Came across this: Blender and StructureSynth - https://elfnor.com/structure-synth-meets-sverchok-generative-art-inside-blender.html
- Gave this a go: Using Meshlab to turn my StructureSynth models into Voronoi models. The method worked well, but the models I choose were just not really the correct ones to use the Voronoi effect on. https://www.youtube.com/watch?v=uY9cGwcN2Fk
Voronoi Experiments
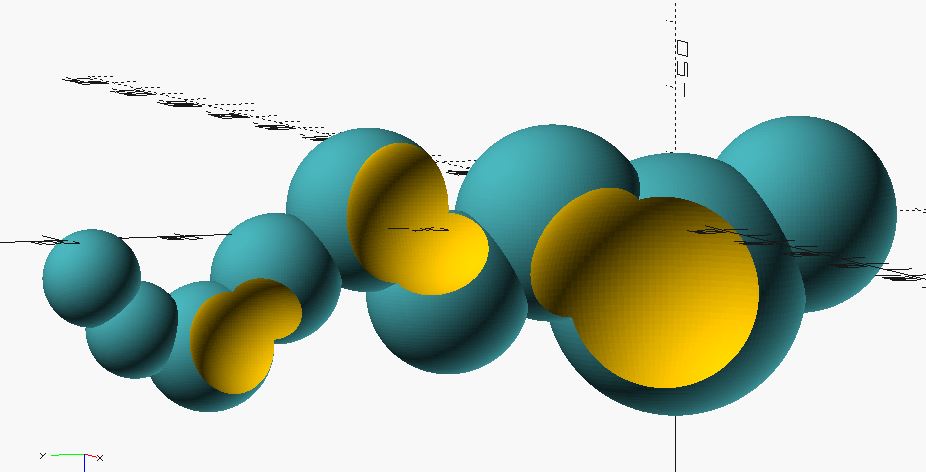
Starting Point: A bunch of spheres created in OpenSCAD.
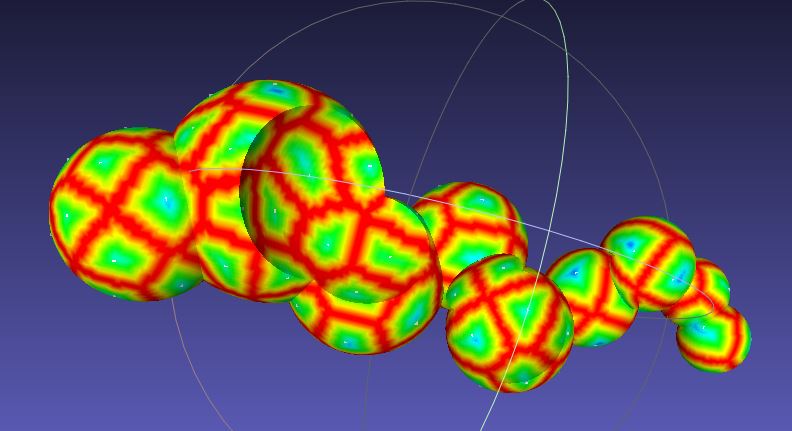
After sampling points and applying a “quality” setting around the area with points.
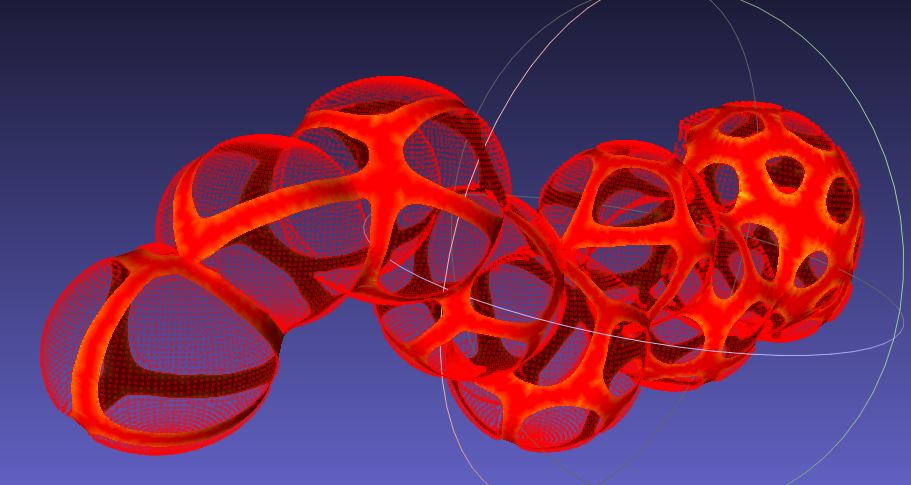
Removing areas that do not meet a specific, arbitrary quality threshold.
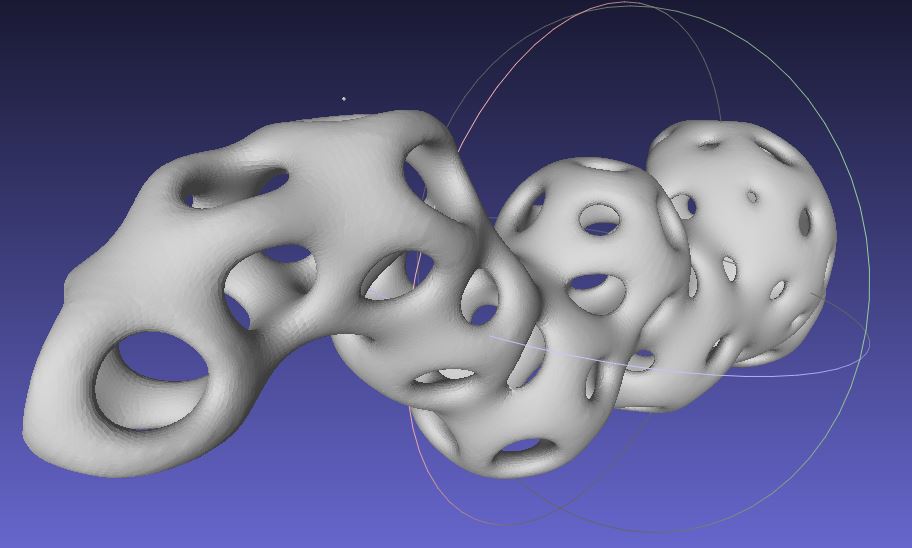
Adding volume to what was a flat surface. I wasn’t excited by this result. A large part of the Voronoi effect comes from selecting the right model to begin with.
2/6
- Finishing documentation
- More work in Meshlab, OpenSCAD.
2/8 - Tuesday
- Administrative Meeting (w David and Denny)
- worked on documentation.
2/9 – Wednesday
-
Finally got access to OnShape. Too late.
-
Worked with Dennis Leak and Michael Long on Vinyl Cutter and Laser Engraver respectively.
- Laser Cutter
- Learned how to to create, import, and print file from inkscape to laser cutter.
- Learned laser setup and safety procedures.
- Tested laser cutting power settings.
- Laser Power for cutting and engraving 1/8” Cardboard
- Cutting- 100% Speed, 100% power, 50% freq/rate
- Engraving – 100% Speed, 50% power, 50% freq/rate
- Worked with Denny Leak on Vinyl Cutter.
- We set up, learned how to use the vinyl cutter.
- Tested and replaced the blade
- Able to print reliably from inkscape.
Last update:
April 30, 2022