Making Smooth Mold from FDM 3D Printed Model Using UV Resin and Baby Powder
Compared to resin 3D printer which typically has layer height range between 0.01 - 0.05 mm, FDM printer typically has layer height range between 0.05 - 0.4 mm which still produce visible layer lines. Typically FDM printer default layer height is set to 0.2 mm and printing time will exponentially increased when using smaller layer height without gaining much objective quality improvement.
However, resin 3d printing process is much more tedious. The resin has a very harsh and unpleasant odors, it's easily spilled everywhere, you'll need to wear gloves to handle them, and the post cleaning process use lots of IPA. Wouldn't it be great if we could find the middle ground? In this post, we will discuss an experimental post-process to smooth out FDM 3D printed object to be used as a mold.
Form Modeling
We will be using a 3D model of astronaut character from Among Us, a popular video game develop by InnerSloth. This model was designed in Fusion 360 using form modeling tool, a T-Spline based modeling tool where we can manipulate faces, edges, and vertices to create a model. It is suitable for modeling complex object that is hard to be modeled using solid body modeling tool such as organic shapes.
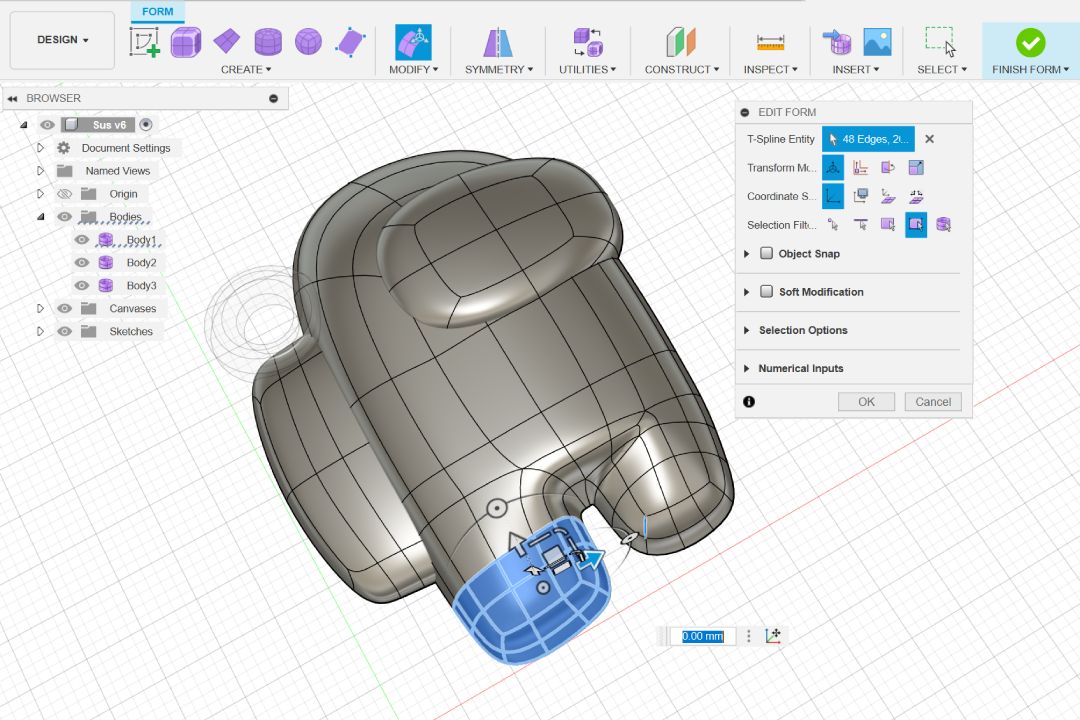
The workflow is very similar to polygon modeling in software such as Blender, in fact it will be much easier to model this in it. However, the benefit in modeling it in Fusion is we can combine the workflow with solid modeling workflow right away. This way it's possible to quickly going back and forth between organic modeling and precision modeling, getting the best of both methods. You can watch this tutorial series by LEAD channel to learn more about form modeling.
Print Settings
Once you have your model, export it, and import it to your slicer software. When we slice our 3D model, the software will find the middle ground of the object boundaries for each layer. This results in it overshoots some area creating high spots and undershoots some area creating low spots. Those discrepancies are what create the visible layer lines. The bigger the layer height, the more pronounced the layer line.

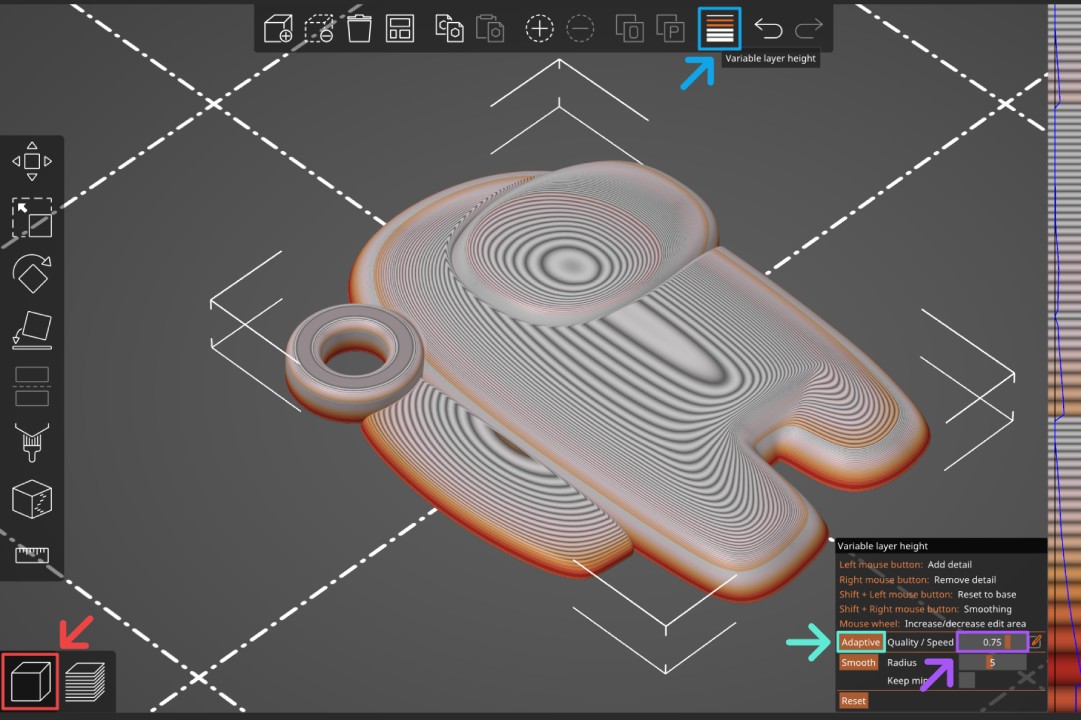
If the model you want to post-process has a lot of curvature, it is recommended to use smaller layer height. Otherwise you will need to apply significantly more finishing layers later on. Fortunately nowadays most slicer software has variable layer height feature, where it can use bigger layer height when there are not much details needed in certain layer and using finer layer height where there are more details.
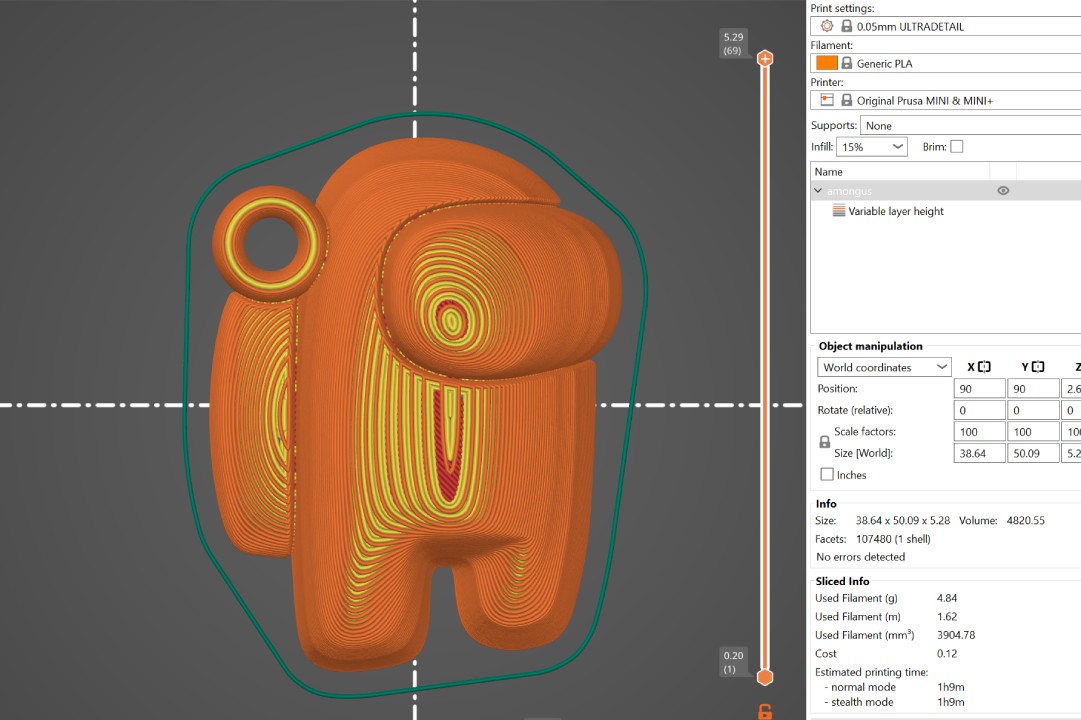
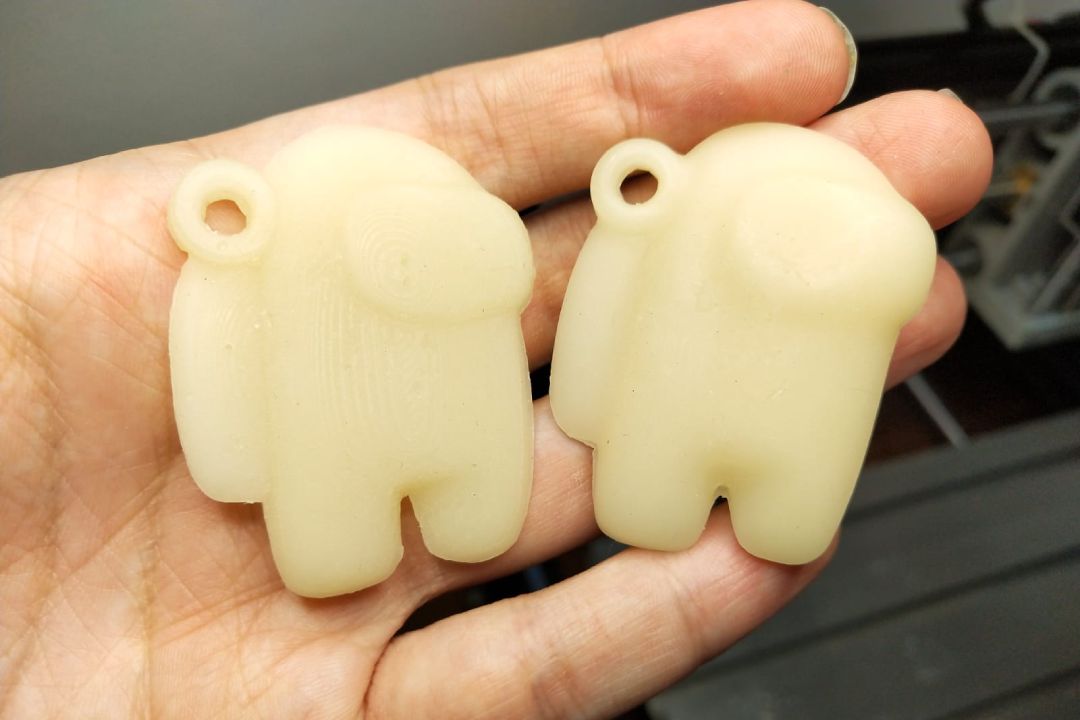
Let's test it out on our model. If you slice it at 0.2 mm quality setting, the estimated printing time is 22 minutes, but we will lack much needed details on the upper section. Next if we change the layer height to 0.05 mm ultra detail, the print will have smoother surface, but the estimated print time increased to a whooping 1 hour 36 minutes.


Now let's go back to the editor first and keep the layer height setting at 0.05 mm. Select your model and activate variable layer height tool. A visualization of the layer densities will appear on top of your model along with a option dialog box on the bottom right of the screen. Slide the value on the first slider to 0.75 and click the adaptive button. You will see that the slicing result quality is very similar but the estimated printing time is reduced to 1 hour 9 minutes. Once you have your model printed, clean up any minor imperfections such as stringing or any support and brim if you use some.
Post Processing
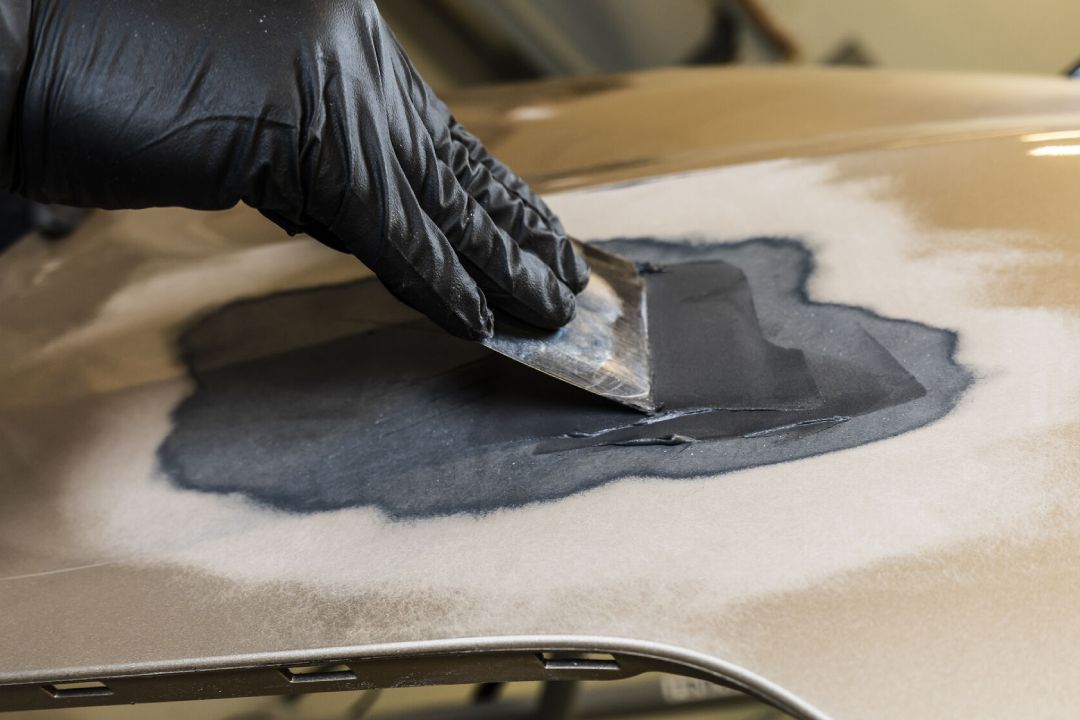
The process that we will be experimenting here is basically similar to common finishing workflow in wood or metal working. When you make product (be it a furniture, a car, etc.), you will have a small surface imperfection like a dent or a crack here and there. Without smoothing it out first, these imperfections will persist and can become even more apparent when you cover them with paint. That's why usually the surface has to be smoothed out by applying filler to fill out the low spots and sand out the high spots.

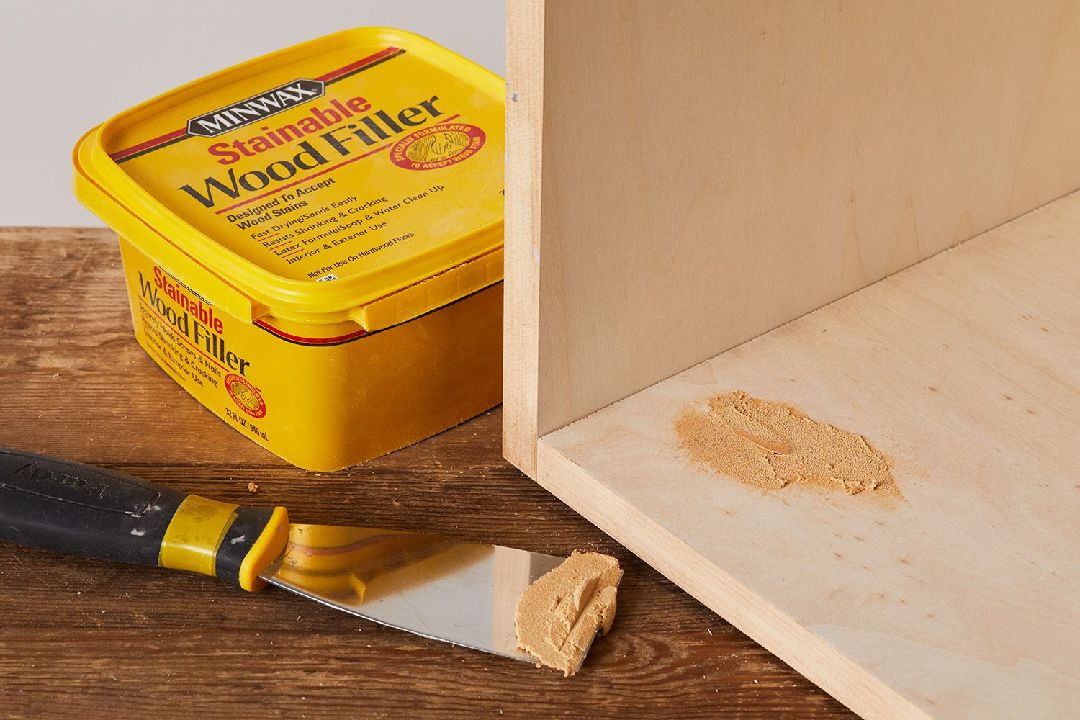
The same idea applies for this experiment. Just like we discussed before, each layer in 3D printing process will have area that have excess and deficit material, essentially creating the high spots and low spots. You can use wood filler or plastic putty as filler, but we want to experiment to use something rather unconventional, a mixture of UV resin and baby powder.
This mixture has a huge benefit compared to the other fillers. The UV resin can be cured almost instantaneously using a UV light while others require curing time ranging from 30 minutes to hours before you can continue to work. To add on top of that, to achieve a smooth finish, you most likely need to sand and fill the surface multiple times. By eliminating the waiting time, we could exponentially expedite the finishing process. This method is inspired by a YouTube video by DaveRig Design.
Preparation
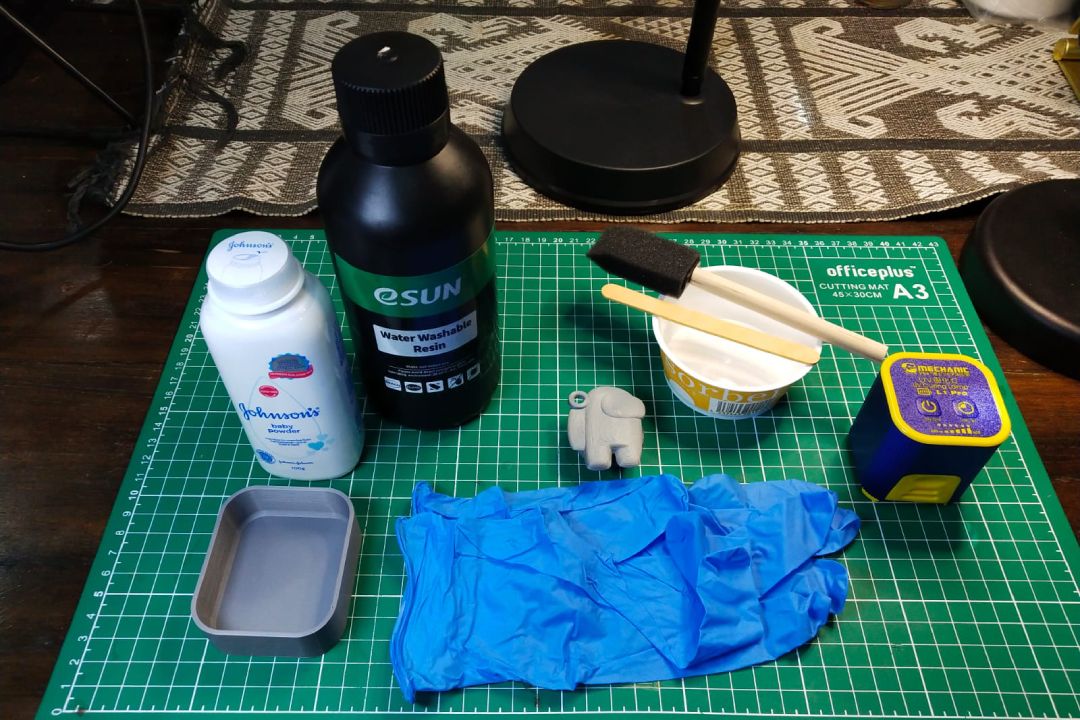
Before we start let's prepare our materials and workspace. We are working with UV resin, so you want to wear gloves to handle them, have a protective surface on your work area, and work in a well ventilated area. Even better is to have something similar like solder fume extractor on because we will also sand a plastic component essentially creating micro plastics.
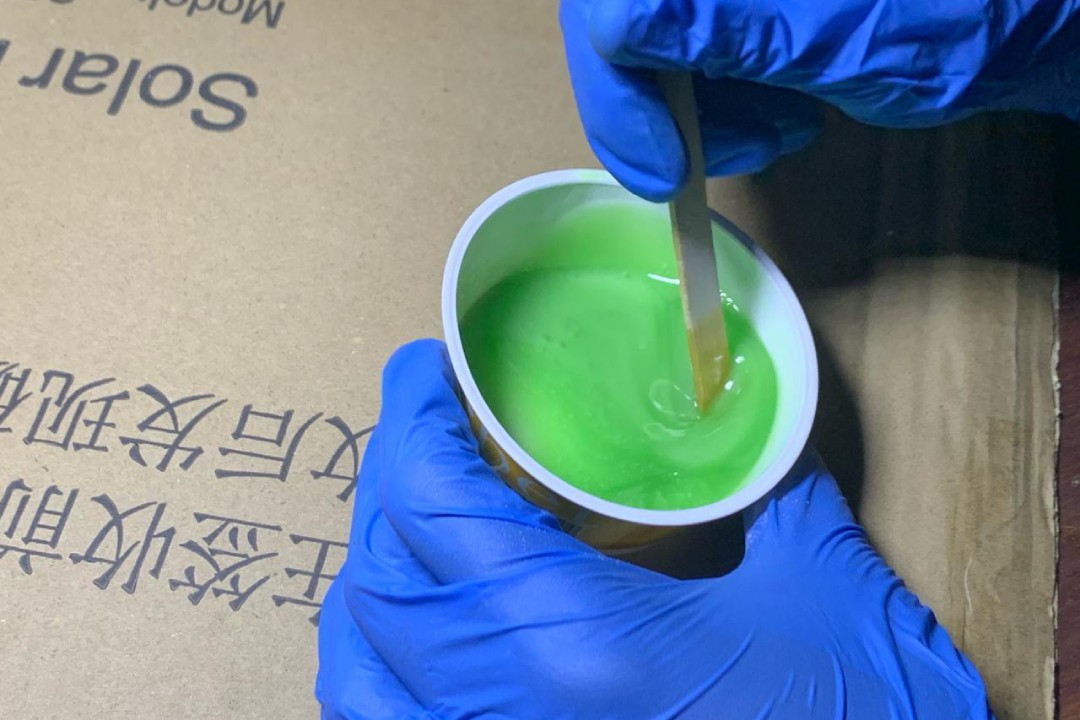
To make the mixture, simply pour some UV resin into a small plastic container, ideally one with a lid and not transparent. Add baby powder while constantly stirring it until you get a consistency of a cream. It is advisable to close the container lid while you work otherwise the resin might start to cure slowly from any light exposure.
Finishing
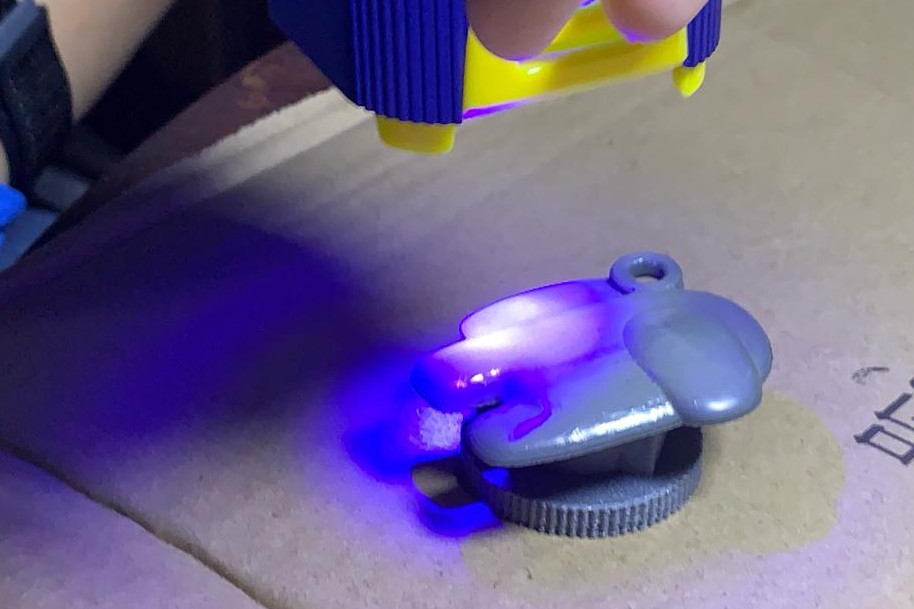
Apply lightly a coat of this mixture using foam brush for large area and using fine paint brush for smaller area. Make sure the coat is thin and as even as possible and brushed away any excess deposit, especially area with sharp details. If you don't, your model will lose a lot of details and might ends up looking "blurry". Once done, expose your model under UV light for few seconds. Allow all nooks and crannies to be exposed adequately ensuring the resin layer is fully cured.
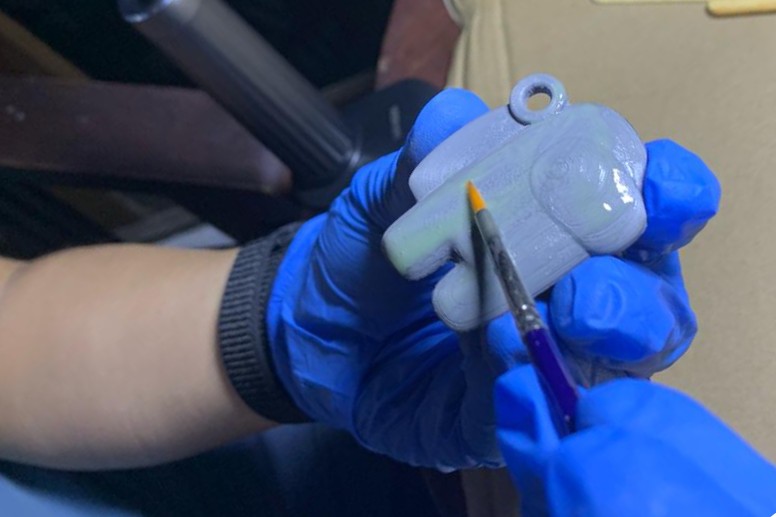
After the coat is cured, clean the surface with water or IPA, then sand down your model using sand paper. Because we don't need to remove too much material, we could start from fine grit sand paper like 240. Sand all the surface as evenly as possible until you can feel the sand paper just "glides" on the surface. This means that the surface has reach the same roughness of that particular sand paper.
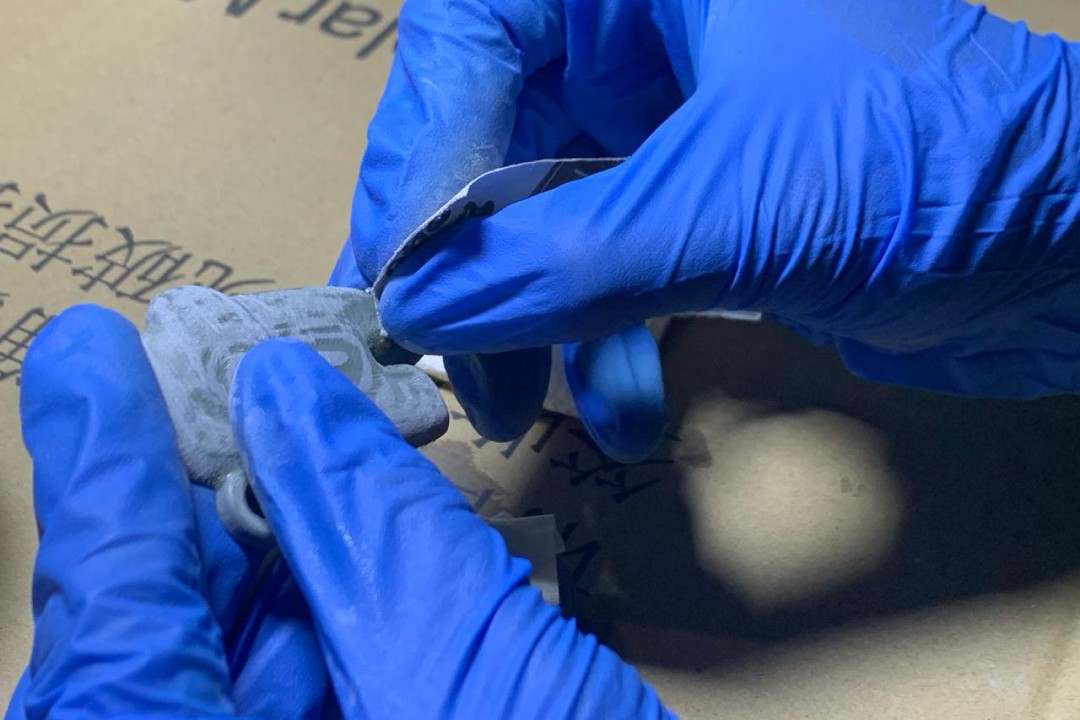
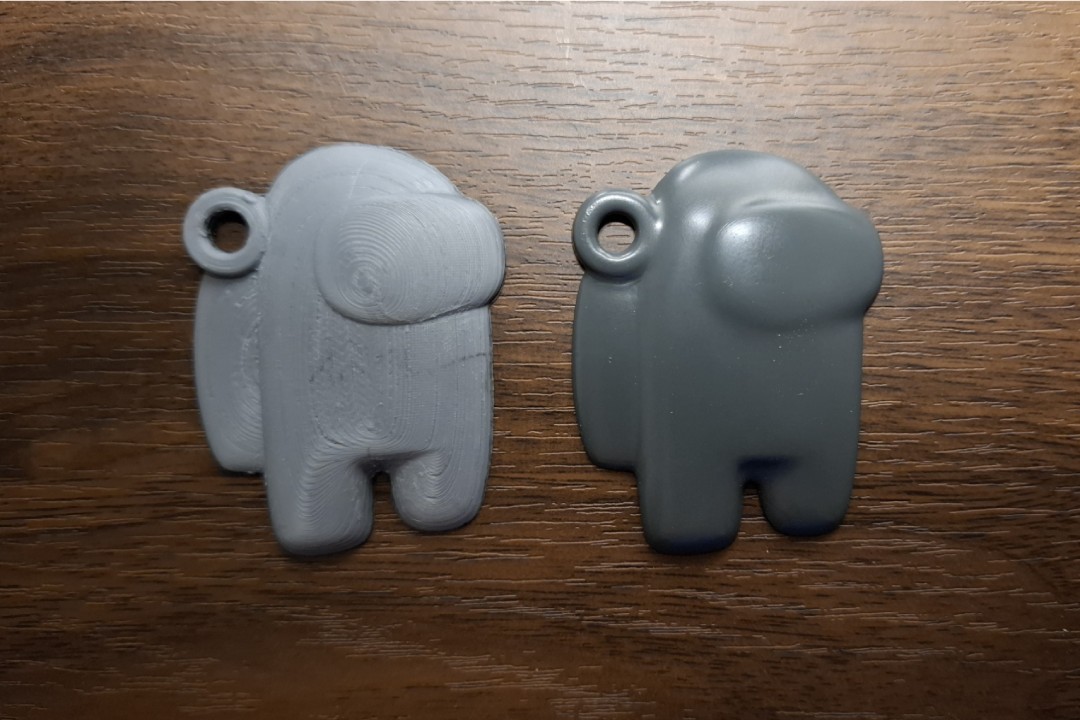
Inspect your model for the high and low spots, one coat would unlikely be enough. Repeat the coating, curing, and sanding process. Once the low spots have been filled, sand the model with increasing grit - 320, 400, then 600. If you want to sand with even finer grit like 800 and 1,000 grit, you can sand it while soaked in water to make the process easier. You only need to simply glide the sand paper on the surface in circular motion to avoid accidentally removing material more than necessary. You can apply few layers of primer or paint and sand them with those finer grit sand paper in between each layer.
Molding and Casting
Just like working with UV resin, you want to wear gloves, have a protective surface for workspace, and work in a well ventilated area when working with silicone to make a mold or when you are casting something.
Molding
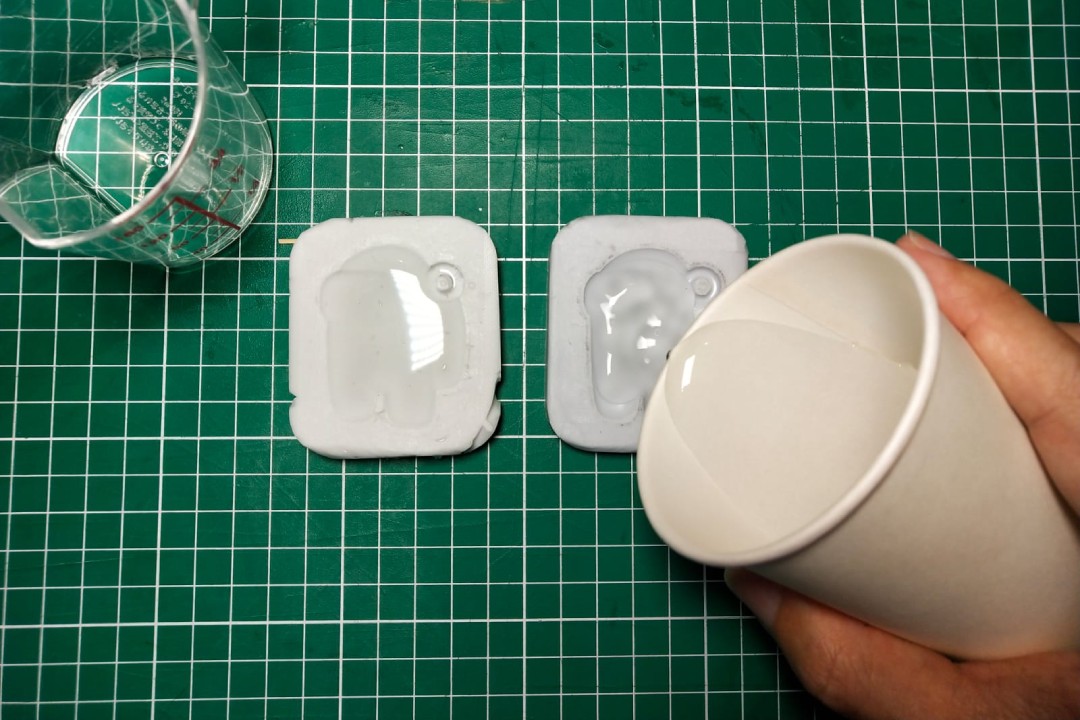
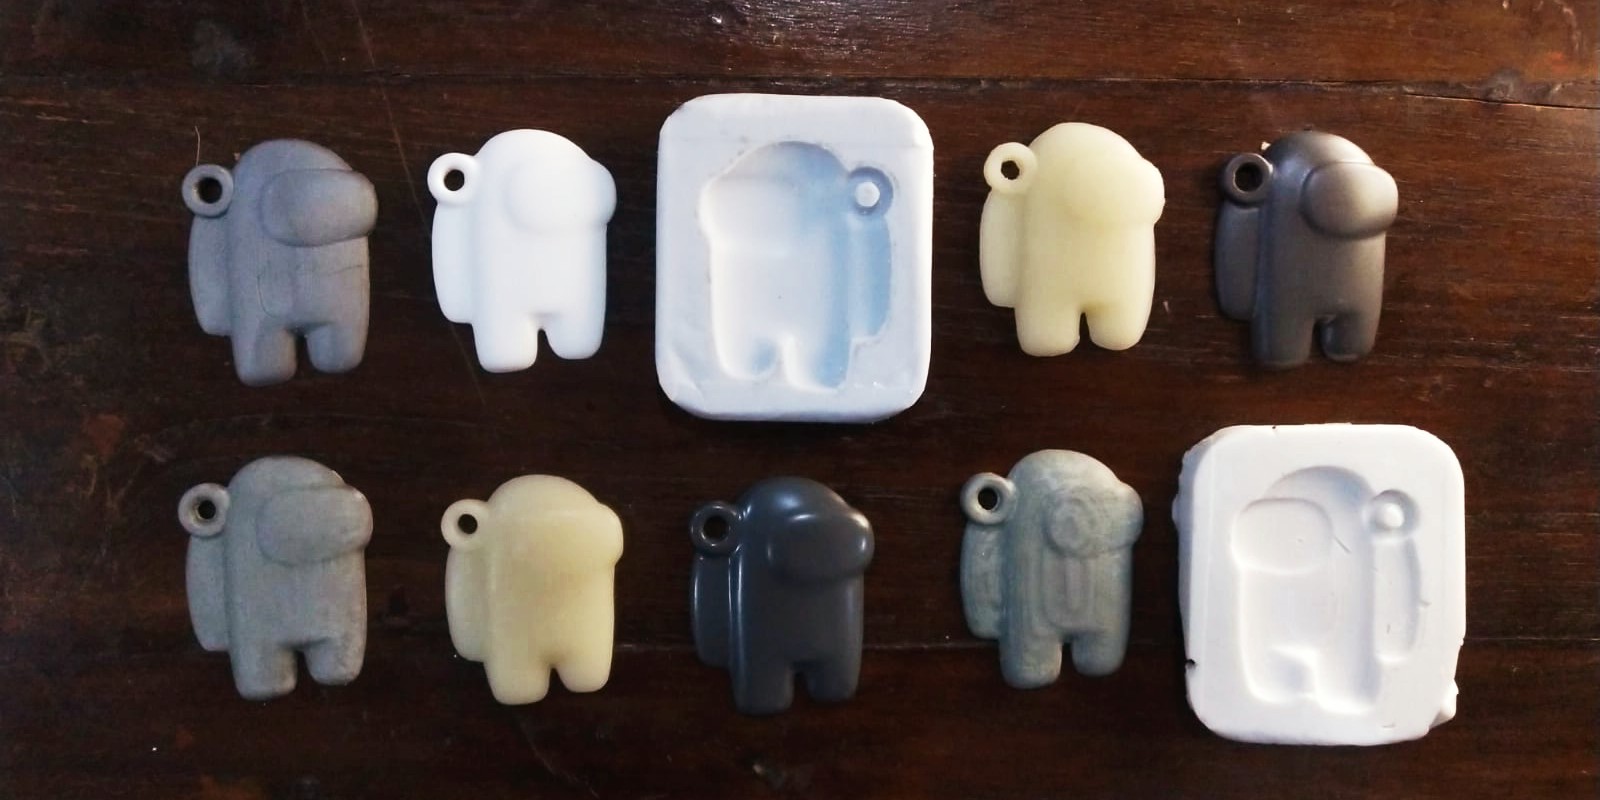
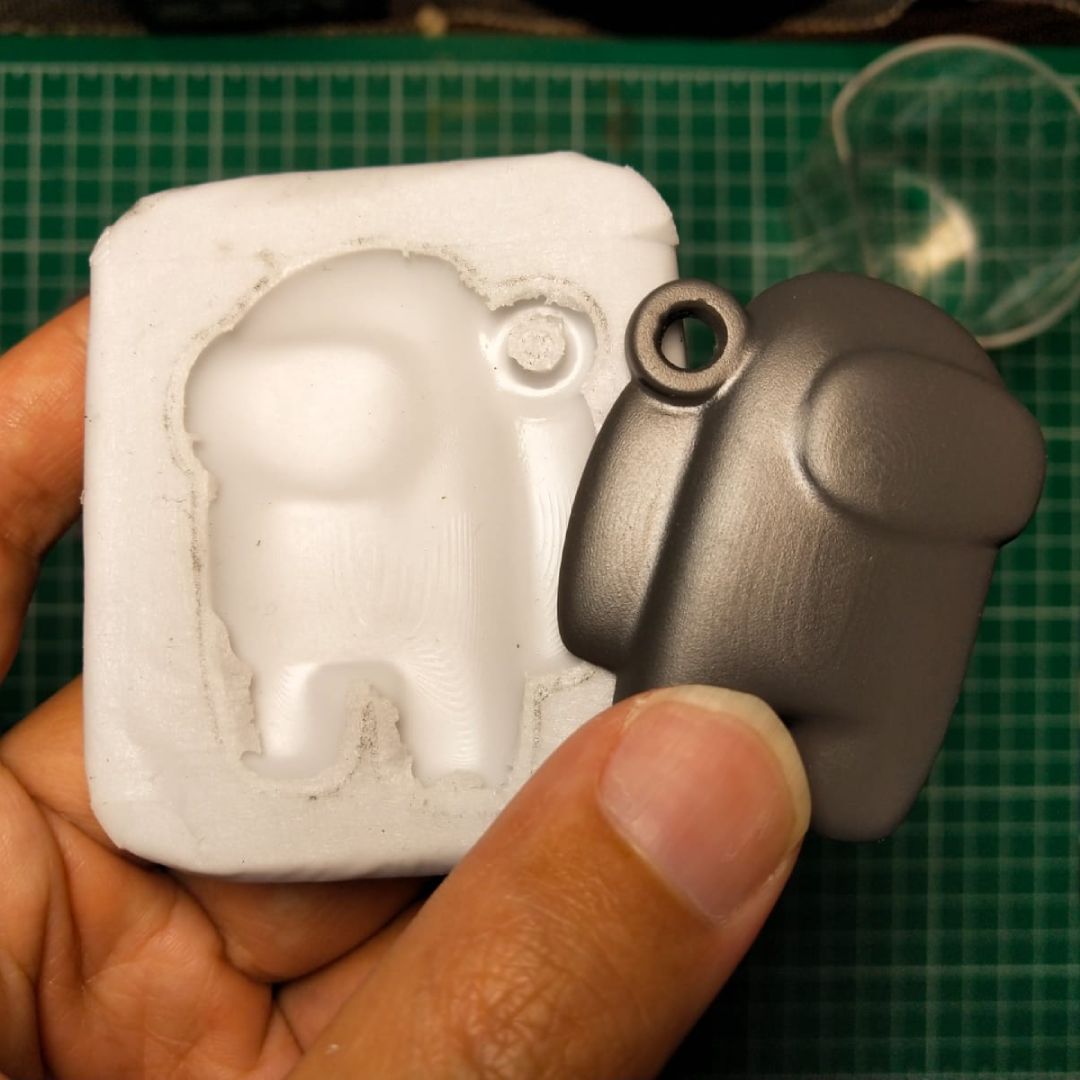
To make a mold out of our smooth model, we need to make a box around it. Instead of opting like a lot of people who print their model together with a mold box, we could simply print the mold box separately. To glue the model into the box, we can apply painters tape on the box and the model, then super glue them together. Not just making the finishing process much easier, this method also allow us to reuse the mold box again and again even with different model.
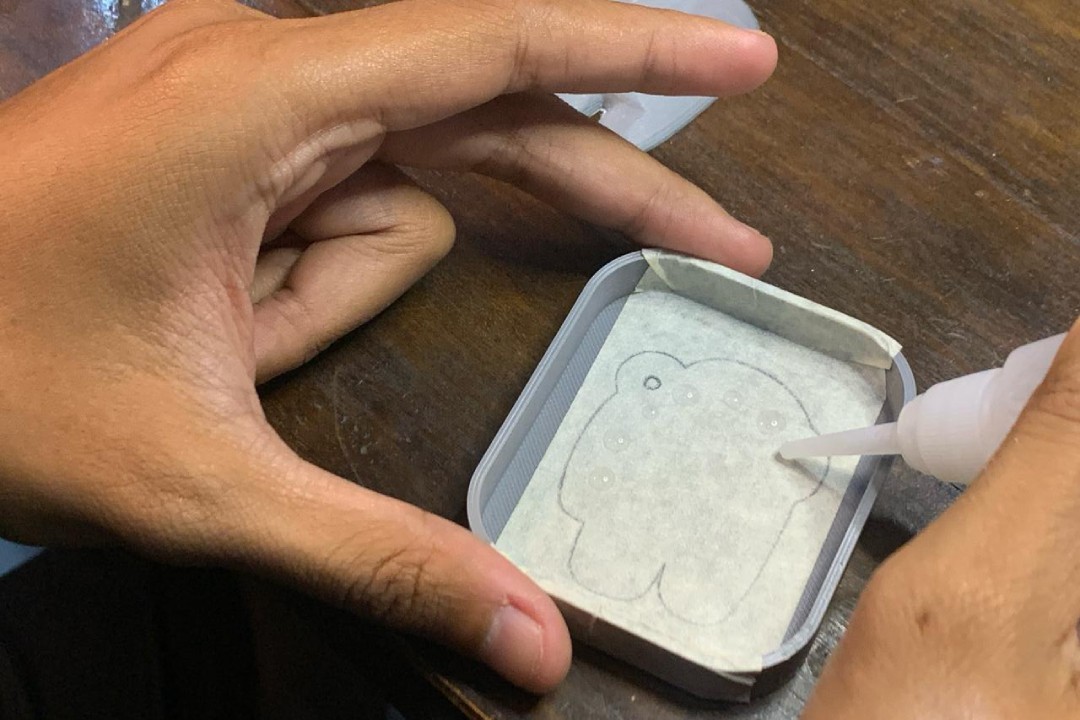
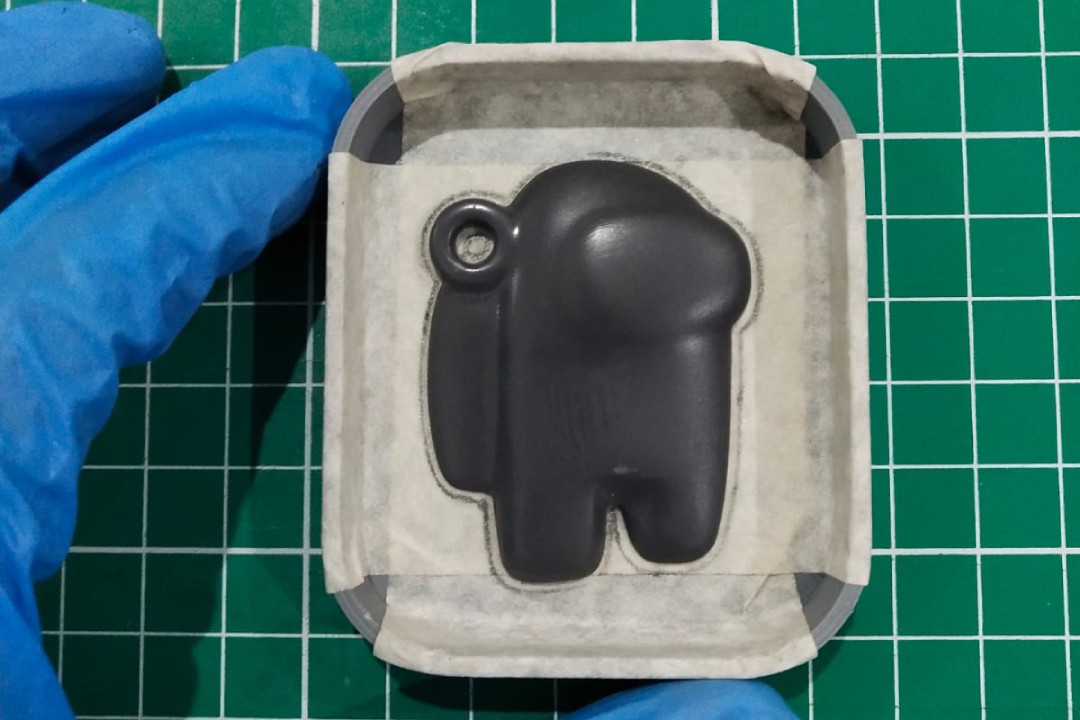
Next we can measure the volume required to make the mold using water. To make de-molding easier, apply a thin layer of mold release. Fittingly, we can use baby powder for this purpose.
For this experiment, we are using silicone rubber RTV-48 that has a mixing ratio of 4% catalyst compared to the base silicone. This ratio is not universal, if you are following along, make sure you use the correct ratio for your silicone. It will be easier to measure them separately by weight using scale first. Curing time will depend on many factor like it's volume, environment humidity, etc., but typically it will cured in few hours. However, slight miss calculation of the catalyst ratio could results in either the silicone wouldn't cure at all, or it cured in matter of minutes. Take your time to measure it correctly.

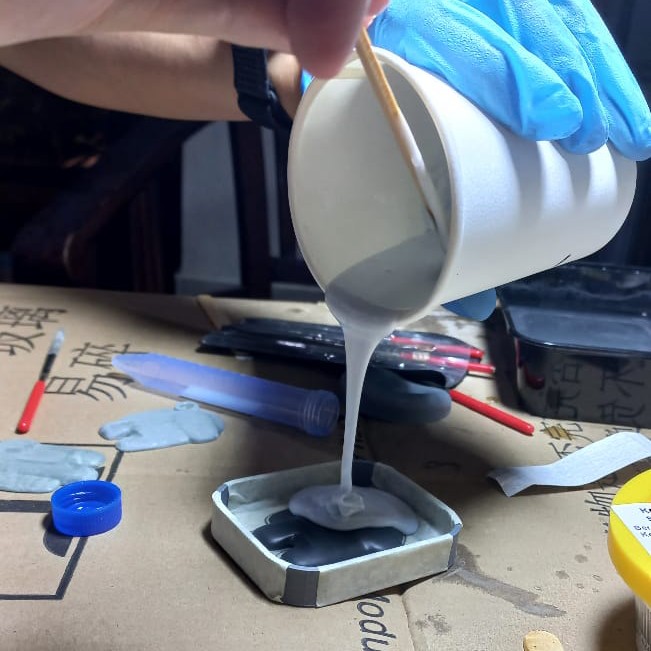
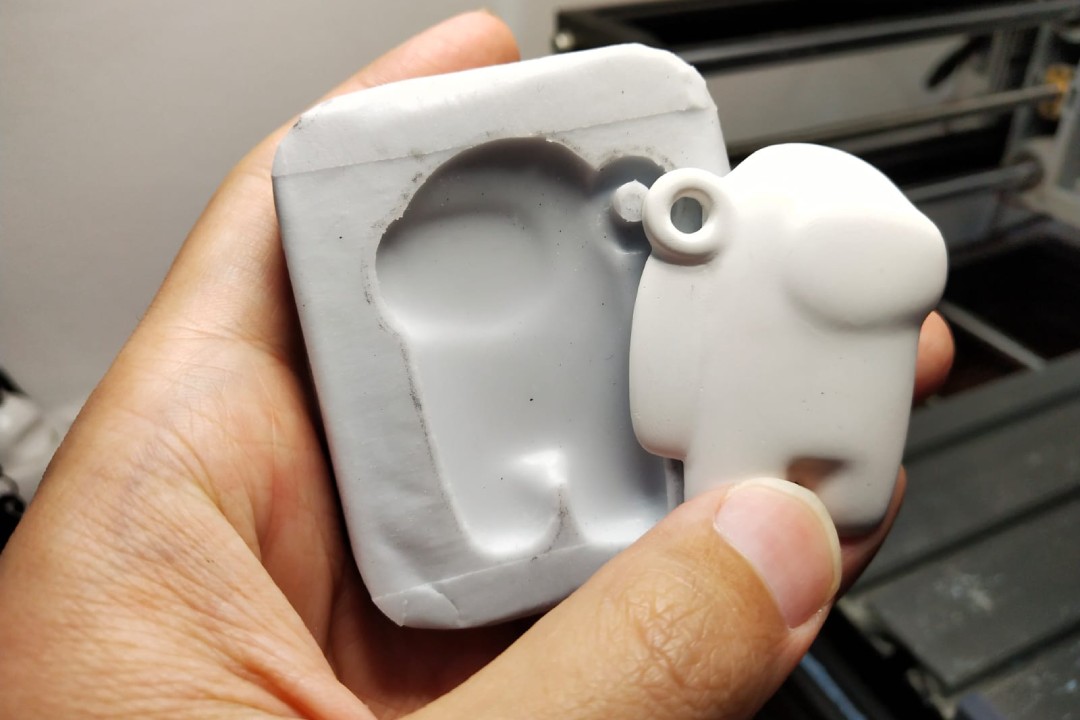
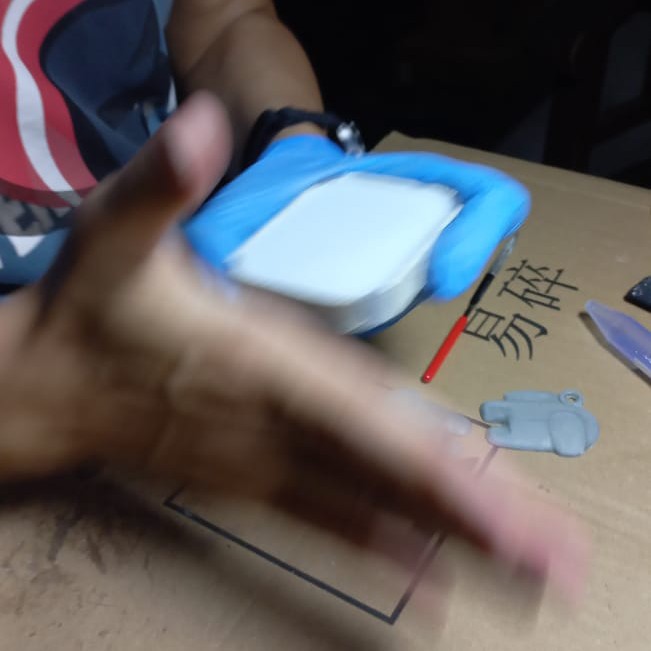
Once the silicone and the catalyst measured, mix it thoroughly, then slowly pour it into our mold slowly and steadily. Shake and tap the mold box repeatedly while the silicone is still quite viscous to remove as much bubble as possible. Wait until it's fully cured, if you everything correctly the mold would just simply peeled of out of the box. However, if your model is quite intricate, take your time in this process, or you might end up accidentally ripped of part of the mold.
Casting
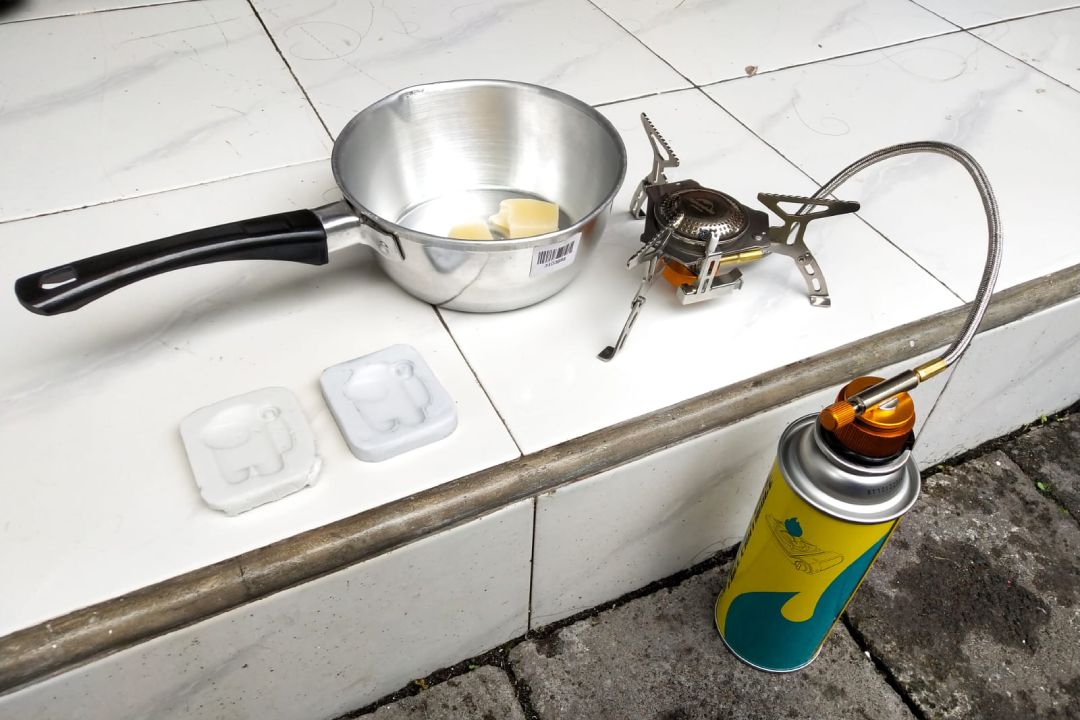
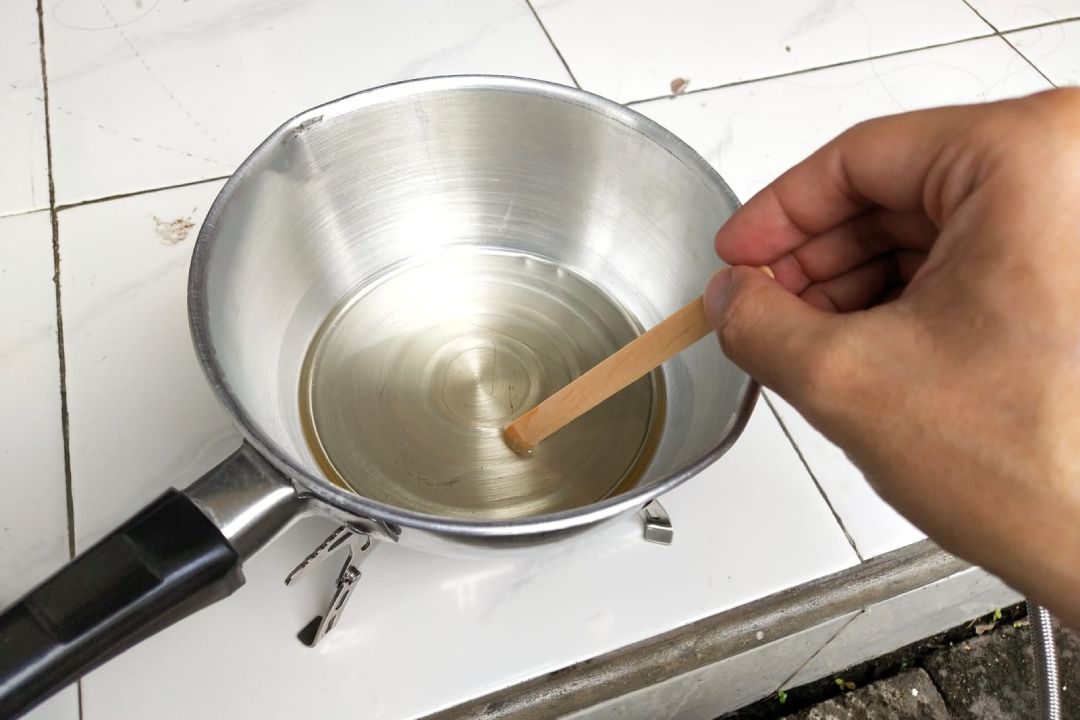
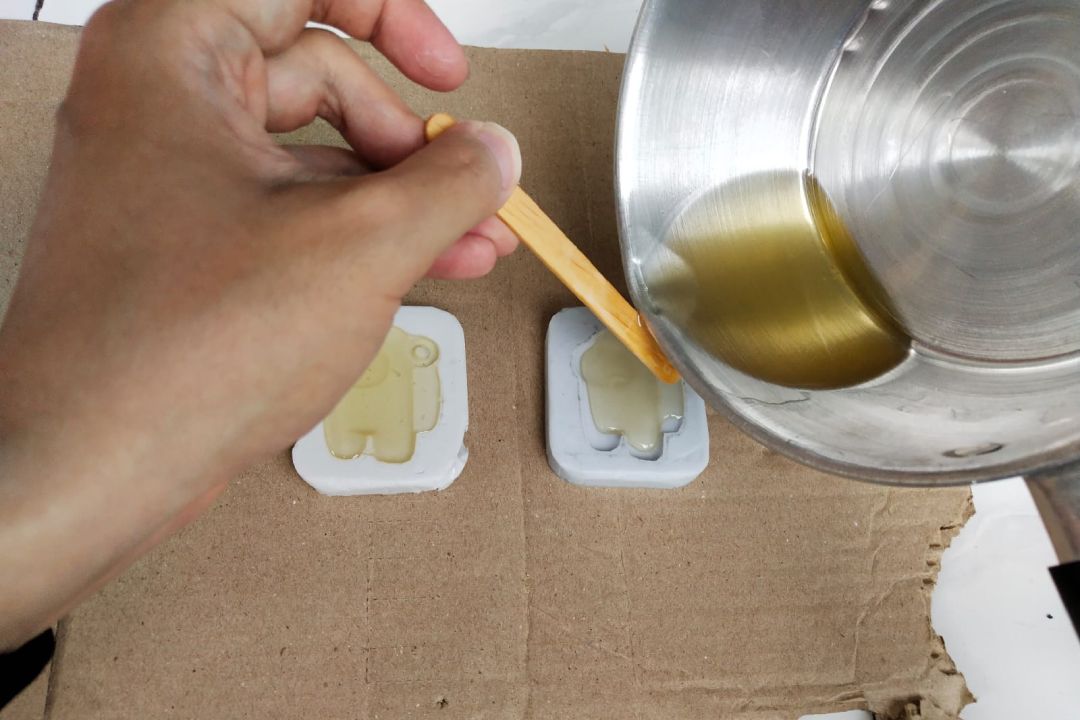
Let's test our mold by casting something with it to see if it can produce a smooth surface cast. For a simple test we could use something like paraffin wax. Simply cut the wax into some chunks, heat it up until it melts, and slowly pour it to your mold. Wait for it to cool and you can de-mold it just like pooping ice cube from the tray.
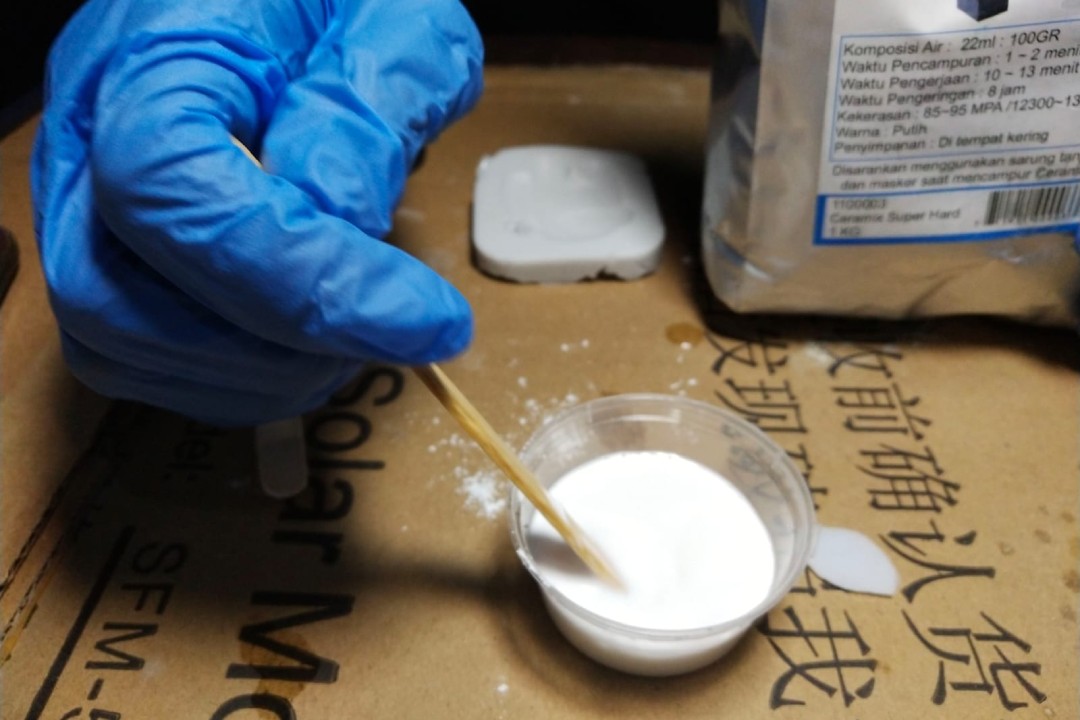
Another casting material we will be using for our test here is a gypsum. Just like silicone, the mixing ratio will be different from one to another. The one we use here has a ratio of 22 ml water per 100 g gypsum. This makes calculating the ratio by total volume a little bit tricky. With few testing and measuring, this gypsum powder takes up 34 ml volume per 100 g. This means it has a ratio by volume of 11:17 of water to powder.
For the process casting process itself is pretty much the same like how you would make the silicone mold:
- Measure the volume of the mold cavity
- Calculate the gypsum powder and water separately based on that volume, then mix them thoroughly
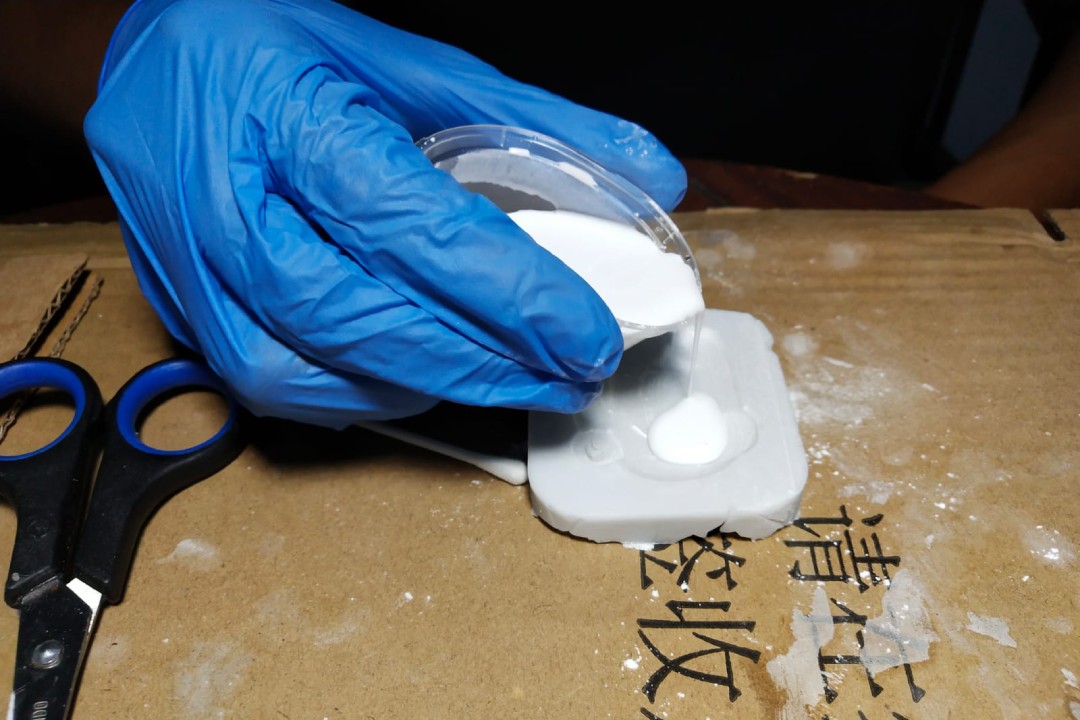
- Pour it to the mold slow and steady
- Shake and tap the mold while the material is still viscous to remove any air bubbles
- Wait until it's fully cured