Setting Up Development Environment - Using GitLab and VS Code Through WSL
Each students were given a student site in a form of GitLab repository. This is where we will put all our documentation for the entire program. The repository has some plain HTML boilerplate that we can use, different from the previous year that provide MkDocs Material boilerplate.
Although you can make changes directly from the GitLab website, it is highly recommended to use a SVC (software version control) system and work from your local repository. As the name suggested, GitLab use Git as their version control and the general workflow will be something like this:
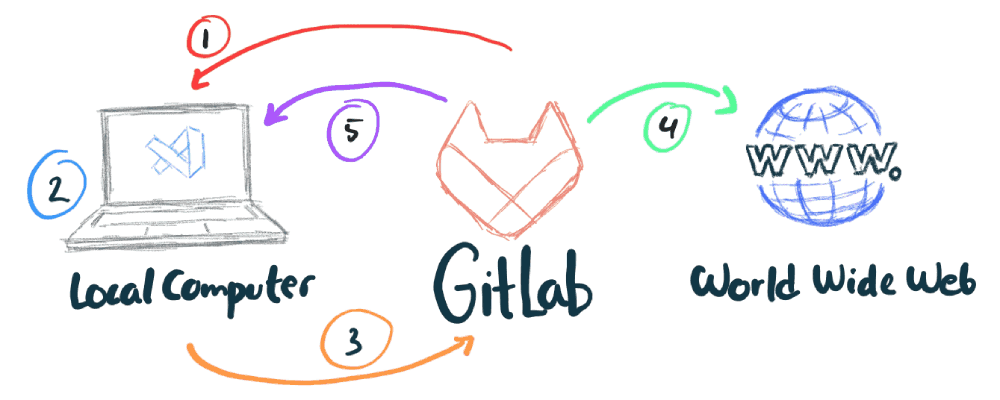
- Clone your repository to your local computer.
git clone git@gitlab.fabcloud.org:your_repository_url - Work on your website locally; check git status; stage then commit the changes.
git statusgit add .git commit -m 'Describe the changes you commit' - Push the changes back to GitLab.
git push - GitLab CI (continuos integration) automatically deploy our repository to our student website's public page.
- If multiple people are working in the same repository, it is better to pull any changes from the GitLab repository first before pushing new commit, to avoid any merge conflict.
git pull - Repeat step → → every time you work with your website documentation.
If you are wondering, all those lines are command lines that you'll need to execute from a terminal. We barely just scratch the surface of what Git is all about, but the steps listed above will be 90% of what you will use when using Git. If you want to pursue carer in programming, then understanding Git in depth is a must.
Generate SSH Key
It is recommended to clone your repository from GitLab to your local computer through SSH. To do that, first we need to generate an SSH key pair, and in my experience, the most straightforward way to do it is through terminal. Open your terminal, the one I will be using is Ubuntu 22 (WSL).
Copy the command below, change the email address with your own, then press Enter ↩ to execute it. You can paste the command below using Ctrl + V in WSL2, but older terminals might not support it. Usually, you should right-click on the terminal to paste something. This command will generate a new RSA key with 4096 bits.
ssh-keygen -t rsa -b 4096 -C "your_email@domain.com"
You'll be prompted to specify the name and location where you want to store your key pair. You can simply press Enter ↩ here and use the default name id_rsa and default location /home/your_name/.ssh.
Enter file in which to save the key (/home/your_name/.ssh/id_rsa):
Next, it will prompt you to input a passphrase. Enter a passphrase and repeat the same passphrase in the next prompt. You can leave it blank simply by pressing Enter ↩.
Enter passphrase (empty for no passphrase):
Enter same passphrase again:
If you have done everything correctly, your terminal should display something similar to the image below.

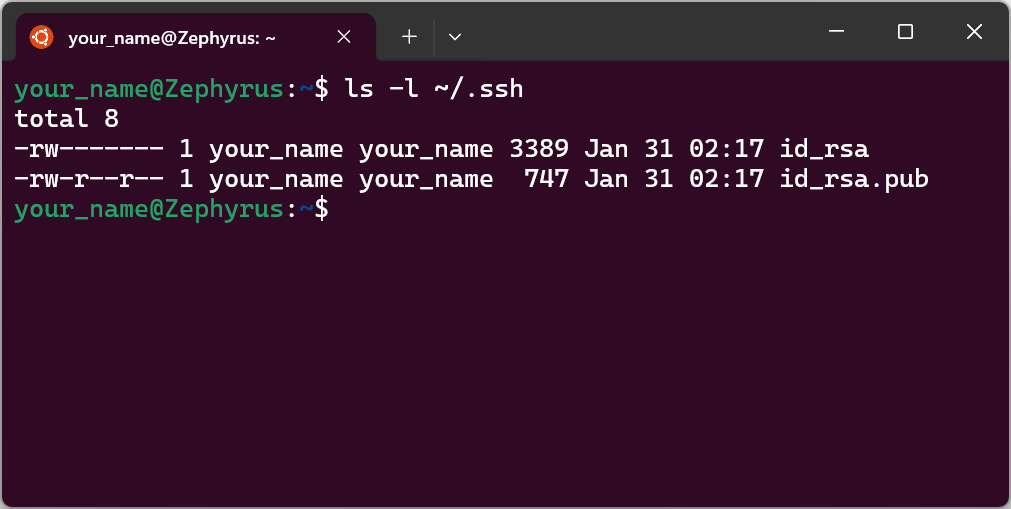
Congratulations! You have successfully generated your first SSH key pair. You can verify it by listing the contents of your .ssh directory with the command ls -l ~/.ssh.
Adding Public Key to GitLab
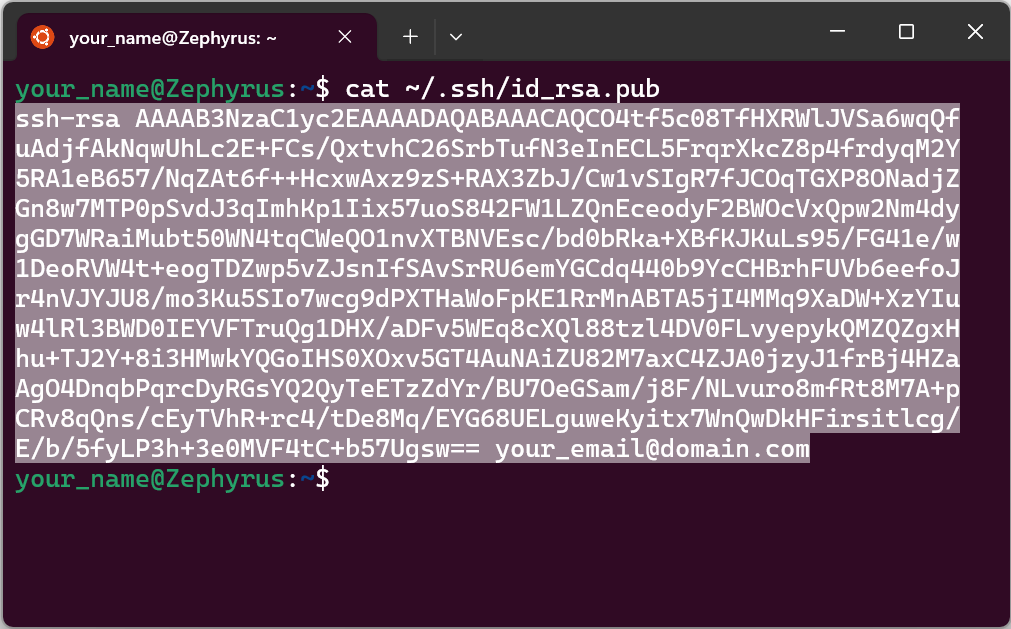
To view the content of your public key, execute the command cat ~/.ssh/id_rsa.pub. Copy the text starting from ssh-rsa ... and continue until your email address. In WSL, you can simply highlight the text using your mouse and press Ctrl + C to copy. However, in older terminals, you may need to use the right-click option to copy the text.
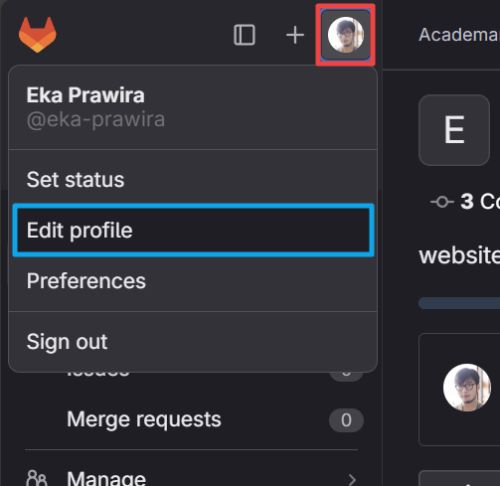
To add a new SSH key go to your GitLab page and follow these steps:
- Click on your profile icon.
- Select Edit profile.
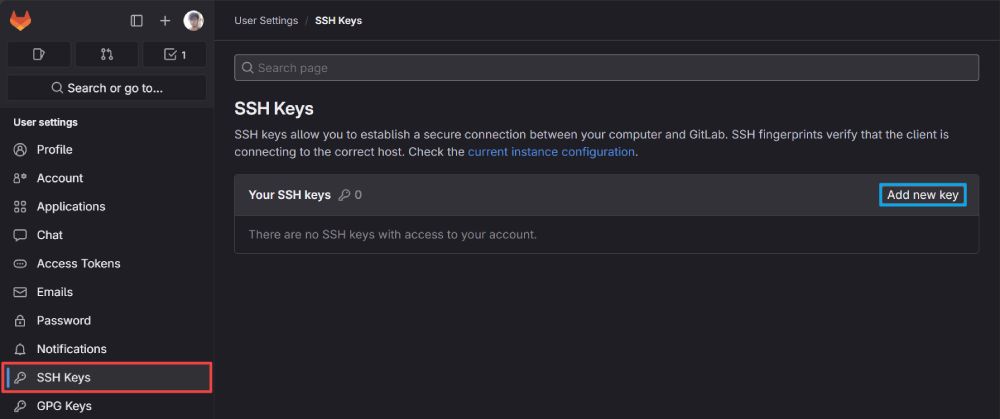
- In your profile page left section, choose SSH Keys from the menu.
- Click on the Add new key button located on the top right side of the dialog.
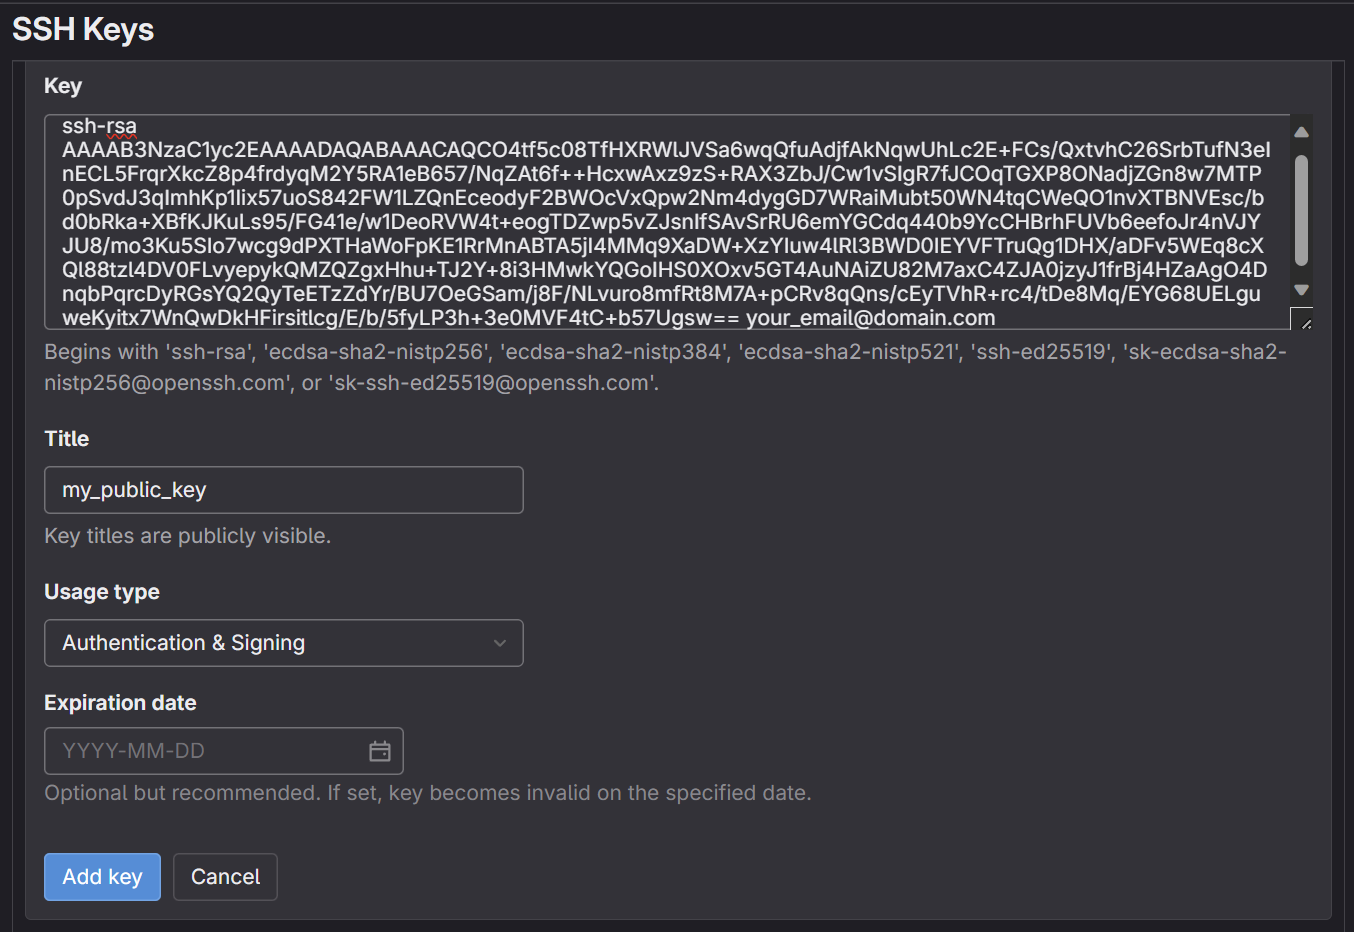
- In the text box on the GitLab page, paste your key.
- Optionally, you can change the Title to something meaningful.
- Click on the Add key button.
Now go back to your terminal and let's configure SSH to use the private key for connecting to your GitLab repository. To configure it, you just need to create a text file by executing the command: nano ~/.ssh/config. This will open a nano text editor inside your terminal.
Paste in the code below, remember to rename the key file if you have specified a different name. To exit nano, press Ctrl + X, and it will ask if you want to save the file. Press y and then Enter ↩ to confirm the filename.
Host gitlab.fabcloud.org
IdentityFile ~/.ssh/id_rsa
AddKeysToAgent yes

We can confirm if the configuration has been set up properly by executing the command ssh -T git@gitlab.fabcloud.org. The first time you use a new key, the terminal will display a warning and ask for your confirmation to proceed. Type yes and press Enter ↩. If everything is correct, you should see a message similar like Welcome to GitLab, @eka-prawira!.
Cloning Your Repository to VS Code
Now you can finally clone your GitLab repository to your local computer through SSH. Get the SSH URL by following these steps:
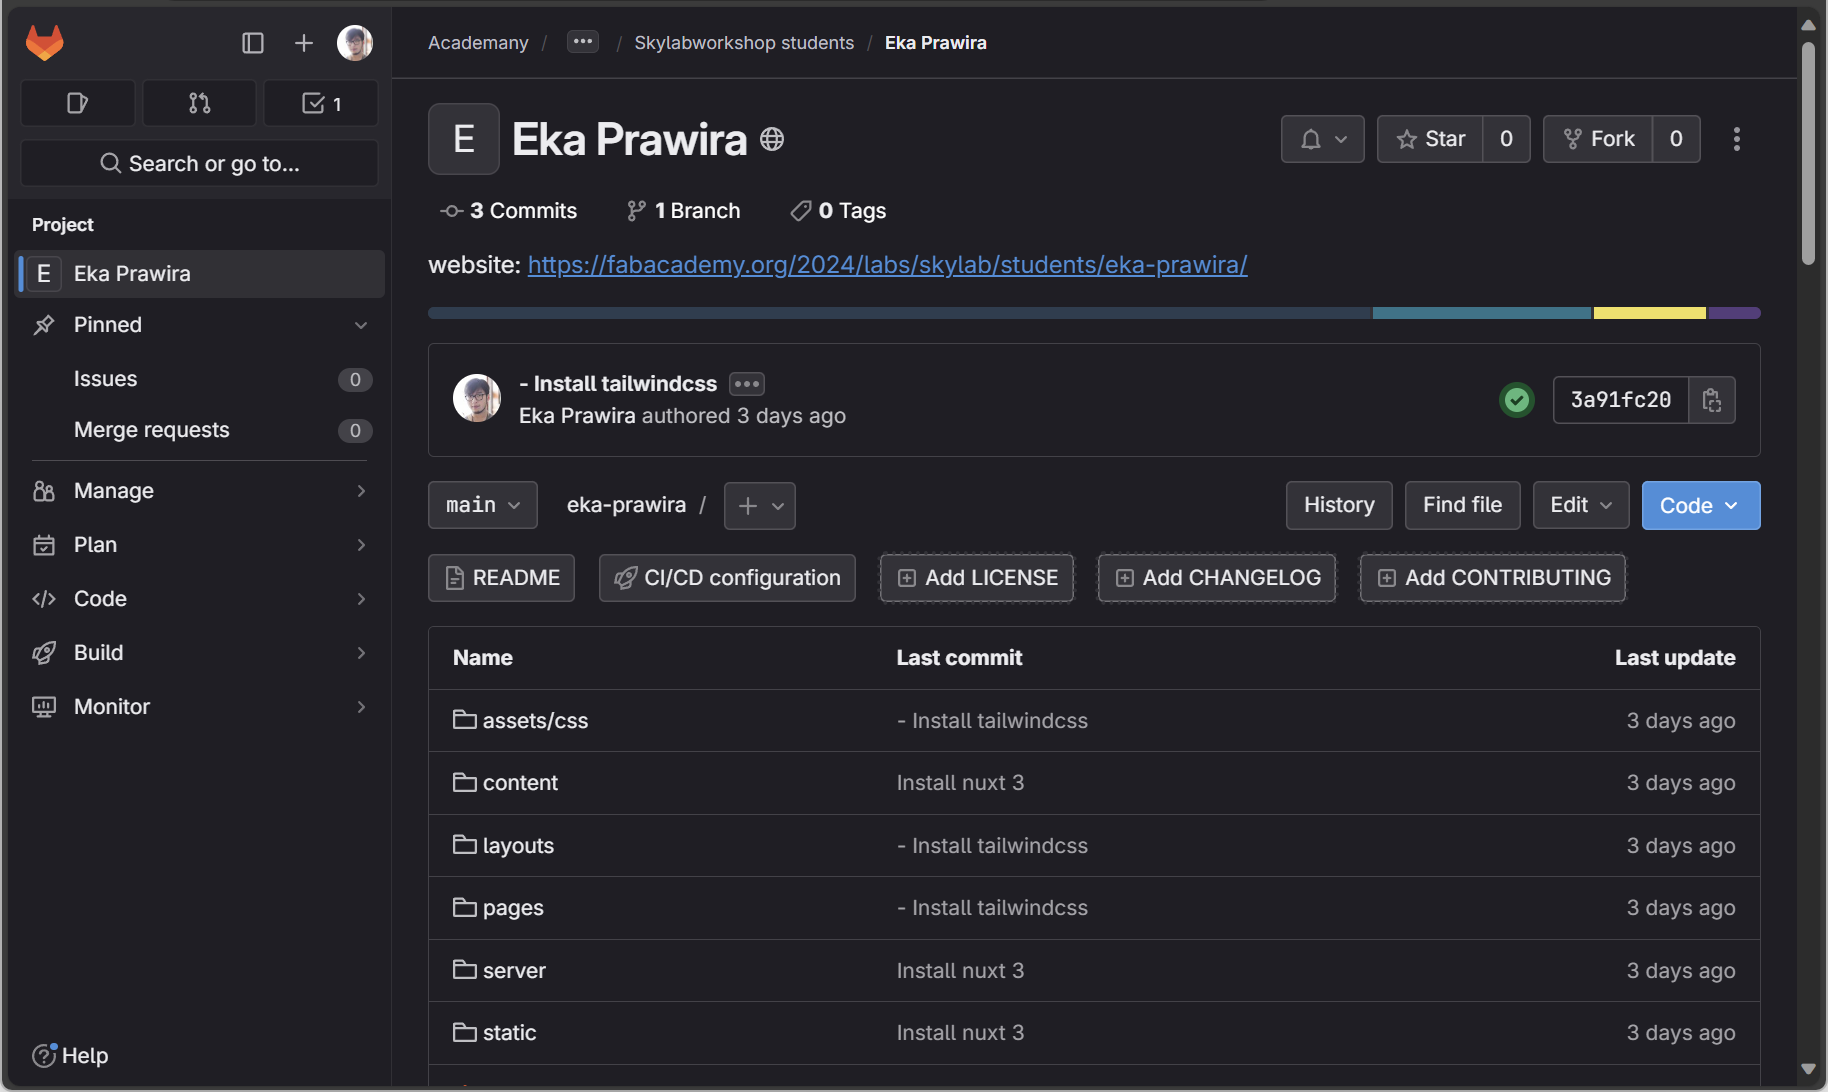
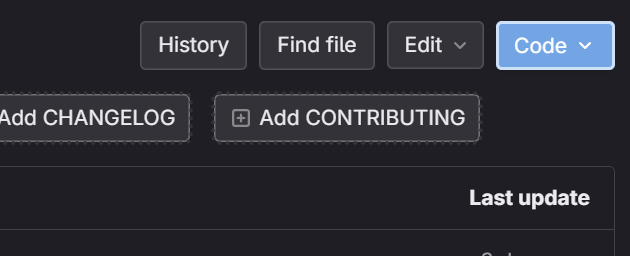
- Go to your GitLab repository page and click the blue Code button.
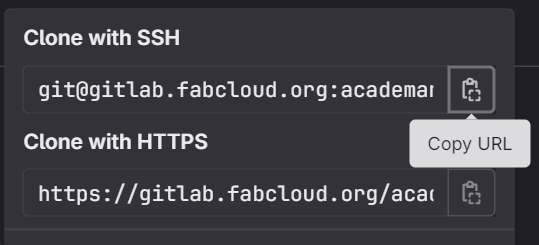
- A dropdown menu will pop up, go to the top of it and press the Copy URL button under Clone with SSH.
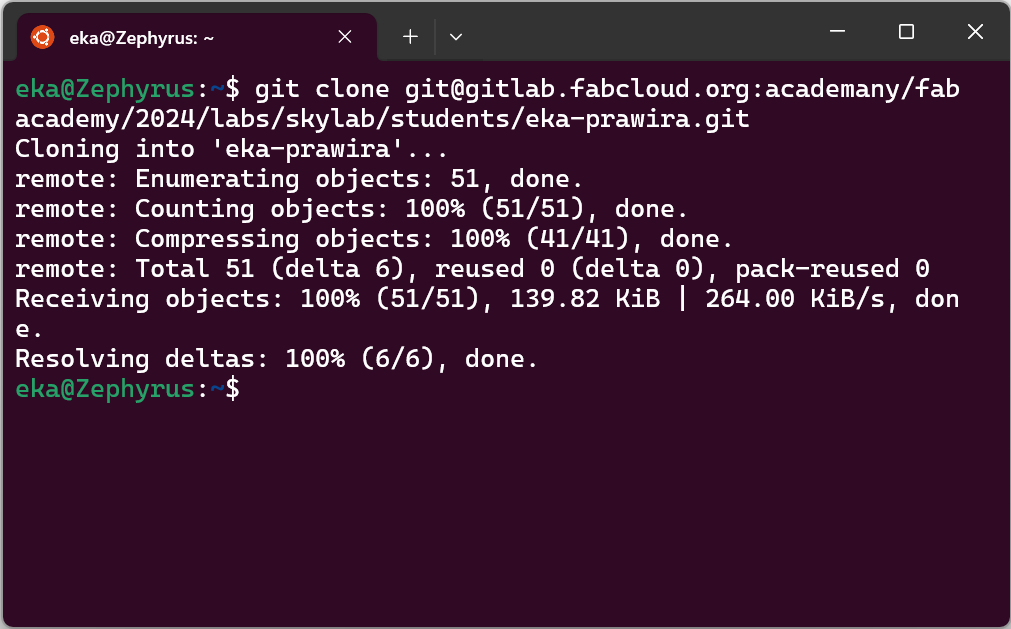
Go back to your terminal, type git clone, paste the URL after it, then press Enter ↩ to execute it. Git will download your repository to your local computer and will show something like this:
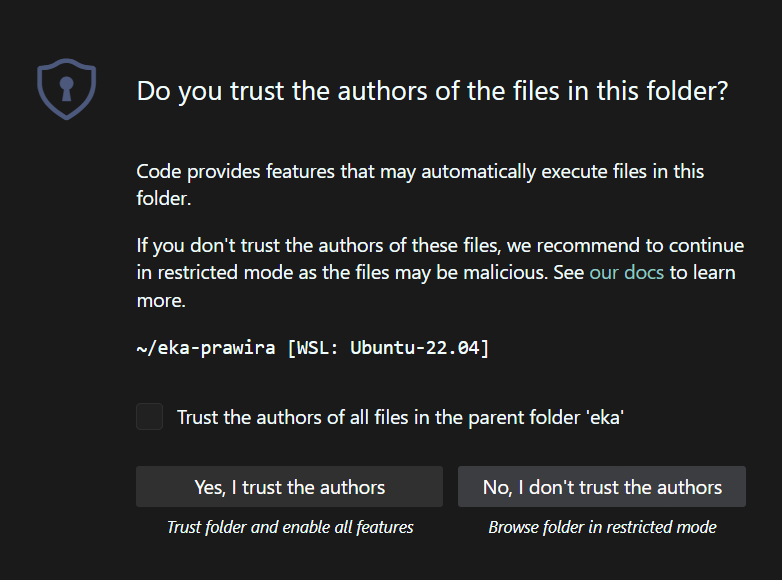
To open your local WSL repository in VS code, type code, followed with your repository name, then press Enter ↩ to execute. In my case: code eka-prawira. A prompt shown below will pop up when you first open your repository. Simply click the Yes, I trust the authors button, and now you have opened a workspace for your local repository.
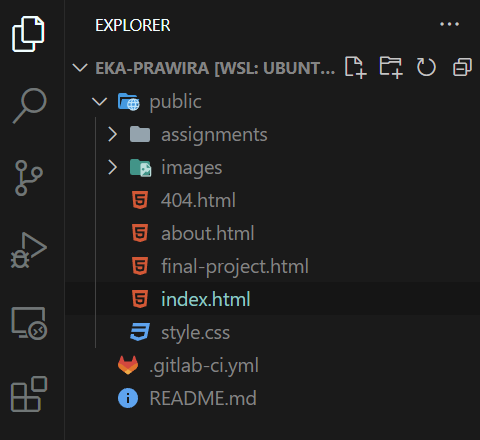
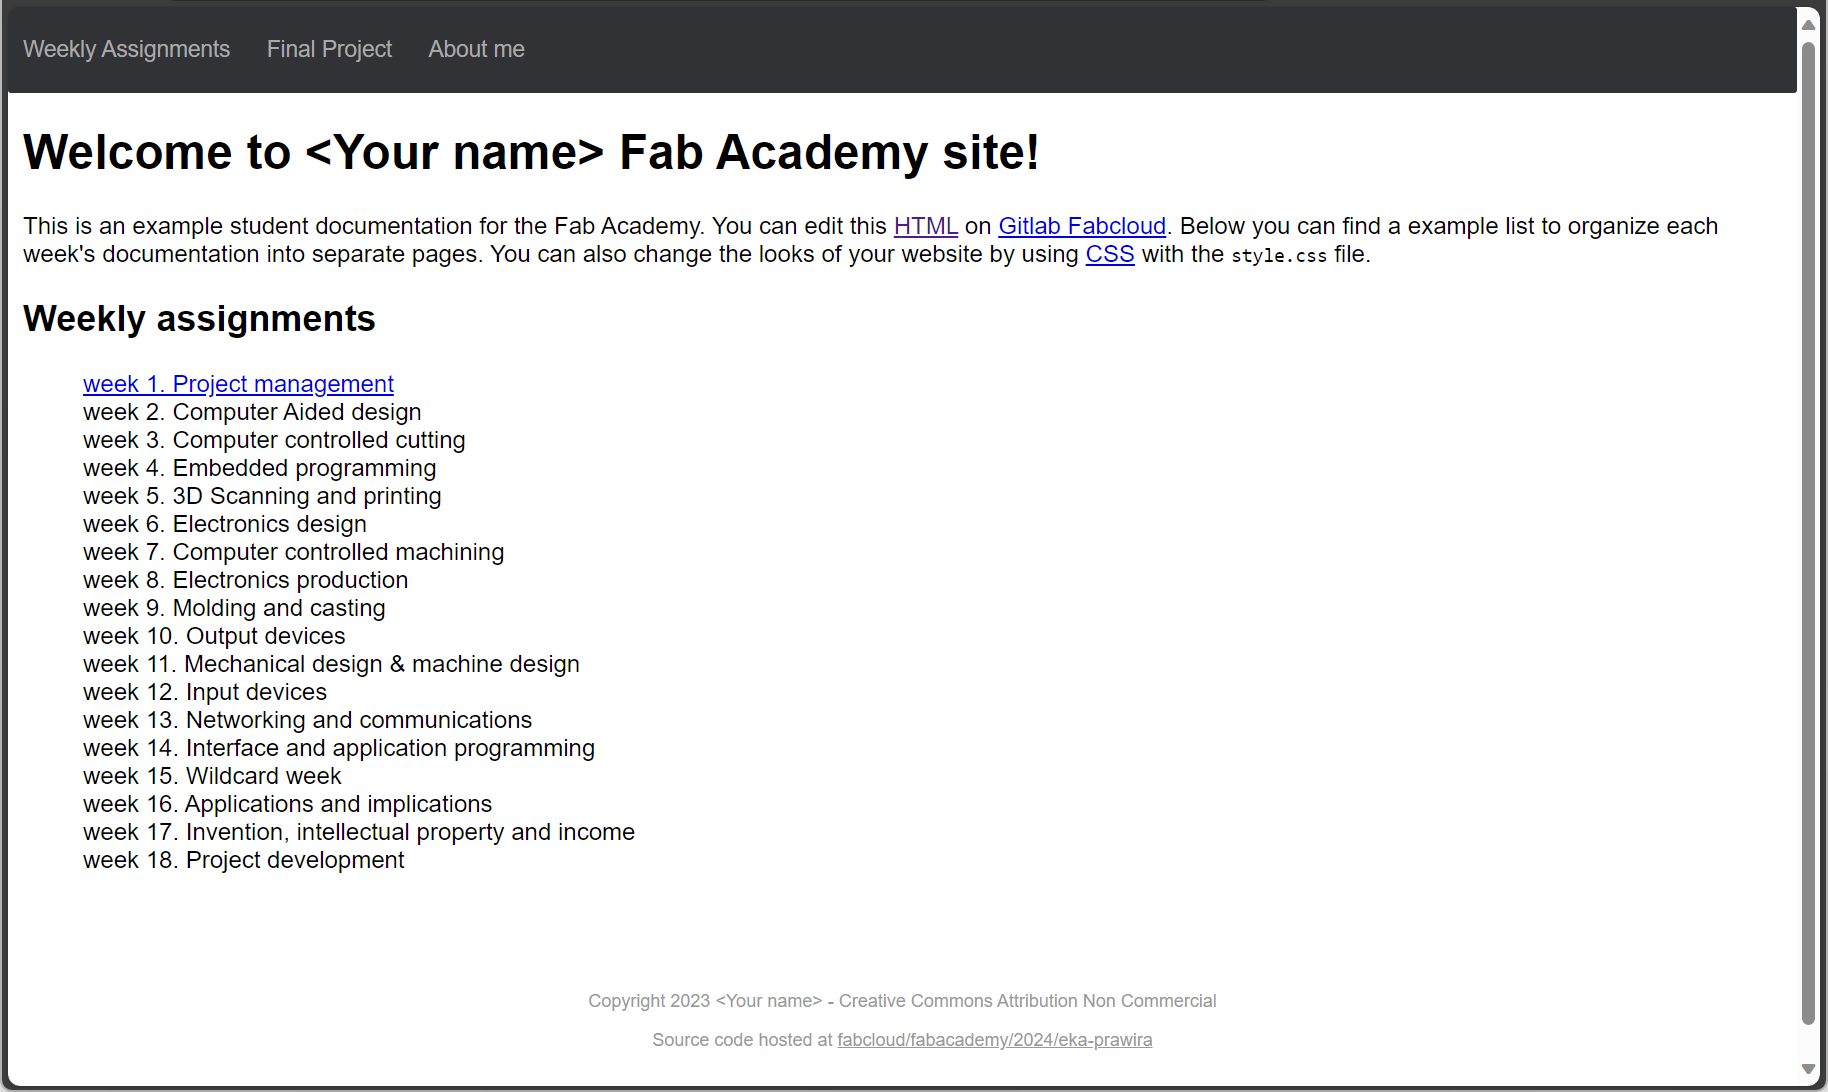
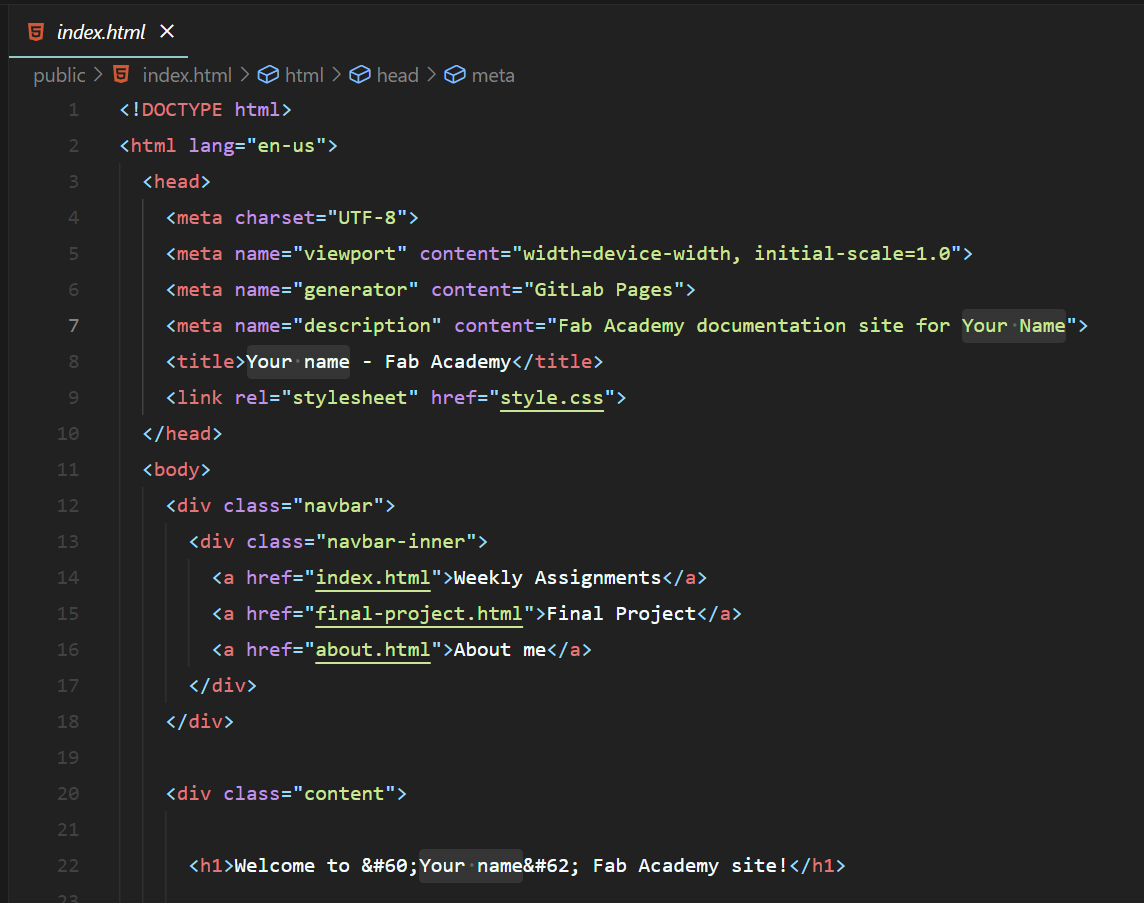
You can look at your file explorer panel on the left hand side, expand the public folder, and select index.html. Now you will see the HTML content of your student homepage in the editor section.
Push Changes to GitLab
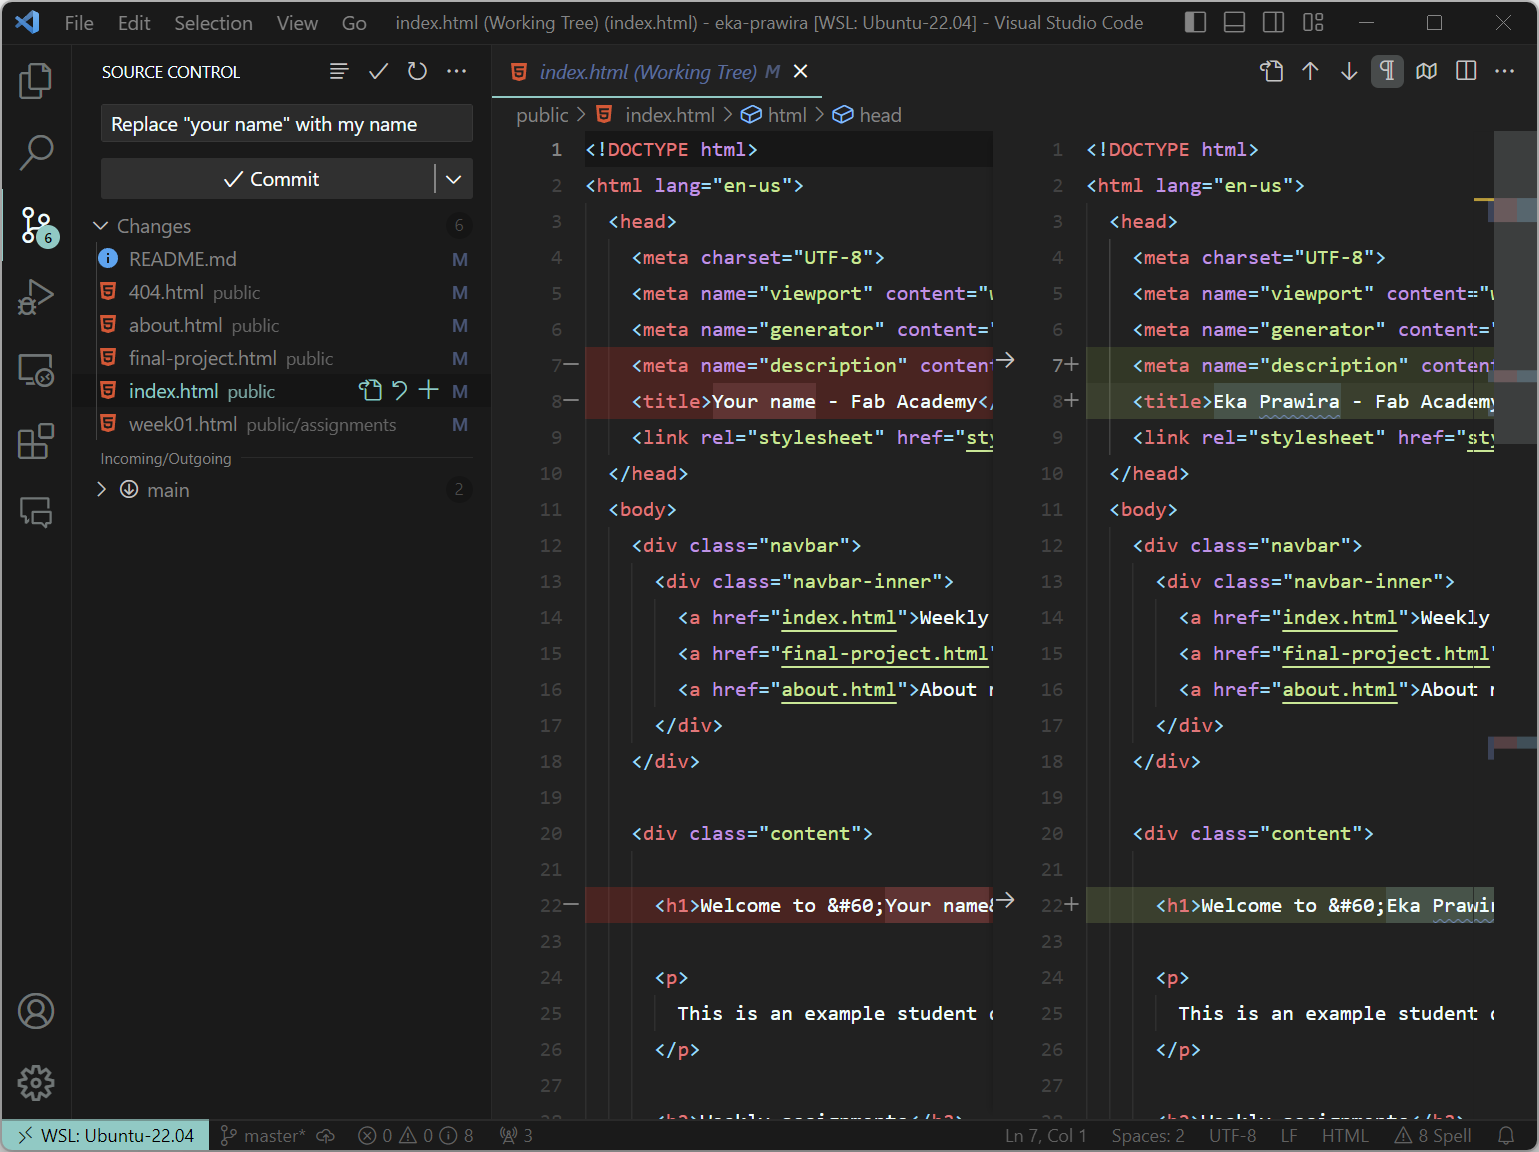
The boilerplate given too us has Your name in all of the .html file and README.md. In the index.html alone, there are 4 instances. You can edit them one at a time, but most modern text editors come with handy feature such as selecting multiple instance and editing on multiple lines at the same time.
- First select one of
Your nametext in the page. - Press
Ctrl + Dand VS Code will select the next instance. The default setting is not case sensitive, so it will also selectYour Name. - Keep pressing
Ctrl + Duntil you select all instances. - Press
backspaceto delete all of them, and start typing your name and you'll see it will appear on multiple lines at the same time. - Press
escto clear the additional cursors.
You can edit the other files, but the quicker way to do it by replacing all Your name instances in your project all at the same time.
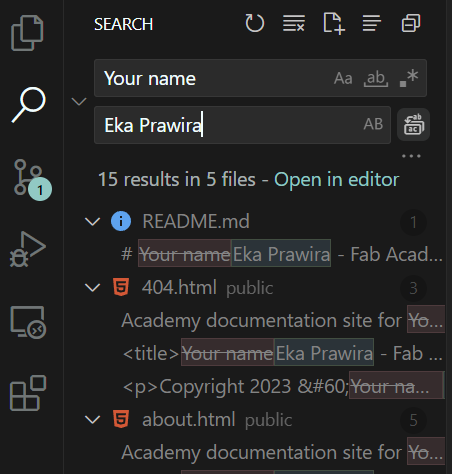
- Click the magnifying glass icon on the side bar to open the search panel, or you can click
Ctrl + Shift + F. - Type
Your nameon the search field and your actual name in the replace field below it. If you can't find the replace field, click the arrow icon to toggle it. - It will list all the
Your nameinstance inside your project in the lower section of the panel. - Click the Replace All button on the right side of replace field. It will alert you the number of instances it will replace and the number of files it will modified. Click Replace to proceed.
You might notice below the magnifying glass icon, there is an icon that looks like a tree. If you follow along this tutorial, there should be an indicator showing 6. This indicates the number of files you have changes saved locally but haven't committed yet. Click the icon and it will open your source control panel. Click one of the file, and your editor will show the changes you have made compared to your current git status.
To commit the changes you can use git commands in the terminal just like it has explained in the beginning of this post. However you can also do it from the source control panel user interface and VS Code will execute the git command in the background.
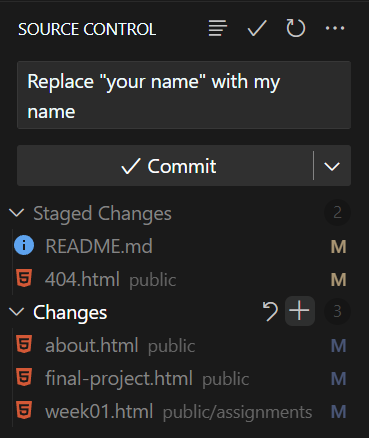
- First you need to stage your changes. Click the
+icon that shown when you hover theChangesheading. You can also stage individual file if you don't want to stage certain file. - Likewise, you can un-stage files by clicking
-icon that shown aroundStaged Changesarea. - Type in your commit message in the text box.
- Press Commit button.
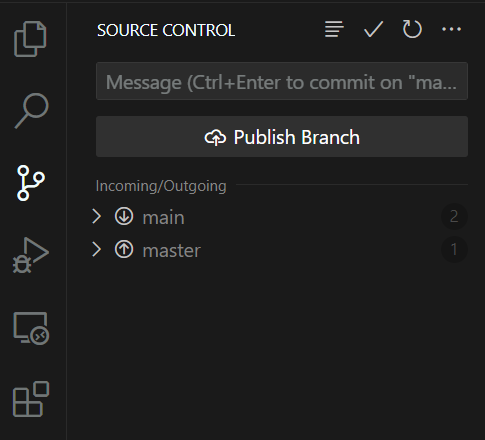
- Depending on your project's git status, the commit button will show Publish Branch or Sync File. You can click either and VS Code push your commit to GitLab. If you still have uncommitted file, the button will still showing Commit. You can click the
...button and clickPushinside the dropdown menu.

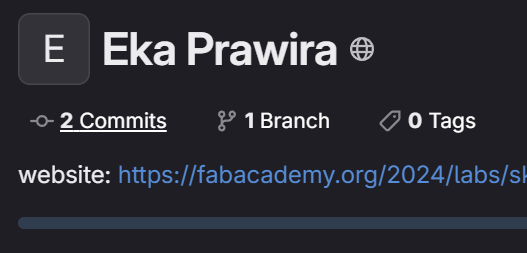
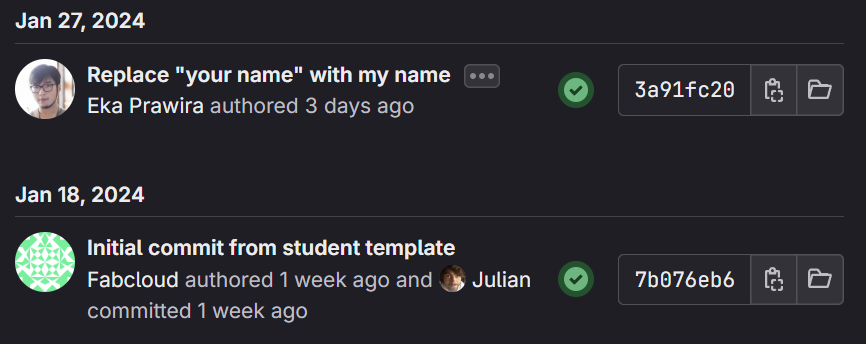
Now go back to your GitLab repository, and you can see under the repository name, you will have 2 commits. Click that link and you will see list of commits for your project repository with their respective commit hashes and the status of it's CI deployment.
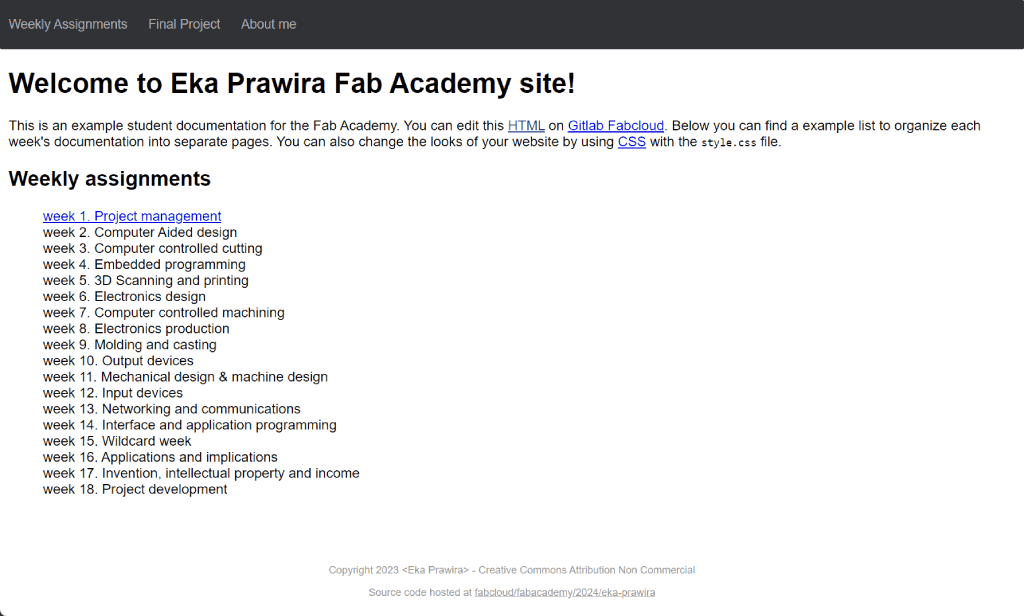
When the status turned green, it means your deployment is successful. Open your website link, and you should see that your name has been updated in your project website.