Building the Case
After finishing the electronics, I started with building the case.
3D milled side panel
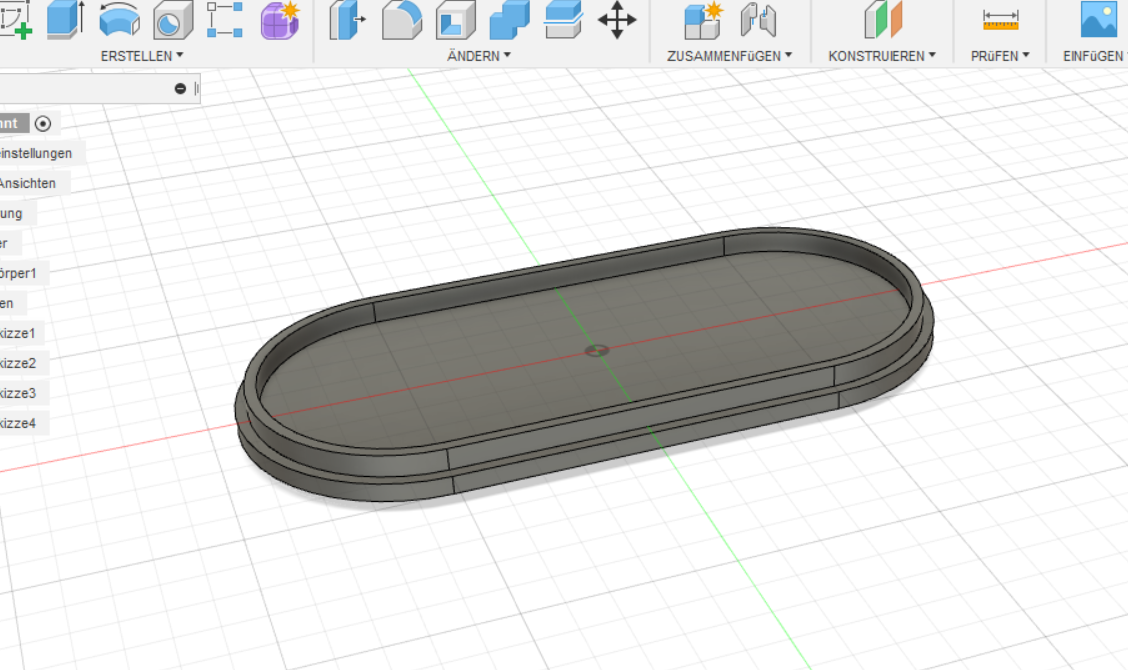
The idea was to 3D mill a MDF wood side panel with the Roland MDX-50.
So I draw the panel in Fusion360
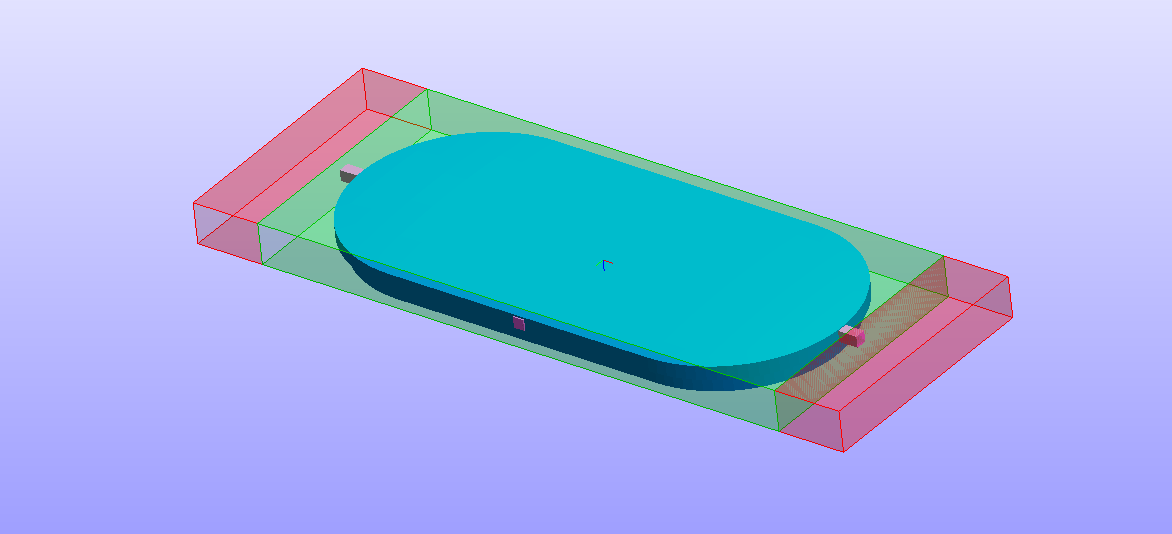
exported the model as stl file and prepared it in the SRP-Player as described in my Molding and Casting assignment.
I used two peaces of 15mm MDF wood
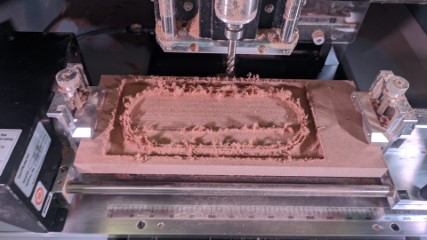
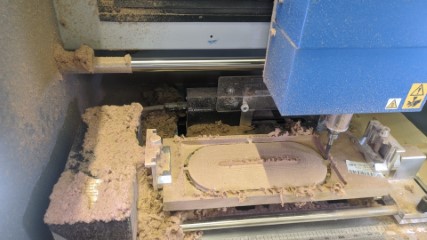
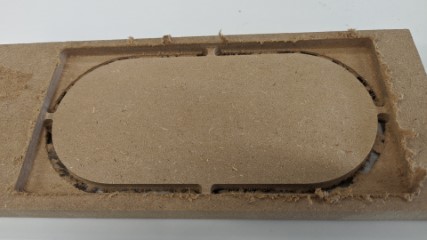
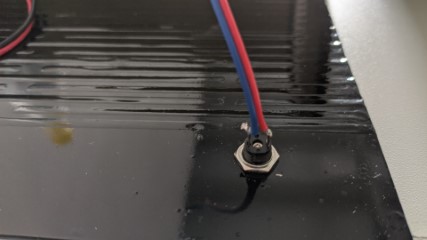
And after milling, I painted it with black acrylic paint

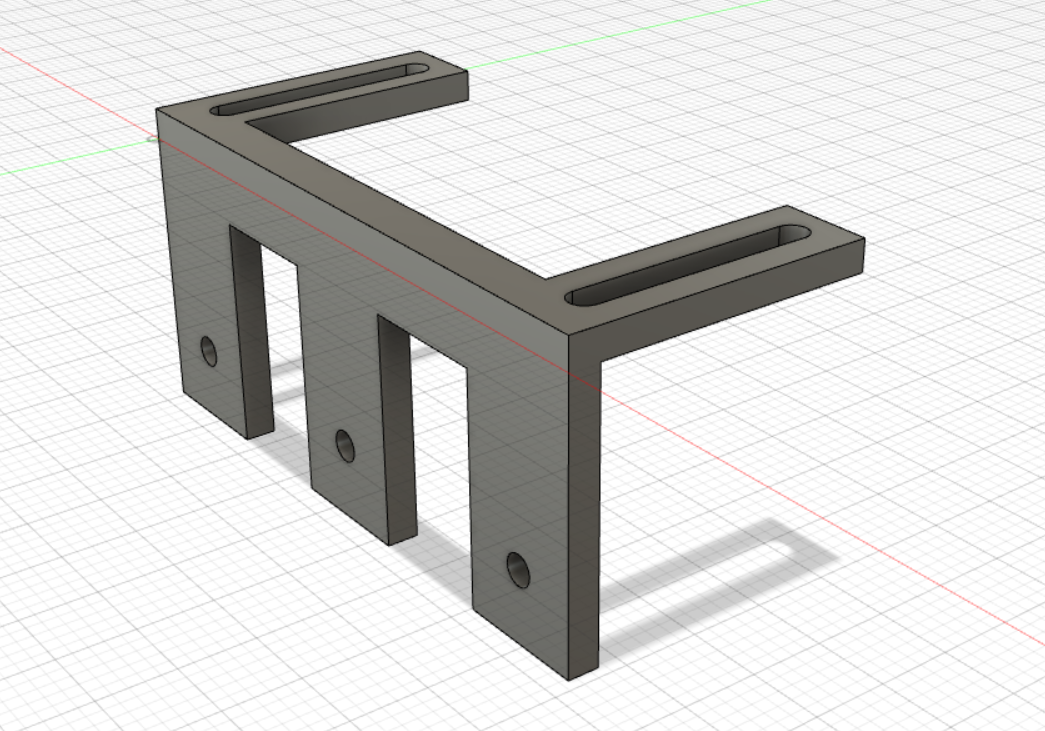
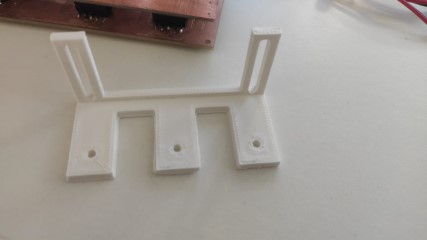
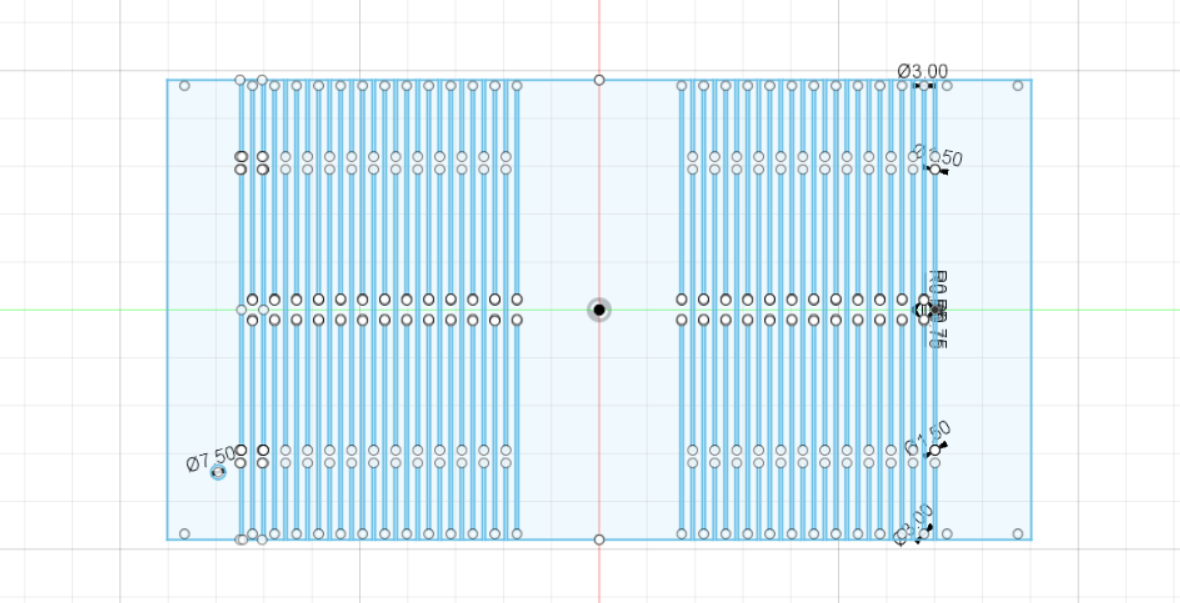
3D printed PCB holder
To be able to screw the pcb to the panels, I designed a pcb holder also in Fusion360.
After exporting the model as stl I prepared it for 3d print in Simplify3D
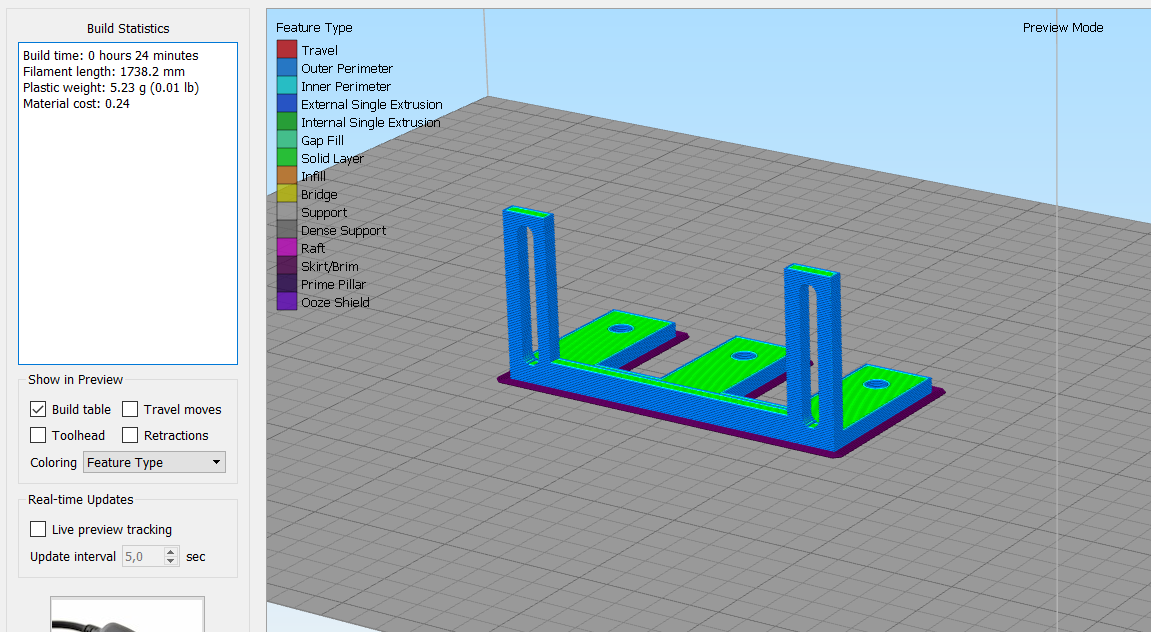
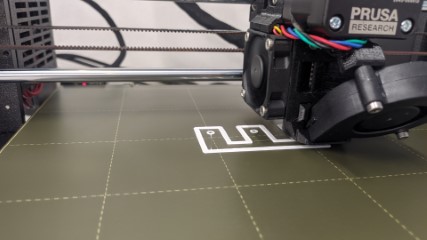
I printed them on a Prusa I3 MK3S
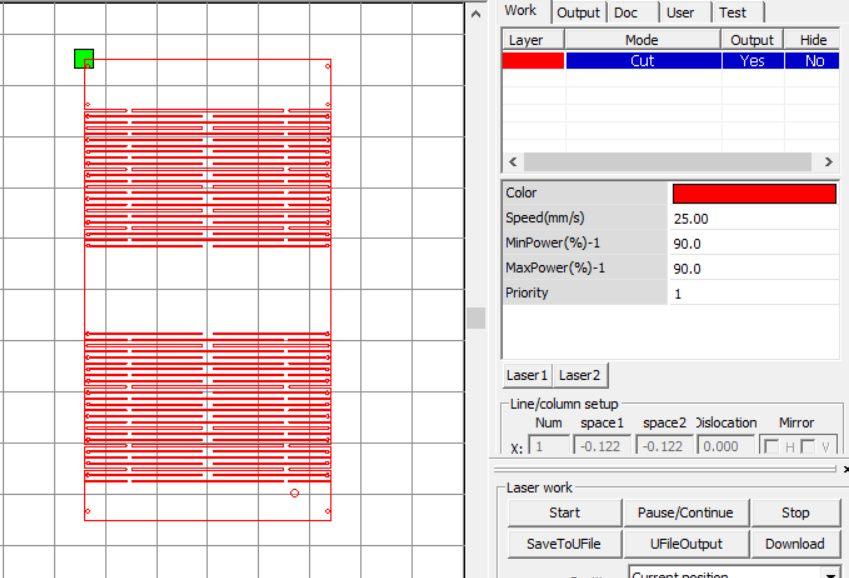
Lasercut Shell
The idea was to lasercut a shell with 2mm clear acrylic and make it flexible with a flexcut.
In Fusion360 I draw the shell
exported the sketch as dxf an prepared it in RDWorks A more detailed how-to description is in my Computer-controlled cutting assignment
First I cut it with cardboard for some first tests
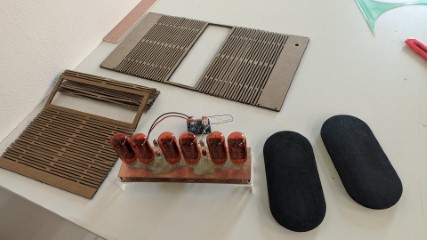

and after a successful test, I used the acrylic sheet
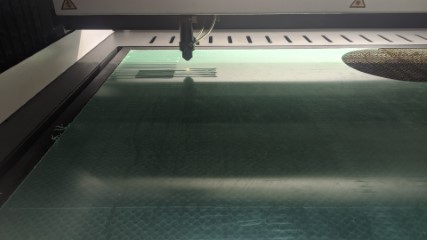
the protection foil is still on the sheet
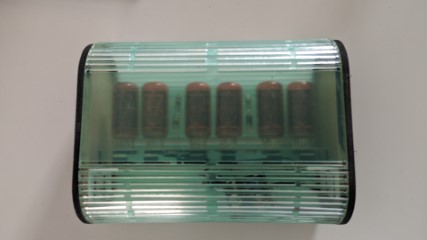
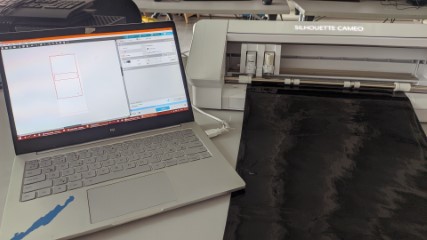
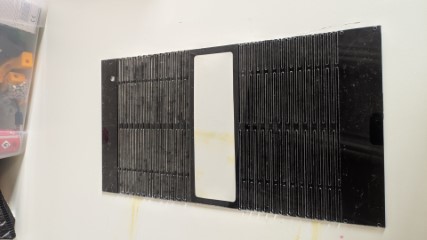
Vinylcut sticker
I would like to have vinyl cut ‘sigth protection’ from the inside of the acrylic shell
For that, I prepared a sketch in silhouette studio
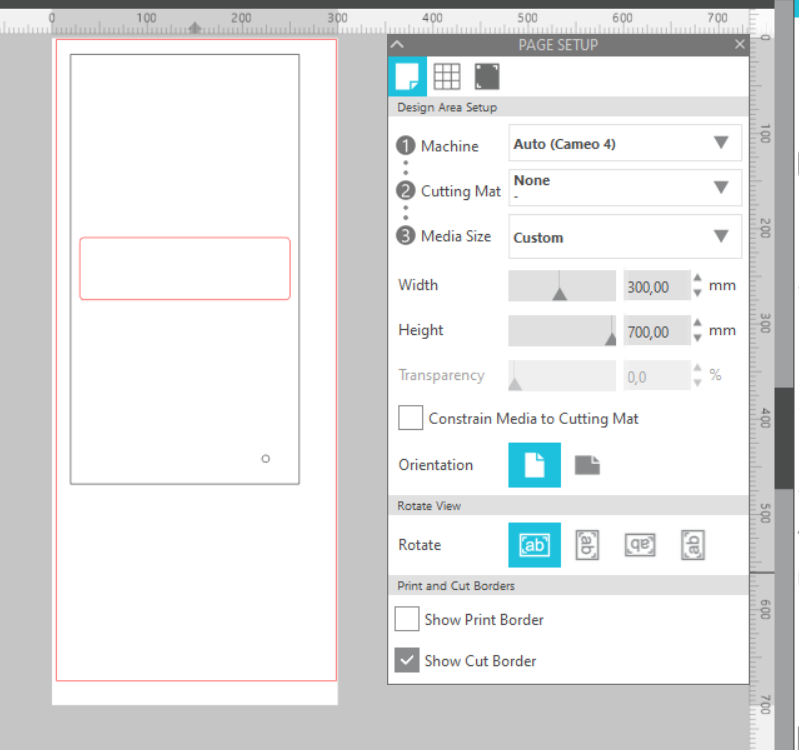
and cut it with a silhouette cameo 4
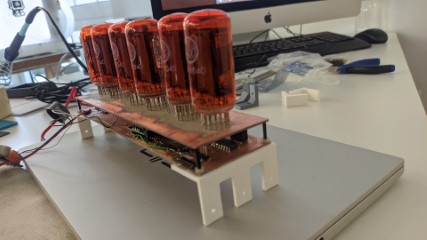
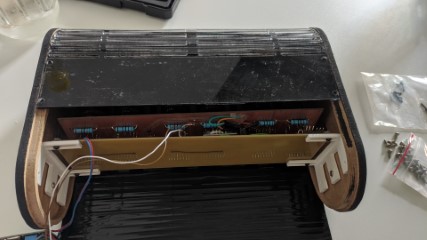
Assembly
Here are some pictures of the case assembly
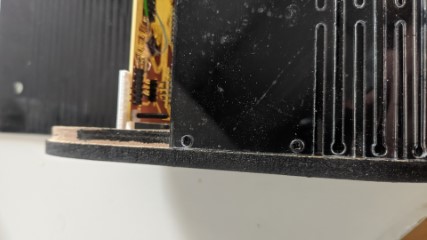
8 black little 2mm screws were enough to fix the whole shell


Download
The archive file with all the files mentioned above is available HERE