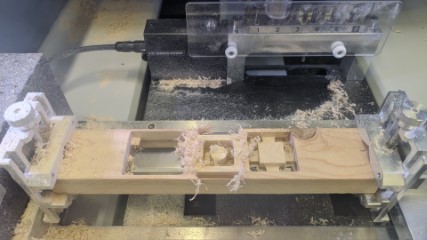
IV. Milling the mold with a Roland MDX-50
I milled the molds with a Roland MDX-50 and the bundled SRP Player software.
Preparing the workpiece
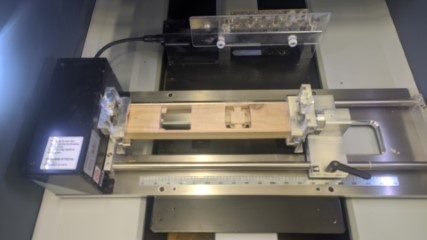
I would like to use a wooden slat as workpiece. In the past, I milled some tests in it, but there is some space left, which is enough for the cube mold.
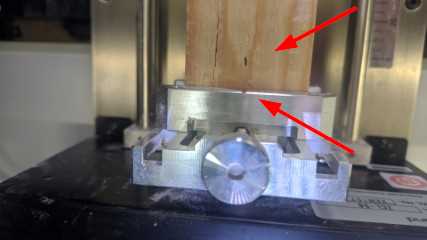
On both sides, I mark the middle of the peace with a pen and the I clamped it into the rotary unit.
SRP Player
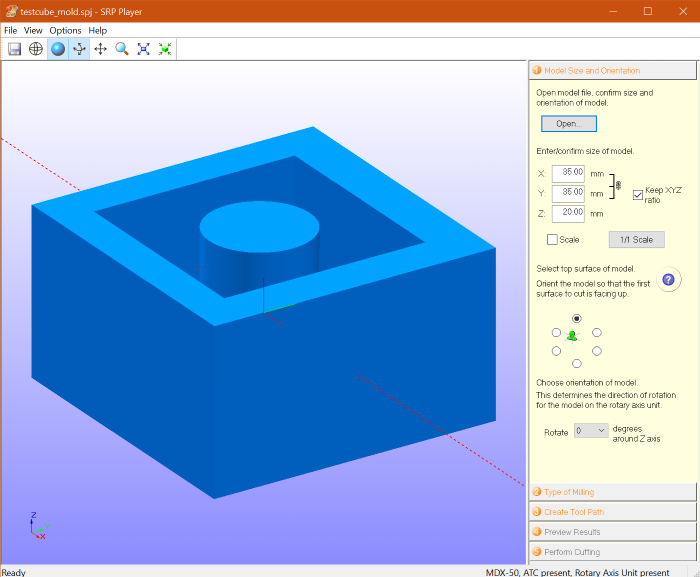
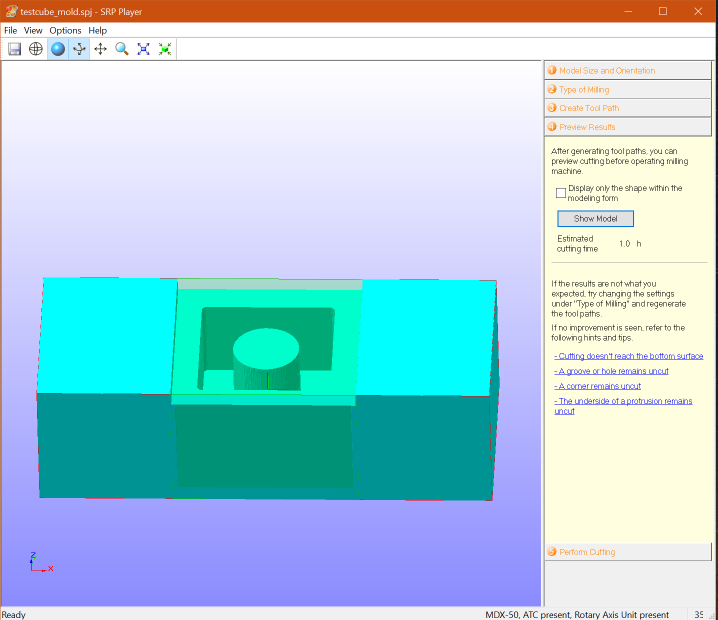
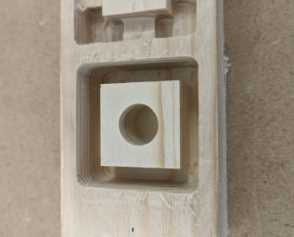
The following screenshots show the negative mold. I milled both, the negative and the positive mold, in the same way.
In SRP Player just open the stl file
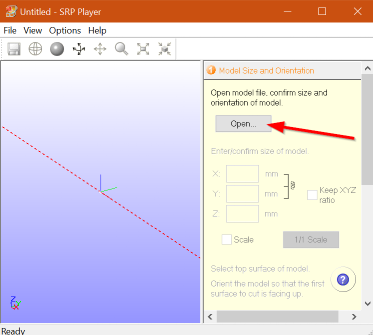
Model Size and orientation
In the next screen, you can scale the model and put it in the direction, how the object should be milled.
Then go ahead with the type of milling
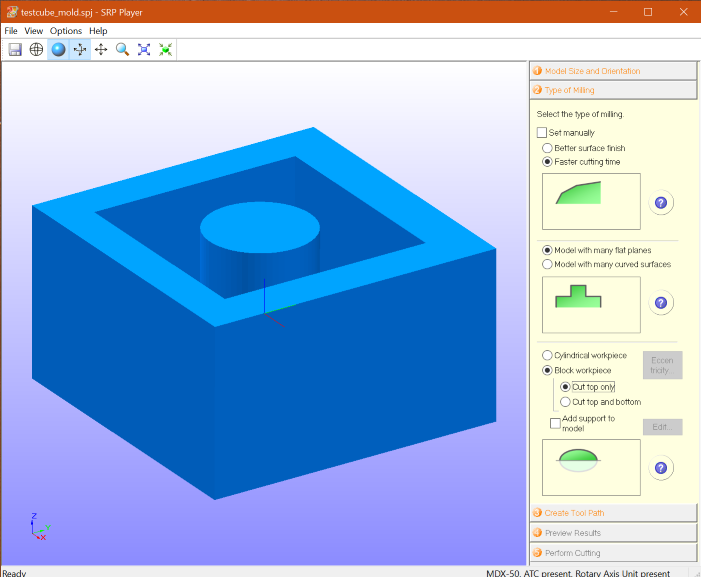
Type of milling
Here you can choose, if the model has flat planes or many curves. For this easy shaped object, I took the Faster cutting time and Model with many flat planes option.
Our Roland mill has a rotary axis installed. That’s the reason why we can decide between a cylindrical or block workpiece.
I’ve a block workpiece and I would like to Cut top only
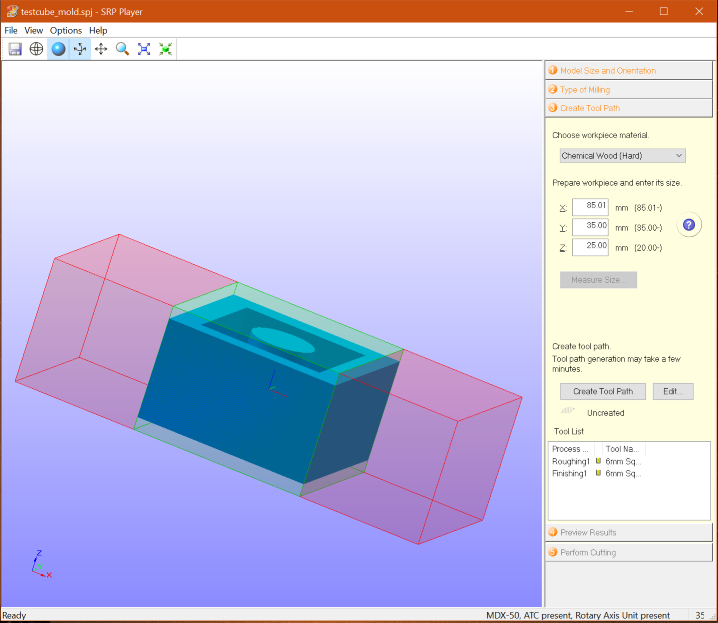
Create Tool Path
Here we have to set the workpiece material and size.
With the Edit button, we can adjust the roughing and finishing settings.
Edit Tool Path
In the Finishing section, I changed the milling tool to a 2mm square. That gave me smaller rounded corners
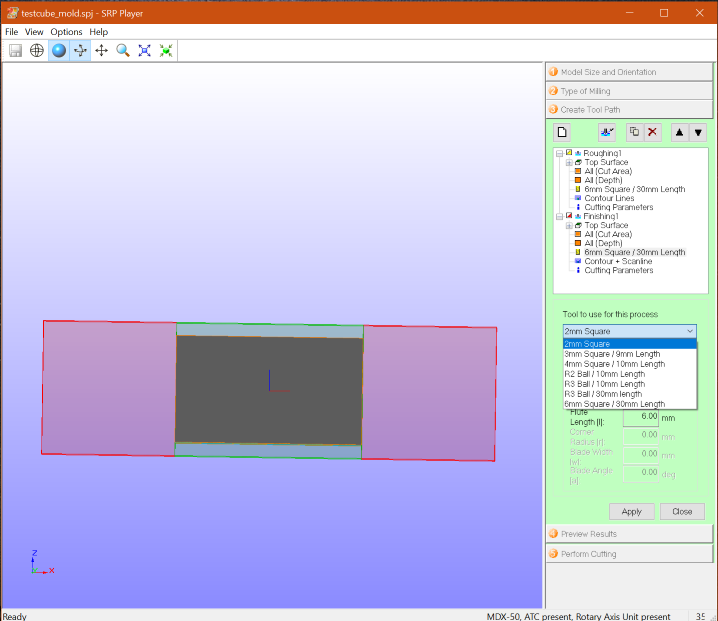
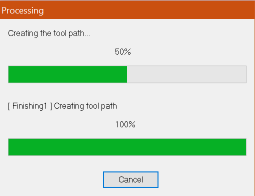
Then I’ve to Apply and Create Tool Path
Preview Results
The preview show me an estimated cutting time from 1h
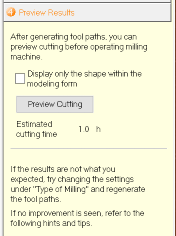
And a preview of the finished cut
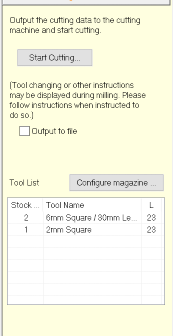
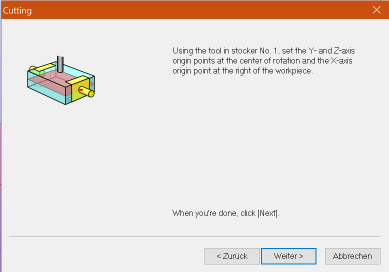
Perform Cutting
The Perform Cutting part show me the, which tools in which Stock of the automatic toolchanger magazine is expected
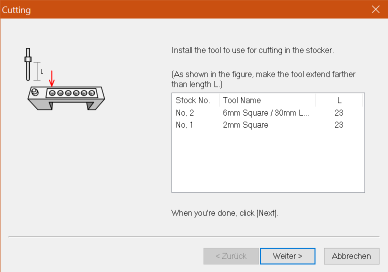
The next window show again, which tools will be used
VPanel
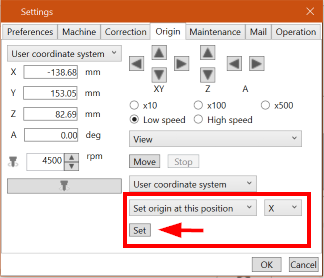
Setting the zero point
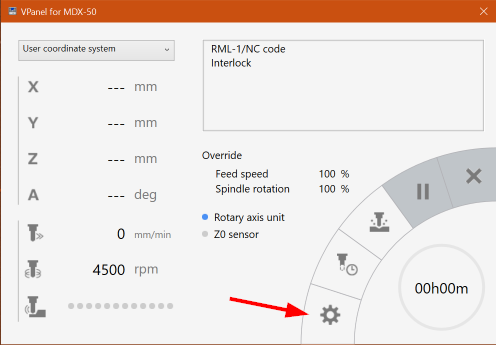
Now it’s time to switch to the Roland VPanel software.
Here we go into settings
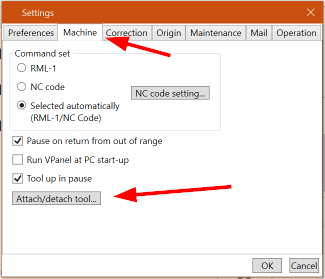
In the Machine tab, we click on Attach/detach Tool
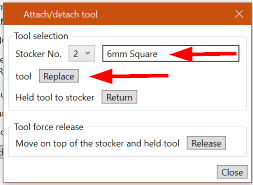
Here I took the 6mm square and pick it with a click on Replace
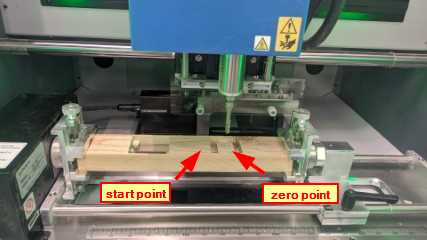
With the navigation buttons in the Origin Tab, move the spindle to the right side of the workpiece, you want to start milling.
The SRP Player adds some ‘secure space’ on both sides. That’s the reason, why the zero point is a view centimeters to the right of my start point.
Confirm with Set.
start the milling process
Then in SRP Player confirm everything
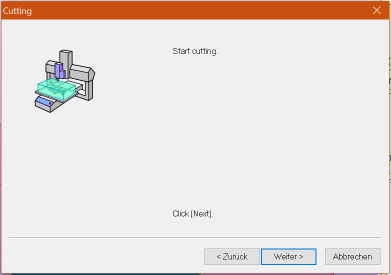
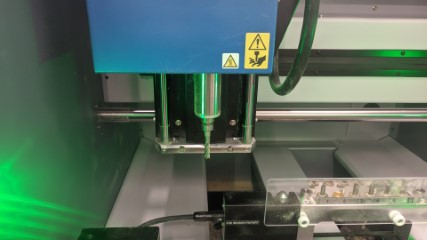
and the machine starts with cutting
This is the finished negative
and the finished positive
The SRP Player files for the positive and the negative mold can be downloaded HERE