V. slicing the cubes
For slicing I prefer the commercial software Simplify3D
I purchased a license a view years ago. I’ve invested the $149 because I’m traveling through different spaces, with different printers and the printer management is much better than in other slicers.
In the huge database from S3D are nearly all filament 3d printers available and it’s quite easy to add a new printer.
Also, the look & feel and the usability is more pleasant for me, than E.g. in Cura.
open the file
So I start opening the cube.stl by drag & drop the stl file in Simplify3D.
duplicating and arranging the cubes
In the models section, I just copy & paste the cube and with a double click on the cube, a panel opens on the right side.
With the move icon I placed the cube by moving. It’s also possible, to enter the coordinates directly.
After the second cube was placed, I copy & placed a third one.
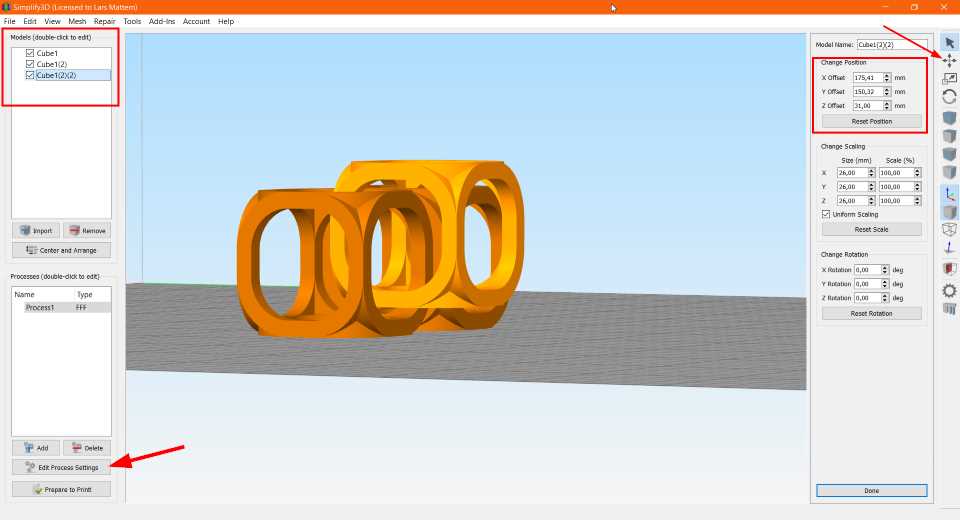
Edit Process Settings
When everything is on place we have to Edit Process Settings
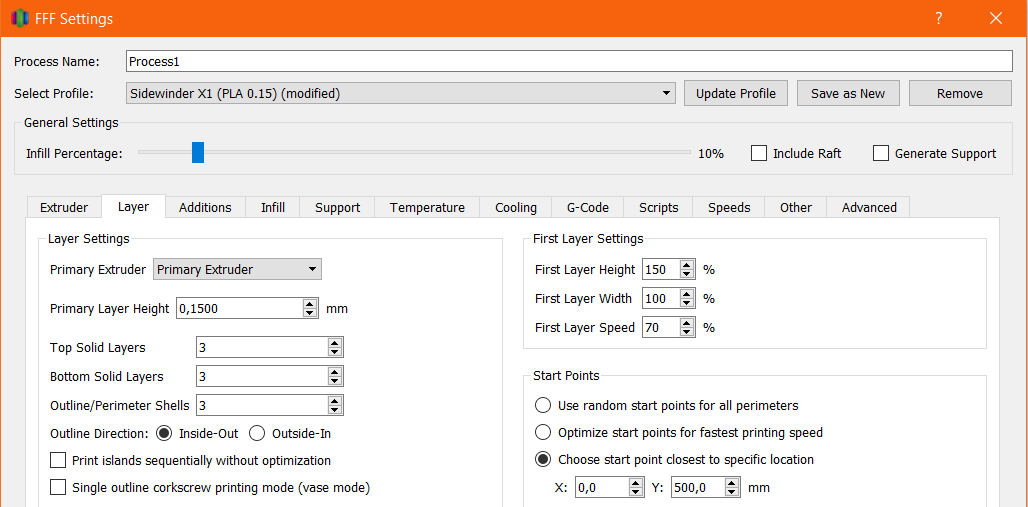
Here I selected my preferred printer and chose an infill from 10%.
In the Layer tab I chose a layer height from 0,15mm. That’s good enough for the cubes.
In the Support tab, I activated Generate Support Material and changed the Support Type to From Build Platform Only
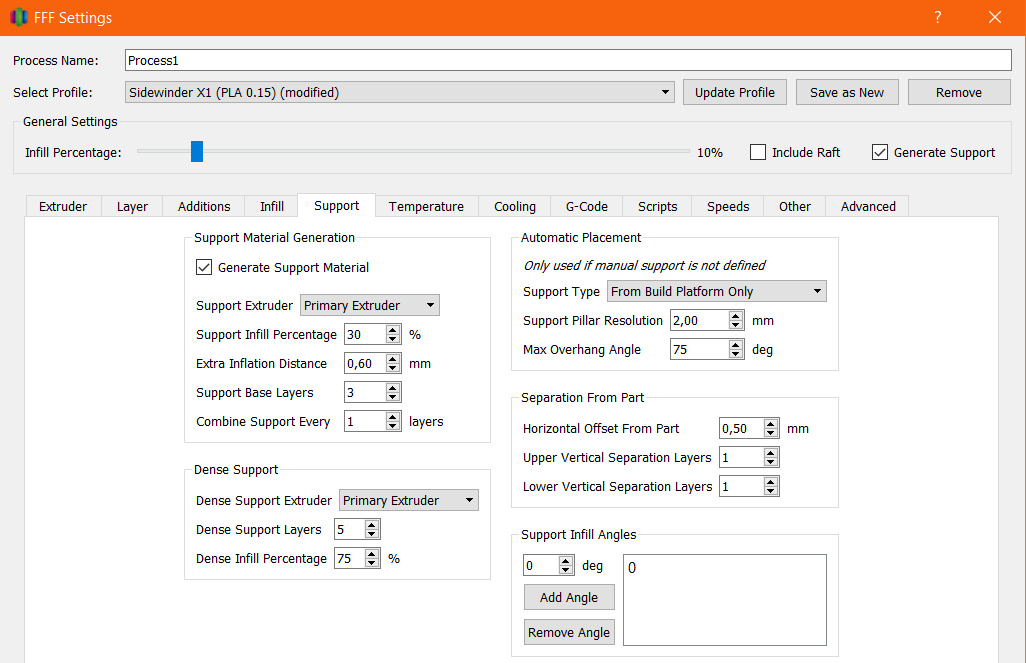
I’ve also added a Brim for better buildplate adhesion.
Prepare to Print
If everything is set-up than we have to Prepare to Print
There is a preview of the printing process and it shows, where the support material is placed.
In the left top corner is the estimated print time, filament weight and print costs.
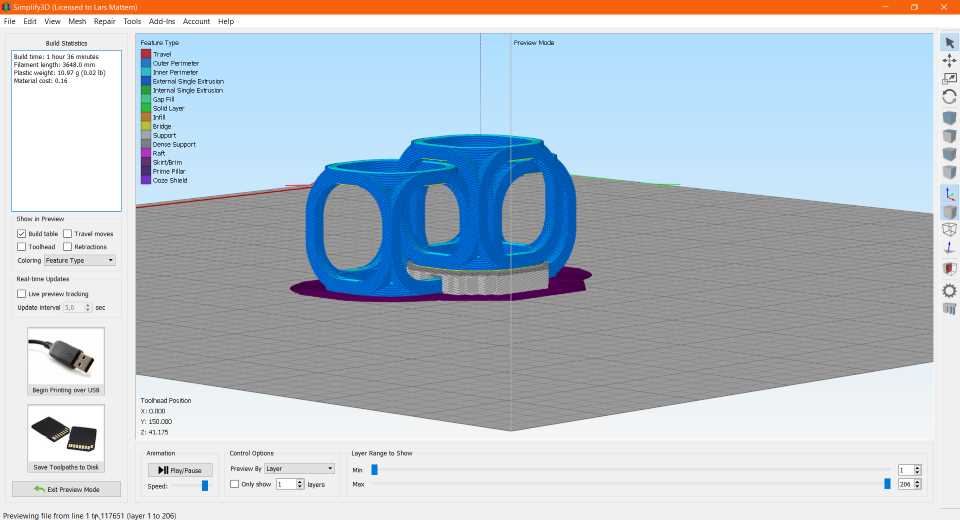
Saving the g-code
If everything looks good, we have to Save Toolpath to Disk and save the generated g-code to an USB-Stick.