II. Using the Silhouette Cameo 3
One day, I browsed around ebay and found a cheap, used, Silhouette Cameo 3.
I was thinking “…should I…or should I not ?” and I did ! :-D
So I have my own, nice looking, Silhouette.
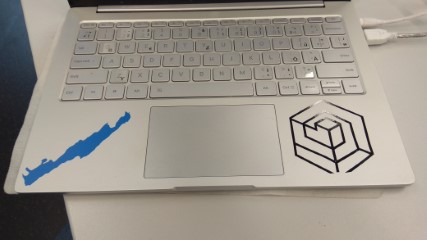
During the time, I made some stickers and shirts with it, and I used it within some workshops at the Future-Campus.Ruhr and the Hochschule der Bildenden Künste


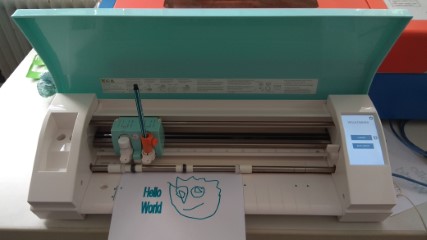
I’ve 3D-printed a pen holder from thingiverse, to be able to draw with the machine.
Now I will show you, how to draw and paper-cut a simple FabLab-Logo gift card…
Silhouette Studio
The Software is bundled with the machine, but the functions are expandable with different license models.
An Overview is E.g available at here.
I’ve bought the designer edition. For round about $30 it has a whole lot of functionality’s and is also able to import svg files.
Silhouette Studio can be downloaded HERE
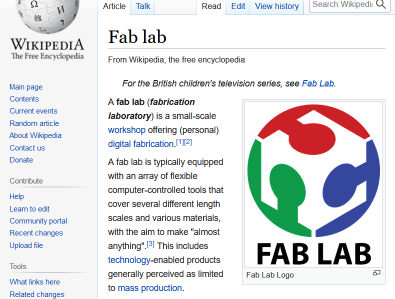
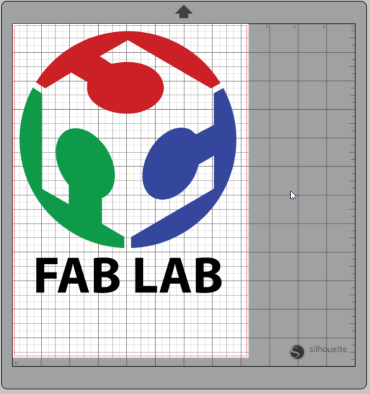
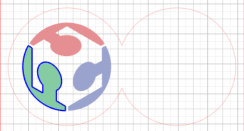
At the Wikipedia’s Fab Lab page is the official logo as a svg file available.
So I’ve downloaded and opened it in Silhouette Studio.
I’ve deleted the Letters and scaled it smaller to 75 x 75 mm.
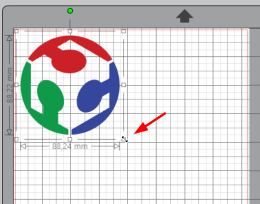
Then I draw a circle around it and scaled it to 100 x 100 mm.
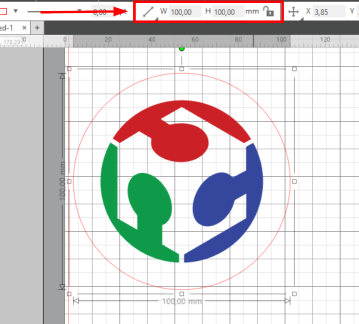
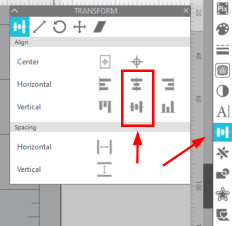
I marked the logo and the circle and with the align tool in the transformation panel, I centered logo inside the circle.
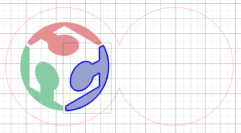
I’ve copied only the circle and placed it a bit overlapped
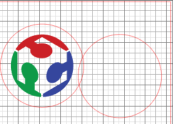
Now I marked the circles and aligned them, too

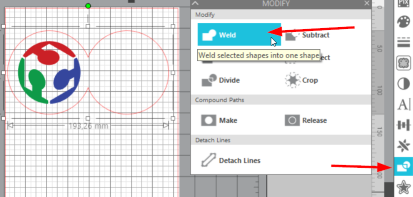
Both circles marked, I welded them together
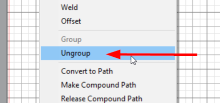
For sketching each element of the logo in different colors, we have to ungroup them by making a right click on the logo
sketching
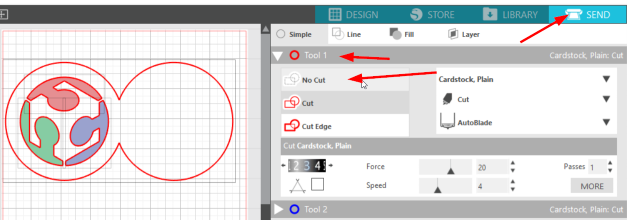
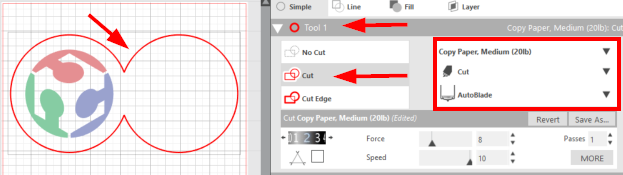
Now I opened the send panel and marked everything. In the Tool 1 section, I choose No Cut, because we want to sketch first.
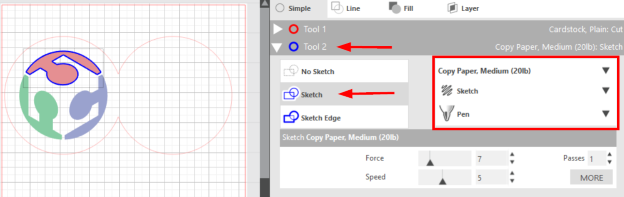
In the Tool 2 section, I changed the parameters to Copy Paper, Sketch, Pen
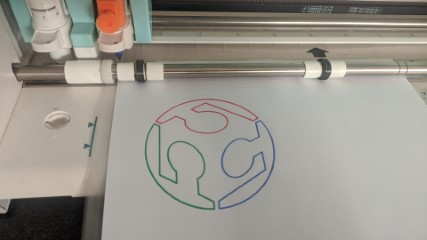
Then I marked only one element of the logo and choose Sketch. The element has now a blue outline.
That means, that this element will be processed with Tool 2.
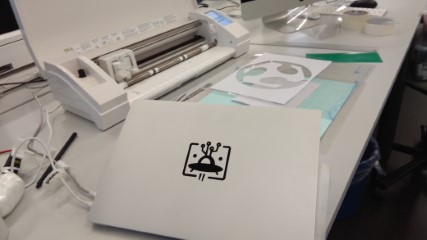
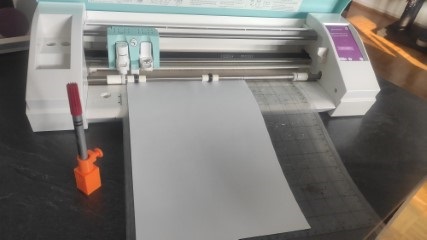
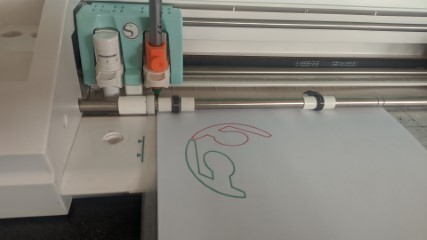
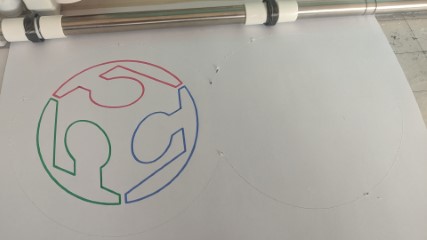
Time for preparing the machine. First I put the red pen in the alignment tool, then into the machine and started the job.
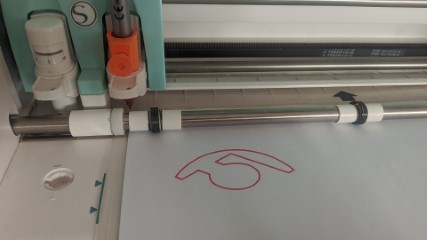
I did the same, with the other two colors.
Then I’ve just selected the outline and changed to to Tool 1, marked the selection as Cut, changed the values to Copy Paper, Cut, AutoBlade and started the job
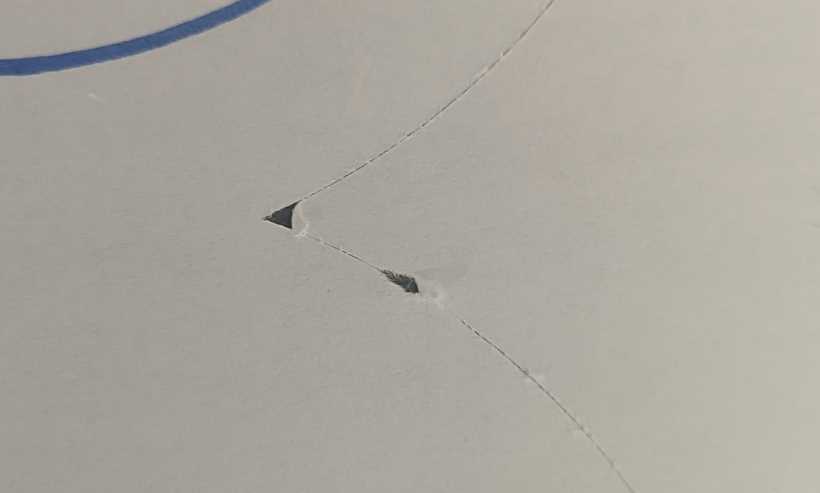
R E M I N D E R - T O - M Y S E L F : Buy new blades !!!
As you can see, the blade is so what blunt. I need to buy new ones.
And here is the finished card
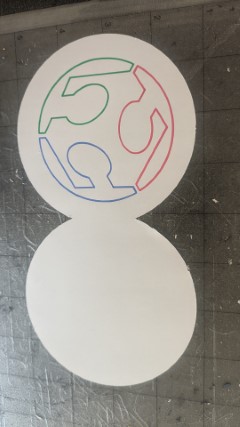
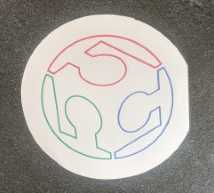
I made a little design mistake. :-D
It would be better, to have the logo on the other side. I’ve corrected it in the downloadable studio3 file