IV. Inkscape
For vector graphics, I preferer the open source tool Inkscape
The Inkscape project has his own tutorial, but there are also many tutorials around the web.
It is also possible to add and/or develop addons, for different use cases.
With Version 1.0 the gui has changed, so this is a good point of time for me, to investigate the new look.
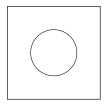
I’ll show here a quick tour, how to draw a square with a centered circle and how to group and scale it.
drawing a square
- click on the icon
rectangles and squares
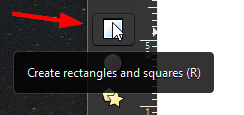
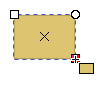
- just draw a square
changing Fill and Stroke colors
- on the bottom right are two arrows for more options. Just press the left one and choose
Fill and Stroke
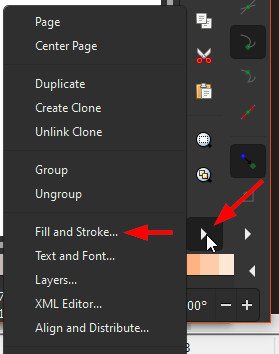
- a new panel appears
- in that panel click on
No paintin theFilltab.
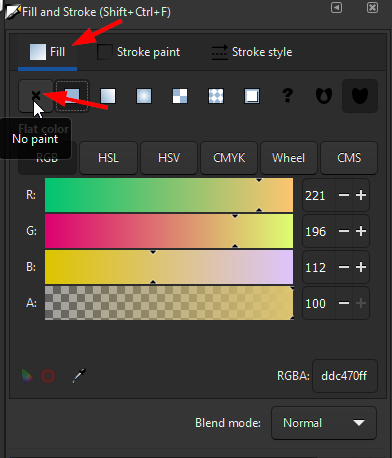
The square seems now invisible, but don’t worry, it’s still there…
- now change to the
Stroke painttab and chooseFlat color
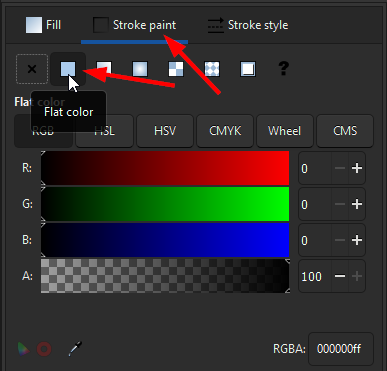
For preparing to laser cut, we can define different stroke-colors.
The lasercutting cam-software, distinguishes what is to be engraved or cut based on the stroke color.
Mostly used is red for cutting, blue for vector engraving and black for raster engraving.
More about that, I’ll explain in Assignment 3.
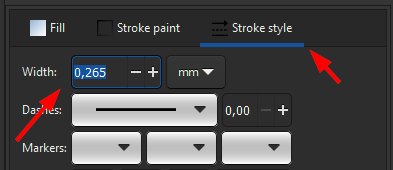
- in the tab
stroke stylewe can change the stroke-width. We can leave it as is.
changing size and position
- now we change to the
select tooland mark our square
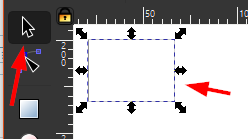
After marking the square, we can change the size, the position and the unit, in the top bar
- change the Unit what matches to your environment. It’s
mmin my case - we can change now the X/Y position to 0
- change the width and height to 50 each

draw, change color and resize a circle
We do now the same with a circle.
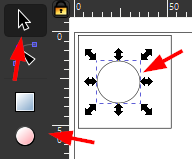
- Just choose the
Create circletool - draw a circle inside the square
- if the circle is painted filled, change infill and stroke color
- select the
select tool - mark the circle
With the circle, it is possible to change the width and height, too.
In that way, it is possible, to draw ellipses, but we would like to have a circle, so
- change width and height to 25 each
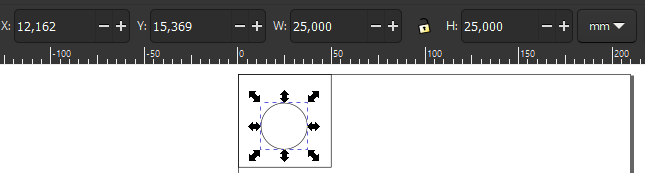
Just a little excurse. When we double click the circle, the top bar changes and we are able to change the angle in degrees.
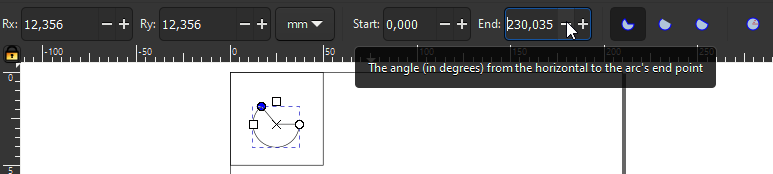
But we don’t need that here.
arranging
Now we would like to have the circle in the center of the square.
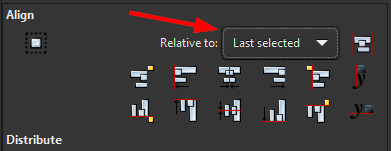
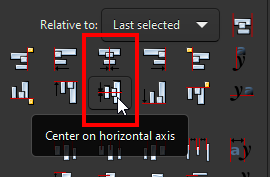
To do so, we open the panel Align and Distribute

With Relative to we change the order of marking the objects. I preferer Last selected
so we have to :
- mark the circle
- hold shift and mark the square
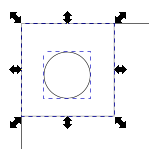
with the following buttons, we can now center the circle on the horizontal and vertical axis.
And now, the objects are arranged…
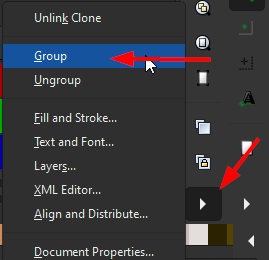
group objects
To group both objects, we have to select them both and choose group in the menu on the bottom right.
move and scale
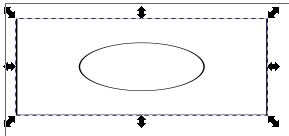
Now we can move the grouped object by just drag and drop
To scale the object, just mark it and click and drop one of the arrows, around the object.
The changes will be proportional now, because of the grouping.
zoom in and find out
When we now zoom into the objects stroke, we can see, that the scaling and transforming are lossless.

The Inkscape Testcube can be downloaded here
In the past I did some easy “stencils”. I use them, when I need an easy case for my projects.
Here is E.g a basic drawing of an AC-Socket with Power-Switch
or another one from an Arduino Nano