II. 3D scanning
EinScan-SE
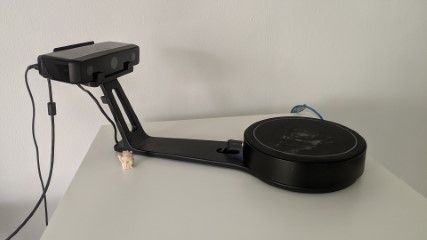
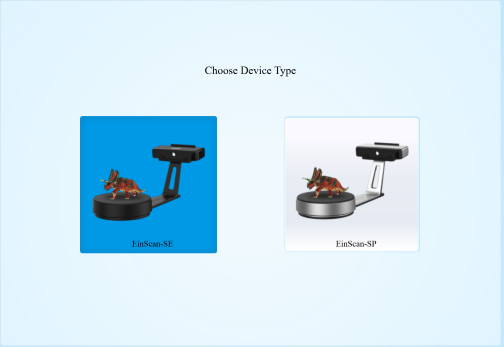
For 3D scanning I’ve used an EinScan-SE.
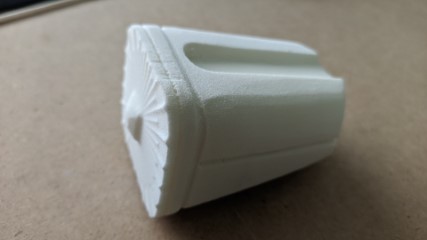
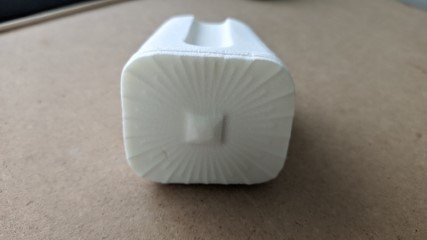
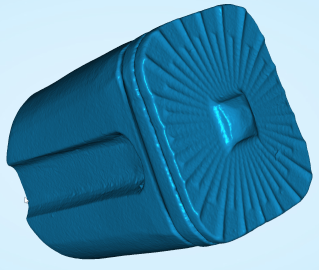
A colleague from the HBK DesignLab hand sanded a bicycle light for my 3D scanning assignment. Thanks a lot for that !
scanning process
For scanning the object it has to be placed on the turntable.
The EinScan-SE software is very easy to use. It has beginner mode, so every to do is highlighted and commented.
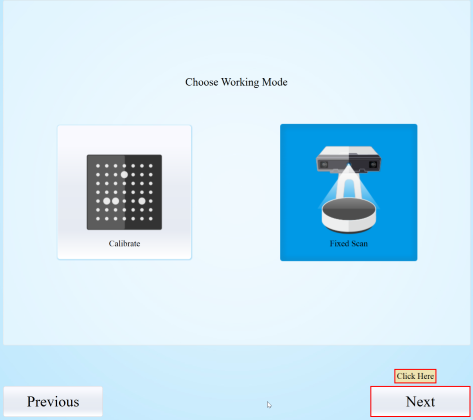
After starting the software, I’ve to choose which scanner model I have and if would like to scan or calibrate the scanner.
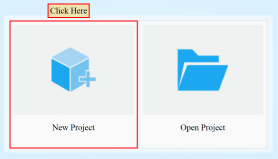
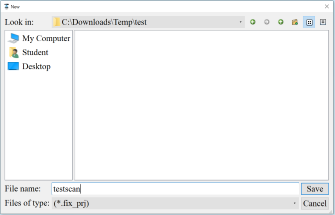
Then I’ve to create a new project
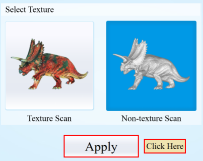
After that I had to decide if would like to make a textured scan or non-textured scan
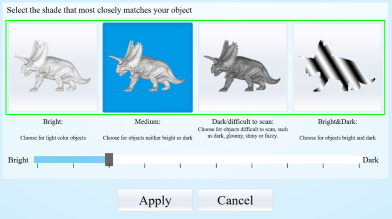
A little preview windows opens in the top left corner and I’ve to choose, which surface the object has.
If the model, in the preview window, is red, than the model is recognized by the software.

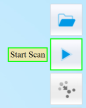
If everything looks correct, then the scan can start.
The scanner projects stripes on the model and based on the bends, th software calculates the 3D Object
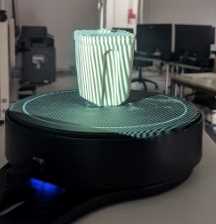
The turntable spins in defined steps and when the scan is finish, there’s a preview of the model.
I can edit the model or, if everthing looks good, just press the green okay button
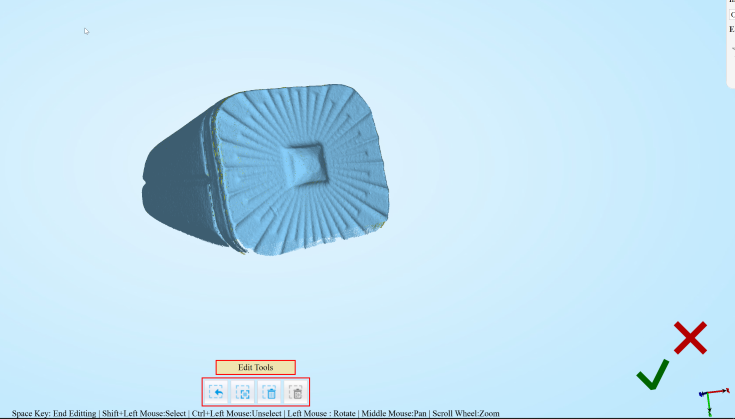
Now it’s possible to start multiple scans again, by placing the model in a different way on the turntable.
The software tries to overlap every scan, that we get a better quality of the object and there are no open faces.
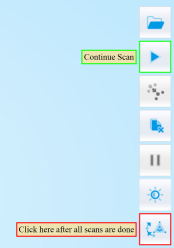
I made just a second round and got a pretty good result.
After that I’ve clicked the red marked button to finish the process.
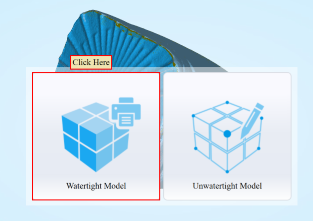
A new window appears, where I have to choose, if I want a watertight model or not.
For 3D printing, it’s necessary to have the model watertight.
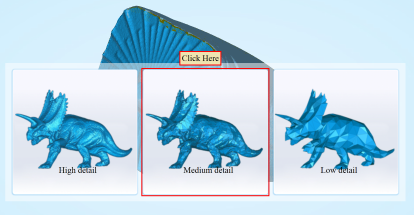
The finished model looks pretty good
Now I’ve to export the scan as stl

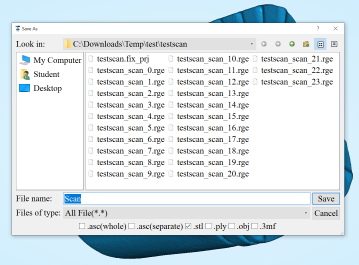
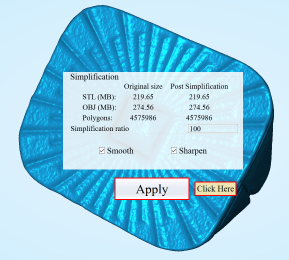
And now I have a printable file. Because of the large filesize of 223MB, I’ll don’t upload the original file here.
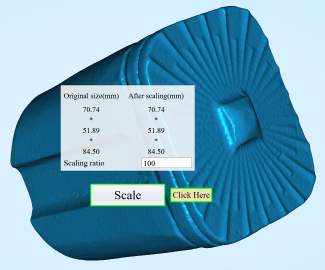
I’ve scaled it to 5% in low detail quality to be able to provide a download HERE