Embroidery
Understanding The Machine
Griffin Orsinger and I made this workflow based off of this video and this video that Dr. Taylor provided.
Design
I followed Ms. Dhiman's documentation for the design process. I used this link to install InkStitch, an add-on to InkScape, for Windows. I read through this tutorial for basic usage.
I created a new Inkscape file. I went to Extensions, but I didn't see InkStitch. I tried restarting Inkscape, and it was there!
I decided to use this image, the logo of the Tourette Association of America and imported it into Inkscape.
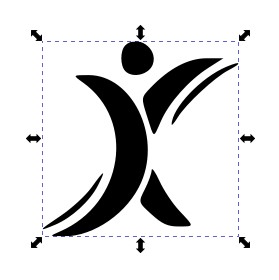
I then did Path > Trace Bitmap.... I played around with the settings until I found something I was happy with.
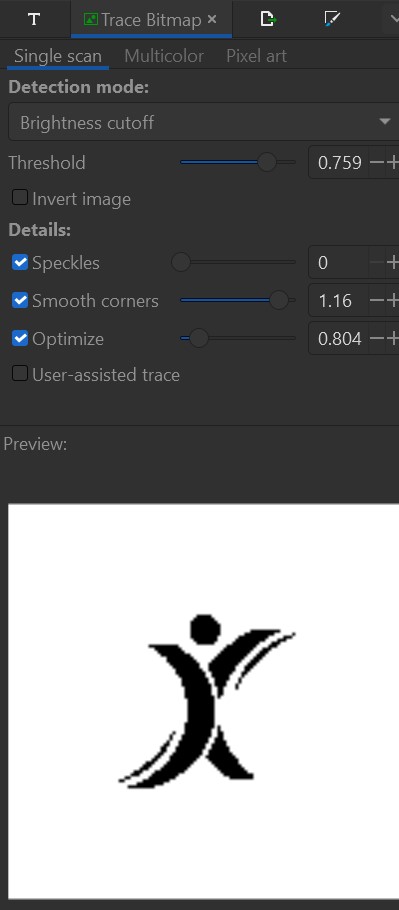
This worked very well!
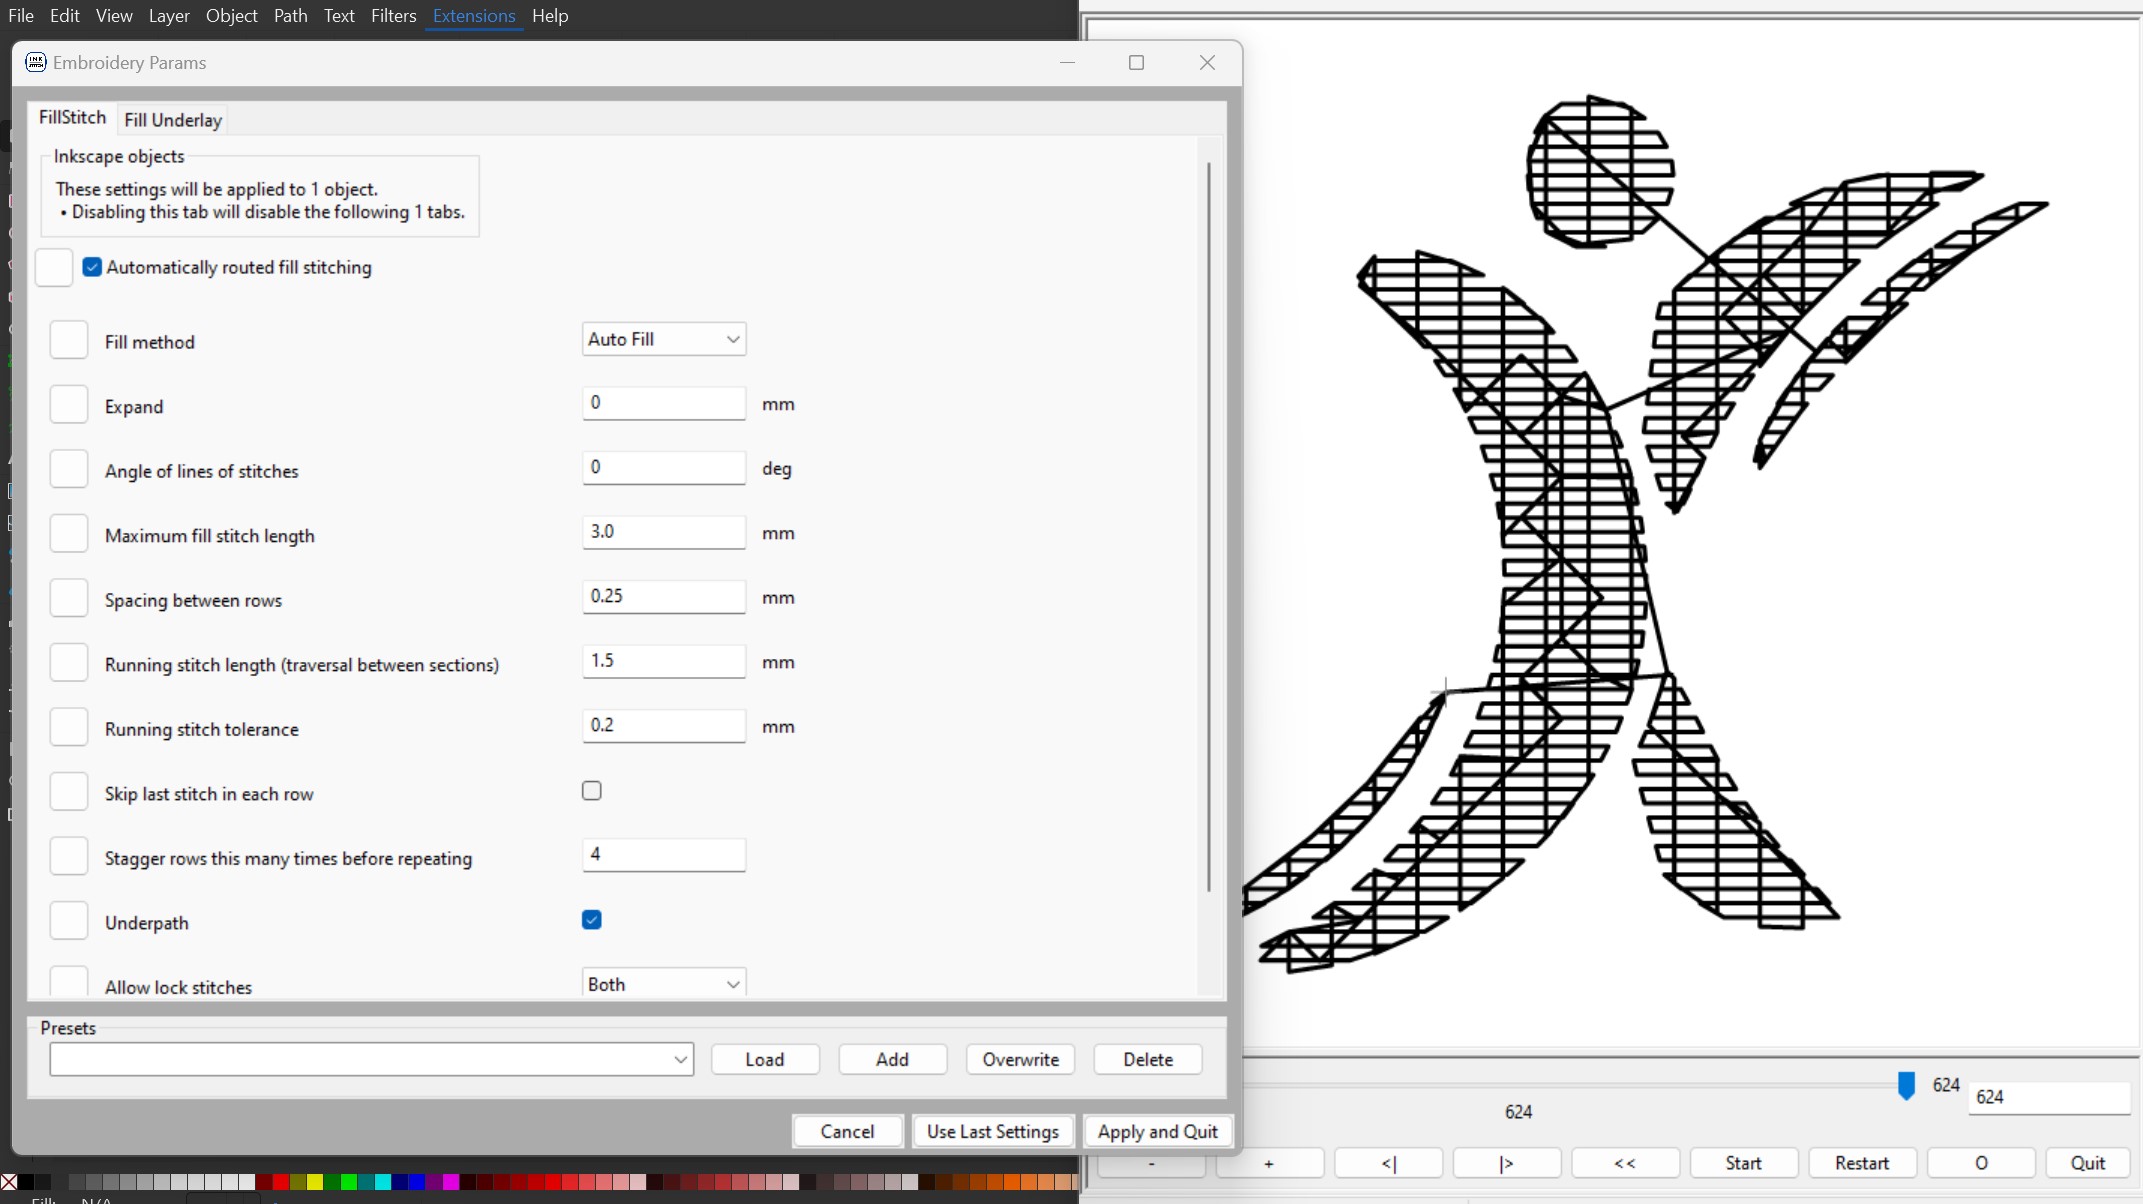
I then ran Extensions > Ink/Stitch > Params and this was the output! I was happy with the default!
I then saved it as a PES and an SVG file.
Production
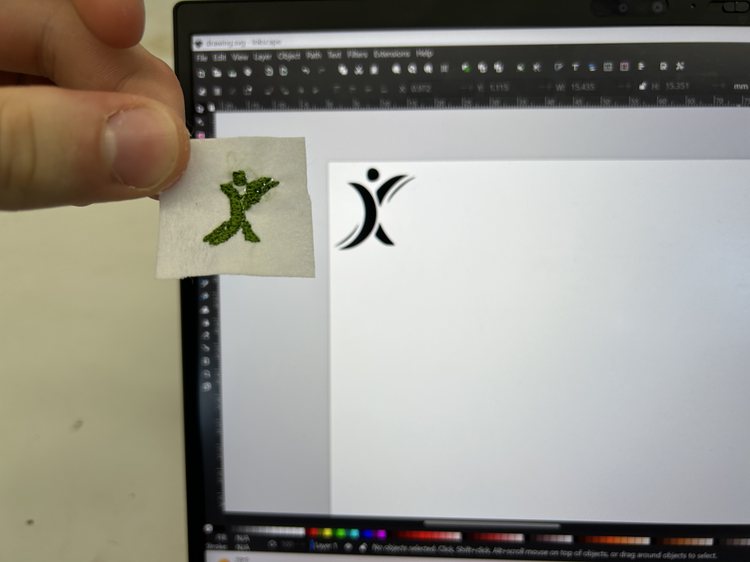
I copied the PES file onto a USB drive and plugged it into the machine. With Ms. Dhiman's help (and following the workflow) I loaded the bobbin with a green spool. Nothing happened when I started spooling it, and I realized that I had wrapped the thread around the bobbin in the incorrect direction. After fixing this the process got stuck, so I removed the bobbin and cut the thread that got stuck. On the third try it worked well! I also learned that it's not a problem to have too little spool, but I still overestimated the amount I needed for my design.
I then followed numbered directions and diagrams on the machine. I took the stabilizer, made sure it was very tight in the holder, and connected it to the machine. Then I uploaded the design, and it worked first try! One time I hit the button on the machine as it was working accidentally, and it stopped, but I simply pressed the orange and green start button again, and it continued!
Afterwards I cut the connecting threads between parts of the design, as well as slightly trimmed the back. I also cut the design out of the stabilizer.


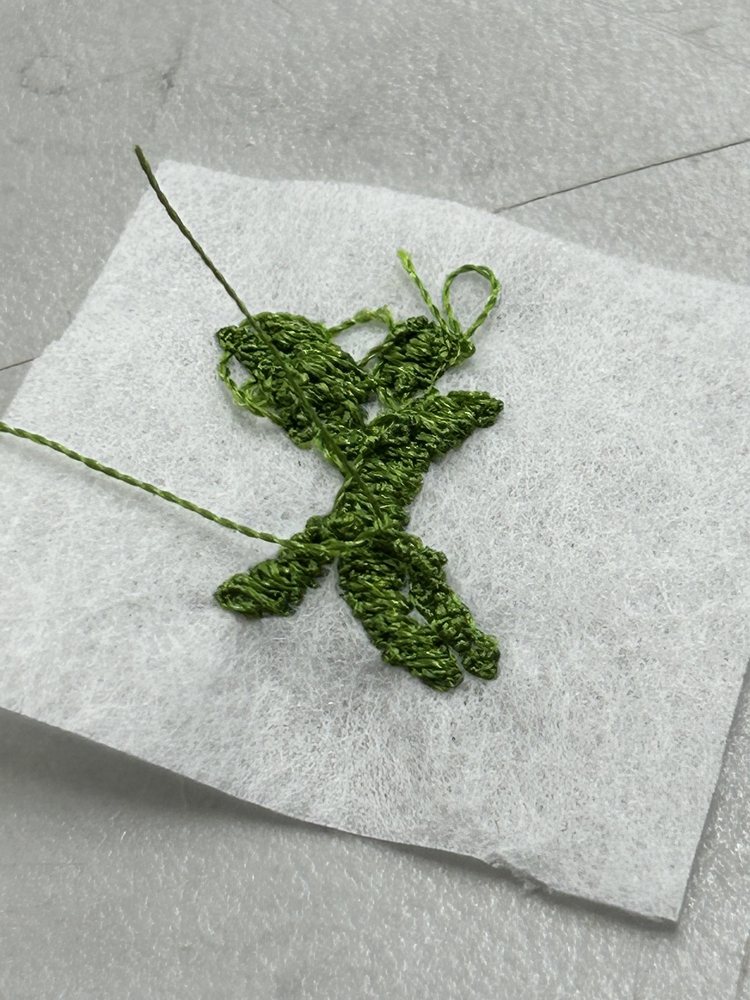

I was very happy with the final result!