Building A 3D Printer
I used this tutorial to assemble my Original Prusa MINI+.
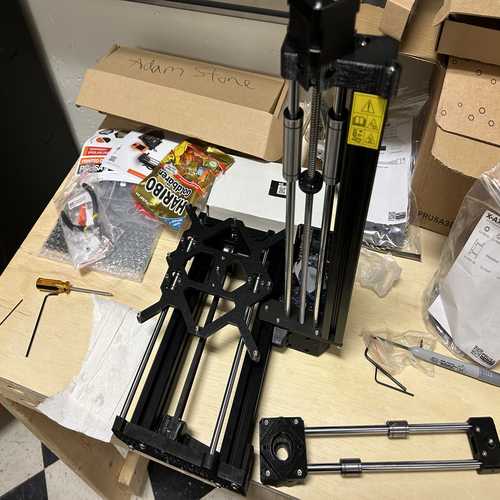
Assembling The Axes And Heatbed
Y Axis

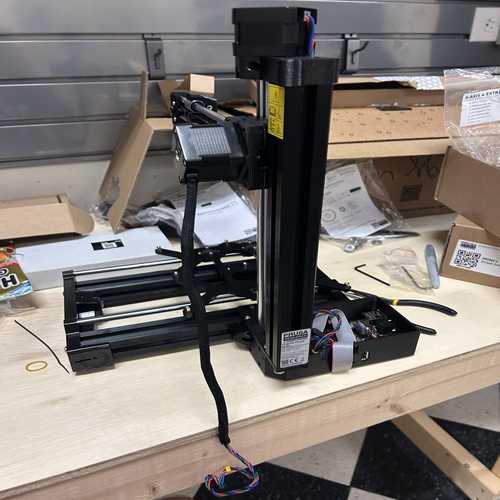
Z Axis
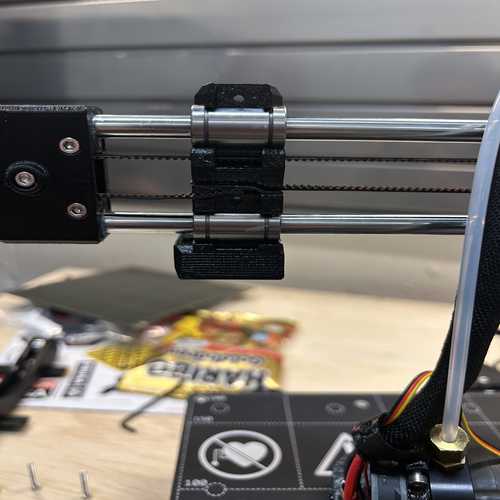
X Axis
Heatbed

LCD(ouble Trouble)
The screw that attached the LCD display to the body of the printer was very difficult to tighten, and I ended up stripping the screw with the allen wrench when tightening it, causing me to be unable to tighten it or loosen it with the wrench.
To fix this, I grabbed a pair of large pliers and forcefully loosened the screw until it came out. Then, I took a new part from the Spare bag and carefully tightened it. This worked on the second try!

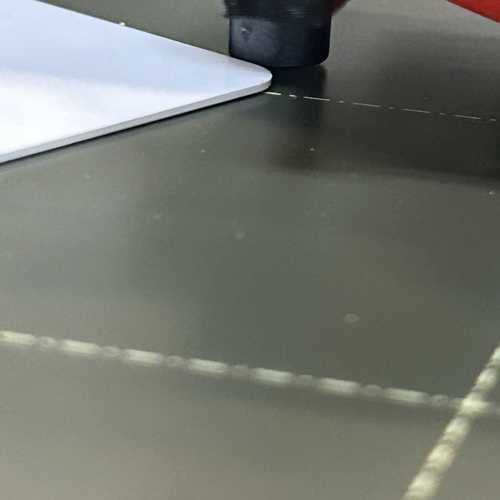
SuperPINDA Sensor
To adjust my printer's SuperPINDA Sensor, the tutorial suggested that I use a zip-tie to calibrate the distance from the heatbed, but this approach was unsuccessful as the print tests did not yield desireable results. Dan Stone encountered the same problem, and suggested that I instead use a credit card to calibrate the distance, and it worked far better.
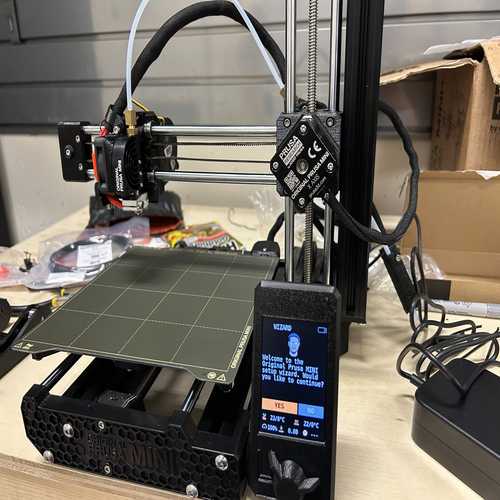
Self Test
After completing my printer, the Setup Wizard walked me through a Self Test.
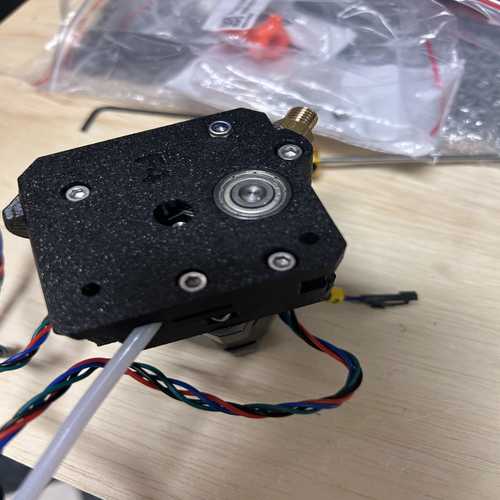
As the printer tested itself, it failed repeatedly on the X Axis, and I spent many hours trying to understand the cause of my problem. I took apart the extruder belt several times and modified the tension.
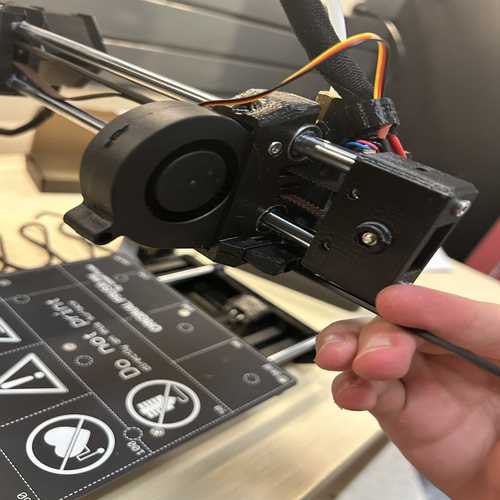
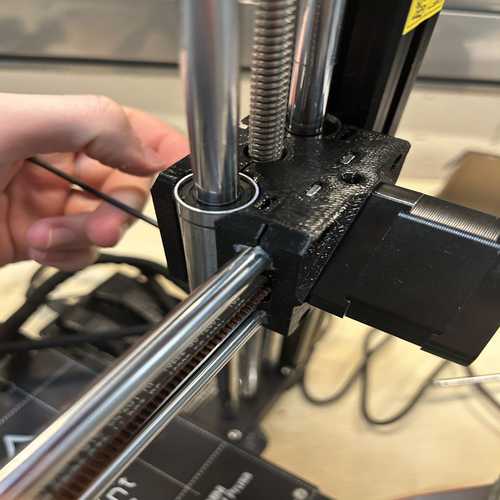
This didn't yield any satisfactory results. The only clue I had to go off of was that, during the X Axis Self Test, the printer would slow down right as the extruder got close to the edge of the X Axis. Then, experimented with manually moving the X Axis and noticed that moving one centimeter in the software moved a slightly different amount in real life - this led me to believe something was wrong with the X Axis gear. I used a flashlight to look inside of the X Axis motor, then looked inside the motor of a working printer, and I realized the problem: I had put the Pulley T16-2GT on the X Axis motor backwards! This is the specific part of the tutorial where I made my mistake - scroll down to Step 18. As you can see from the images in the tutorial, the pulley has one 'flat' side and one 'gear' side. The X axis belt sliding along the 'flat' side instead of the 'gear' side explains the weird phenomena I was experiencing during the Self Test and when manually changing the position of the X Axis.
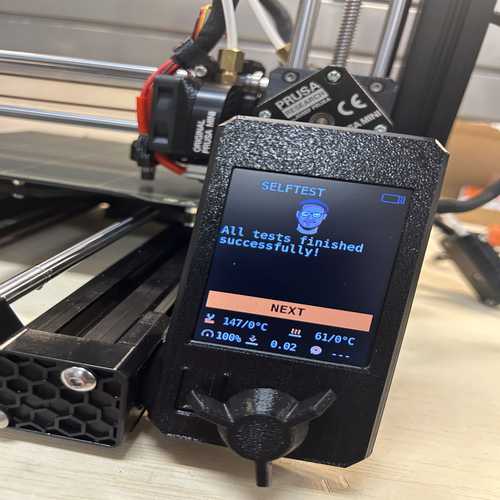
After fixing this problem and reconstructing the parts I'd disassembled, the Self Test succeeded!
Testing
I loaded PLA filament to try my first test print.
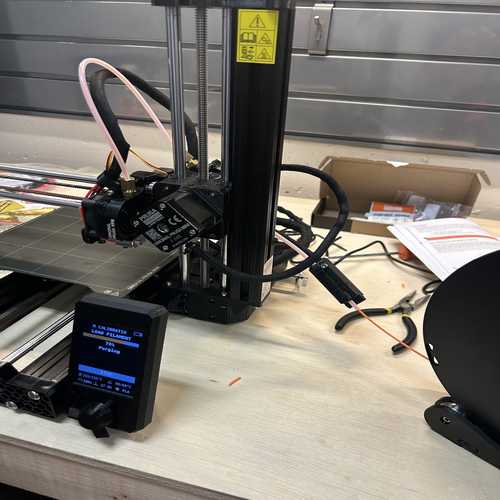
Then, I ran one of the prints that came by default on the USB drive that came with the printer, and it worked!
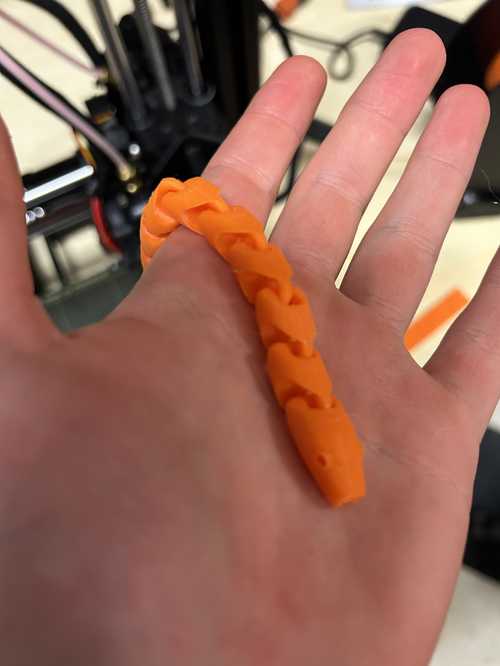
Next, I found a design of an articulated snake on Thingiverse, downloaded the STL file, sliced it using PrusaSlicer (which I already had installed), and exported the GCode to the USB drive. Then I set it to print, and it executed succesfully!