GIMP
The Basics
To learn the basics of GIMP, I started out by following this tutorial which was very straightfoward and didn't cause me much trouble. It taught my how to resize an image, crop or rotate and iamge, and create layers.
Floating Text
Tutorial
Then, I followed this tutorial, which was also very detailed, to make floating text of my intials. Here is my result after exporting as a JPG.

After completing it, I decided to add another Gaussian Blur and it gave the following result.

Transparency Troubles
I also wanted to make a version with no background so that the drop shadow would go over whatever was the background on the webpage. First, I tried filling the Visible copy layer with black and set the background color to black, but this only served to create a black background after exporting.

I then pressed the eye next to Layer #1 but this didn't have any effect when I exported.
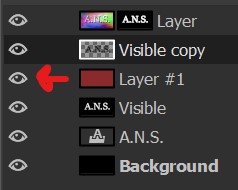
Next, I tried using the eraser tool to erase that layer, which also failed. I then tried to erase the Background Layer - I had to first right-click then press Add Alpha Channel then use the erase tool, but this also didn't work! So I finally erased the Visible layer, and the background appeared to be transparent in the GIMP interface. But when I exported, it still wasn't successful!
I had a hunch that maybe JPG couldn't store transparency, so when I looked it up, it turned out my suspicions were correct. Now, when I exported as a PNG, it was successful!

GIMP For Laser Cutting
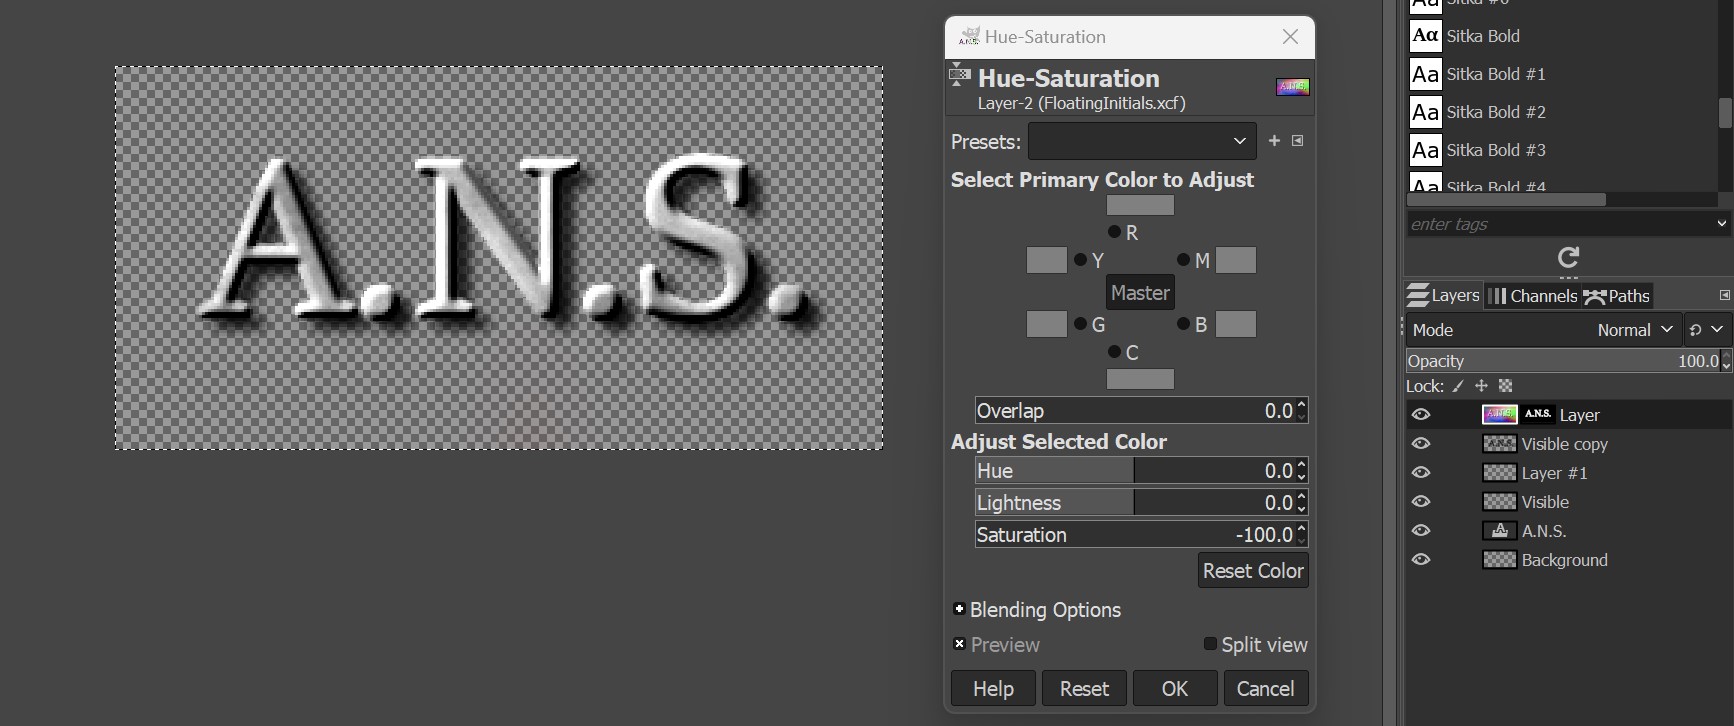
Following this tutorial on how to turn images into files rasterable by a laser cutter in GIMP, I desaturated my initials. The problem was I could not find this option under the Color dropdown! This video showed that I had to click Hue-Saturation then bring down the saturation for all colors.
This is the final result!