Casting
I refered to the datasheet for Mold Star 16 Platinum Silicone Rubber and the datasheet for Task 8 Heat Resistant Polyurethane Resin before opening the containers.
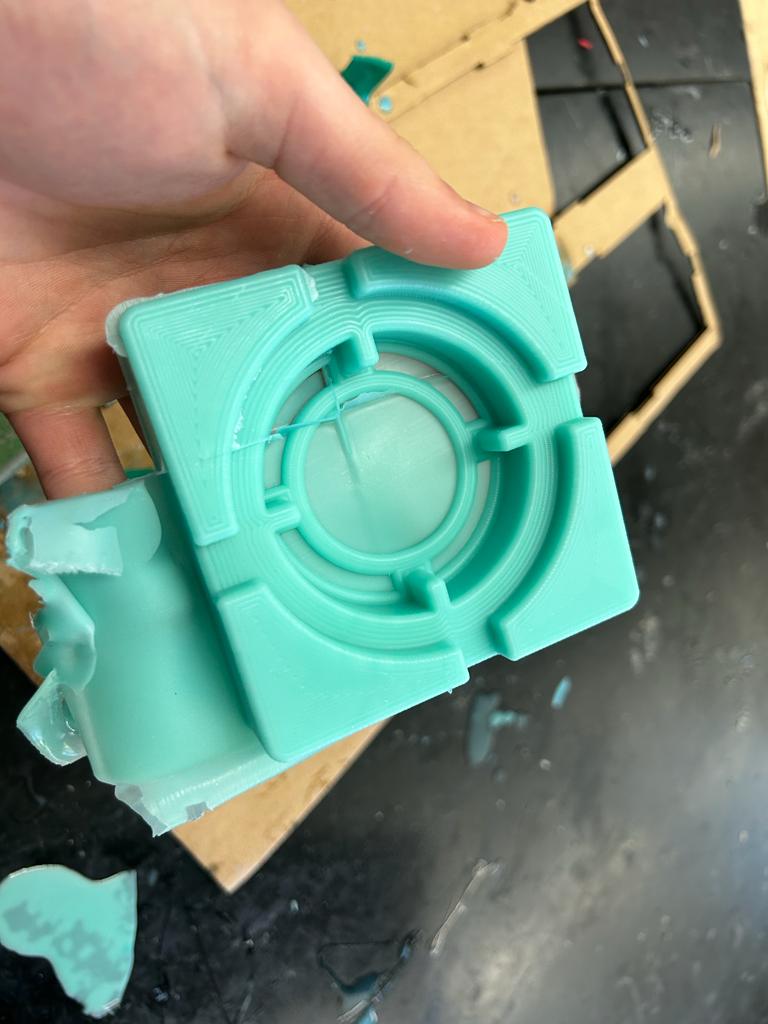
Soft
Middle
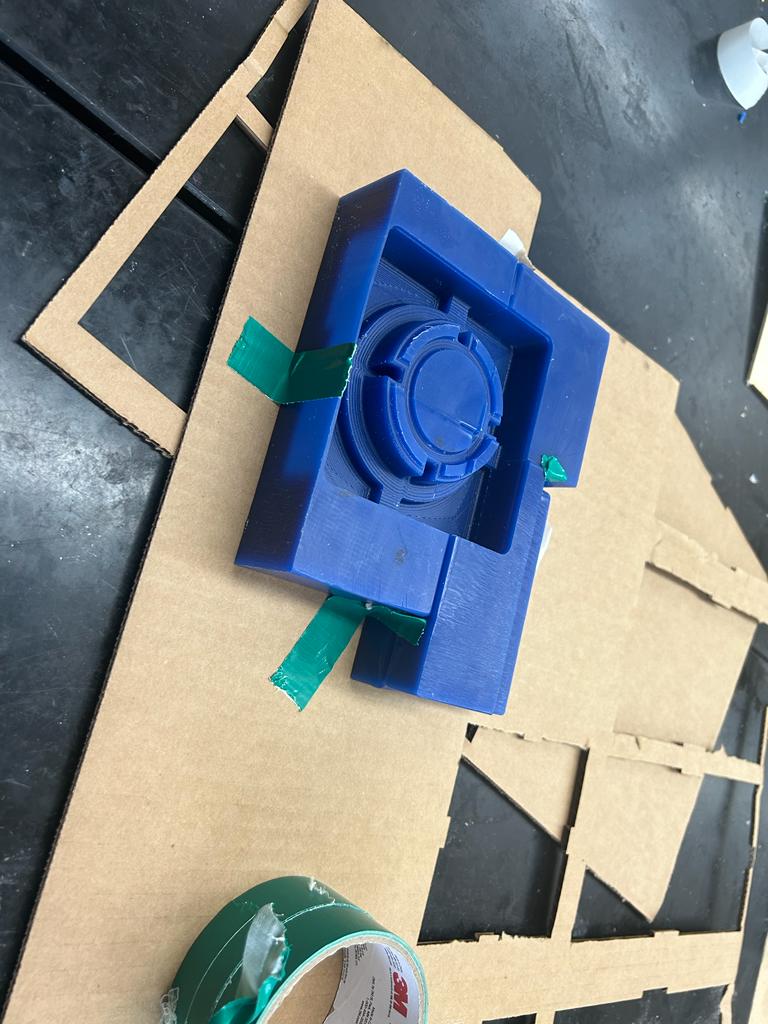
When I was using the Bandsaw to cut away excess wax, the mold split apart along the two pieces of was I had fused together. I used a double-folded rubber band to hold it together.
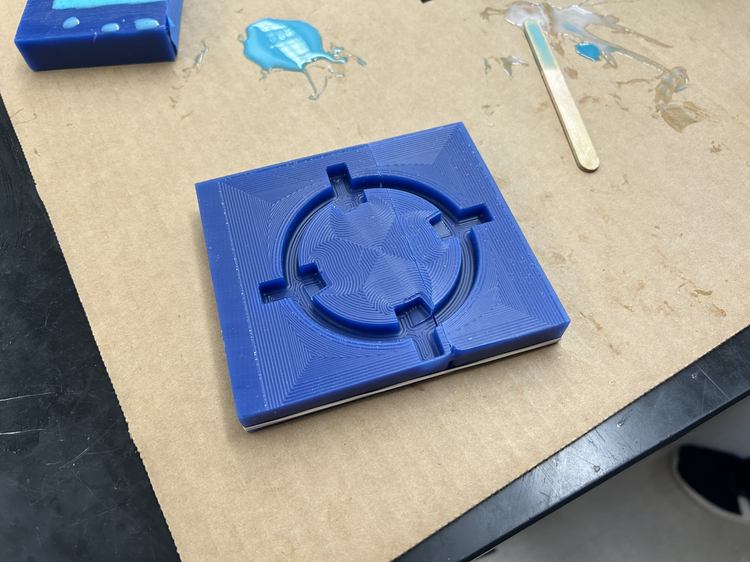
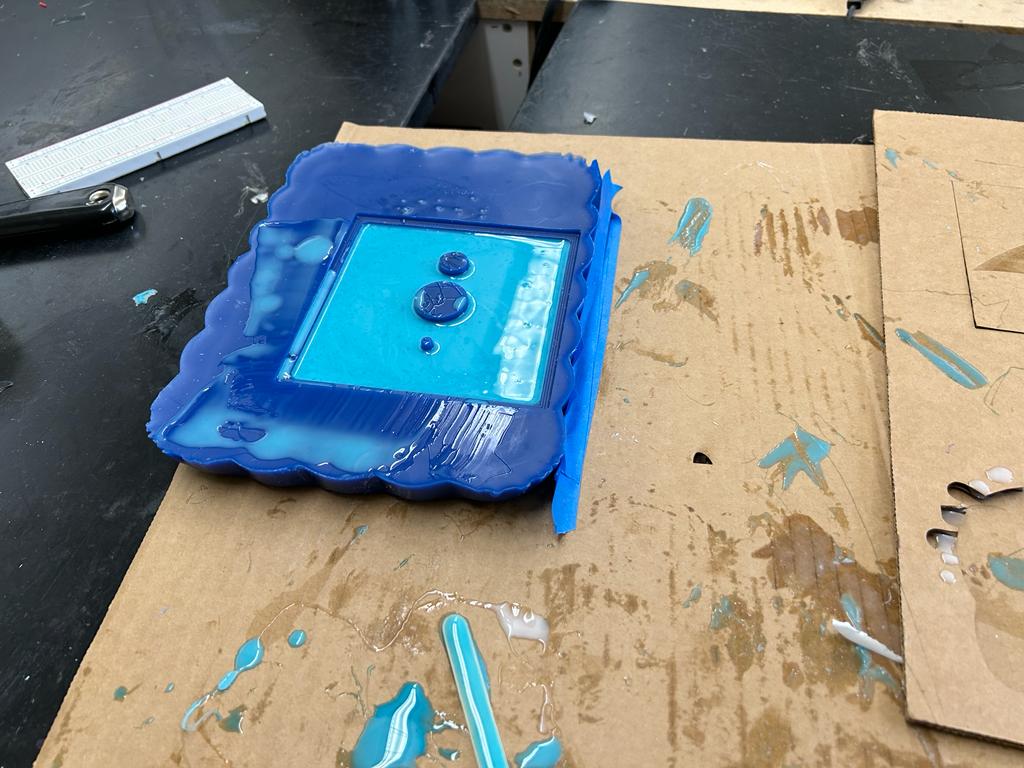
I mixed 20oz Part A and 20oz Part B of Platinum Silicone Rubber (Ryan Kim and I were casting together - it was more than necessary for my part).

We poured the parts into separate plastic cups then slowly poured them together and mixed for ~45sec. I then poured it into my mold and used a popsickle stick to remove excess material from the top (I was especially worried about this since this rubber piece will be the middle part of the three-part mold). I then gently but firmly slammed the cast into the table ~10 times to remove air bubbles. One time the mold slipped apart, but I quickly put it back together.
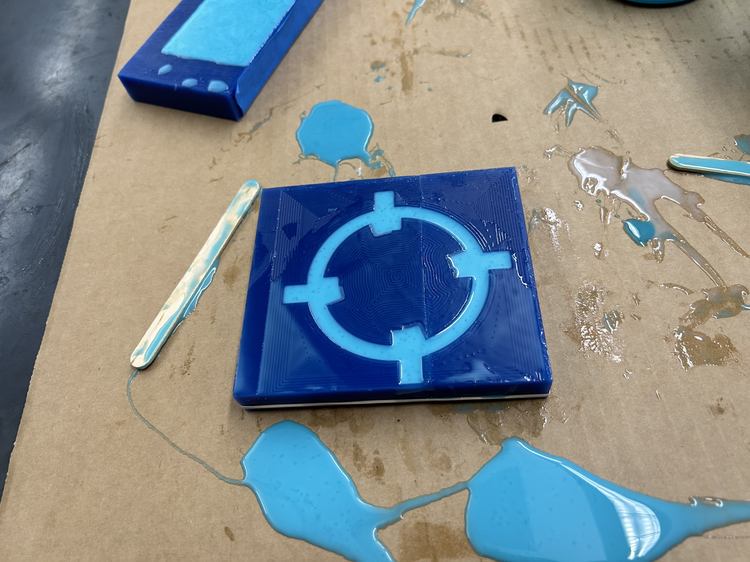
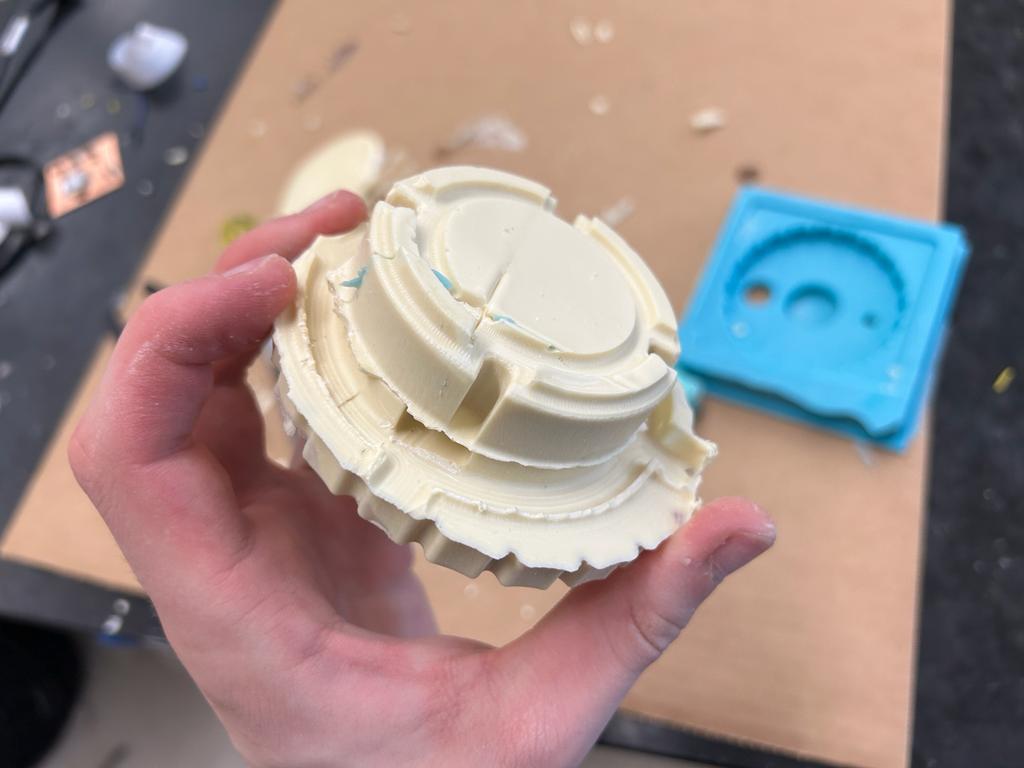
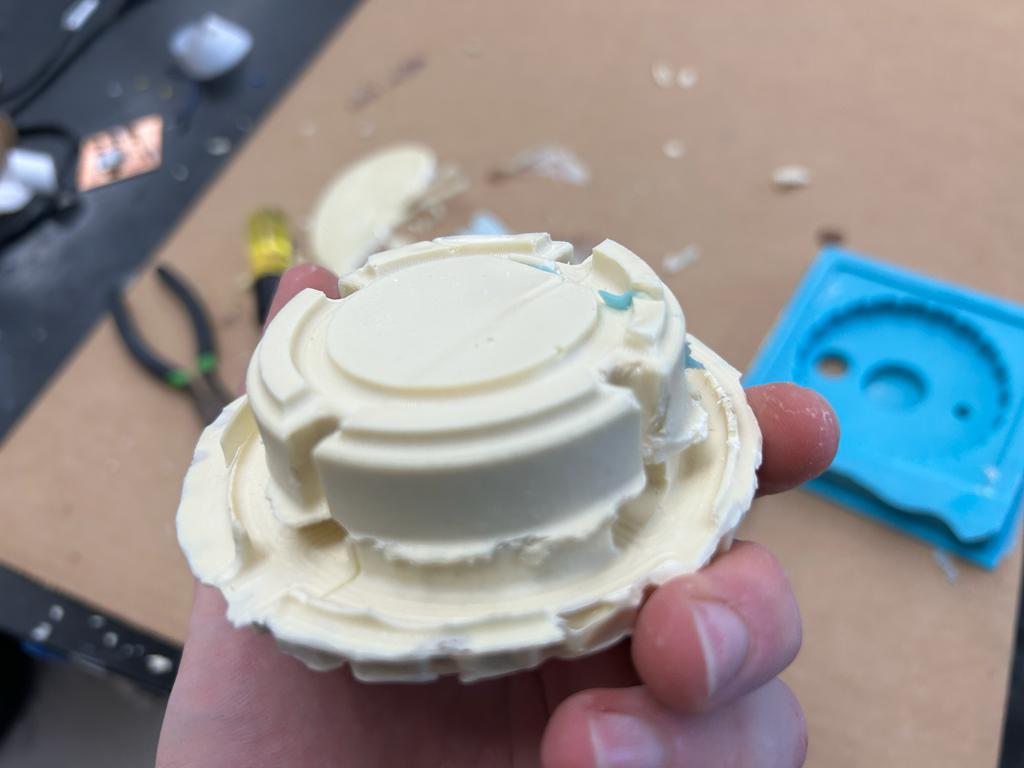
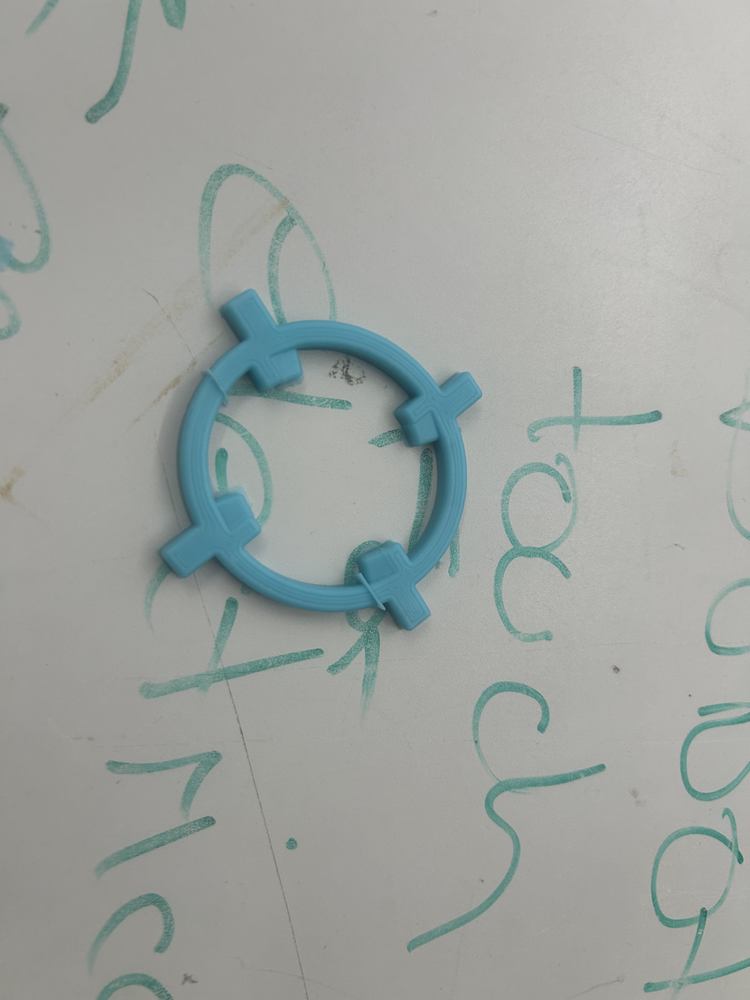
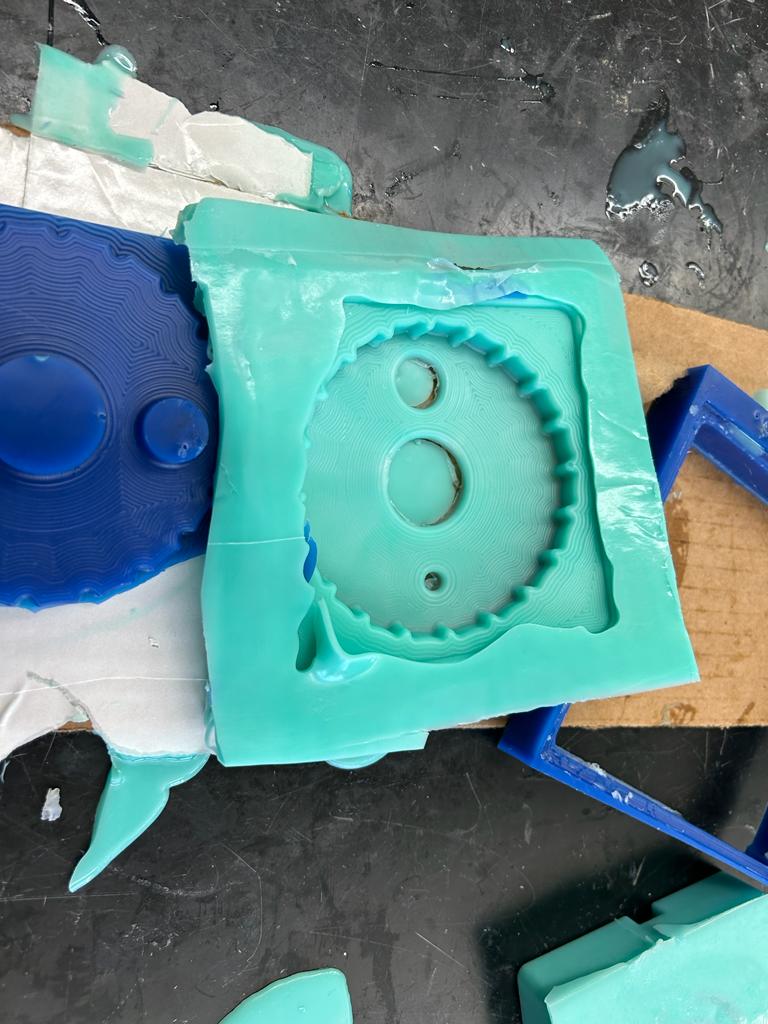
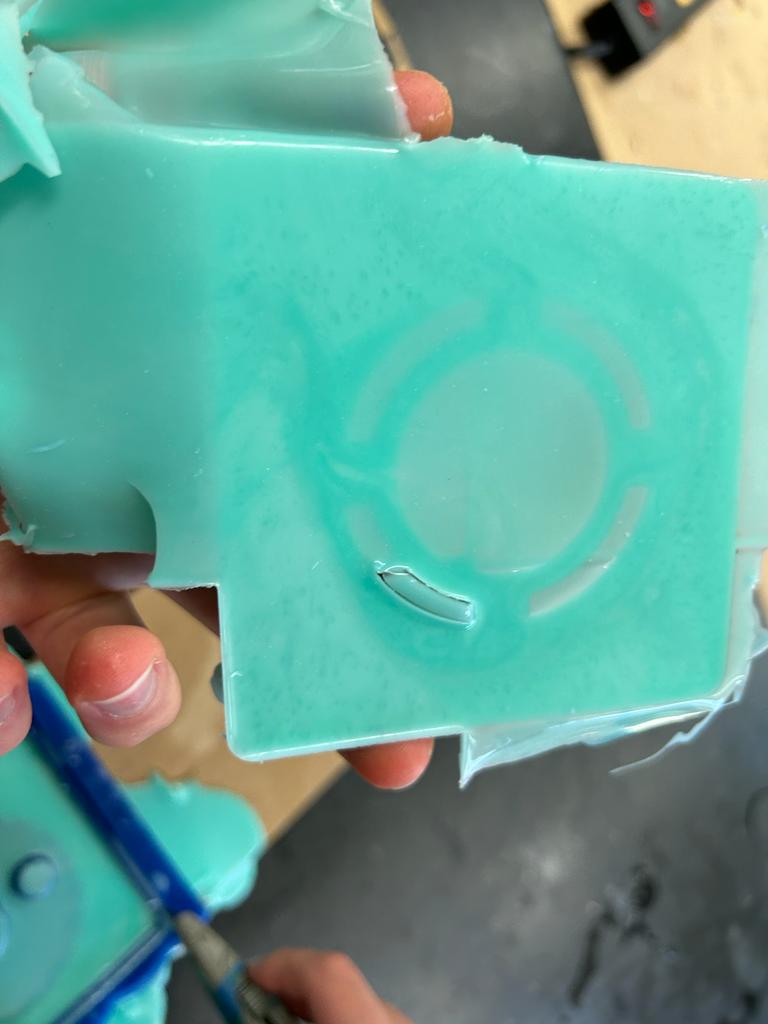
When I removed the mold, it worked very well! For the first protruding bit I needed to use an exacto knife to remove it without ripping, but I was able to carefully remove the rest of it with my fingers. The only problem was that, around the areas where the two wax pieces were held together, there were very thin pieces of rubber that couldn't be easily ripped off. I carefully removed the parts I could by ripping, but I used scissors for the other parts.
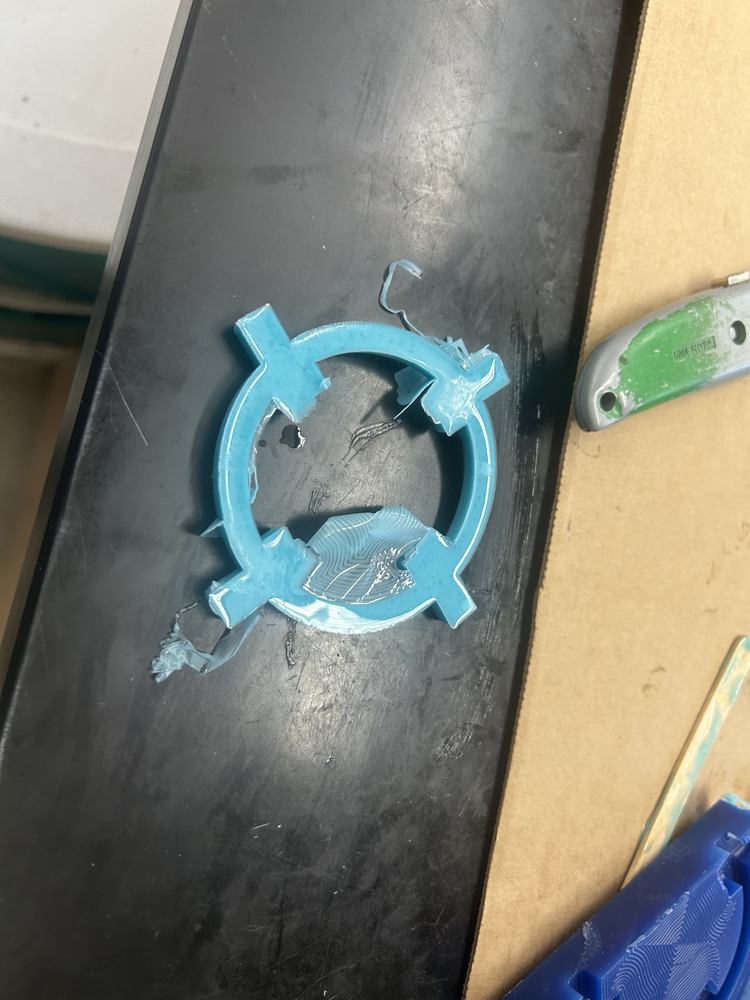

Also the bottom side of the rubber allowed me to see how many bubbles were still in the material (my other silicone casts below looked similar on the bottom).
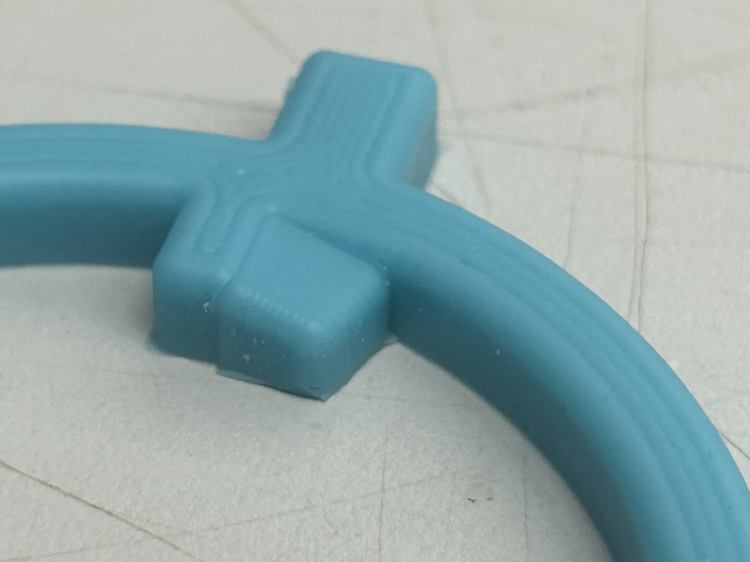
This piece really allowed me to see how much of an impact the finishing pass made.
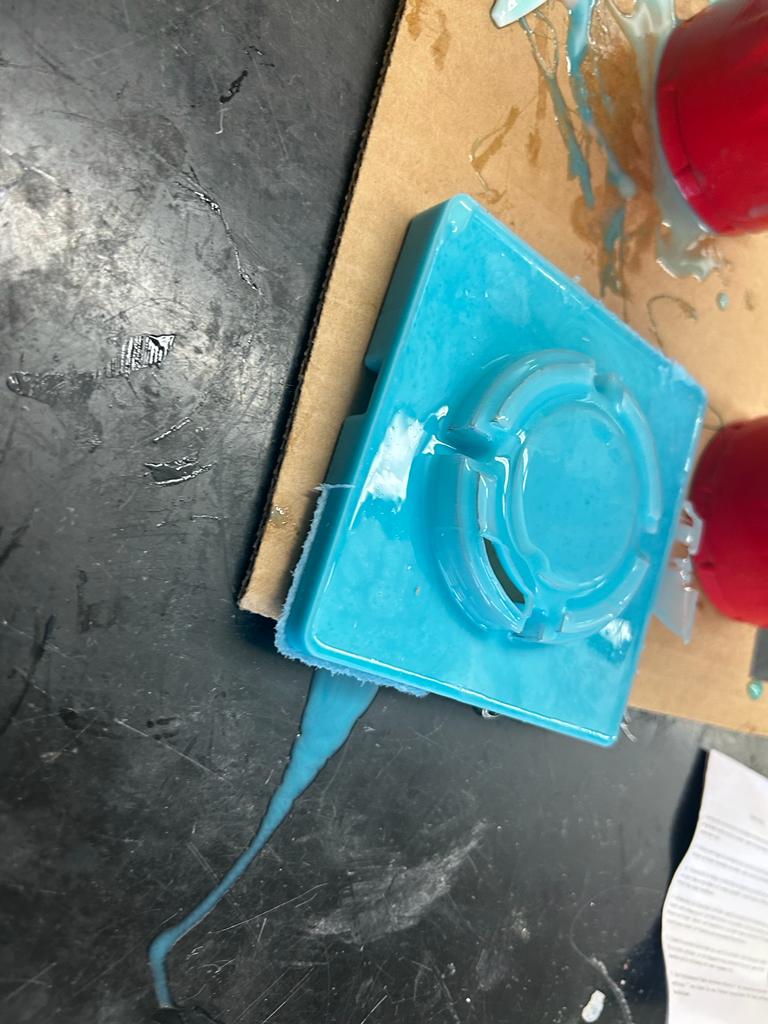
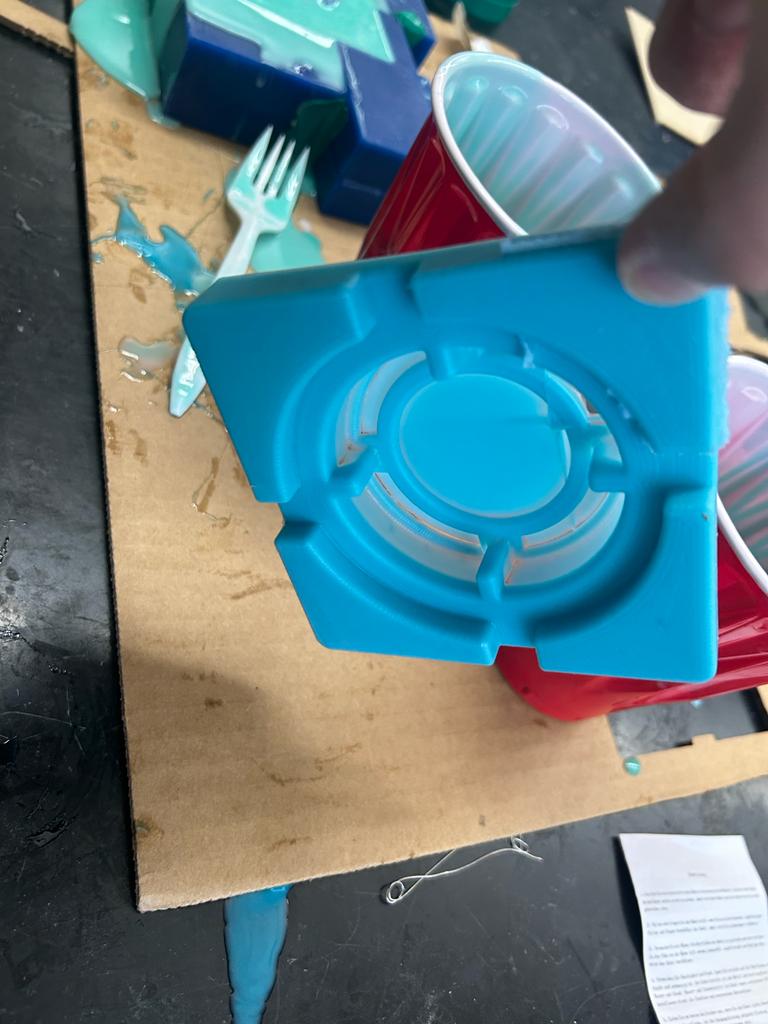
Top
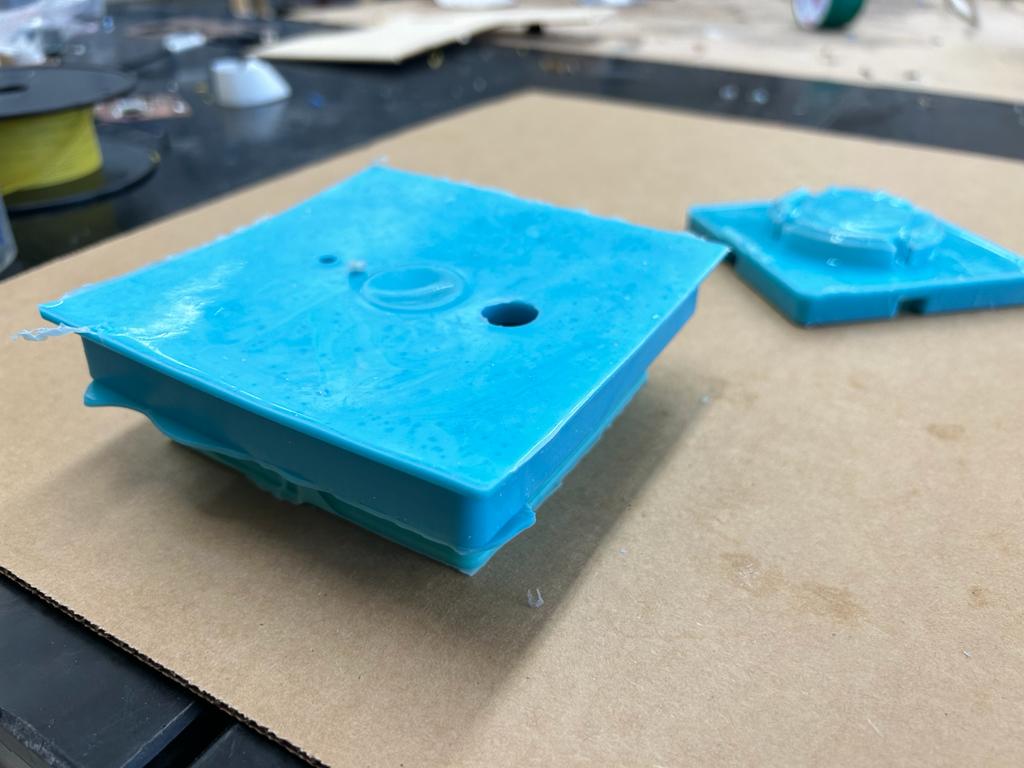
I followed the same process as the middle soft cast, and it was relatively smooth. The first time I had slightly too little material so I let the cast set for 30min then removed it.
I then redid it and mixed excess material (I would measure using water first but since the bottom layer of the wax was very this and partially breaking the water would have simply leaked out). I had some leakage on the bottom of the cast, but it was still successful and I used a razor blade to cut off the excess as well as I could.


Also when I casted the bottom piece (see below) I had accidentally poured way too much so I poured the rest back into the top mold since I didn't want to waste the mixed material, but I again had just too little so I ended up scraping this other mold.

It leaked a lot and when removing the cast the mold broke (I think I was too generous when using the bandsaw to cut off excess material, sacrificing structural integrity; I also had to eyeball the position of the middle piece with the thin connection, which had broken; the middle piece also had pieces chip off of the bottom, slightly thicker square).
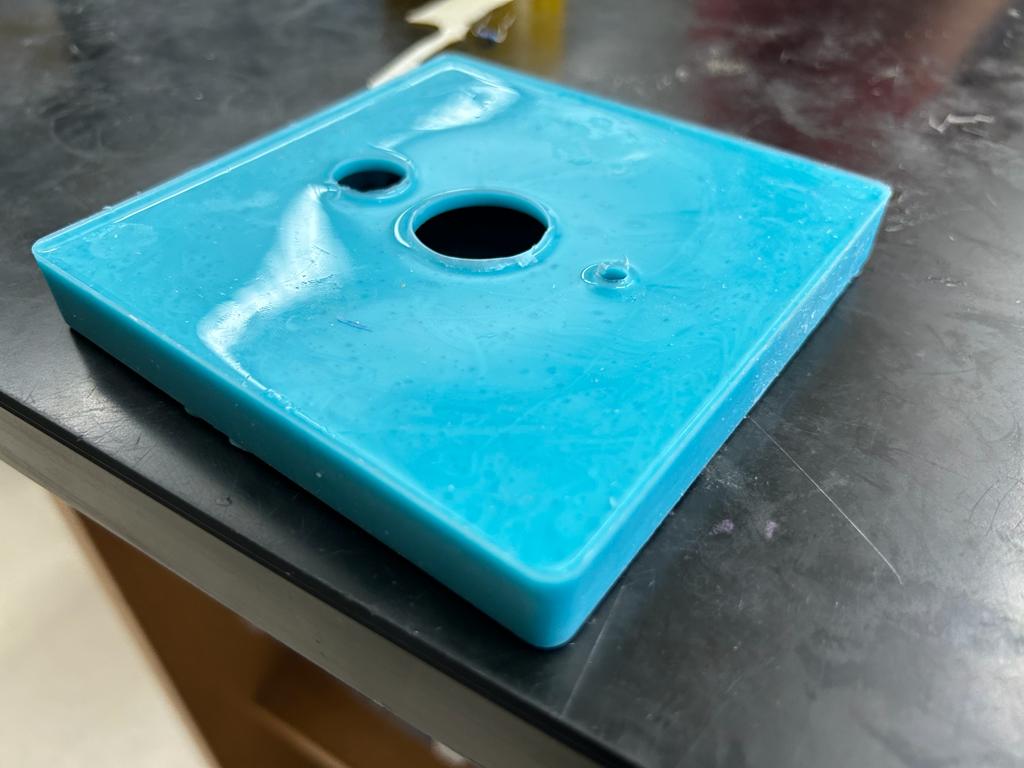
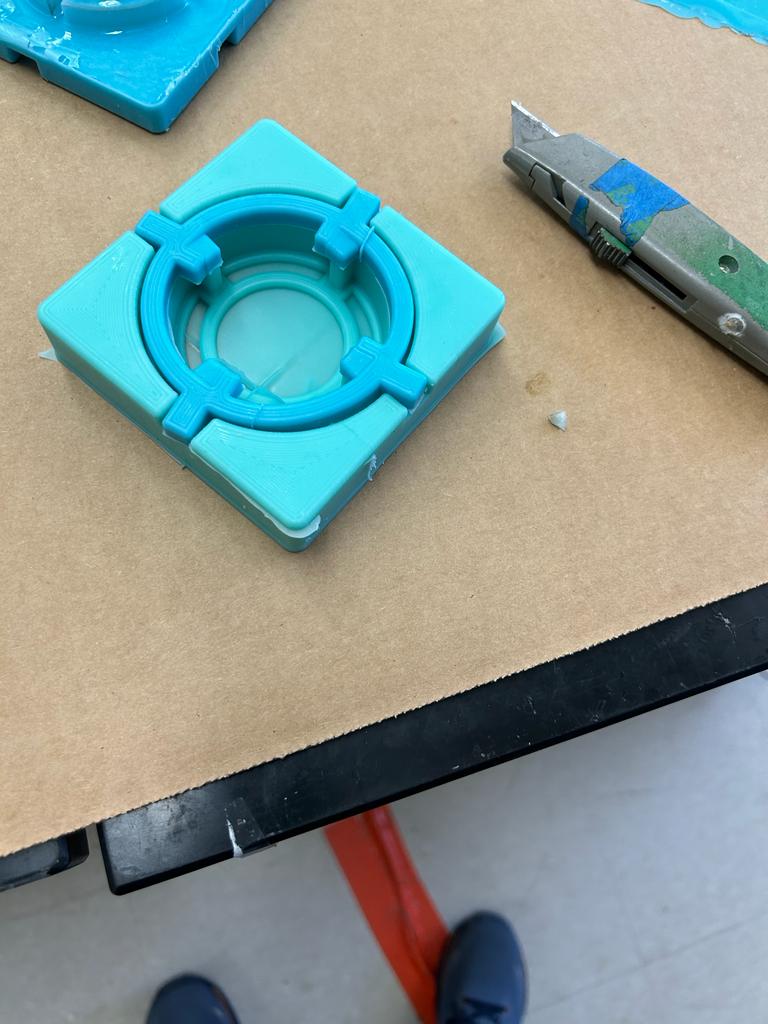
Bottom
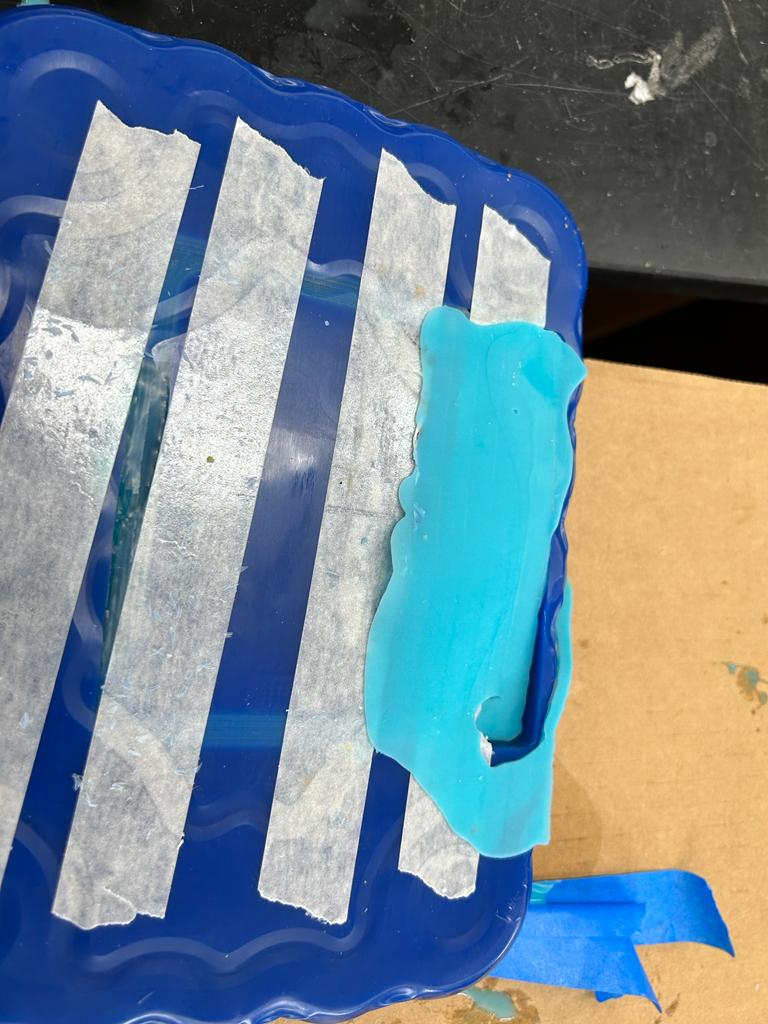
I followed the same process as the previous two soft casts. This one worked first try, although there was some leaking, so I tried my best to take up the edge, and this was somewhat successful for the vertical edges but relatively ineffective for the bottom of the mold (the part touching the carboard on the table).
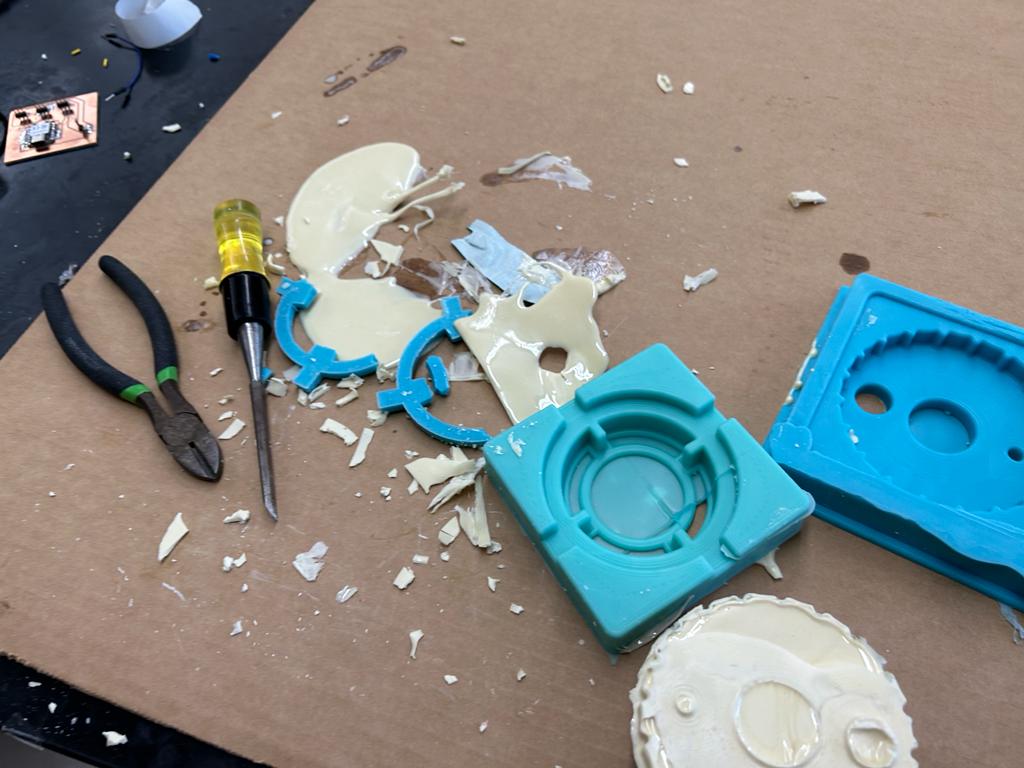
Hard
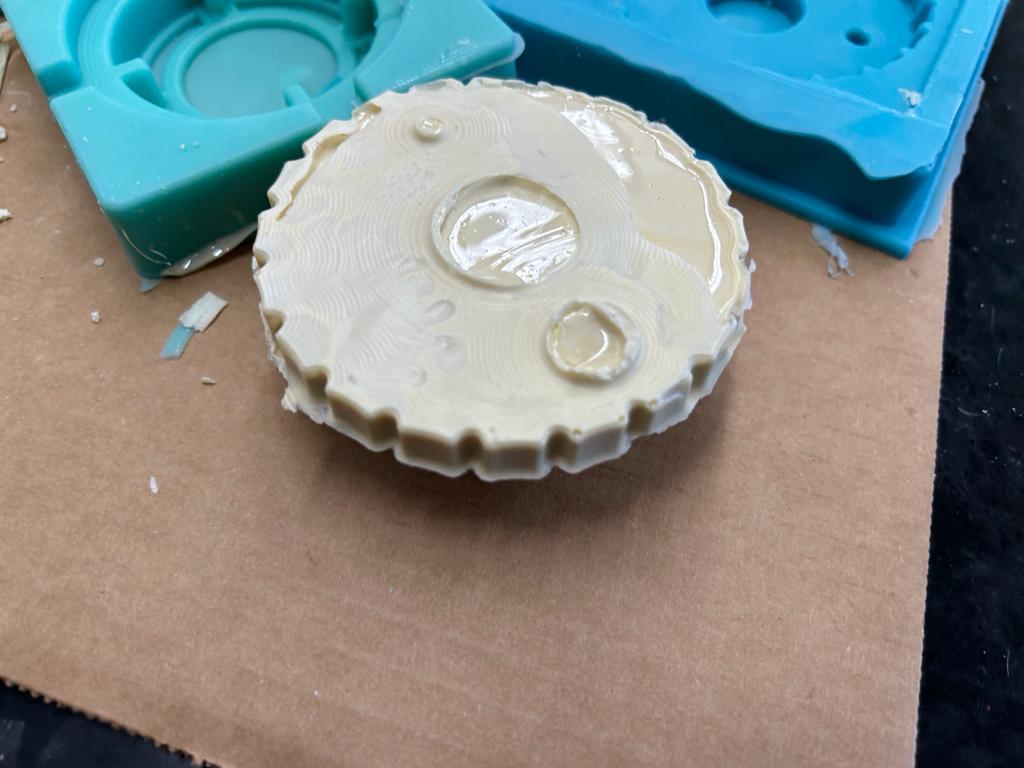
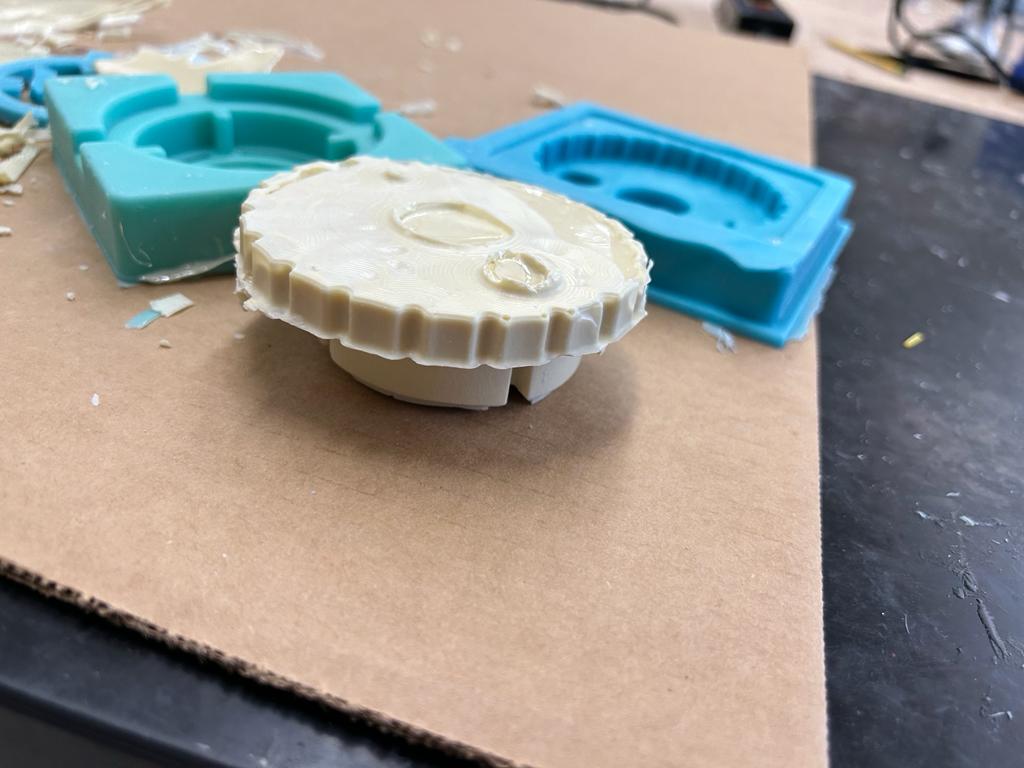
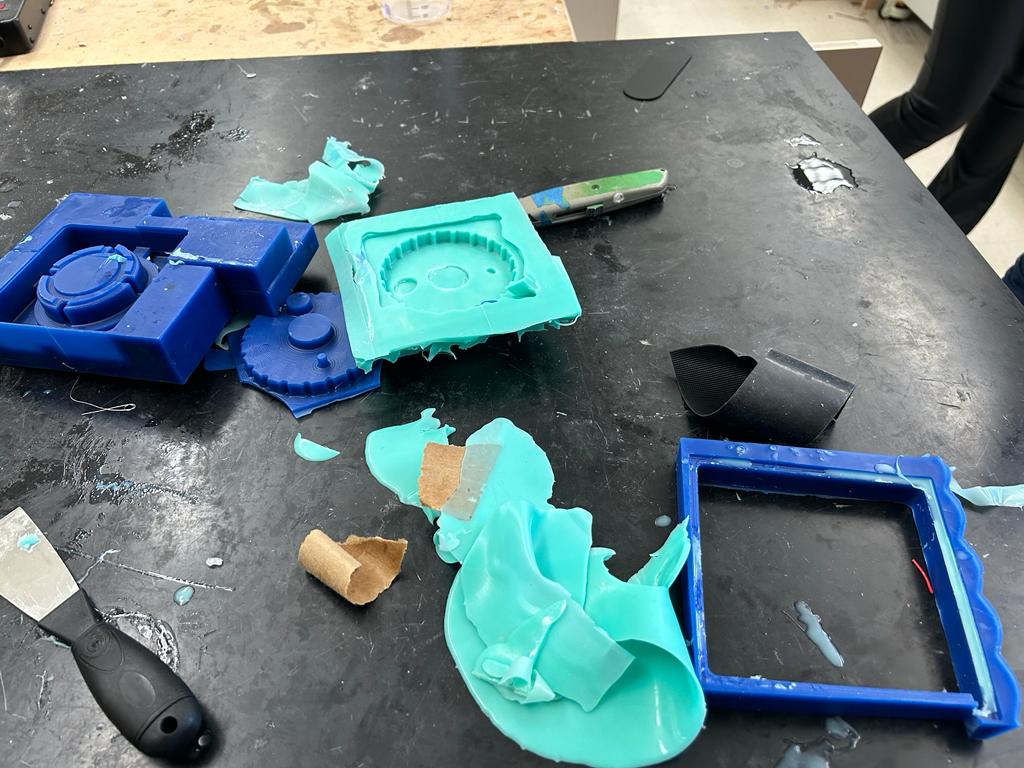
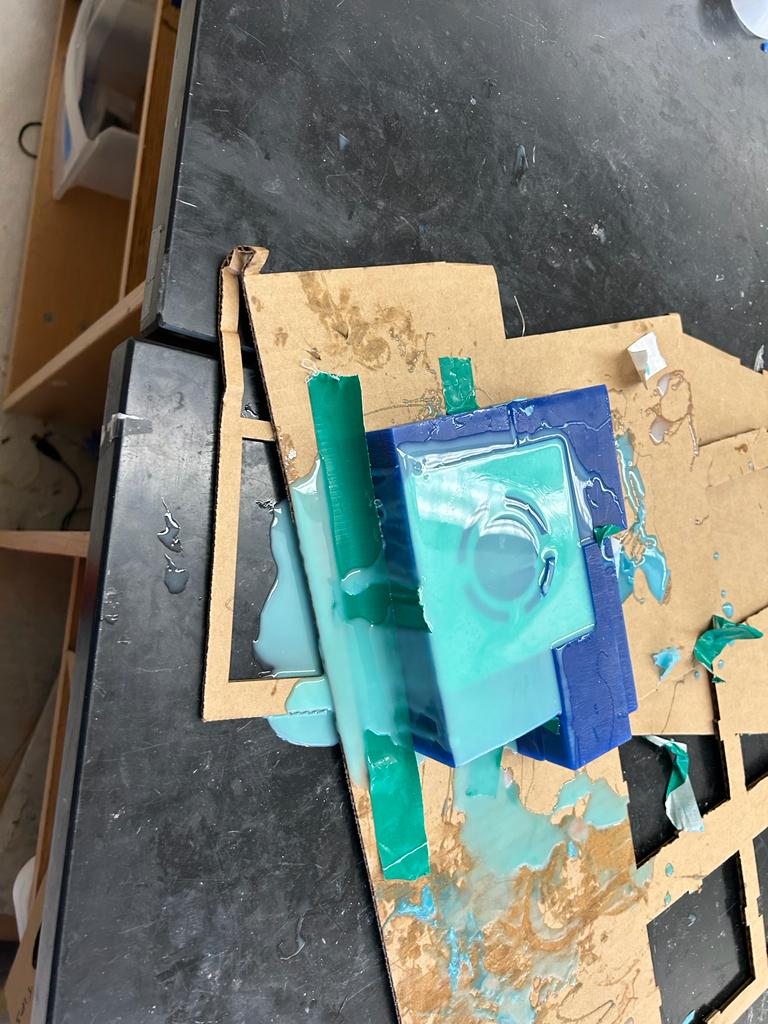
I aligned the three rubber molds together to make the final hard mold. I was very satisfied with the first of the bottom and middle pieces, although I wish it was tighter.
I tried filling it up with water to measure the exact volume, but it spilled out of a thin slice that had ruptured in the bottom piece.
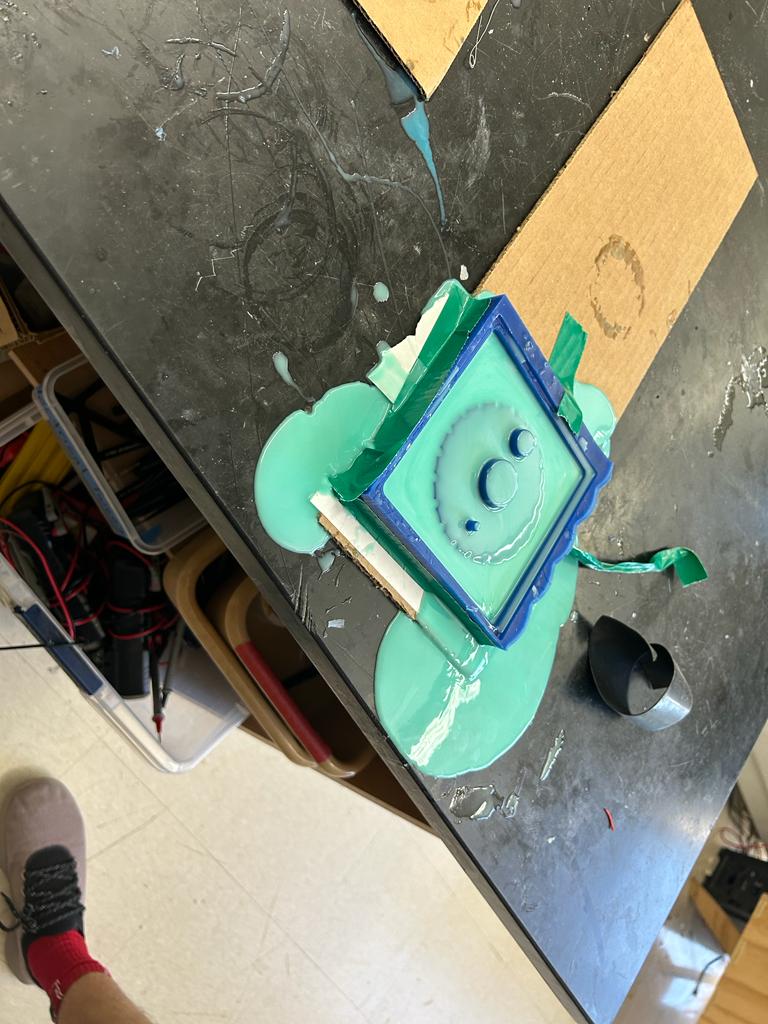
I simply filled it up with the mixed hard material (I poured slightly too much, but I aimed to overestimate which worked well). I then realized it started leaking (even though I had put tape in that spot) so I pushed down on the rubber to try to stop it and also poured more to make sure the mold was full. I then waited until the casting material was more viscous and moved it away from the spilled material. I noticed that the cast got fairly hot, and at one point, it quickly changed to a whiter color. The cast worked faily well, especially for my first time casting plastic being a 3-part mold out of other casted silicone pieces. I used wire cutters and a chisel to remove excess material that had gotten in cracks and noticed that it's very hard to get a 3-part mold to be water-tight, so I'm considering 3D-printing this part for my final project, instead. Also, the small middle mold piece had been coated in a thin layer of plastic, but I couldn't remove it by hand, so I used a wire cutter to cut away at the plastic, and with Mr. Dubick's help, I removed the mold, but unfortunately it had broken.
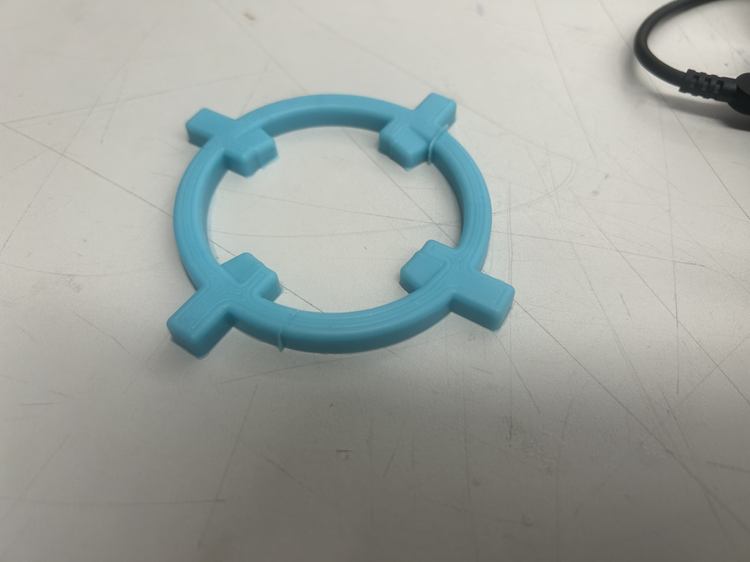
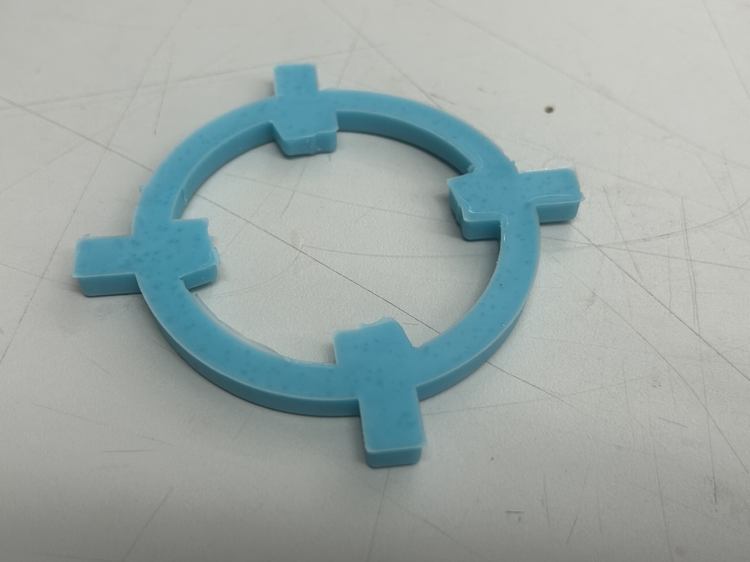
Here's the final result!