Milling The Mold
Exporting The Files
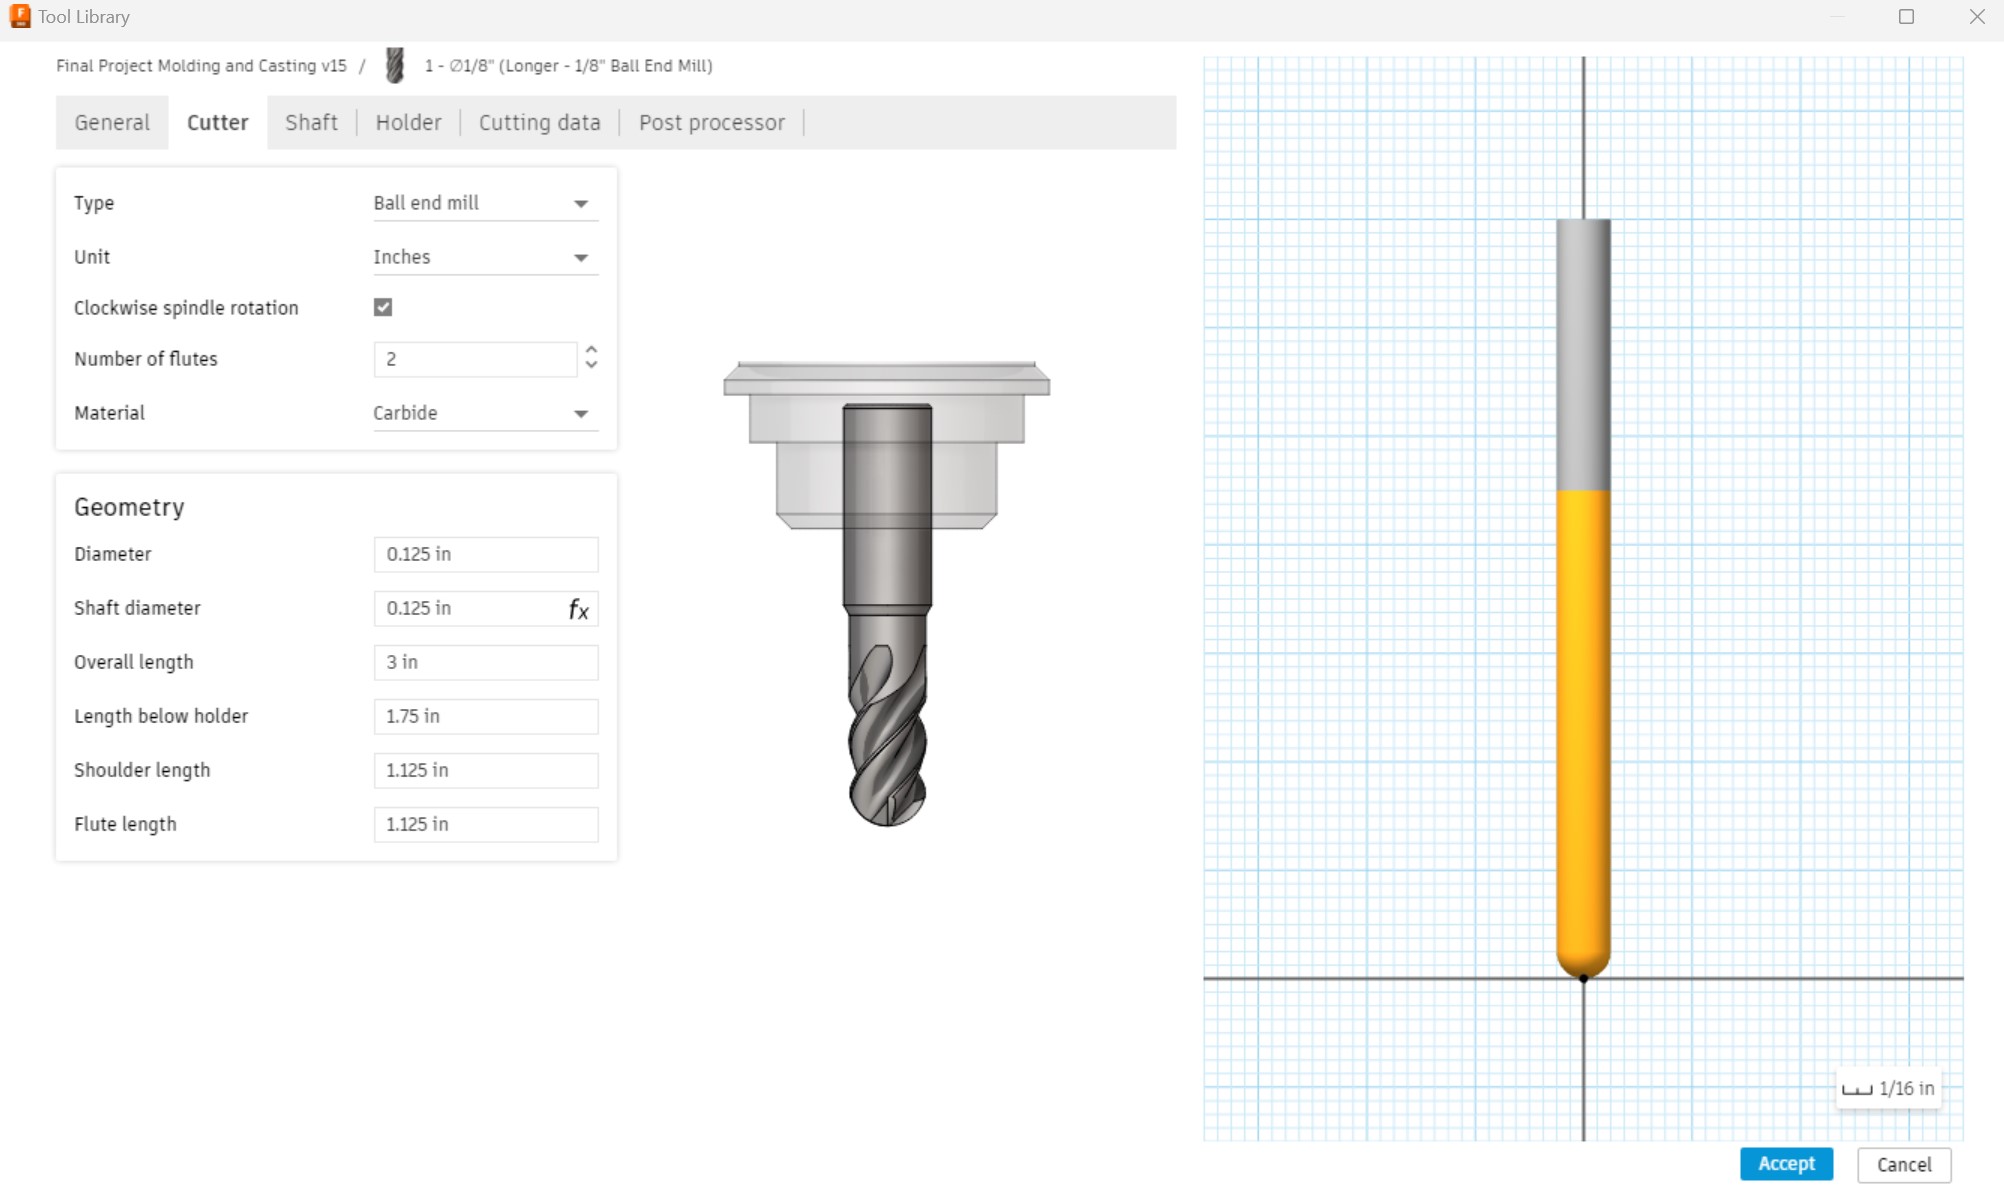
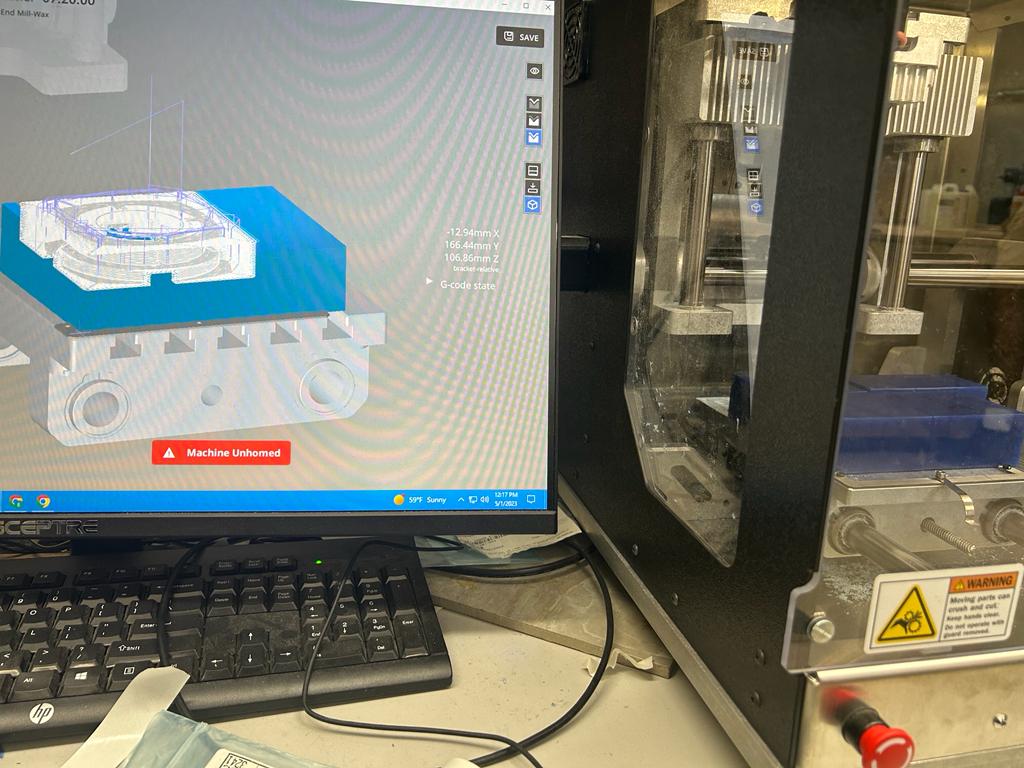
I followed Dr. Taylor's Workflow (included in weekly files) for using the Manufacturing workspace in Fusion 360. I used Pocket cuts, set the feed rate to 750 mm/min and set the maximum roughing stepdown to 0.75mm (for the top and bottom molds). I also did a Parallel toolpath as a finishing pass for the ramps on the middle mold. I also used a top offset of 0.75 mm for the middle mold to account for uneveness in the top face of the wax. If any of this is unclear, please see the Setups and timeline in the Fusion 360 files for this week on the Reflection Page.
Preparing The Wax
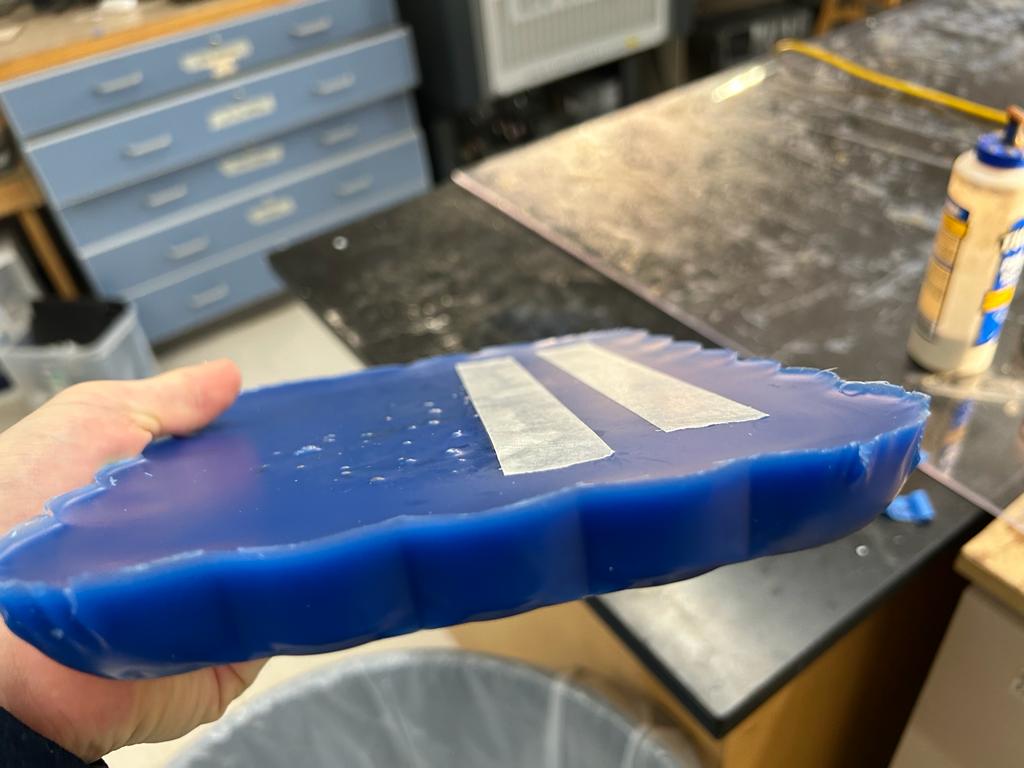
I used the video on Ms. Morrow's Documentation as a basis for fusing wax blocks together, as I needed more width than was available on one wax block. After a couple of failed attempts, I learned that heating one side really hot until its very melty, while having the other slide a little shiny, works very well. I used the highest setting on the heat gun for everything. After they were somewhat stuck together, I used the heat gun to melt all of the creases between the two blocks. I learned that holding the heat gun at a 45 degree angle and then flipping it to the other side help make the wax one cohesive piece once it rehardened. I right-clicked on the setup and clicked Machining Time as well as Simulate to make sure the result was what I wanted.
After I had made the first mold (documented below), Mr. Budzichowski helped me use the Bandsaw to cut away the excess mold from my first piece I milled. I used this wax, as well as other wax, to make two more wide enough pieces for the top and bottom molds.
I also copied the tool from the Othermill library and modified the values as follows to fit with the longer bit the lab ordered.
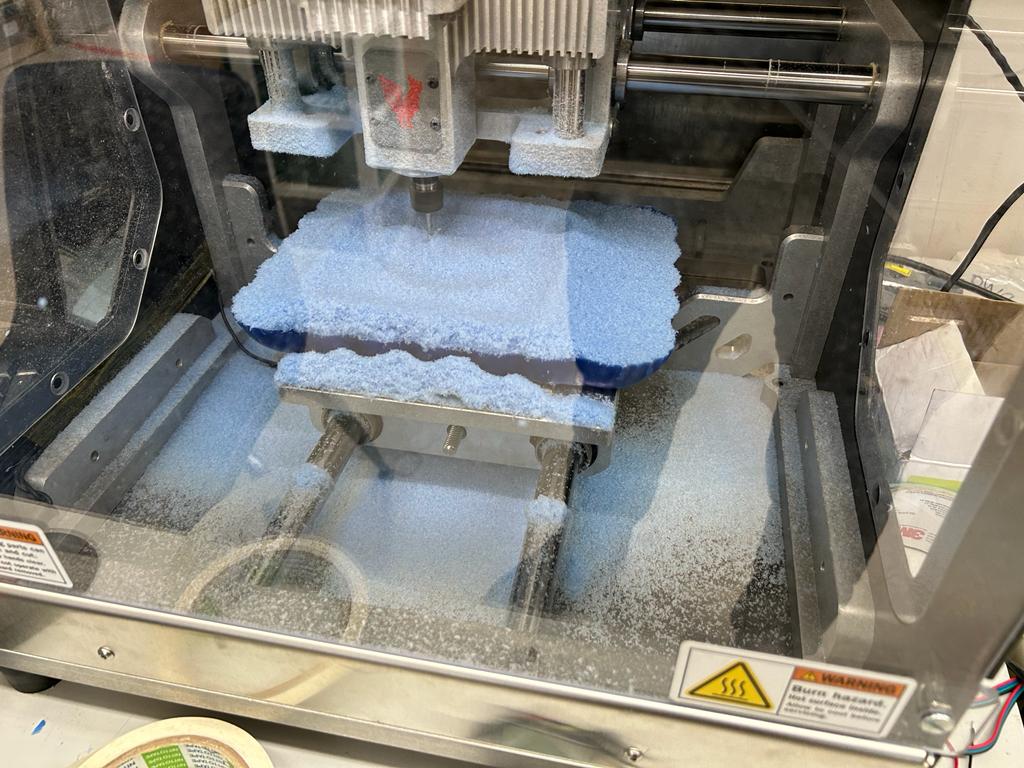
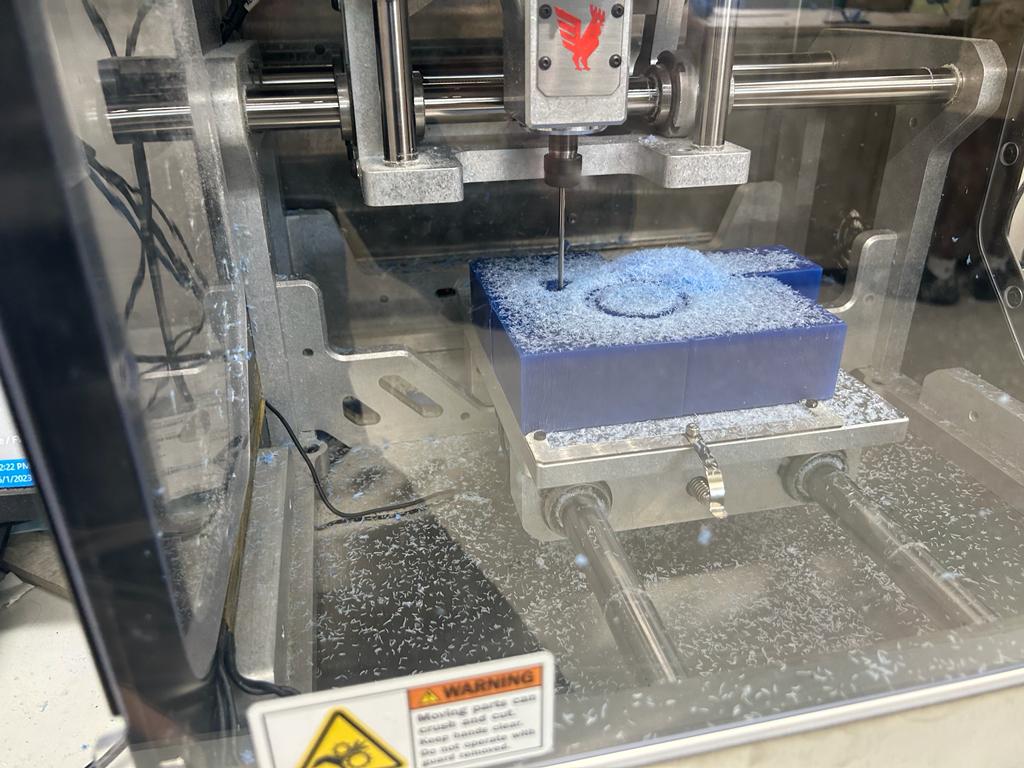
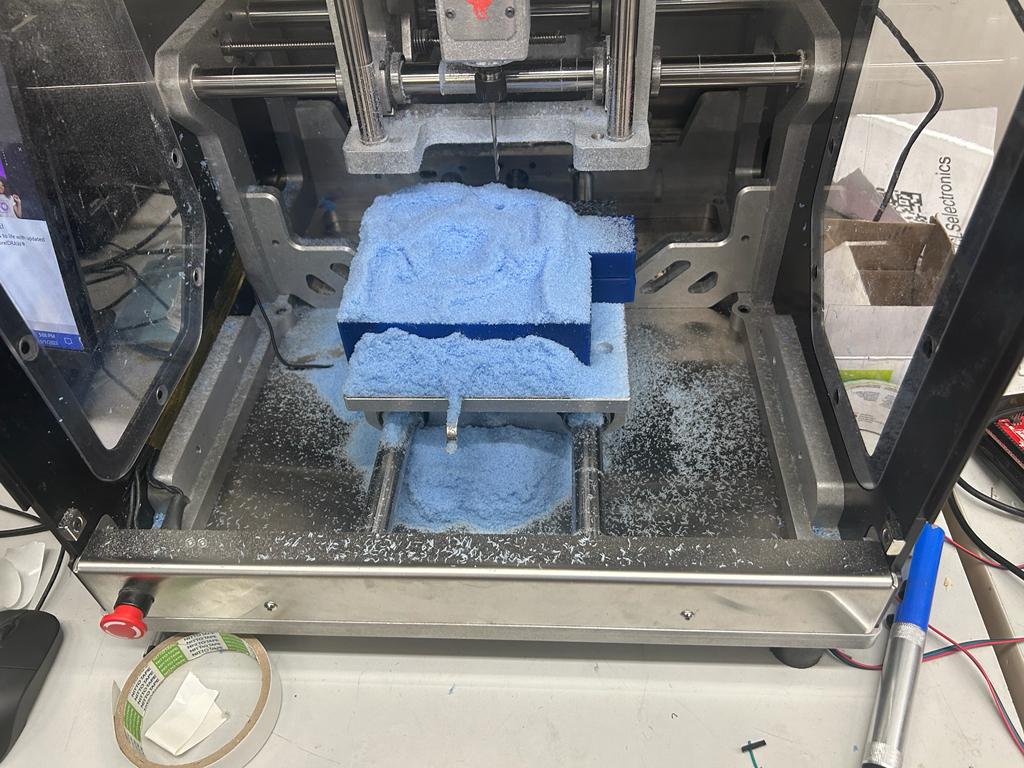
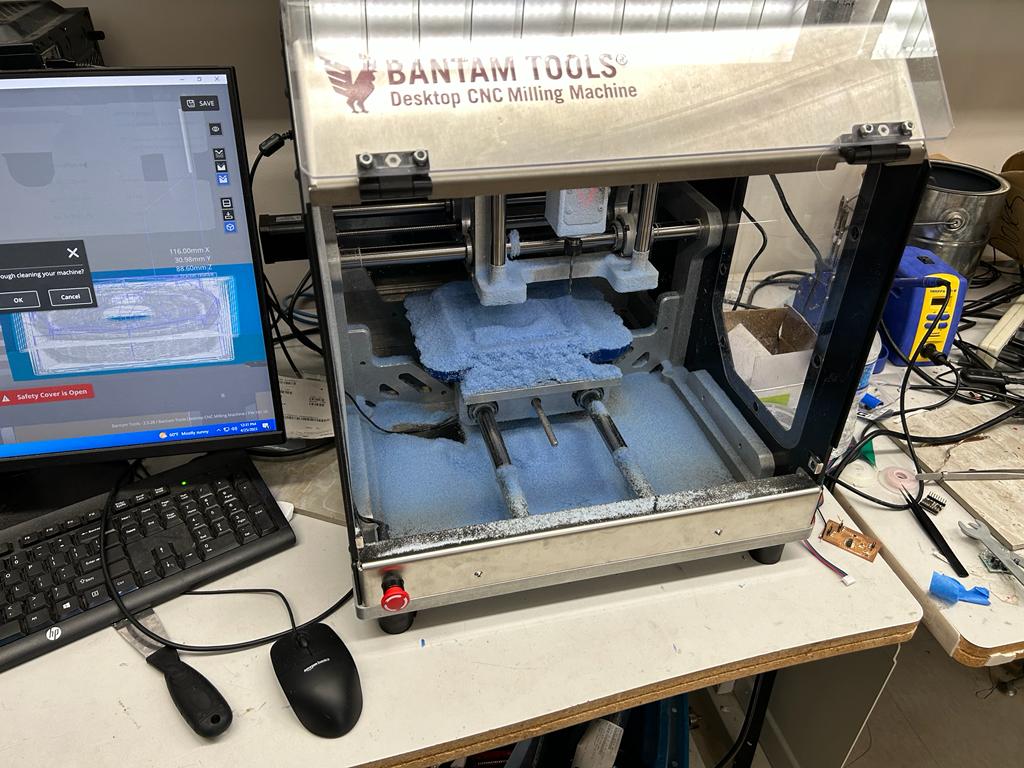
Milling
I used the Bantam Milling Machine which followed the same procedure as my other times milling. It was a very smooth process.
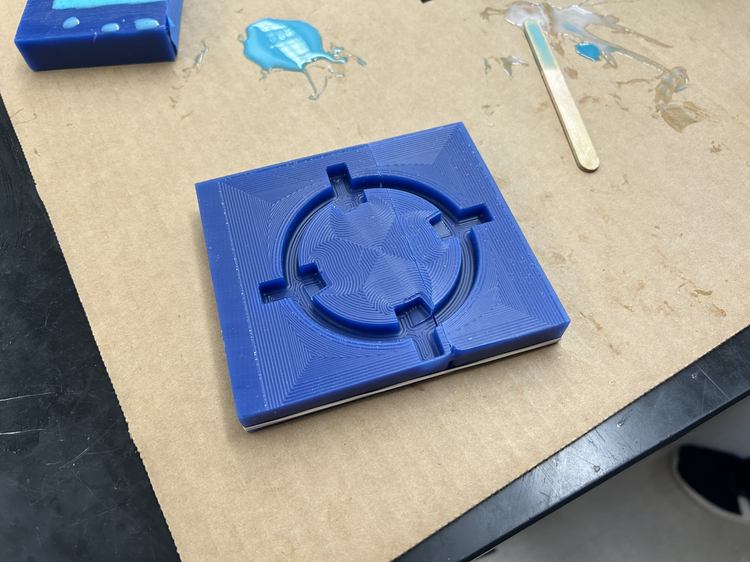
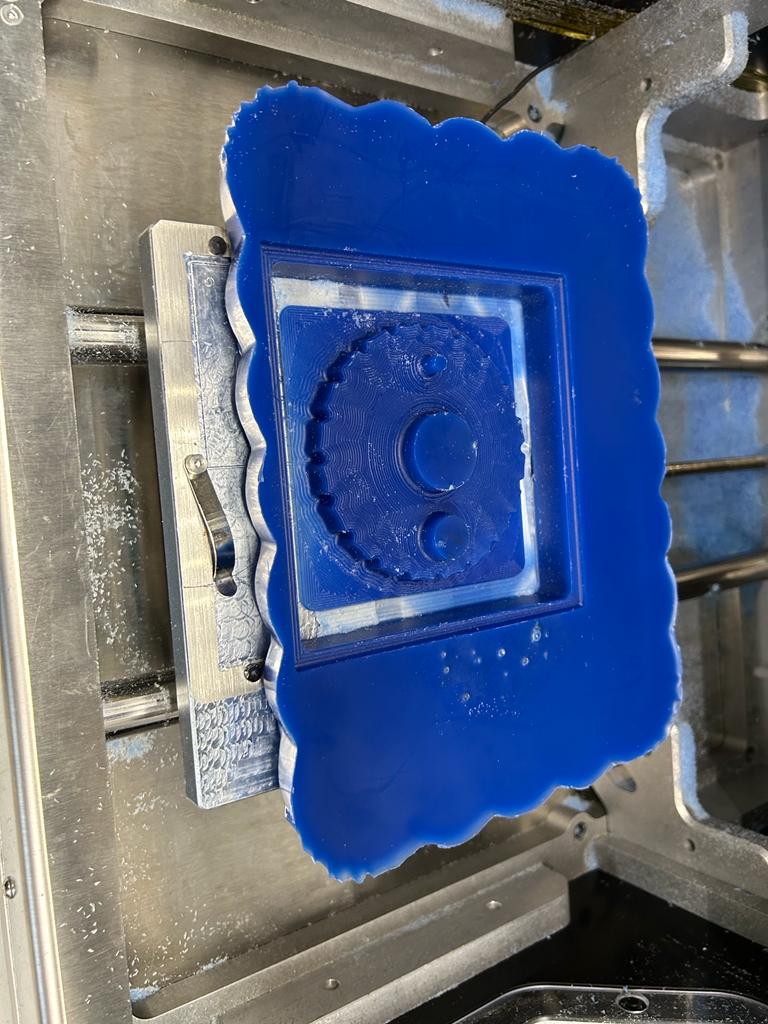
Middle Mold
This piece worked first try. I slightly underestimated the y-offset (even though I used calipers), but it didn't affect the final cast whatsoever.
Top Mold
This piece was also very smooth. I used a large block of wax that the lab melted down from scaps and used the bandsaw to remove excess, reusable wax. Because the shape of the top face of the large block was slightly concave, I had to remove my nitto tape and put it on the other side (it wouldn't contact with the bed of the milling machine).
The only problem is that the cut was very thin on the bottom since the toolpath was so close to the bottom of the wax. I learned that I not only need to check that the toolpath doesn't give any errors, but also give several millimeters of extra room at the bottom of the cut.

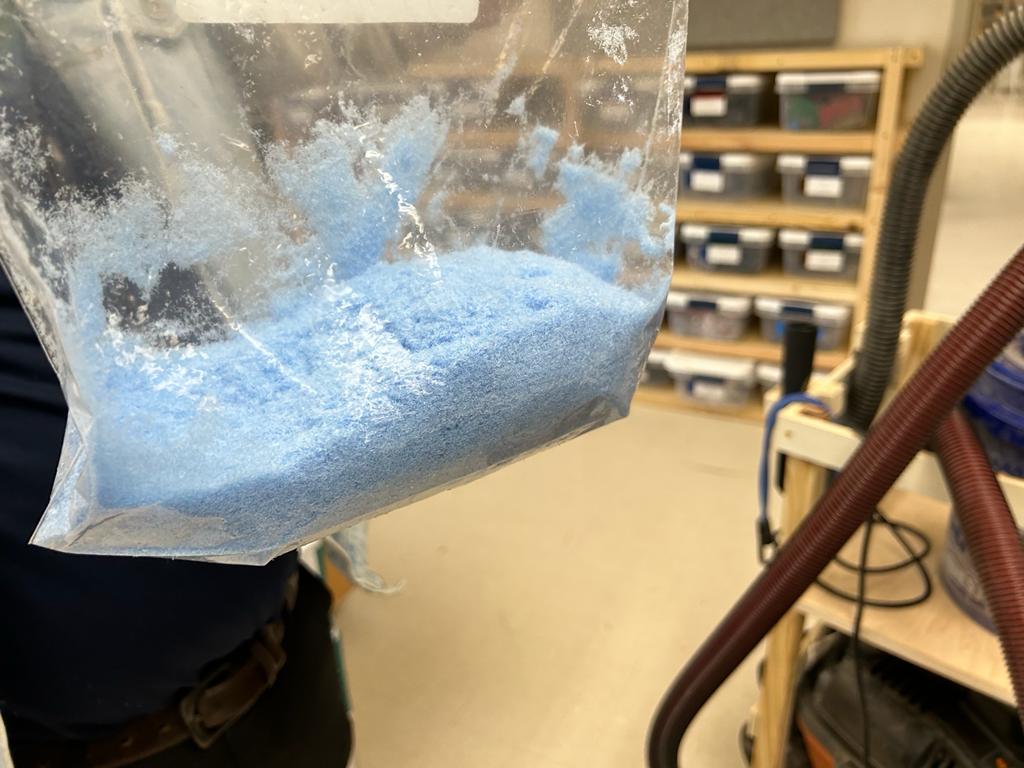
Additionally, I gathered much of the sawdust (or waxdust) by hand and put it in a ziploc bag to be melted down and reused by other students.
Bottom Mold
This piece also worked on the first try. The piece of wax I used was fiver other smaller pieces heat-welded together, so I was nervous about it sticking together. In the end, it did, but the only trouble spot was an uneven top surface. One wax piece was higher than the rest and the bit, for the first layer, cut through significantly more wax when cutting through that block and made an unpleasant sound. I watched it through the first layer and it didn't melt or cause other issues, and from that point on, the rest of the process was smooth.

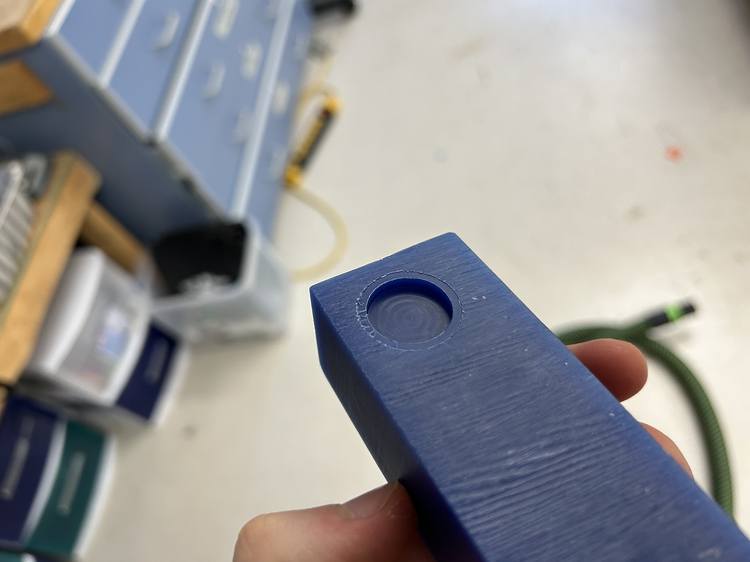
Redoing Roughing Pass
Dr. Taylor informed me that my Pocket toolpath did not qualify as a roughing pass because I used a finishing bit: a 1/16" wax ball end mill. He explained that using a flat end mill for a roughing cut significantly decreases cutting time as the stepover can be dramatically increased. To demonstrate the usage of a roughing cut, I designed a simple cylinder in Fusion 360 and used a 1/8" flat end mill to cut it out. This worked very smoothly in terms of milling the wax, and here's the result!