Designing The Mold
Overall Understanding
Teddy Warner taught us about different molding processes.
- for hard parts, mold from a milled or 3d-printed design then use the casted mold for the final part
- for soft parts, mill or 3d-print the mold
Ms. Morrow's Tutorial (~13:40) explains that this is because a hard substance won't pull out of another hard substance well.
Mr. Budzichowski said our machines have 5/8" depth of cut.
Overall Planning
Here's my plan for this week.
- watch the lecture
- look at past documentation
- make the design
- mill the mold
- carry out the mold
Looking At Past Projects
Making The Design
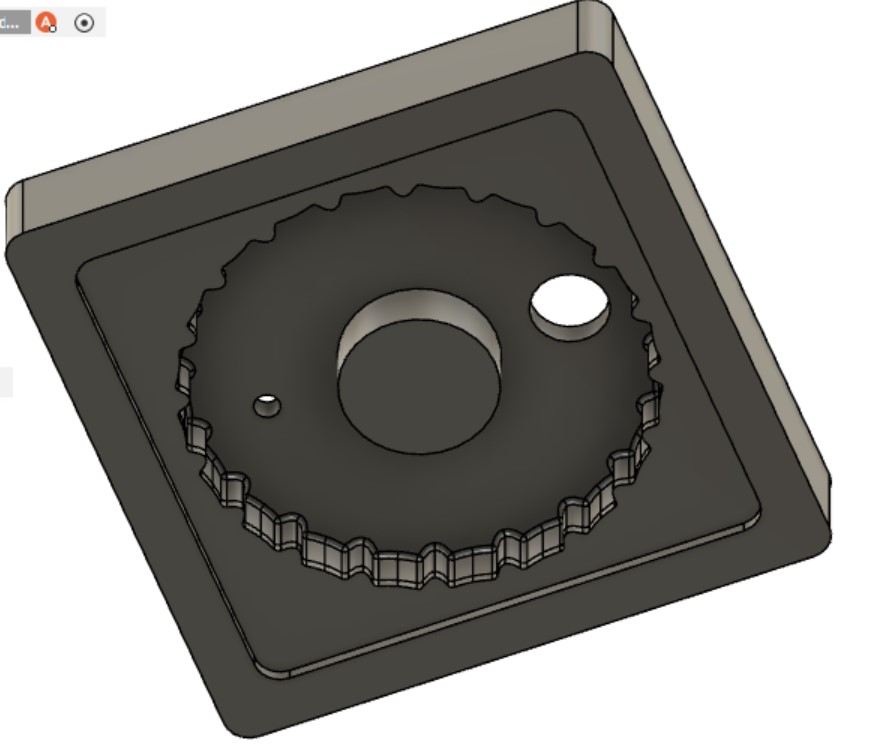
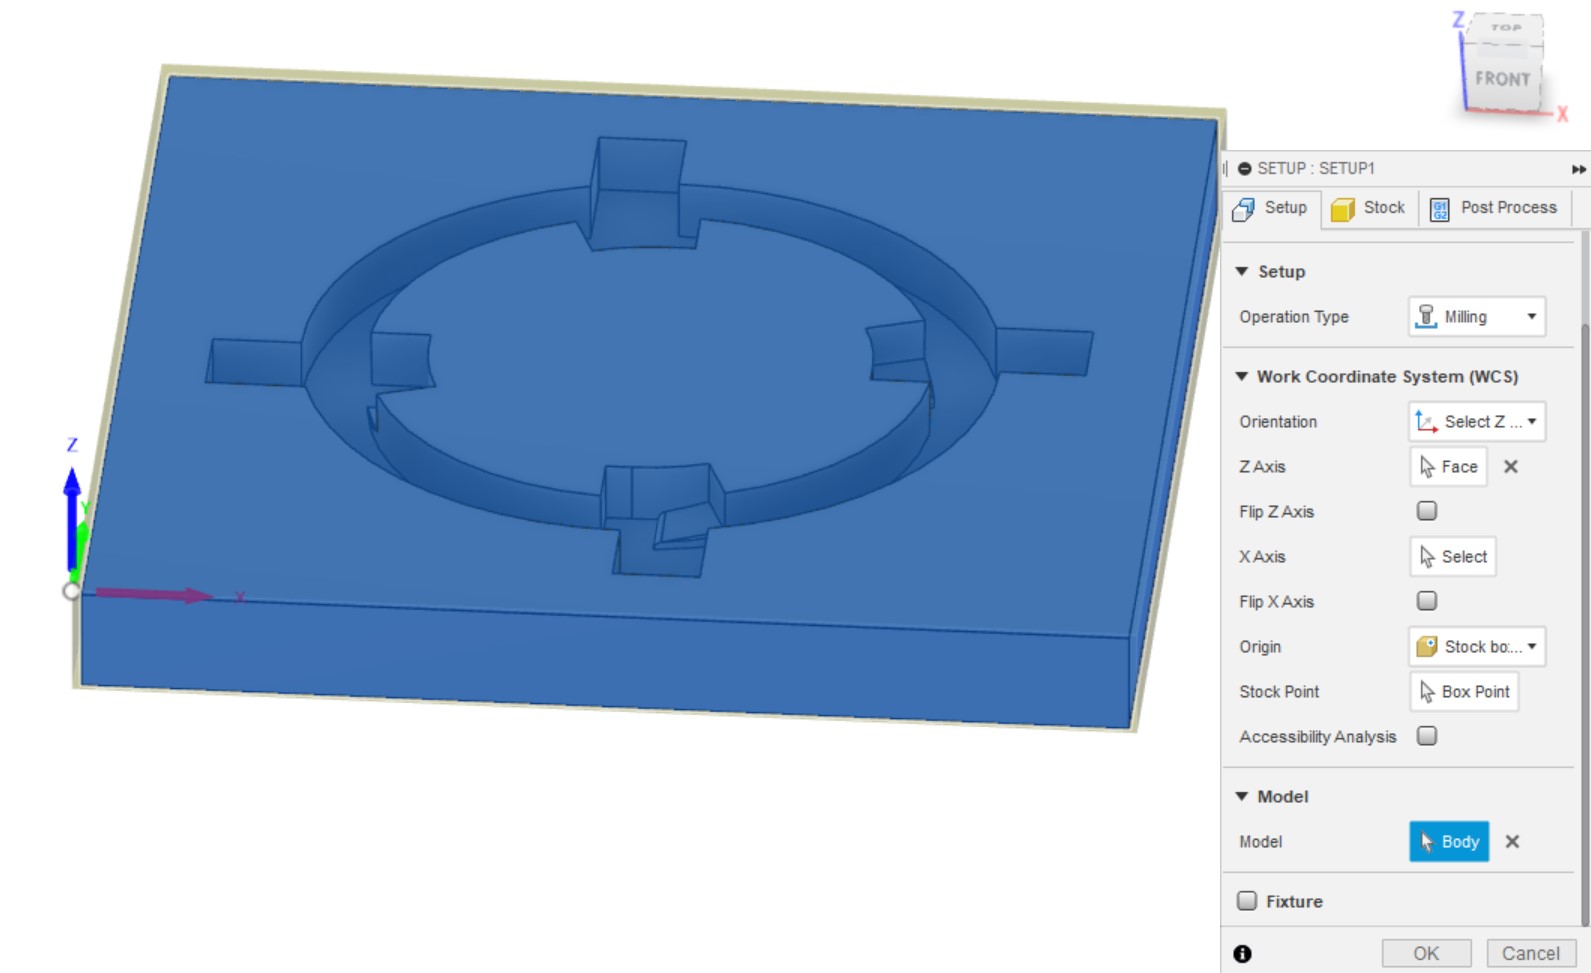
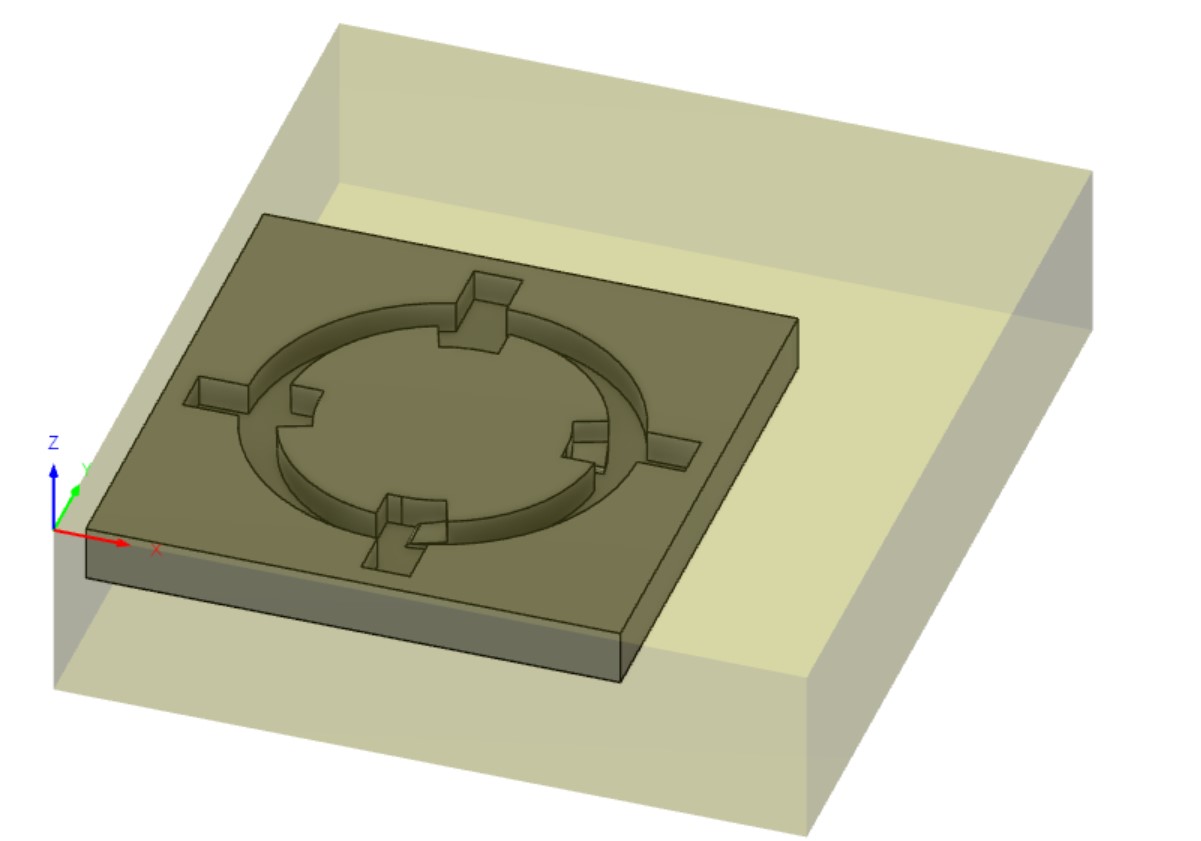
I decided I'll mold the lid of the trigger mechanism for my final project. Due to the shape of the design and overhangs, it will need to be a three part mold. I used Fusion 360 to make the design. The first step was to make extrusions larger than the part then use the Combine tool with the Cut setting. After making different pieces in such a way that they'll fit onto one another, I made another box and used the Combine tool to simulate the mold to make sure it would work, and after some adjustments, I made a design I was happy with. I then made molds for the molds in the same way, adding extruded holes in the top piece for a place to pour and a place for trapped air to be released. I also added 1 deg drafts to most of the pieces (not in the final mold but in the rubber mold) that way I could easily remove the pieces, but I didn't stress about making them for all pieces since having a soft component of every cast will make it easier to separate pieces.
I also decided I wouldn't need any tolerance since the pieces casted from the milled wax would be soft.