Vinyl Cutting
Part of this week's individual assignment was to vinyl cut a sticker. I decided I wanted to make a multi-layered snowflake using Cuttle.
Designing The Snowflake
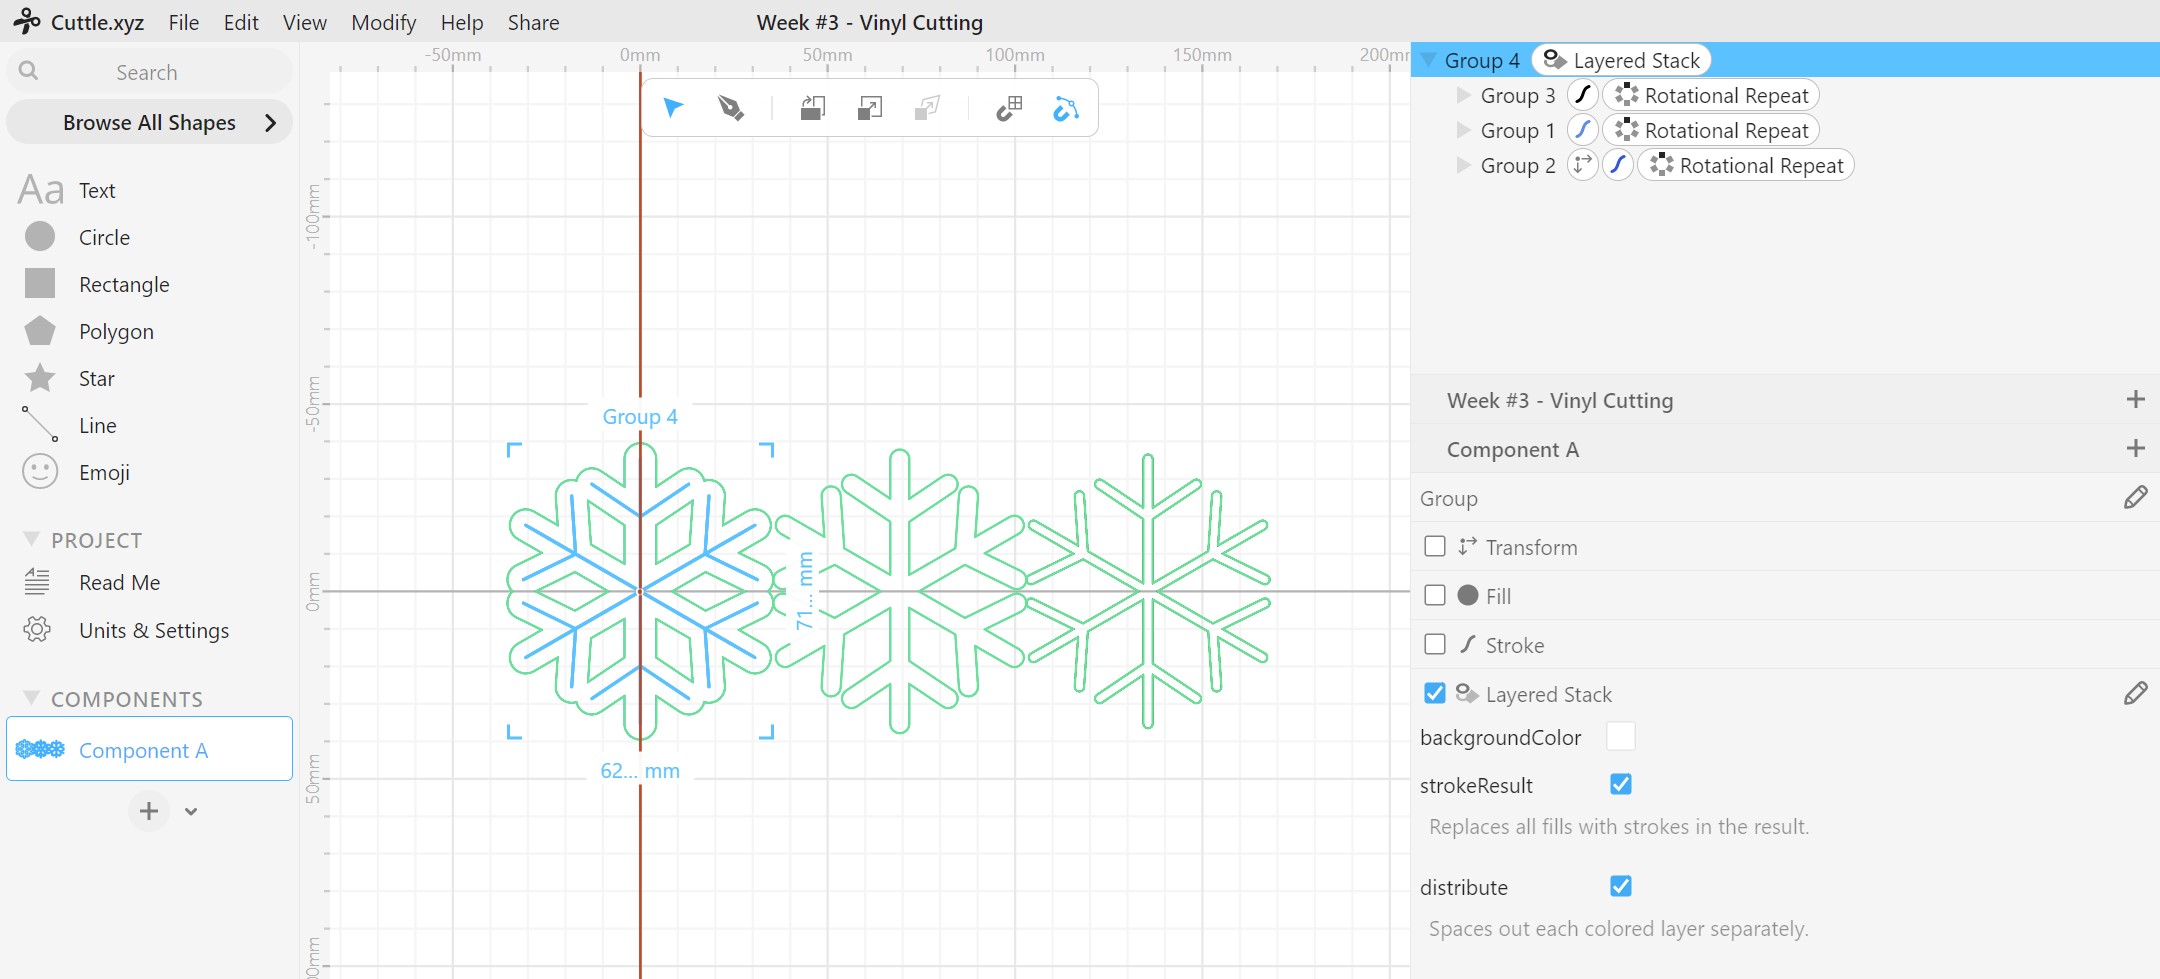
To start out, I found this tutorial on how to create a layered snowflake in Cuttle. I started out by using the Line tool to draw one arm and then a branch off of that arm. I used the Modify > Mirror Repeat command to mirror the branch across the arm, then I used the Modify > Rotational Repeat command to rotate the entire design around the origin six times. This worked on the first try.
I then selected the entire group of objects and made sure that stroke was selected, hairline wasn't selected, and increased the width until I was satisfied with it. I also changed the color, although this is only for visibility in Cuttle as the real color depends on the color of the vinyl I put in the machine.
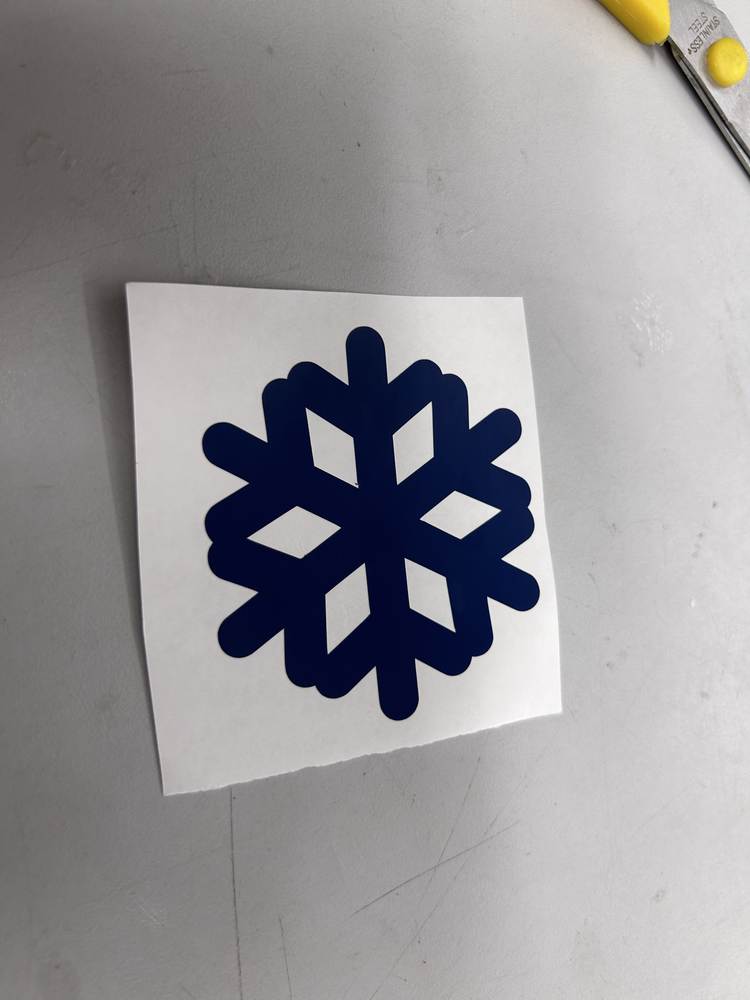
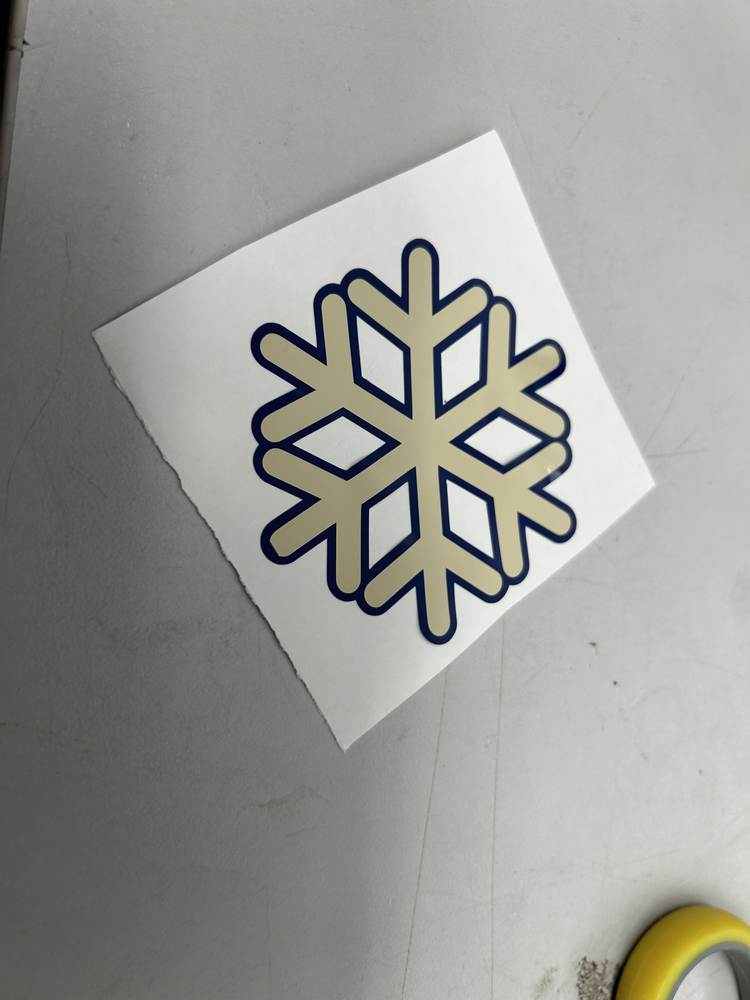
Next, I duplicated the group and decreased the width of the upper-most group and changed the color, creating a layered effect. I completed this one more time with another copy and even smaller width, then selected all three group and used the Modify > Flatten Stack command. On the newly-created group, I checked stroke result, creating this outline of the three snowflakes!
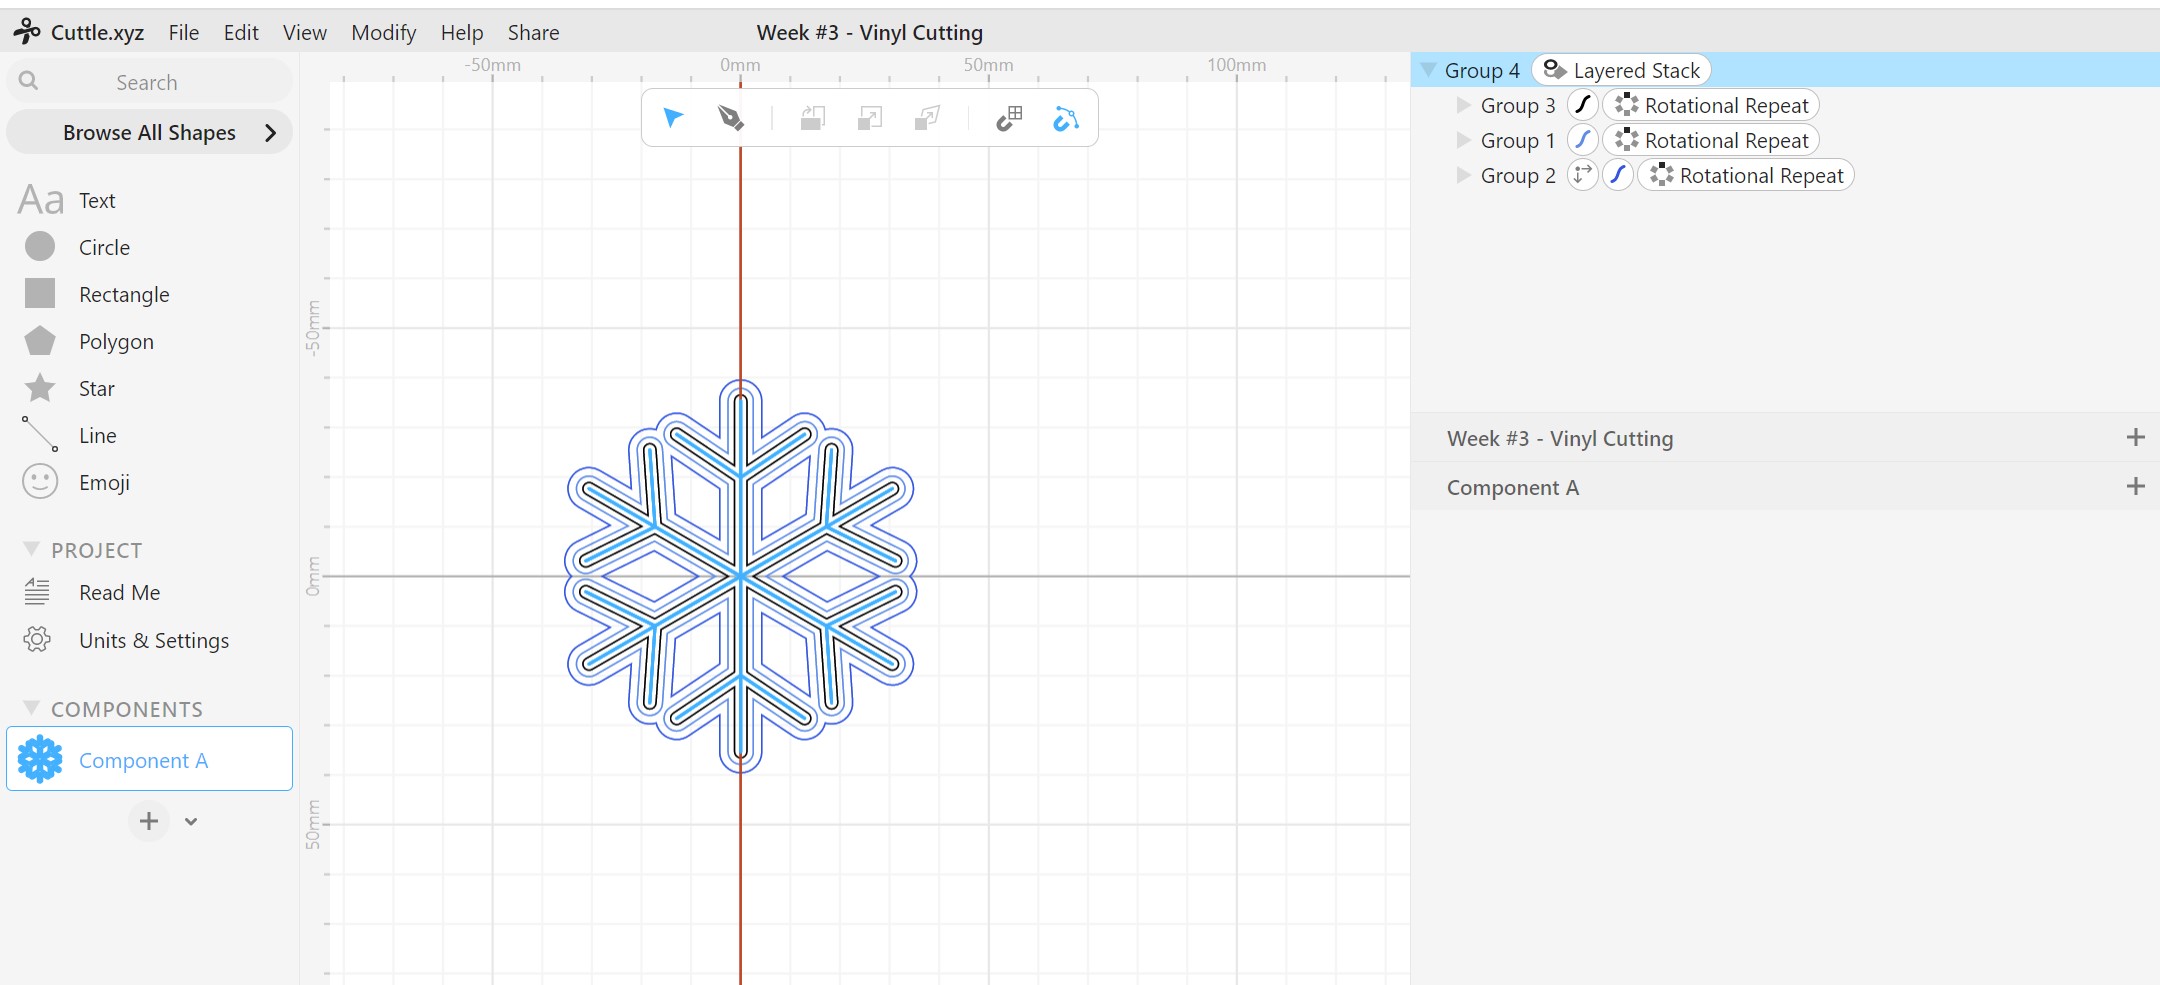
Here is a link to the final design!
Silhouette Studio And Cutting
Exporting And Uploading
I clicked File > Export SVG then uploaded the SVG file to Google Drive. I then downloaded it on a computer connected to a one of the vinyl cutters.

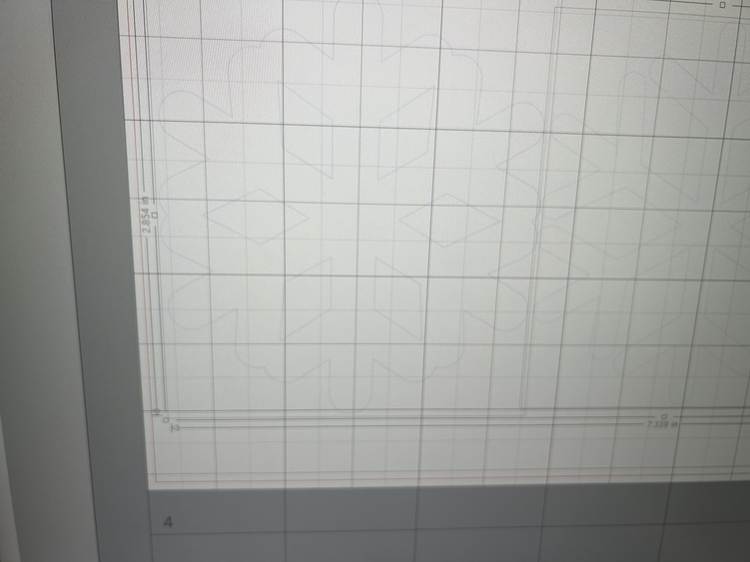
I opened the SVG in Silhouette Studio but realized that I couldn't separate the snowflakes!
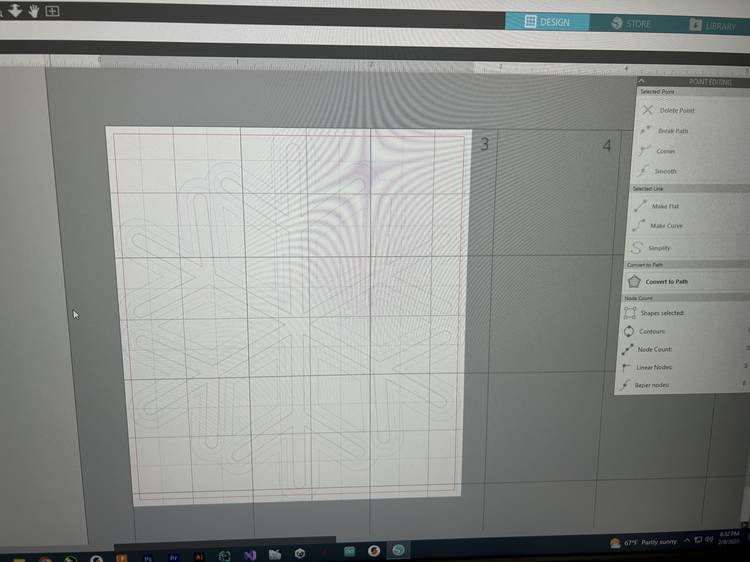
So back in Cuttle, I checked the distribute box under the highest group.
Then I exported as an SVG again and downloaded the file on the other computer. Now I was able to move around each individual snowflake.
Formatting For Cutting
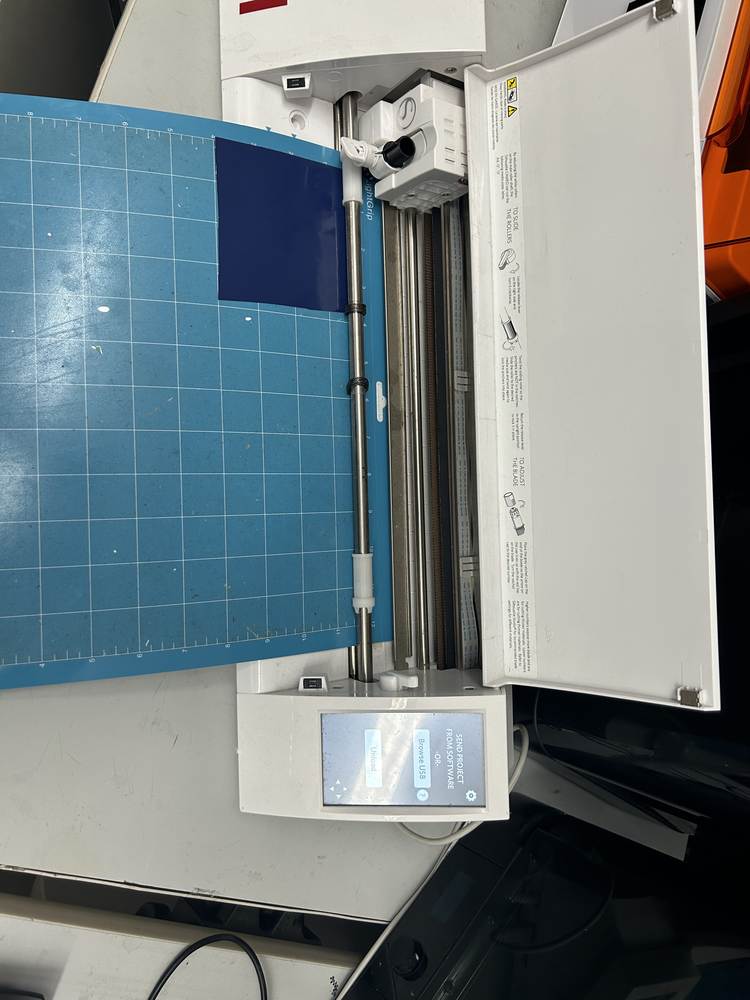
I deleted the smallest two snowflakes, resized the largest snowflake to where it was below 3in X 3in, navigated to the SEND menu.
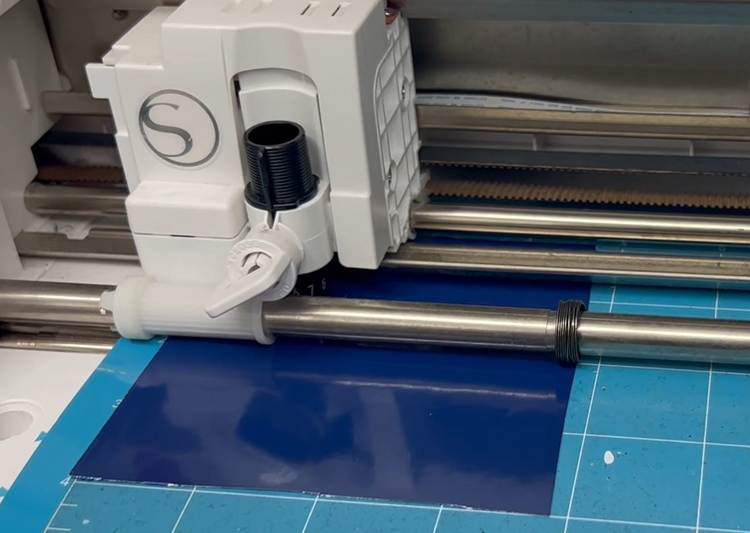
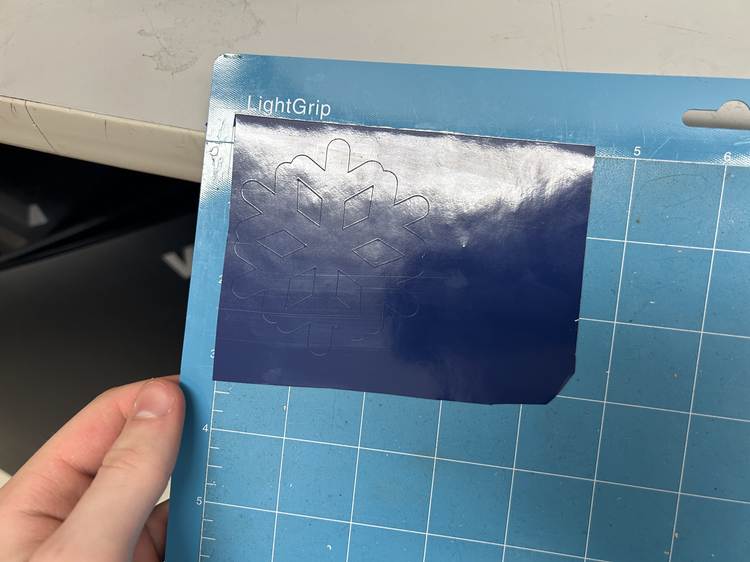
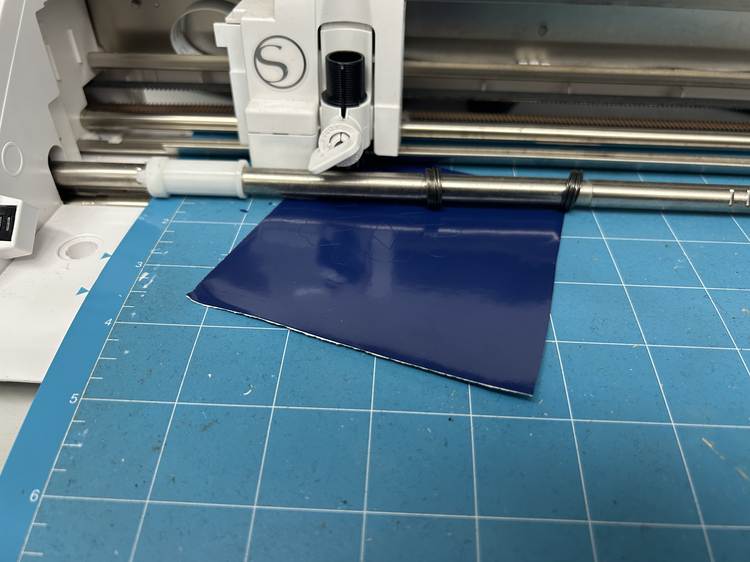
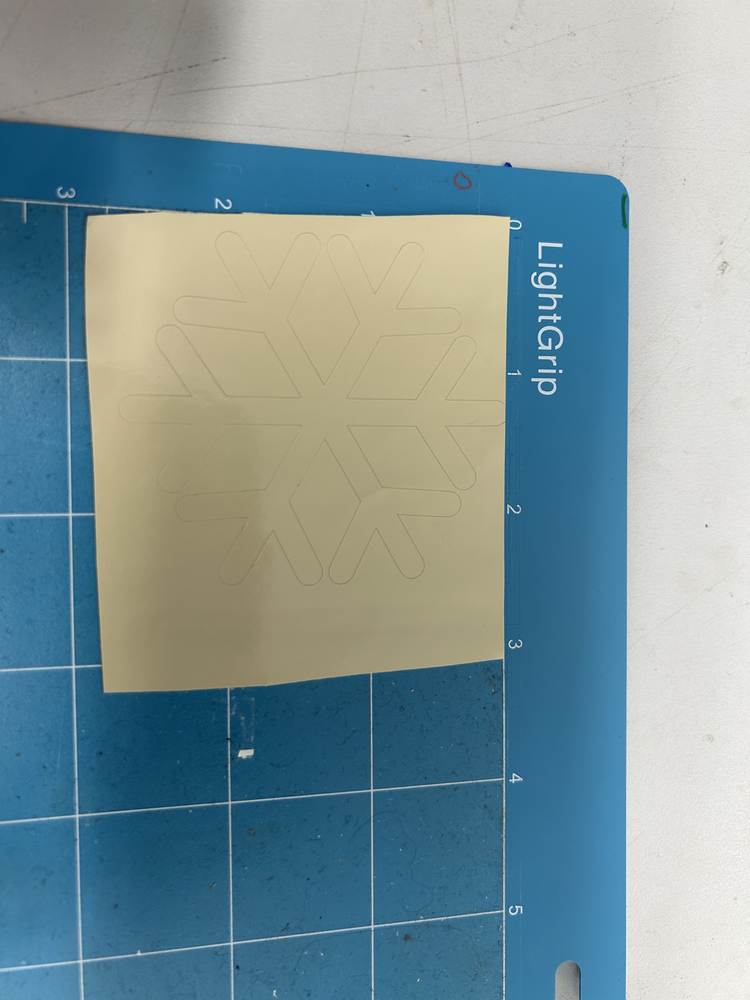
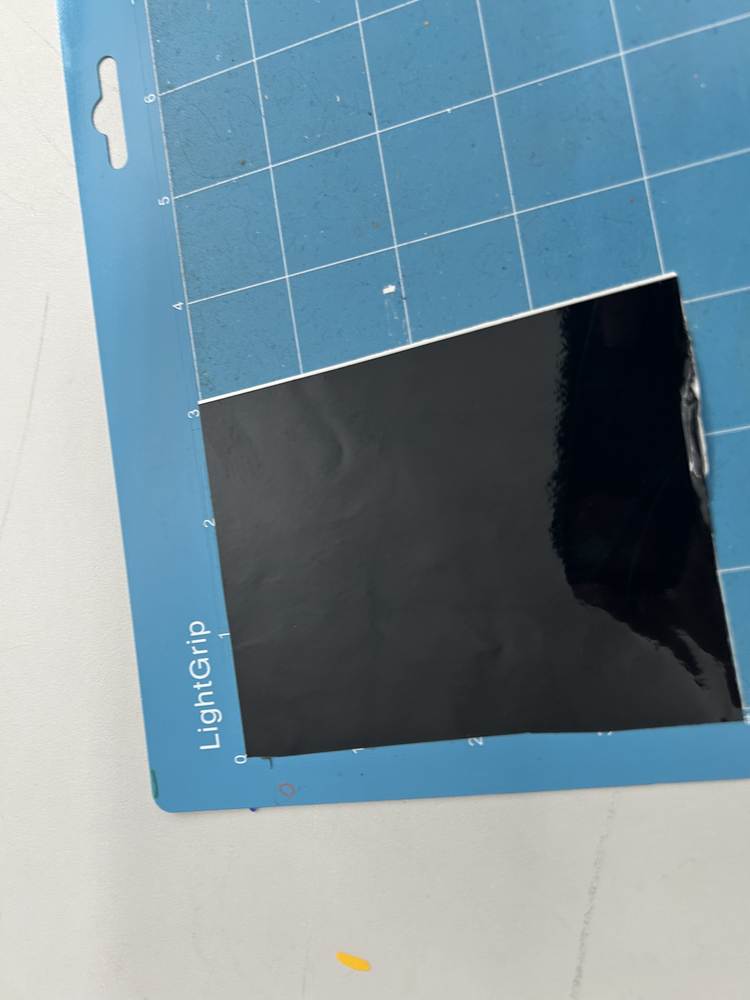
Finally, I put the vinyl on the cut mat, loaded the cut mat, and pressed SEND.
The cut almost worked, except for that the very top of the snowflake was cut off! This meant my design in Silhouette Studio was placed to close to the top of the page. I moved it down slightly, placed a new piece of vinyl, and sent the cut again.
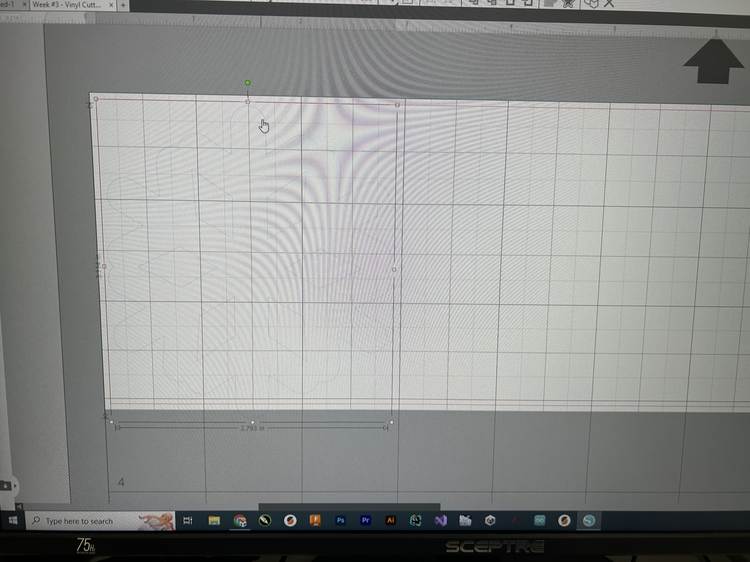
I had to increase the page height before sending the cut as the bottom of the snowflake was cut off, and this time it worked perfectly!
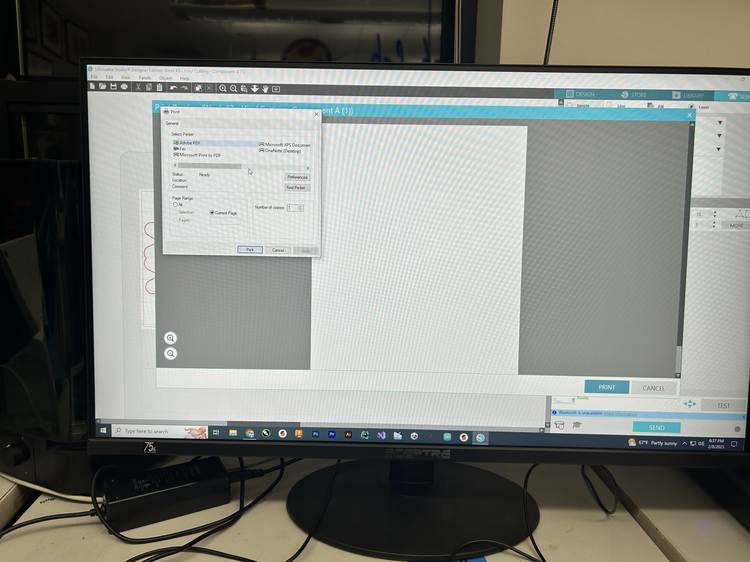
Before pressing SEND I had tried to use Ctrl + p but this brought me to a print screen, not sending the design to the vinyl cutter.
Weeding
I proceeded to cut off larger chunks on the edges of vinyl that weren't used so that they could be saved.
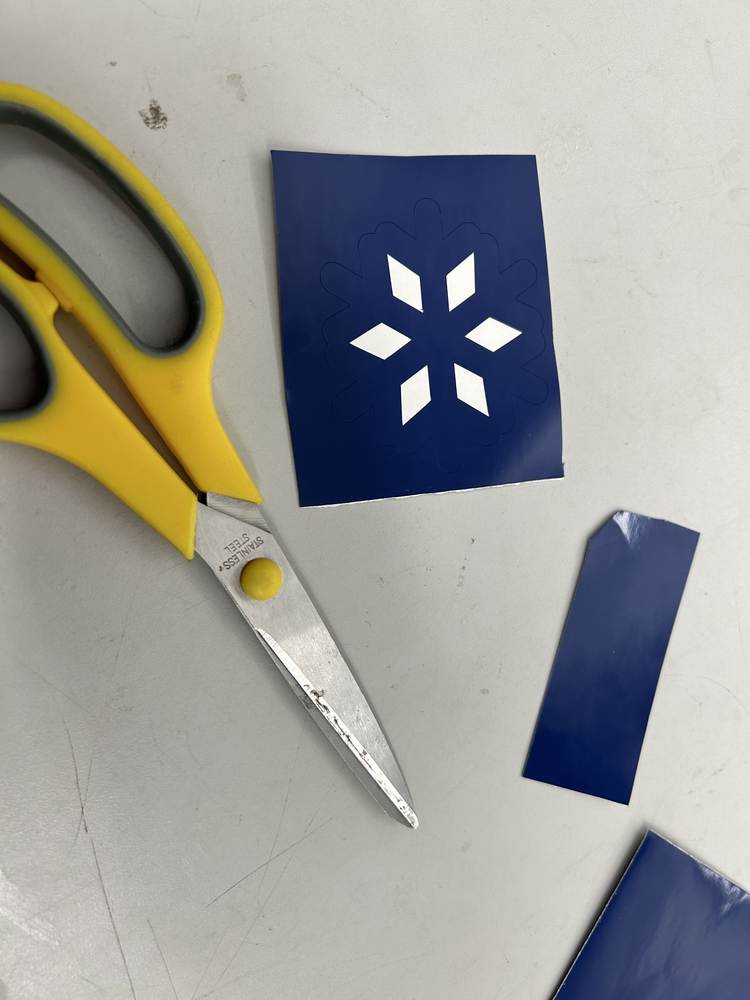
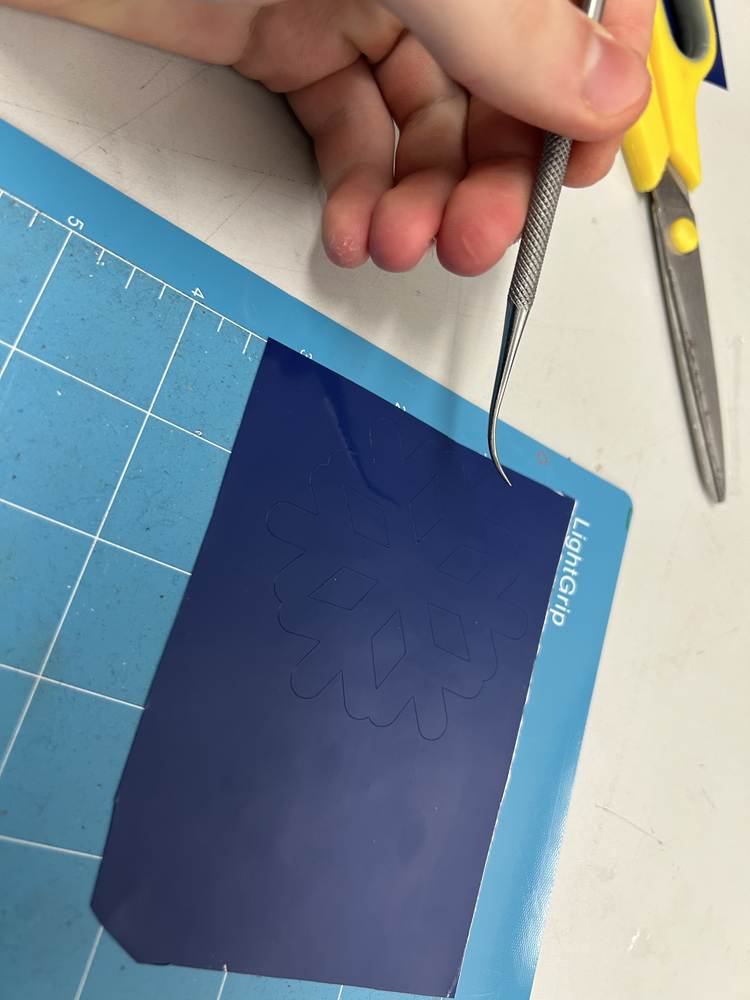
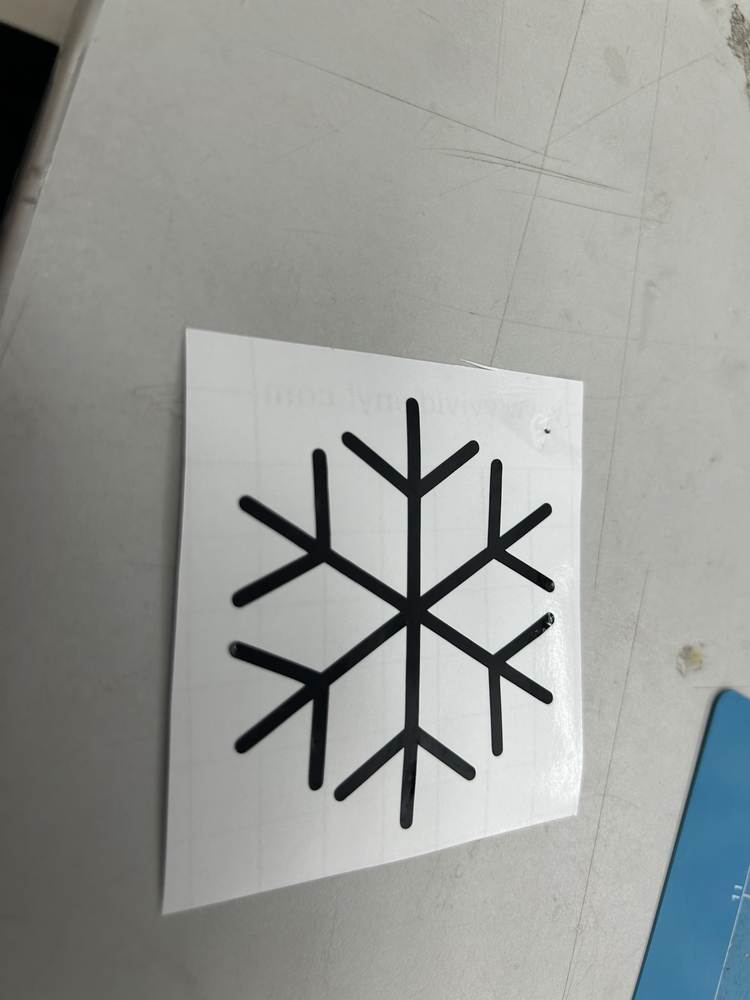
I then used a weeding tool to weed the design.
Scaling Troubles
Next, I went back to Silhouette Studio. I had copied the three snowflakes before I removed the smaller two so that I could easily paste them after I finished cutting one, but I realized that I only resized the larger snowflake after copying all three, so the sizes wouldn't line up! To fix this, I hit Ctrl + z until I was back at the resized snowflake, I looked at the y-dimension of the snowflake, deleted it, pasted all three snowflakes, then resized all three until the y-dimension was the same. Then I copied the resized snowflakes. For the next two layers, I went off of this resized copy.
Slipping Vinyl
When I began to cut the second layer, the piece of vinyl started moving around while cutting, so I stopped the job via the screen on the machine.
To fix this, I used the air bubble removal tool to make sure the piece of vinyl was securly stuck to the mat, and I also decreased the Force setting in Silhouette Studio from 10 to 9, hoping the blade would still cut through while not moving the vinyl.
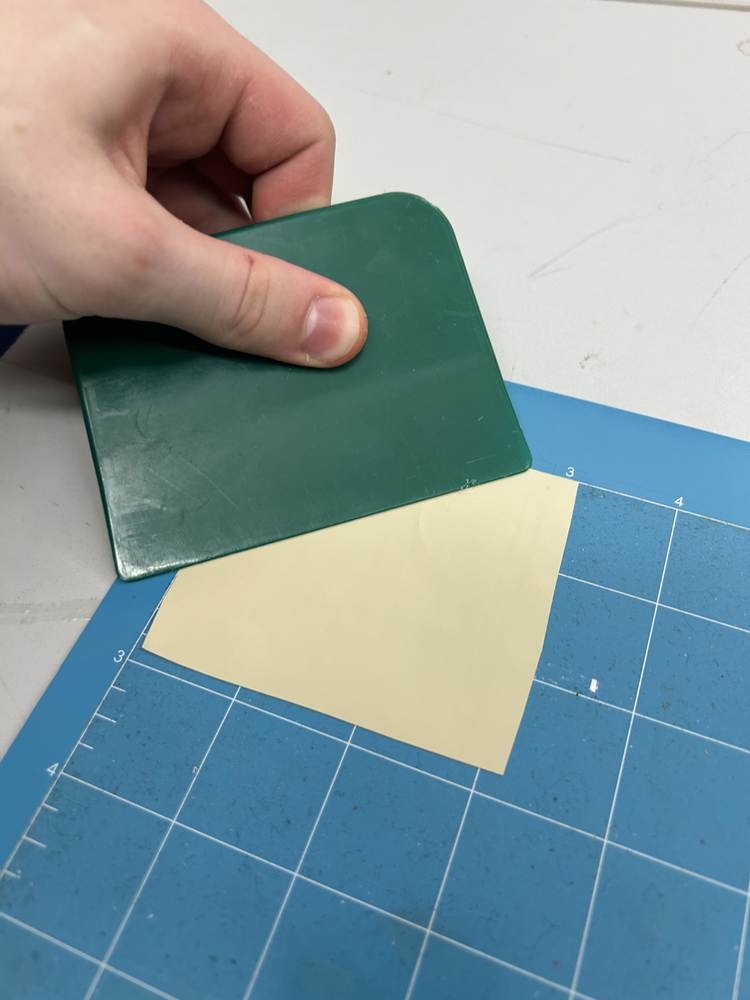
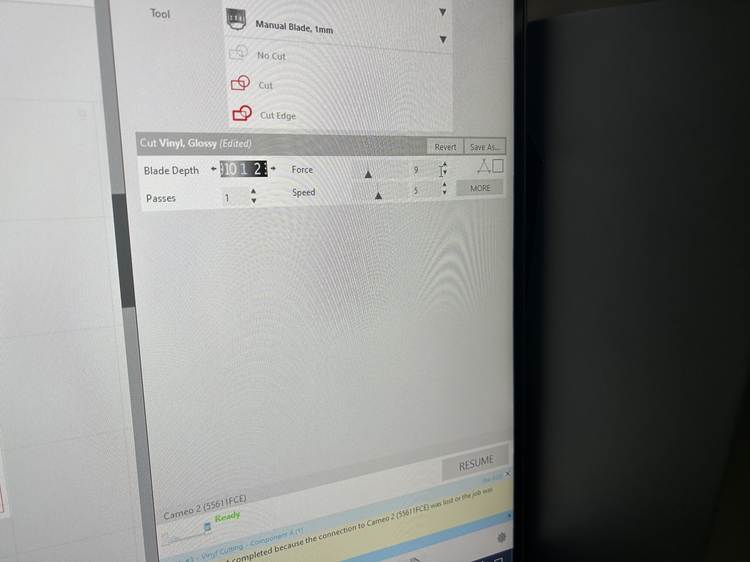
This worked successfully!
Middle Layer Transfer
Next, I had to put this layer onto the bottom layer. I cut a square of transfer tape and stuck it over the middle snowflake, removal all air bubbles
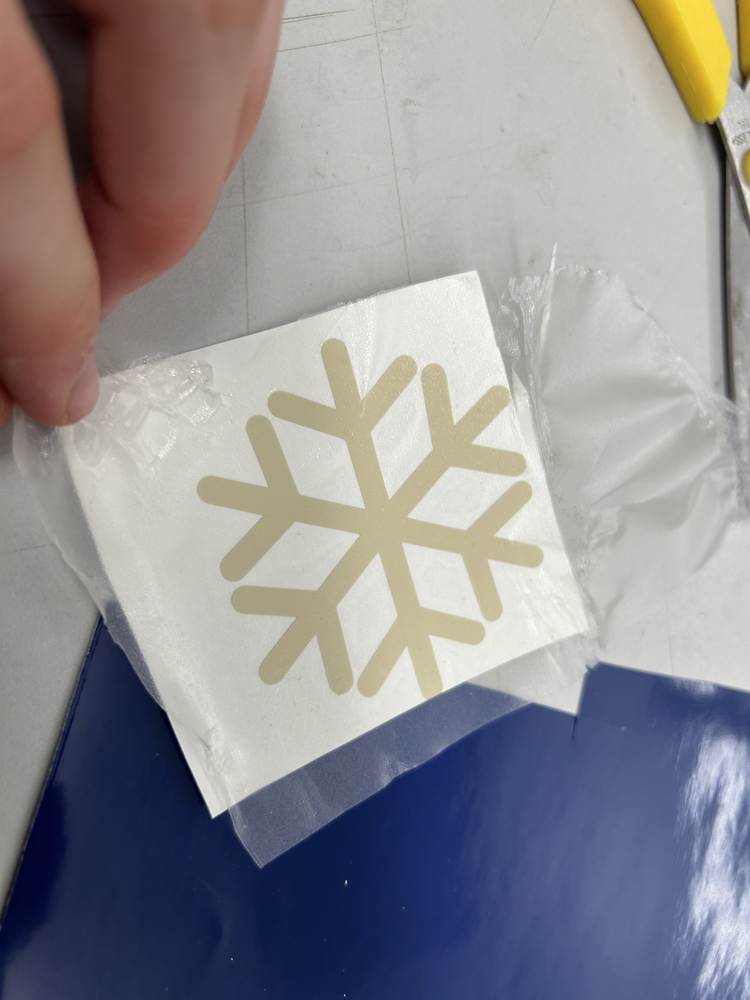
I then carefully peeled the transfer tape off along with the snowflake. I then very carefully placed the transfer tape with the snowflake down on the bottom snowflake, pressed down and removed air bubbles, then carefully peeled off the transfer tape leaving behind both layers. This worked successfully first try!
Negligible Nick
The only part of this layer that I was dissatisfied with is that the very tip of one of the arms of the snowflake was cut off while vinyl cutting. I will come back to this if I have time at the end of this week, but it is not critical to my learning for this objective or my individiual weekly project.
Top Layer
I went back to Silhouette Studio, pasted the resized snowflakes, and removed the largest two snowflakes. I then sent it to cut and it worked the first trying, using the same level-9 force as with the middle layer.
This layer was by far the hardest to weed as the branches were so small that they didn't come off as I peeled the outside vinyl while weeding. To address this, I used my weeding tool to push the small branches out of the vinyl. After painstakingly ensuring that none of the branches broken, I finally finished weeding the top layer.
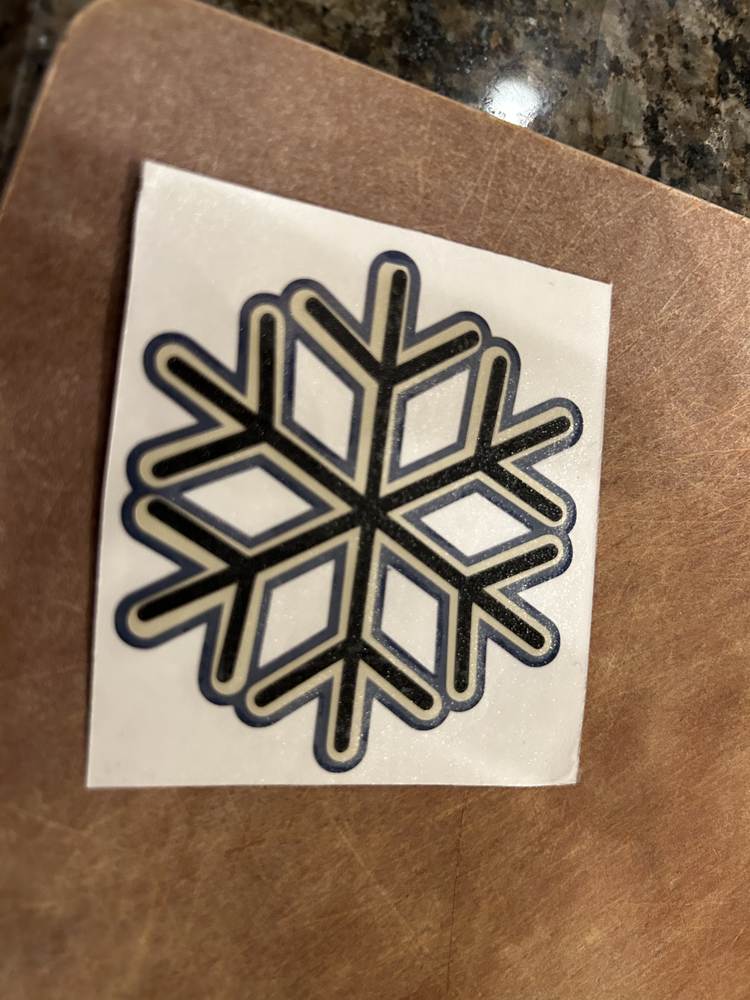
I used transfer tape to move it onto the other two layers, and the sticker was complete!
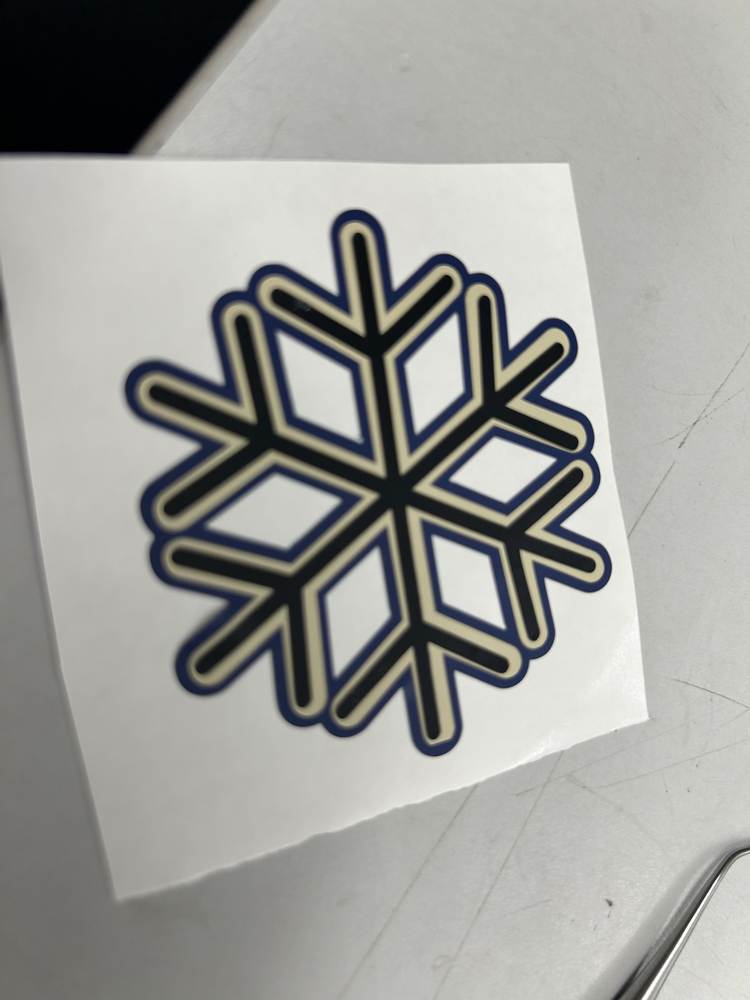
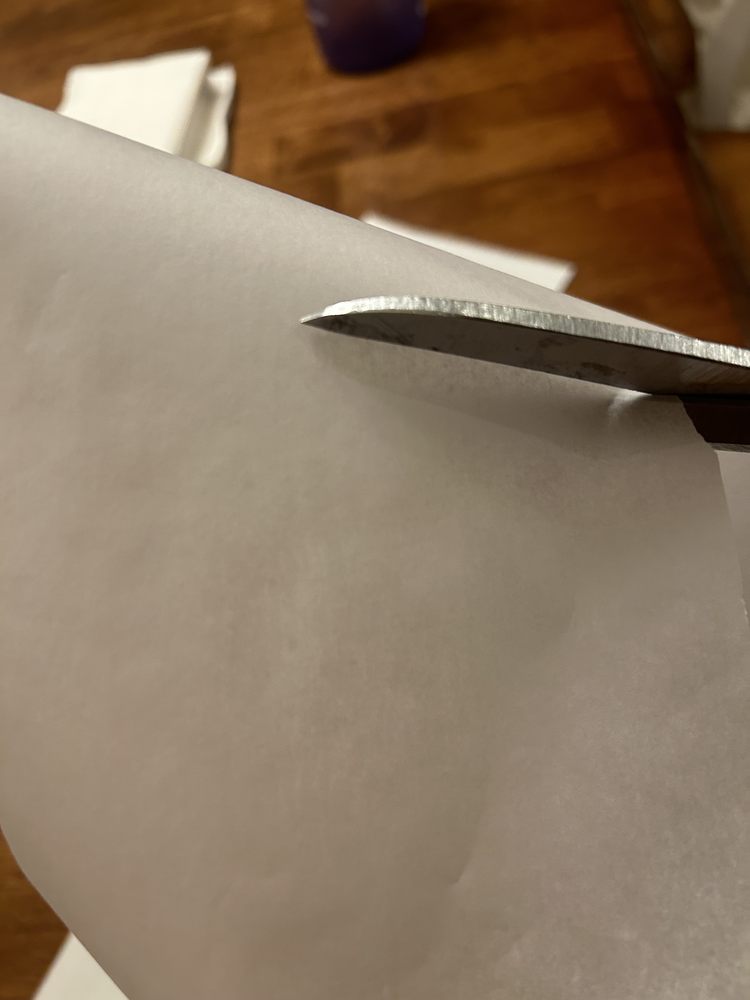
Finally, I put transfer tape over the entire snowflake and cut out a square. The tape wasn't cutting easily with scisors, so I used a box cutter and it worked perfectly!
Lord Farquaad
I was not satisfyied with my snowflake, and I had said that I would come back and make something more impressive if time alotted. Since I'm playing Lord Farquaad in Shrek The Musical at my school at the end of February, I decided to make a sticker of Lord Farquaad's head!
Finding A Design
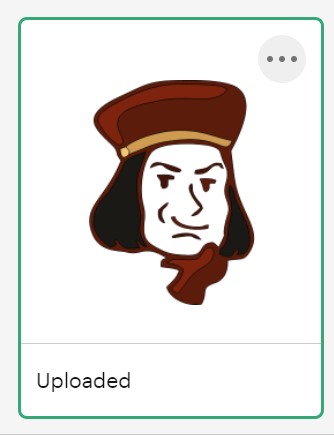
After some searching, I found this cartoon drawing that was simple enough to vinyl cut.

CorelDRAW
Bitmap
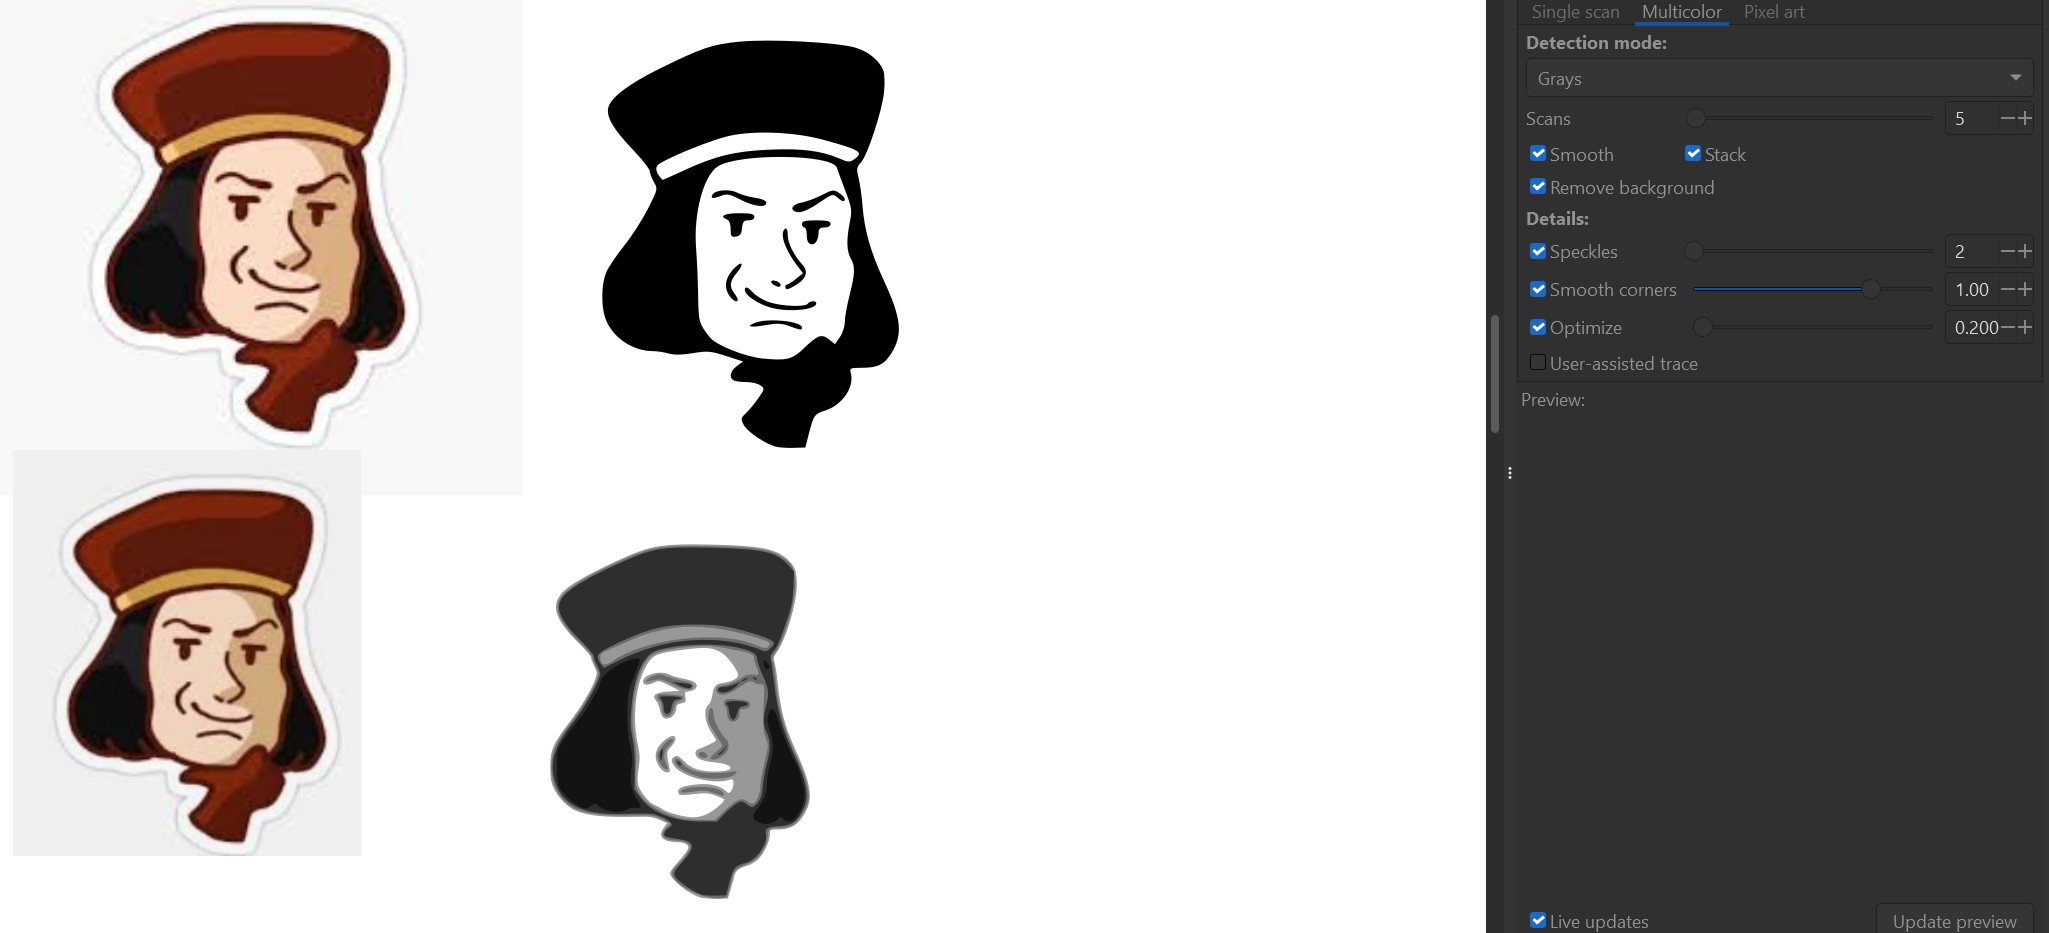
I played around with bitmap tracing in Inkscape, but couldn't get a result I was satisfied with, as all of them were either too detailed or not detailed enough, and it was very unintuitive to merge different colors or parts of the bitmap into one.
I then tried using CorelDRAW which worked far better, although it took some tried to get there.
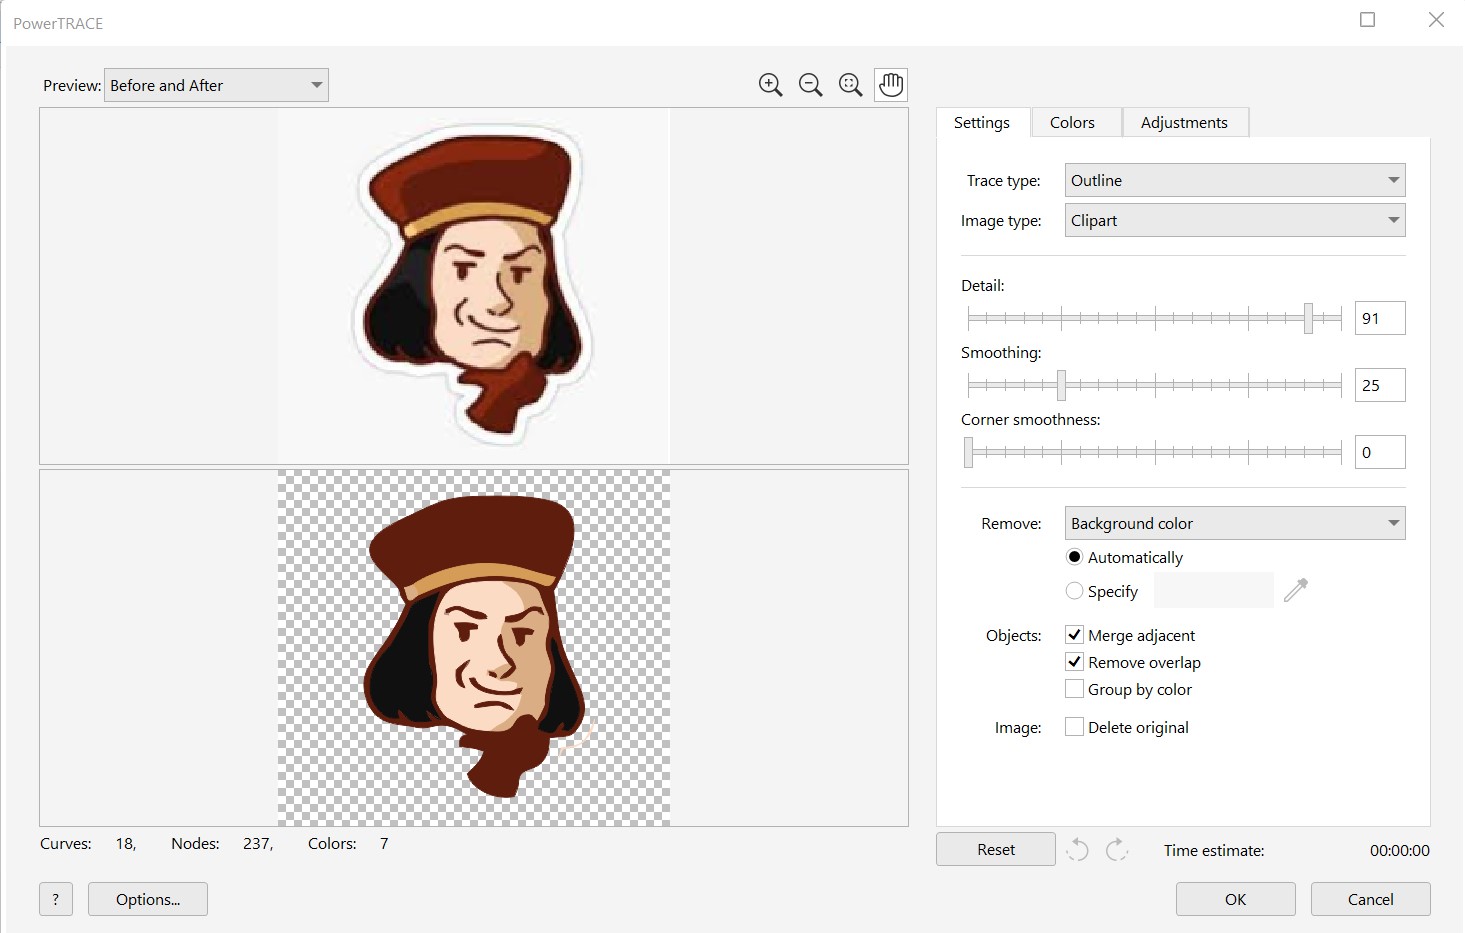
First I tried using the Bitmaps > Outline Trace > Clipart tool, but I couldn't get the shadows on Farquaad's hand and hat to work right. The facial features were also red, but this wouldn't have mattered if I ended up going with this design as the shapes would still be cut out.
I then tried using Bitmaps > Quick Trace instead, but this didn't work well.

I tried going back and using an clipart outline trace again but going to the Colors tab in the bitmap dialogue and increasing the number of colors, but I wasn't able to change the number.
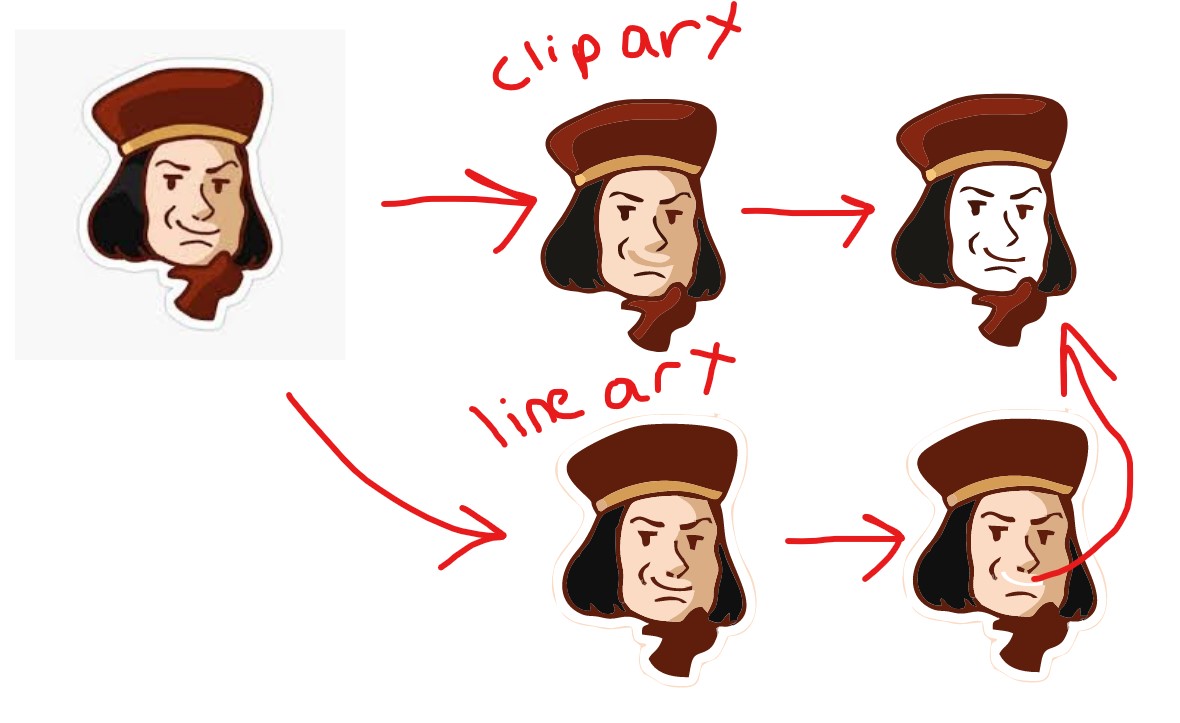
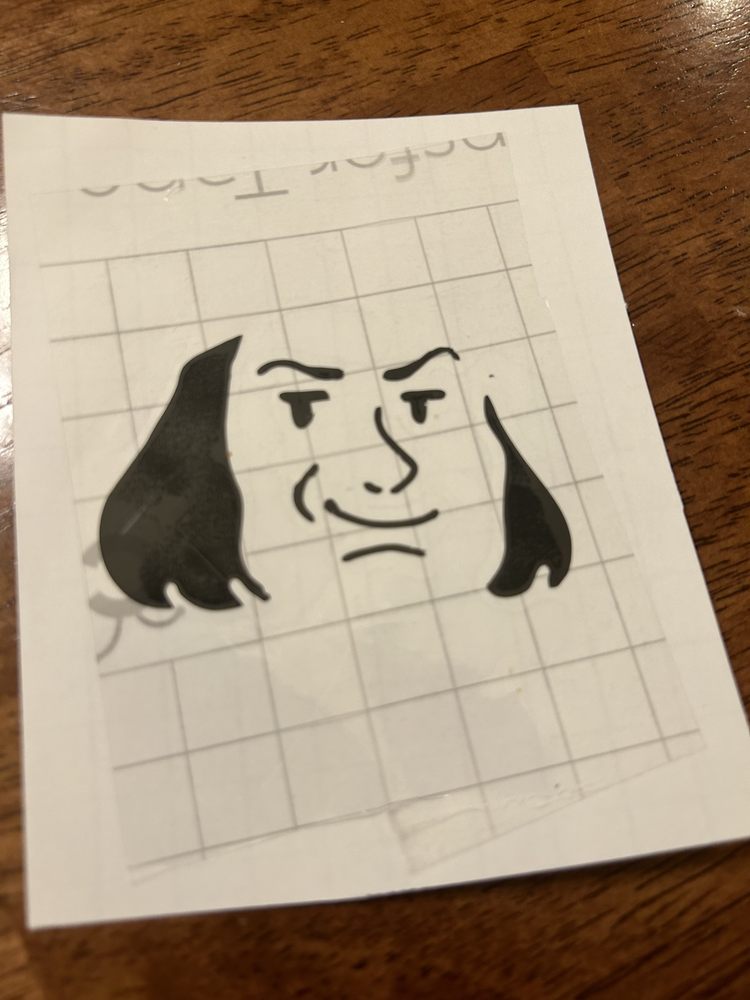
I also tried using the Bitmaps > Outline Trace > Line Art tool, and this was better than the previous attempts, but the mouth was merged with the face. To fix this, I kept the Line Art trace, but also went back to the original imported image and did a Bitmap > Outline Trace > Clipart as well. I then ungrouped both of the bitmaps, deleted the face on the Line Art trace, and moved the mouth from the Clipart trace onto the Line Art trace. This worked perfectly, and it didn't matter whether the mouth was slightly off as keeping the original dimensions of the face wasn't important to me.
Exporting
I then grouped the final face and clicked File > Export, chose SVG, and left the default settings. Yet, when I opened the exported SVG, all of the faces were there! Apparently I can't just export one object by selecting it, so I deleted the others then exported again, and it worked successfully!
Cricut
I opened the Cricut software and clicked New. I then clicked Upload and Upload Image. I selected the SVG and clicked upload. Then I clicked my uploaded SVG in Cricut and selected Add to Canvas.
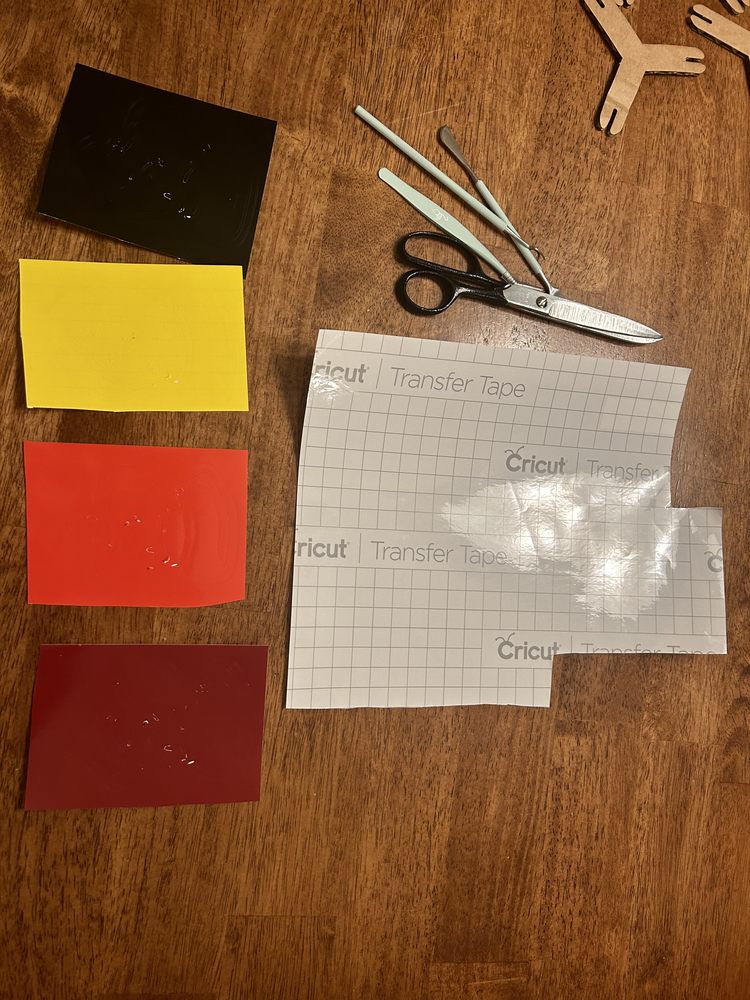
In the design space, I dragged the corner of my design and resized it to be as large as possible while still being under ~3x3in. I then selected all with Ctrl + a, right-clicked, and selected Attach (I read here that the Attach command is critical for ensuring that the design cuts out exactly as displayed in the software). I then clicked Make It, On Mat, Continue, and set pressure to Less. I had trouble earlier when trying to use the normal pressure setting. Now I set the design to cut out one all four colors of vinyl that I wanted to use.
Weeding
After cutting out all of the vinyl, I used scissors to cut out the desing and used a weeding tool to remove all parts of the sticker unneeded for each color.
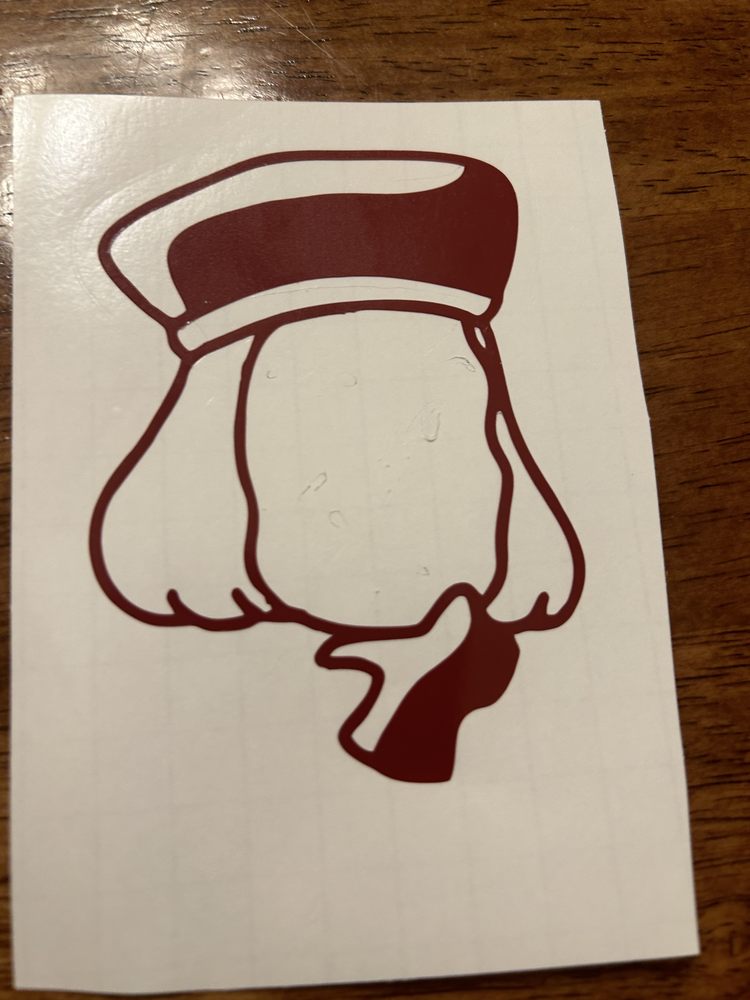
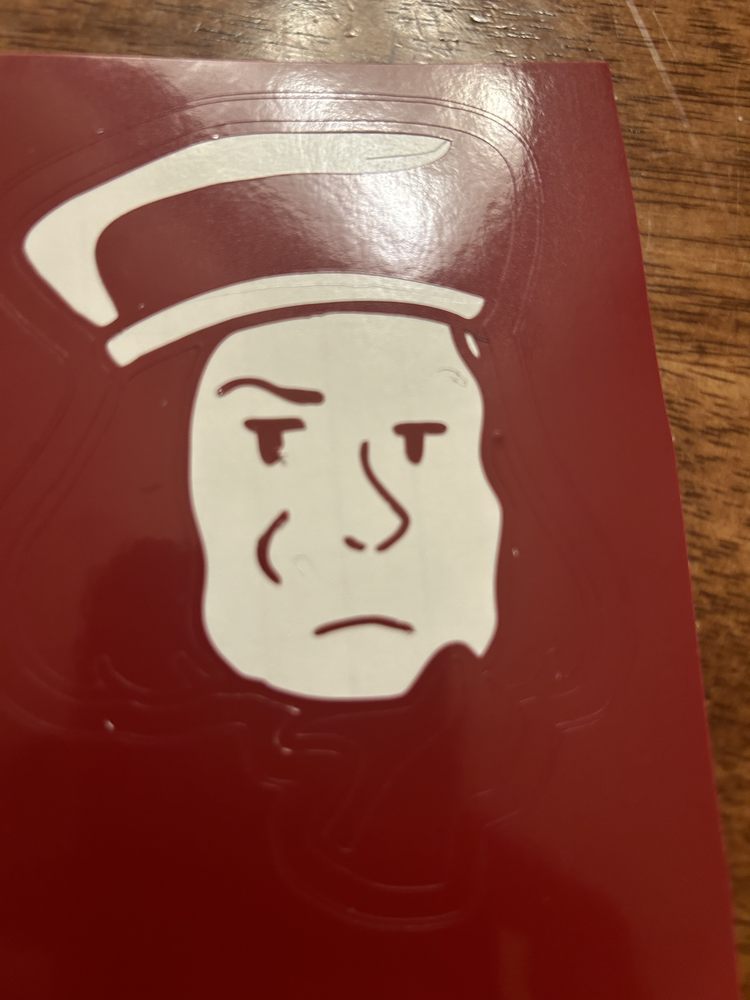
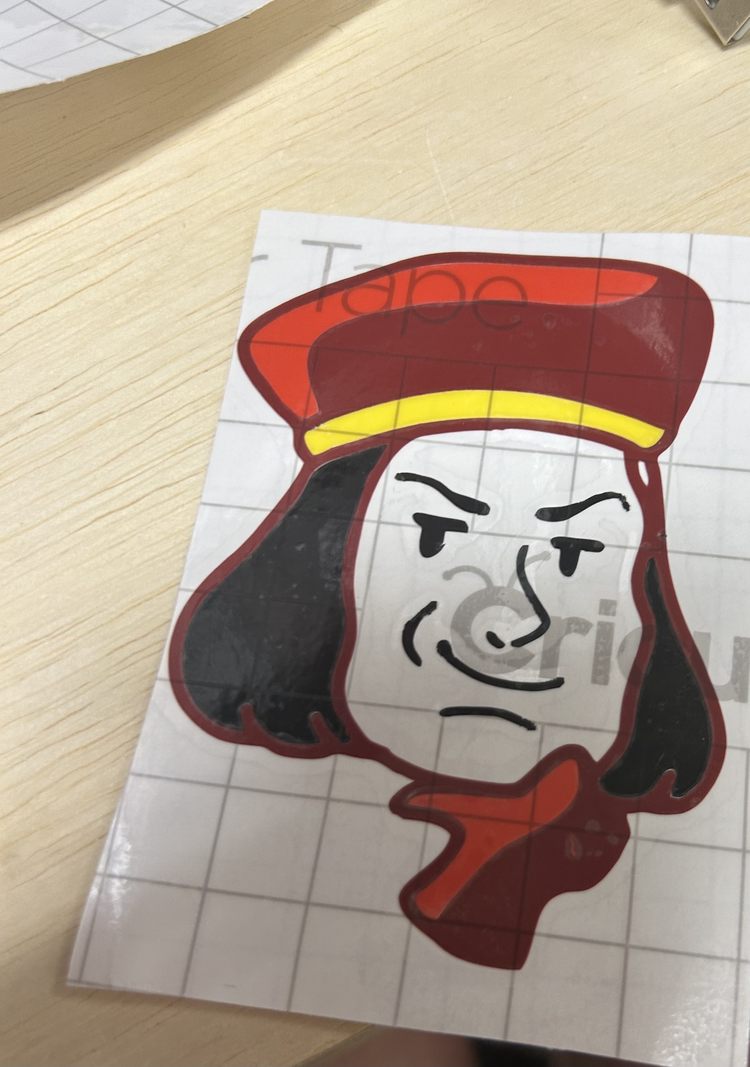
As I was weeding the dark red, Farquaad became very grumpy for a second...
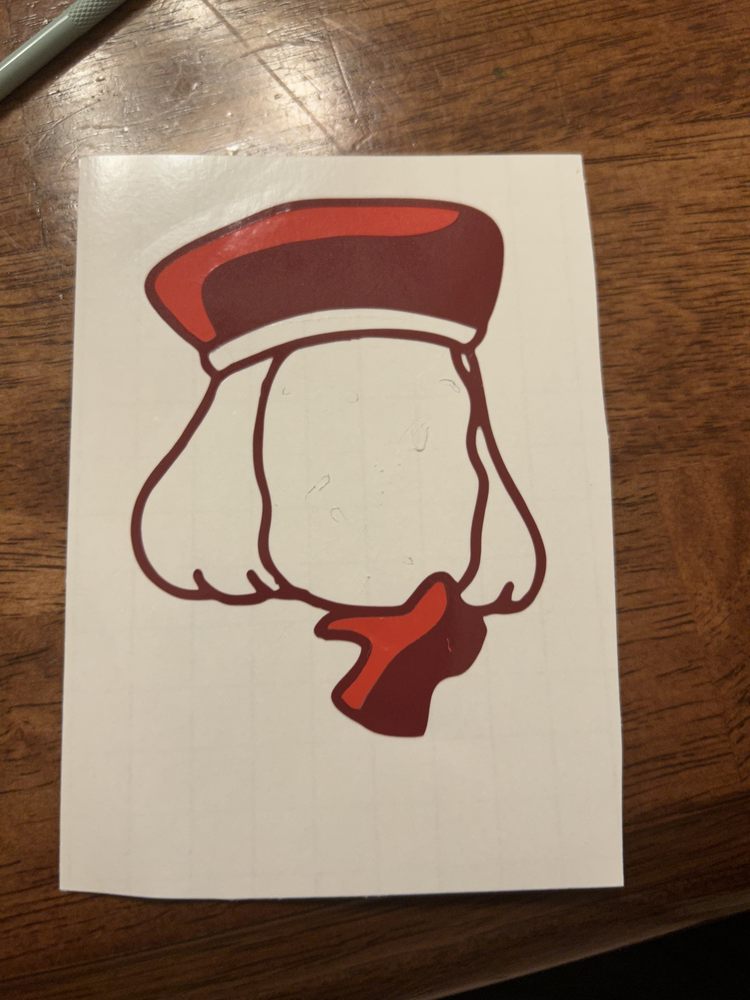
I also accidentally weeded the shadow of the hand, which I wasn't supposed to, so I removed it from the pile of weeded vinyl and stuck it directly where it was supposed to be after being transferred, on the dark red sheet.

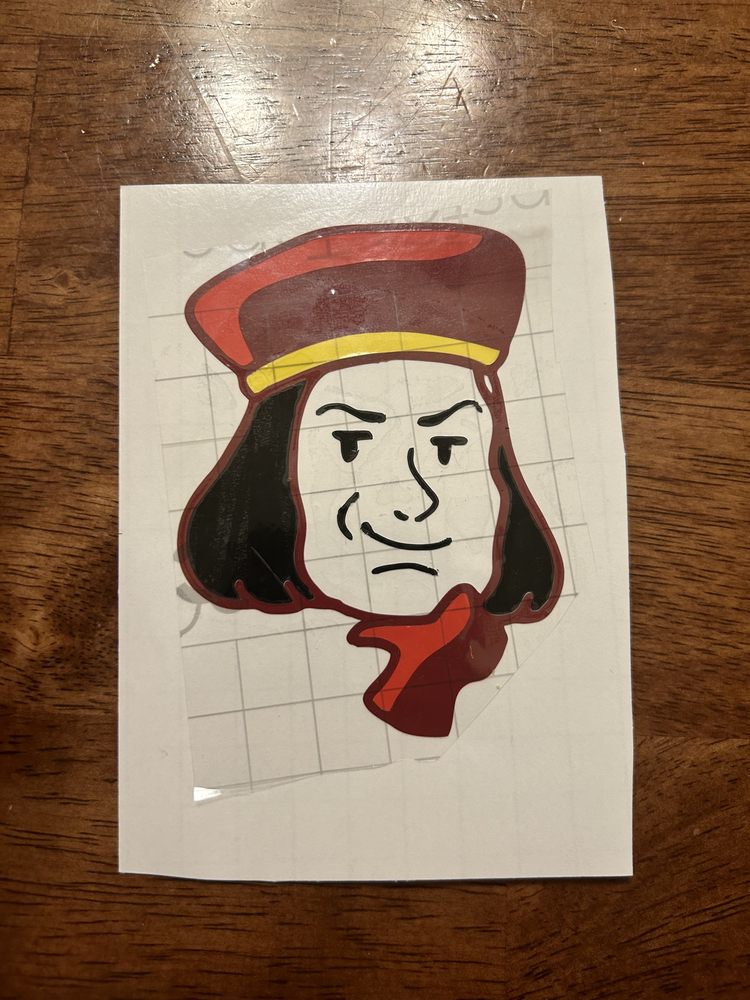
I finished transfering the light red onto the dark red.
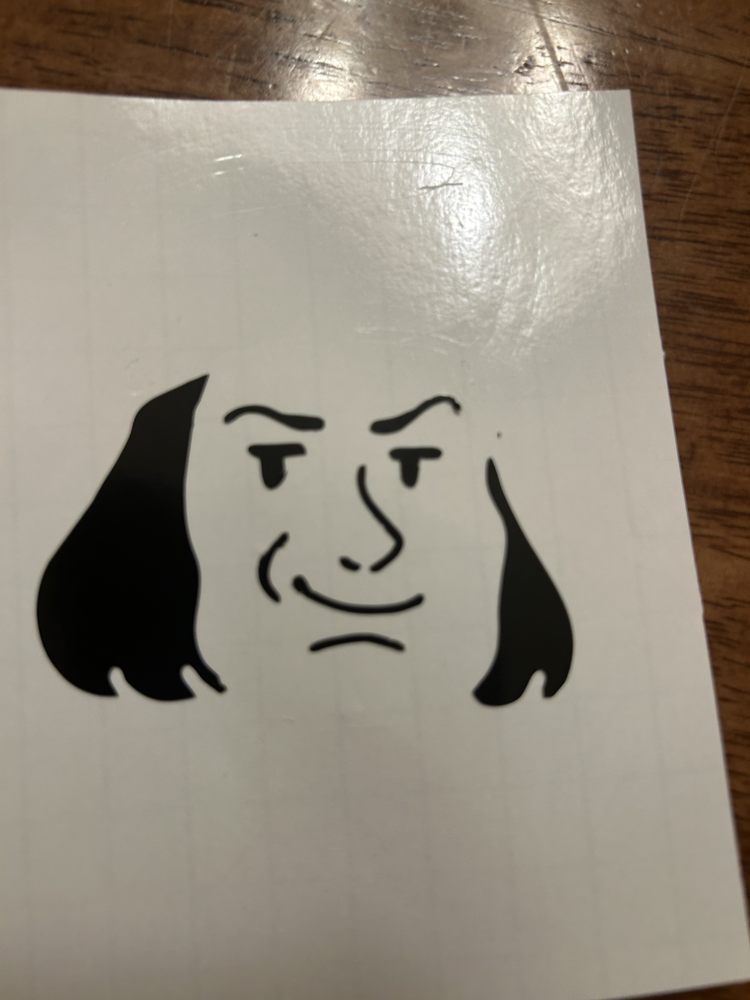
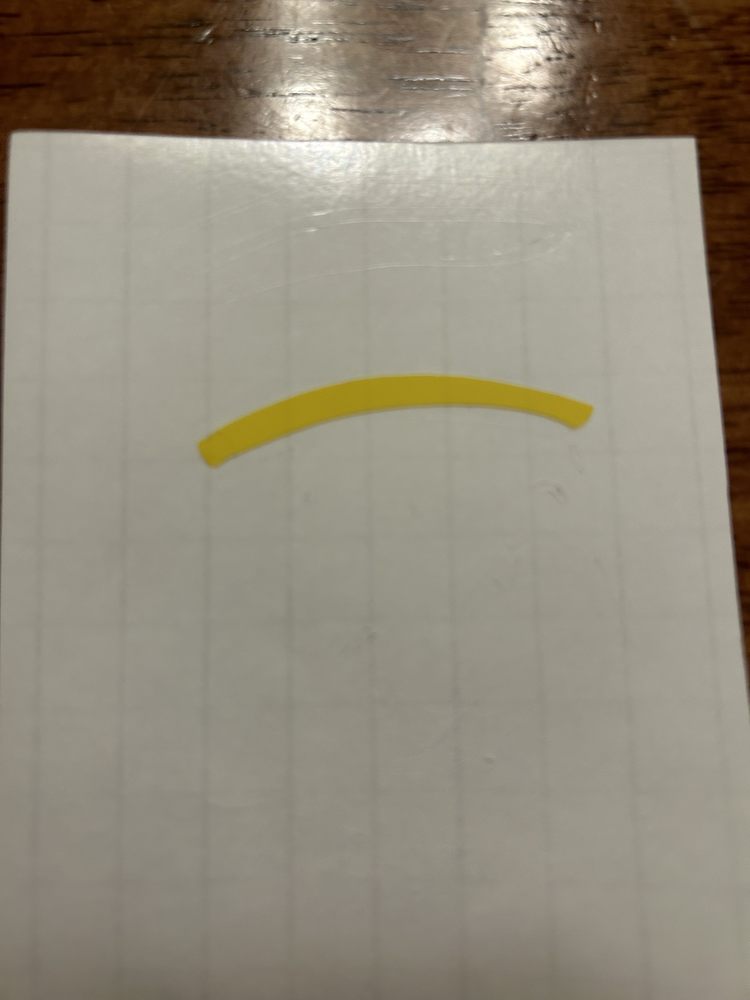
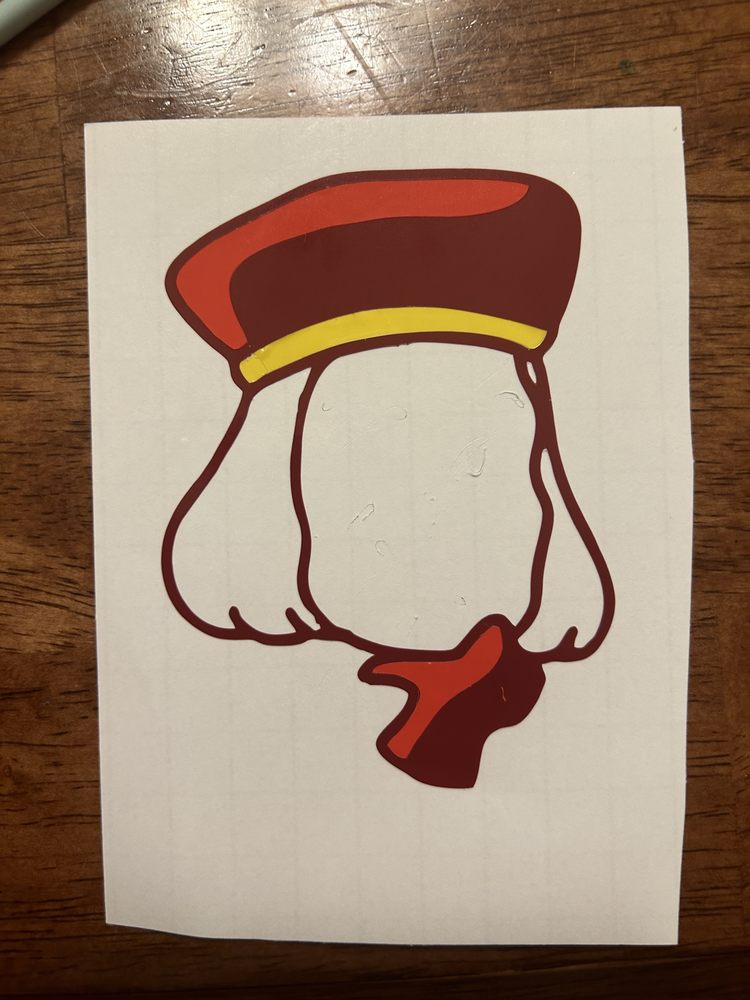
Then I added the yellow and black.
Transfer Troubles
As I peeled up this final piece of transfer tape, it was extremely difficult to stop the smaller eyebrows and mouth from coming up when peeling the tape. This took a very long time, and I carefully held parts of the pieces down with a weeding tool as I peeled, which eventually worked!
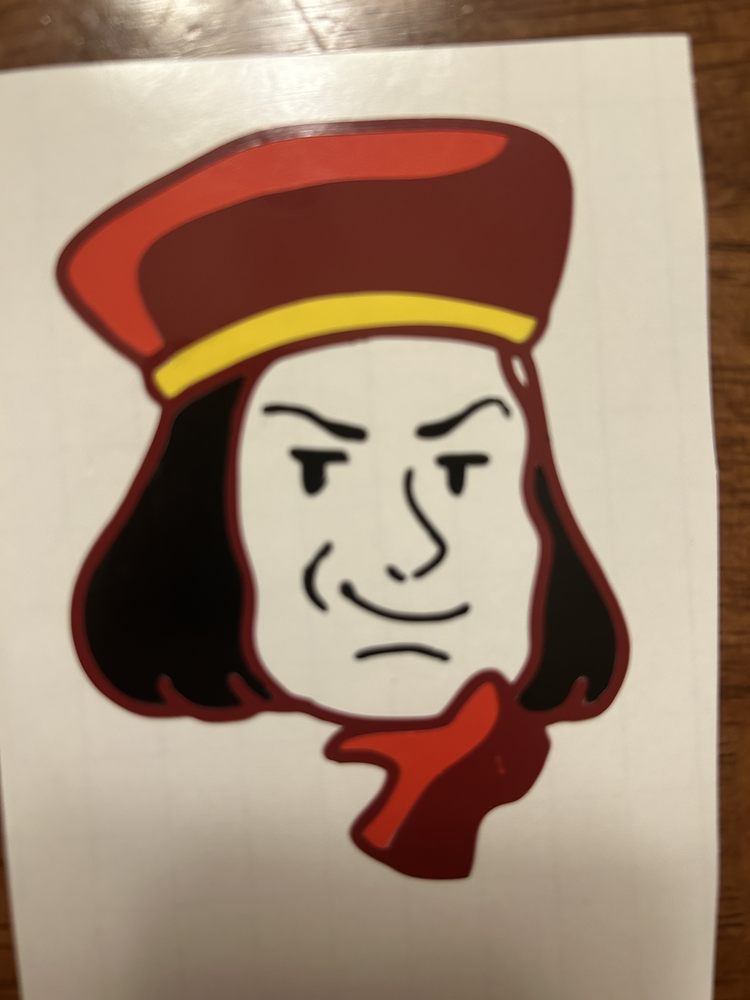
I then put down the final, large piece of transfer tape and my sticker was done! In hindsight, I should have just used a larger amount of transfer tape when moving the black onto the rest of the design then used that for the overall covering tape, but my method still worked.
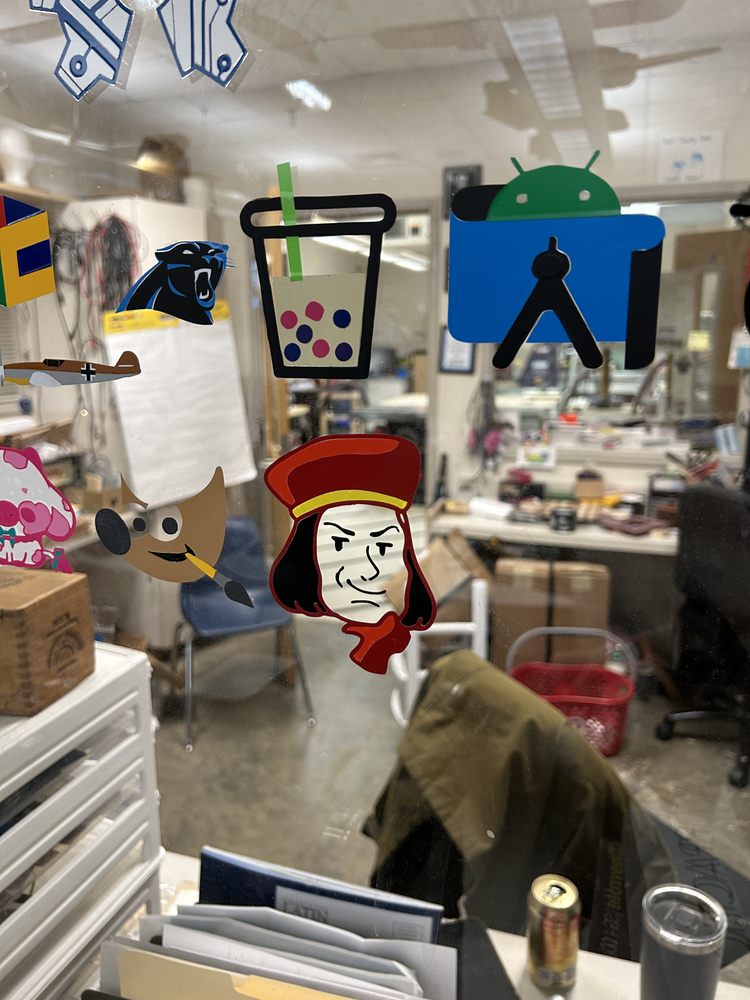
On The Window
In my local lab, every year for the vinyl cutting project we put our stickers up on a window, so I added mine! The smaller pieces came off far easier here than they did on the material backing earlier, and I payed special attention to pressing the pieces down firmly with a squeegee before removing the transfer tape.