8. Embedded programming
Instruction
Group Assignment
- compare the performance and development workflows for other architectures
Individual Assignment
What I did this week
- use and compare the performance of microbit, Arduino Pico and Seeeduino Xiao →in this page
- browse the datasheet of ATtiny3216 I used → Individual Assignment
- write some programs to control illuminating LEDs by using my programmer→Individual Assignment
Trial 1 : microbit
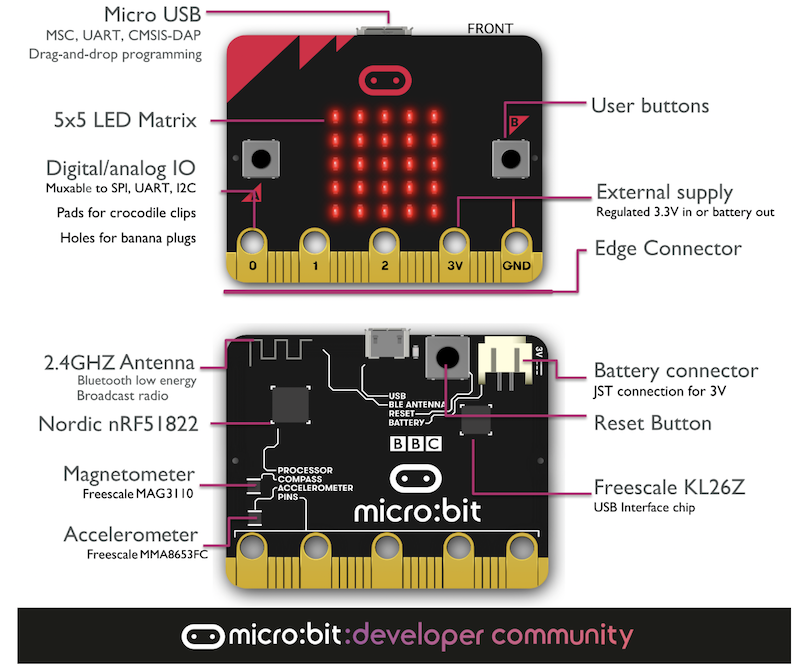
what is microbit
is a pocket-sized computer that introduces you to how software and hardware work together. It has an LED light display, buttons, sensors and many input/output features.
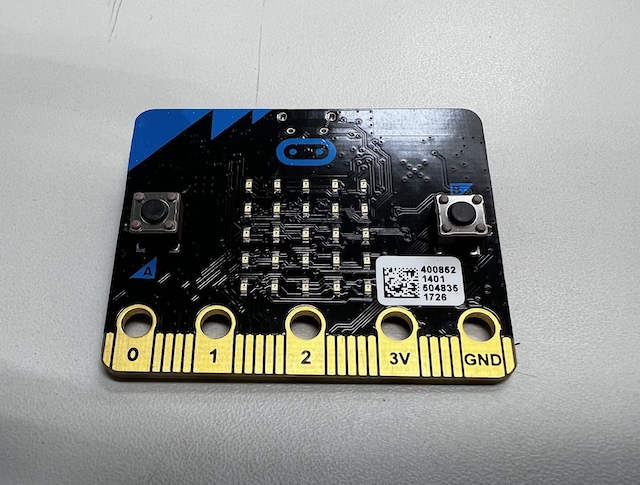
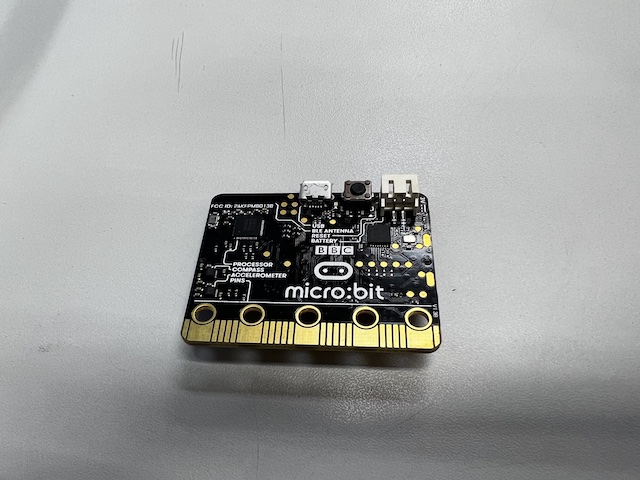
the microbit I used
- version : v1.3x
- IC: Nordic nR51822 by ARM
- Core variant : Arm Cortex-M0 32 bit processor
- Flash ROM : 256KB
- RAM : 16KB
- Speed : 16MHz
- Debug : SWD, jlink/OB
moe specifications is here and instruction page is here
- front image
- back image
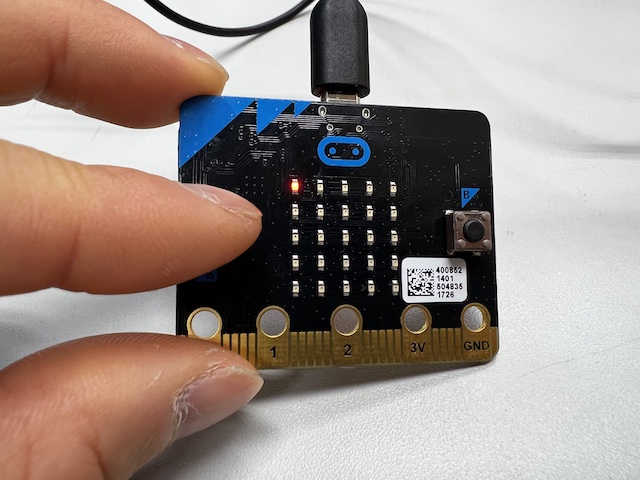
Trial 1-1 : test usage
- Access to Microbit editor
- edit the function on the visual programming
- when pressing “A” bottun, illuminate the LED of (0,0)
- edit the code in the visual programming

- Click download and drag&drop to “microbit”
-
build done
Trial 1-2 : taking advantage of display and accelerometer
-
edit the function on the visual programming
- when pressing “A” bottun, illuminate the LED in the shape of “❤️”
- when shaking the board, show striking “Hello!”
- when pressing “B” bottun, clear screen
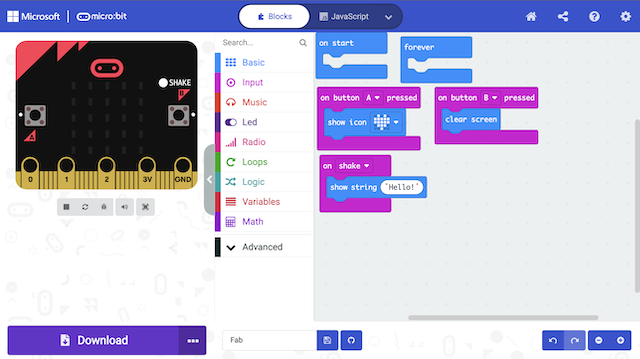
-
done

Trial 1-3 : combitation to the peripherals of loudspeaker
- edit the function on the visual programming
- when pressing “A” bottun, show icon of “❤️” and play melody
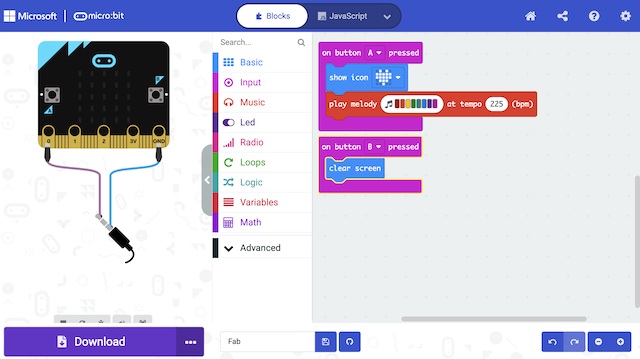
- done
Trial 1-4: switch between Blocks and programming language(Javascript or python)

The feeling to use
- Designed so that even elementary school students can understand it, making it very easy and fun,
- It is very easy to use that the connector is initialized by simply plugging it in again.
- By switching programming languages, it is possible to determine which functions are realized in what kind of code and how they are implemented.
Trial2 : Arduino Pico
what is Arduino Pico
Arduino-Pico is a community port of the RP2040 (Raspberry Pi Pico processor) to the Arduino ecosystem, intended to make it easier and more fun to use and program the Raspberry Pi Pico / RP2040 based boards.
the Arduino Pico I used
- IC : RP2040 by ARM
- Dual ARM Cortex-M0+ @ 133MHz
- 264kB on-chip SRAM in six independent banks
- Support for up to 16MB of off-chip Flash memory via dedicated QSPI bus
- DMA controller
- Fully-connected AHB crossbar
- Interpolator and integer divider peripherals
- On-chip programmable LDO to generate core voltage
- 2 on-chip PLLs to generate USB and core clocks
- 30 GPIO pins, 4 of which can be used as analogue inputs
more: datasheet

specification is here
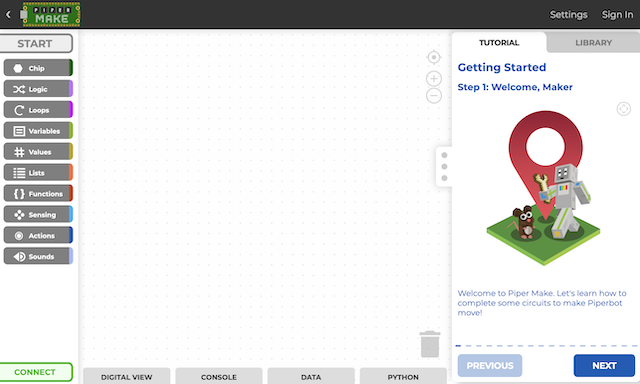
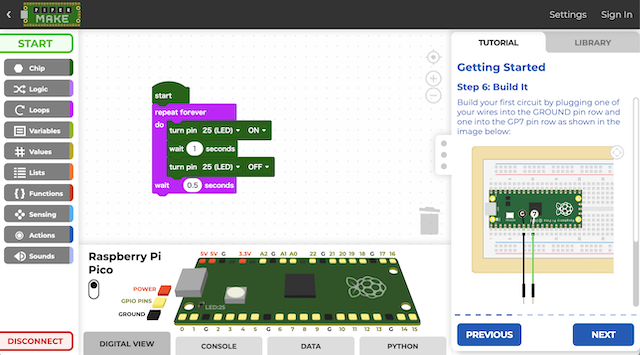
Trial 2-1 : test usage by LED blink
-
access to https://make.playpiper.com/
-
build the function on the visual programming
-
when clicking “Start”, the program is written to the board,
- done

The feeling to use
- It is very easy to write and run the program by pressing the bottun of “start”.
- Less sophisticated UI than Microbit, but more scalable as it is connected to a bullet board.
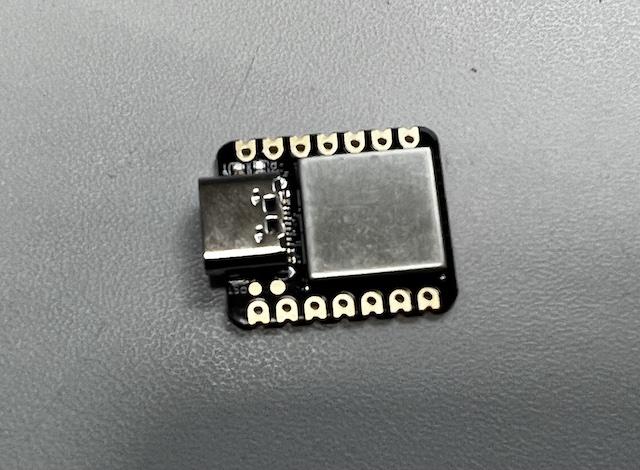
Trial 3 : Seeeduino Xiao
What is Seeeduino Xiao
The Seeeduino XIAO is the smallest member of the Seeeduino family. It carries the powerful ATSAMD21G18A-MU which is a low-power microcontrollers.
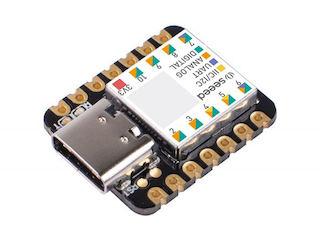
The Seeeduino Xiao I used
- IC: Atmel SAMD21 by ARM
- Powerful CPU: ARM® Cortex®-M0+ 32bit 48MHz microcontroller(SAMD21G18) with 256KB Flash,32KB SRAM.
- Flexible compatibility: Compatible with Arduino IDE.
- Easy project operation: Breadboard-friendly.
- Small size: As small as a thumb(20x17.5mm) for wearable devices and small projects.
- Multiple development interfaces: 11 digital/analog pins, 10 PWM Pins, 1 DAC output, 1 SWD Bonding pad interface, 1 I2C interface, 1 UART interface, 1 SPI interface.
more: datasheet
Trial 3-1 : Test usage by LED blink
- edit the blink program in arduino

- verify and upload to the XIao
- done