7. Computer controlled machining
Group Assignment
Instruction
group assignment
- do your lab’s safety training
- test runout, alignment, fixturing, speeds, feeds, materials, and toolpaths for your machine
individual assignment
What I week this week
- Learn how to use machine safely and test runout, alignment, fixturing, speeds, feeds, materials, and toolpaths for your machine → in this page
- Ideate and design something big →Individual Page
- Milling by CNC machine →Individual Page
- Varnish and assemble →Individual Page
CNC Router and software I used
- CNC router : ZN1325
- Tool path maker : Vectric Cut2D Pro
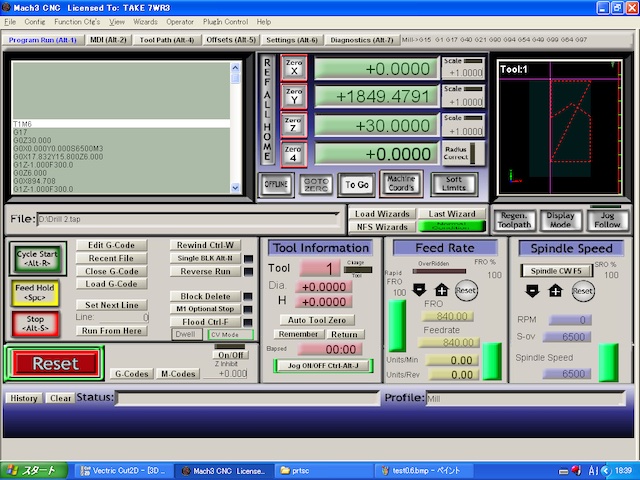
- G-code sender :Mach3
Safety Instructions
Safety was especially important for this week. Through the Wednesday class, I learned the risk and danger of CNC router. Tamiya-san gave me the lecture of how to use the CNC router.
CNC workflow
Setup CNC machine
- Launch Cut2D and create new file
-
seting up about material parameter

-
make toopath : set drilling position and cutting depth for fixing board

-
Save these data as .tap file
-
Launch Mach3 and load .tap file
CNC machine setting and milling
- set the position of material (wooden plate) on the bed of CNC before fixing
- set x-y-z origin at the corner of the material ( or any other appropriate position ), and set x0/y0/z0 in Mach3
-
fix the material on the bed by screwing
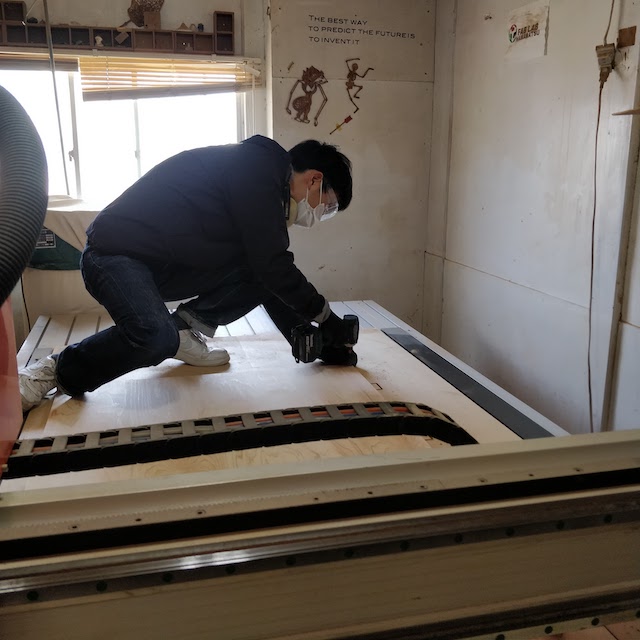
CNC machine is ready.
Test
On my computer
- make 2D/3D CAD file : Fusion 360
-
the content of test will be described later
-
Export file as .ai /.dxf
- if choose .ai, save as “Illustrator CS”
- Check ”Create pdf compatible file” in save setting
-
load .ai file in Cut2D
-
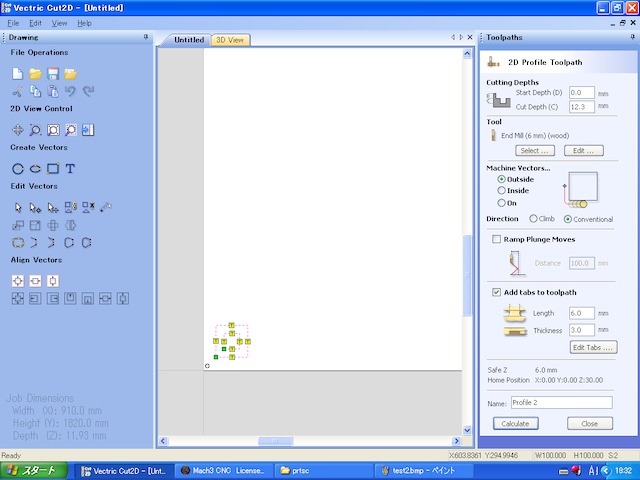
setting the tool (mill) information and “tabs” to support the material. selecting outside or inside is important
-
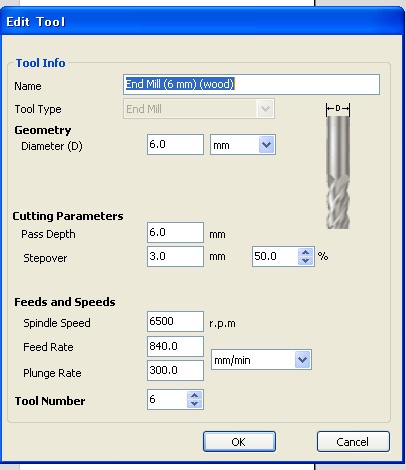
edit Tool (depth, stepover, speed, feedrate)
-
press “calcurate”
- set z-origin about 20 mm above the material surface, then, perform “air path” to check the tool path on CNC.
- set z-origin on the material surface ( by using paper to check the contact between tool tip and the material)
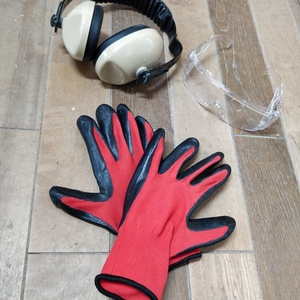
- wear the protective glassed and soundproof headphone
- start milling ( be prepared to push the stop button, in case of emergency )
- during the milling, check the wooden chips and the noise, then control the parameters such as feed rate, spindle speed, etc.
-
after the milling completed, clean the material surface
-
cut the “tabs”, pick up the parts.
- remove the material and sacrifice plate, then clean the CNC and room.
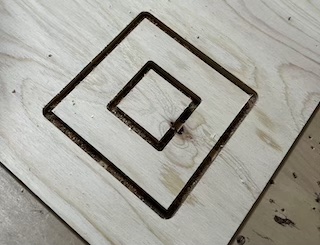
Milling Test
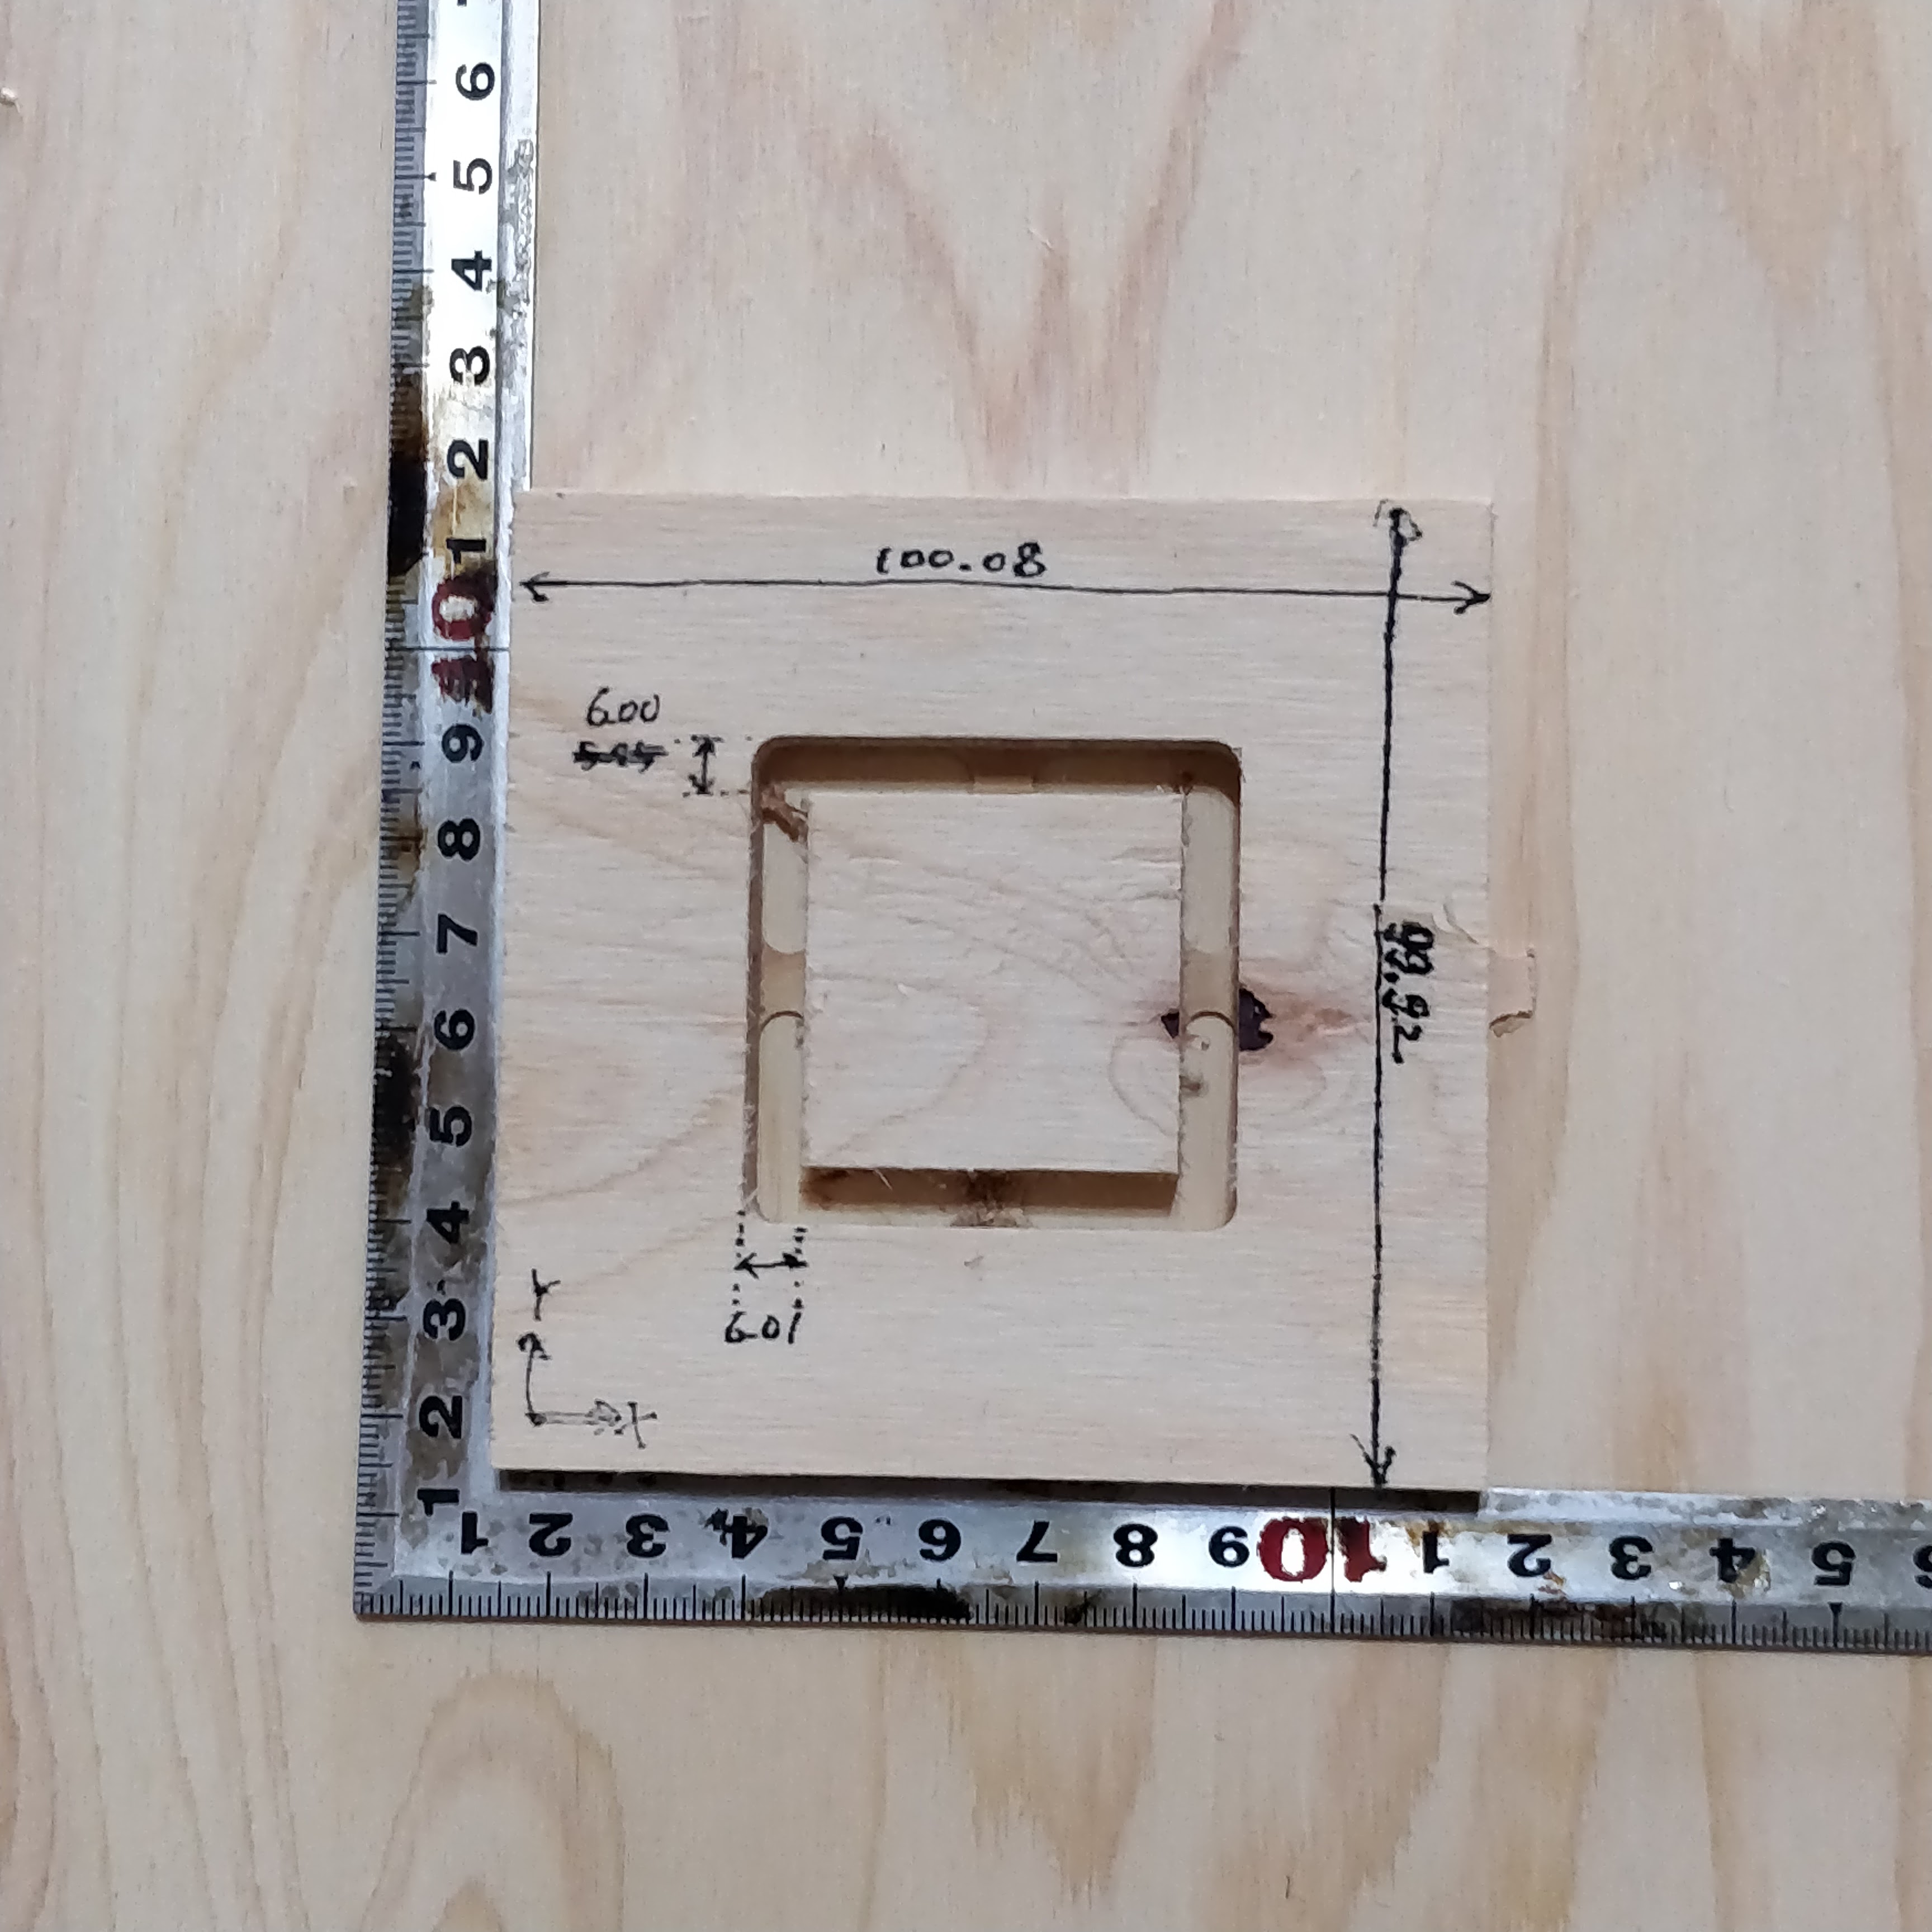
-
scaling milled board and compare real scale with designed scale
-
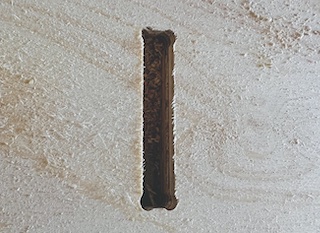
check
- runout : turned out 6mm in the test which is equal to the thread diameter
- alignment : adjust positioning of end mill on the board and calibrate it
- fixturing : fixed board by screwing
- speeds : no problem to cut the material in 6500 rpm
- feeds : no problem to cut the material in 840 mm/min
- materials : plywood
- toolpaths : setting as mentioned above
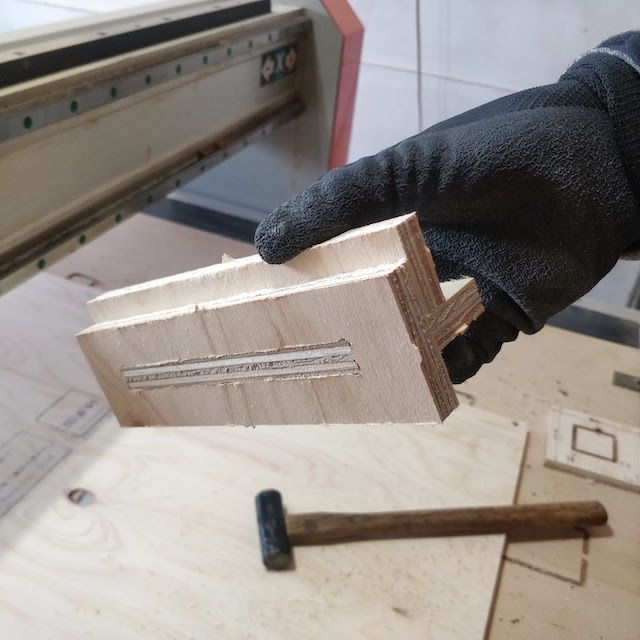
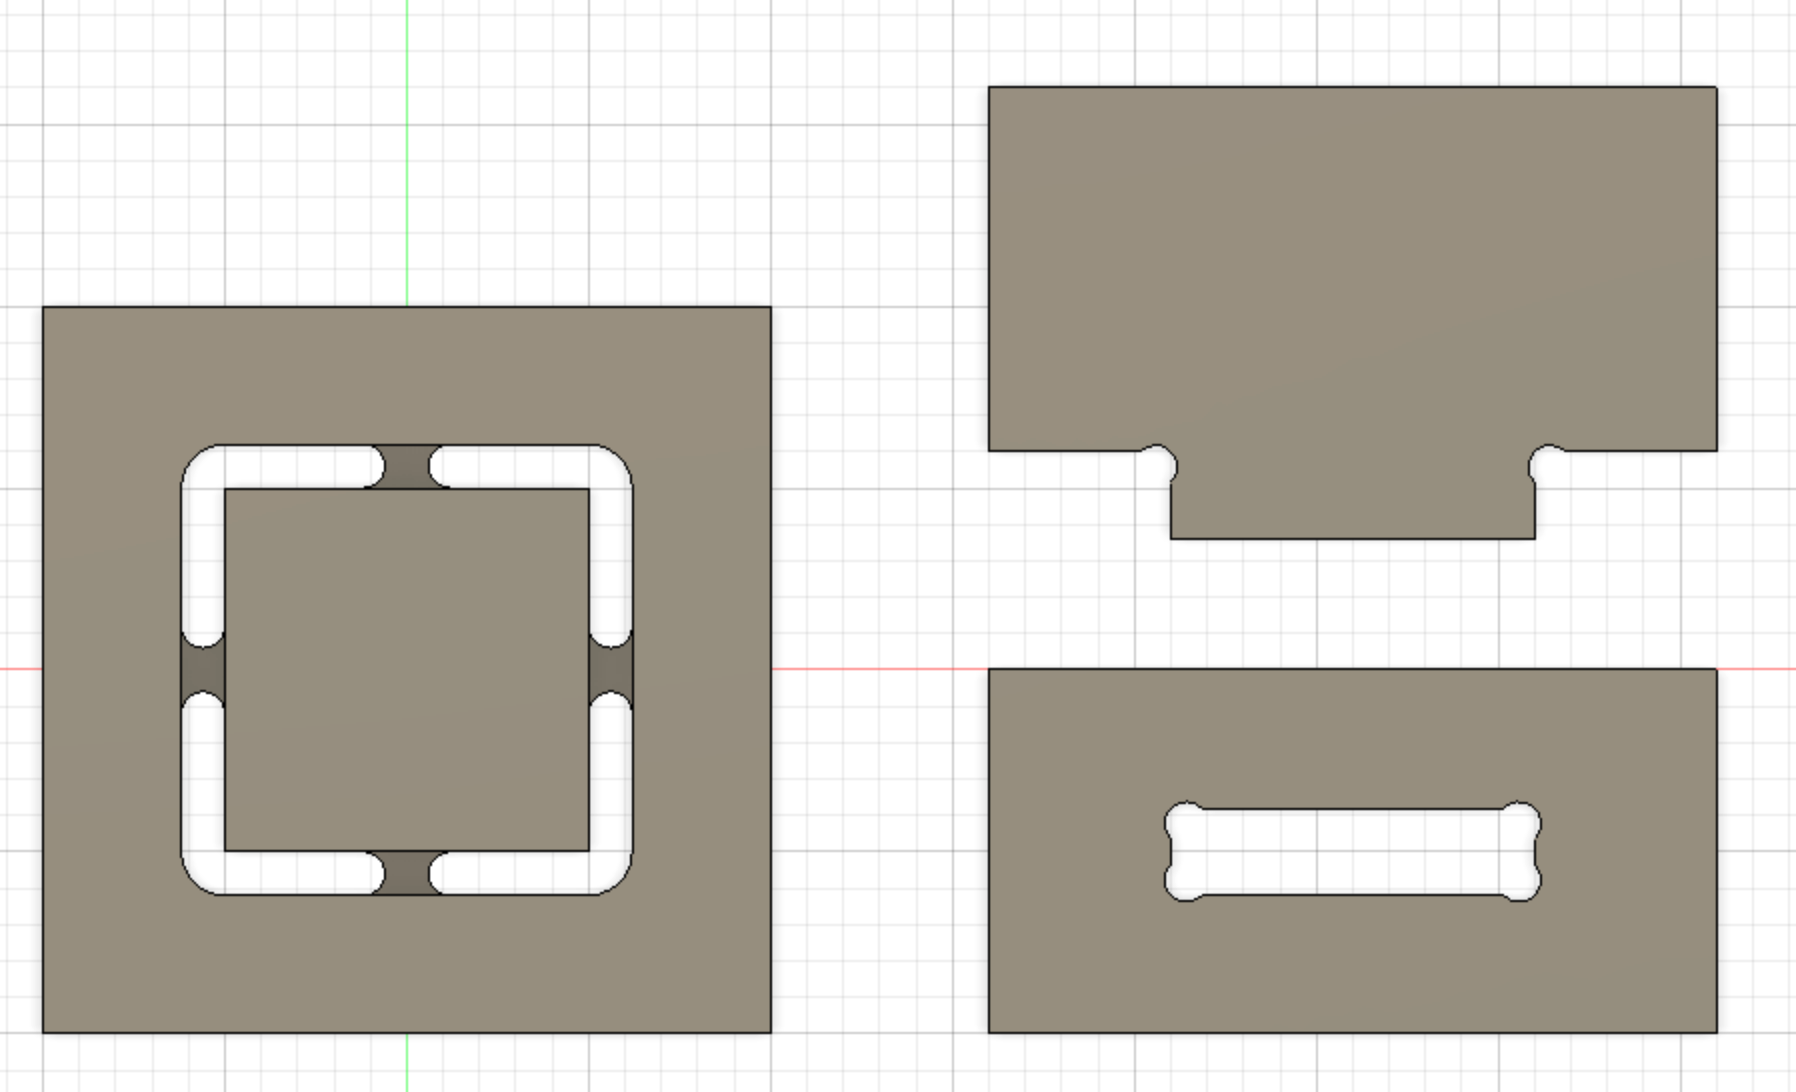
Tab and Pocket Test
- check whether pocket and dogbone can work or not
- Prepare a sample of the pockets I will use in my design
- load it to cut2D
-
select only the inside hole and set these parameters. be carefull for selecting “machine vector : inside”
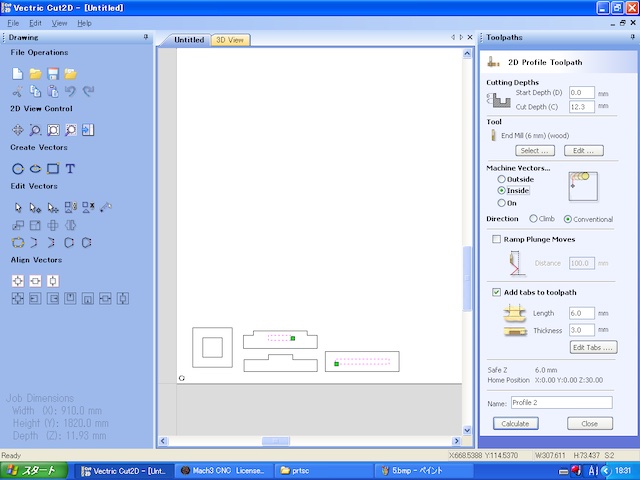
-
export to .tap file and load it in Mach3
- milling the board to make holes
-
After milling holes, choose only outside of the parts and set up parameters. In this time, select “Outside” in machine vectors
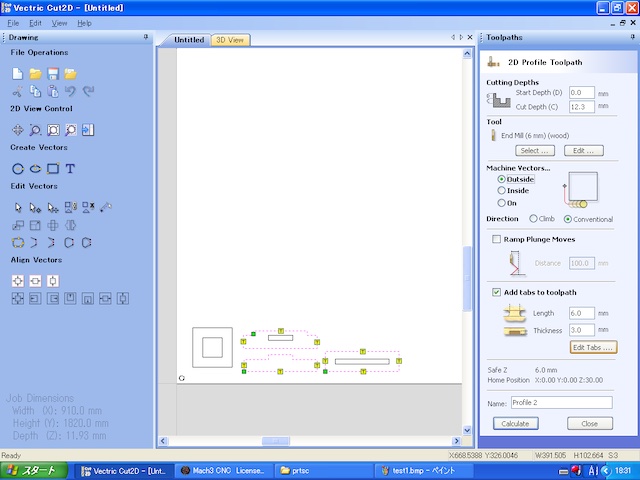
-
milling the board
-
milling completely
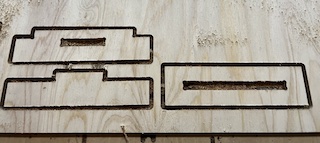
-
inspect the hole to be cut clearly and completely
-
detach tabs from the parts
-
test to assemble tab with pocket
-
got to assemble perfect