8. Computer controlled machining
Instruction
group assignment
individual assignment
- make (design+mill+assemble) something big (~meter-scale)
- extra credit: don’t use fasteners or glue
- extra credit: include curved surfaces
What I week this week
- Learn how to use machine safely and test runout, alignment, fixturing, speeds, feeds, materials, and toolpaths for your machine → Group Assignment Page
- Ideate and design something big → in this page
- Milling by CNC machine → in this page
- Varnish and assemble → in this page
Ideate and design something big
What I want to make : Just-Fit and Nesting Storage Concept
As Japanese house in Tokyo is generally small, many residents would like to and need to store livingwares orderly making the most of a small space. There are numerous kinds of storage box for storing things orderly in a house. For instance, Muji is famous.
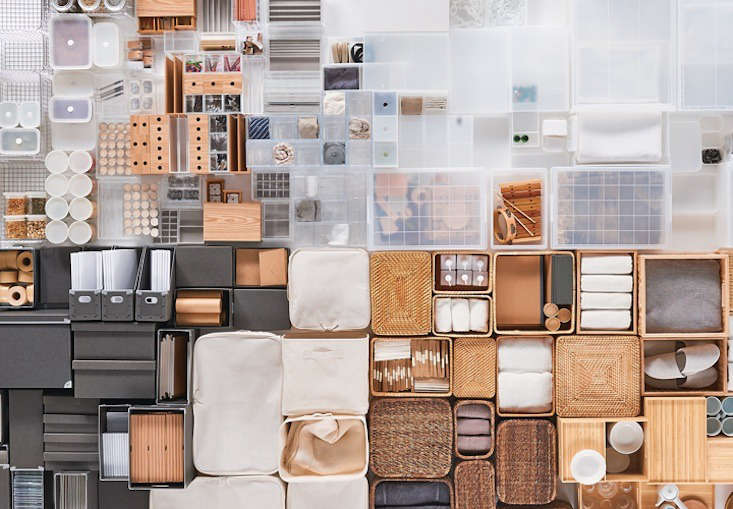
However, in my opinion all of storage boxes have the problem:
- being bulky when not in use
- not just-fit to some corners
The making opportunity in this week is excellent timing to make just-fit to my house and nestable when not in use. Specifically, a storage at my kitchen is not fittable to the line so I decided to make just-fit and nestable storage boxes.
Moreover, I would like to challenge to make without using fasteners or glue

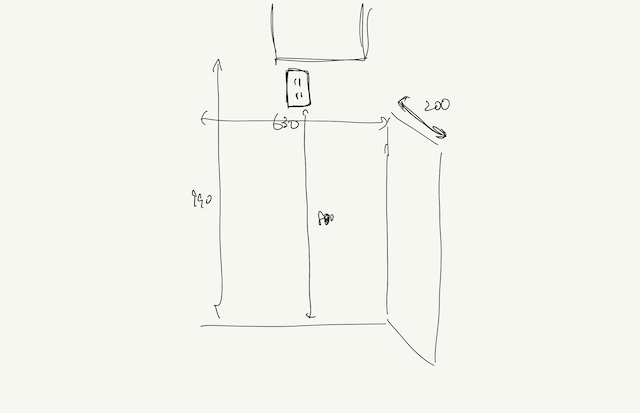
Design sketch
take measurement of the space
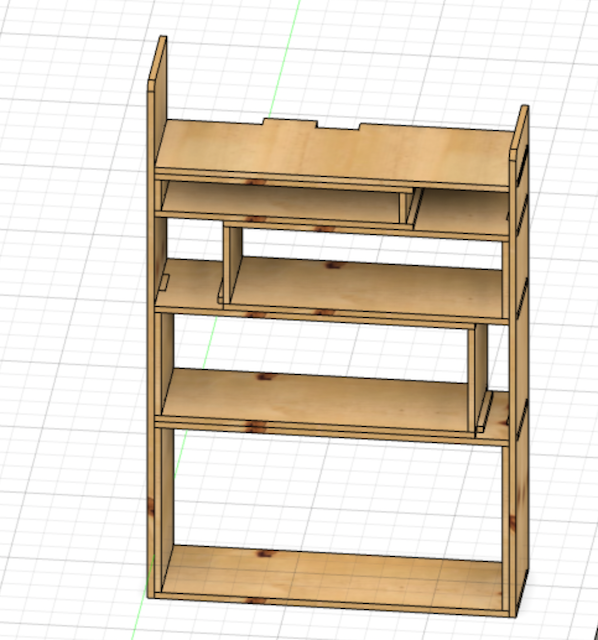
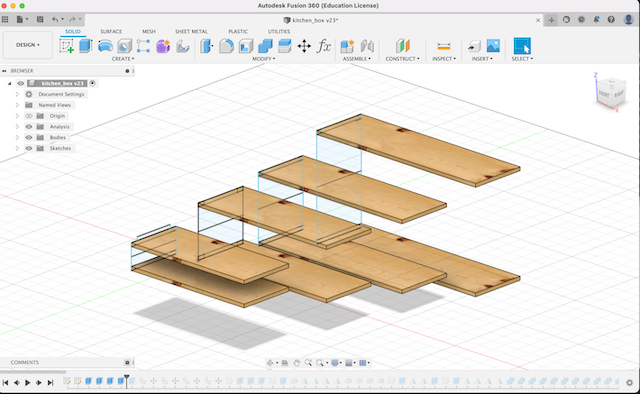
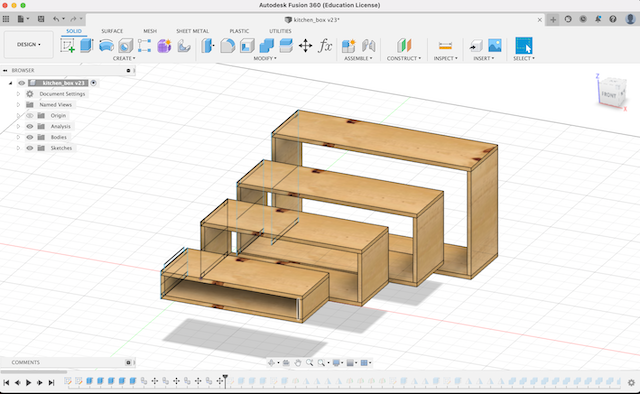
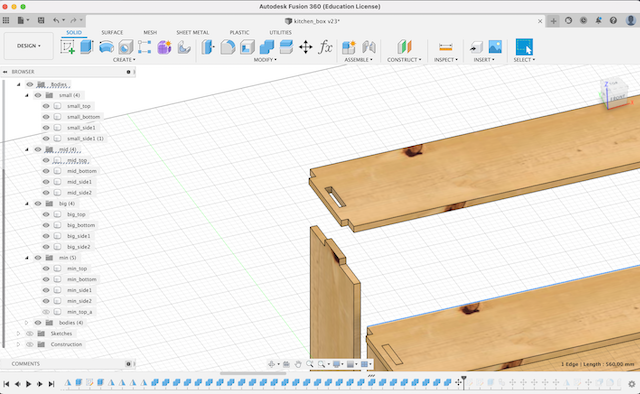
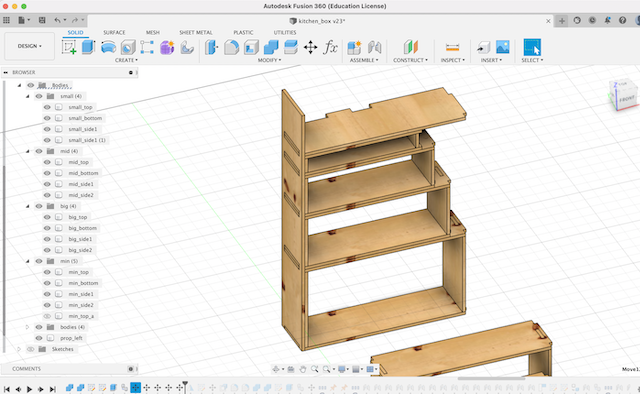
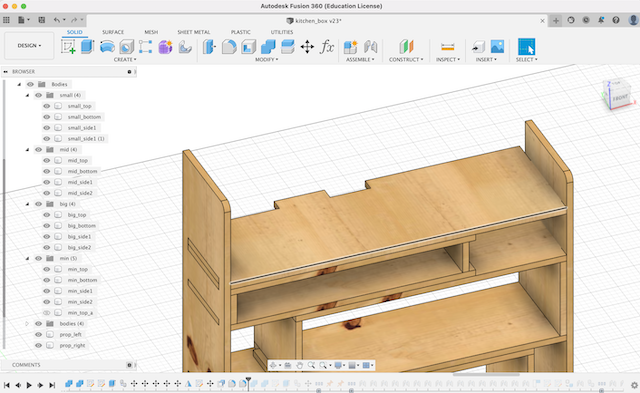
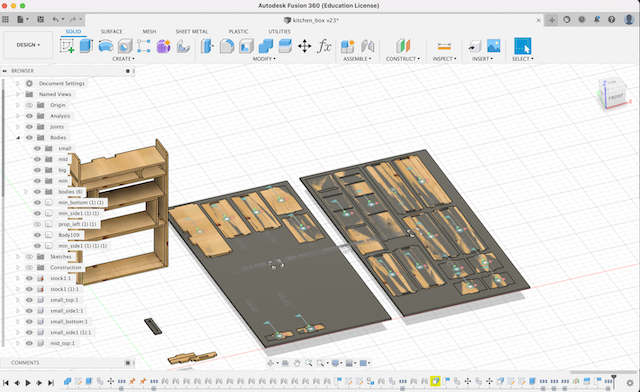
Design in Fusion 360
finalized model
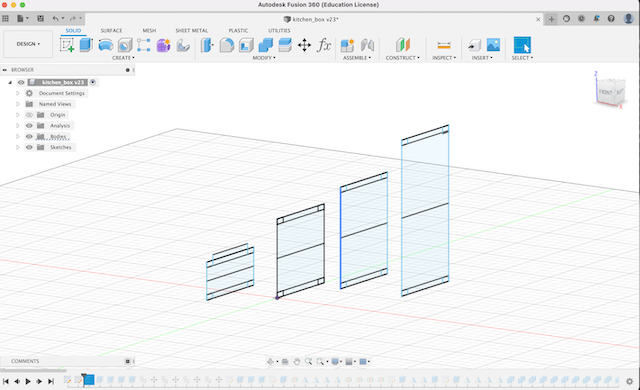
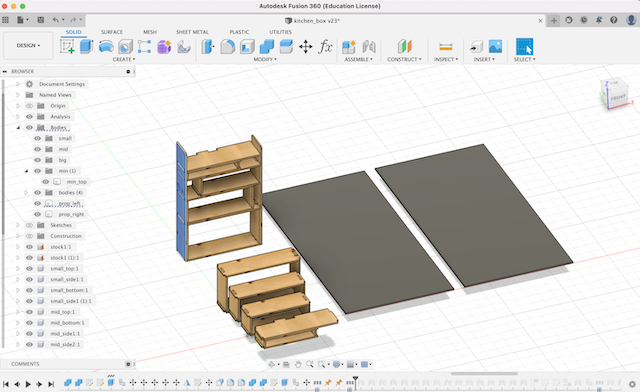
nesting version

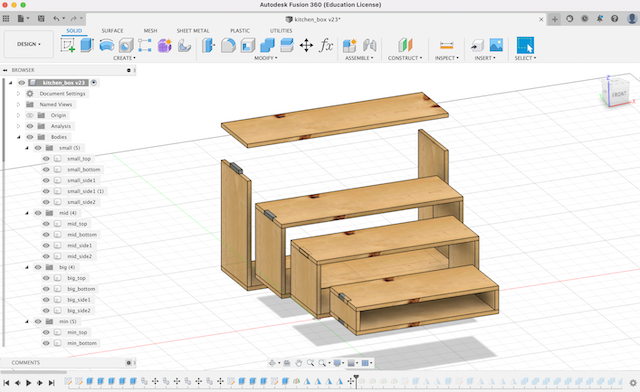
Designing Process
-
sketch the left-side shape
-
extrude top and bottom board
-
extrude side board
-
making inner tabs between top and side board
-
making tabs between prop and boxes
-
combine parts and cut off pockets projecting shape of tabs
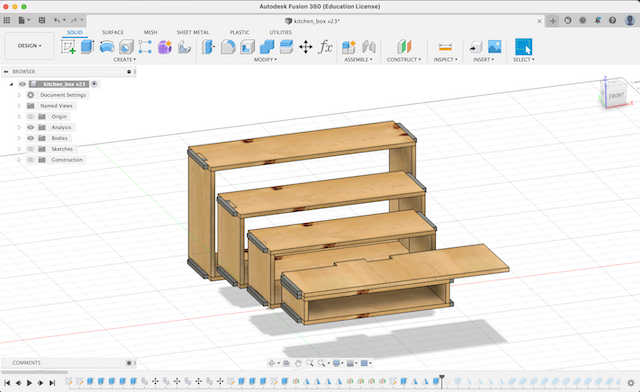
-
create props
-
fillet the edge of prop to curved surfacing
-
create boards which size is 1820 x 910 to lay out each parts
-
joint to the boards one by one
-
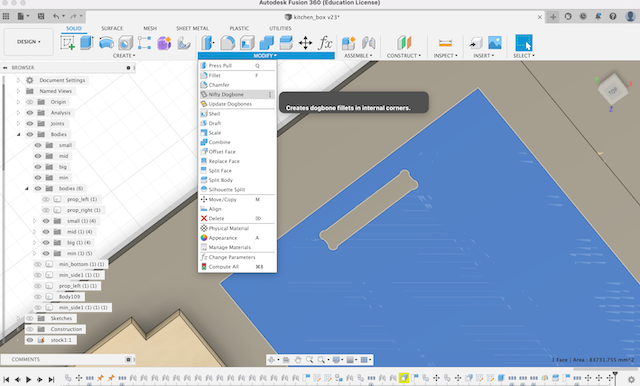
Making dogbones by using add-on of Nifty Dogbone for Autodesk® Fusion 360™
-
Done.
Reference : Fusion 360: Bookshelf Tutorial - Part 1
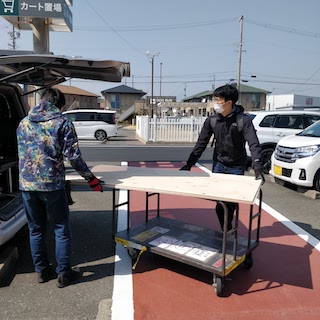
Move to Hamamatsu city where is 250km away from my lab
As Fablab Kannai I participate in dont have large CNC router, we asked another lab to lend it : Fablab Hamamatsu TAKE-SPACE where is about 250km away from our lab.
About Fablab Hamamatsu
- is located in Hamamatsu citywhich has some headquaters of global manufacturing company such as YAMAHA, SUZUKI, Roland.
- the list of facility is here
- Lab owner Take-san is in Bhutan in order to make something..
-
huge cactus is infront of lab somehow

-
famous words which all makers will empathize with is on the wall

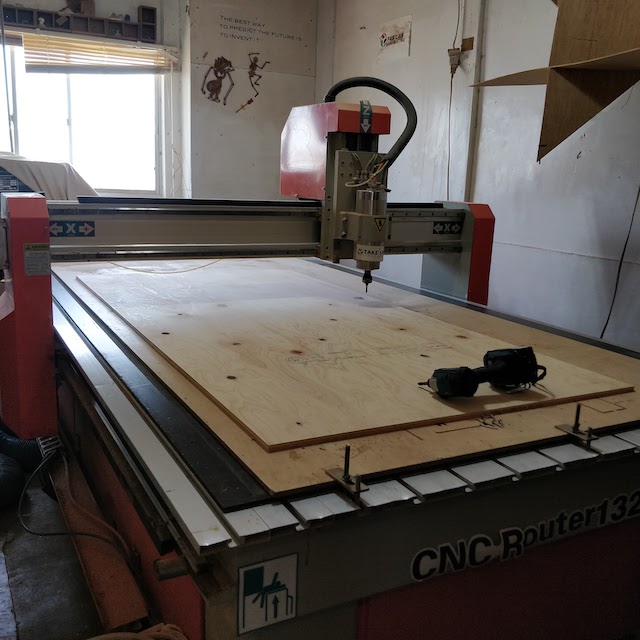
CNC Router and software I used
-
CNC router : ZN1325
-
Tool path maker : Vectric Cut2D Pro
- G-code sender :Mach3
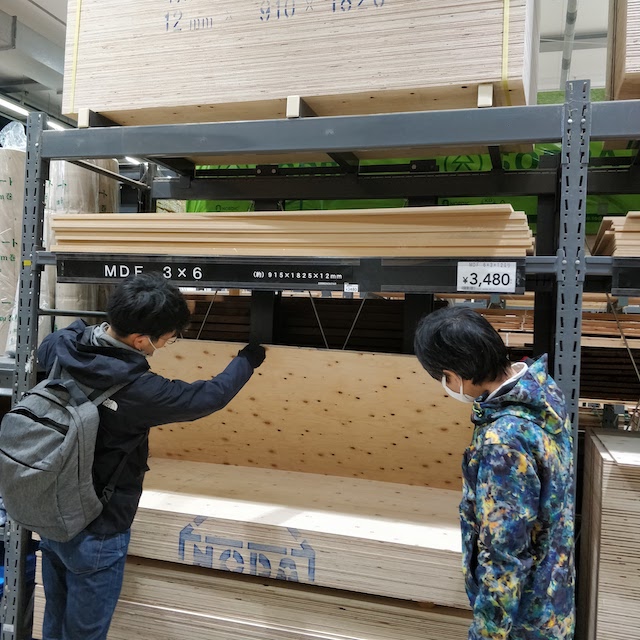
Prepare for CNC machining : procure materials
-
Choose the material in Cainz which is popular DIY store in Japan

-
There are variety of wooden materials such as OSB, MDF, lumber-core plywood, Pine laminated wood, and so on
-
Structual Larch plywood seems to be adecuate as price is good and it has beautiful wood grain.
-
Material Information
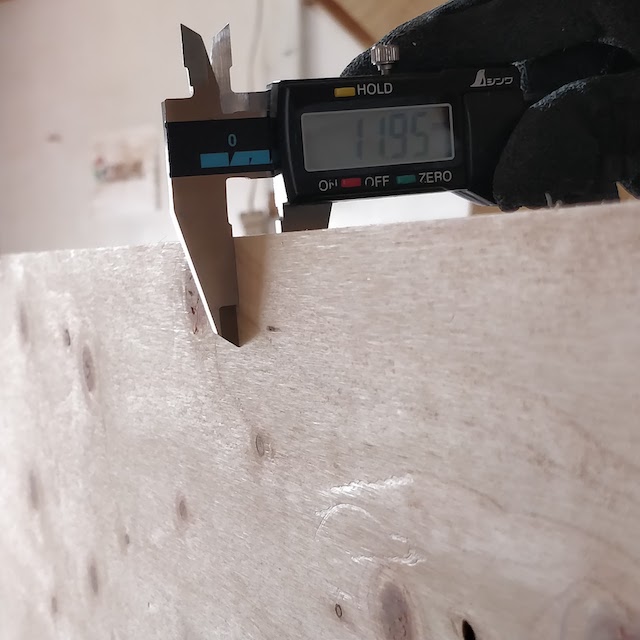
- material: Structural Larch Plywood
- size: 1820mm x 910 mm x 2sets
- thickness : 12mm
- price : 18 USD per one
-
measure actual thickness : 11.95mm
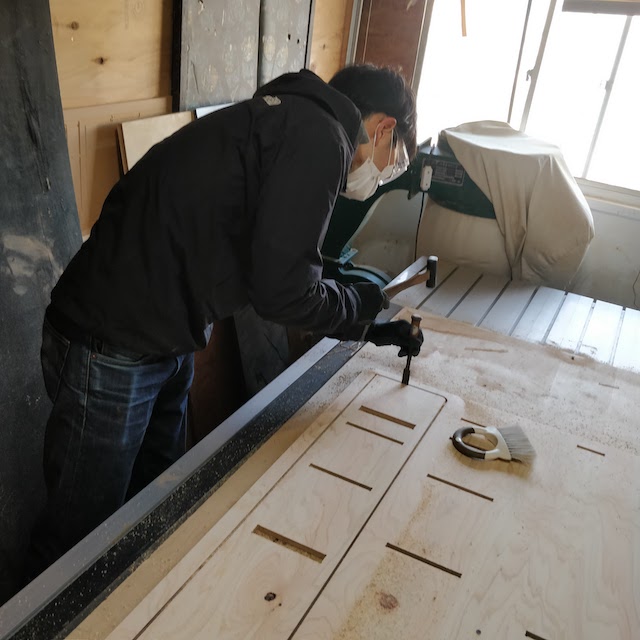
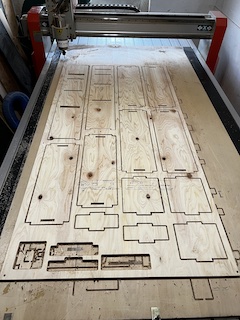
Milling by CNC machine
Operating process in details refer to Group Assignment page
-
milling one parts for a test. create inside holes first and outside line secondly.
-
after confirming that it was cut with no problem, milling the other parts and vacuuming is performed after cutting completely in accordance with lab policy. (it is x8 speed movie)
-
milling completely
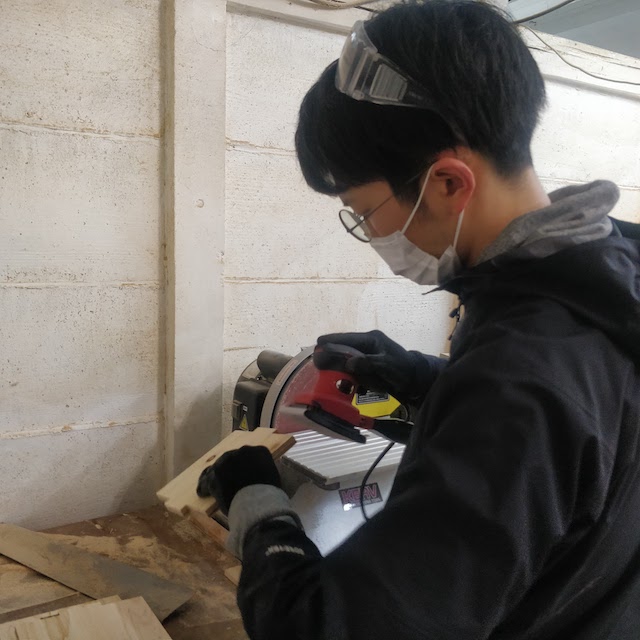
Varnish and assemble
-
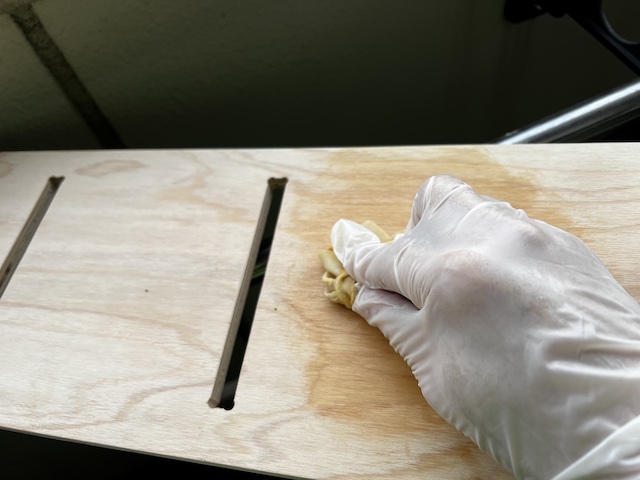
filing and polish all parts
-
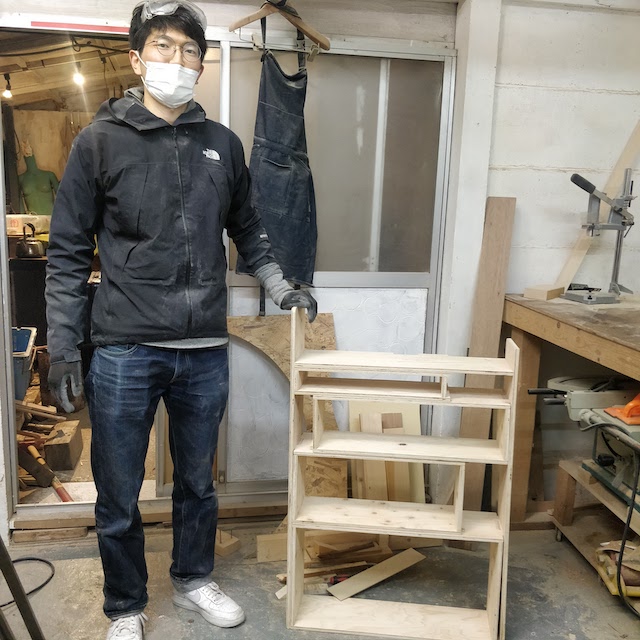
Assemble test
-
Varnish over the wooden parts

-
dry at my own very tiny private fablab in the balcony

-
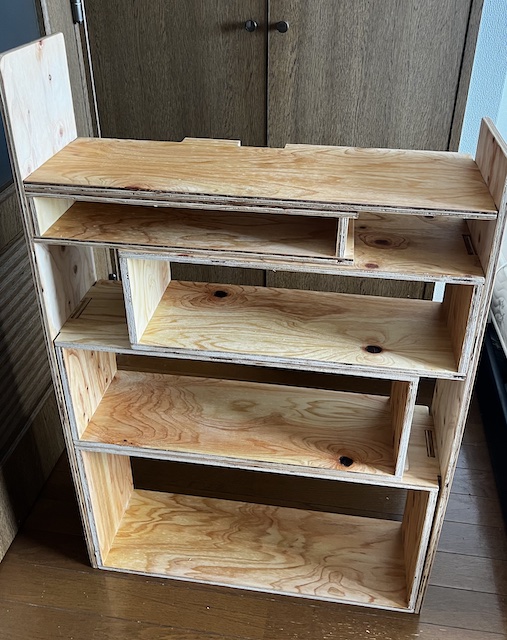
Finalize assembing
-
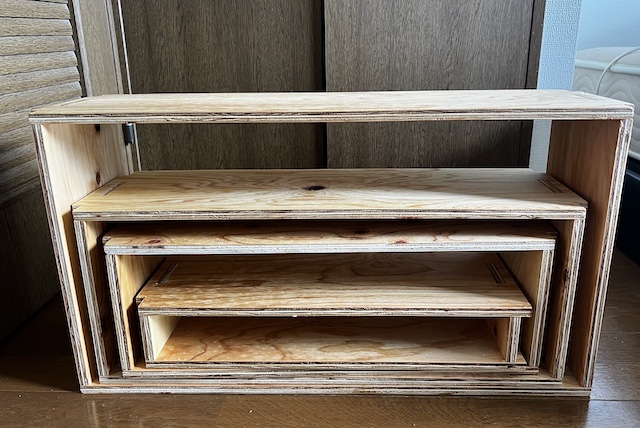
transform to nesting version
-
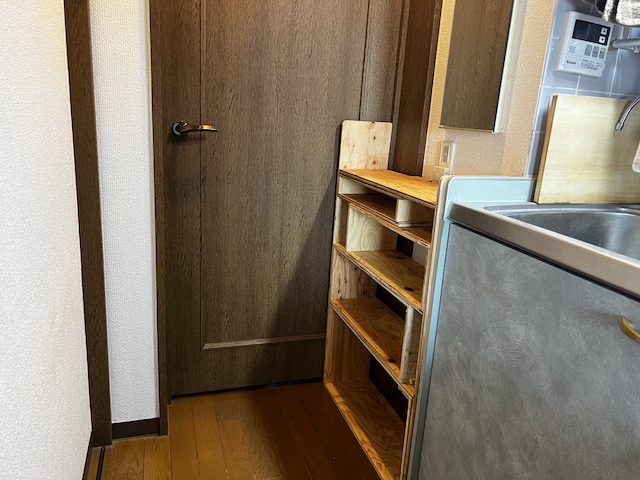
set up furniture at the place where I planned to be. Just-fit at the corner :)
-
3d scaned by scaniverse
What I learned in this week
Individual and Group Assignment
- Making something big may be dangerous so nothing is the more important than safety.
- Parametric design is very important and useful. Setting parameter beforehand in Fusion360 enable me to make and mill smoothly.
- I understood how to use CNC machine safely
- Being able to make my own furniture which is just-fit for my house makes my life quite better.
Acknowledgement
Mr.Tamiya and Ms.Kamei as supportive instructors in Fablab Kannai
Shopbot tools who made the Youtube tutorial video of Fusion 360: Bookshelf Tutorial
and You!