16. Wildcard week
Instruction
Design and produce something with a digital fabrication process (incorporating computer-aided design and manufacturing) not covered in another assignment, documenting the requirements that your assignment meets, and including everything necessary to reproduce it. Possibilities include (but are not limited to):
What I want to make in this week
I’ve been presented with many options but I decided to make embroidery in this week.
I will create my original patch by digital fabrication.

What I used in this week
Design Process
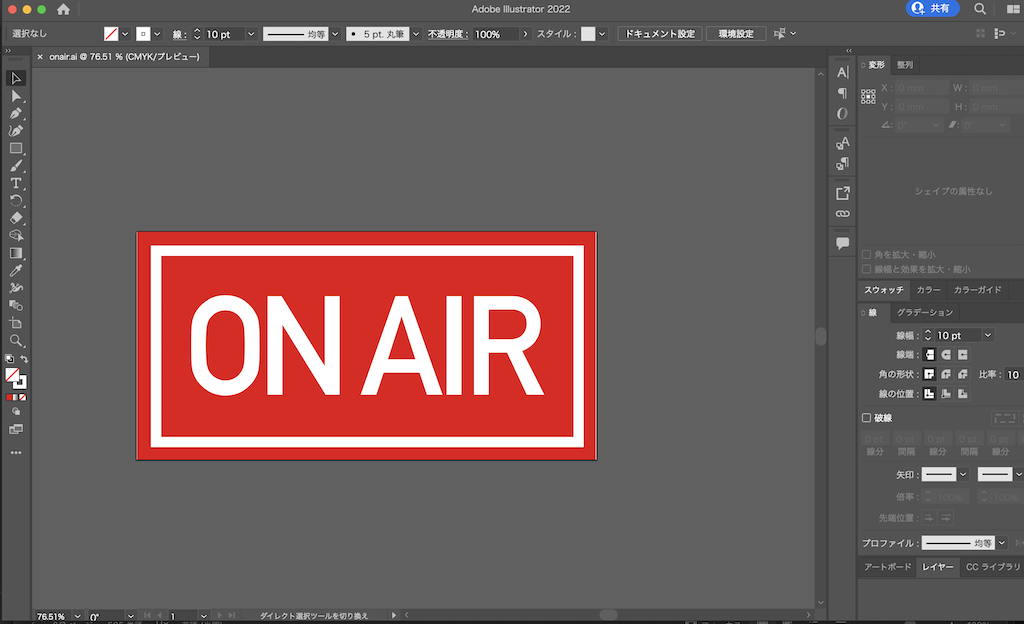
- Design the image by illustration : ai.
-
file
Preparation for fabrication
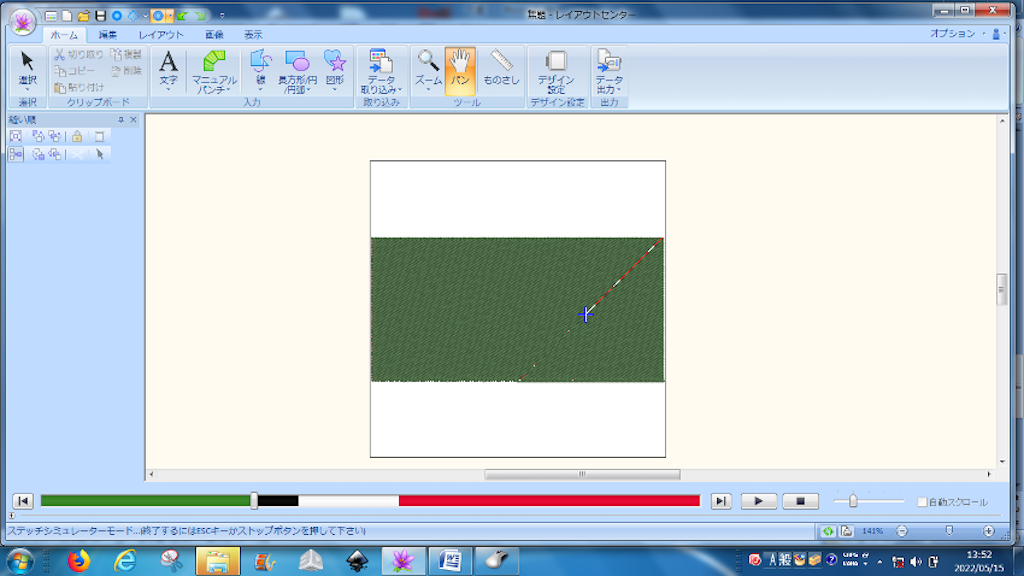
- software : Embroidery PRO NEXT
- Open the software
- select the “autopunch”
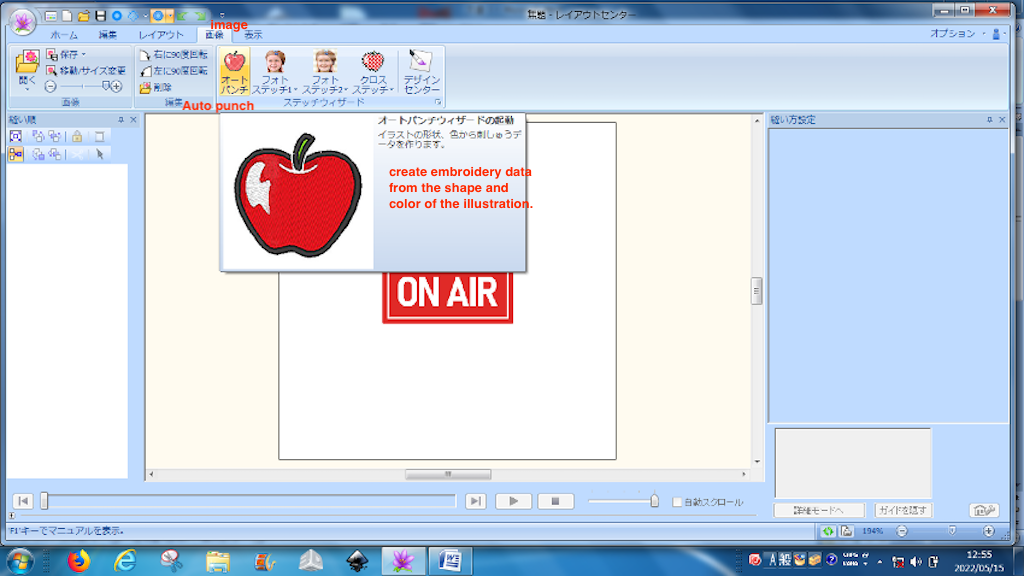
- transform the image to embroidery design
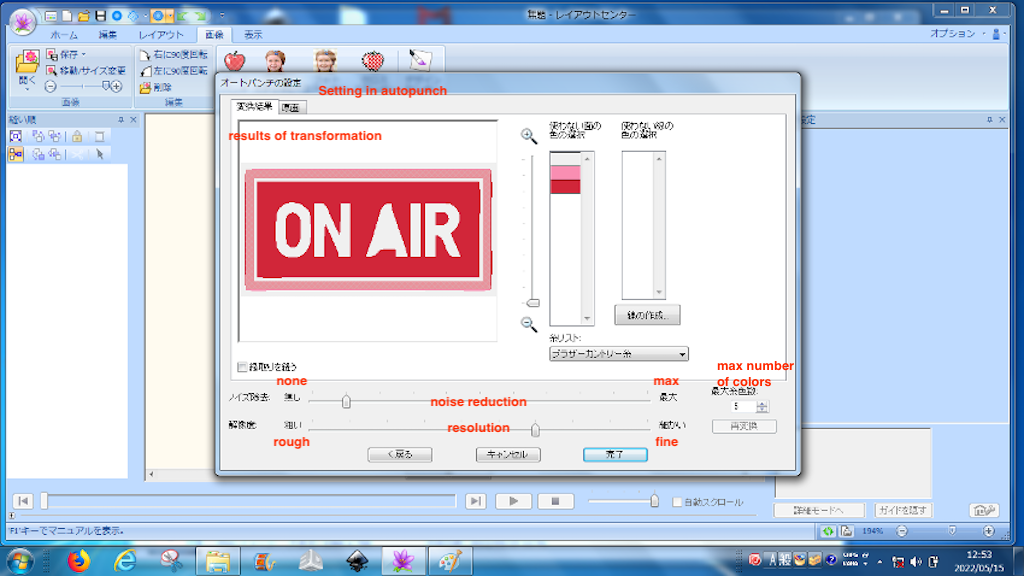

- Make the outer frame line thicker because it is thin.

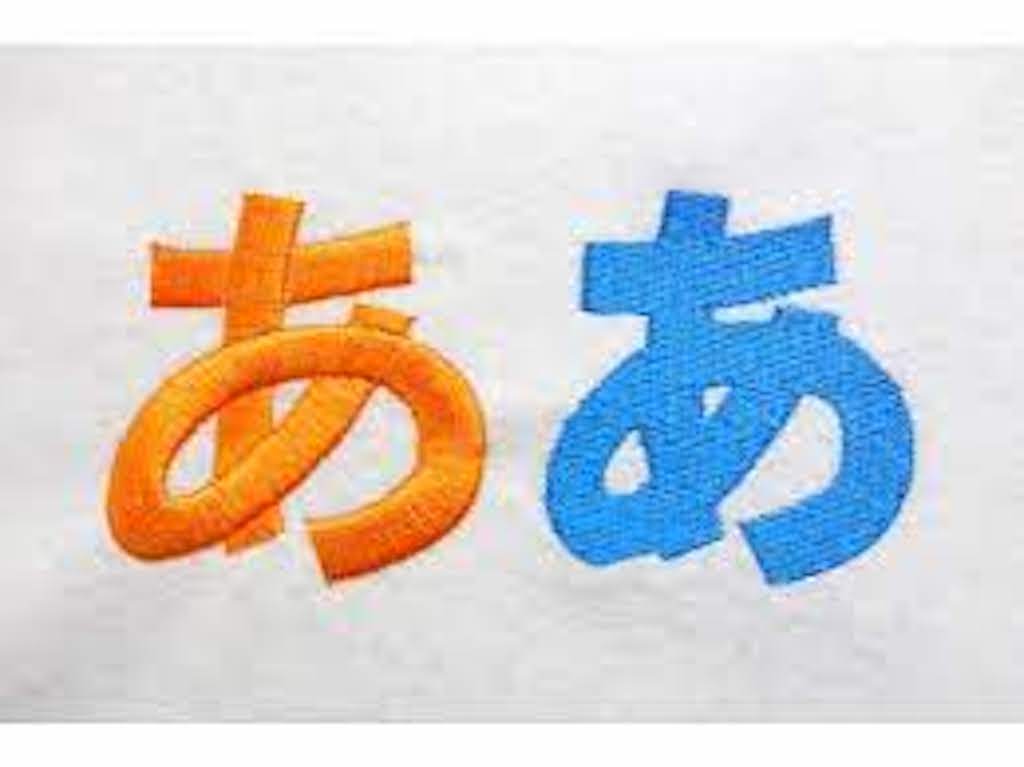
Note: There are two types of stitches. : “Satin Stitch” and “Folding Stitch”
- Satin stitch:The luster of the threads looks beautiful and has a three-dimensional effect
- Folding Stitch : The fine seam like the grain of tatami mats. It is stronger and more durable than satin.
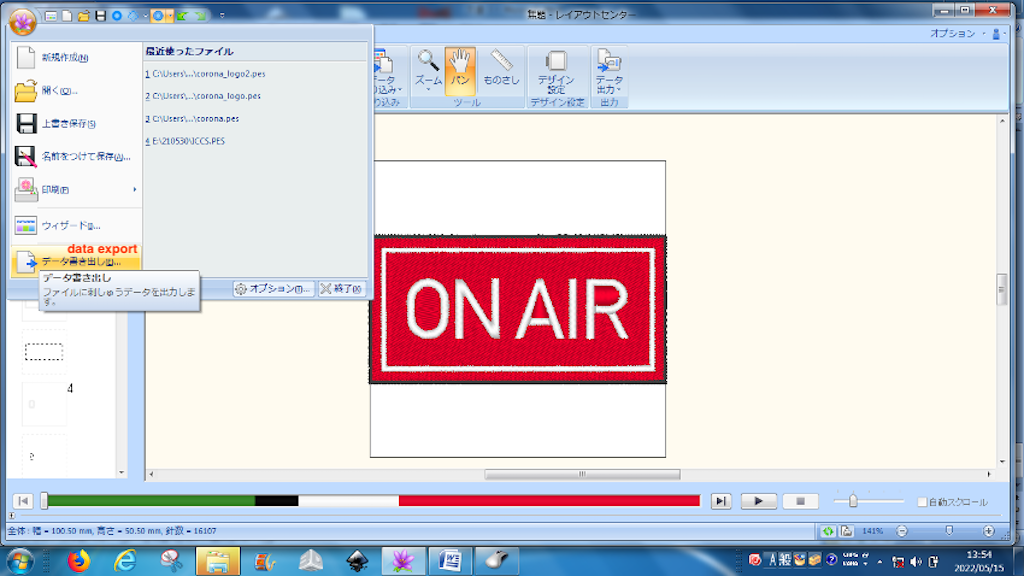
- If the figure is sewn first, it will be shifted by the amount of shrinkage, so sew the red color in the figure and then embroider the white letters.
- Export the file to janome file (.jef)
Fabrication Process
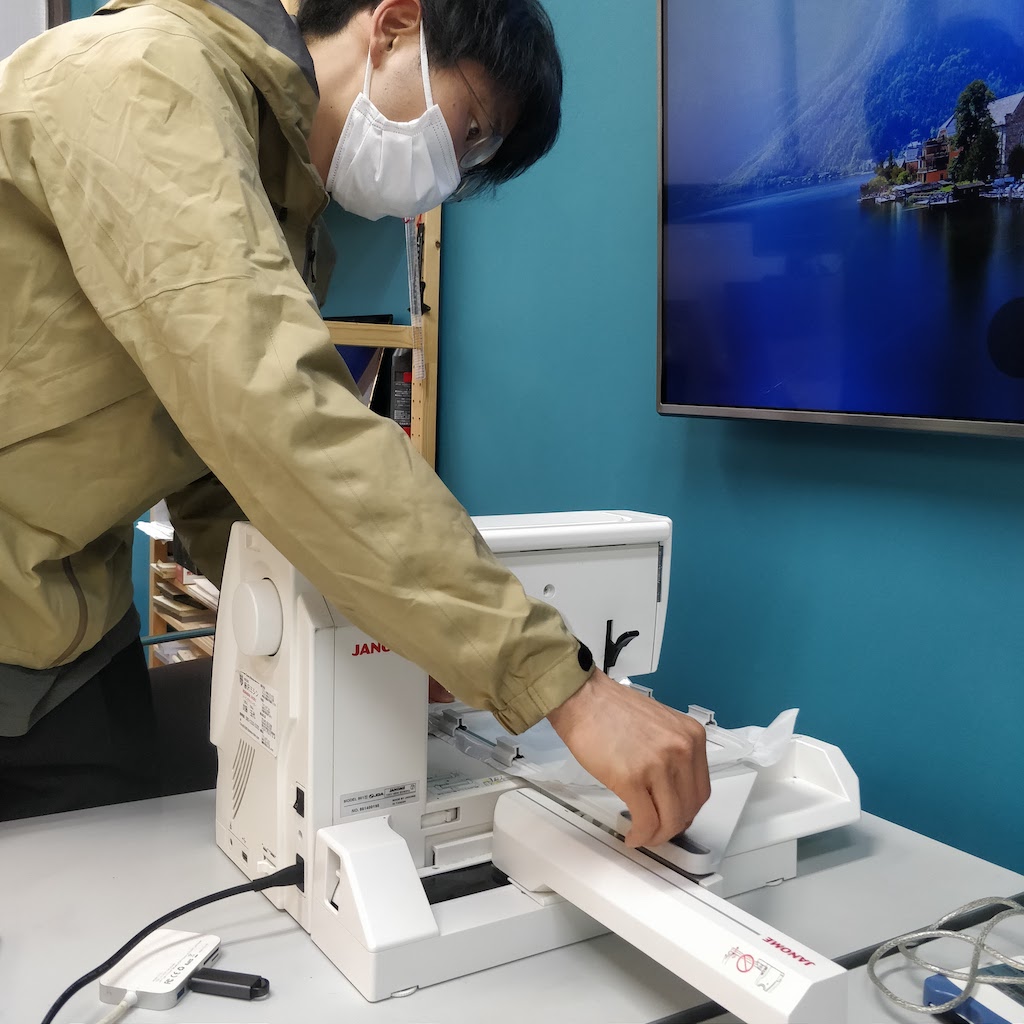
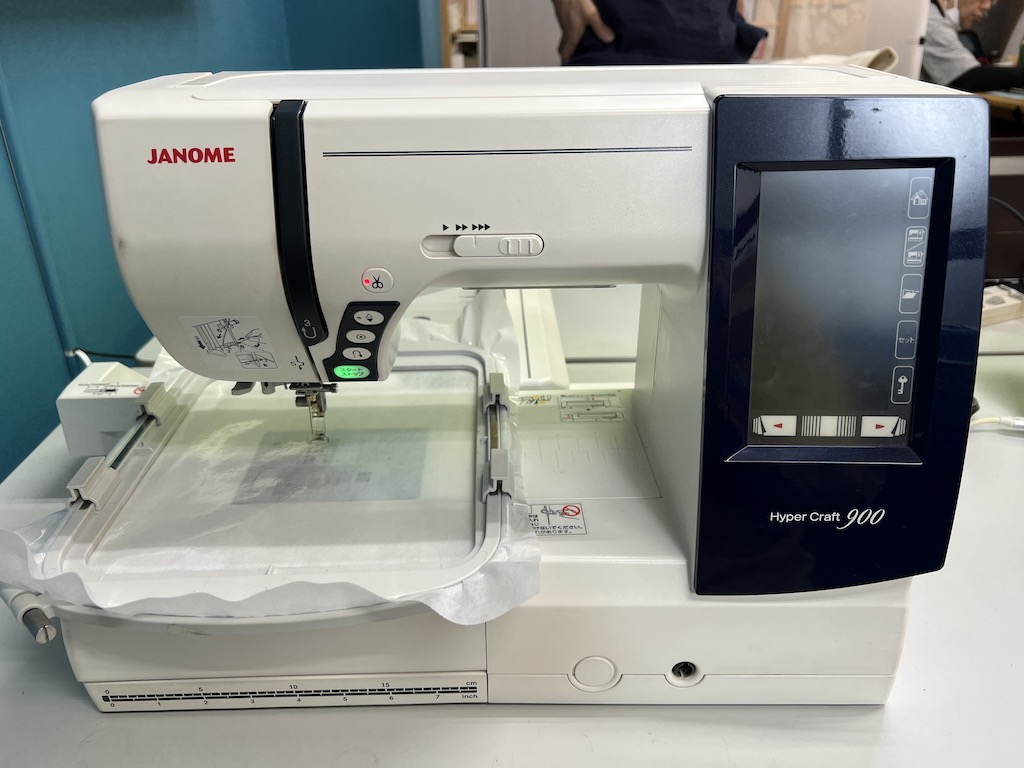
- Start sewing machine JANOME
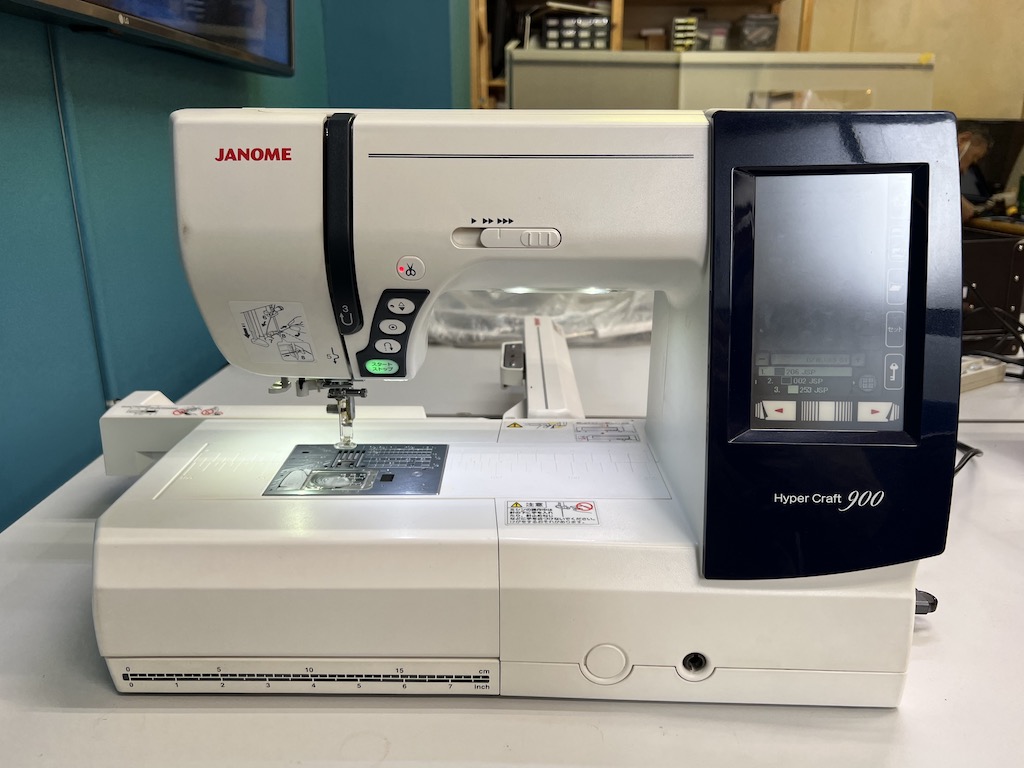
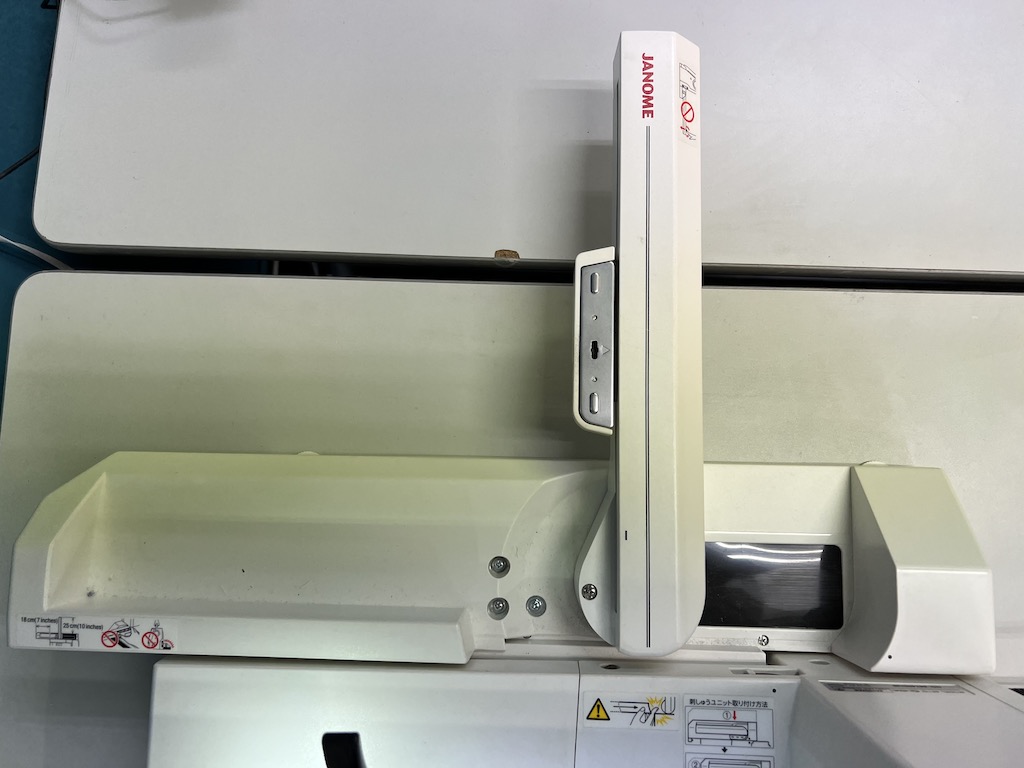
- Mount the embroidery unit in the back.
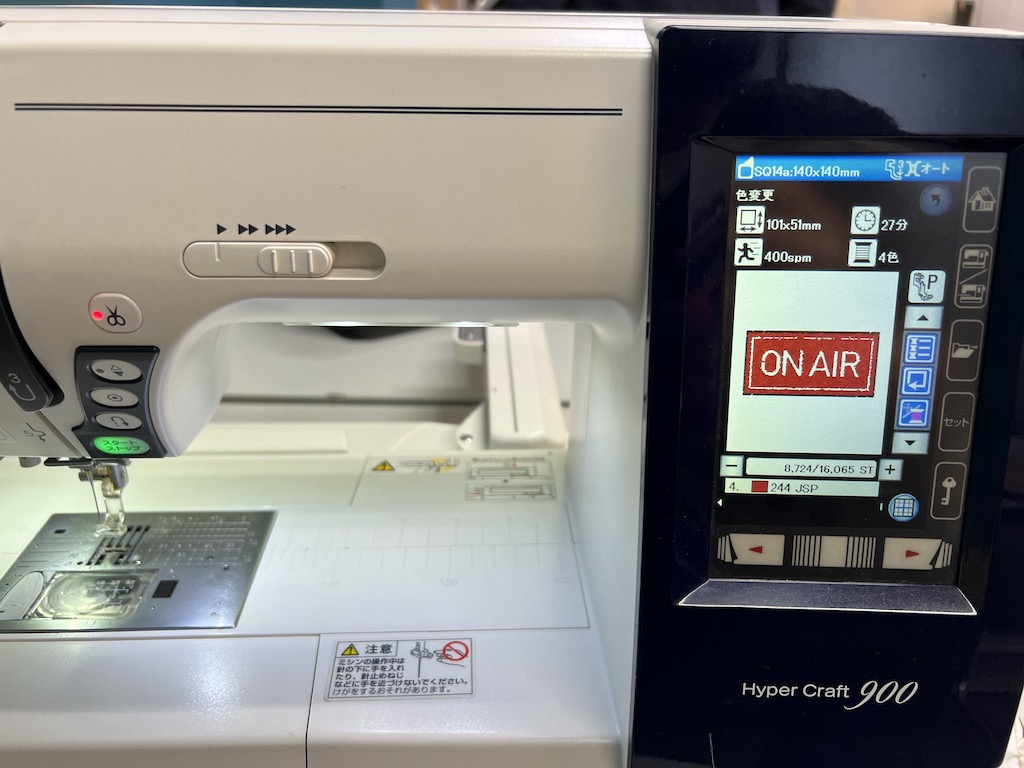
- Plug in the USB and wait for it to boot. Unplug it and transfer the data to the newly created file on the USB. (EMB > embf >)
- After switching to embroidery mode, plug the USB into the sewing machine again to load data
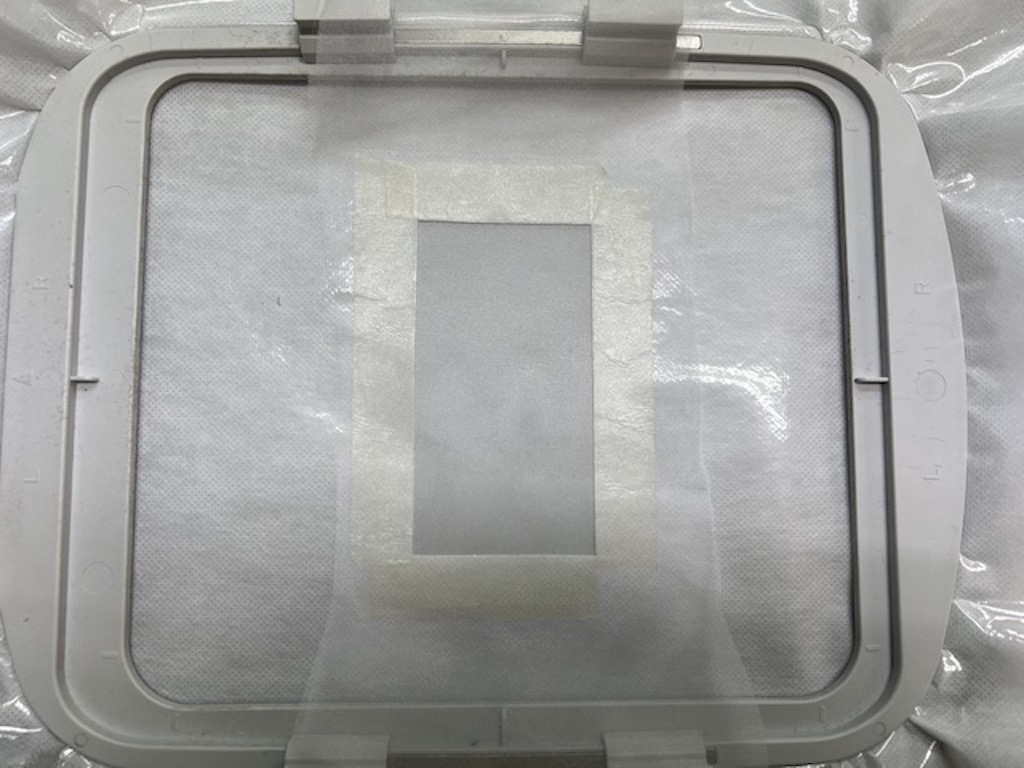
- Set the foundation for the place stitch and fit the good punch sheet into the embroidery frame. Pin it in place by pinning it
- Set the embroidery frame on the sewing machine (so that the good punch sheet is under the sewing machine)
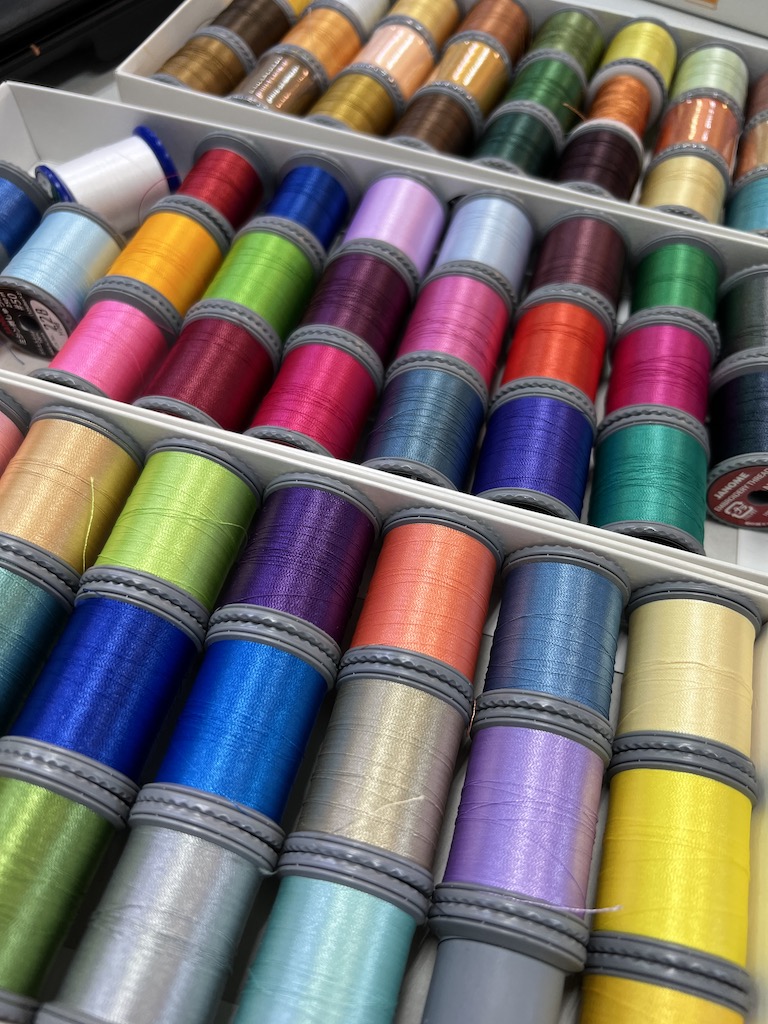
- Select a thread and follow the instructions to set it up.
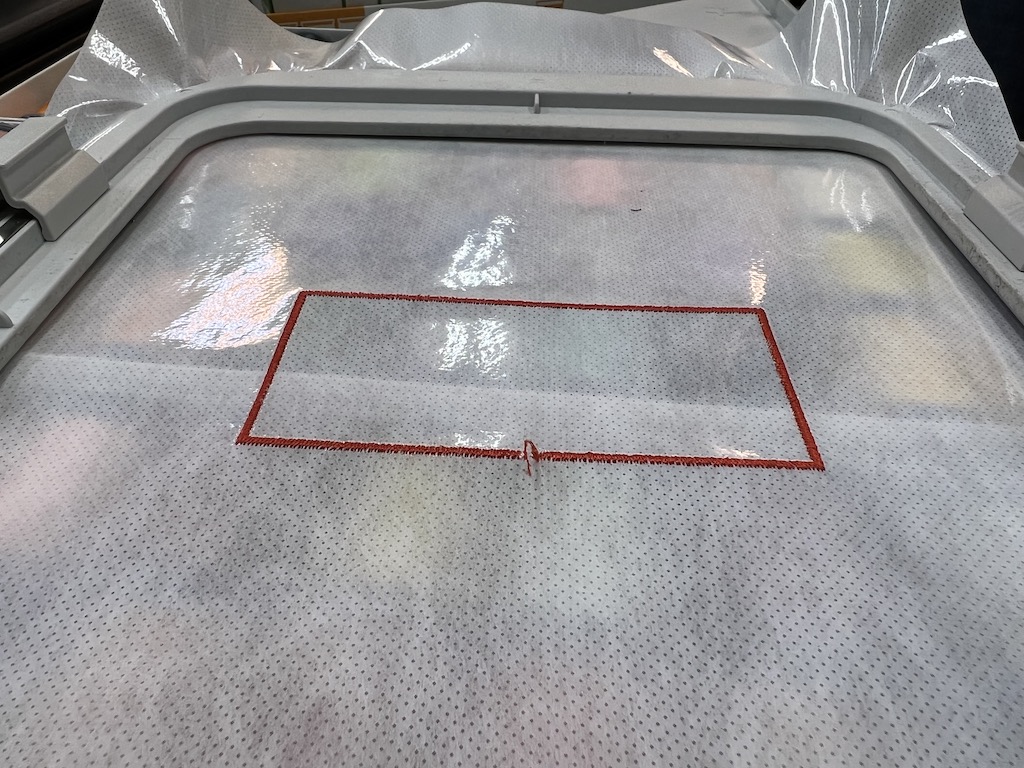
- To know the size, select the outer frame data (002 jsp) and stitch it
- Cut the good punch sheet to fit the painted pre-sewn frame.
- Apply a fusible interlining to the inside and attach the organdie to the outside of the glue.
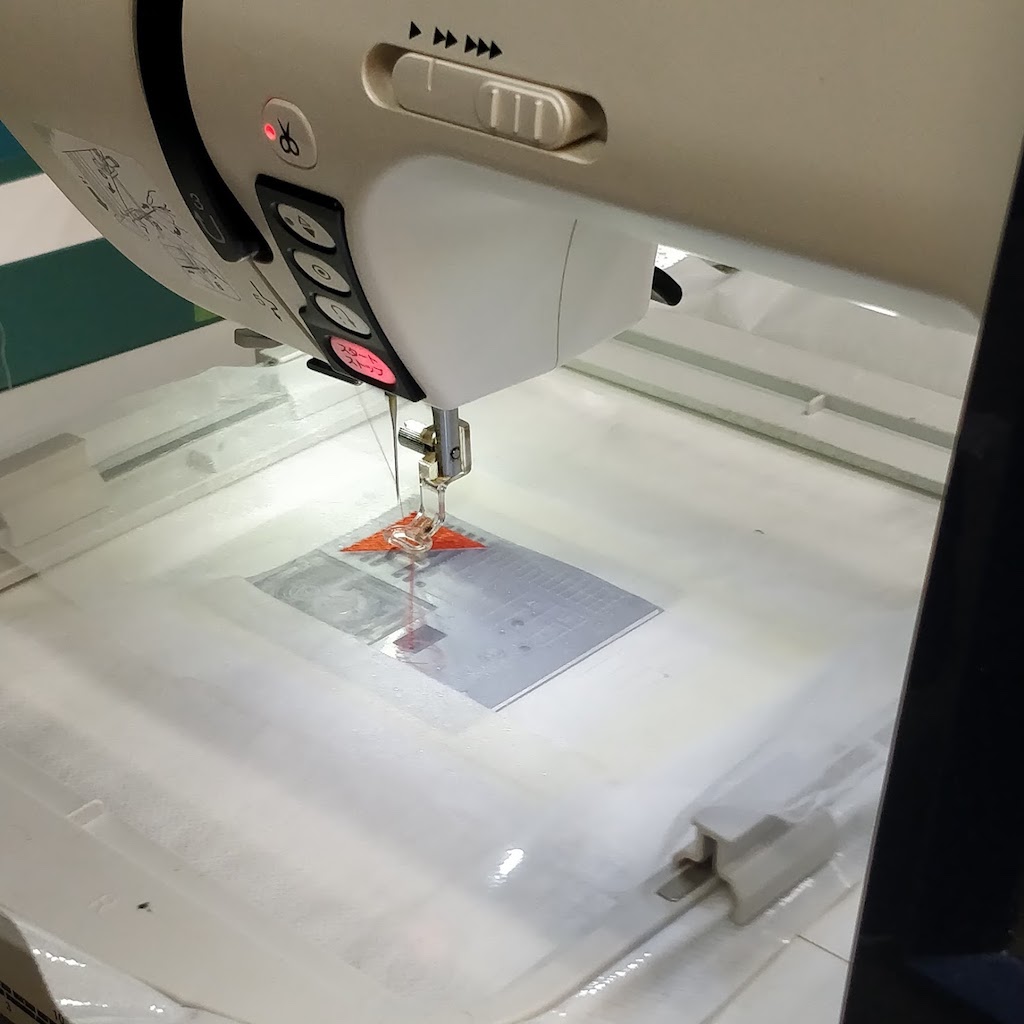
- Set the sewing machine and start sewing:
- Apply in the following order: red thread → black thread → white thread
- red thread
movie
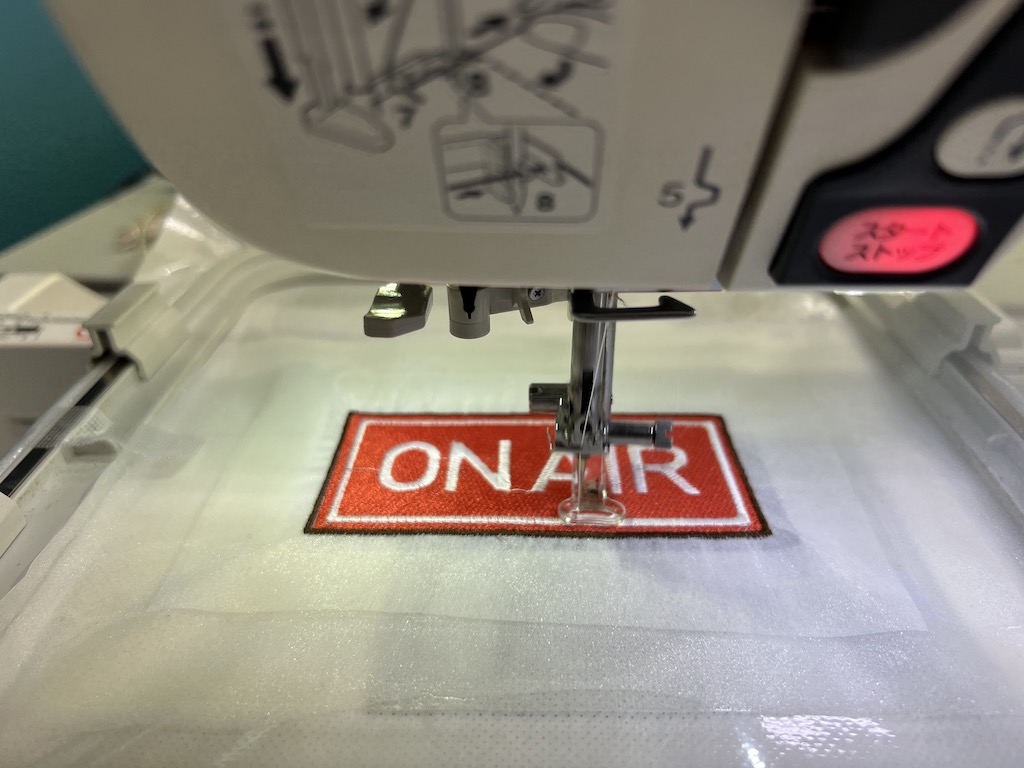
- change thread to black thread

-
change thread to white thread
-
The white letters looked a little thin, so I tried sewing only the white color twice.
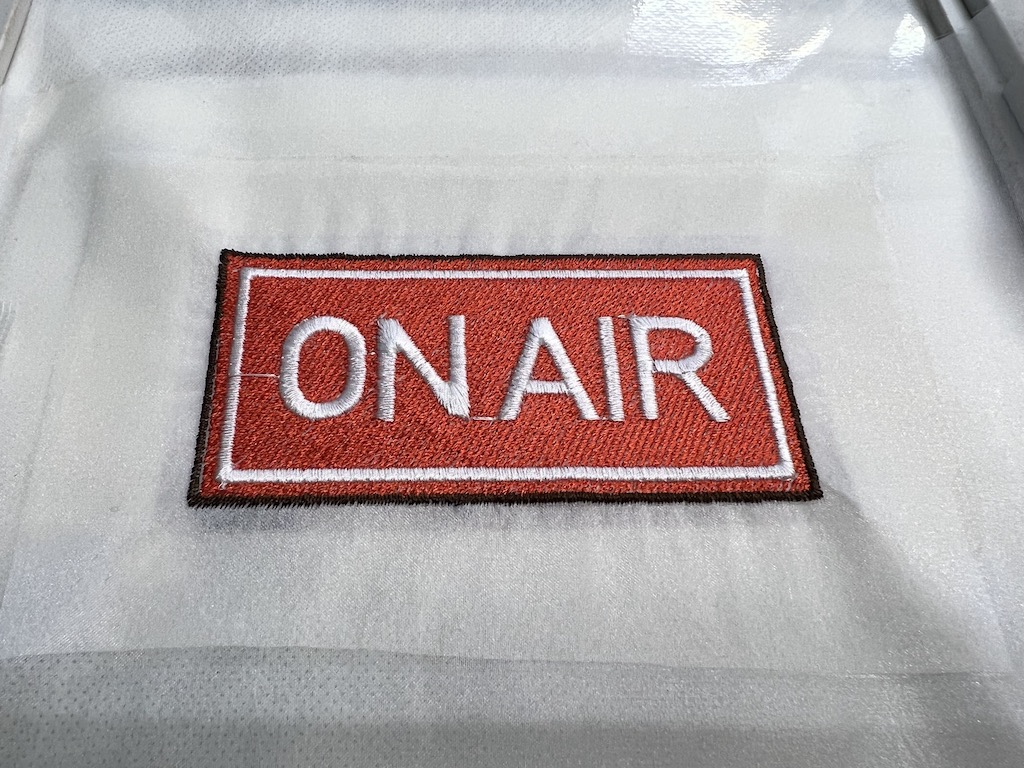
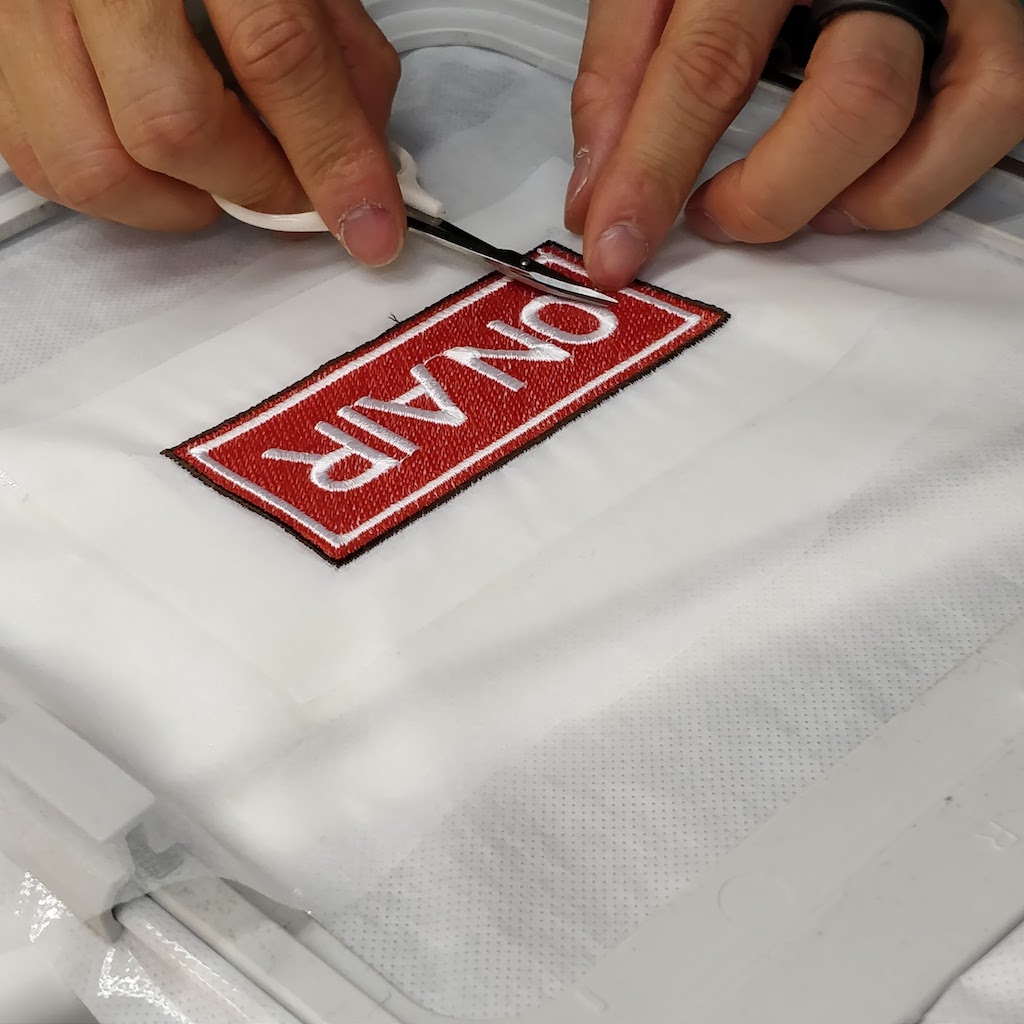
Cutting out threads that are not necessary for the design.
-
Cut 100um Ecellent (which is a kind of hot-melt film) to the size of organdie
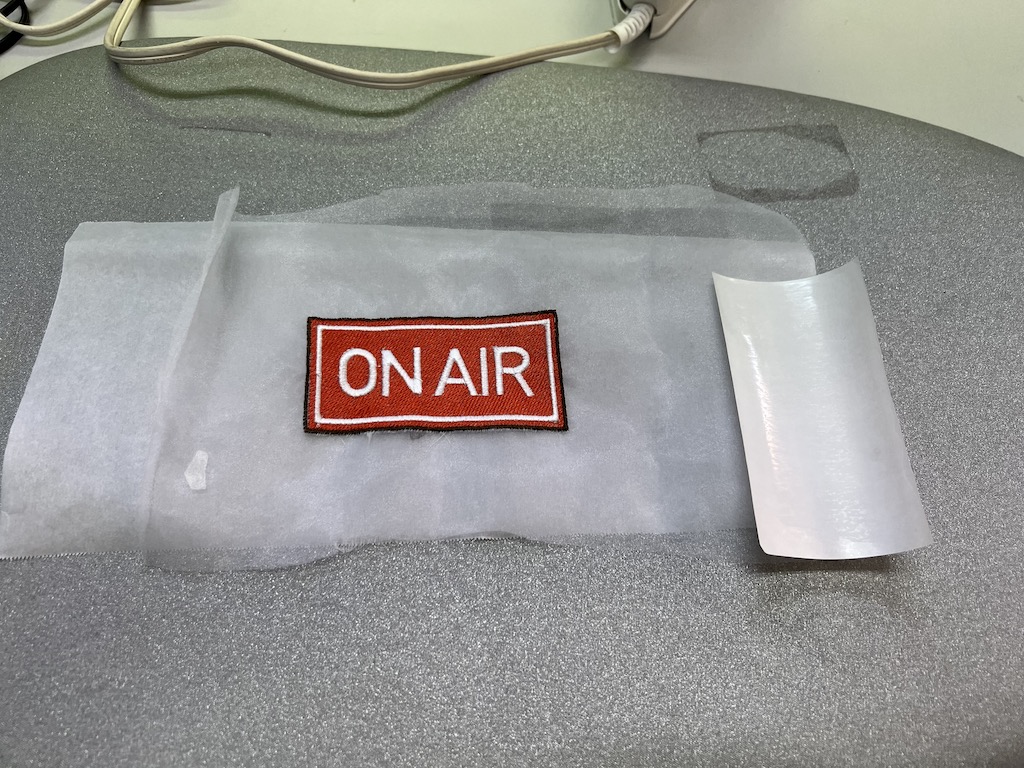
-
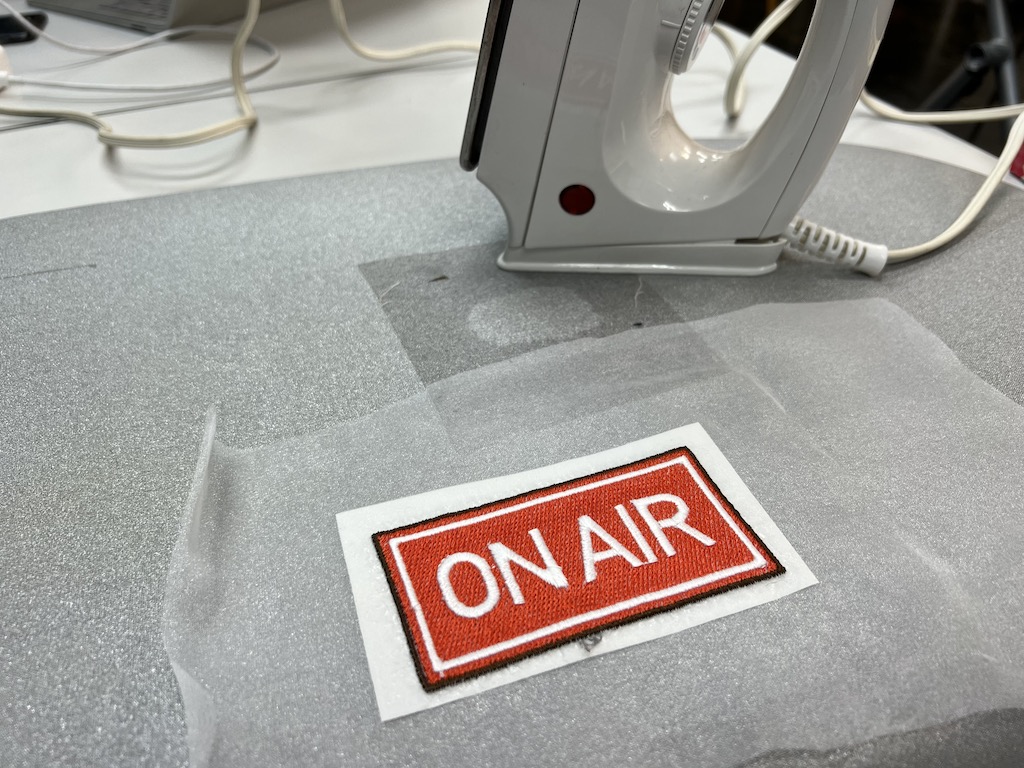
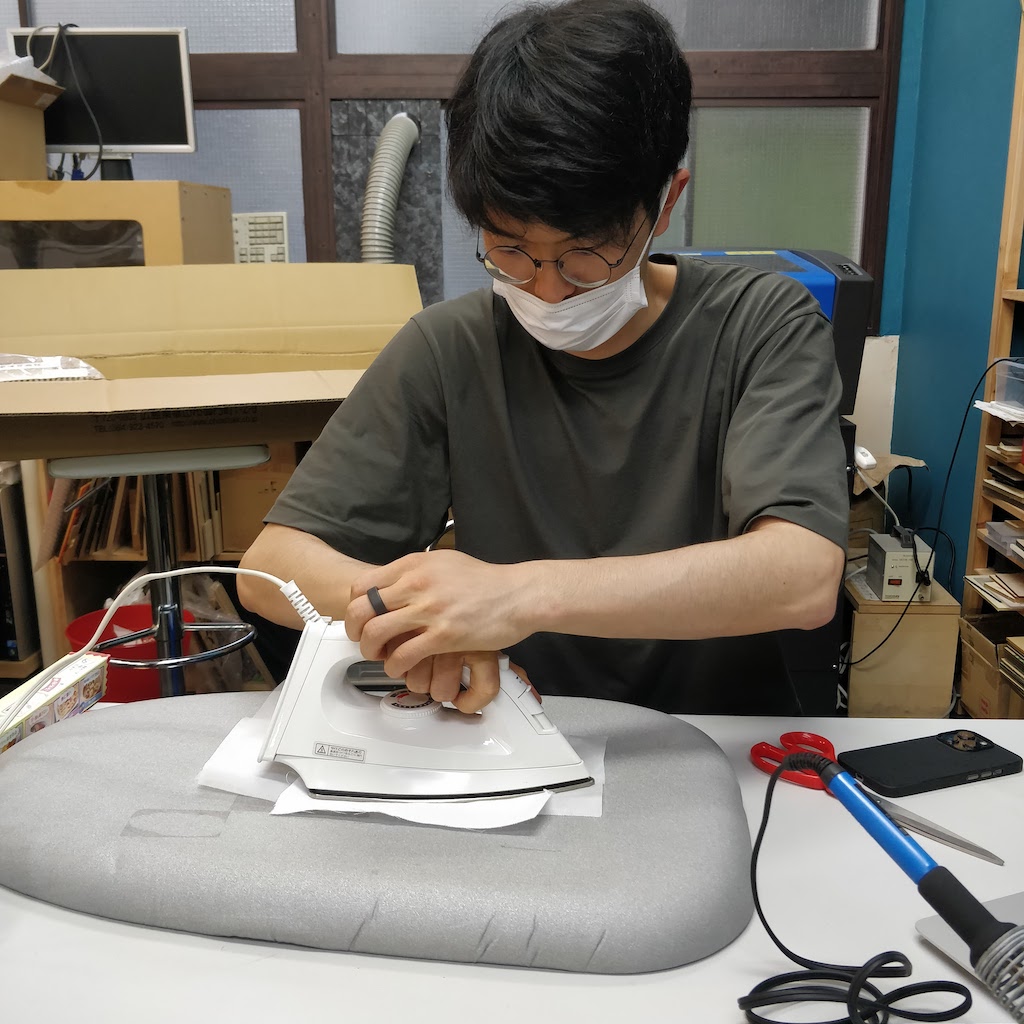
Since the melting point of ecellent is 140°C, apply the iron on “medium (120-160°C)” to adhere. Do not forget to place a cookie sheet between the ironing board and the iron.
(bottom) ironing board - cooking sheet - hot-melt film - sewed patch - cloth - Iron (top)
-
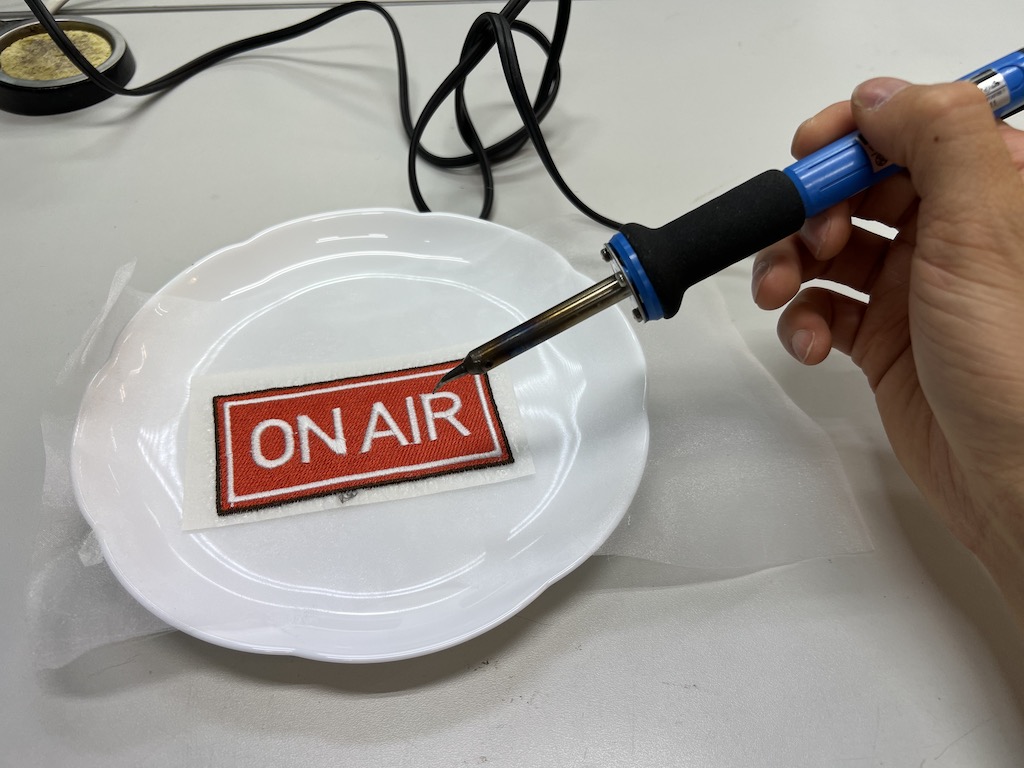
Remove only the sheet and iron it onto the T-shirt by heat cutter HE-30.
-
Press the created patch to a T-shirt by ironing
-
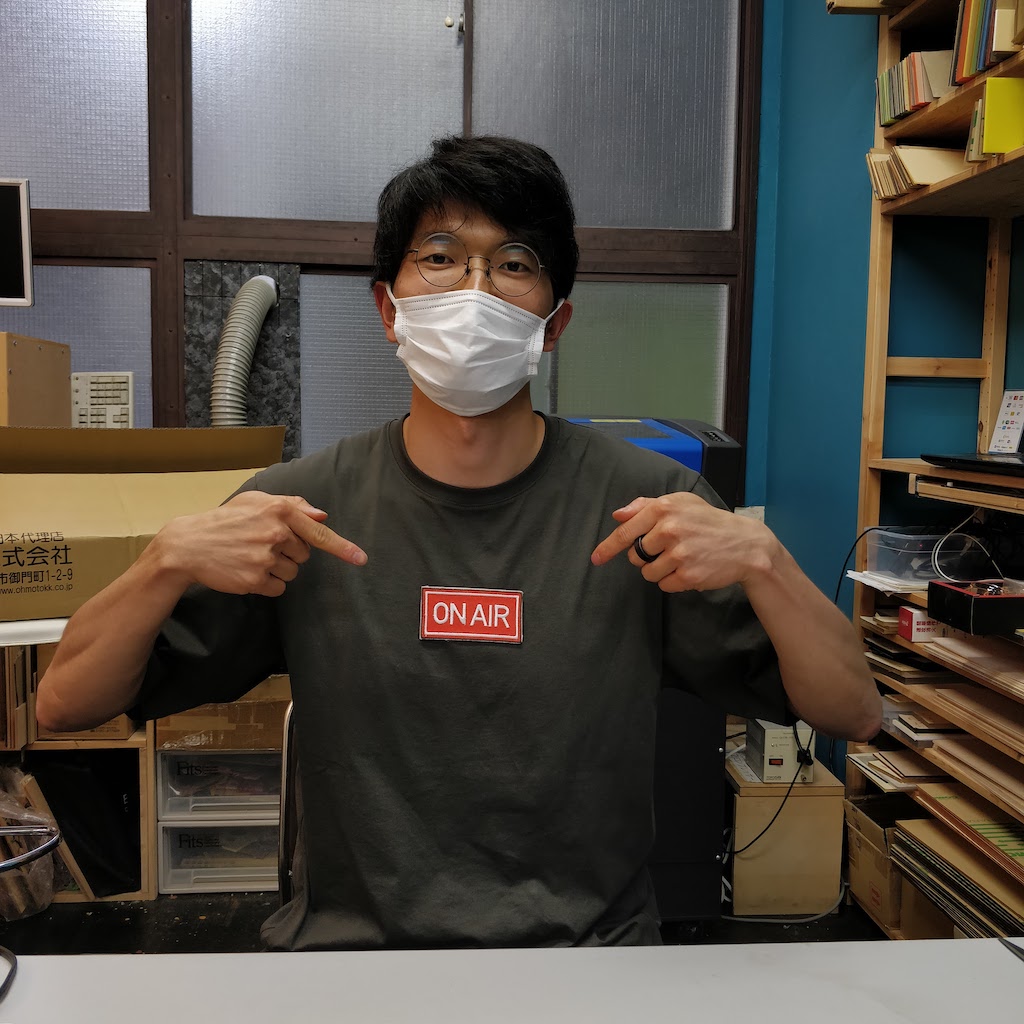
Hero Shot!
What I learned in this week
- I could learn how to load a design onto a sewing machine and then output it for embroidery.
- Unlike the 2d and 3d designs I have experienced in the past, the fabrics are very good!
- The embroidery was tactile and I found myself liking it a lot.