15. Interface and application programming
Instruction
individual assignment:
- write an application that interfaces a user with an input &/or output device that you made → in this page
group assignment:
- compare as many tool options as possible →Here
What I did in this week
- Try to use “blynk” as a interface of IoT→Here
- Try to use “App Inverntor” as a interface of iOS and Android App→Here
- Comparison between blynk and App inventor →Here
- Try to use “Processing” as interface software based on my ATtiny 3216 board→ in this page
- Create example one = Ex2: Distance 2D, Ex3:Storing input → in this page
- Create original one = Ex4 Arktangent + Arduino Serial → in this page
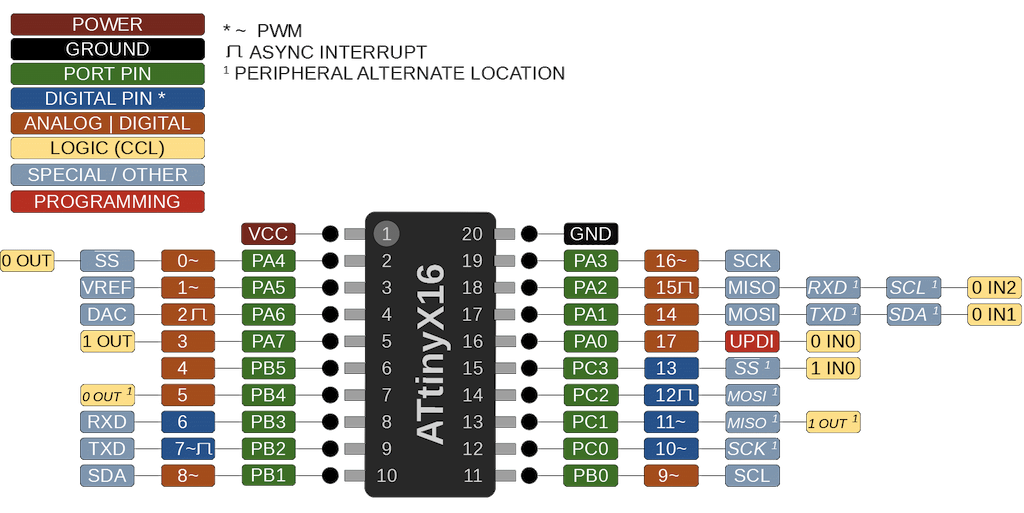
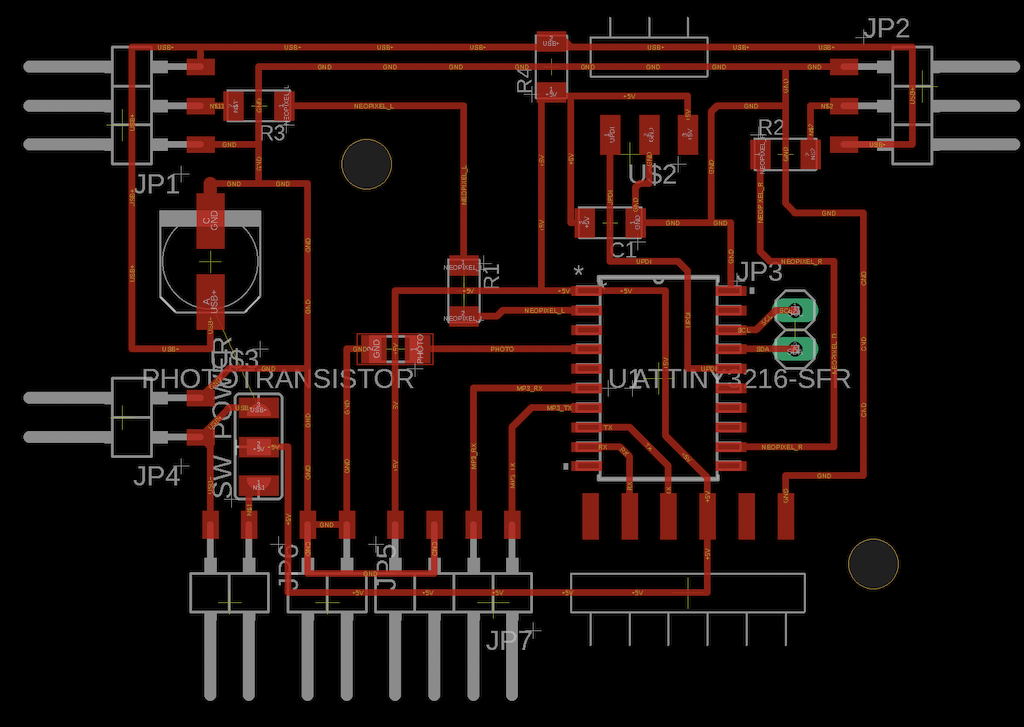
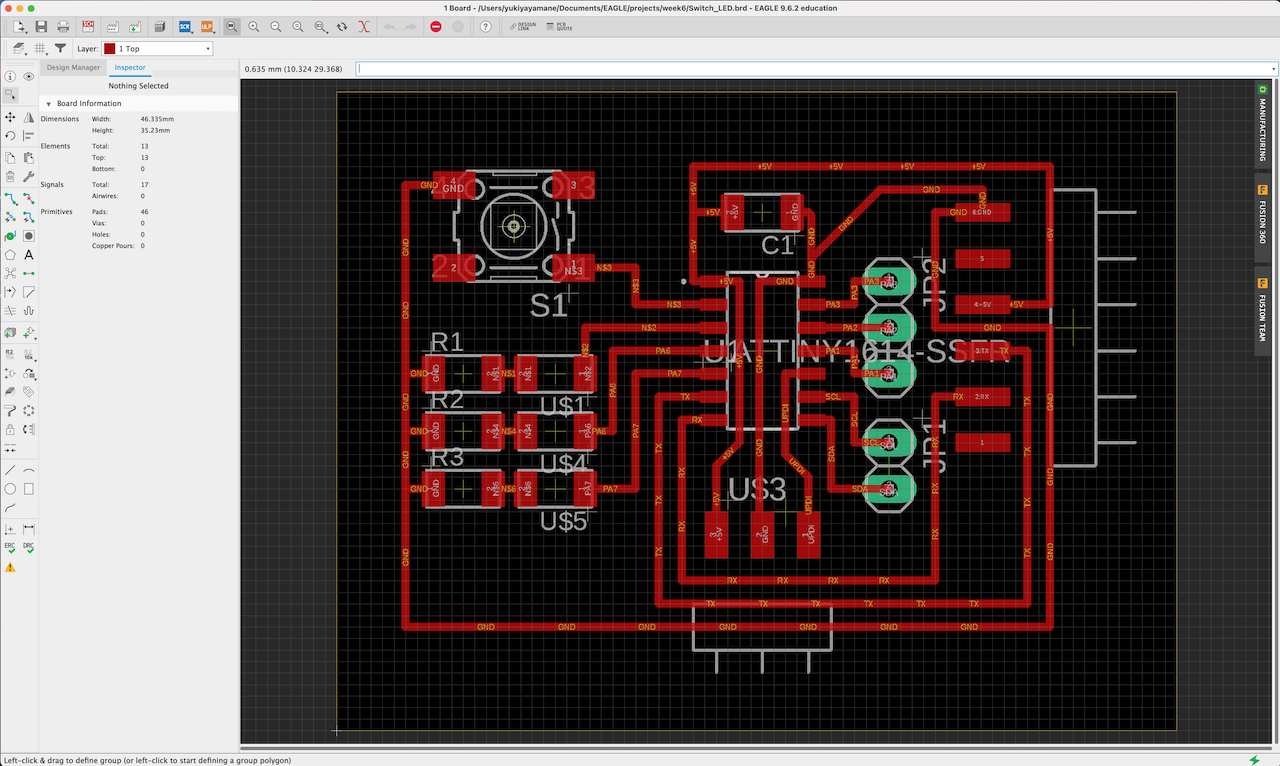
Device I used
The circuit-board for final project made in Week11
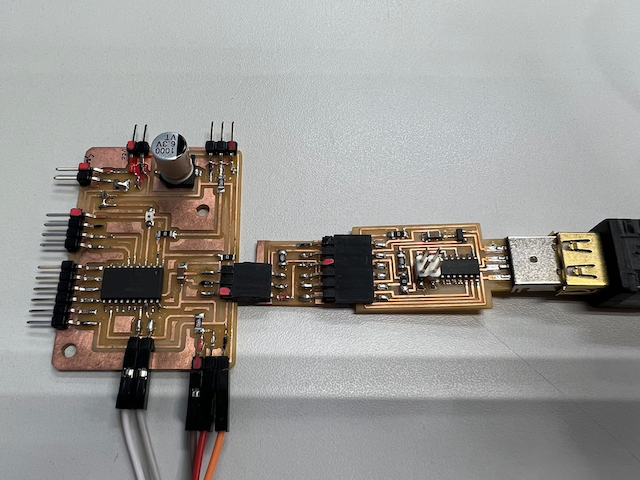
ATtiny3216
Schematic
Try to use “Processing” as interface software based on my ATtiny 3216 board
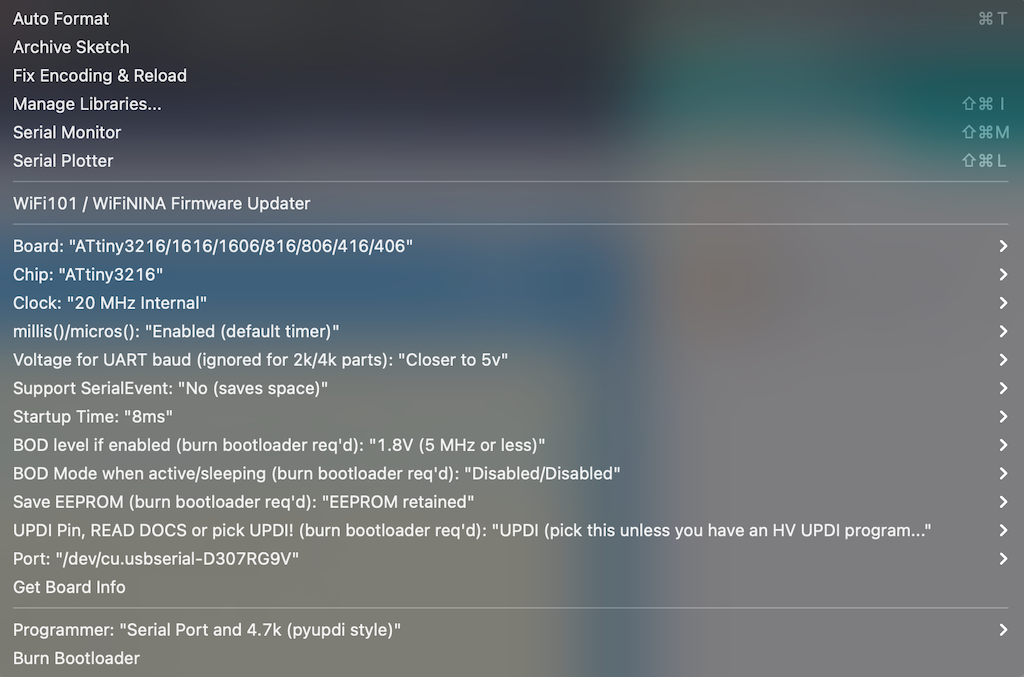
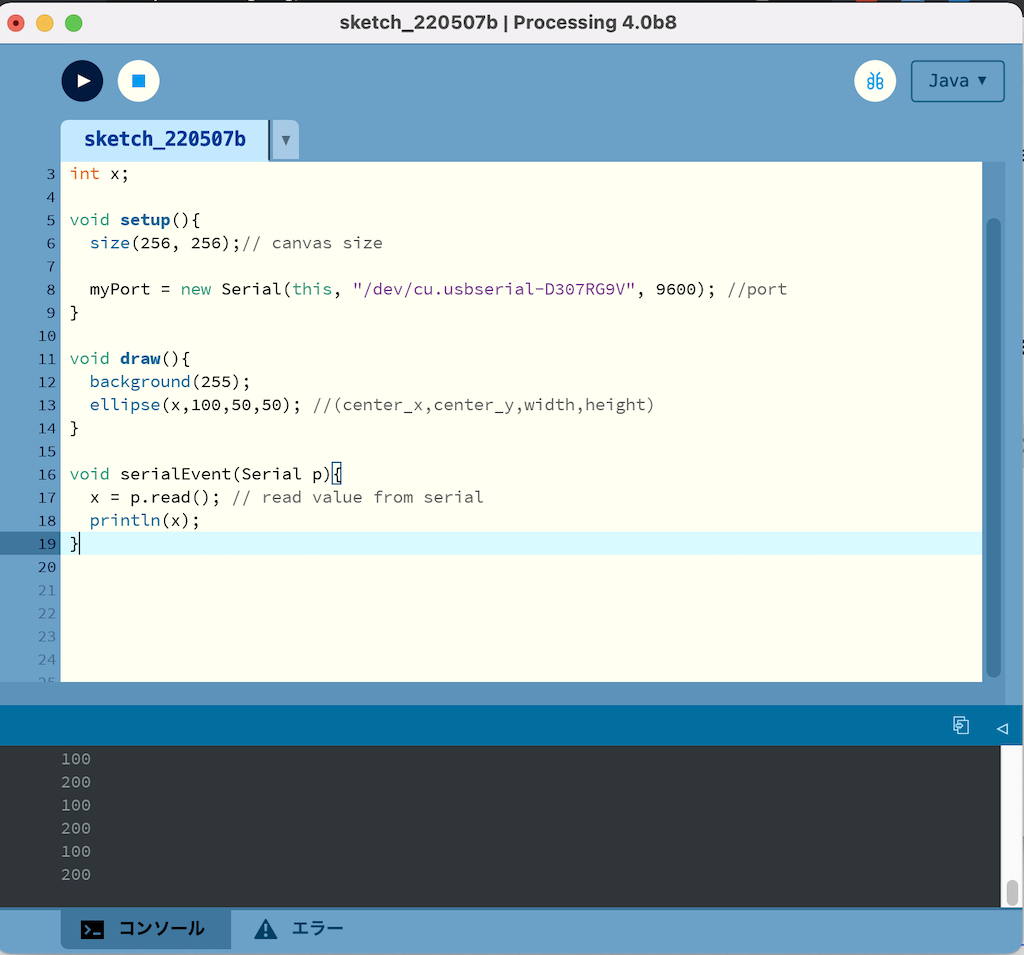
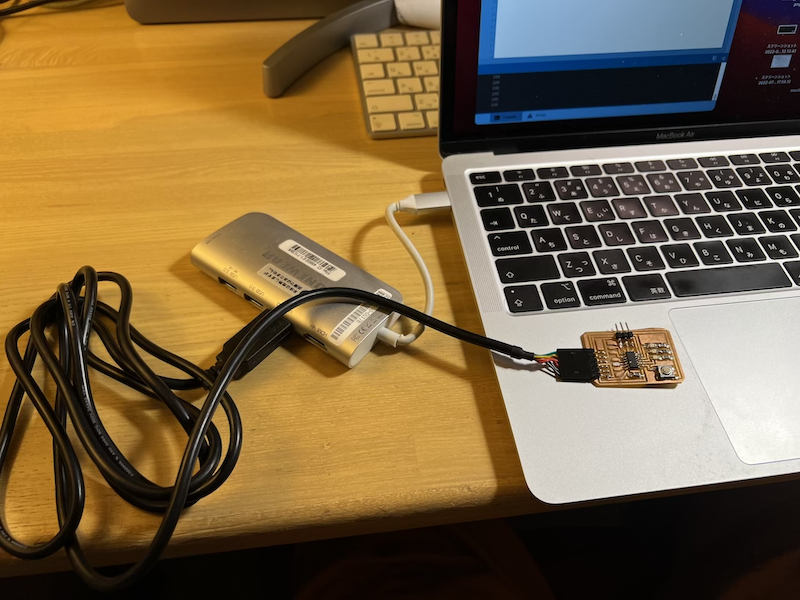
In this week I used the board which I had made before. The board is loaded with ATtiny 3216. I try to use Processing as a application.
The board sends signals to PC via serial communication according to arduino code. The code is to keep sending 100 and 200 every second from the board to the PC. After receiving the signal, processing runs on the PC and draws the figure. This is the basic apprication
I tried to write 4 kinds of figures by processing which interacts with mouse movements and serial communication from the board.
Example 1 : Basic codes
Arduino Setting
Arduino code
void setup(){
  Serial.begin(9600);
}

void loop(){
  Serial.write(100);// 1 byte = 0-255
  delay(1000);
  Serial.write(200);// 256 goes to 0
  delay(1000);
}
write → success
Processing Code
import processing.serial.*;
Serial myPort;
int x;

void setup(){
  size(256, 256);// canvas size

  myPort = new Serial(this, "/dev/cu.usbserial-D307RG9V", 9600); //port
}

void draw(){
  background(255);
  ellipse(x,100,50,50); //(center_x,center_y,width,height)
}

void serialEvent(Serial p){
  x = p.read(); // read value from serial
  println(x);
}
Error is occured
UnsatisfiedLinkError: Could not load the jssc library: Couldn't load library library jssc
→ Replacing the Processing which is ver Silicon. use the Processing which is ver Intel
MacOS(Intel 64-bit)
Success!
Example 2: Distance 2D
Ref. Distance 2D
Processing Code
/**
 * Distance 2D.
 *
 * Move the mouse across the image to obscure and reveal the matrix.
 * Measures the distance from the mouse to each square and sets the
 * size proportionally.
 */

float max_distance;

void setup() {
  size(640, 360);
  noStroke();
  max_distance = dist(0, 0, width, height);
}

void draw() {
  background(0);

  for(int i = 0; i <= width; i += 20) {
    for(int j = 0; j <= height; j += 20) {
      float size = dist(mouseX, mouseY, i, j);
      size = size/max_distance * 66;
      ellipse(i, j, size, size);
    }
  }
}
Success
- Distance 2D + Arduino Serial
////////////////////////////add
import processing.serial.*;
Serial myPort;
int x;
////////////////////////////added

float max_distance;

void setup() {
  size(640, 360);
  noStroke();
  max_distance = dist(0, 0, width, height);

  myPort = new Serial(this, "/dev/cu.usbmodem14401", 9600); //port////add

}

void draw() {
  background(0);

  for(int i = 0; i <= width; i += 20) {
    for(int j = 0; j <= height; j += 20) {
      float size = dist(x, mouseY, i, j);//////// changed mouseX to X
      size = size/max_distance * 66;
      ellipse(i, j, size, size);
    }
  }
}

////////////////////////////add
void serialEvent(Serial p){
  x = p.read(); // read value from serial
  println(x);
}
////////////////////////////added
Ex3 : Storing input
Ref.Storing Input
/**
 * Storing Input.
 *
 * Move the mouse across the screen to change the position
 * of the circles. The positions of the mouse are recorded
 * into an array and played back every frame. Between each
 * frame, the newest value are added to the end of each array
 * and the oldest value is deleted.
 */

int num = 60;
float mx[] = new float[num];
float my[] = new float[num];

void setup() {
  size(640, 360);
  noStroke();
  fill(255, 153);
}

void draw() {
  background(51);

  // Cycle through the array, using a different entry on each frame.
  // Using modulo (%) like this is faster than moving all the values over.
  int which = frameCount % num;
  mx[which] = mouseX;
  my[which] = mouseY;

  for (int i = 0; i < num; i++) {
    // which+1 is the smallest (the oldest in the array)
    int index = (which+1 + i) % num;
    ellipse(mx[index], my[index], i, i);
  }
}
Storing input + Arduino Serial
/**
 * Storing Input.
 *
 * Move the mouse across the screen to change the position
 * of the circles. The positions of the mouse are recorded
 * into an array and played back every frame. Between each
 * frame, the newest value are added to the end of each array
 * and the oldest value is deleted.
 */

////////////////////////////add
import processing.serial.*;
Serial myPort;
int x;
////////////////////////////added

int num = 60;
float mx[] = new float[num];
float my[] = new float[num];

void setup() {
  size(640, 360);
  noStroke();
  fill(255, 153);

  myPort = new Serial(this, "/dev/cu.usbserial-D307RG9V", 9600); //port////add

}

void draw() {
  background(51);

  // Cycle through the array, using a different entry on each frame.
  // Using modulo (%) like this is faster than moving all the values over.
  int which = frameCount % num;
  mx[which] = x;//mouseX;////// changed mouseX to X
  my[which] = mouseY;

  for (int i = 0; i < num; i++) {
    // which+1 is the smallest (the oldest in the array)
    int index = (which+1 + i) % num;
    ellipse(mx[index], my[index], i, i);
  }
}

////////////////////////////add
void serialEvent(Serial p){
  x = p.read(); // read value from serial
  println(x);
}
////////////////////////////added
Ex4 (Origiral one) : Arktangent + Arduino Serial
Ref :Arktangent
100,200 signal sent from the serial port of the ATtiny3216 every second, the color of the eyes changes
+Interactive following the mouse moving
/**
 * Arctangent.
 *
 * Move the mouse to change the direction of the eyes.
 * The atan2() function computes the angle from each eye
 * to the cursor.
 */

////////////////////////////add
import processing.serial.*;
Serial myPort;
int z;
////////////////////////////added


Eye e1, e2, e3;

void setup() {
  size(640, 360);
  noStroke();
  e1 = new Eye( 250,  16, 120);
  e2 = new Eye( 164, 185,  80);
  e3 = new Eye( 420, 230, 220);

  myPort = new Serial(this, "/dev/cu.usbserial-D307RG9V", 9600); //port////add

}

void draw() {
  background(102);

  e1.update(mouseX, mouseY);
  e2.update(mouseX, mouseY);
  e3.update(mouseX, mouseY);

  e1.display();
  e2.display();
  e3.display();
}

class Eye {
  int x, y;
  int size;
  float angle = 0.0;

  Eye(int tx, int ty, int ts) {
    x = tx;
    y = ty;
    size = ts;
 }

  void update(int mx, int my) {
    angle = atan2(my-y, mx-x);
  }

  void display() {
    pushMatrix();
    translate(x, y);
    fill(255);
    ellipse(0, 0, size, size);
    rotate(angle);
    fill(153/100*z, 54, 150/z);
    ellipse(size/4, 0, size/2, size/2);
    popMatrix();
  }
}

////////////////////////////add
void serialEvent(Serial p){
  z = p.read(); // read value from serial
  println(z);
}
////////////////////////////added
Export Application
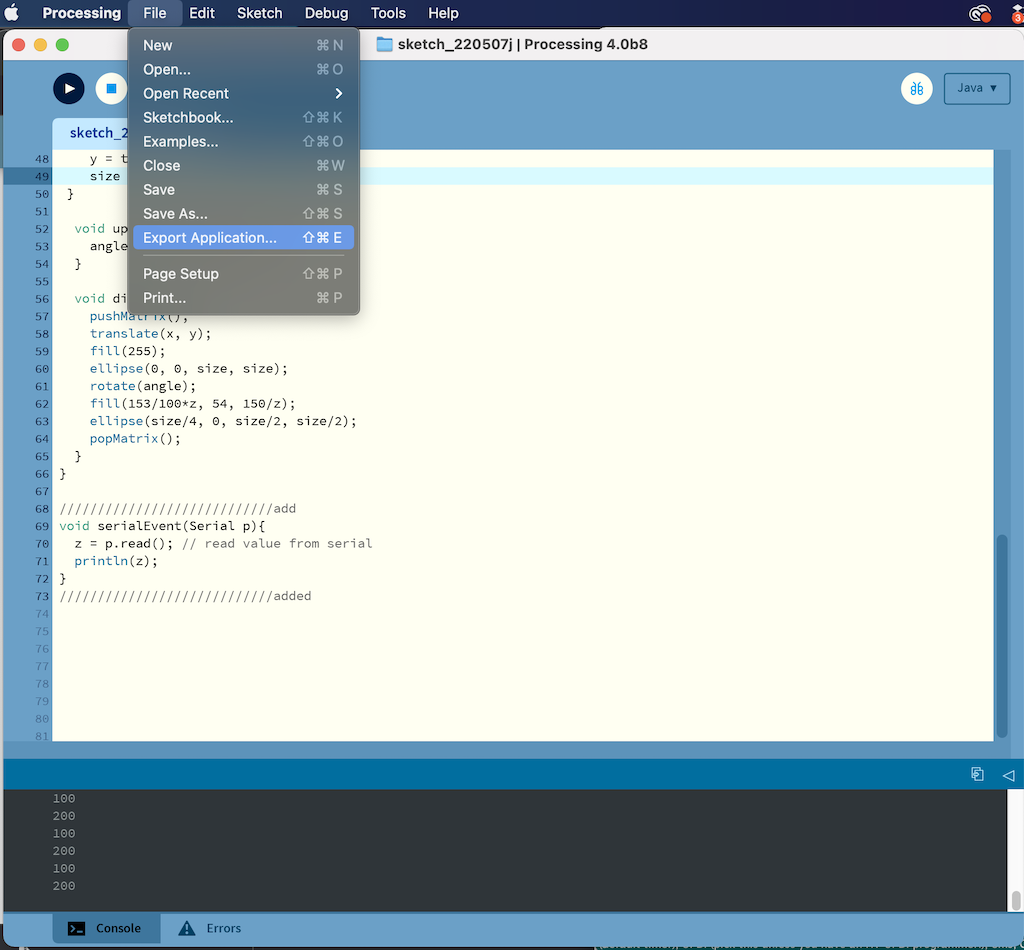
Setting
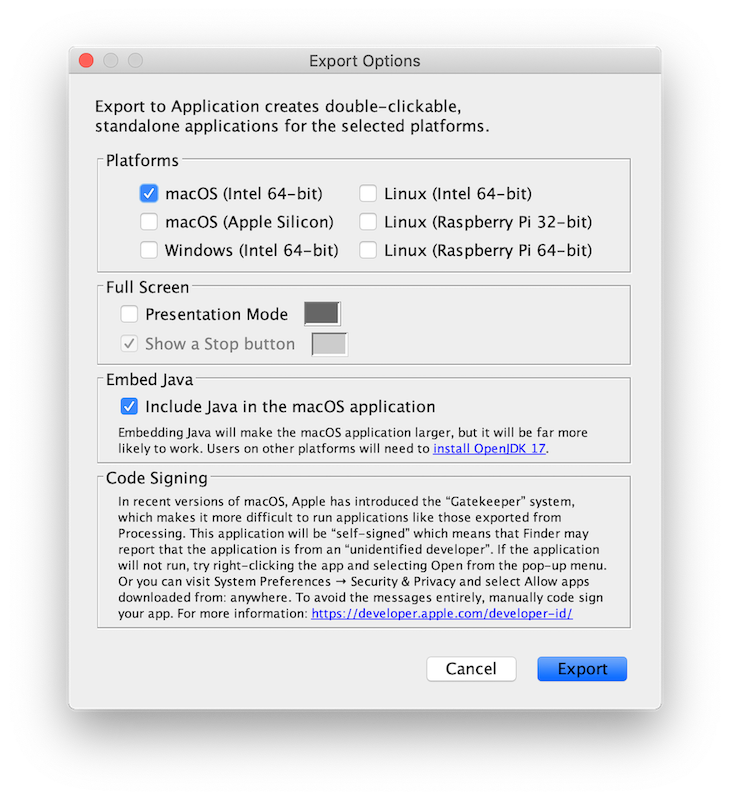
M1Mac could not open the file because it was corrupted.
I exported the file in Intel ver and opened it on an intel Mac.
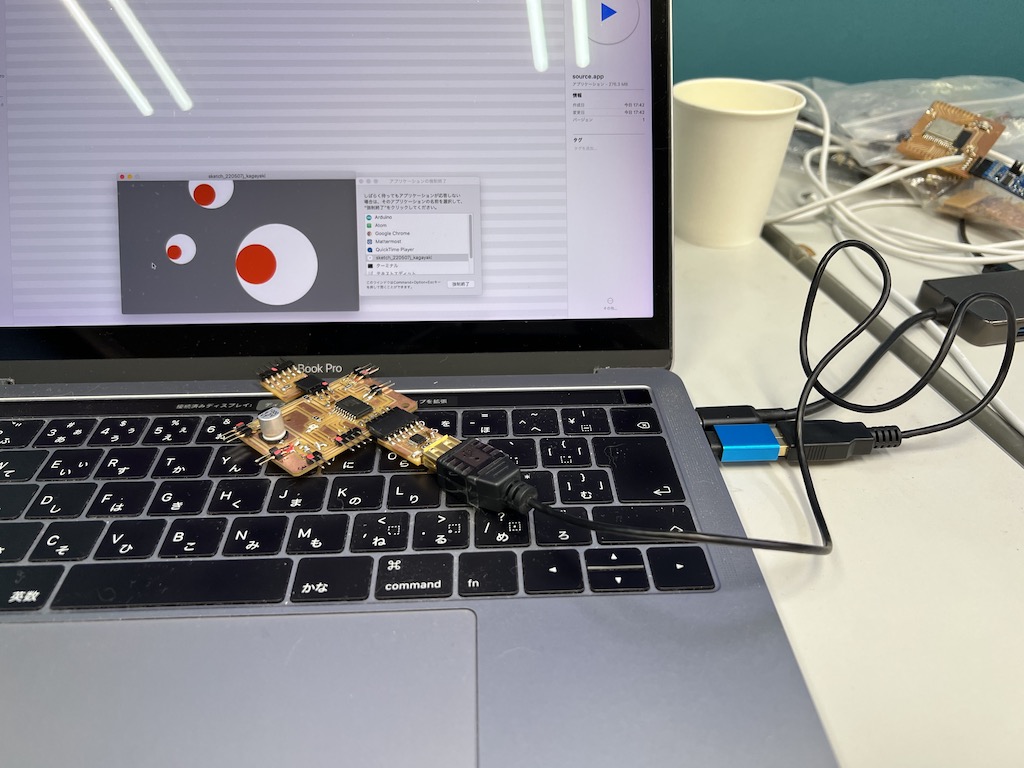
I was able to launch the file as an application without Processing.
It can be run as a apprication without Processing
Ex5 : Interfacing with an input on breakout board (Added on 11th July)
I did an additional work to interface it with an input or an output in response to points raised by my global evaluator. The interface that changes the position of the circle on the screen when the button on the circuit board is pressed was created using Processing.
I used the breakout board made in Week7
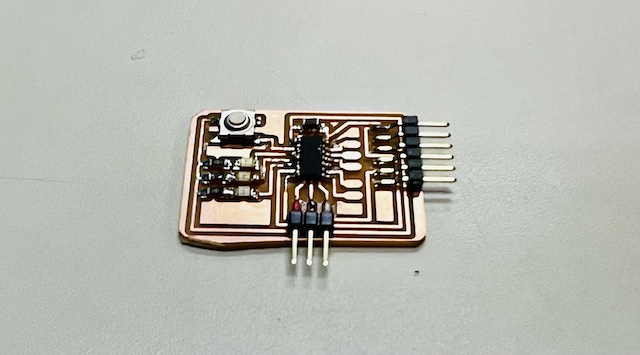
Arduino code on ATTiny1614 of the breakout board
When the button is pressed on the circuit, the LED glows and serial data is output to the serial port.
const int BUTTON = 0;
const int LED = 1;
int BUTTONstate = 0;

void setup()
{
  Serial.begin(9600);
  pinMode(BUTTON, INPUT_PULLUP);
  pinMode(LED, OUTPUT);
}

void loop()
{
  BUTTONstate = digitalRead(BUTTON);
  if (BUTTONstate == LOW)
  {
    digitalWrite(LED, HIGH);
    Serial.write(100);
  }
  else{
    digitalWrite(LED, LOW);
    Serial.write(200);
  }
}
Processing Code on Mac
I wrote the code that changes the position of circle on Processing when receiving serial communication data from the board.
import processing.serial.*;
Serial myPort;
int x;

void setup(){
  size(256, 256);// canvas size

  myPort = new Serial(this, "/dev/cu.usbserial-FT9OZSKA", 9600); //port
}

void draw(){
  background(255);
  ellipse(x,100,50,50); //(center_x,center_y,width,height)
}

void serialEvent(Serial p){
  x = p.read(); // read value from serial
  println(x);
}
Networking
Processing (Application) - Mac USB Port - Breakoutboard - Button/LED
Result
I was able to create an interface that changes the position of the circle via serial communication when a button is pressed. done!
What I learned in this week
Blynk
- Using Blynk, I was able to use my ATtiny board as an IoT sensor!
- If I turn the switch on from BlynkApp, the LED on the board turns on.
- This can be accessed via the cloud, even if not connected to the same Wifi. For example, I can control the board at home from my smartphone App when I am away from home.
- If I attach other Input sensors and Output devices, I can make it IoT with Blynk.
Inventor
- I could easily create an Android App by designing the interface from the Browser App.
- I could quickly create an app by intuitively moving the UI and Logic Block.
- Unlike Blynk, various extensions are possible without charging. However, I have the impression that the UI is more sophisticated than Blynk’s
Processing
- I was able to interactively manipulate the visuals via serial communication from my ATtiny3216 board.
- I was able to run an example program that moves a circle following the behavior of the mouse pointer.
- M1 Note that the Mac version of the application has a problem with serial communication due to a JAVA jssc error. In this case, I solved the problem by using the Intel Mac version.
- Export Apprication allows me to export the program as an application and use it as an independent Mac App without going through Processing.
File
- 1.basic_codes.pde
- 2.distance2D.pde
- 2_distance2D+arduino.ino
- 3.storinginput.pde
- 3.storinginput+arduino.oino
- 4.arktangent_arduino.pde