6. 3D Scanning and printing
Instruction
Group Assignment
Individual Assignment
- Design and 3D print an object (small, few cm3, limited by printer time) that could not be easily made subtractively
- 3D scan an object, try to prepare it for printing (and optionally print it)
What I did in Week5
- Test the 3D Printer : Angle, Overhang, Bridge, Wall-thickness, hole test → Group Assignment
- Design and 3D print an object → In this page
- 3D scan an object, try to prepare it for printing → In this page
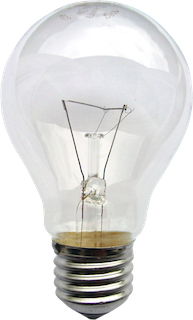
What I want to print by 3D printer
is light bulb because it is the symbol of the invention and prototyping and ideation
Design Light Bulb
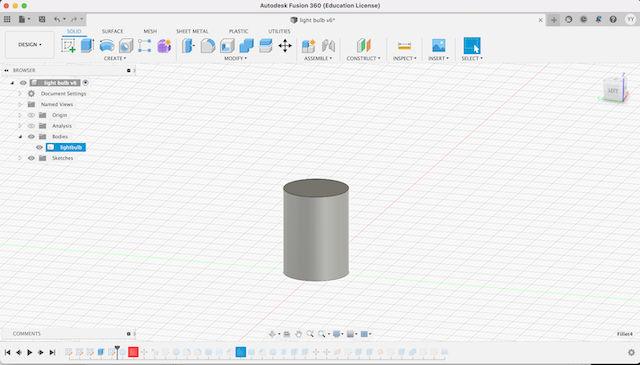
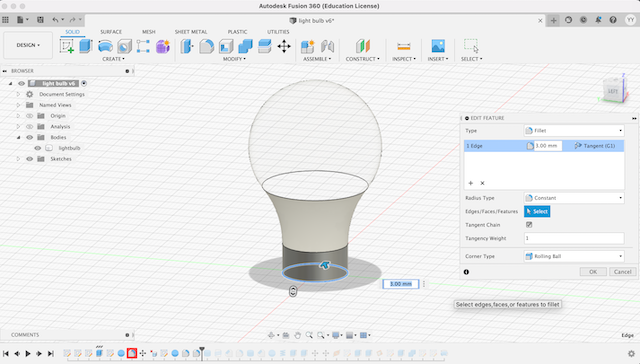
Design by Fusion 360
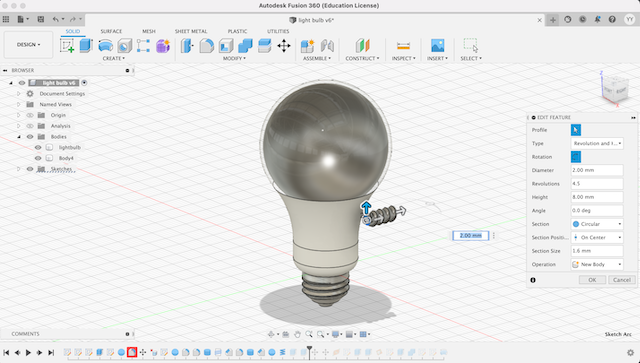
- Sketch and Extrude cylinder
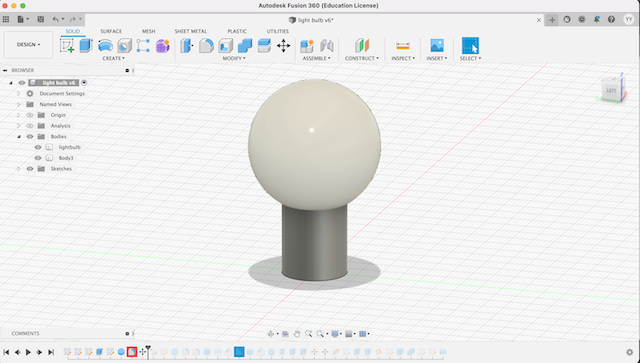
- Create Sphere and join to cylinder
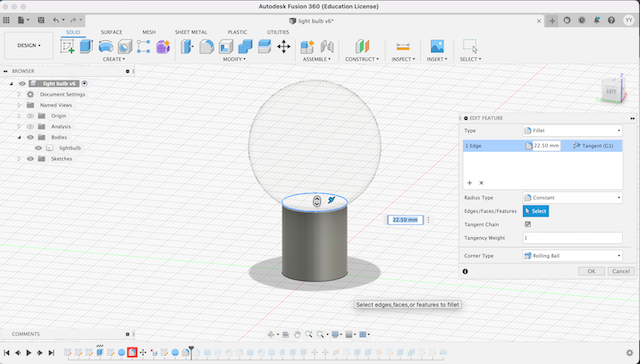
- Fillet the circle between cylinder and sphere
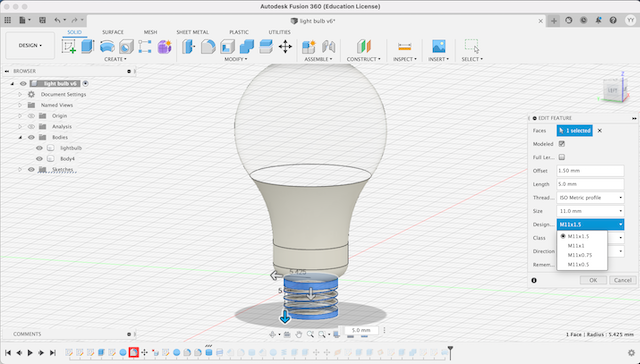
- create cylinder from the bottom
- thread
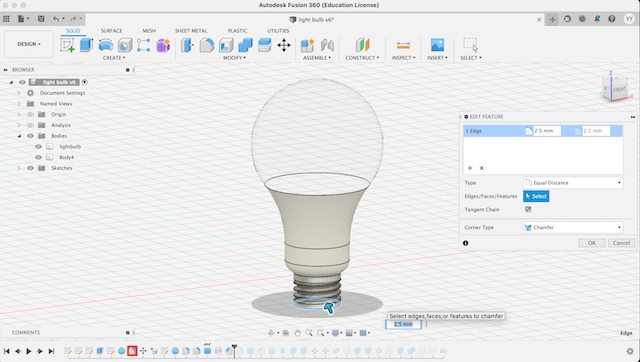
- chamfer the bottom edge to create bulb bottom
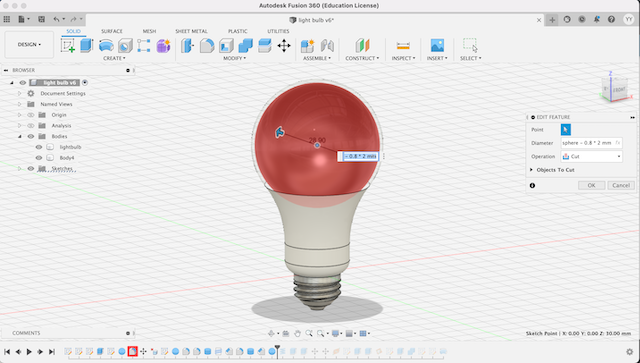
- cut out a little bit smaller sphere from the sphere
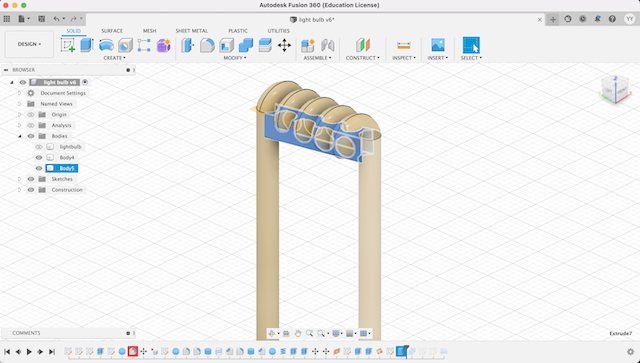
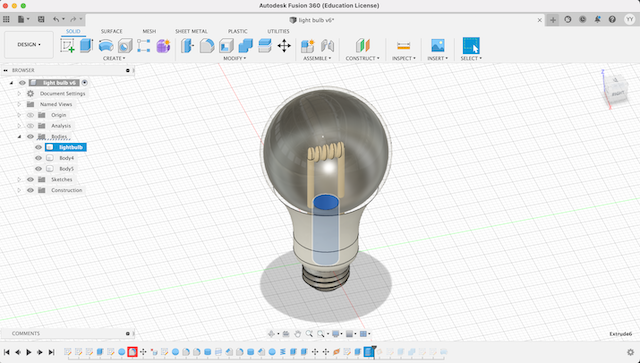
- create coil primitive to be firament inside the bulb
- create rectangular under the firament to support printing
- create a hole from the bottom to illuminate inside the bulb by LED or Light
- conbine the whole body
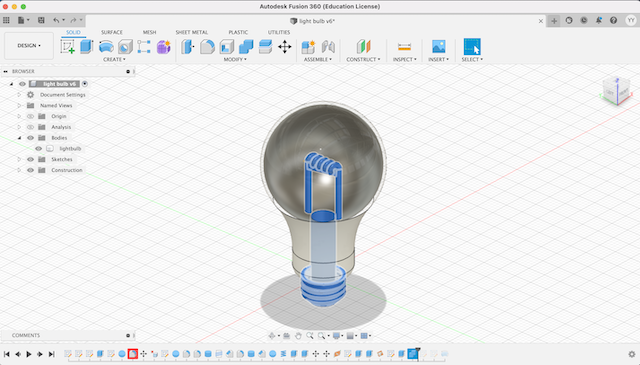
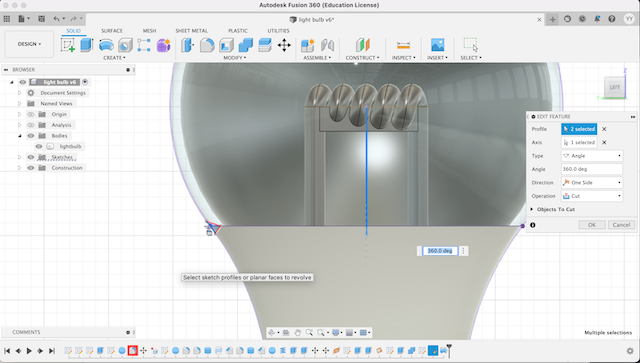
- project the ourline of the light bulb and sketch a groove between upper and lower by “revolve”
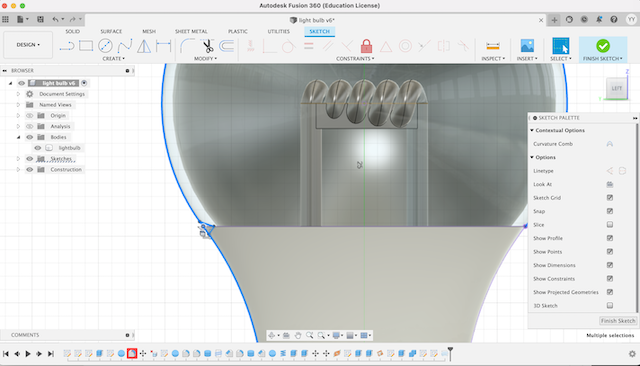
- cut out the groove sketch
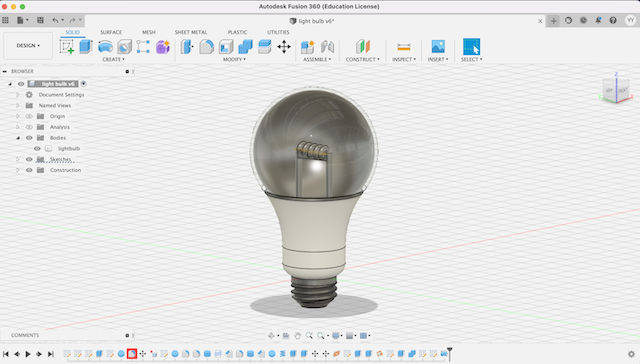
- finish the design. It is difficult to shape in subtractive because of the filament inside the bulb.
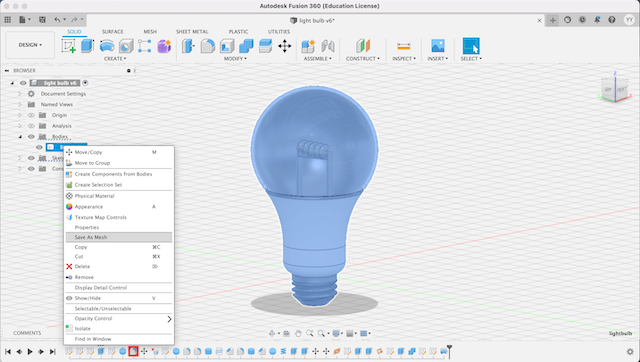
- export to Cura by “save as mesh”
- move on to Ultimaker Cura and adjust the setting
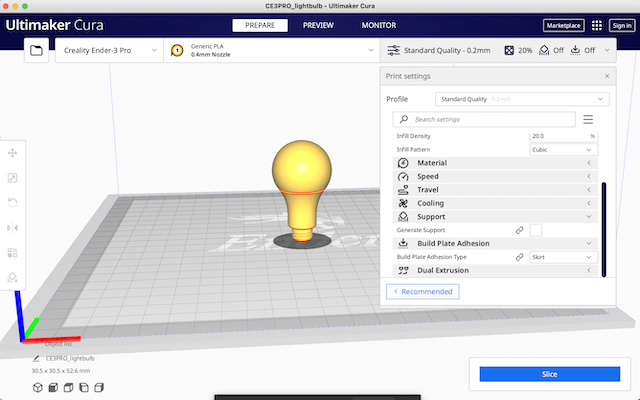
- check whether each mesh can print out from the bottom by “preview”
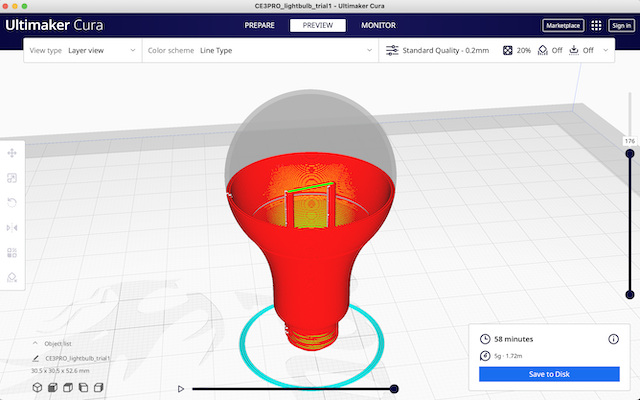
3D Printing
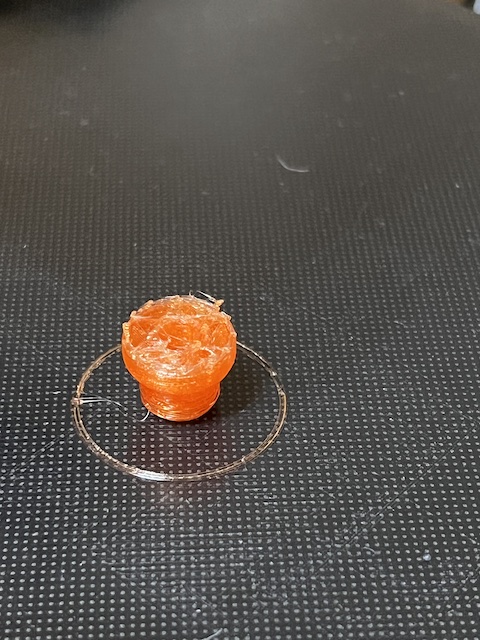
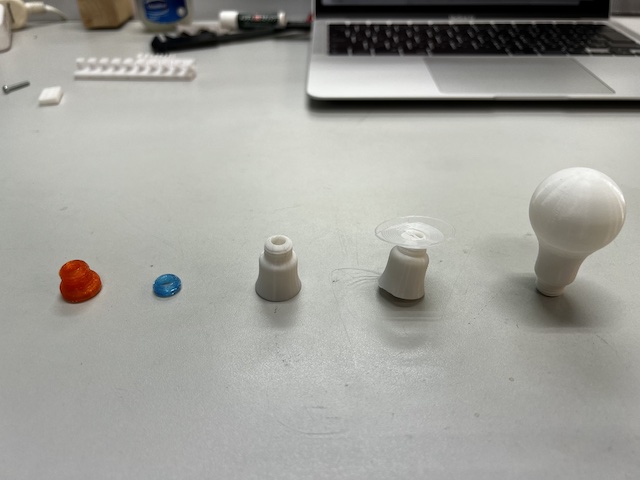
[Printing Trial 1] :
The PLA we used : Jr.PLA XYZ print Clear Tangerine 600g
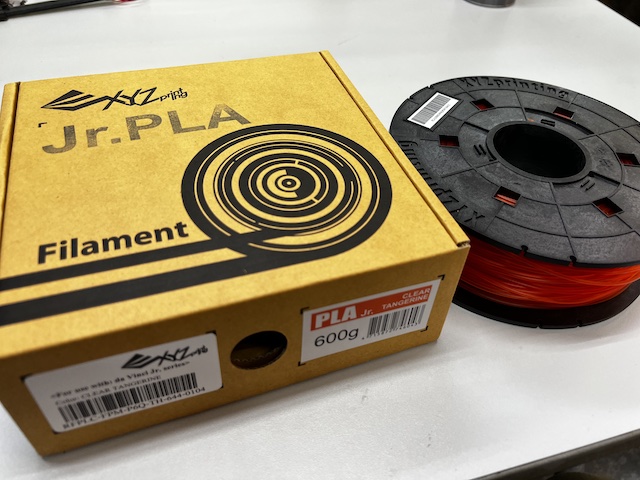
- failed to print the object clearly because PLA was broken dring printing
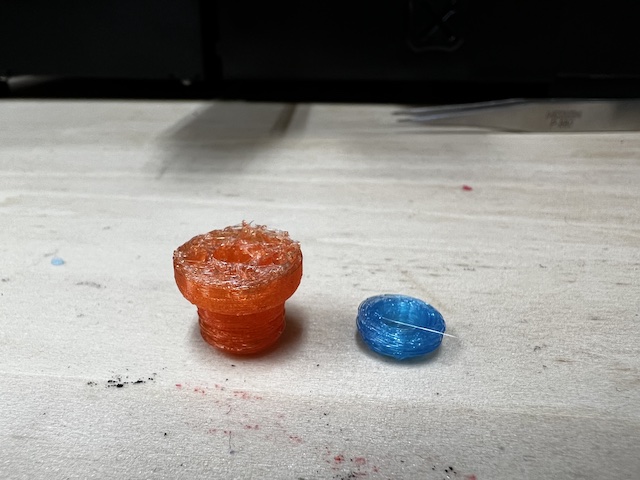
[Printing Trial 2] : Change the different type of PLA

- But, fail again to print the object the clearly
[Printing trial 3] : Change the different PLA which was proven operational
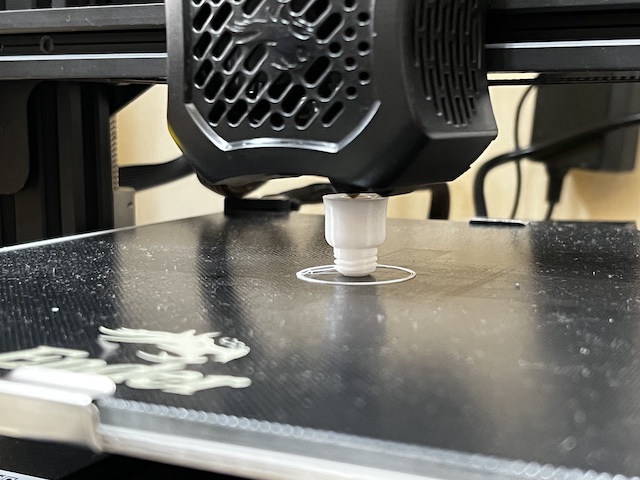
- but in this case it came off the object during printing because the basement was too narrow and the adhesion was not enough.
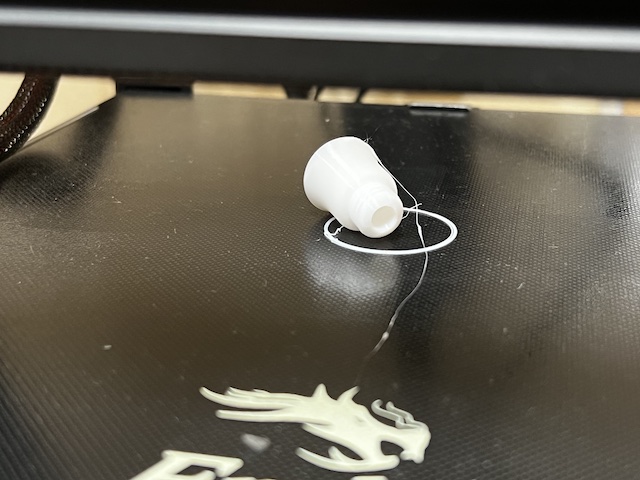
[Printing trial 4] : Set “Brim” at “build plate adhesion” in Cura and try again.
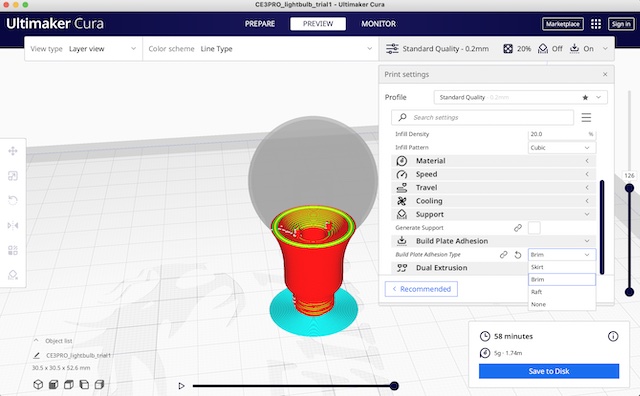
- But unfortunately, even “Brim” was not enough for the bottom to stick to the plate and fail to print.

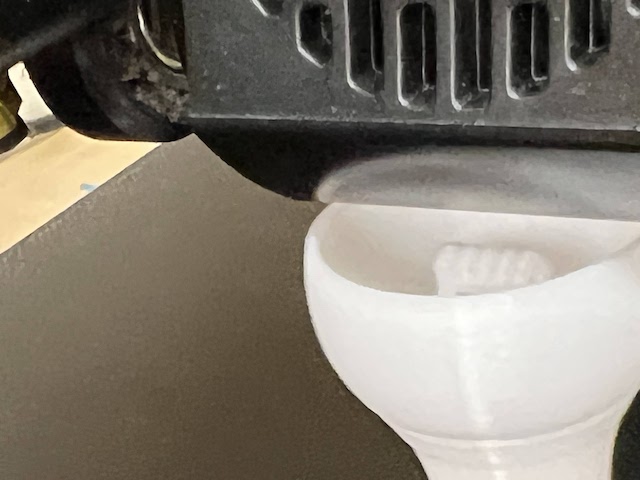
[Printing trial 5] : Set “Raft” at “build plate adhesion” in Cura and try again.
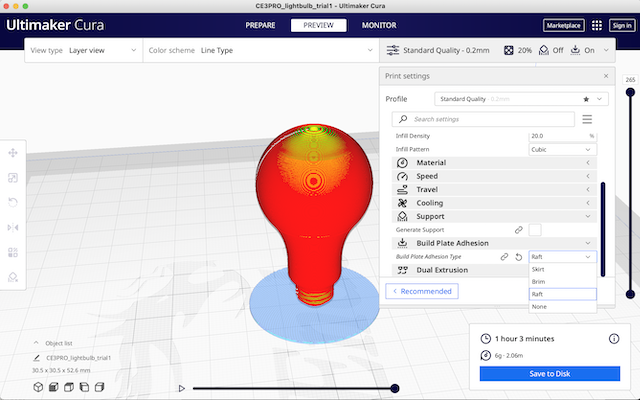
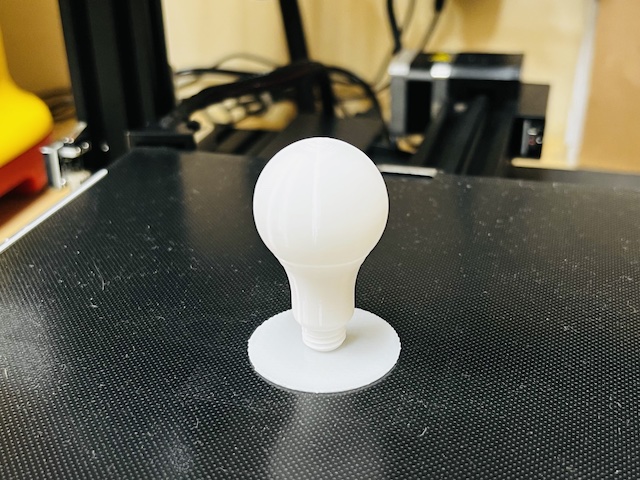
- Printing
this shot is that the printed object is not “subtructive” evidence! :)
- done! Here is hero shots.
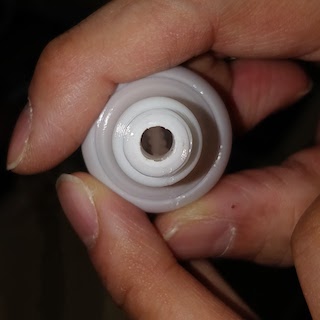
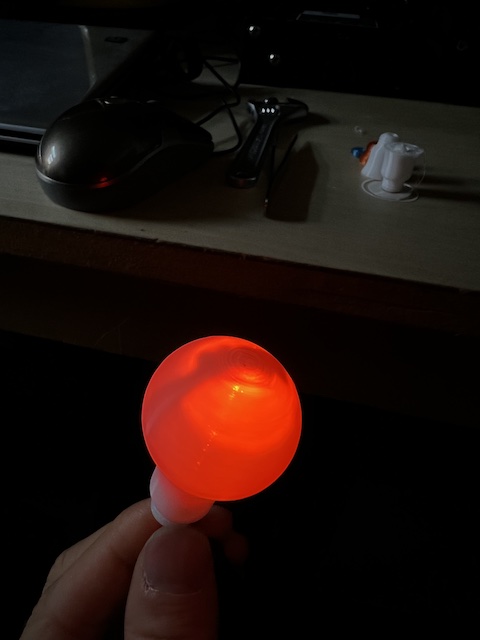
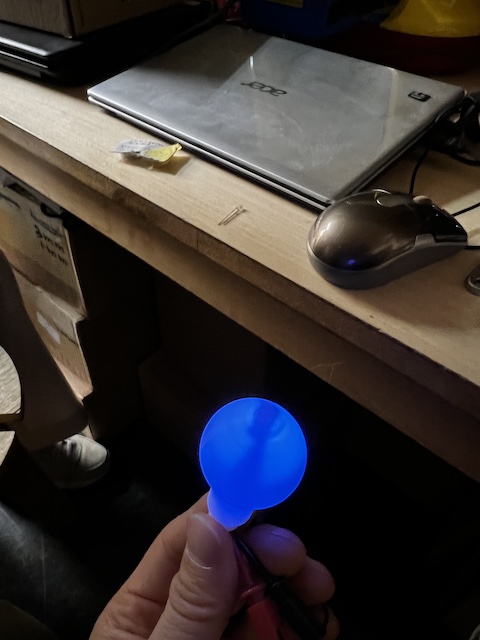
- Lighting!
Put LED into the printed light bulb to illuminate to the filament in the inside.
Try different LED colors
3D scaning
Software I use
I decided to use iPhone 13 Pro as Lider (3D scanner) because it has the most reasonable and newest Lider sensor.
Trnio
the object I choose
the lightbulb which I printed out in 3D printer JUST NOW
Scaning
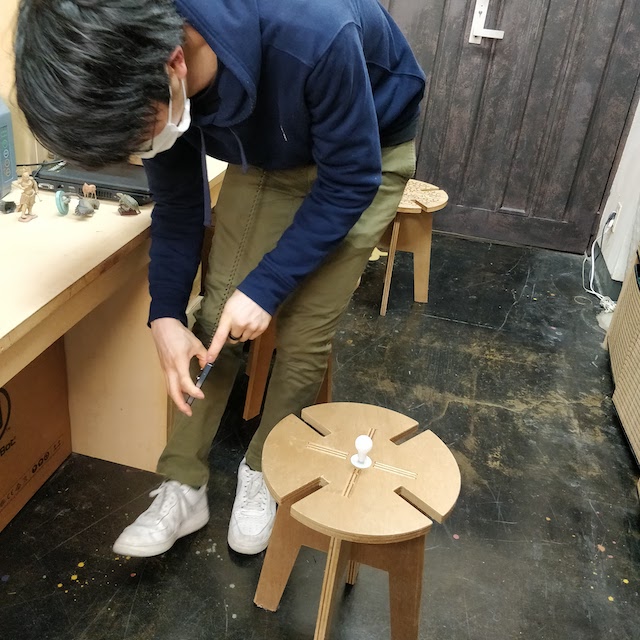
the scanning data
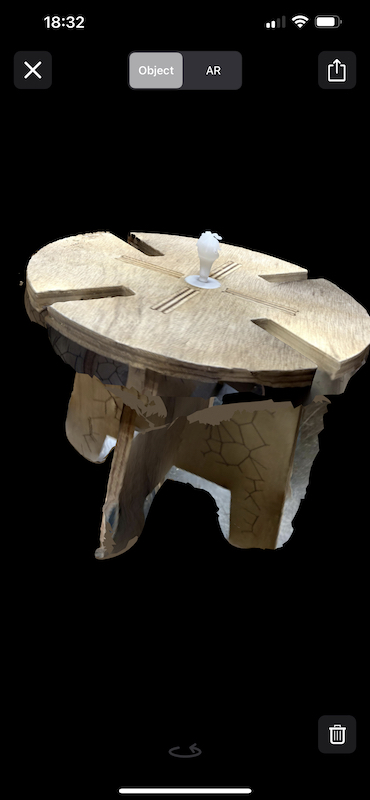
- export to sketch fab and prepare for printing
What I learned in this week
group/individual assignment
- This is the first time I’ve designed my own material and had it output on a 3D printer.
- It turns out that a 3D printer does not necessarily output exactly what I design on my PC throughtout a variety of tests
- We should understand various traits of the 3d printer we use and design the data to be able to output without problems
- It’s very fun to watch the moment the bits on the computer turns into an atom in the real world.
file
lightbulb.obj of 3d scanned data
Acknowledgement
Mr.Tamiya and Ms.Kamei as supportive instructors in Fablab Kannai
Product Design Online Youtube channel: How to 3D Model an LED Light Bulb - Learn Autodesk Fusion 360 in 30 Days: Day #9
and YOU!