Blynk IOT
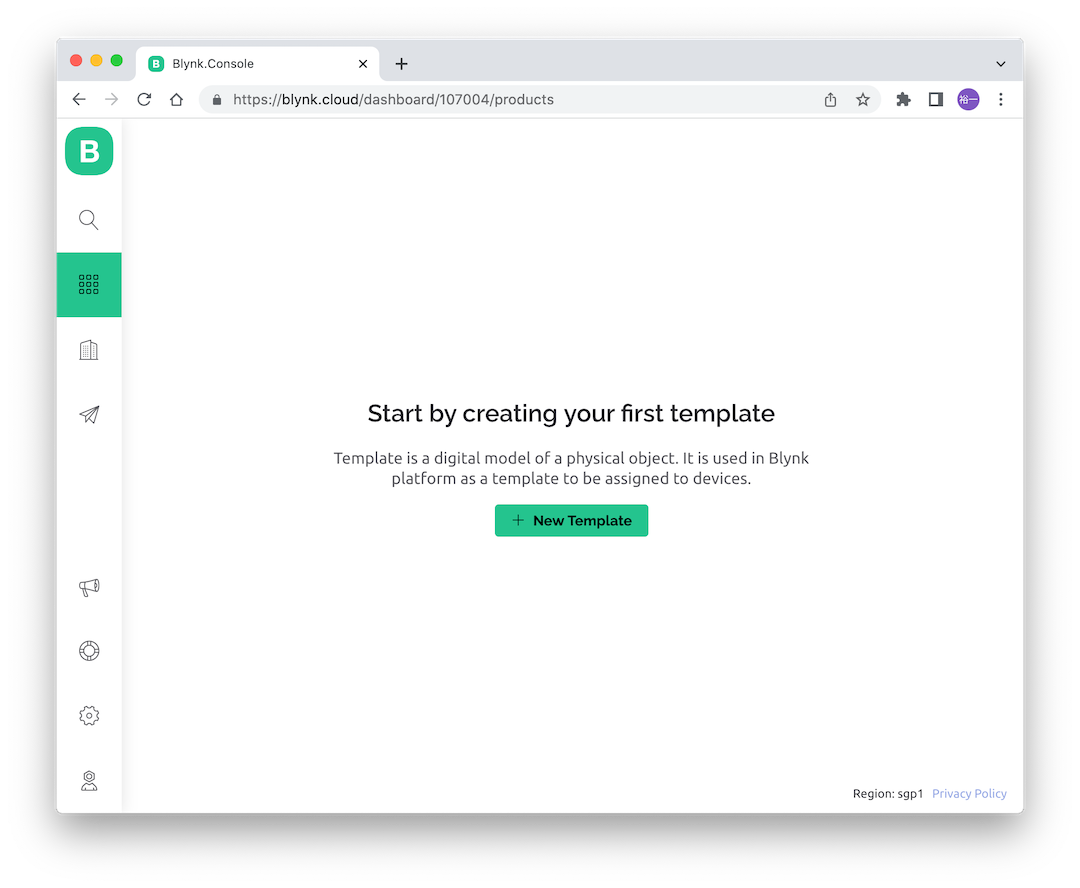
Setup blynk.cloud
- site
- sign up tp blynk.cloud
-
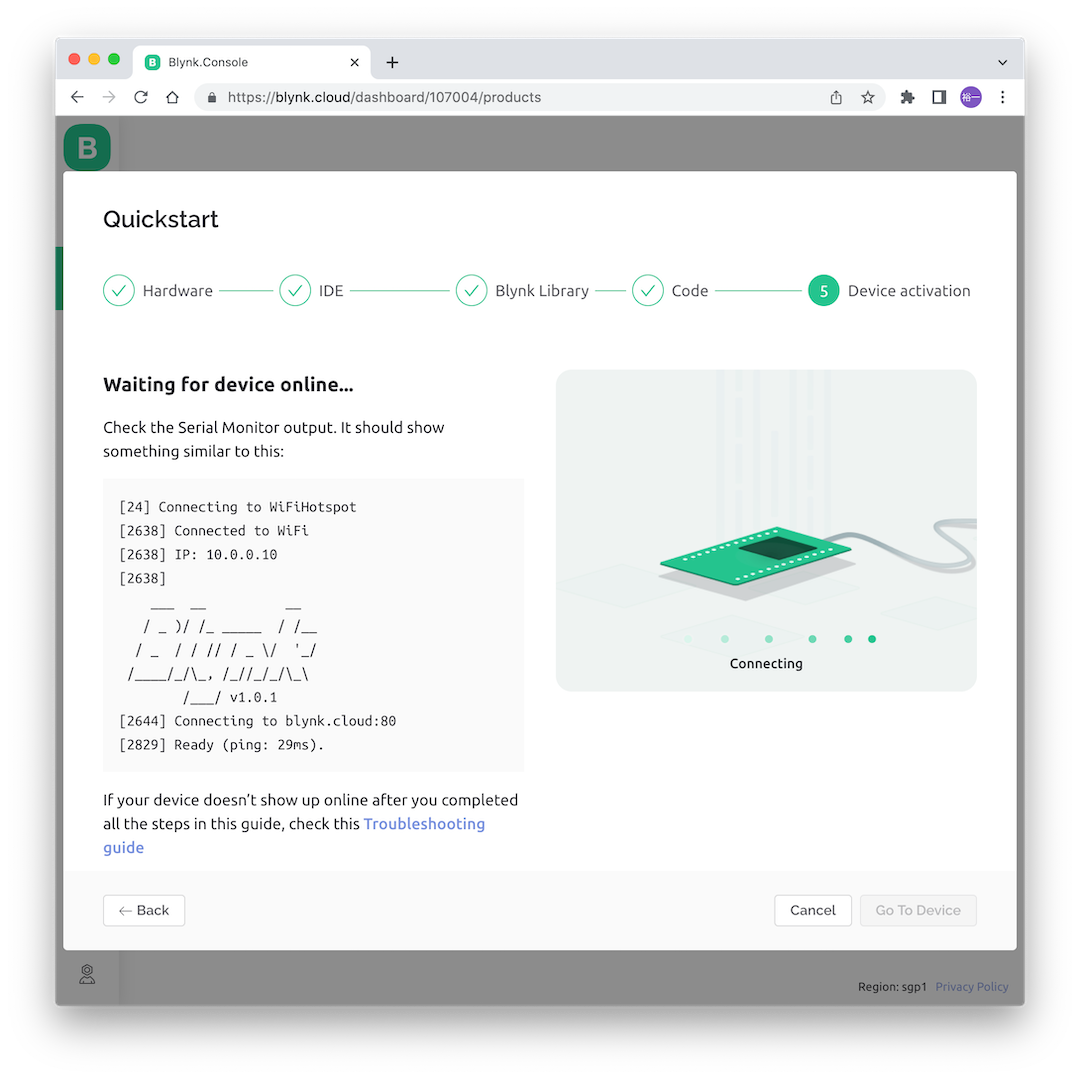
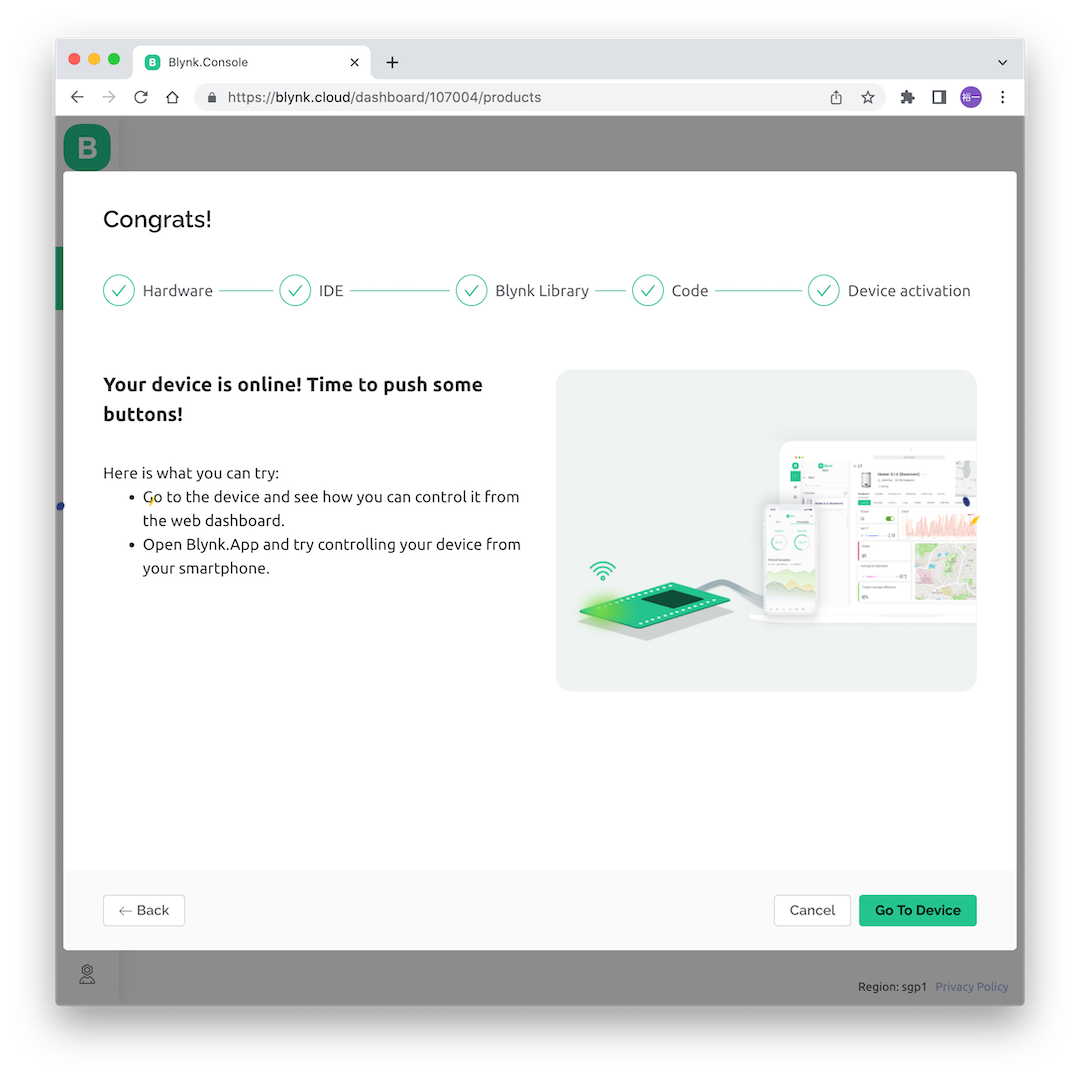
activate new device -> Scan QR code in smart phone -> Download and log in
-
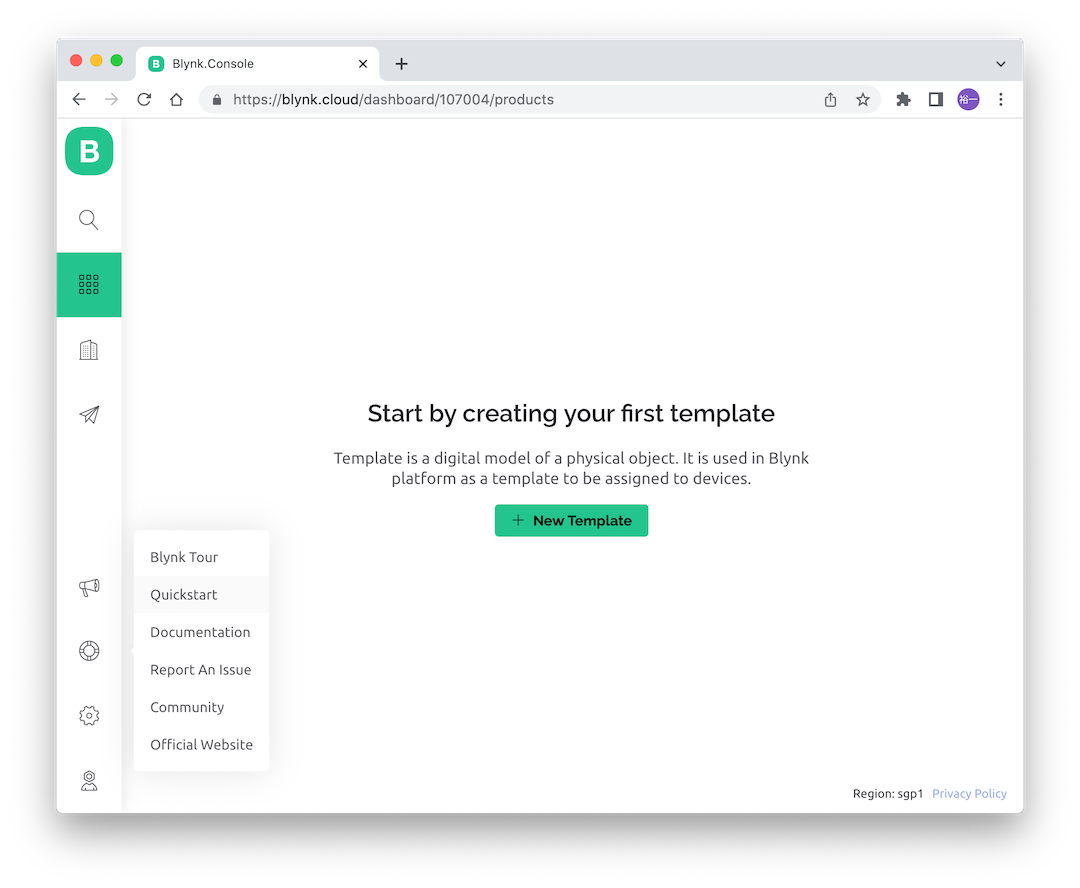
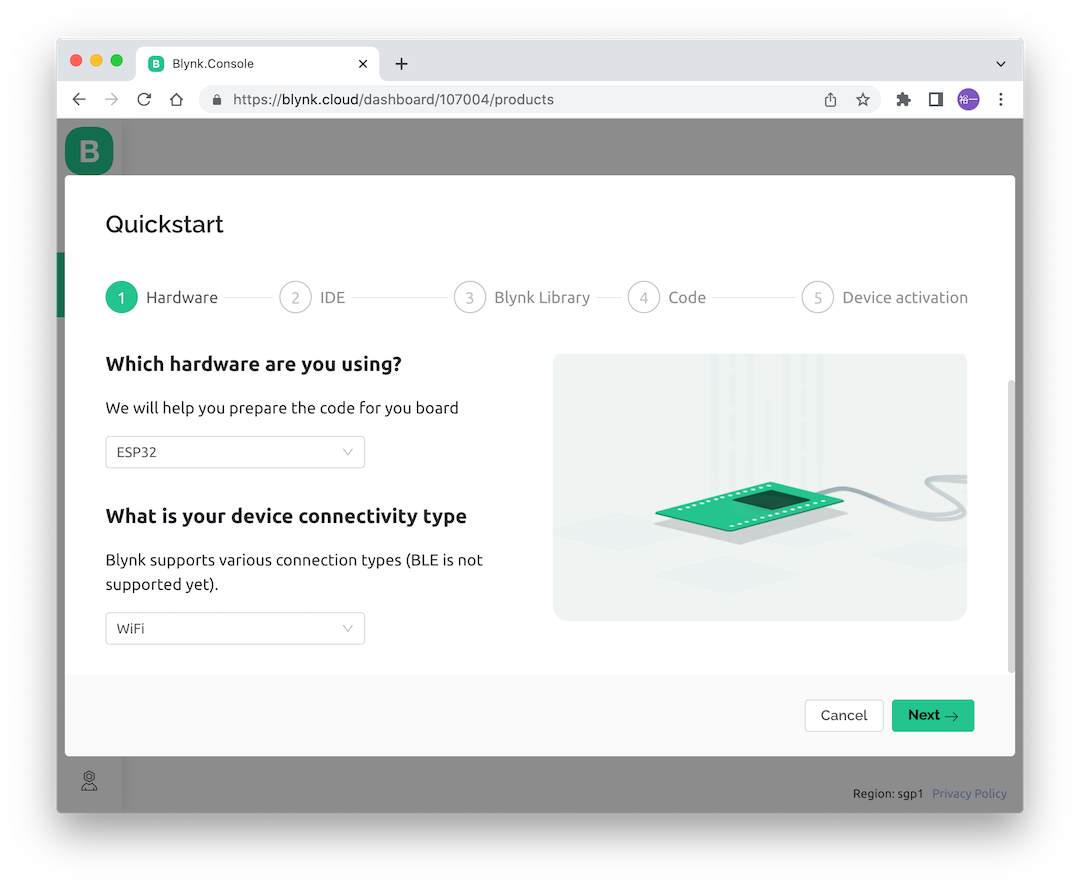
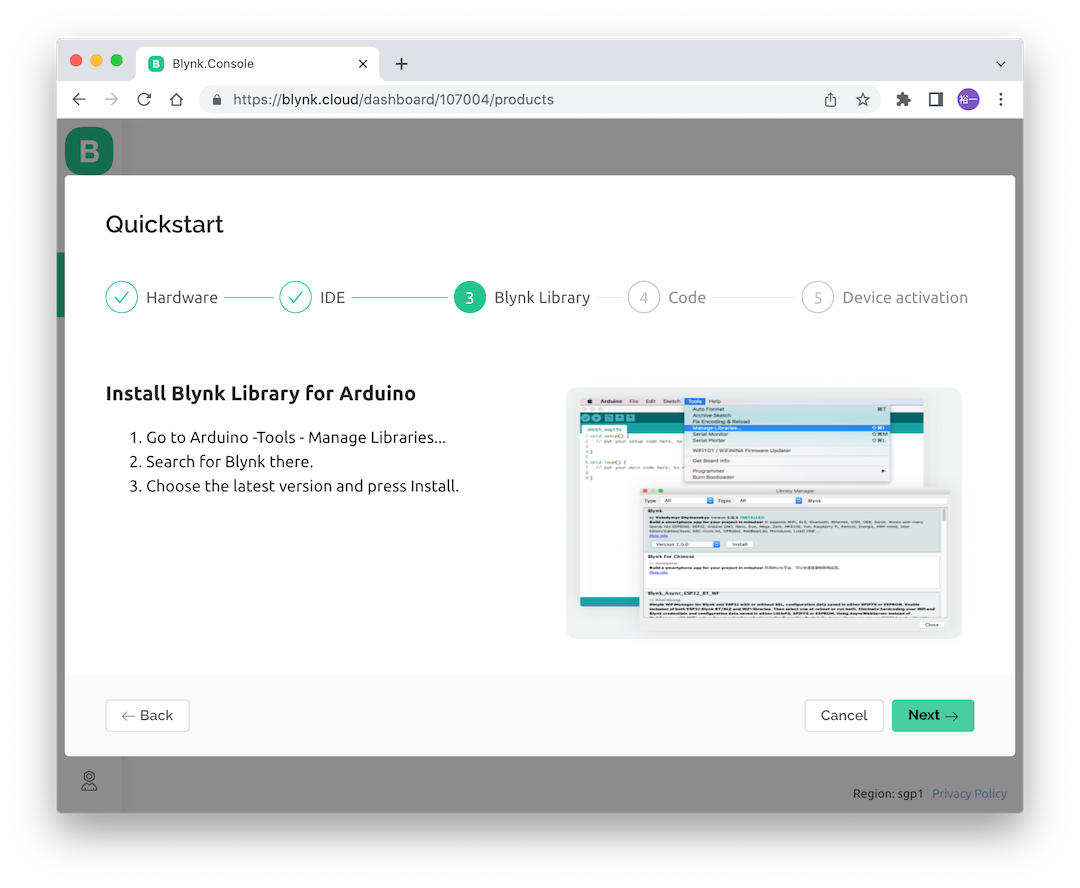
Help -> Quick start
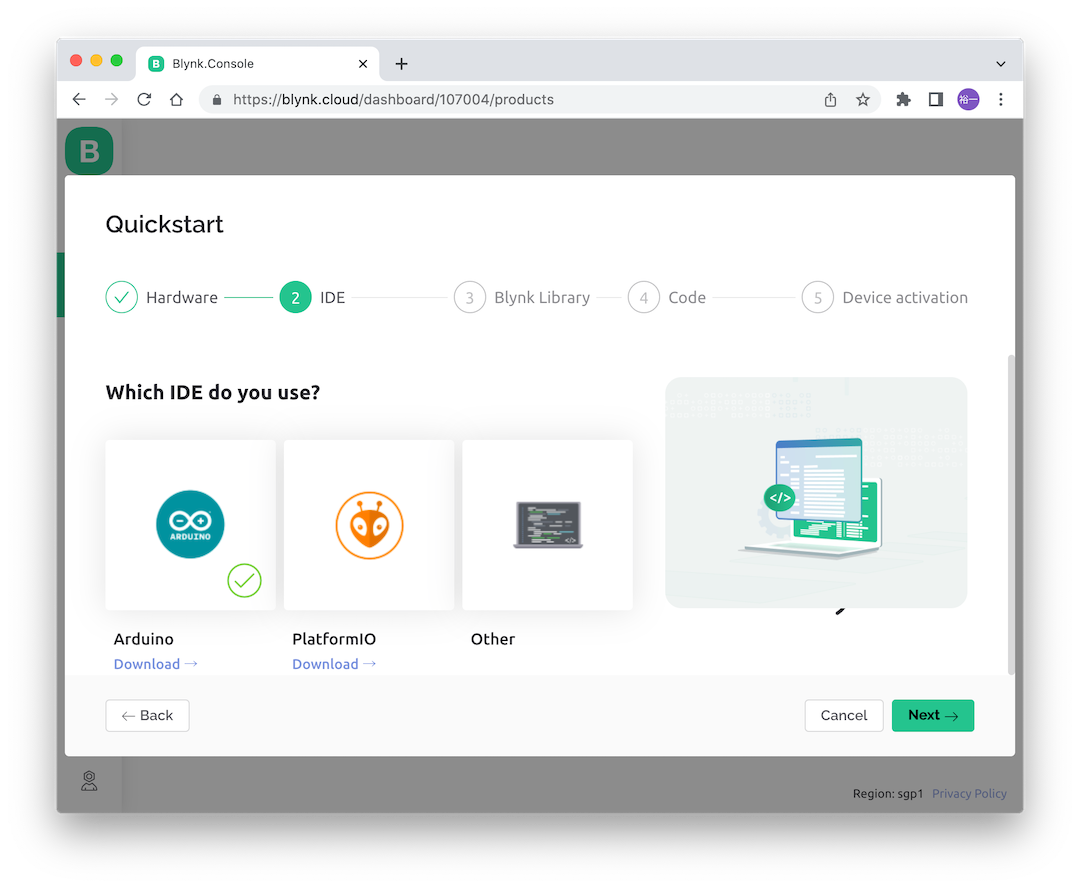
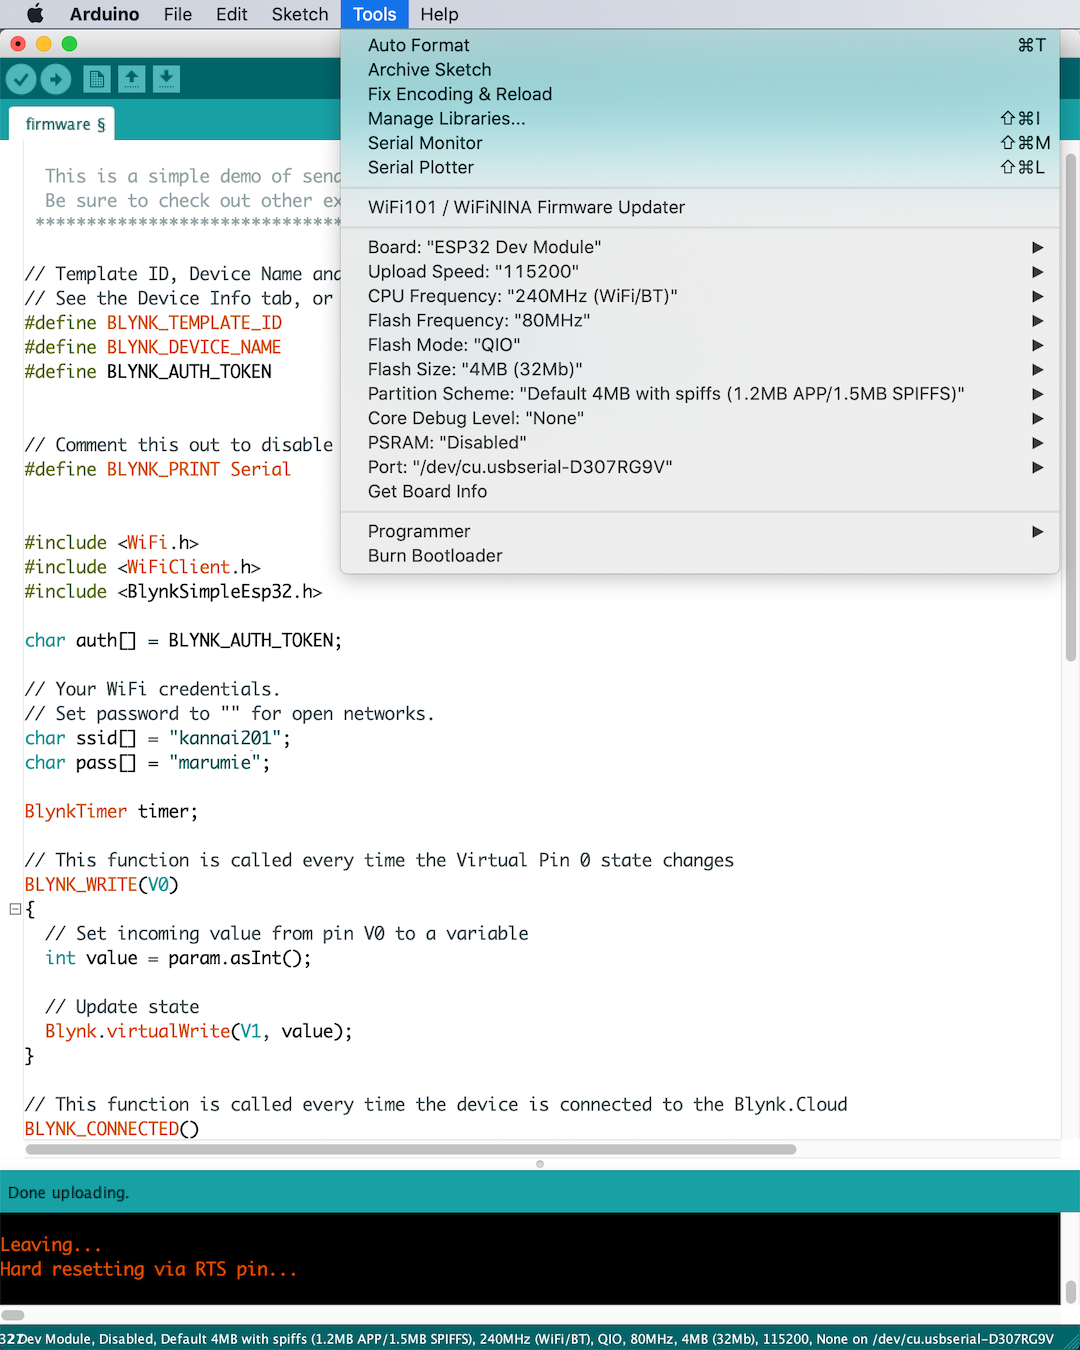
In Arduino IDE, Tools - Manage Libraries… -> Search “Blynk” and Install
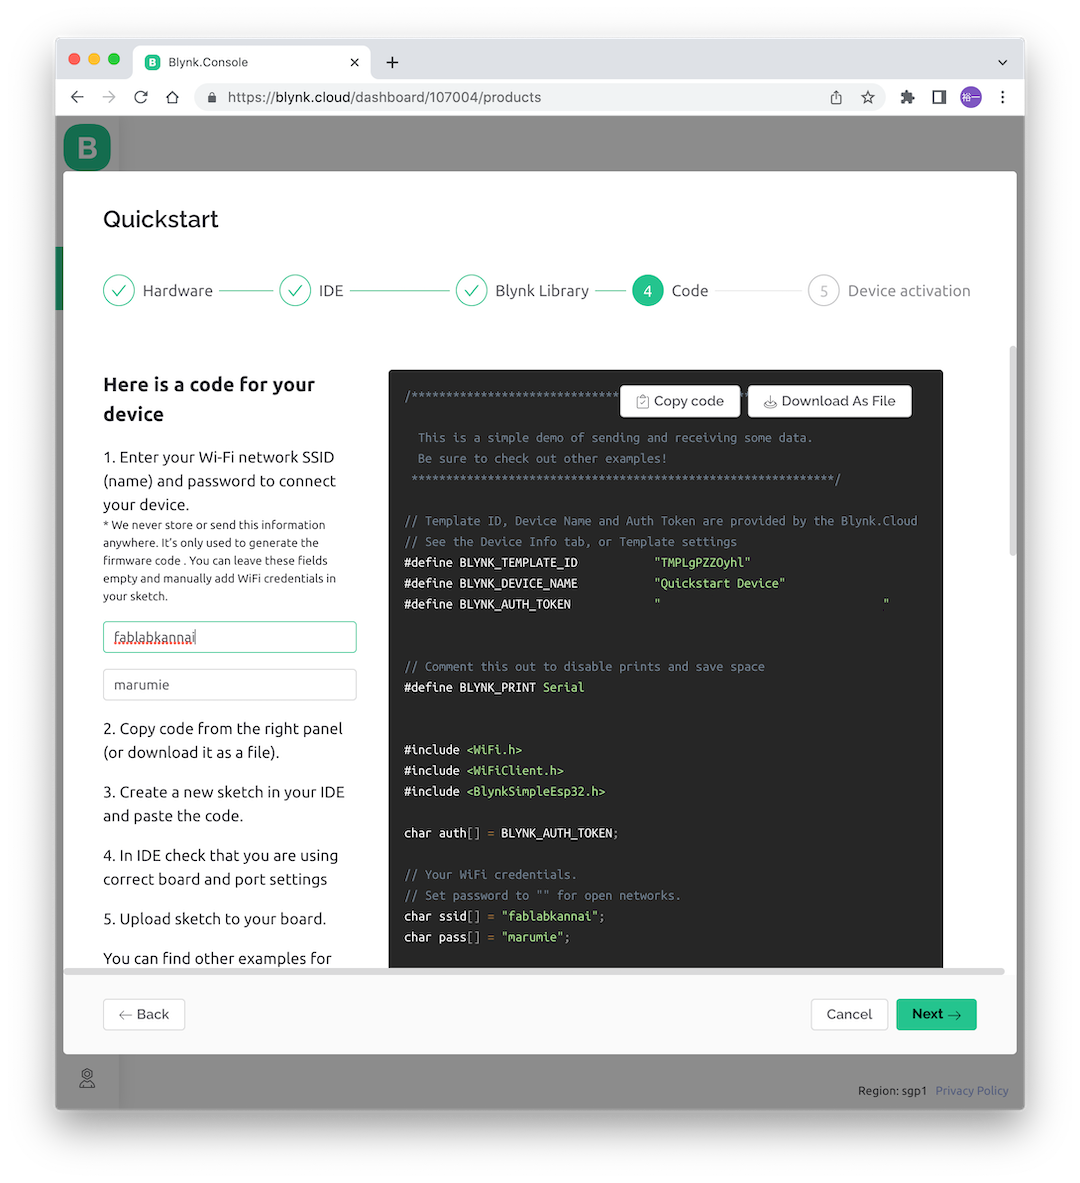
Enter Wi-Fi SSID and password
Download As file and open in Arduino IDE
Note
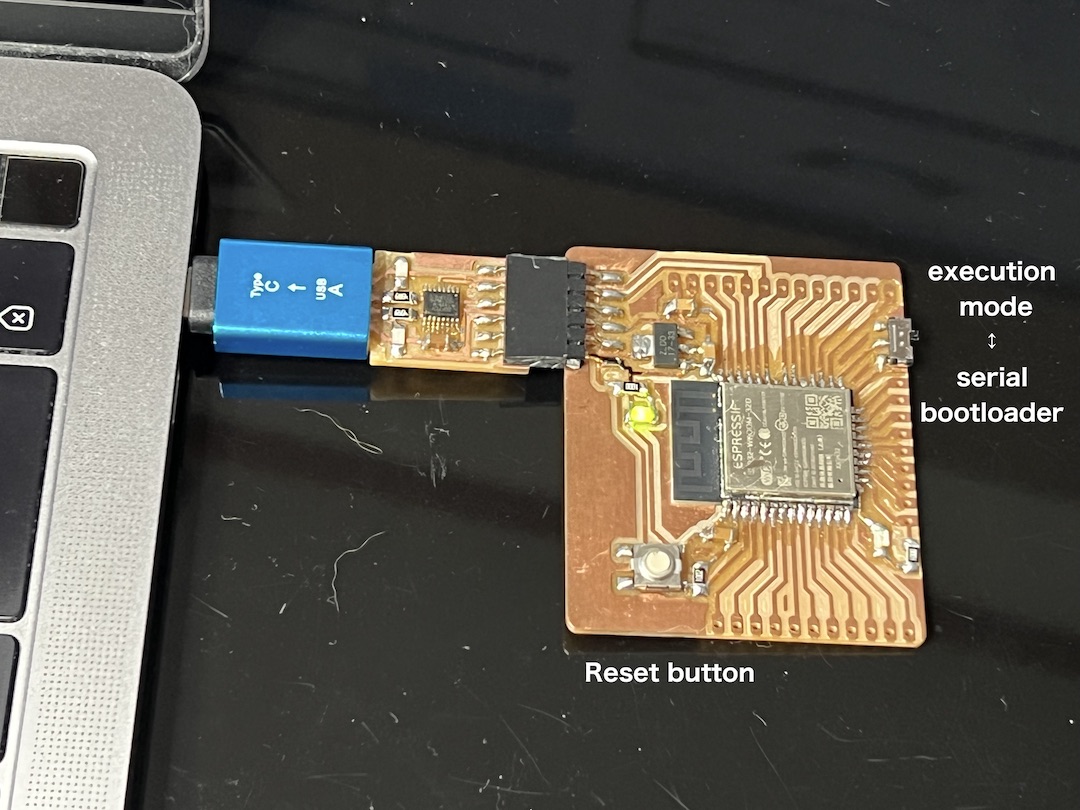
When uploading sketch, use slide switch to serial bootloader and press Reset button
Note
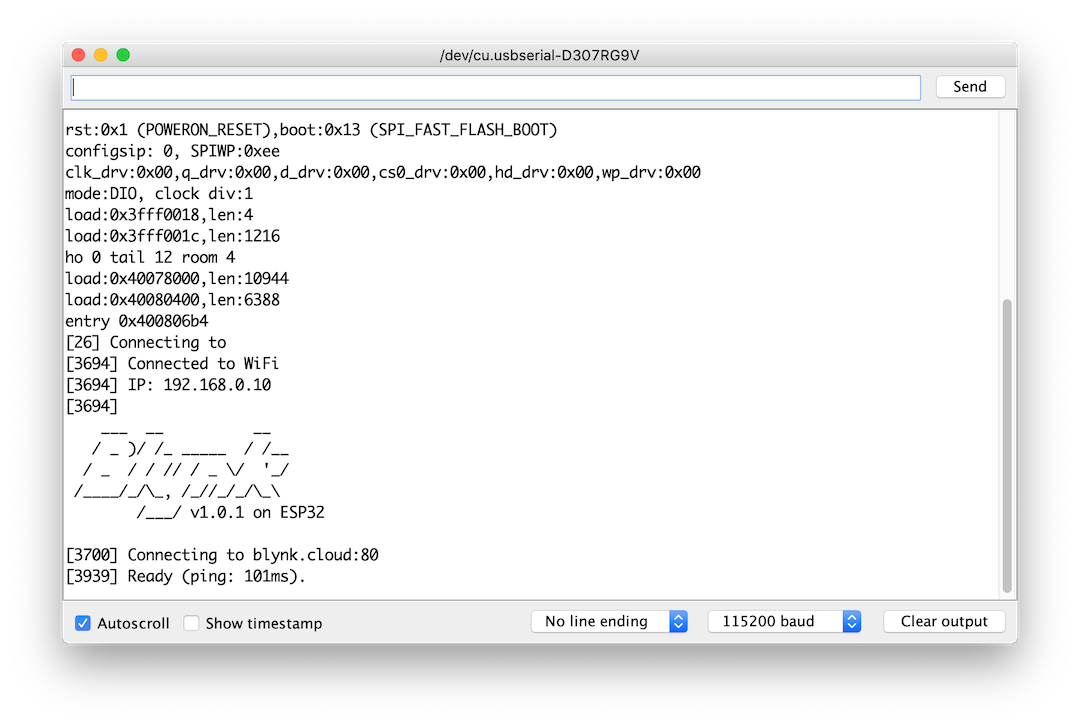
When running program in ESP32, use slide switch to execution mode and press Reset button
GPIO pin control
Note
LED on Barduino is Pin 13
/*************************************************************

  This is a simple demo of sending and receiving some data.
  Be sure to check out other examples!
 *************************************************************/

// Template ID, Device Name and Auth Token are provided by the Blynk.Cloud
// See the Device Info tab, or Template settings
#define BLYNK_TEMPLATE_ID           "TMPL9qywWF1q"
#define BLYNK_DEVICE_NAME           "Quickstart Device"
#define BLYNK_AUTH_TOKEN            "tttttooooookkkkkeeeennnn"


// Comment this out to disable prints and save space
#define BLYNK_PRINT Serial


#include <WiFi.h>
#include <WiFiClient.h>
#include <BlynkSimpleEsp32.h>

char auth[] = BLYNK_AUTH_TOKEN;

// Your WiFi credentials.
// Set password to "" for open networks.
char ssid[] = "kannai201";
char pass[] = "marumie";

BlynkTimer timer;

// This function is called every time the Virtual Pin 0 state changes
BLYNK_WRITE(V0)
{
  // Set incoming value from pin V0 to a variable
  int value = param.asInt();

  //////////////////////////////////////////////////////////////////////////add
  if (param.asInt() == 1) {
    // execute this code if the switch widget is now ON
    digitalWrite(13, HIGH); // Set digital pin 13 HIGH
  }
  else {
    // execute this code if the switch widget is now OFF
    digitalWrite(13, LOW); // Set digital pin 13 LOW
  }
  ////////////////////////////////////////////////////////////////////////added

  // Update state
  Blynk.virtualWrite(V1, value);
}

// This function is called every time the device is connected to the Blynk.Cloud
BLYNK_CONNECTED()
{
  // Change Web Link Button message to "Congratulations!"
  Blynk.setProperty(V3, "offImageUrl", "https://static-image.nyc3.cdn.digitaloceanspaces.com/general/fte/congratulations.png");
  Blynk.setProperty(V3, "onImageUrl",  "https://static-image.nyc3.cdn.digitaloceanspaces.com/general/fte/congratulations_pressed.png");
  Blynk.setProperty(V3, "url", "https://docs.blynk.io/en/getting-started/what-do-i-need-to-blynk/how-quickstart-device-was-made");
}

// This function sends Arduino's uptime every second to Virtual Pin 2.
void myTimerEvent()
{
  // You can send any value at any time.
  // Please don't send more that 10 values per second.
  Blynk.virtualWrite(V2, millis() / 1000);
}

void setup()
{
  // Debug console
  Serial.begin(115200);

  pinMode(13, OUTPUT); /////////////////////////////////////////////////////add

  Blynk.begin(auth, ssid, pass);
  // You can also specify server:
  //Blynk.begin(auth, ssid, pass, "blynk.cloud", 80);
  //Blynk.begin(auth, ssid, pass, IPAddress(192,168,1,100), 8080);

  // Setup a function to be called every second
  timer.setInterval(1000L, myTimerEvent);
}

void loop()
{
  Blynk.run();
  timer.run();
  // You can inject your own code or combine it with other sketches.
  // Check other examples on how to communicate with Blynk. Remember
  // to avoid delay() function!
}
Last update:
May 6, 2022