Programming the Pico
Using Arduino IDE (C++)
First I used the Arduino IDE 2.1.0 to make the simplest program possible, which was to blink an LED. The code was super simple:
Note that this simple program is equivalent to saying “hello world” using any programming language.
Simple Blink Program
For reference, this is the Raspberry Pi Pico:

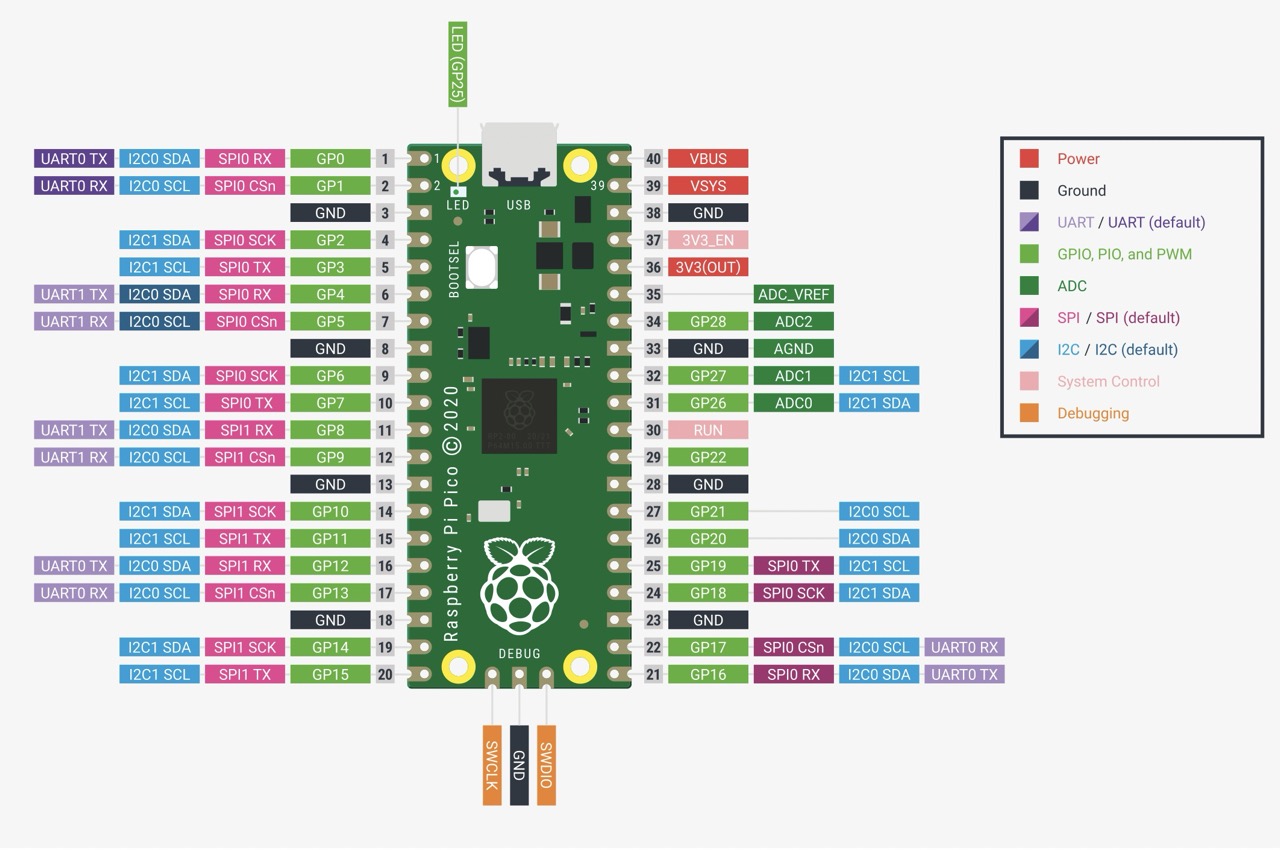
And this is its pinout configuration:
The code in C++ is below:
/*
  Blink

  Turns an LED on for one second, then off for one second, repeatedly.

  Most Arduinos have an on-board LED you can control. On the UNO, MEGA and ZERO
  it is attached to digital pin 13, on MKR1000 on pin 6. LED_BUILTIN is set to
  the correct LED pin independent of which board is used.
  If you want to know what pin the on-board LED is connected to on your Arduino
  model, check the Technical Specs of your board at:
  https://www.arduino.cc/en/Main/Products

  modified 8 May 2014
  by Scott Fitzgerald
  modified 2 Sep 2016
  by Arturo Guadalupi
  modified 8 Sep 2016
  by Colby Newman

  This example code is in the public domain.

  https://www.arduino.cc/en/Tutorial/BuiltInExamples/Blink
*/

// the setup function runs once when you press reset or power the board
void setup() {
  // initialize digital pin LED_BUILTIN as an output.
  pinMode(LED_BUILTIN, OUTPUT);
}

// the loop function runs over and over again forever
void loop() {
  digitalWrite(LED_BUILTIN, HIGH);  // turn the LED on (HIGH is the voltage level)
  delay(1000);                      // wait for a second
  digitalWrite(LED_BUILTIN, LOW);   // turn the LED off by making the voltage LOW
  delay(1000);                      // wait for a second
}
The Pi Pico was a bit hard to understand at first, but this website helped me to understand it more. There is actually a whole family of these Picos, and the Pico W is used for wireless communication, which will appear in week 14.
First, I held down the Bootsel button on the pico, then I plugged it into the computer.
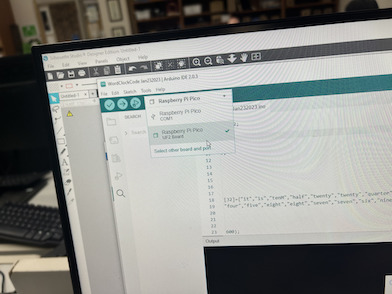
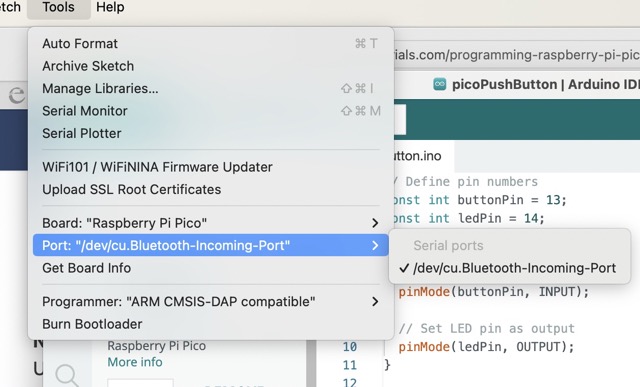
In the drop down menu, I selected the UF2 board as my port:

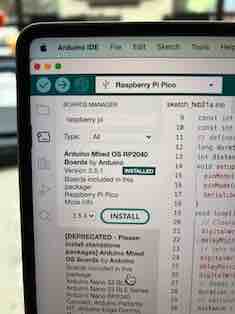
I also installed the Pi Pico library in the library manager in Arduino IDE:
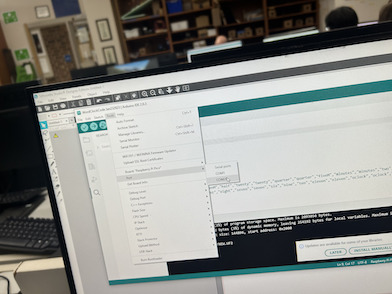
After uploading the code, the COM port appeared, which happened to be COM 28:
In the end, I was able to get a blink program working:
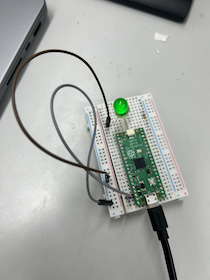
Here is the full video:
Using a Button (Input)
Next, I moved on to implementing a button in the program, so that the LED would light up when I press the button. Since this is more complicated than the blink program, I decided to use the Arduino Uno first.
I found this useful picture on google for how to wire the button program:
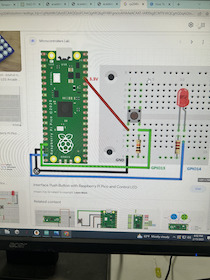
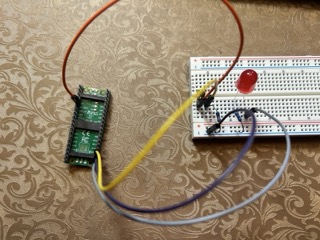
I wired it:
I used the following code provided by this website
// Define pin numbers
const int buttonPin = 13;
const int ledPin = 14;

void setup() {
  // Set button pin as input
  pinMode(buttonPin, INPUT);

  // Set LED pin as output
  pinMode(ledPin, OUTPUT);
}

void loop() {
  // Read the state of the button
  int buttonState = digitalRead(buttonPin);

  // Check if the button is pressed (assuming HIGH when pressed)
  if (buttonState == HIGH) {
    // Turn on the LED
    digitalWrite(ledPin, HIGH);
  } else {
    // Turn off the LED
    digitalWrite(ledPin, LOW);
  }
}
I reviewed the steps to get started with the Pi Pico, and it said that I must hold down the BOOTSEL button when I plug it in to my Mac.
I also reviewed the steps to installing the software (libraries and boards manager). However, when I did upload the code and pressed down the BOOTSEL button, I cannot find a port:
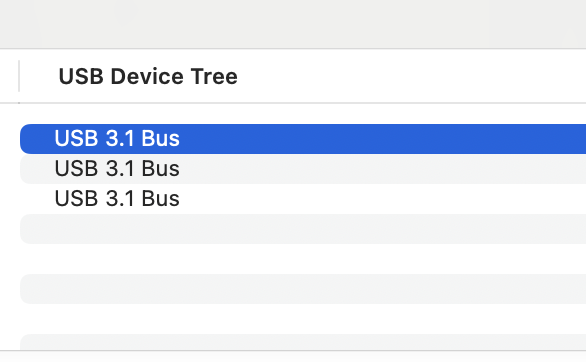
I also visited the official Arduino IDE website and checked the usb tree on my Mac, but there is not a connection for the Pi Pico:
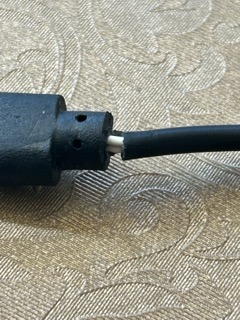
Then, I figured out that I was using a bad cable:
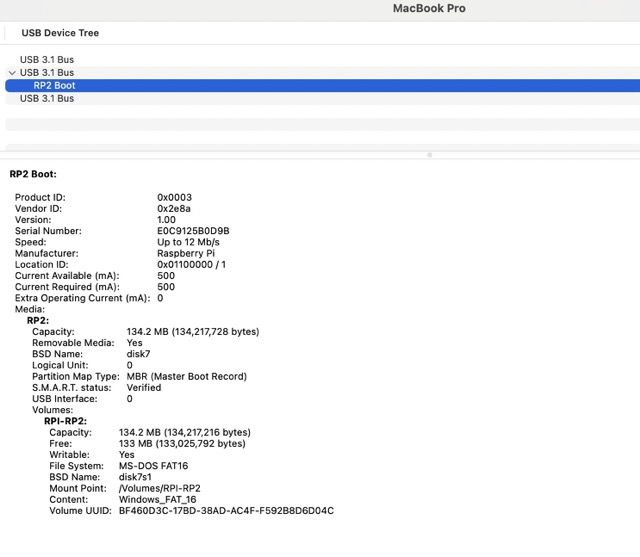
When I switched for a different cable, the connection appeared in the USB tree:
Final video:
Implementing the Serial Monitor
To use the serial monitor, I used the following code:
// Define pin numbers
const int buttonPin = 13;
const int ledPin = 14;

void setup() {
  // Set button pin as input
  pinMode(buttonPin, INPUT);

  // Set LED pin as output
  pinMode(ledPin, OUTPUT);
  Serial.begin(9600);
}

void loop() {
  // Read the state of the button
  int buttonState = digitalRead(buttonPin);
  int ledState = digitalRead(ledPin);

  // Check if the button is pressed (assuming HIGH when pressed)
  if (buttonState == HIGH) {
    // Turn on the LED
    digitalWrite(ledPin, HIGH);
  } else {
    // Turn off the LED
    digitalWrite(ledPin, LOW);
  }

  if (ledState == 0){
    Serial.println("0");
  }
  else{
    Serial.println("1");
  }

}
The serial monitor will output 1 if the button is pressed and the LED is on, and 0 otherwise.
Here is the video:
Using Thonny
First, I downloaded Thonny from their website. Thonny is a free software for writing MicroPython, a language that is compatible with the Raspberry Pi Pico microcontroller, which uses the RP2040 library and software programmer.
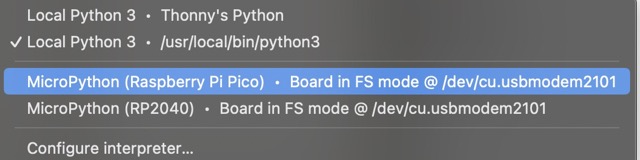
I then installed micropython and set up the Pi Pico in Thonny as shown:
However, when I went back to Thonny a couple hours later, no matter how many times I tried to go to the configure interpreter button –> interpreter type section to install the plugin, it never works even though my the USB tree in my Mac said that the connection was there.
I also visited this website and installed several libraries, including: matplotlib, pandas, numpy, plotly, dash. Still, no port showed up.
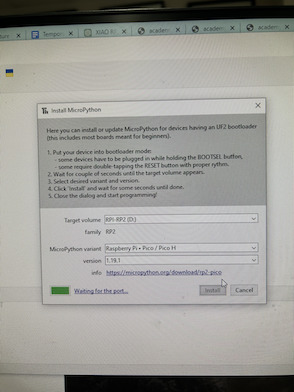
But then using this site, I downloaded a drag-and-drop downloadable uf2 file that I was able to put into the RPI-RP2 Mass Storage Device:

After dropping in the file, the Raspberry Pi Pico device appeared!
Blink Program
I used the exact same wiring as the wiring I used with the Arduino IDE. The code is just written in micropython.
I used the following code:
import machine
import utime

led_external = machine.Pin(14,machine.Pin.OUT)

while True:

    led_external.toggle()
    utime.sleep(1)
When I tried to upload the code however, I came across this error:
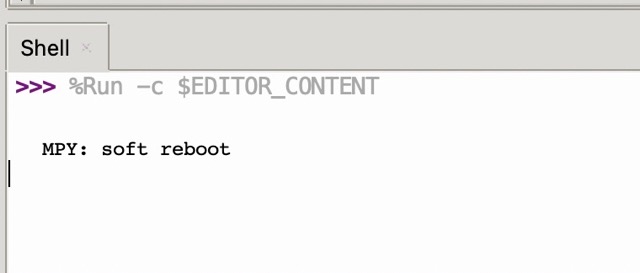
Stack Exchange told me that I needed to do the following: - On thonny click run- configure interpreter on that menu there will be a check box at the bottom (restart before running script): Untick the box
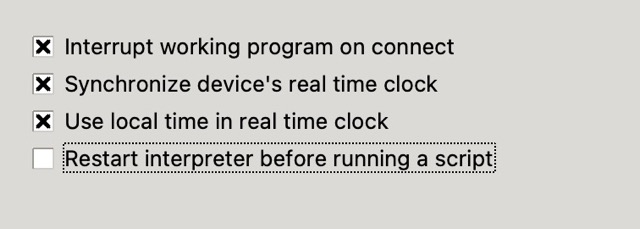
This worked and the code uploaded:
From time to time, I would come across this error:
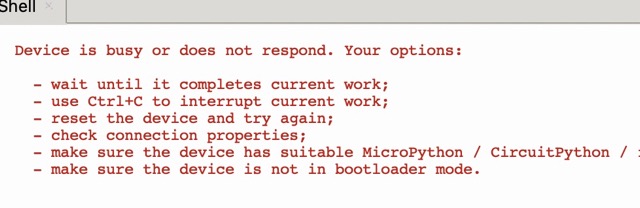
When this happens, I simple disconnect the Pico from my computer and redo the startup process again.
Button Program (input and print command)
Code:
import machine
import utime

led_external = machine.Pin(14, machine.Pin.OUT) # comment using "#"
button = machine.Pin(13, machine.Pin.IN, machine.Pin.PULL_DOWN)


while True:
    if (button.value() == 1 and led_external.value() == 0):
        led_external.toggle()
        utime.sleep(0.3) # Time for finger to leave the button
    elif (button.value() == 1 and led_external.value() == 1):
        led_external.toggle()
        utime.sleep(0.3) # Same as above

    if (led_external.value() == 1):
        print ("1")
    else:
        print("0")
    utime.sleep(0.1)
Essentially, the button will stay turned on even if I lift my finger off the button.
I also let Thonny print “1” if the LED is on, and “0” if it’s off.
This code worked well and here is the video:
Data Sheet
This is the official data sheet for the Pico.
Analysis and Insight:
- 2MB flash.
- Micro-USB port for power and data.
- 40 pins total, includes 23 digital-only pins and 3 ADC capable ones.
- 264kB multi-bank high performance SRAM.
- 12 bit 500ksps Analogue to Digital Converter (ADC)
- Operating range is from -25˚C to 85˚C.
- The Pico has a RP2040 Serial Wire Debub(SWD) interface as a 3 pin debug header on the lower edge of the board.
Additional Parameters
- The Pico is very similar to the Arduino Uno, in that it has a similar number of pins but cost less and runs at a lower power.
- The microcontroller on the Pico is a Dual-core ARM Cortex-M0+ processor, and it can run up to 133 MHz.
- The Power Input is 5 volts, with an external supply of 1.8 to 5.5 volts, and its operating voltage range is between 1.8 volts to 3.3 volts.
- In regards to special operations, it has 2 UART pins, 2 SPI controllers, 2 I2C controllers, and 1 timer with 4 alarms.
- It is able to communicate with UART, SPI, I2C, and PWM.
- Its software supports C, C++, and MicroPython, typically written in Thonny.