Fusion 360
Made by Autodesk, Fusion 360 is a 3D design tool that enables users to create virtually anything they wanted on a limited scale. I think the only limitation that additive construction has is to print something that is completely hollow, because it is impossible to print the top layer without a lot of supports. I have taken some courses on YouTube regarding this software. Kevin Kennedy’s Learn Fusion360 in 30 Days is a course that I strongly recommend if you want to get started on Fusion360.
In previous engineering classes, I have done a lot of work with Fusion 360. These are some projects I made using Fusion 360. To see more, click here.
There are some tips when designing in Fusion360, especially when working with constraints:
In general, you want to try to use as small of a sketch as possible, because a sketch’s history is not captured. The more you use non-sketch tools, the easier it will be to change/edit the features of your model. Complex sketches can also be a pain to edit.
Follow these 3 tips to limit your sketching:
-
Avoid adding fillets to your sketches. Sketch fillets always remove or throw-off constraints and they can cause problems if you want to go back and edit your original sketch. Use 3D fillets instead (you’ll get G2 fillets).
-
Avoid symmetry in the sketch. Similar to fillets, using the mirror sketch feature can affect things if you change dimensions or constraints. Use the 3D mirror feature instead.
-
Avoid patterns in the sketch, as they will duplicate the base feature and all of its constraints. If you want to edit the sketch, later on, you will run into many problems. Plus, the 3D pattern feature(s) will run a lot faster.
3D Printer
Over the winter break of 2022 - 2023, I made my very own 3D printer from scratch. The nuts, bolts, and every part were meticulously put together over 20+ hours of work. The following pictures shows the completed build:
Completed 3D printer:
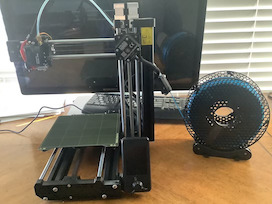
3D printer electronics:

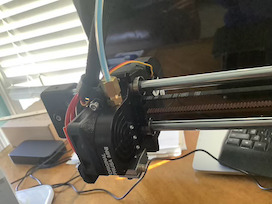
Printer nozzle and head
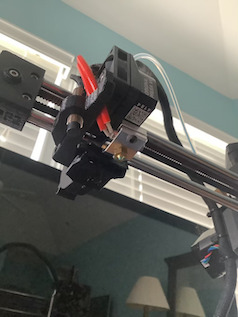
Printer head
As I was calibrating the 3D printer (which included the self-test that tested the 3 axes, fans, nozzle, and board), I came across the z-axis calibration test.
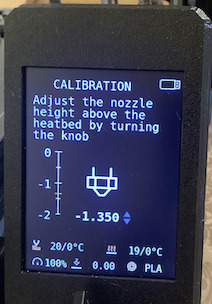
The purpose of this test is to find the Goldilocks zone between putting the nozzle too close to the printer and too far away.
If the nozzle is too far away, the first player of a print will not stick to the print bed, and the entire print will come off. It if is too close, then pieces of the printed plastic could get dragged off of the bed by the printer.
When I first began to calibrate it, I set the height level to -0.045 mm. But, it was too high and I didn’t feel like that the plastic was sticking to the bed. I tried -0.200mm, -0.000mm, -0.085mm, but they all pretty much produced the same result.
When I used some of these parameters to try to print out a pre-designed whistle, it came off the heat bed within 5 minutes of the print.
After some research on the issue and checking that the bed is clean and perfectly, flat, I found this website that helped me.
Then, I adjusted the height down by a lot, to -1.300mm, and then ran the test again. This time, I noticed that the printed lines were slightly squished and they filled all the gaps that were apparent when the nozzle was too far away.
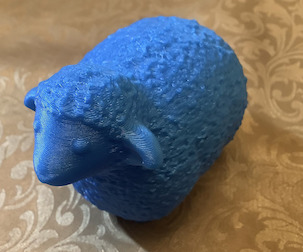
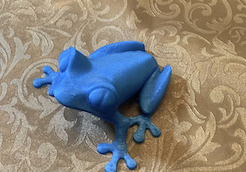
I also successfully printed out a the whistle, a frog, and a sheep:
Frog
Sheep