Sticker with Vinyl Cutter
Using the Silhouette Studio software, I created the GIMP logo sticker.
Setup
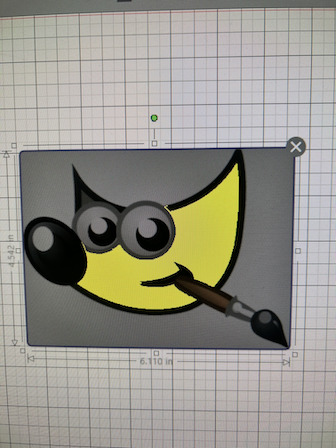
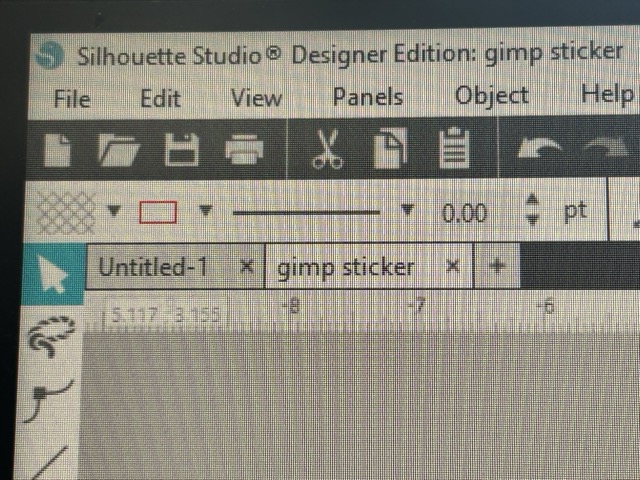
First, I opened up the software and loaded up the sketch palette. Then, I found an online picture of the GIMP logo that I wanted to cut out on the vinyl cutter, and copied and pasted it into the sketch palette.
At first, the photo I copied was too complicated:

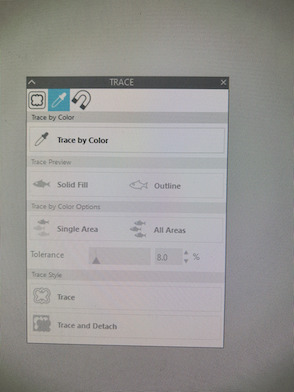
In the software, I went to the trace tab, and then selected the area in which I wanted to trace. Then, a region would be highlighted and this would be converted to a format that the vinyl cutter recognizes and could cut out.
Because the vector logo has a variety of colors, I have to select trace by color in the trace tab, and select a specific color to trace. I have to trace by color so that I can cut each color individually and then arrange them together at the end. Notice that I used the eye dropper tool to select the color I wanted to trace.
Trace by color tab:
As you can see in the photo, this vector photo have a variety of differently-shaded colors, so it was very difficult to trace in the software. When I traced this image, the highlighted region is not smooth at all. It is polluted by dots and random lines, because each tiny section of the image is a different shade of the color.
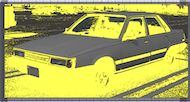
This is an example of a messy color trace, even though the design is not mine. You can see that the highlighted selection appears very randomly, and there are sporadic dots and lines that are not highlighted.
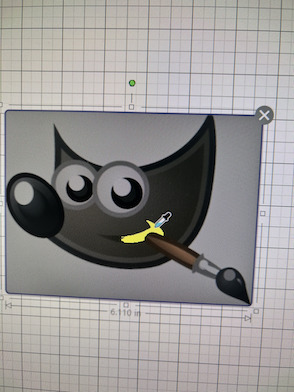
So, I found a picture that was easier to trace and had more uniform coloring:
However, even with this photo, there are still random places that are not highlighted when I selected a certain color to trace (for example, yellow). Then, fellow student Jed Smith pointed to me that I could use a feature called tolerance, which allows you to adjust how the software recognizes colors that are differently shaded.
His trace of the Pikachu was done exactly using this technique:
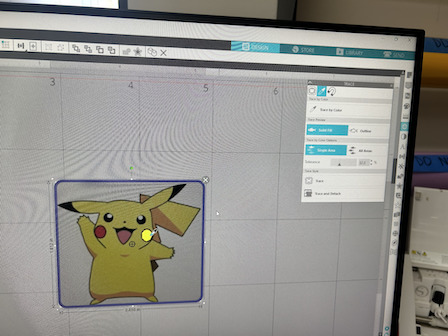
As you can see, the tolerance bar is moved to the middle of the continuum, and so the cheek of the Pikachu is traced as a whole, instead of being randomly traced like I described above.
So, I used his suggestion, and created several different traces of my own.
This is the face of the logo that I traced. By moving up the tolerance of the trace tool, I was able to cover the entire face without losing quality.
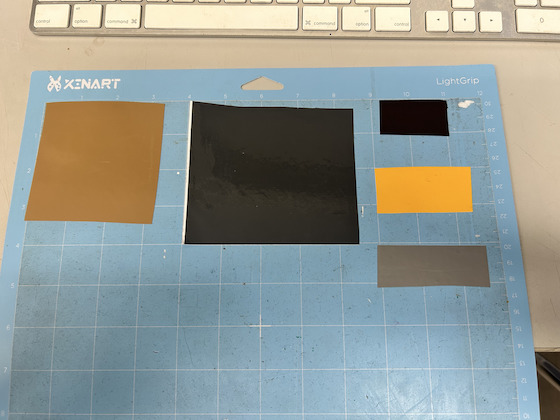
Because there were several colors to this logo (luckily I didn’t choose one with too many colors), I have to create separate traces for each color of the logo, and then arrange the corresponding colors of the vinyl in the same location on the actual board as I put the traces in the software.
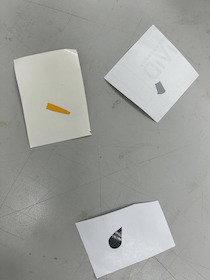
After tracing the face, I begin to trace the other colors. For example, here is the trace for the mouth:
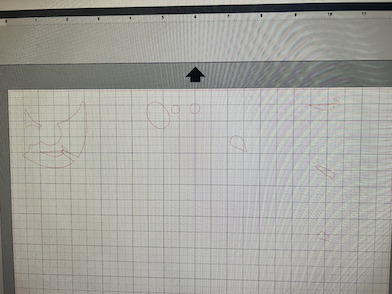
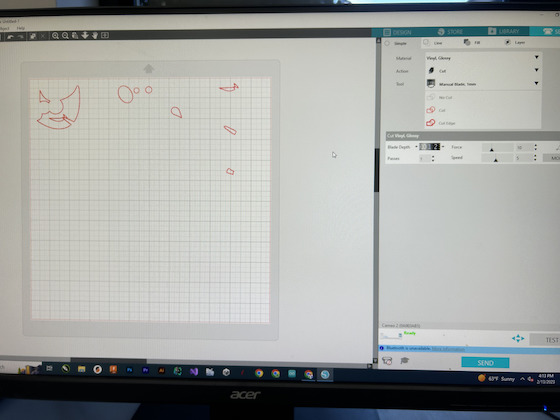
I kept going with the tracing, and eventually, everything was traced:
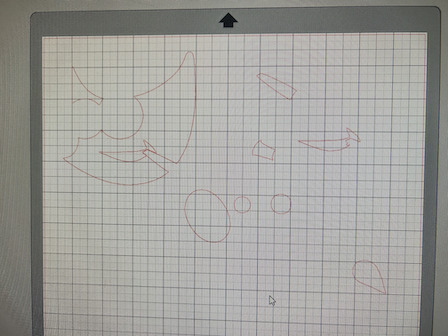
The software layout of the design matches the physical layout:
Then, I went to the preparation tab in order to cut the design:
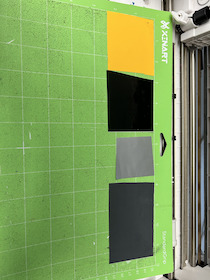
After the parts were cut, there was a problem in that the paint brush traces wasn’t entirely cut. Parts of the trace was hanging off to the side, and the board itself was partially cut.
My guess is that the machine wasn’t properly calibrated. Another possibility is that the vinyl wasn’t stuck properly onto the board, so that when the machine moved to cut the smaller traces, the vinyl shifted and prevented parts of the trace from being cut.
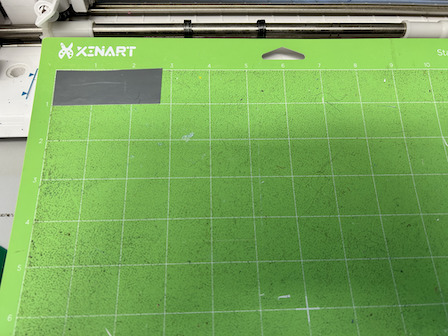
So I rearranged my design and the physical board. I also made sure to stick them firmly to the pad this time.
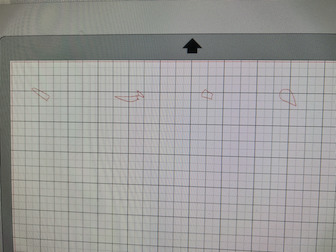
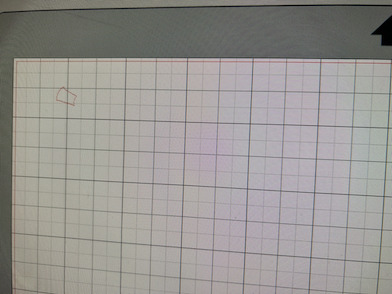
This time, almost all of the cuts came out correctly, save for one. I still had a trace that was hanging off to the side.
Then, I did a second rearrangement of the board and recut that singular part:
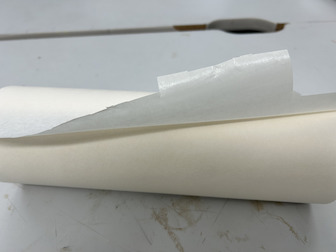
At this point, I have to remove the extra sticker that I didn’t need and extract the actual trace. So, I used a sharp scalpel to lift up the edge of the extra sticker and removed them. Then, in order to remove the stickers from the vinyl paper, I have to use transfer tape.

Unfortunately, the first tape that I used was extremely sticky. Although this quickly removed the stickers from their paper, it proved it be a challenge to arrange the different parts of my sticker on Mr. Dubick’s window.
The transfer tape was stickier than the actual stickers, and so it constantly pulled them off and even teared apart some of the stickers. Eventually, I gave up trying to arrange the stickers and decided to use another tape that was less sticky.
Fellow Fab Academy student Stuart Christhilf told me this idea.
Subsequently, I repeated the previous process again and recut all of my traces. I also had to re-cut some that were hanging off the side:
Then, it was really easy to transfer the stickers on to the window, as the stickers were more stick than the tape this time.
This is the completed product:
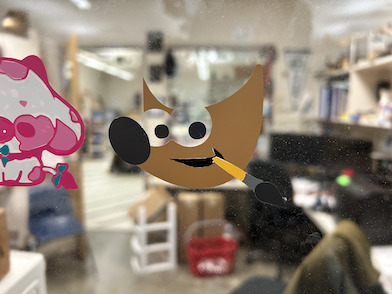
Overall, I think it turned out well.
Settings
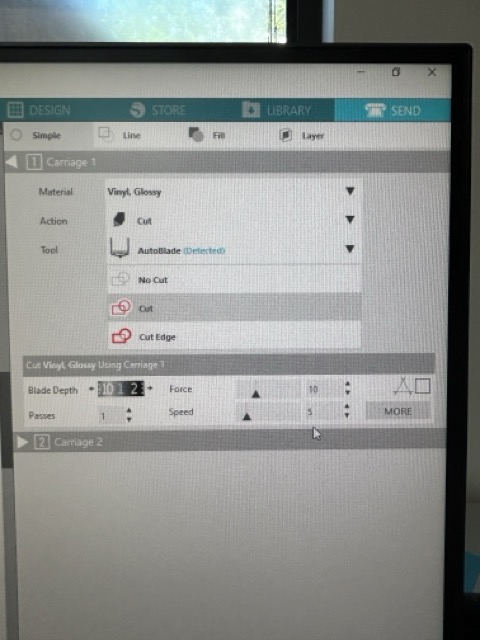
These are the settings I used for the vinyl cutter:
Improvement
I felt like I could have saved a lot of time had I first arranged the entire sticker (using the transfer tape) on a piece of vinyl paper first, before putting it on to the window. The product could also have looked nicer as I wouldn’t have to adjust the parts of the sticker on a vertical panel of glass.