Website Setup Overview
This Weeks’ Homework
- This week’s homework included:
I watched the first lecture recorded by Dr. Neil Gershenfeld.
Additionally, I also set up my website.
Lecture
During Dr. Gershenfeld’s lecture, I learned that my website would be build using a markdown language called Mkdocs. It comes with a .yml file that you can edit to change the outlook of the website.
I learned the difference between series and parallel development. For instance, series development is where I would work on my final project all at once. But the more efficient way to do my final project is to work on it a little bit each week (parallel development).
This also represents a spiral movement, where I would work in larger and larger spirals, but coming back to the original idea each time.
fablabs.io and GitLab.
In the week before Fab Academy began, the organization sent me an email containing all of the information required to login to fablabs.io. I changed my password, and used that same login to log into my GitLab account.
When I logged in, I found that a default repository containing basic information was already created by the organization:
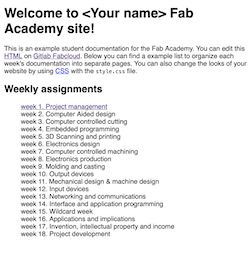
This information was all stored in HTML format in the repository. I am to familiar with HTML, so I decided to use markdown.
Syntax
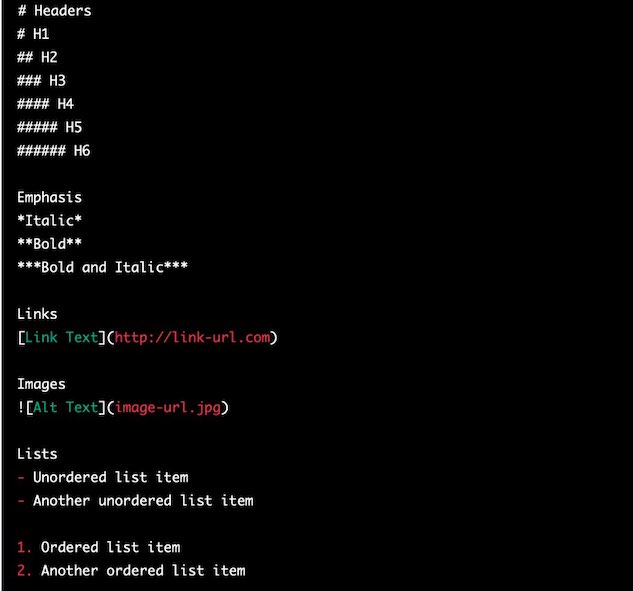
Before documenting my website, I have to first learn all the syntax of the markdown language. So, I asked ChatGPT to tell me all of the syntax for markdown, and here is what I got:
From ChatGPT
ID setup
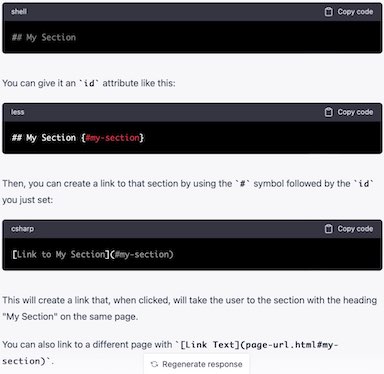
I also found this cheat sheet that contained the most common syntax in Mkdocs.
You can read about the image formatting here.
Installing Python 3.11.1
Because I am creating my website in a pure markdown format, I need to install Python. I simply navigated to their website and installed python here.
Pip
Pip is a package manager for Python packages. It comes with Python when I downloaded the language software. It is important to the following steps in which I installed Mkdocs.
Installing Git
The next step is to install Git. Git is a free and open source distributed version control system designed to handle projects. Specifically, it helps developers build software and put them into a repository. Similarly, GitLab is an open-source software platform that uses Git to update and store the users’ repositories.
First, I tried to install Git using MacPorts, however, it didn’t work properly. First, I downloaded the MacPorts installer, and followed the instructions on the website to install Git.
MacPorts website:
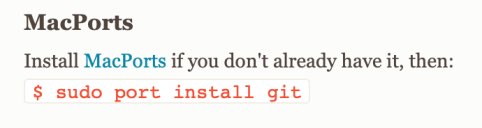
From my computer:
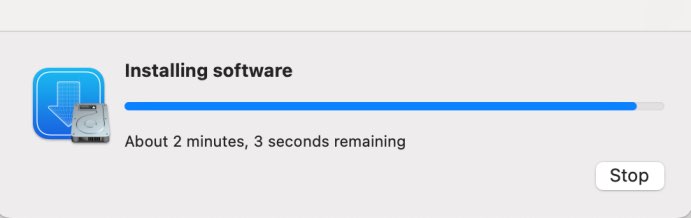
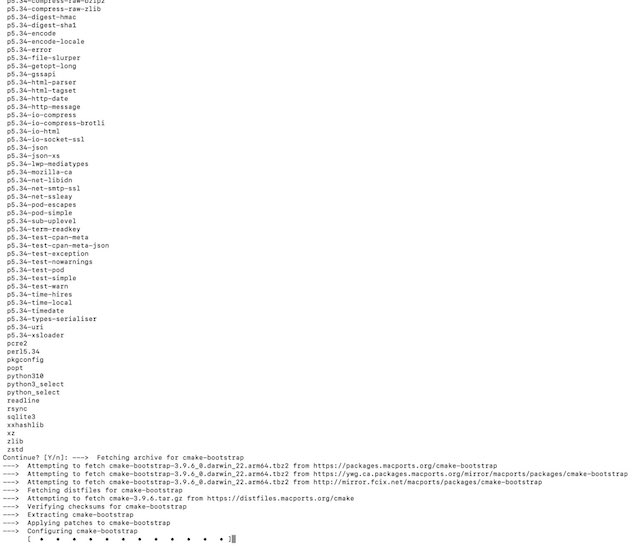
As you can see, terminal installed a massive amount of files, and it took a very long time. I asked some of my friends how long it took them to install Git, and they said about 1 minute. (In fact, the first picture originally indicated that it will take me 75 hours to install Git!!).
So, I switched to Homebrew to install Git. I downloaded Homebrew based on the website’s instruction, and then ran brew install git in terminal to install Git.
It worked properly.
Along these steps, one thing that really helped me was to take a look at past Fab Academy students’ websites. One particular website that greatly assisted me was Teddy Warner’s Fab Academy Website.
Teddy Warner told me all the things that I needed to install on his website. The softwares are: Python, Pip, Git, and Mkdocs.
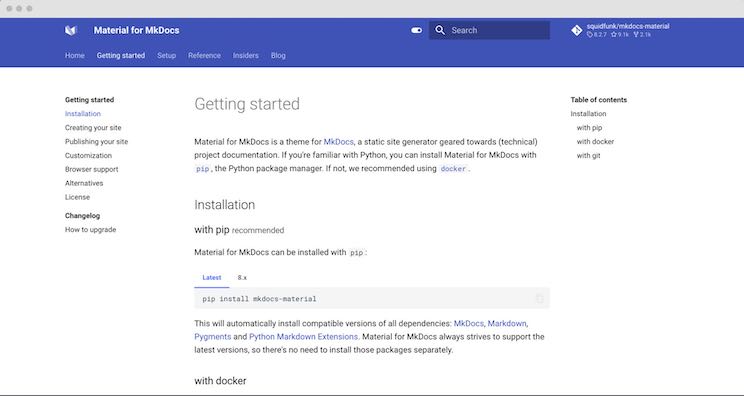
Installing Mkdocs
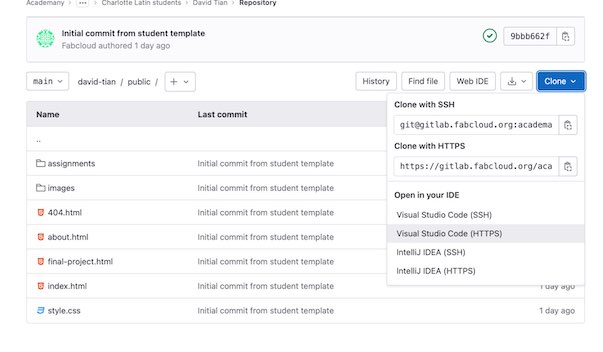
At first, I was very confused on how to integrate Mkdocs into Visual Studio Code, a software that I commonly use to build Java projects. As explained by Dr. Gershenfeld, we are supposed to integrate MKdocs into our favorite coding software and document everything there. Luckily, this video helped me a lot. In it, they described how to get my repository into Visual Studio Code.
Right beside my repository, there is a “clone” button. I clicked it, and then cloned by repository using its HTTPS url. (Since I have a mac, I didn’t need to use an SSH key) I opened my cloned repository in Visual Studio Code.
From GitLab
In the “public” folder (which is also the root directory), I used pip3 install mkdocs and then
pip3 install mkdocs-git-revision-date-localized-plugin to fully install Mkdocs. Now, I am able to store my documentation using .md files.
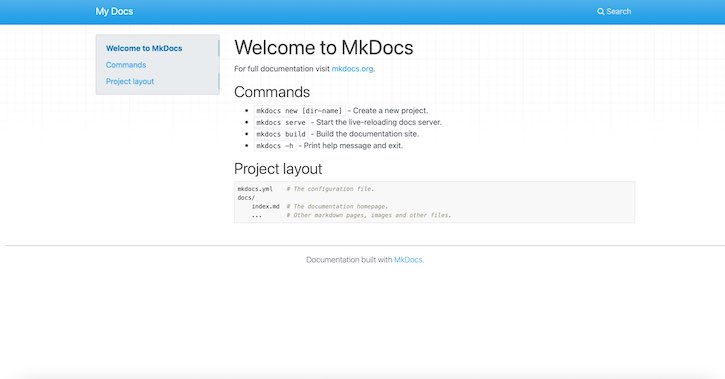
Under the public folder, I ran mkdocs new site in terminal to create a very basic site. It had a docs folder, in which there is an index.md file. Outside of the docs folder, there is a .yml file that contains the website’s theme and some basic information.
Then, I ran mkdocs serve to create a local server that contains my actual website in my browser. Note that mkdocs serve can only be used when a .yml file is present, so I must run the command under my mkdocs site directory, and not under the docs directory.
The basic website:
Some other commands that I used throughout this process came from this website, including pip3 install --upgrade pip to upgrade pip and pip3 install mkdocs-material to install the material theme for Mkdocs.
When I stalled the theme, I also had to write the following code in the .yml file:
theme:
    name: material
This changed my basic theme to material.
Material Theme
Using Git
To actually save the changes that I made in Visual Studio Code in my GitLab repository. I need to use the following commands:
git add . // Really important to add all the important changes.
git commit -m "Updated Site" // Gives a title to the commit
git push // Actually saves it to the github repository.
I did all of that and my GitLab repository updated!
However, when I went to my actual public website (they site that you are on), there was a strange 404 error message.
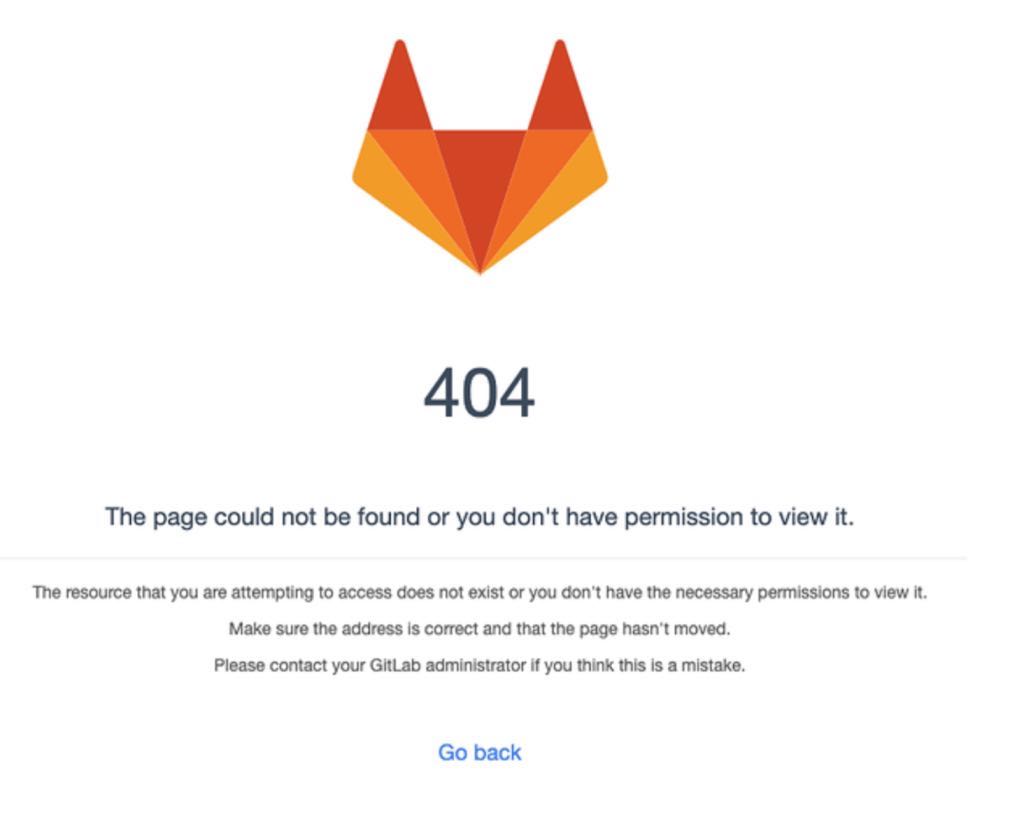
I was very confused at first, but then:

I messed up.
Remember those 4 HTML files that were in my repository by default?
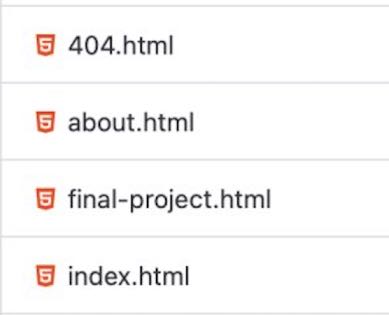
I thought they weren’t important, and that my website is still going to show up even if I just included my .md files in my public root directory. So, I deleted them. However, that was not the case, and I had to find a way to get them back.
At the time, I deleted them a couple of commits back, so it was going to be hard to get them back.
Using the information from this website, I first tried to run
git reflog.
This command shows the individual commits that I made and their respective unique hash ids.
I reverted to the commit in which I deleted the files by running
git checkout <hash-id>
However, when I tried to run git add . and tried to push it back to my repository, it didn’t work. Instead, terminal showed me an error message. It said that my head was detached from the main branch. To get around this, I did:
git push --set-upstream origin <hash id>
However, this ended up creating a new branch, and its name is my hash-id. The new branch is separate from my main branch in that I cannot get anything from that separate branch and put it back into the main branch.
In the end, I was able to solve the problem by running:
git checkout <hash-id> -- <filename>
The 5 files I deleted were successfully restored.
At this point, Adam Stone stepped in to help and pointed out that in order to display my website publicly, I have to run
mkdocs build
in my markdown folder (where the .yml file is located).
Essentially, this command creates an exact copy of the markdown website, except it is in .html format. Now, the website could be seen by everyone on the site!
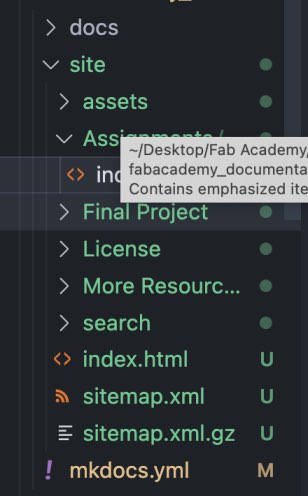
In this picture, the folders highlighted in green are the new ones that were created in .html format.
So, within these folders are the actual HTML files. These files had to be in the public root directory.
So, I moved the HTML files out of their respective folders and into the root directory.
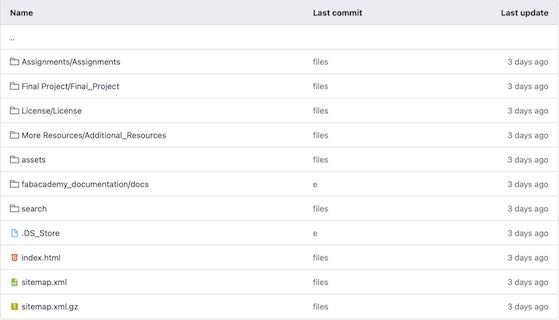
As seen in the picture, all of the important files:
index.html
sitemap.xml
sitemap.xml.gz
are in the root directory.
So now that I have a working public website, I have to add structure to my markdown files.
I used this website to help me.
To create additional folders, I used
<mkdir>
Editing the Pipeline
This is more of a convenience issue than a real problem.
Every single time I want to update my public website, I have to run mkdocs build and then move my entire batch of files into the root directory. This is very cumbersome and time consuming.
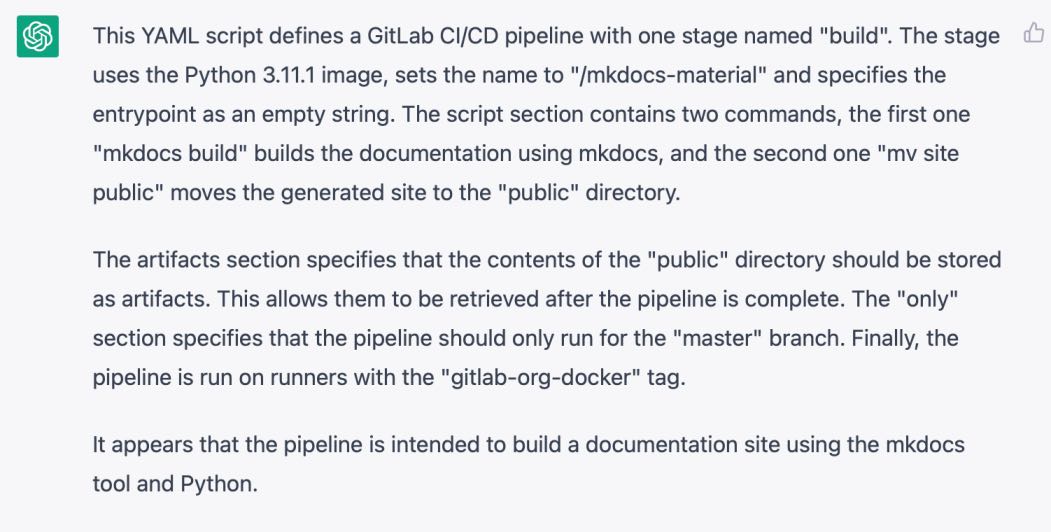
I asked ChatGPT for a solution:
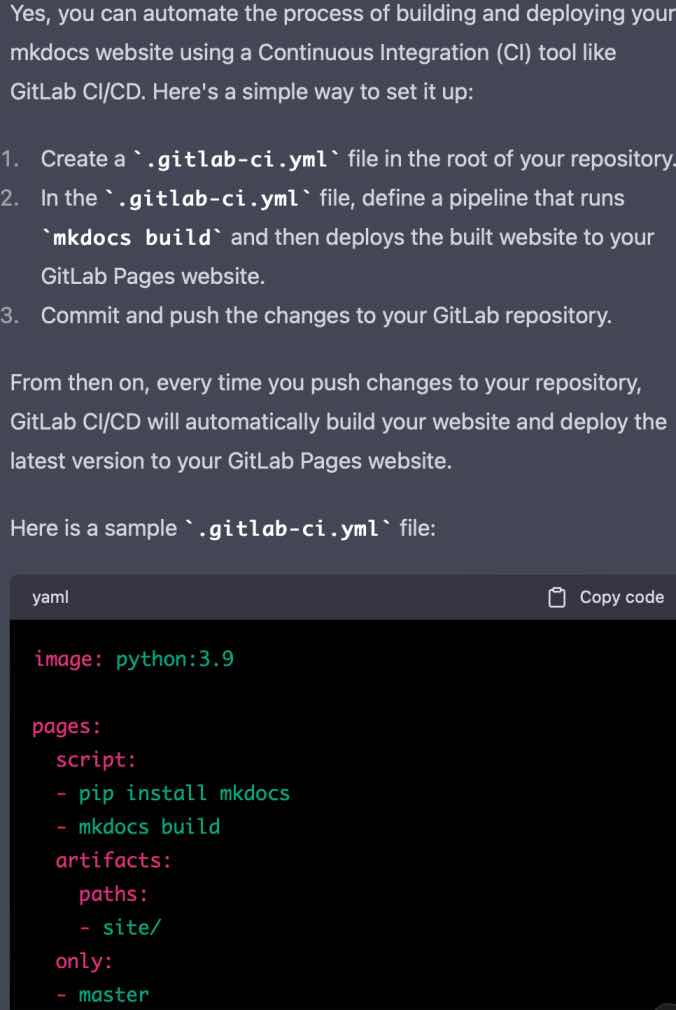
It even explained what the script does in the .gitlab-ci.yml file, which is essentially where I can write and run scripts.
A pipeline is simply a code model creates automated processes that help developers build applications more efficiently.
I did as I was told, and I committed and pushed my website to my repository. But the pipeline failed for me and I received a 500 error message.
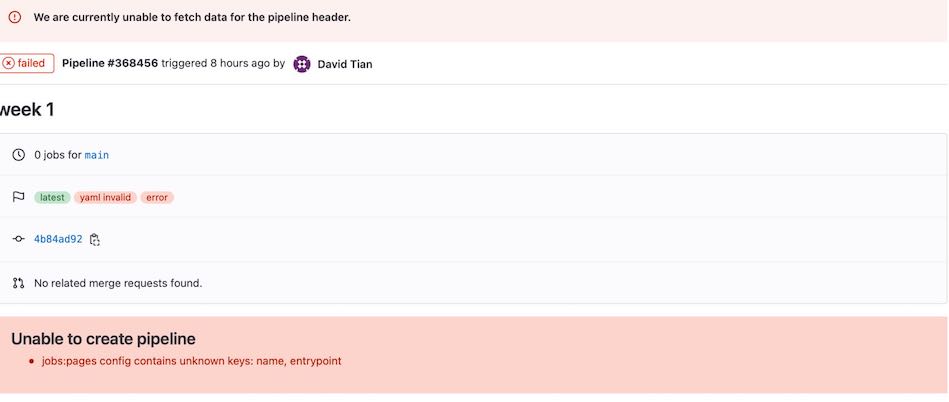
My guess is that too many people are trying to push their files to their repositories, and that GitLab is just being very slow. However, later the pipeline worked for me and the push went through. However, when I opened up my public website, it was still not updated – even though I ran mkdocs build and then moved the files into the root directory.
Then, I went to Adam Stone’s website to see that he also experienced the same problem. He said that he needed to clear the caches in the website in order for the new URL to show up. When I tried that, it still didn’t work and my public site still would not update.
I didn’t know what to do, and so I consulted fellow Fab Academy student Ryan Kim for help. He said that his website worked when he downloaded a template from the presentation from Dr. David Taylor. So, I went to the presentation and cloned the template using HTTPS for Visual Studio Code.
So, how do I git commit and push this new repository to my gitLab website? Well, according to StackOverflow, this is what I should do:
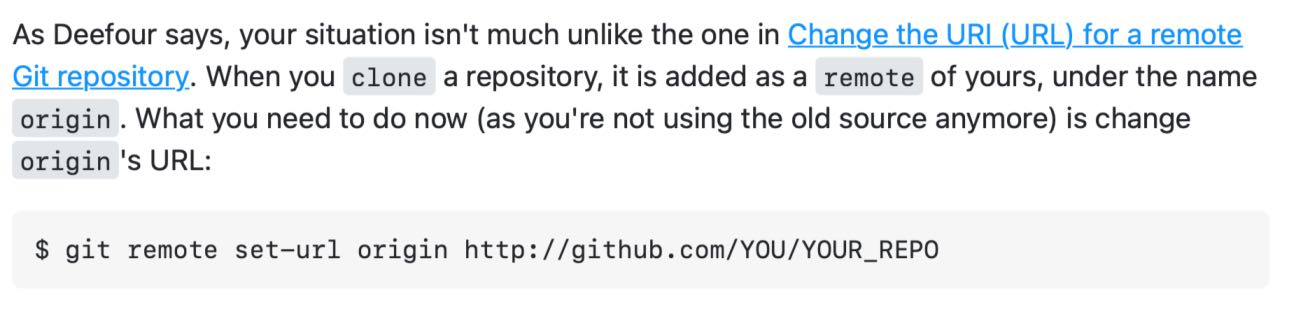
I ran the following code:
git remote set-url origin https://gitlab.fabcloud.org/academany/fabacademy/2023/labs/charlotte/students/david-tian
After that, the new website files are linked to my repository.
The good thing about this repository is that whenever I run git push, the public website automatically updates. This is because the pipeline automatically does mkdocs build and the .gitignore file hides the newly created site, so that it won’t be shown on my repository.
In short
- This website is built automatically by gitlab every time you edit the files in the docs folder
- It does so thanks to Mkdocs a static site generator written in Python
- You must start customizing the file
mkdocs.ymlwith your information - You can change the looks of your website using mkdocs themes, you can find in the
mkdocs.ymlthe options for the Material Mkdocs theme - If you want to start from scratch, you can delete everything (using git-rm) in this repository and push any other static website
New Pipeline
After I downloaded the student template, a new pipeline was created for me:
image: python:3.9-slim
before_script:
# install Git for the mkdocs revision plugin
 - time apt update && apt-get install -y git
 # Install mkdocs and theme
 - time pip install -r requirements.txt

 test:
    stage: test
script:
    - time mkdocs build --site-dir test
artifacts
paths:
- test
rules:
- if: $CI_COMMIT_BRANCH == $CI_DEFAULT_BRANCH
  when: never

pages:
stage: deploy

variables:

ENABLED_GIT_REVISION_DATE: "true"
GIT_DEPTH: 1000

script:
- time mkdocs build --site-dir public
artifacts:

paths:
- public

rules:
- if: $CI_COMMIT_BRANCH == $CI_DEFAULT_BRANCH
As a quick rundown for the new pipeline, the before_script part basically updates Git, and the script part builds the mkdocs HTML website in the site directory. Also, I believe that the rule states that the commit branch should always be to the default branch.
Merging
I didn’t realize that I actually created this new repository not on my main branch, but on a branch called ‘master’. So, I have to merge this branch with the main branch to actually ensure that my website is updating.
So, I headed over to the branches tab, and I created a merge request in which I merged the master branch with the main branch.
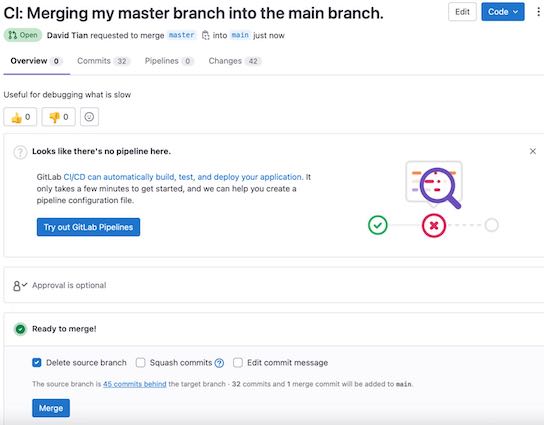
After clicking merge, I have the fi,els in the correct location.
Customizing mkdocs.yml
Customizing mkdocs.yml was very simple, as I just put my name and some simple descriptions about the website into the file.
Branching
I accidentally forgot to change my working branch to the main branch, so I just changed that really quickly by running:
git branch main
Finally, I believe my website is all set up and running smoothly.
Large Storage
I noticed that my website (at the time of writing) has a 23.6 MB storage size, and I asked Adam Stone about how to see the sizes of the individual files. He said that previous commits are taking up a lot of space. However, I should not delete those because there could be of potential use in the future, and that storage is not a large issue.
New Commands:
After watching the week 1 recitation, I learned how to look at all the changes you made in one session:
git log --online
As well as a command to amend your commits:
git commit -- amend
To see the sizes of the files:
du -h <folder-name>
I also understood that the history of the commits are saved forever, and that the whole repo size is including the history.