Week 6 Students B- 3D Printing and Scanning
Slicing and Printing- Dylan Ferro
To slice the file I used thuis file from Thingiverse and sliced it on Prusa Slicer. Here is a picture of the design in the slicer.
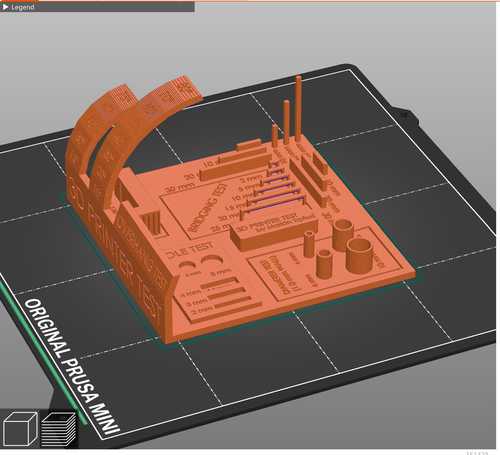
Next I printed it on our lab’s Prusa Minis.
Overhang test- Stuart Christhilf
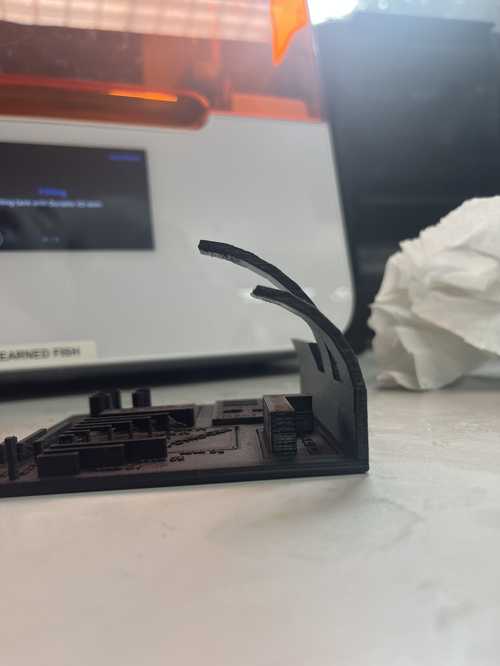
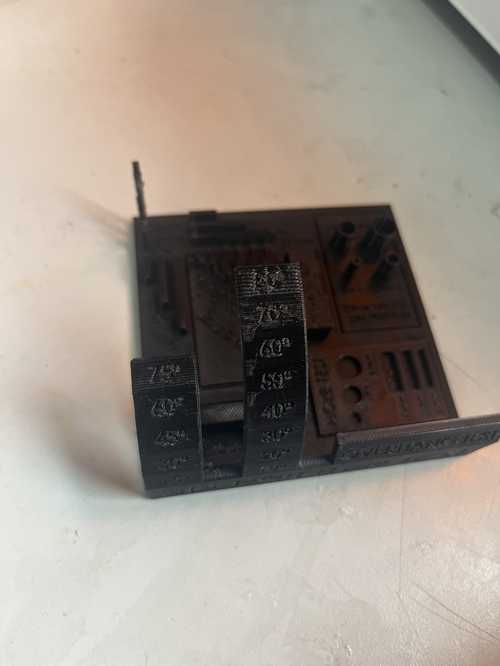
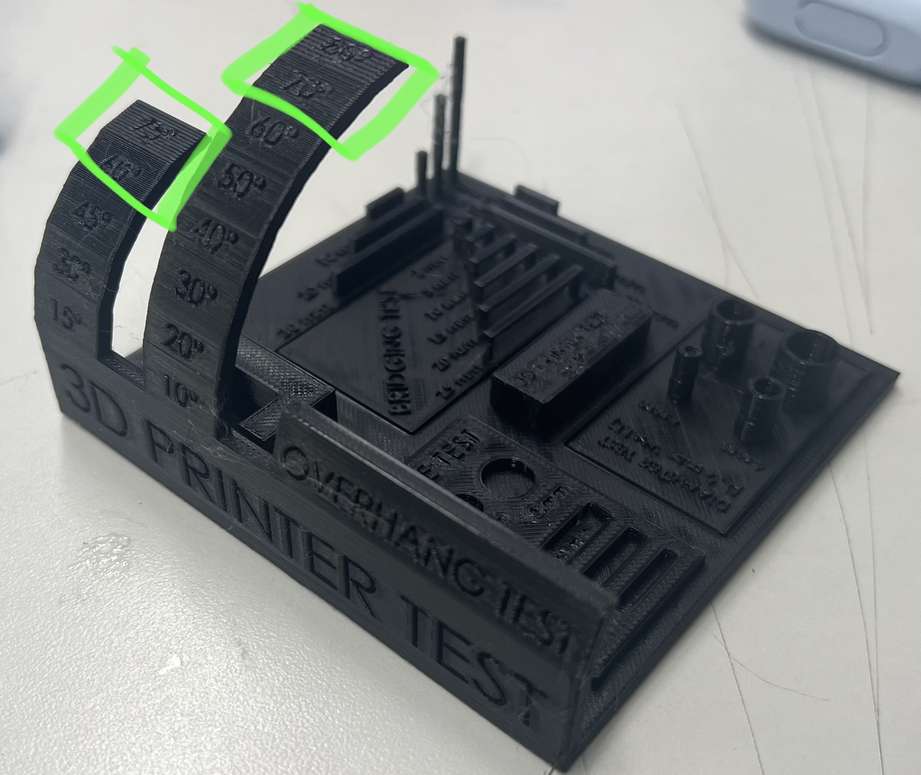
For the over hang test we used a file we found on Thingiverse that tested lots of factors and one of them was overhang. for the over hang test it printed a curved overhang that went from 20 - 80 degrees. It worked flawlessly until around 70 degrees when the bottom of the overhang started looking more stringy. By the 80 degree mark the bottom was really stringy and did not have a good finish at all.
Bridge test- Stuart Christhilf
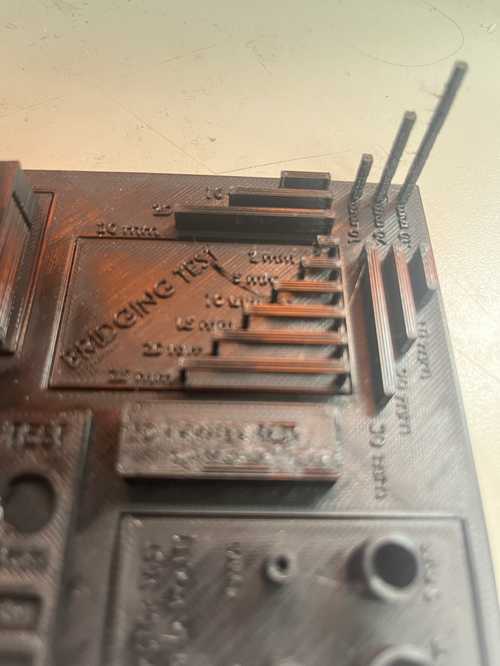
For the Bridge test we used the same file as the overhang test. It had bridges that were 2mm, 5mm, 10mm, 15mm, 20mm, 25mm. 2-20mm it worked flawlessly with perfect brdiges with no strings underneath them. but when it got to 25 the first layer got a little string and saggy at the bottom but as it build up ontop of it it got better.
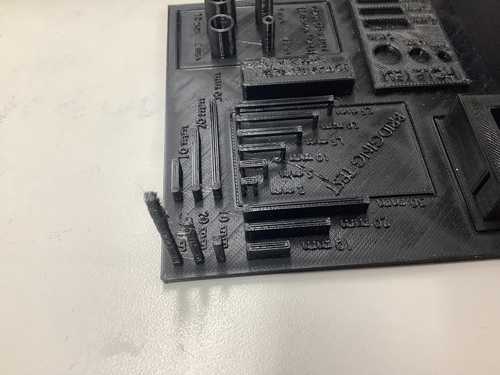
Suface Finish Observations- Ginny Foster
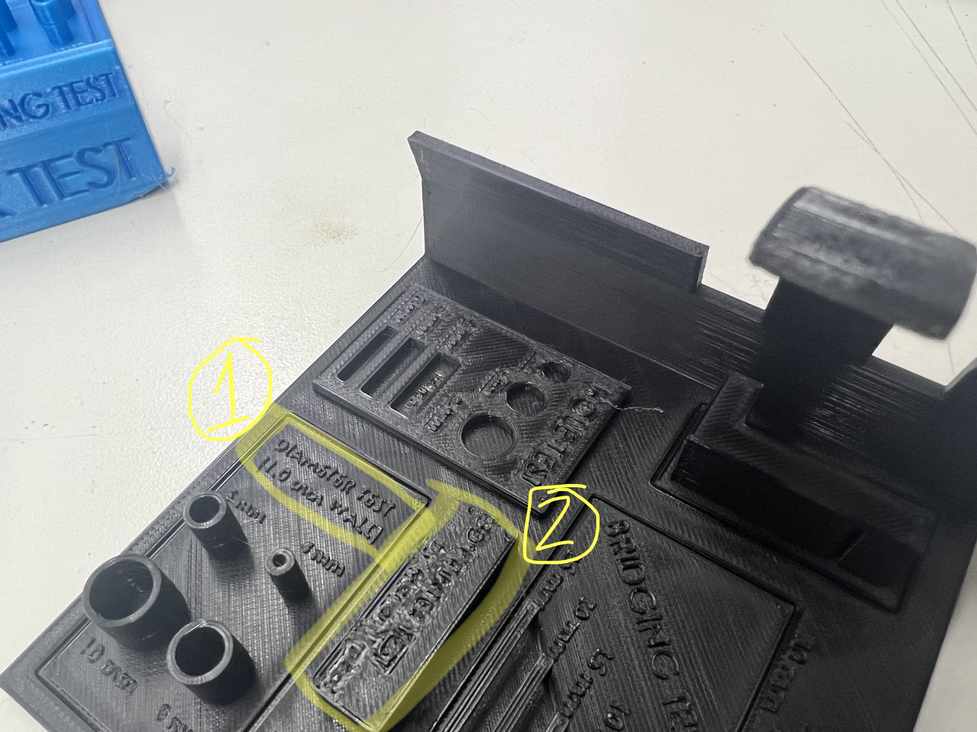
For the most part the surface was pretty smooth but there were a few flaws in the print. On the overhang test the higher the degree of overhang the more obvious the steps and layers and of the print are (screenshot 1, green boxes). Also the small text of the ‘diameter text’ and the intruded text on the block of the ‘3D printer test’ look a little fuzzy and low resolution (screenshot 2, yellow boxes 1 and 2 respectively). By contrast the text on the front of the tests looks very clean and good (see screenshot 1) so my overall take away is that the larger the text and objects, the better quailty and resolution they will appear.
 Screenshot 1
 Screenshot 2
Diameter Test- Dariyah Strachan
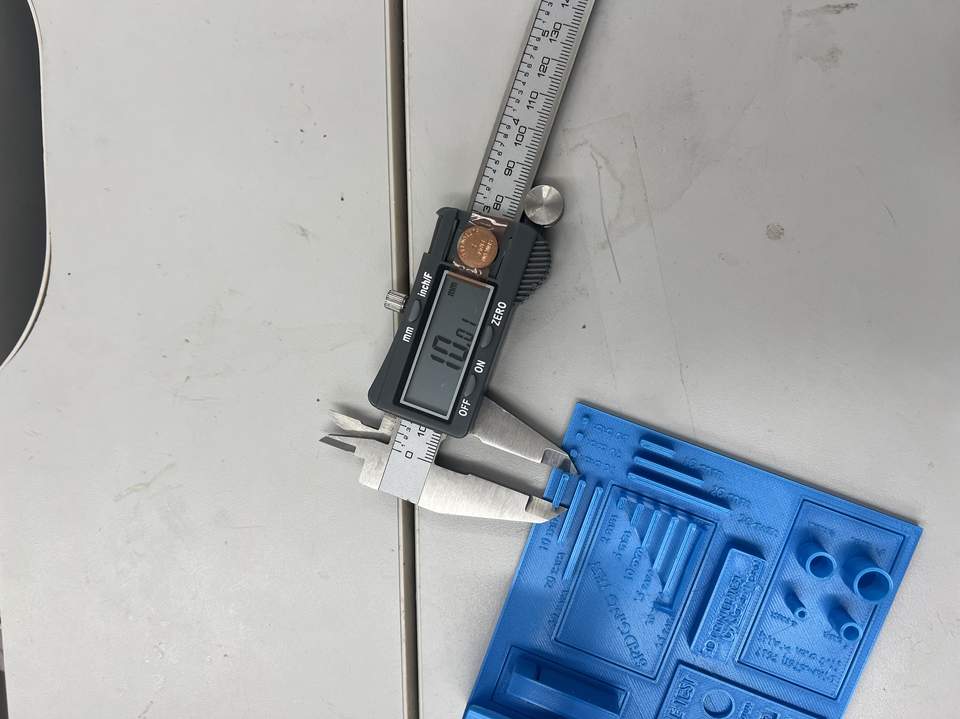
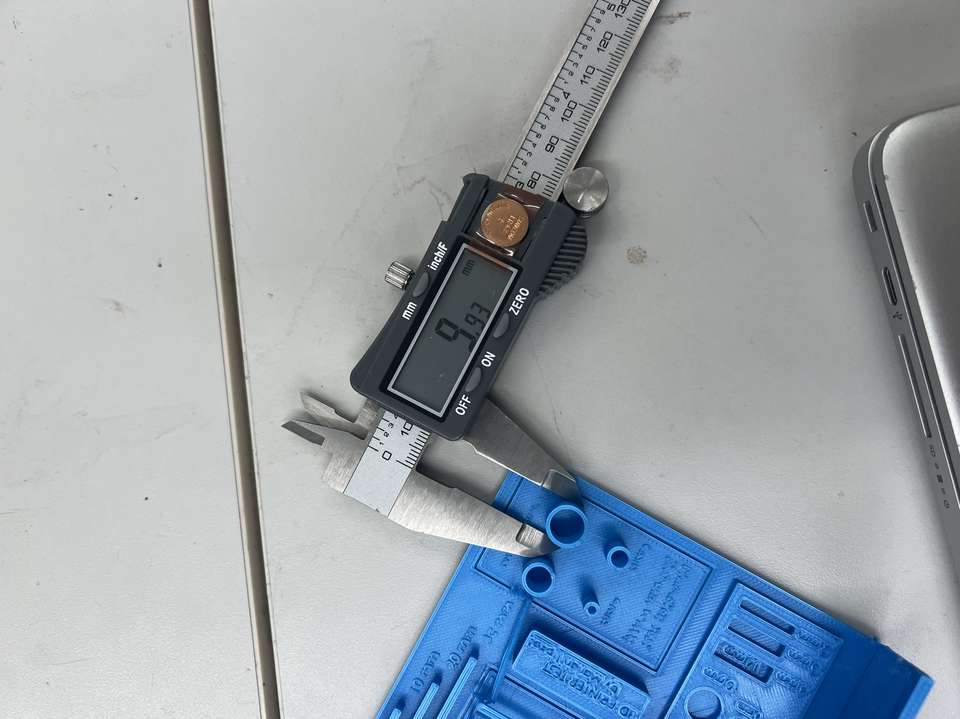
The diameter of the 10mm bridging test was set to be 10mm however it measured to 10.01 mm, so the 3D printers are 0.01 mm off of what they are meant to be. The diameter of the 10mm circle was supposed to be 10mm, however it was measured to be 9.93mm, less than expected by 0.07mm. The diameter of the 3mm tower, which had broken off but there was still some of the measure, was measured to be 2.56mm. This is a difference of -0.44mm than expected. This tells me that if I need to create a piece that is a specific size, I would need to add .5 mm. This test and its results are simmilar to the kerf of the laser cutters.

XYZ Measuring- David Tian
David Tian measured the dimensions of each length of print going in the x, y, and z directions. As seen in the picture,
These dimensions were measured at the bottom left of the test print template. However, the actual lengths of these prints are different because of slight errors in the 3D printer (they are completely normal). I used a pair of calipers to measure the actual lengths of the prints in mm.
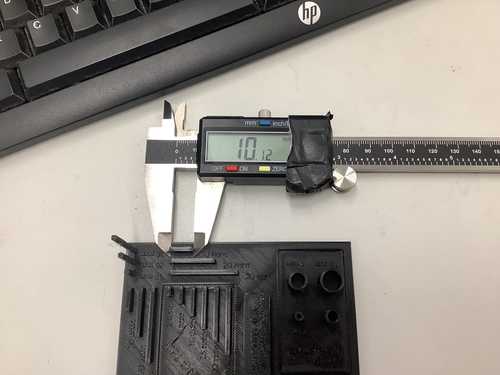
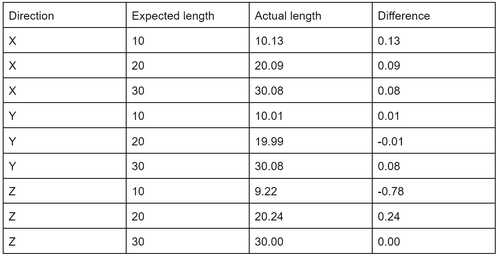
Overall, the printer is fairly accurate, however, it tended to be less accurate in the z-direction.