Week 6 Students A
Griffin, Jed, Adam, Merritt, Ryan
FormLab: Form 3B Printer
We used a premade test design that enabled us to study the accuracy and print rules for the FormLab Resin Printer.
Workflow - Griffin
The basis of this workflow was given to us by Mr. Dubick, but we modified it to be more understandable.
- Remove the build plate by unhooking the latch and pullung it off. Wear gloves when doing this, you don’t want to get resin onto you
- Clean the entire build plate with alcohol
- place the build plate back onto the machine and close the latch
- Close the enclosure lid and click prime
- Open the FormLabs Preform on a computer
- Select the
LearnedFishpreset - Form 3B, Durable V2, 0.1 mm layer thickness are the settings - Orient the model
- Verify printability, it should come out green
- Click the
Start a Printbutton - Select the printer you are using
- Upload the job
- Confirm your print is working
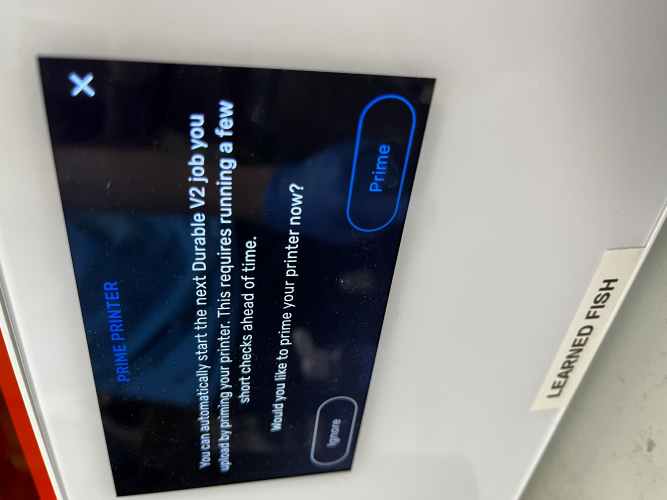
Here is an image of the touchpad that enabled us to upload and set the printer
Form 3B Printer Specification
Here is what we found on on the 3B printer.
Important: Build size is 146 × 145 × 185 mm.
Curing and washing - Ryan, Jed, and Griffin
After the print, we had to cure and wash the resin. First we put the print washing using latex gloves and washed for 20 mins. After washing, we took the print out of the washer and placed it into the curer, we thought the print would fall off of the print bed but it did not so we used a scraper to take separate it from the print bed. Then we pressed the dial to start the curing process at 60 degrees celcius for 1 hour, during this process, we made sure to keep gloves on the whole time.
Printing 50% Size - Adam
All the groups in the Latin Lab decided to use the same file from last year to test the printers. The file full size would take a while and would be big so we decided to try printing with the SLA for the first time with a smaller print. We decided to go with the same file but 50% size. After following the work flow above we ended up with this:

Printing 100% Size - Merritt
Once we saw that 50% worked got everything ready for another print and printed the file 100% size. We followed the workflow above and printed it. The actually print worked great. But there was error in the washing and curing of the print. In the washer the level of alcohol had dropped a little to low, accordin to Mr. Budzichowski. So the base of the print, where all of the size tests were built off, was not submerged in alcohol so it was not cleaned. We didn’t realize that until we cured it and it was still sticky, so we ran it though the curer a few more times until it was no longer sticky. Here are various angles of what it looked like:

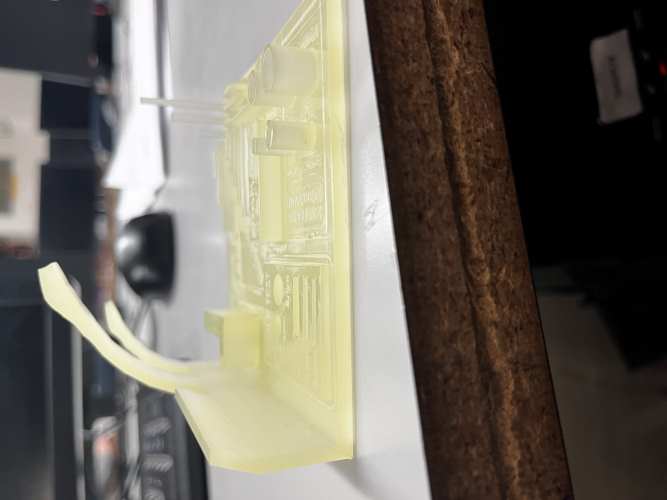
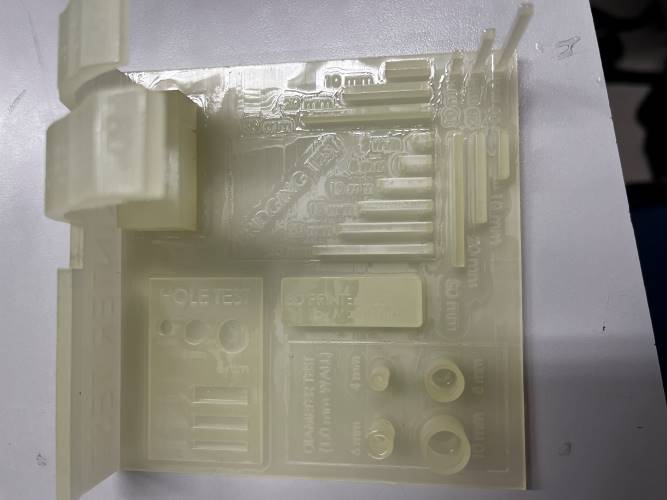
We learned from this experience that the bridging for the resin printer didn’t work too well once it got to around 25 mm. Also, the overhang got a little messy towards the end, where you can see the little bump. However, the details were very well and intricate, and the dimensions and holes turned out pretty well and accurate.
Documentation - Mostly Jed
Comparison
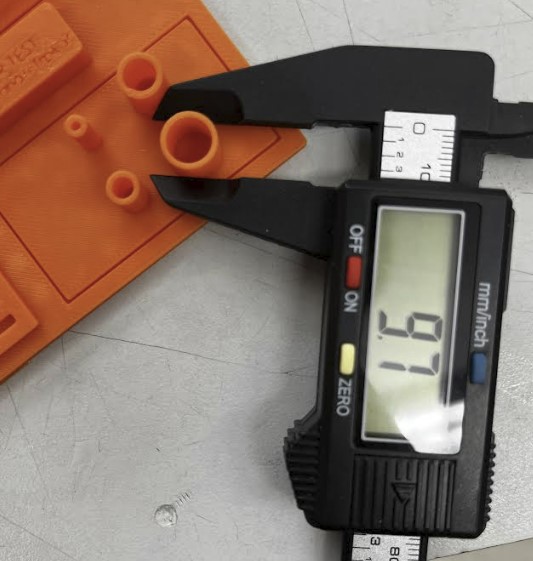
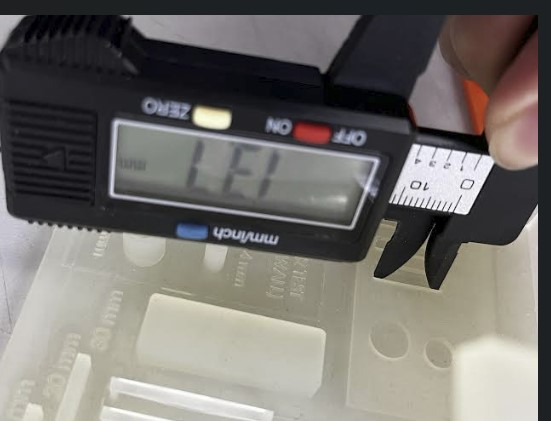
Here are some comparison images of measurment accuracies of the test prints.
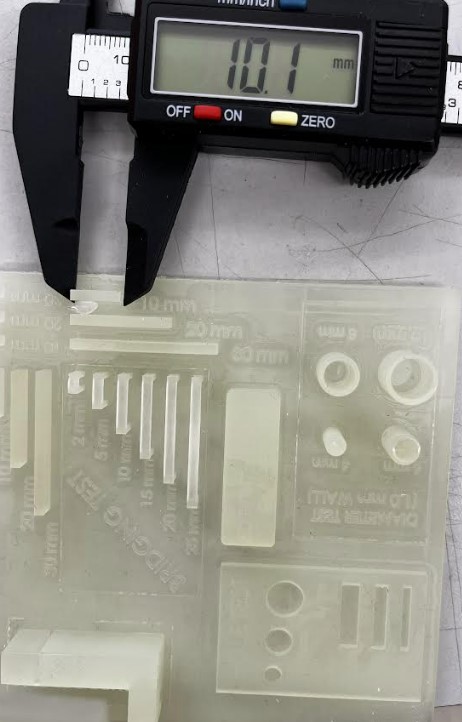
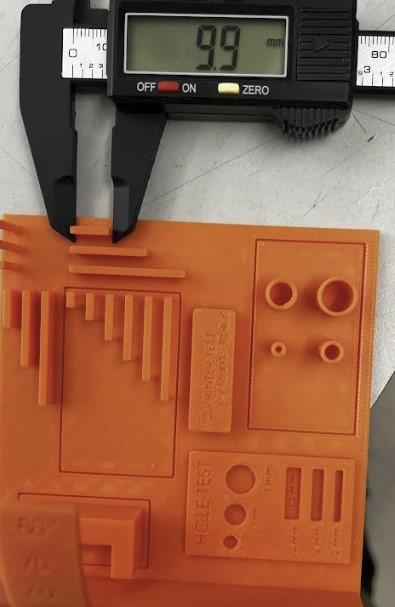
Actual- 10 mm length
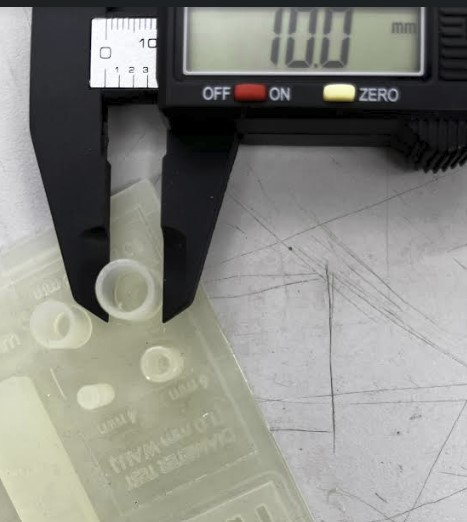
Acutal- 10 mm hole
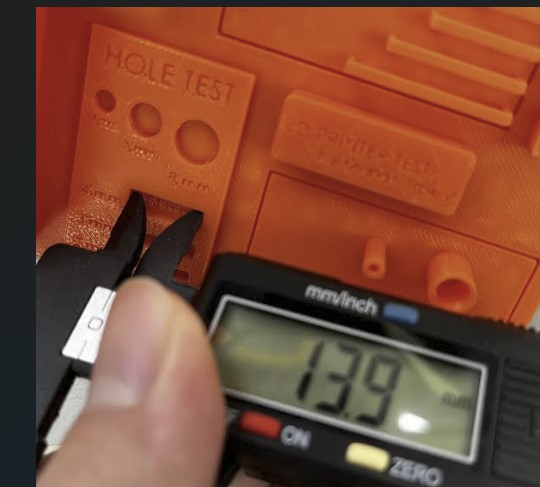
Actual- 14 mm holes