4. Computer controlled cutting
Dan Stone: Kerf Measurement, Measure Impact of Changing Focus, Power & Speed Zack Budzichowski: Kerf Measurement, Testing Engraving Presets Adam Durret: Documentation Goal this week is to evaluate the laser the set up test cuts to:
-
Measure the Kerf
-
Measure the impact of changes in focus, power, speed, rate
-
Joint clearance and types
Our lab also wanted us to evaluate different engraving features
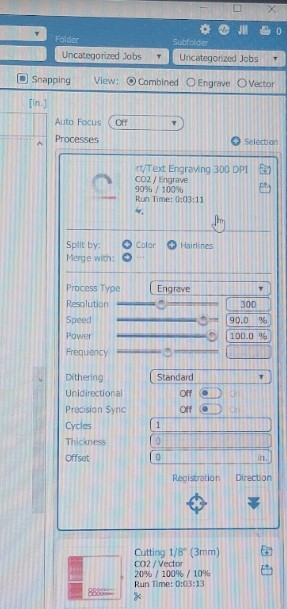
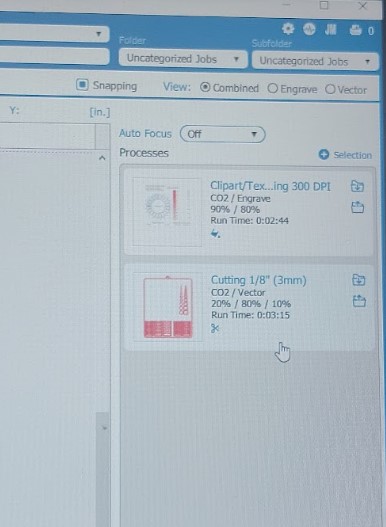
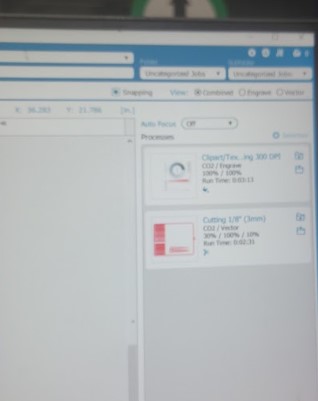
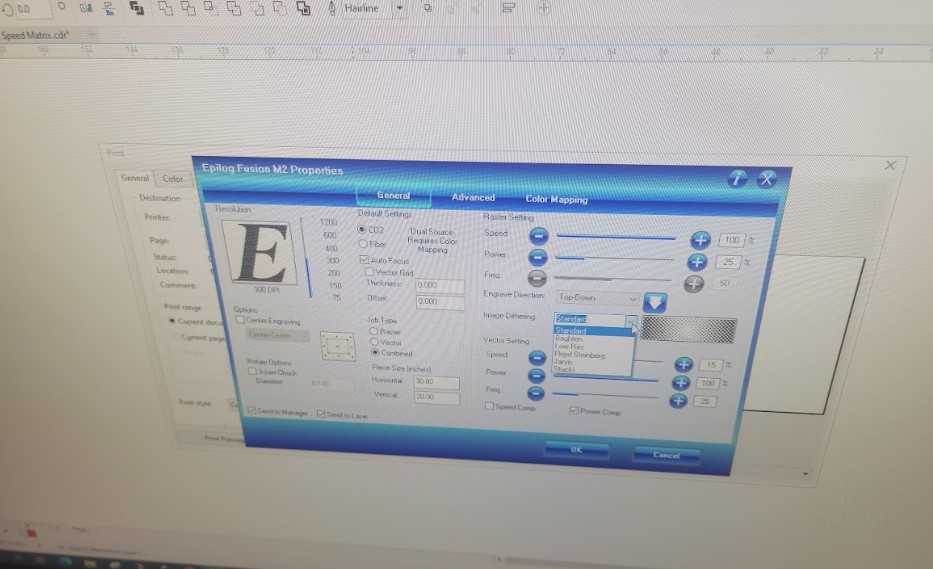
We used the preset list in the Epilog laser:
-
Floyd-Steinberg
-
Jarvis
-
Stucki
-
Low res
-
Brighten
-
Standard
Kerf
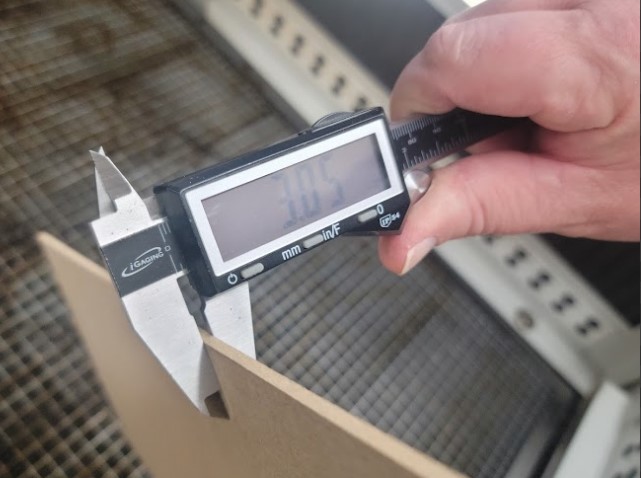
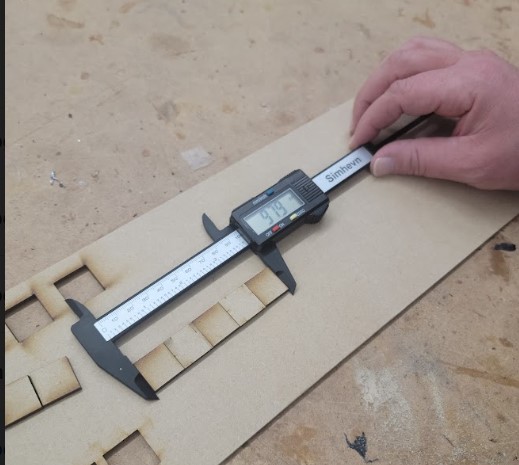
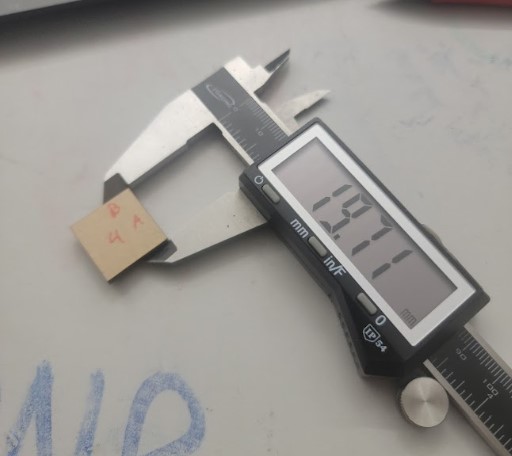
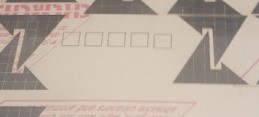
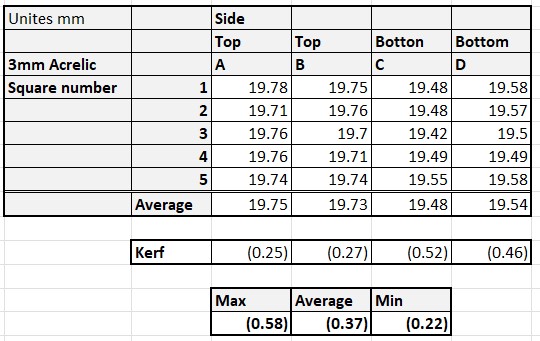
In order to calculate the kerf we decided to cut 5 squares that are 2cm x 2cm We will then measure the actual size and calculate the difference which should be the kerf.
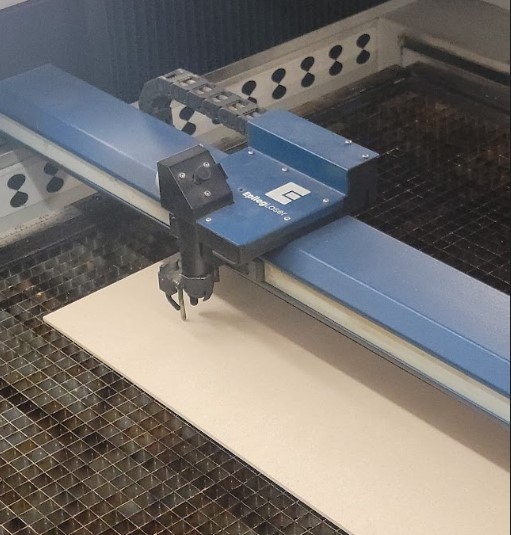
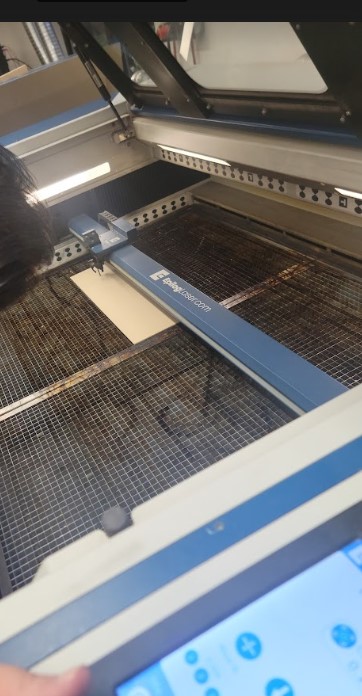
We decided to start with 3mm MDF and proceeded to
Choose a piece of wood
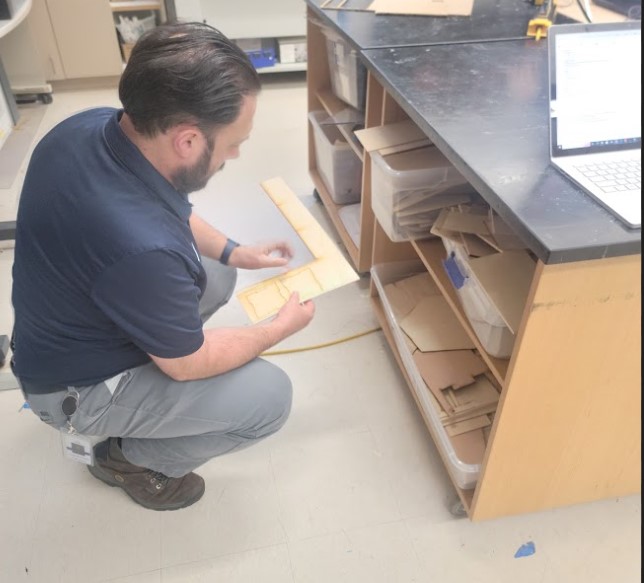
Measure it
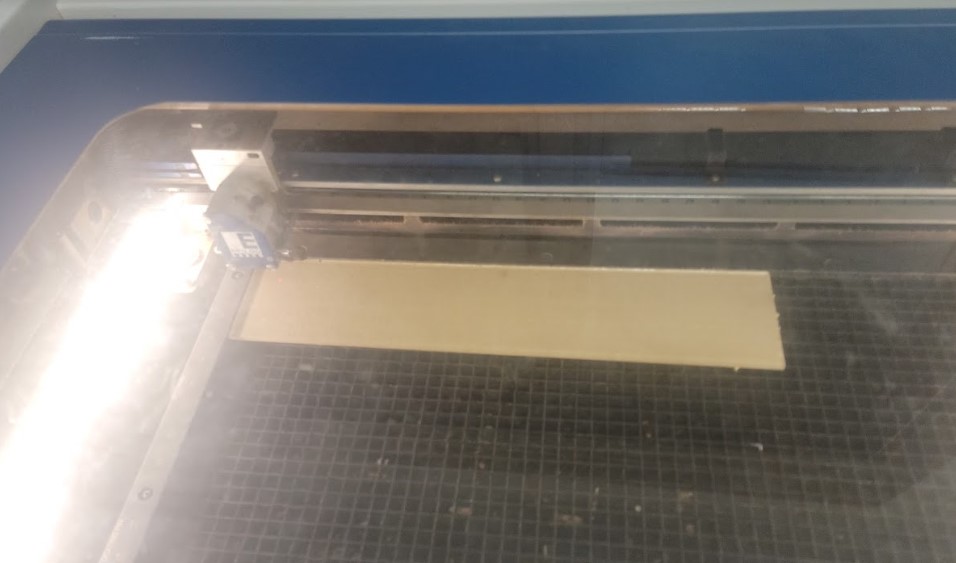
Place it on the bed of the laser
Get the setting set up
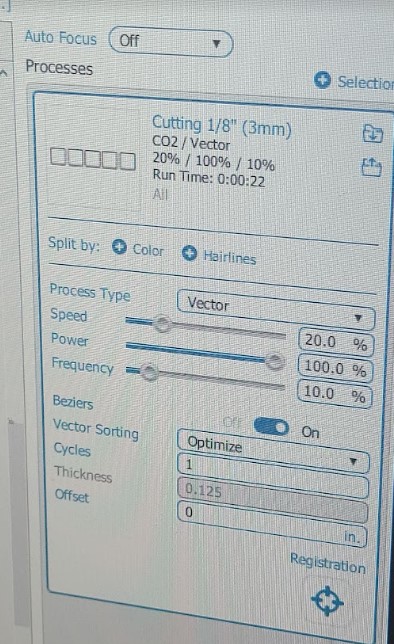
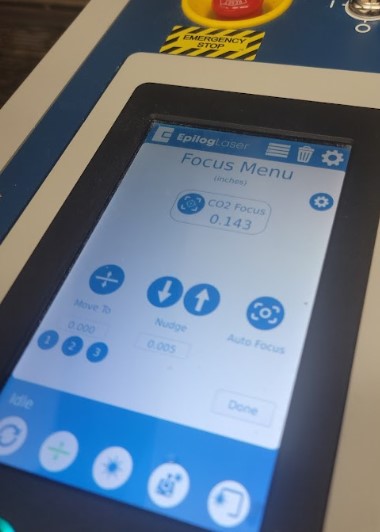
Focus the laser
We initially decided to line them up and measure them together to get the average
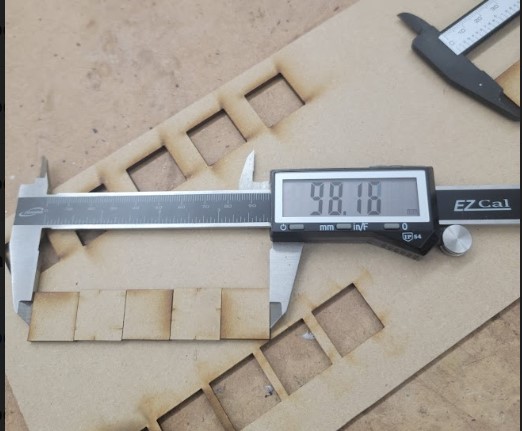
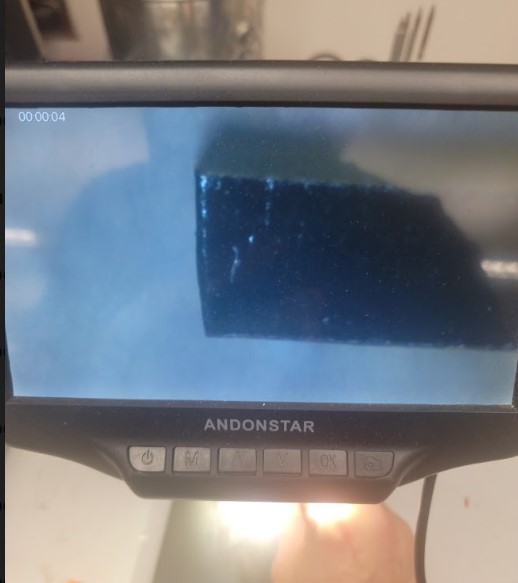
We noticed that it was hard to get them to line up and they popping up, making us understand that they cut was not straight.
We realized the cut was not 90 degree!!
So we flipped 2 of them (number 2 and 4) and they lined up well
We walked over to the microscope and clearly saw the cut had a slant
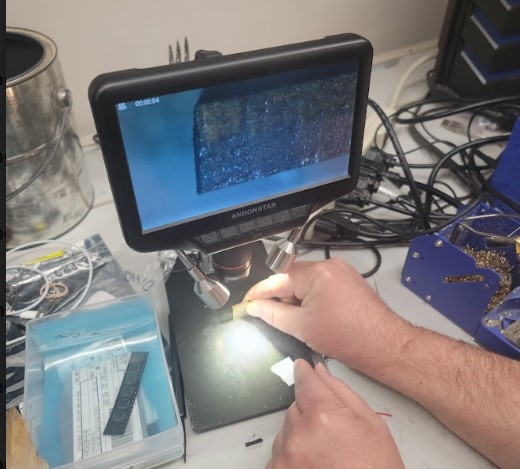
So we decided to measure the kerf at the top and the bottom to see the difference for each one of the 5 squares on each side for the top and bottom of the cut
These are the results
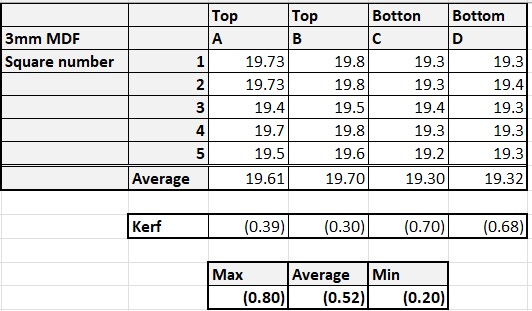
We then ran the whole process for 3mm plexiglass
In general the process was exactly the same and the initial biggest difference was that under the microscope the cut looks a lot straighter
with the following results
Power, Speed and focus
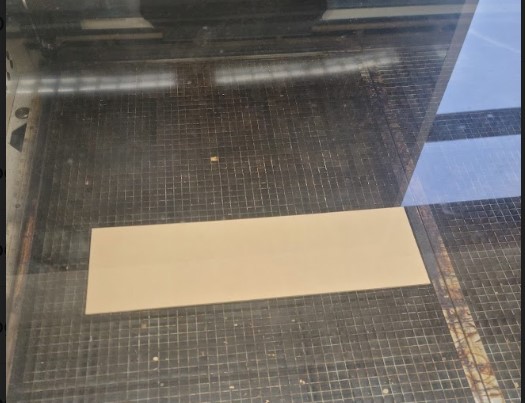
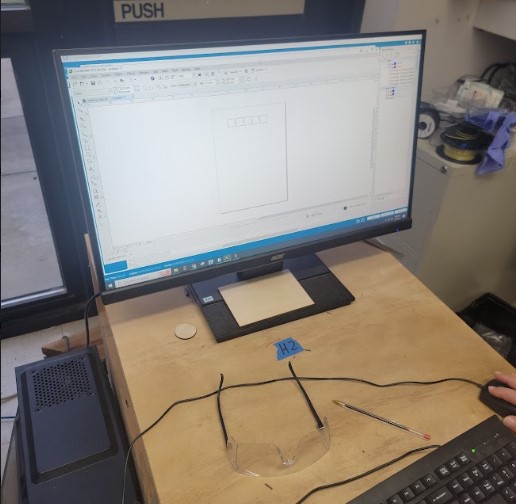
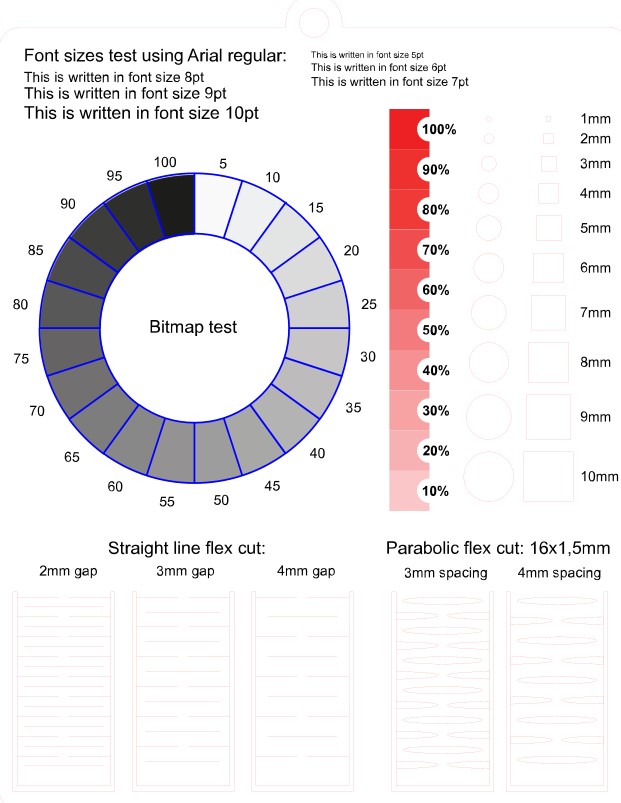
We found a sample cutting pattern online and decided to run the laser power/speed/focus set using this image as it will let us evaluate the impact of the changes on multiple types of cutting/engraving,
We used 3mm wood and drove the following:
Power
We started with the Standard setting on the machine which was 100% power and moved it down by 20% each time
and then 80%
We continued the same for 60%, 40% and 20%
you can see the results as follows:
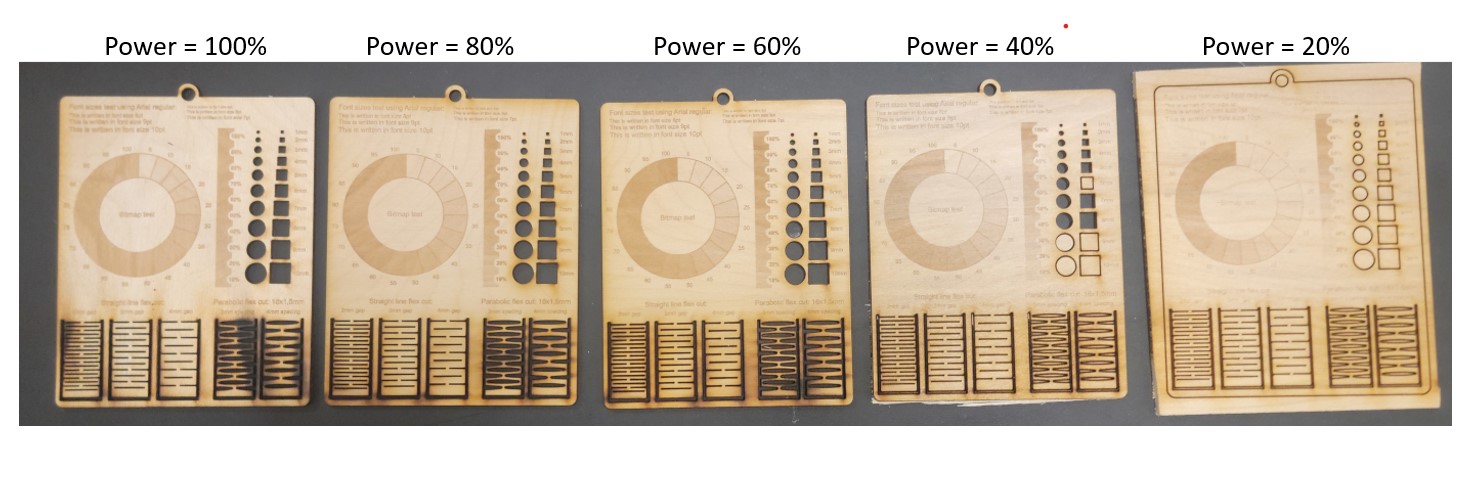
The biggest impact was in the cutting, We saw a lot of burn at 100% and at 20% it did not cut through. 60% was still a little too much and while we thought 40% would b perfect when observing it. Once we opened the laser we saw it did not cut through all the way.
So we suspect the perfect setting would be somewhere between 40% and 60%.
Speed
We then turn to speed the standard setting was 30% for cutting and 100% for engraving and so we went 10% higher and lower for both.
Here are the results:
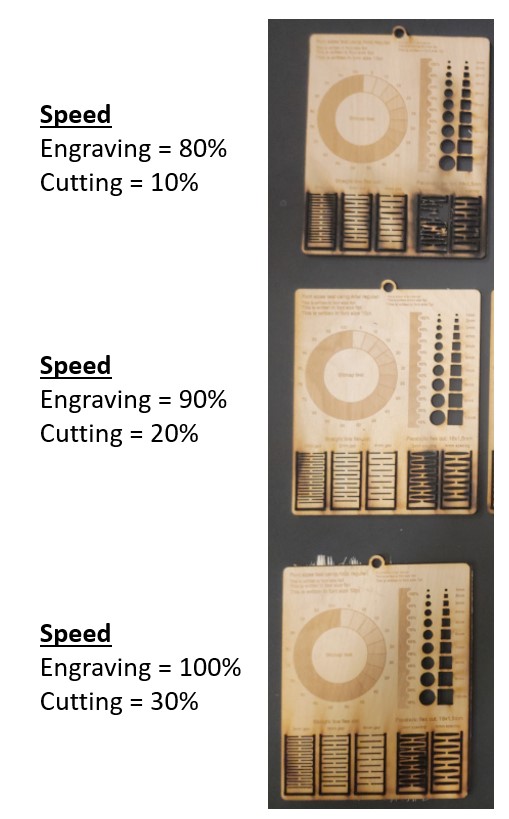
Again the biggest impact we say was in the cutting with a reduction in speed to 20% charring much of the pattern on the bottom right
The increase in speed to of 10pts from 30% to 40% stopped the pattern from cutting through similar to a 60% reduction in power from 100% to 40%
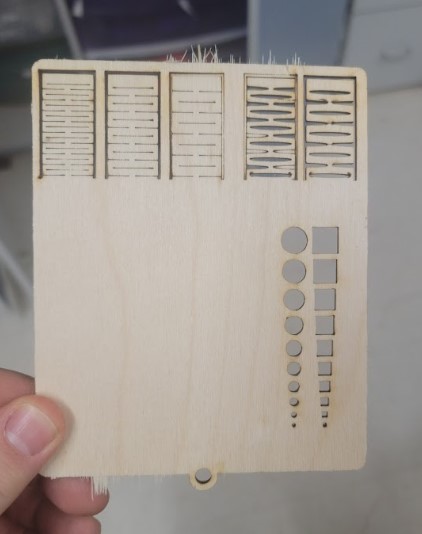
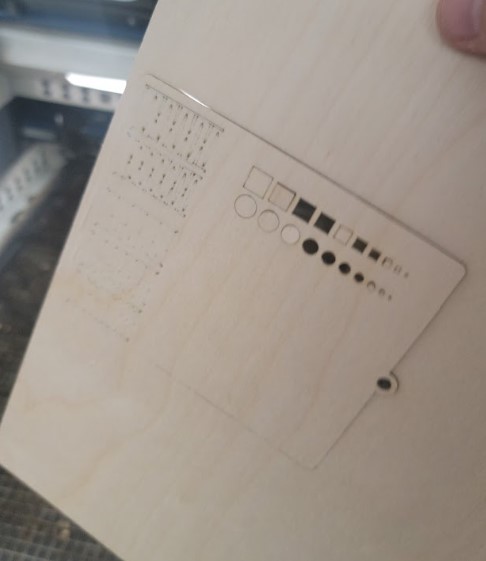
Focus
Finaly for the focus we first focused the laser and saw it at
We then moved the base down to 0.3 and you can see the results at the same power/speed setting
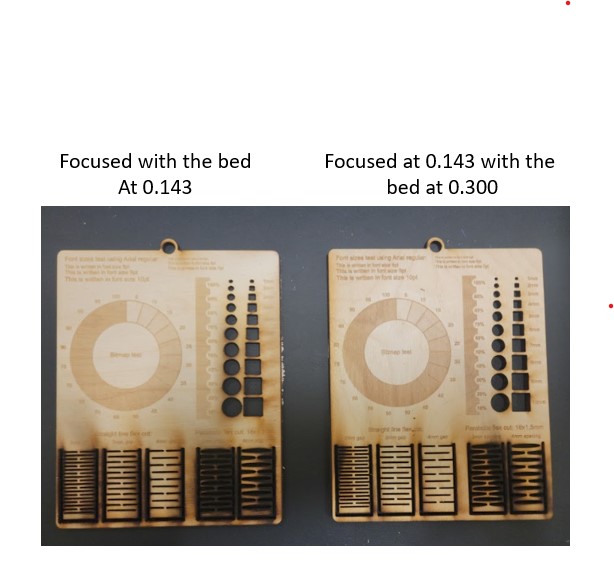
The biggest impression on us was the fact that losing focus reduced the power and you can see the difference in the bottom right of the patterns.
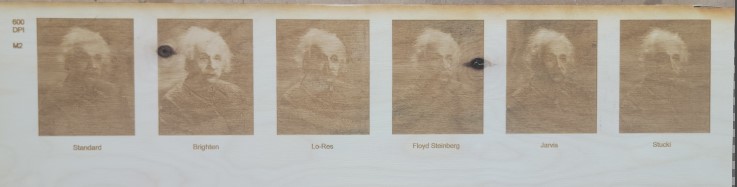
Evaluating different engraving features including
-
Floyd-Steinberg
-
Jarvis
-
Stucki
-
Low res
-
Brighten
-
Standard
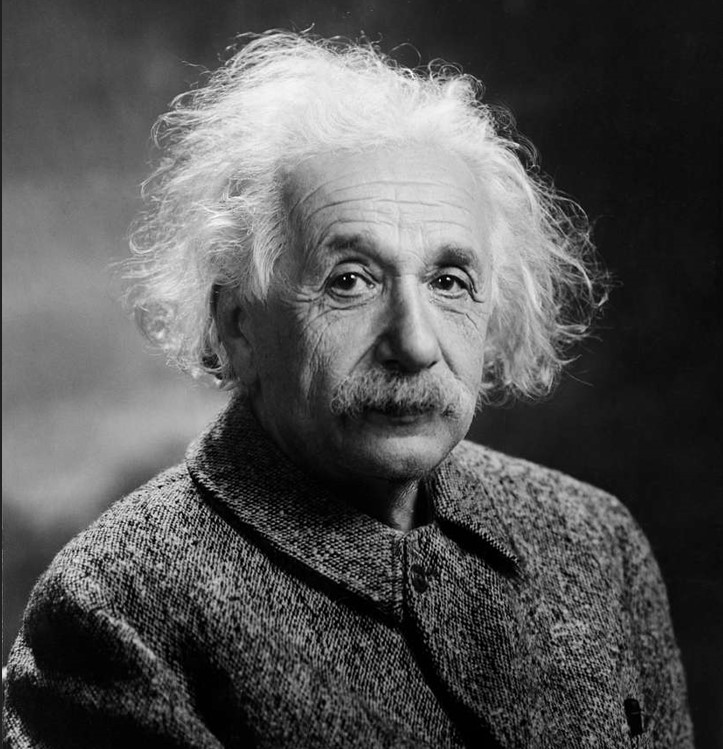
We decided to use a darker image of the great Albert Einstein
We set up a file with 6 of the same image in a row
We then set up the material using 3mm wood and then repeated it with 3mm plexiglass
We adjusted the setting for each one
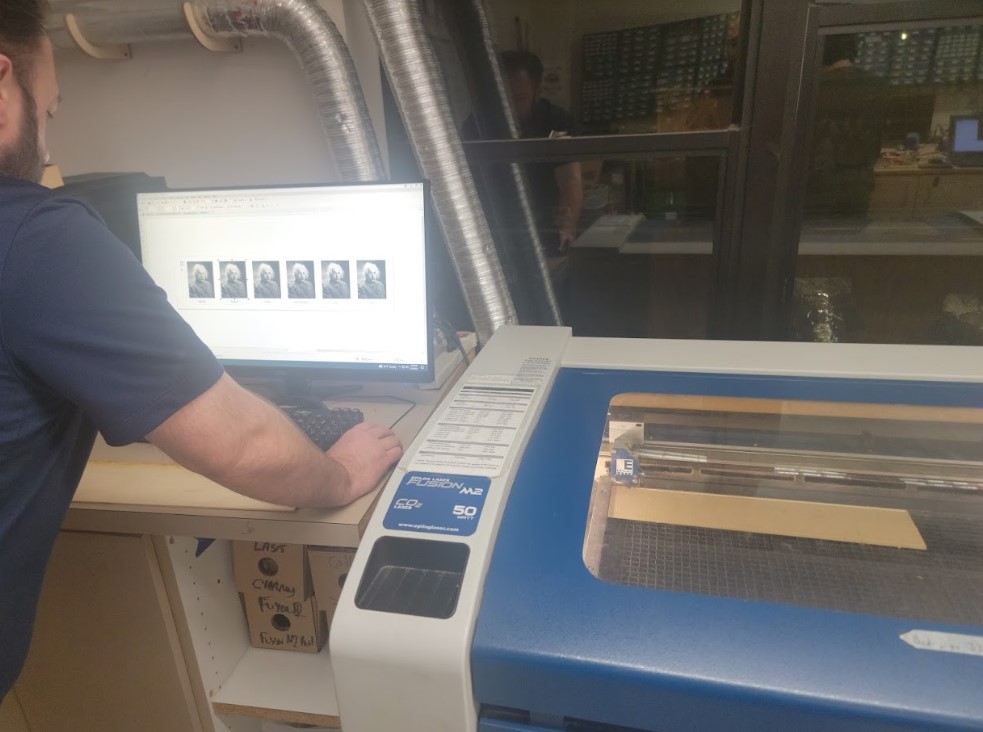
and then reviewed the results
and in Plexiglass

We liked both Brighten and Floyed Steinberg!!