5.5 Group Project- Design Rules for 3D Printers
This week, our group was asked to test the design rules for all 3D printers in our possession.
We worked to develop a workflow for the 3D printers in which we have access– those at home (the Ender 3 Pros), and the two types of Prusa Printers in the Fab Lab.
I worked on the workflow for the Ender 3 Pro 3D-Printers (that we all have at home) and the Prusa Printers in the Charlotte Latin School Fab Lab. We all collaborated together for analyzing the tests done on: 1) a 0.4mm Ender 3 Pro nozzle, 2) a 0.8mm Ender 3 Pro nozzle, 3) Prusa Printer, and 4) Prusa resin printer.
Our group (of five) printed and examined a “3D Printer Test File” printed four times for comparison of three different 3D printers, two different-sized nozzles, and two different materials (PLA and resin) . We made and discussed comparisons together and compiled qualitative obseravtions and measurements about seven different parameters (listed below).
- Overhang/Angle Test
- Bridging
- Wall Test (Diameter/Thickness)
- Scale Test (10 mm) in the X
- Scale Test (10 mm) in the Y
- Scale Test (10 mm) in the Z
- Anistropic Observations
- Surface Finish Observations (Print/Words in the X/Y)
After examining the four print jobs, Nidhie Dhiman and Scott Moulton printed three cubes with 0%, 15% and 100%.
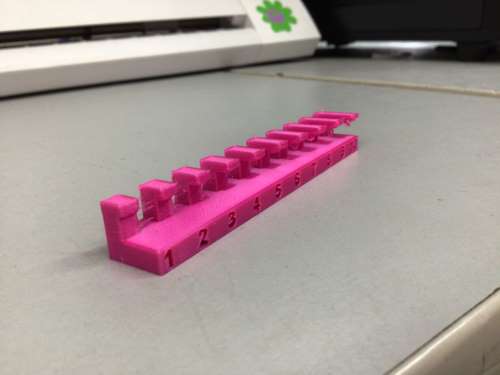
In addition to this work, I 3D printed and observed the results of this overhang test. From the images below, it is clear to see that as the overhang (arm) gets longer (as it progresses 1-10), the less-defined the area under the arm is.

To see our group work, please visit this page.