5.0 3D Printing and 3D Scanning
This week, we were give two individual tasks: 1. Design and 3D print (additively manufactire) a small object that could not be made subtractively. 2. Scan an object in 3D and print it.
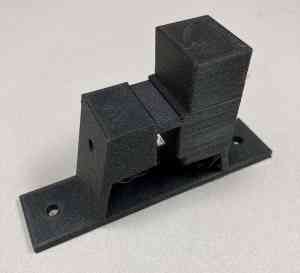
My ventures in 3D printing at home actually began last weekend (on Feb. 19). I had designed a holder for my tweezers that were helping me to hold the surface-mount electrical components in place as I soldered them. The one I had designed back in November was round at its base, and I wanted to modify the base to be flat. Once I had re-designed the new tweezer holder, I ventured out to 3D print it on the Ender 3 Pro now residing on my dining room floor. The decision to go ahead and 3D pri
3D Designing
Back in Week 2 of Fab Academy (Computer-Aided Design), I designed a potential piece (the horizontal base) for my final project, a SpaceX launch alert.
3D Printing (using Ender 3 Pro)
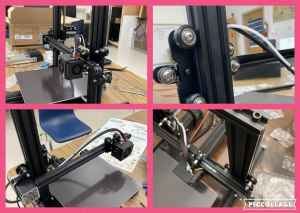
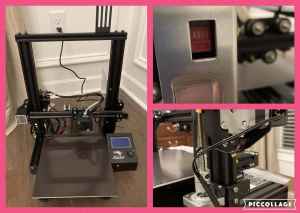
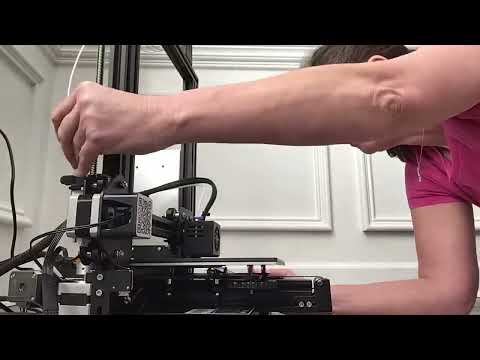
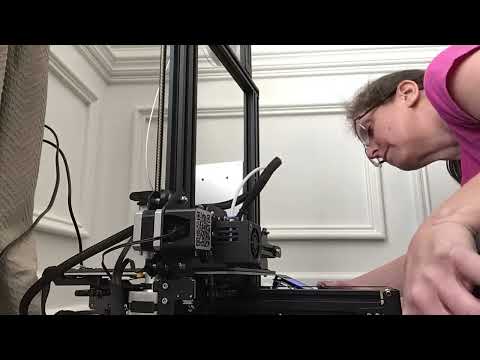
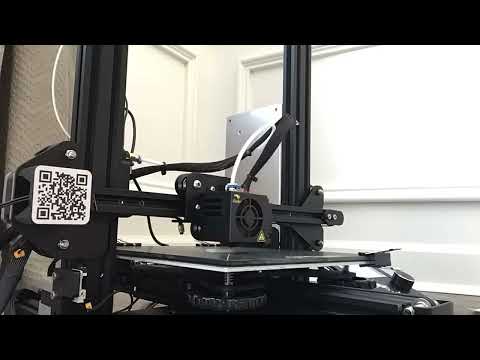
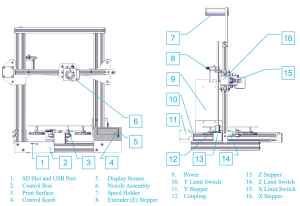
In mid-January, the Fab Academy students at the Charlotte Latin School Fab Lab were given an Ender 3 Pro to assemble. This was the day I had returned from my COVID “vacation”, and I was also in the midst of navigating the solftware setup for Fab Academy. I was not allowed to be around other people for lenthy periods of time, and so I set out to build my 3D printer away from my colleagues. Since the build instructions that came with the 3D printers were “scanty”, we used a YouTube video–How to Assemble an Ender 3– as a guide. This video was incredibly helpful. The following images show the key moments of builing the Ender 3 Pro. I began assembling it at Charlotte Latin School, and I finished it in my dining room. It took about 2.5 hours in total to assemble.


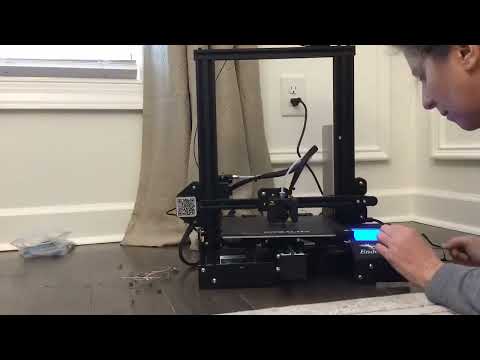
Last Saturday (February 19), I learned a lot about my Ender 3 Pro. I had hoped that I would be able to plug it in and it would work properly the first time. Instead, I wound up spending the next five hours troubleshooting the problems that arose.
The following describes the issues I was having.
| Problem | Solution |
|---|---|
| Nozzle wasa not moving at all in the Z direction. It remained about five inches above the print bed. | Connect the small wire back into the place where it came out. |
| SD Card does not insert into the SD reader port. | Make sure the blue side of the SD card is facing down. |
| When Auto-Homed, the nozzle of the printer sits well below the level of the top of the print bed. When any print job was started, the nozzle hit the glass plate and pushed the glass plate off of the built-in bed. | Clip the glass plate onto the built-in bed. Then, raise the nozzle on the Z axis so that the nozzle clears the glass bed. |
| Nozzle scratches glass on top of the built-in print bed. | Adjust Z axis so that it just clears the glass bed and press “Apply Presets”. |
| Filament not moving through to extruding nozzle. | Try to extrude when fully heated. Do a “hot pull” if needed. Re-thread the filament through again (after trimming “chewed up” end). |
| Nozzle is not extruding at all. | Remove and replace nozzle (which was completely clogged). |
First, I noticed an issue with the movement of the nozzle in the Z axis. It was not moving under five inches above the bed. I realized the wire controlling the Z axis was not connected, and I “plugged it in”.
I couldn’t determine which plate I was supposed to use– the glass plate, or the flimsy magnetic “plate”. I ran the callibration test on both plates. After printing this file on the flimsy magnetic “plate”, the PLA never came off– even as I scraped it with the metal scraper. It is permanently there as a reminder of my incompetance.

Then, as I tried to print different files using the glass plate, I realized I was only damaging the plate (and probably the nozzle too) when the nozzle when scraping into it. There are several designs permanently scratched into my glass plate. There were actually two lengthy moments of me trying to fix this.
Then there was an issue with the PLA not extruding from the nozzle. I wound up doing a “hot-end pull” and re-“threading” the PLA back through.

I had a little success, and I was able to 3D-Print my tweezers holder.
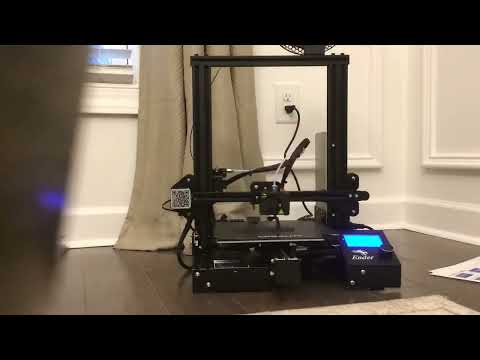
As I went to 3D-Print my horizontal base piece for the SpaceX Launch Alert, I wound up having to troubleshoot some of the same issues all over again. Mainly, the Z axis was difficult to callibrate. I wound up “Auto-Homing” the 3D Printer immediately when I turned it on. Then I moved the Z axis to 1.3 mm, and moved the Y axis to 7mm and “Applied the Offsets”. I am going to have to do this every time I turn the machine on (when I am using the glass plate bed).
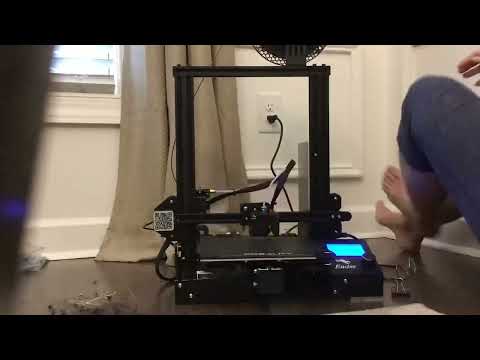
Once I had the Z axis seemingly figured out, I was able to 3D-Print my horizontal base for the SpaceX Launch Alert. The print job took 4 hours and 3 min, and I should have laid it down on it’s side to 3D-Print it. If keeping it oriented as it is, I should have added supports to it. As it turns out, all of the measurements for the metal rod, the ball bearings, and the horizontal rail were all too small. I am going to have to go back into the file in Fusion 360 and correct these before printing another one.
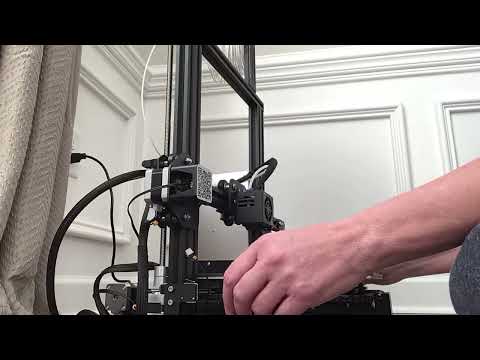
| Video | Final Image |
|---|---|
 |
 |
Ender 3 Pro Workflow
First Time Use- Leveling the Print Bed
- Press round black knob/dial to select “Prepare”–> ”Auto Home” and wait for printer nozzle to stop moving near the front left of the bed.
- Press round black knob/dial to select “Prepare”–> ”Disable Stepper”. Physically move the nozzle end to the front left corner.
- Obtain a piece of standard computer paper.
- Place the computer paper between the print bed and the nozzle.
- Twist the large black leveling screw (clockwise = up; counterclockwise = down) until there is gentle resistance between the nozzle and the build plate.
- Move the nozzle to the back left of the build plate and repeat steps 4-5.
- Repeat these steps with all four corners of the build plate.
- Repeat steps 1-8 when necessary (when printers is physically moved, or a disturbance has occurred).
Everyday Use
- Clean glass bed with a paper towel saturated with alcohol.
- Turn on Ender 3 Pro (switch on the side).
- Insert SD card into front (lower left) of machine.
- Press in the round knob on Ender Pro control panel to see menu screen.
- Select “Prepare” “Auto Home”. Wait until printer is finished (stops).
- For my printer, use the black knob/dial to select “Prepare”–> “Move Axis”. Set the Y axis to 7 mm, and set the Z axis to 1.3 mm. Leave the X axis values alone. Select “Apply Presets”.
- Select “Print from TF”.
- Turn black dial (scroll) until you see the file you would like to 3D print.
| Advantages of 3D Printing/Additive Manufacturing | Disadvantages of 3D Printing/Additive Manufacturing |
|---|---|
| Material is not wasted. | Can only use certain materials (that can liquify/solidify) |
| Can make accurately scaled replicas of other objects. | Fine detail is limited. |
| Parts can be individually designed/replicated. | 3D Scanning apps that produce the object are limited. |
| Cost effective (depending on material). | Size is prohibitive; small box/printer plate. |
| Design to production is relatively fast. | Cannot mass produce easily. |
| Parts created are strong/durable. | Layer by layer additions have weaker force. |
| Rapid and flexible prototyping. |
3D Scanning
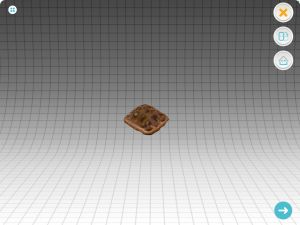
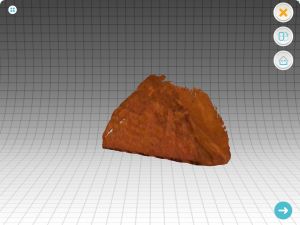
Before deciding which 3D Scanning technology I would use, I decided to do an Internet search. I found this article, The 5 Best 3D Scanner Apps for iOS & Android 2022 (4 are Free!). Drawn into the word “free” was what I was looking for, and I decided to see which ones were worth paying for. I know that most people like symmetrical objects; I on the other hand have great appreciation for things that are asymmetrical but asthetically “balanced”. My husband and I ate blackberries for breakfast, and I really liked the asymmetry of a blackberry. I decided to give the blackberry a try.
Qlone
Since it was rated highly in the article I read, I downloaded the Qlone app for my iPad– which was free. I had to physically print the grid to place the object on, and I placed my blackberry on the printed grid. (See below).
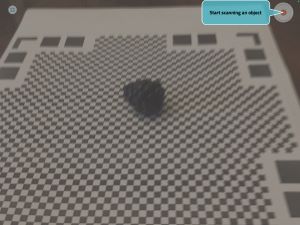
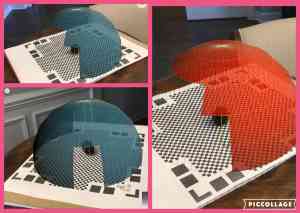
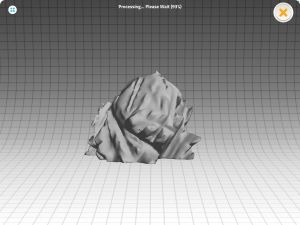
When the object to be scanned is placed on the printed grid, a blue scanning dome “appears” over it. The dome is meant to guide you as you continue to take photos of the object– in my case, the blackberry. As the images of the balckberry were taken, the dome gets smaller. If your camera begins to “wander off path”, a red dome will appear.
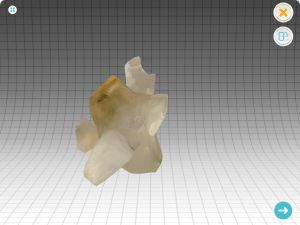
In the end, I was fairly pleased with the ease of using the Qlone app, and with the quality of this scan. However, other scans that I did lacked even more detail.
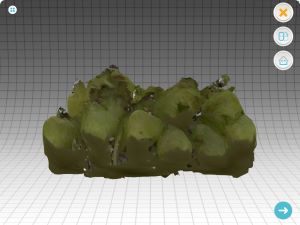
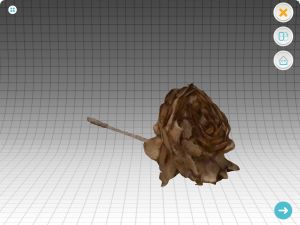
Qlone Gallery of Images
The table below is a “gallery of images” showing the different objects I scanned with the Qlone app. I wanted to see how far I could go with the quality/detail of the scans.
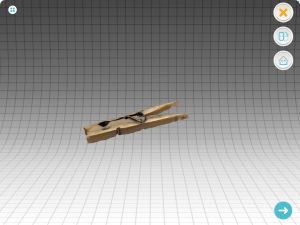
| Lemon Flower | Clothespin | Pretzel (Snapped Pretzel) |
|---|---|---|
 |
 |
 |
| Taco Shell #1 | Taco Shell #2 | Taco Shell #3 |
|---|---|---|
 |
 |
 |
| Bunch of Grapes #1 | Bunch of Grapes #2 |
|---|---|
 |
 |
| Faux Flower 1 | Faux Flower 2 |
|---|---|
 |
 |
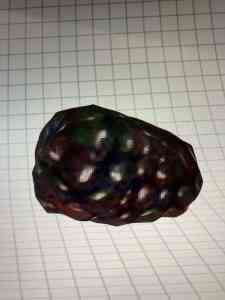
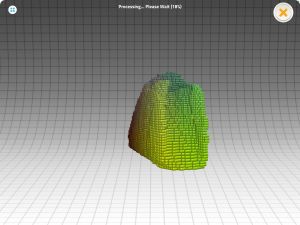
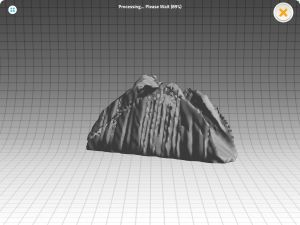
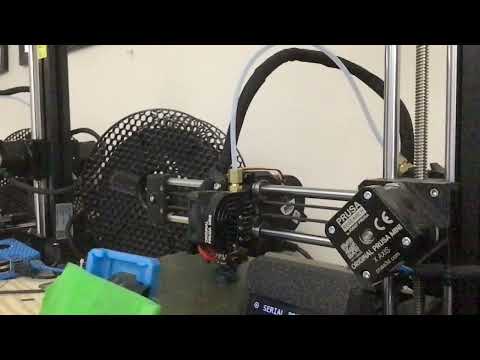
This video shows me 3D-Printing the blackberry I scanned using the Qlone app. The decent level of detail appears in the image of the blackberry scan, but much of it is lost when the file is 3D-Printed.
| Video | Final Picture |
|---|---|
 |
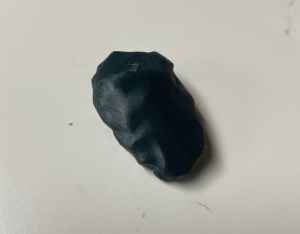 |
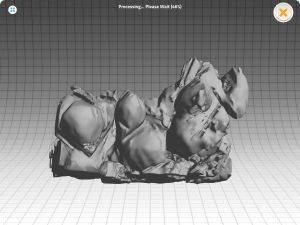
Metascan
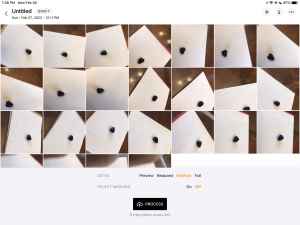
After hearing that colleague/classmate– Scott Moulton– had tried out the app called “Metascan”, I decided to download it and give it a try too. The first thing that I noticed was that there was no “guide” for me to take the photos. I simply had to take photos randomly from every angle possible. One requirement of the app was that you had to take at least twenty photos; I wasn’t sure that the photos I took were even quaslifying as being beneficial to the overall 3D scan. The following shows how I took the photos.
Group Assignment
This week, our group was asked to test the design rules for our 3D- Printers. This link shows our work. To see the work I did with the group project, please see this site.