Individual Assignment: Vinyl Cutting
As part of the Week 3 computer-controlled cutting assignment, in addition to laser cutting the lantern shell, I also created a Fab Lab logo sticker using a vinyl cutter and applied it to my laptop.
Equipment and Materials
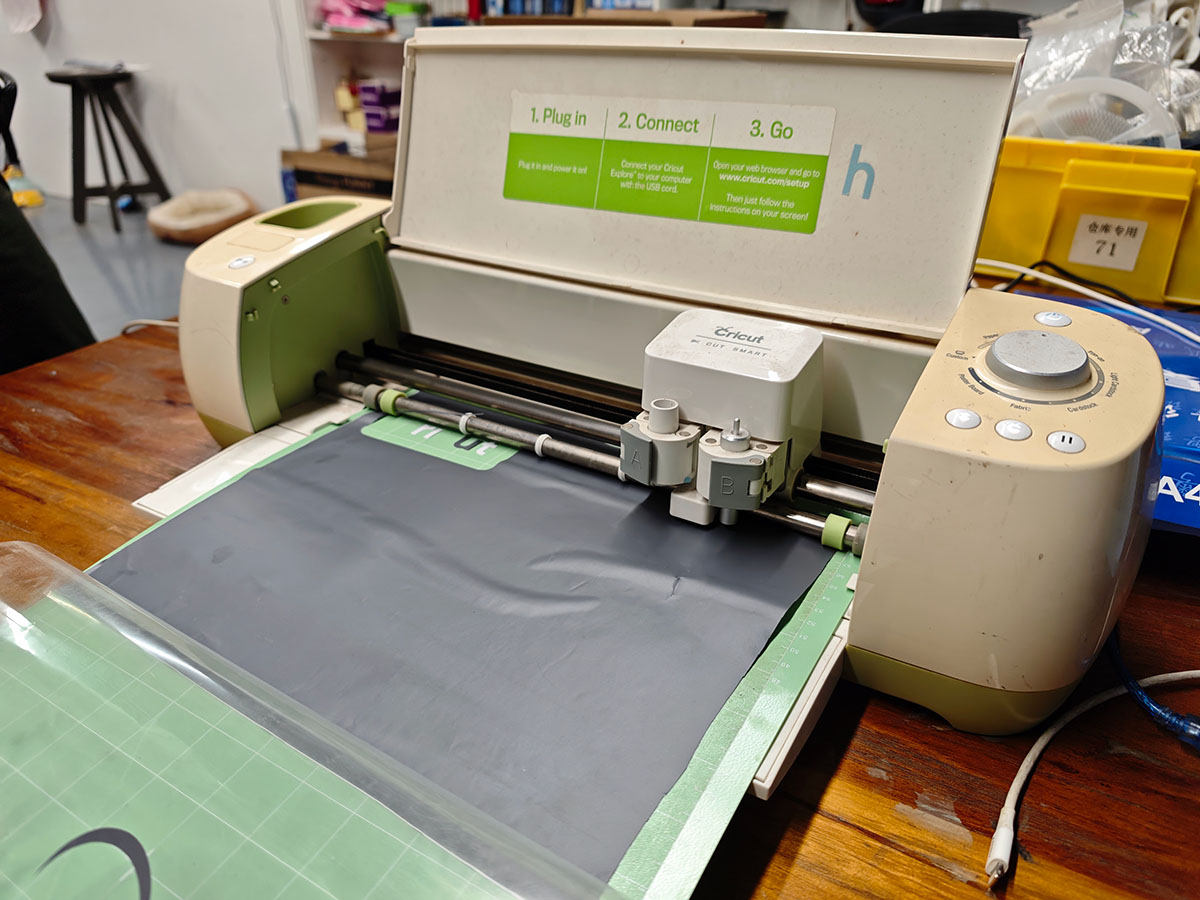
At Chaihuo Maker Space, I used the Cricut Explore vinyl cutter to complete this project.

Cricut Explore vinyl cutter at Chaihuo Maker Space
The material used was gray vinyl sticker sheet.
To use the Cricut Explore cutter, you need to download Cricut Design Space:
- Design Space for Desktop (Mac/Windows)
- iOS (Apple App Store)
- Android (Google Play Store)
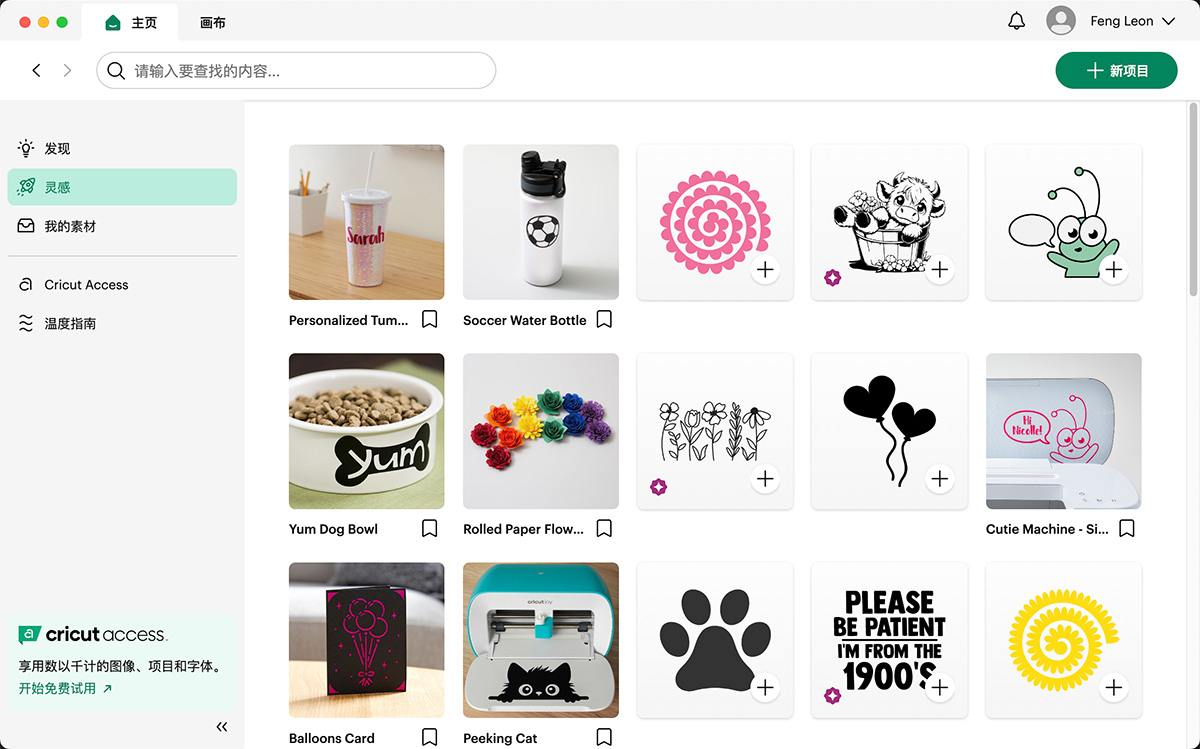
After installing Cricut Design Space on my Mac, I could see many recommended patterns on the software's homepage
Design Process
- First, I downloaded the Fab Lab logo vector file from Wikimedia Commons.
![]()
The SVG format logo of FAB LAB
- I imported the SVG format logo into Cricut Design Space using the "Upload" function on the left side of the software.
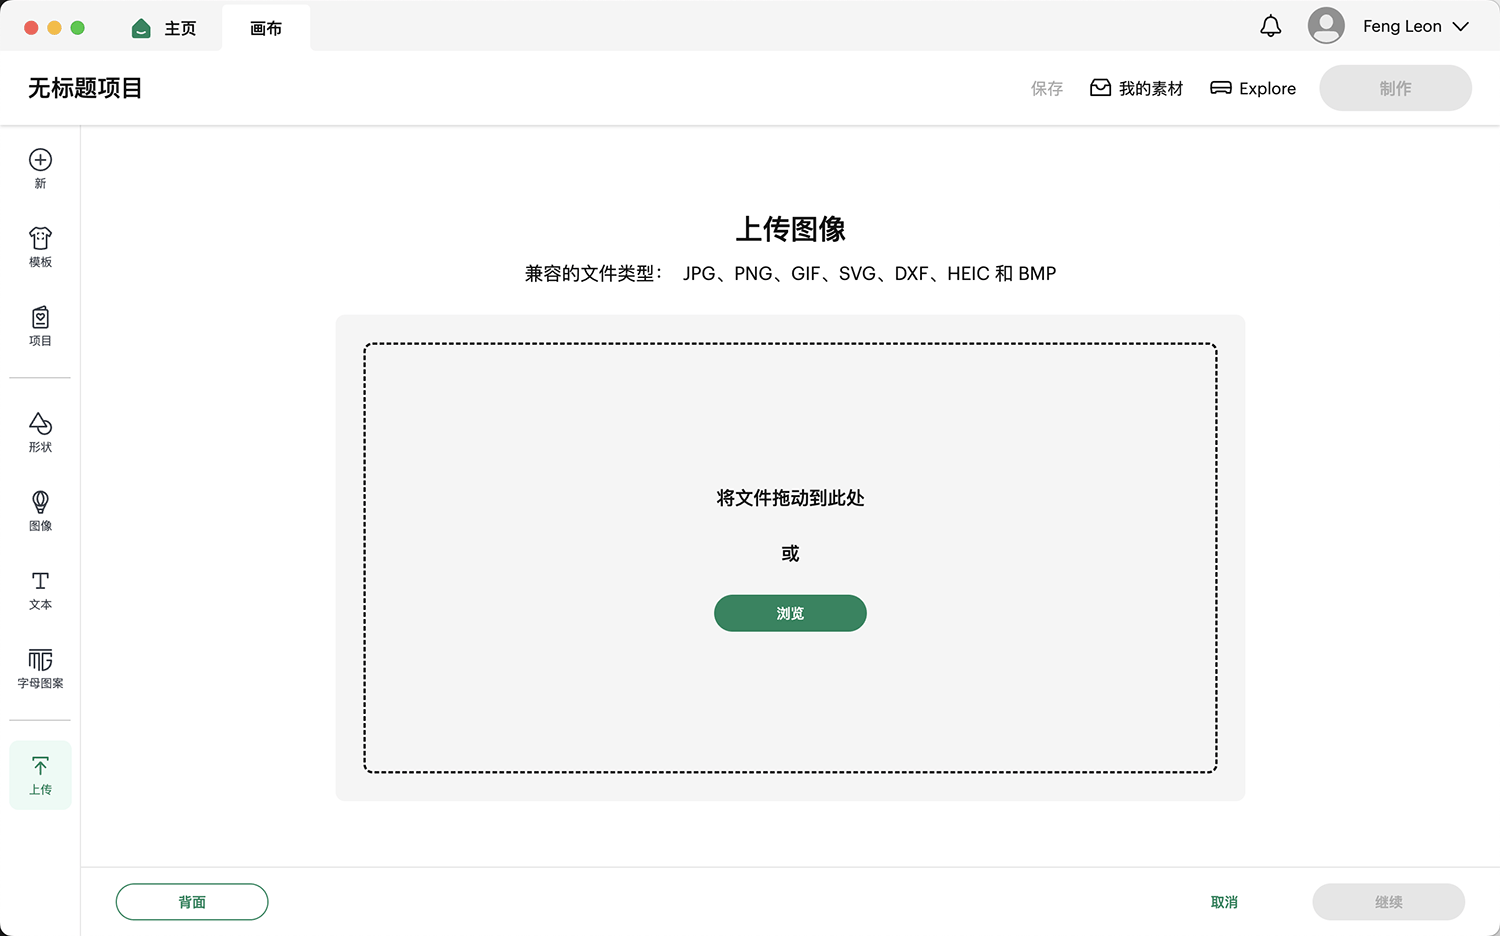
Using the "Upload" function on the left
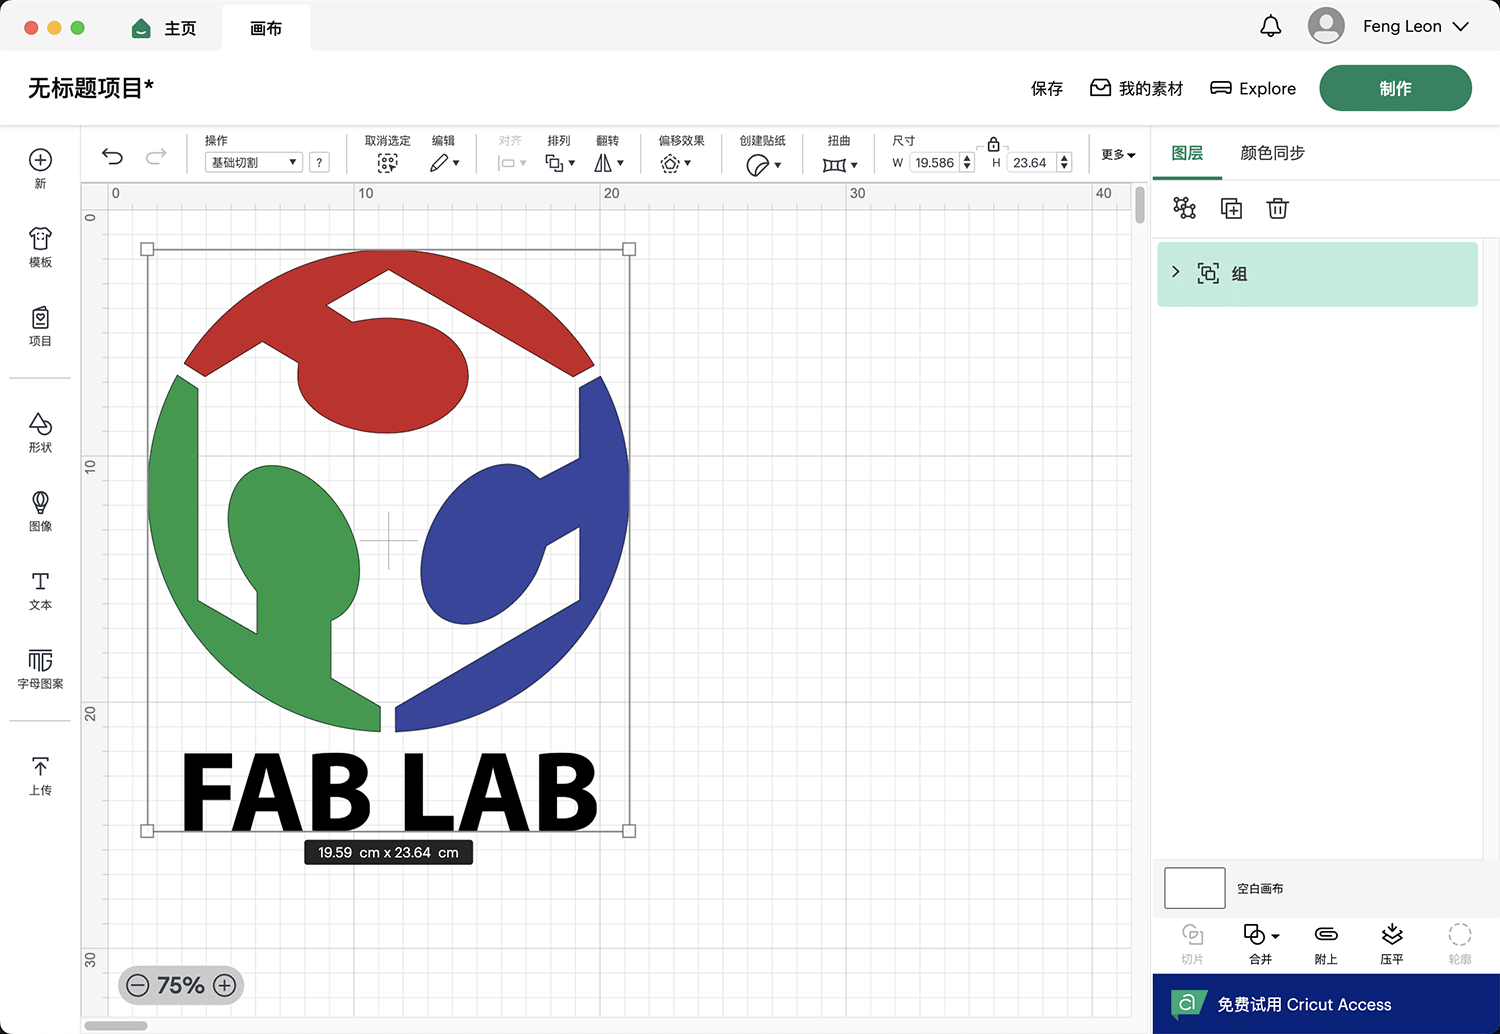
The Fab Lab logo was imported into the drawing area
- I adjusted the size of the logo in the software to make it suitable for placing on my laptop, with the final dimensions set to 4cm × 4.83cm.

Adjusting the size to 4cm × 4.83cm
Cutting Process
Adjusting the Image Plan
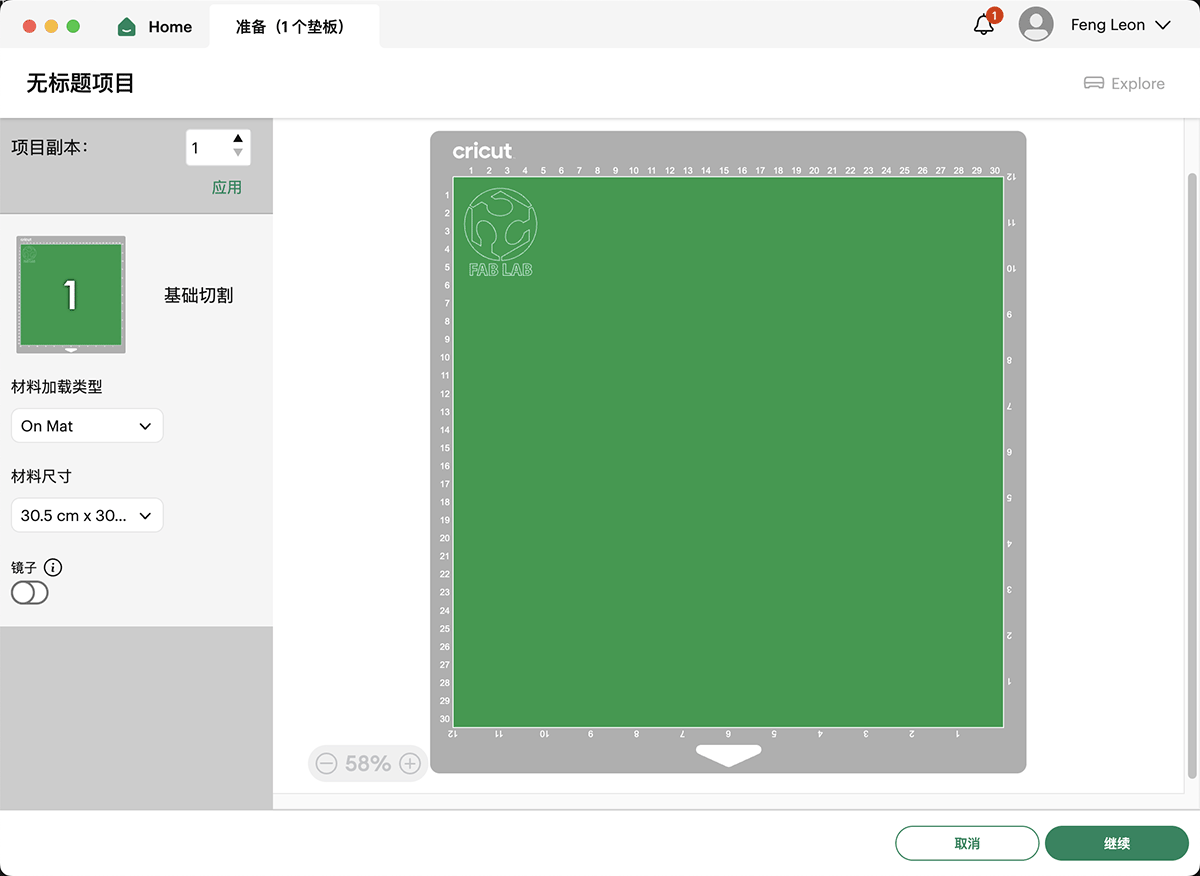
This logo has 4 colors (red, green, blue, and black). If I directly clicked the "Make It" button in the upper right corner at this point, it would enter the process shown in the following image. The project would be automatically divided into 4 different colored sticker cutting jobs.
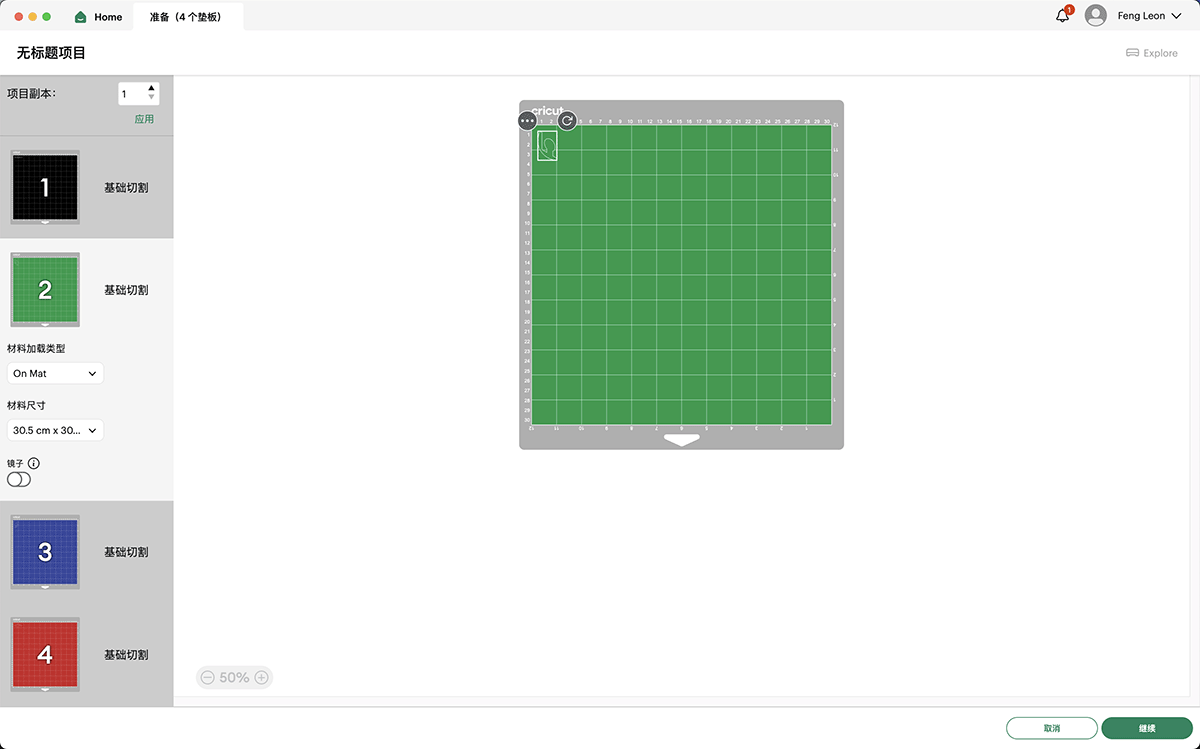
For this 4-color logo, the software automatically planned 4 different colored sticker cutting tasks, but since we only have 1 type of gray sticker, this cutting plan is not suitable
I grouped all images together (using the shortcut command+G) to make them a whole, then opened the auxiliary menu on the grouped image and selected the "Merge>Weld" function.
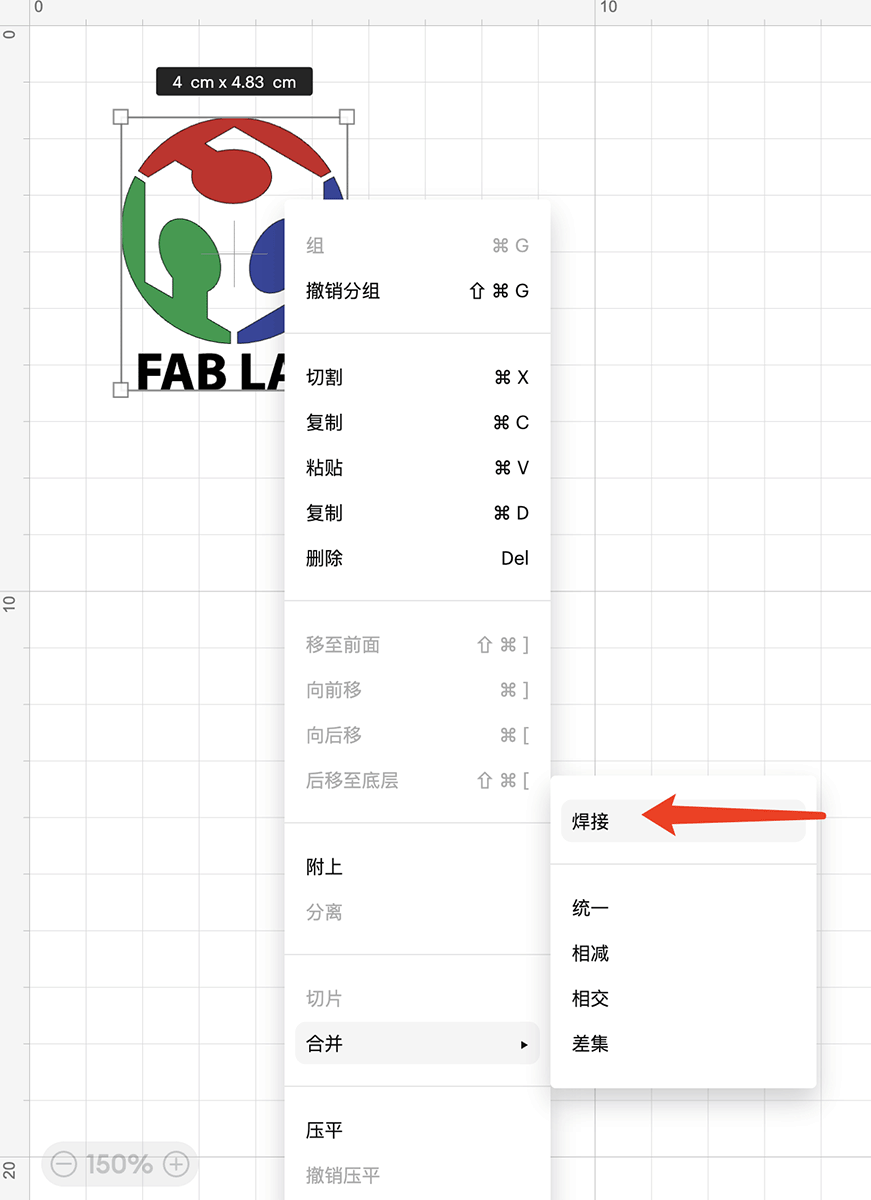
After grouping the images, I found the "Weld" function in the auxiliary menu
Now the image became a single-color whole, as shown below.
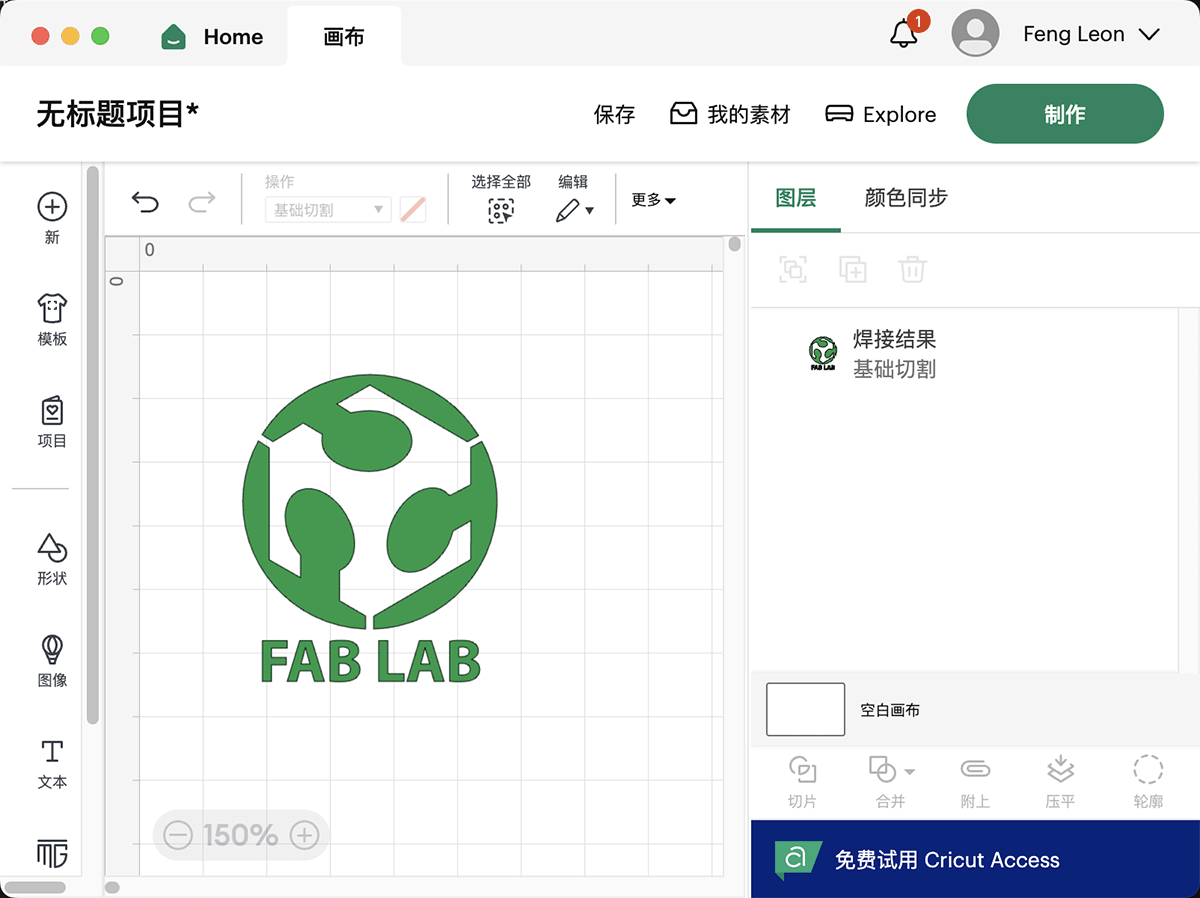
After welding, the image became a single-color whole
Now when entering the "Make It" interface, it became a complete shape, as shown below.
Now the logo shape can be cut in a single color
Cutting
- Preparing the vinyl material:
- I cut a suitably sized piece of gray vinyl sticker.
- I attached the sticker flat to the cutting mat, hoping to avoid bubbles and wrinkles, but I didn't handle it well. Let's try it anyway.
The gray sticker we placed in the printer had wrinkles when attached to the cutting mat, which should be avoided if possible
- Loading material into the machine:
- I inserted the cutting mat into the Cricut Explore machine
- In the machine settings, I selected "vinyl" as the material type
- The tool material automatically selected "fine-point blade"
- Executing the cut:
- I sent the design to the machine
- Following the prompt, I pressed the center start cutting button, as shown below
- The machine began precisely cutting the outline of the logo
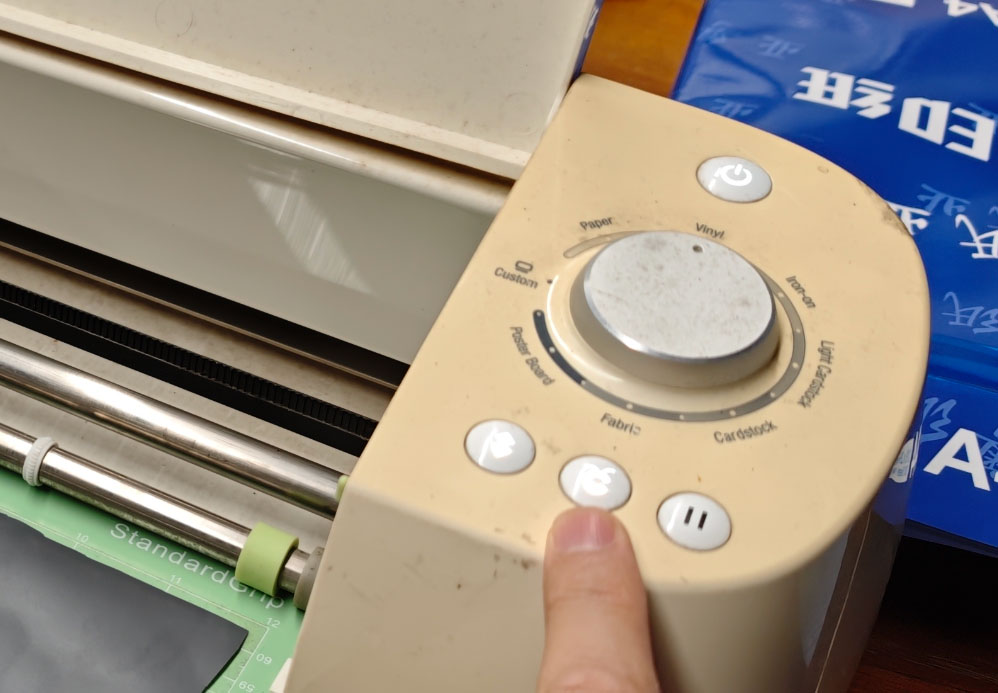
The center button on the Cricut Explore flashes as a prompt when it's ready to start cutting; pressing it initiates the cutting process
The result after cutting is shown below. The main issue was that the sticker wasn't laid flat enough.

Post-Processing and Application
- Removing excess parts:
- I carefully removed unwanted vinyl parts using a weeding tool
- I kept the main body of the logo
- Applying to the laptop:
- I cleaned the laptop surface
- I carefully positioned the logo in an appropriate location
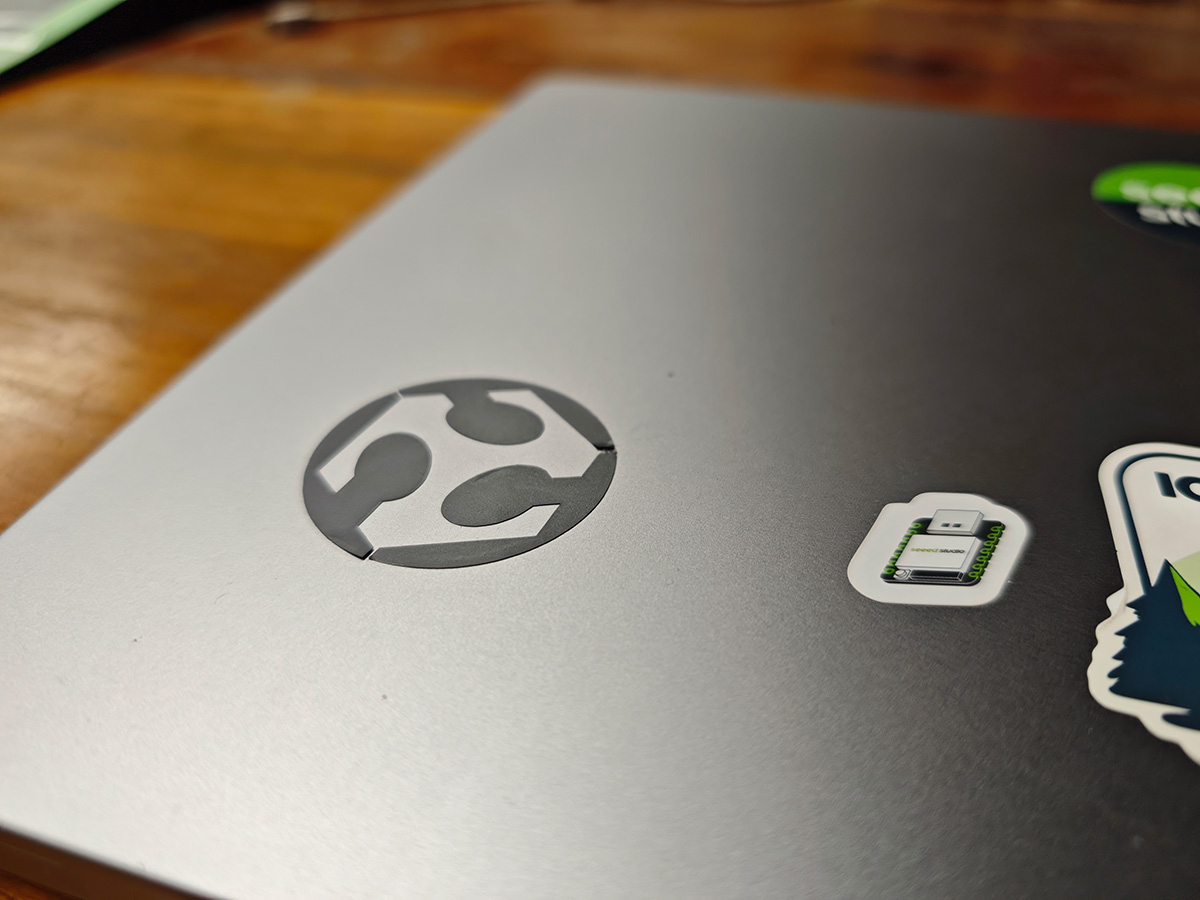
Now my laptop case has a Fab Lab logo on it
Second Attempt: Cutting a Chinese Paper-Cut Style Zodiac Snake Pattern
The first cutting process was rather rushed and the results were not satisfactory, so I decided to try cutting a more complex pattern. This time, I found a Chinese paper-cut style zodiac snake pattern (2025 is the Year of the Snake in Chinese zodiac).

I found blue vinyl sticker at Chaihuo Maker Space and purchased transparent transfer film for transferring, as shown below.
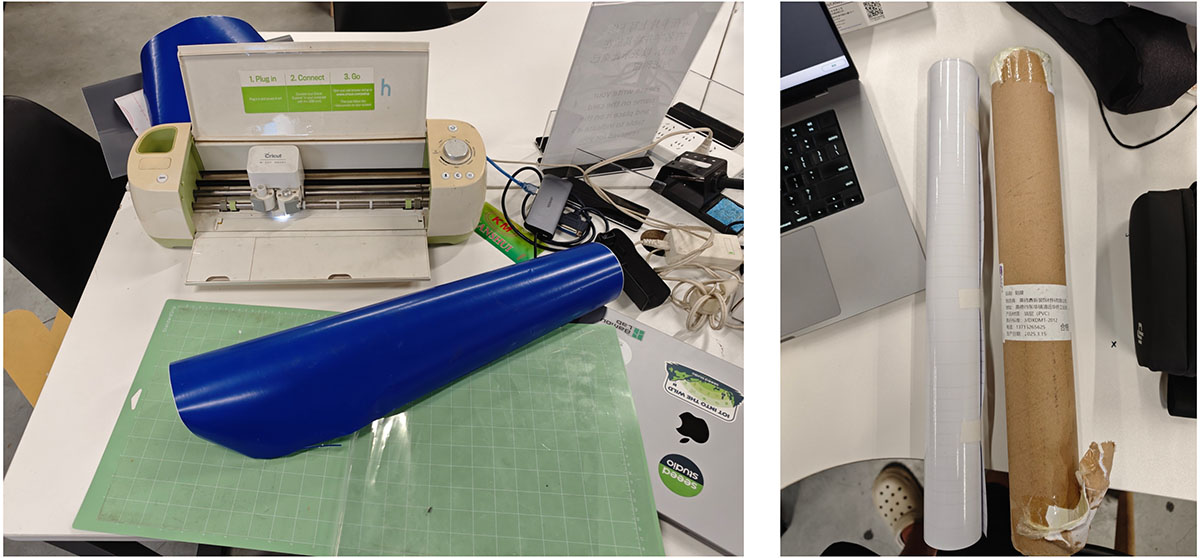
This time I prepared to use blue stickers and purchased transparent transfer film
However, during the preparation for printing this time, a prompt appeared indicating that the cutter needed calibration, followed by a prompt to print a calibration sheet, as shown below.
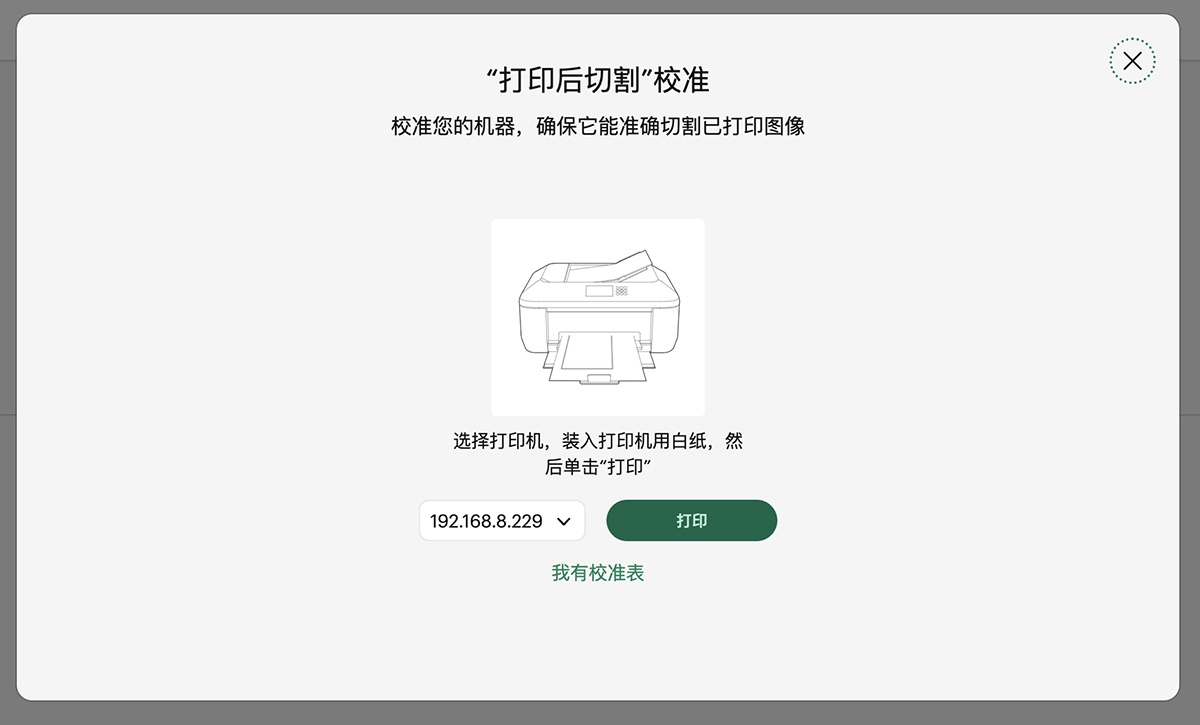
When the cutter needs calibration, it first prompts you to print a calibration sheet
After selecting the printer at Chaihuo Space, I printed two A4 calibration sheets and attached one of them to the upper left corner of the cutting mat, as shown below.
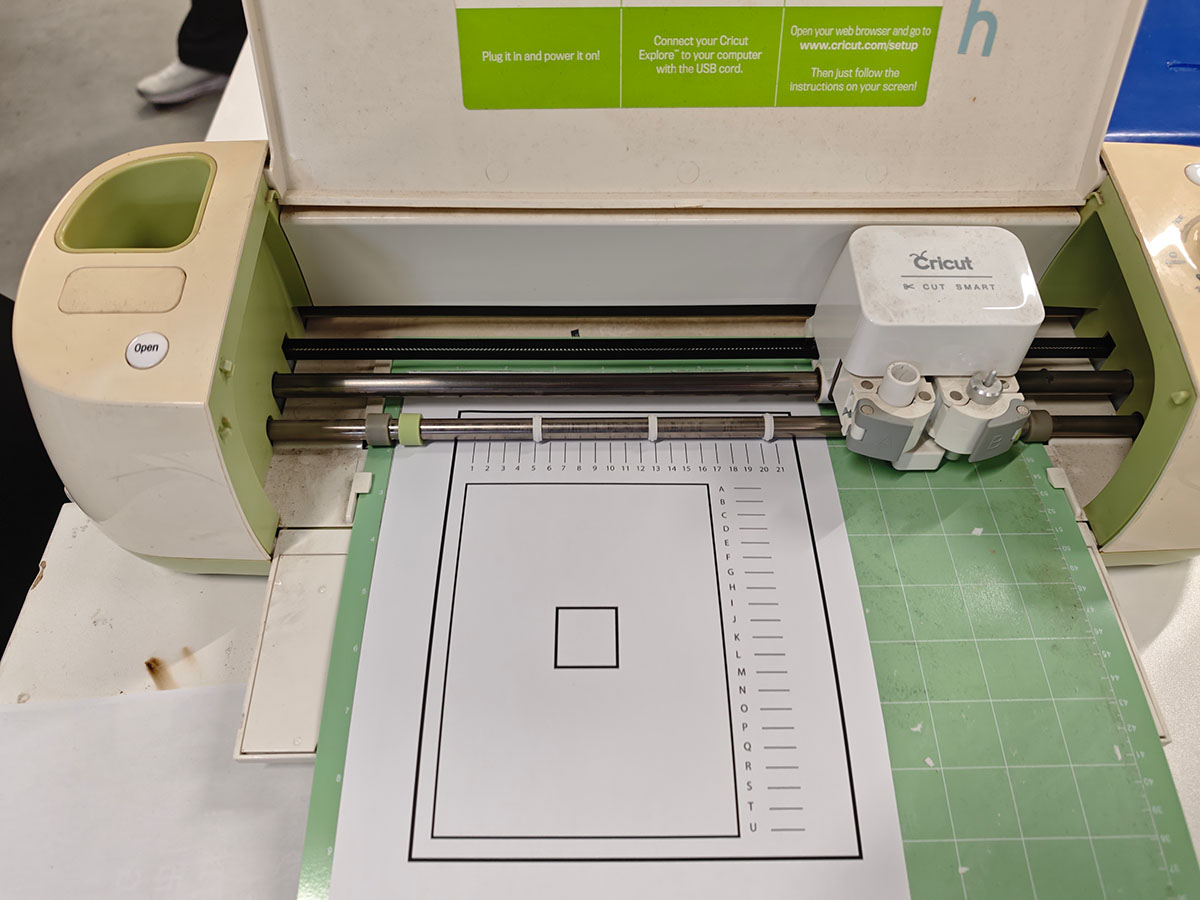
Attaching the printed calibration sheet to the upper left corner of the cutting mat to start calibration
The cutter first attempts to cut the center square, then asks if the cutting line aligns with the printed square line. If they don't align, the cutter cuts vertical lines numbered 1-21 and horizontal lines A-U, and asks which horizontal and vertical cutting lines best align with the center of the printed lines. This serves as the basis for adjusting the cutter head's origin point. After completion, it will try cutting the calibration sheet again, and this time the cutting lines should align with the printed lines.
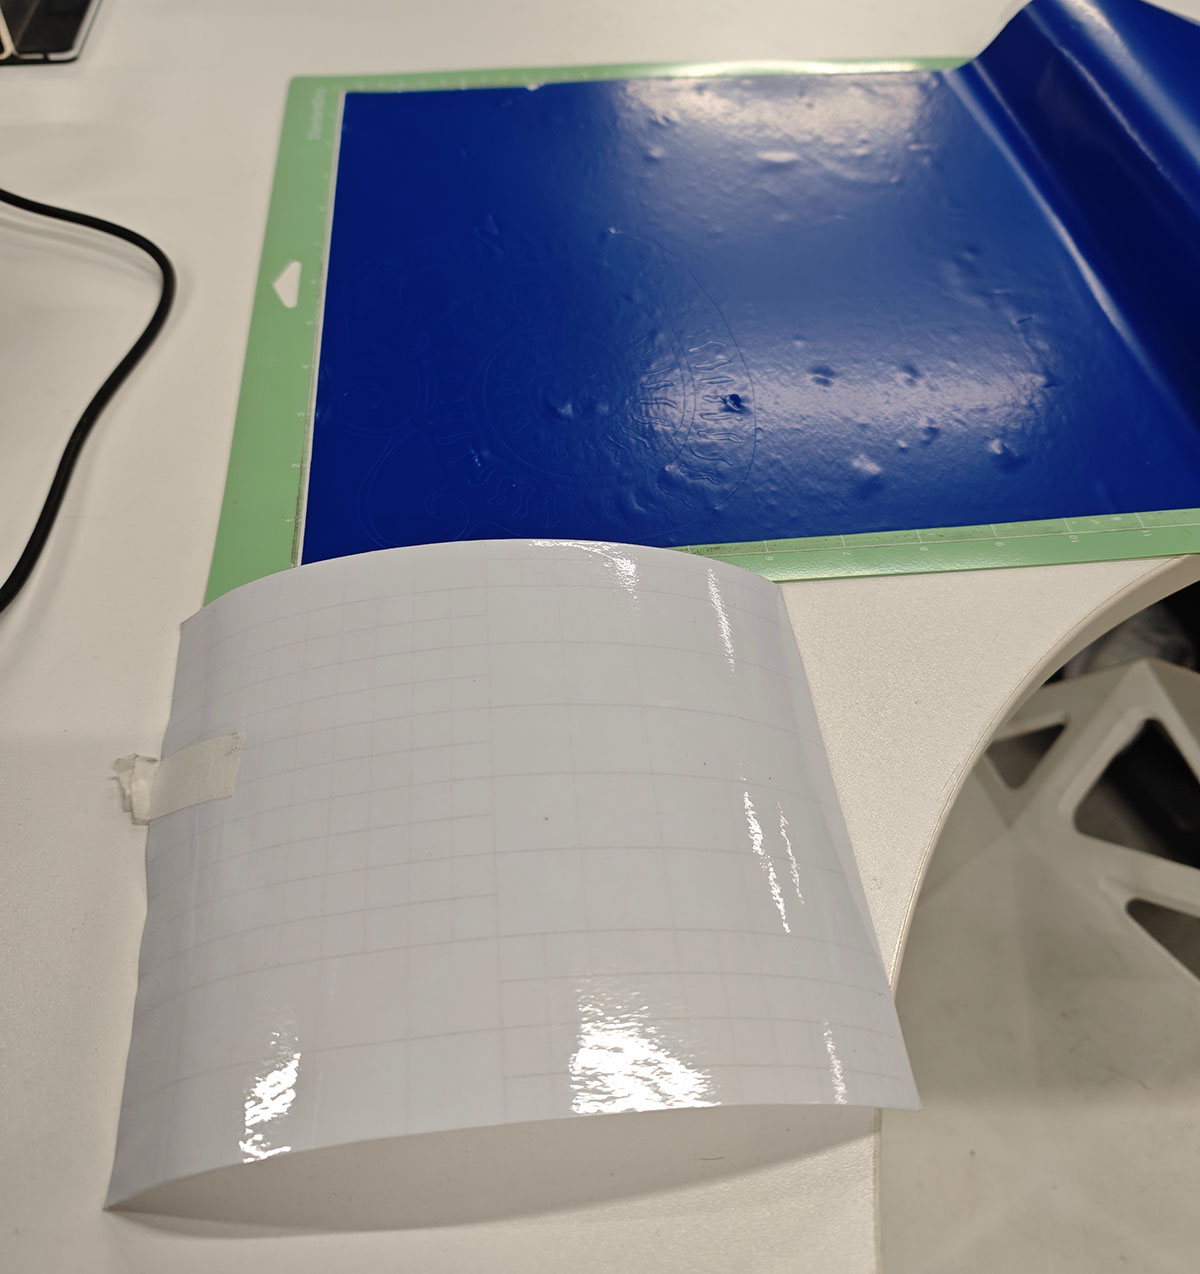
After completing the calibration, I laid the sticker as flat as possible on the cutting mat, as shown below.
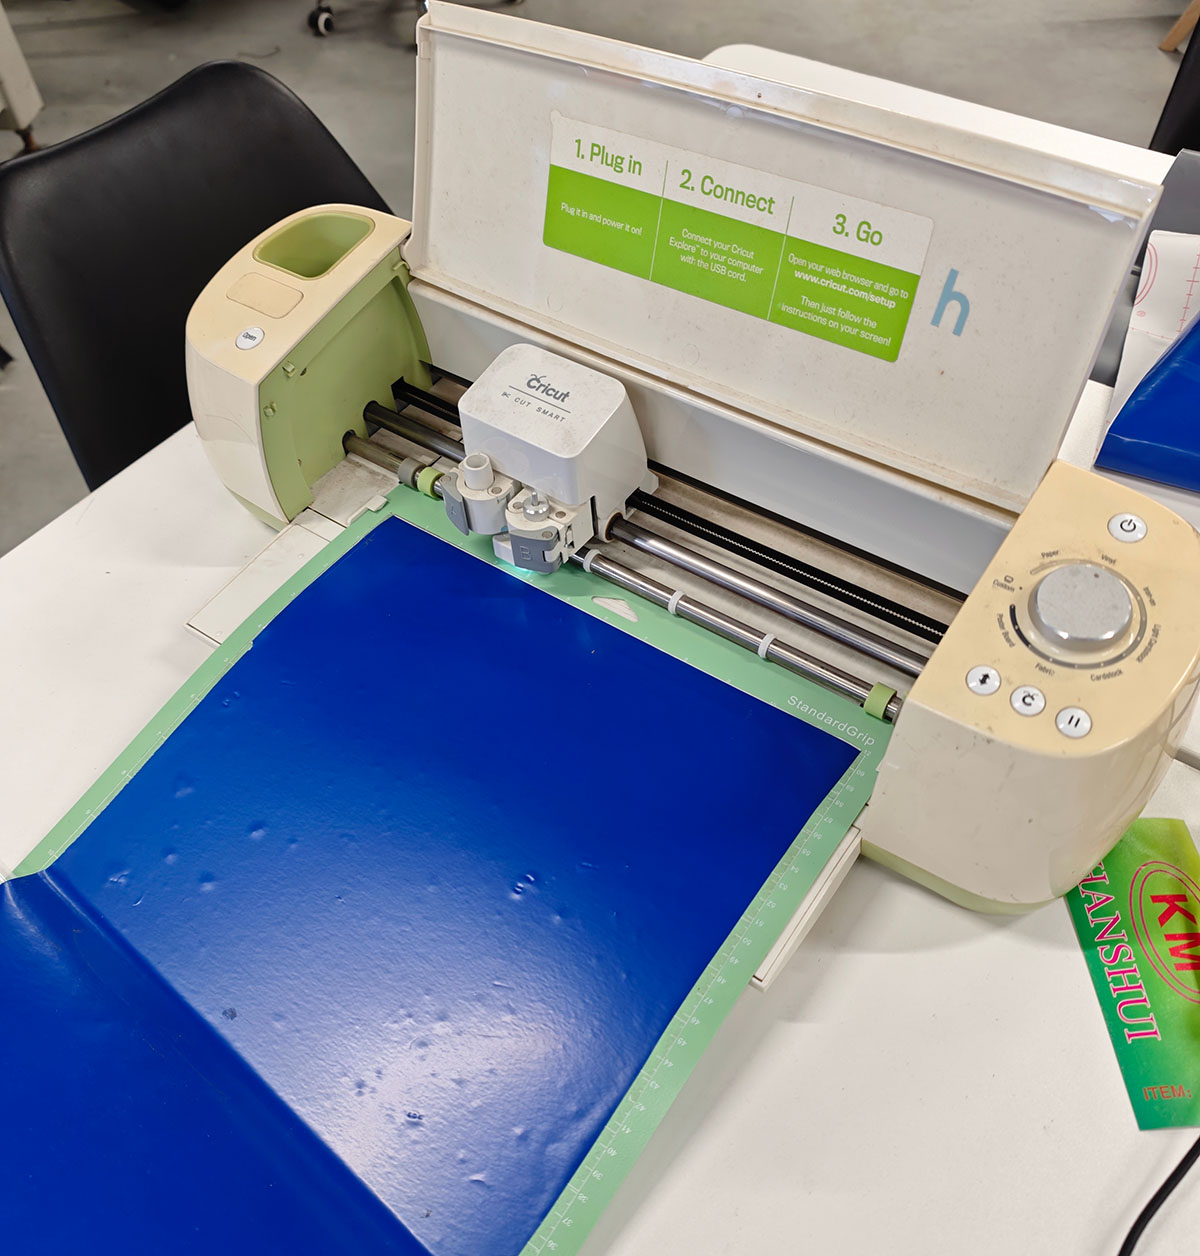
Laying the sticker as flat as possible on the cutting mat
I uploaded the paper-cut zodiac snake pattern and converted the image to a single layer, as shown below.
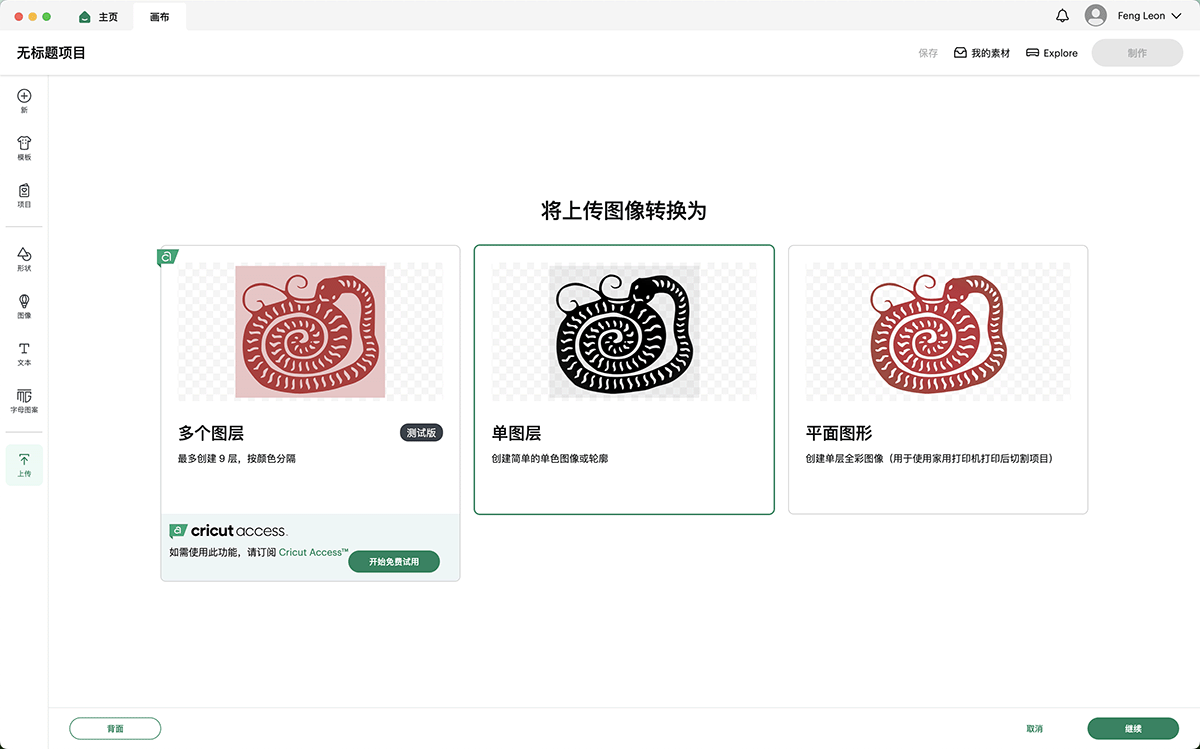
Uploading the paper-cut zodiac snake pattern and converting the image to single layer mode
Then I adjusted the size to approximately 17x15cm, as shown below.
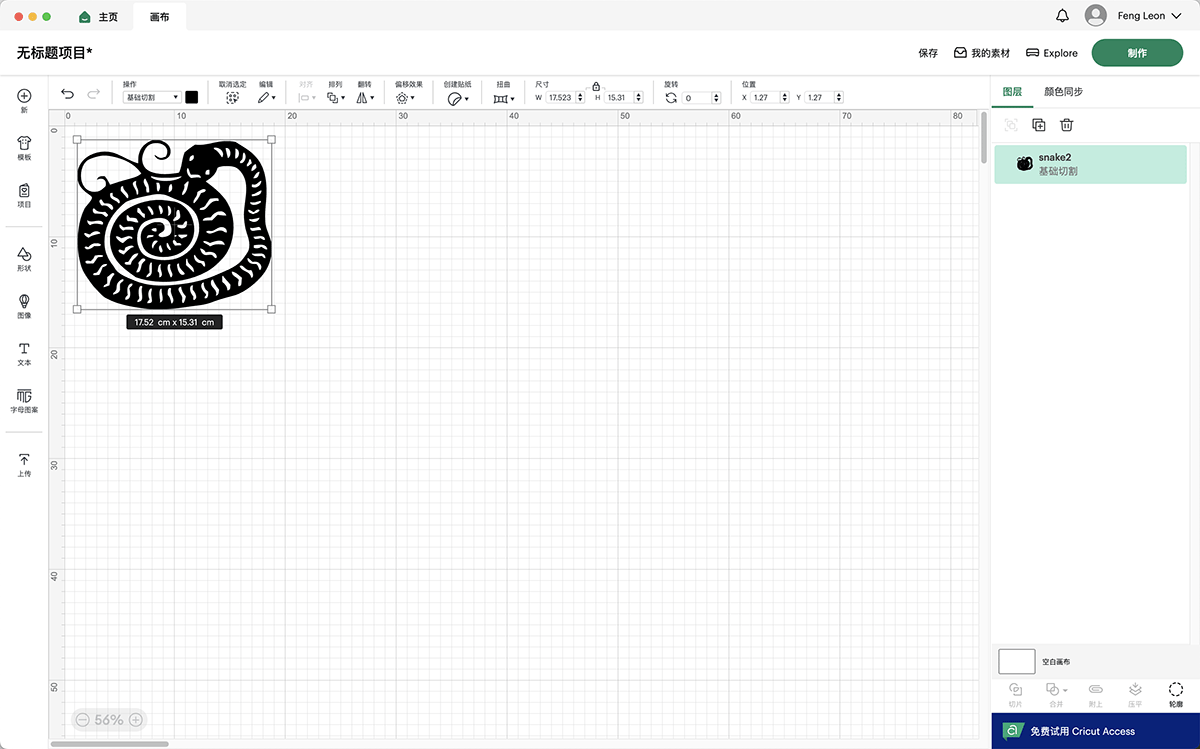
Adjusting the pattern size
The cutter provided a preview image, as shown below. Here you can set the material size, making sure it's larger than the pattern.
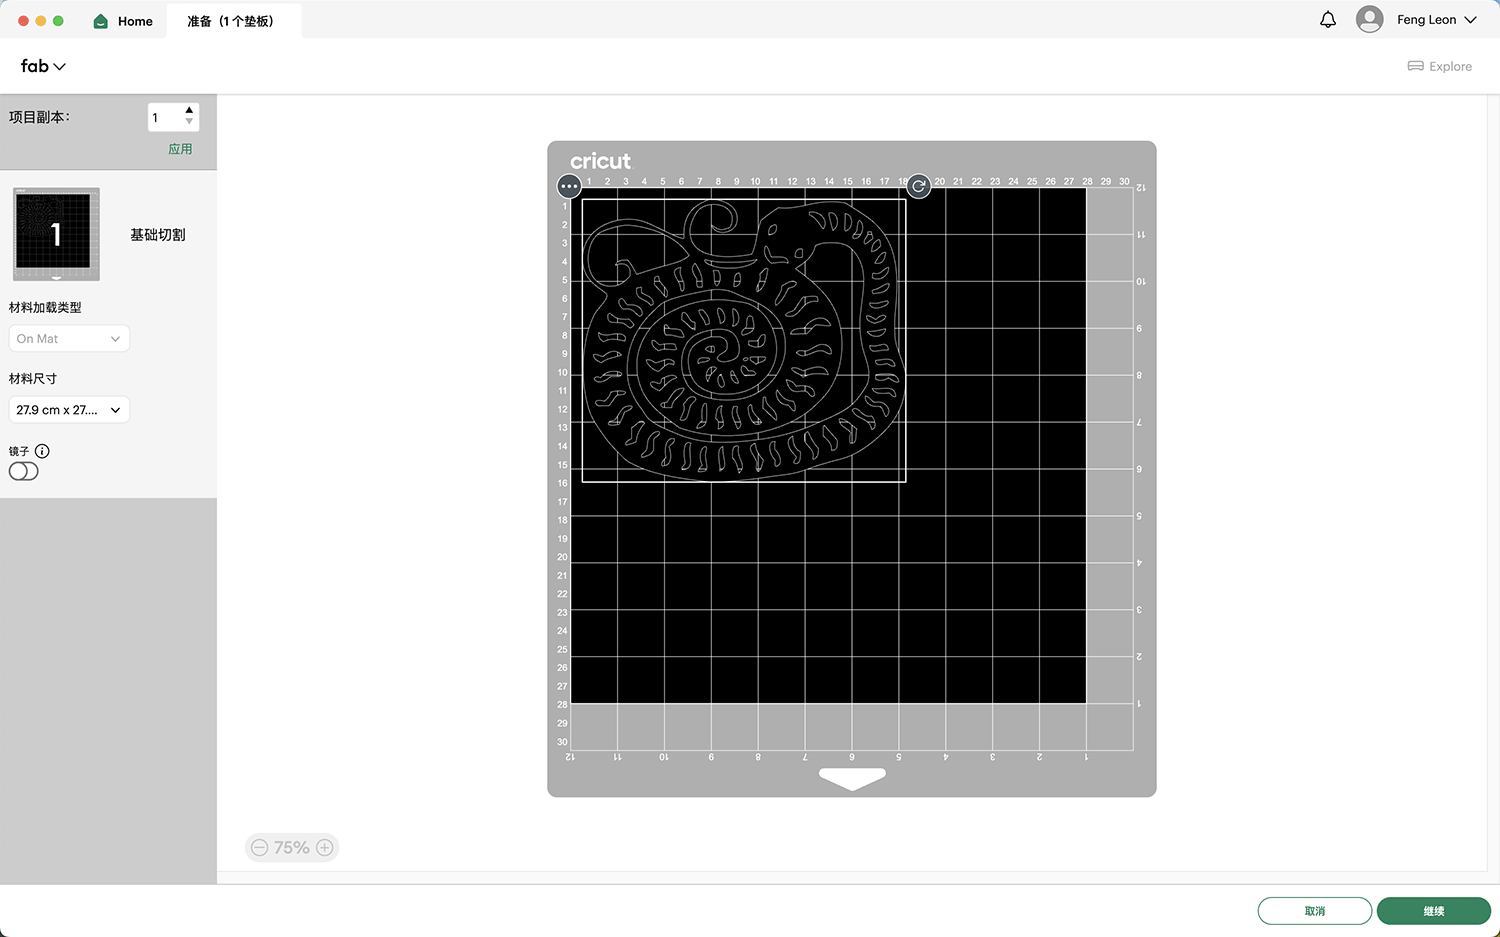
The cutter provided a preview where you can set the material size
After sending to the printer, it prompted me to press the start button on the cutter, as shown below.
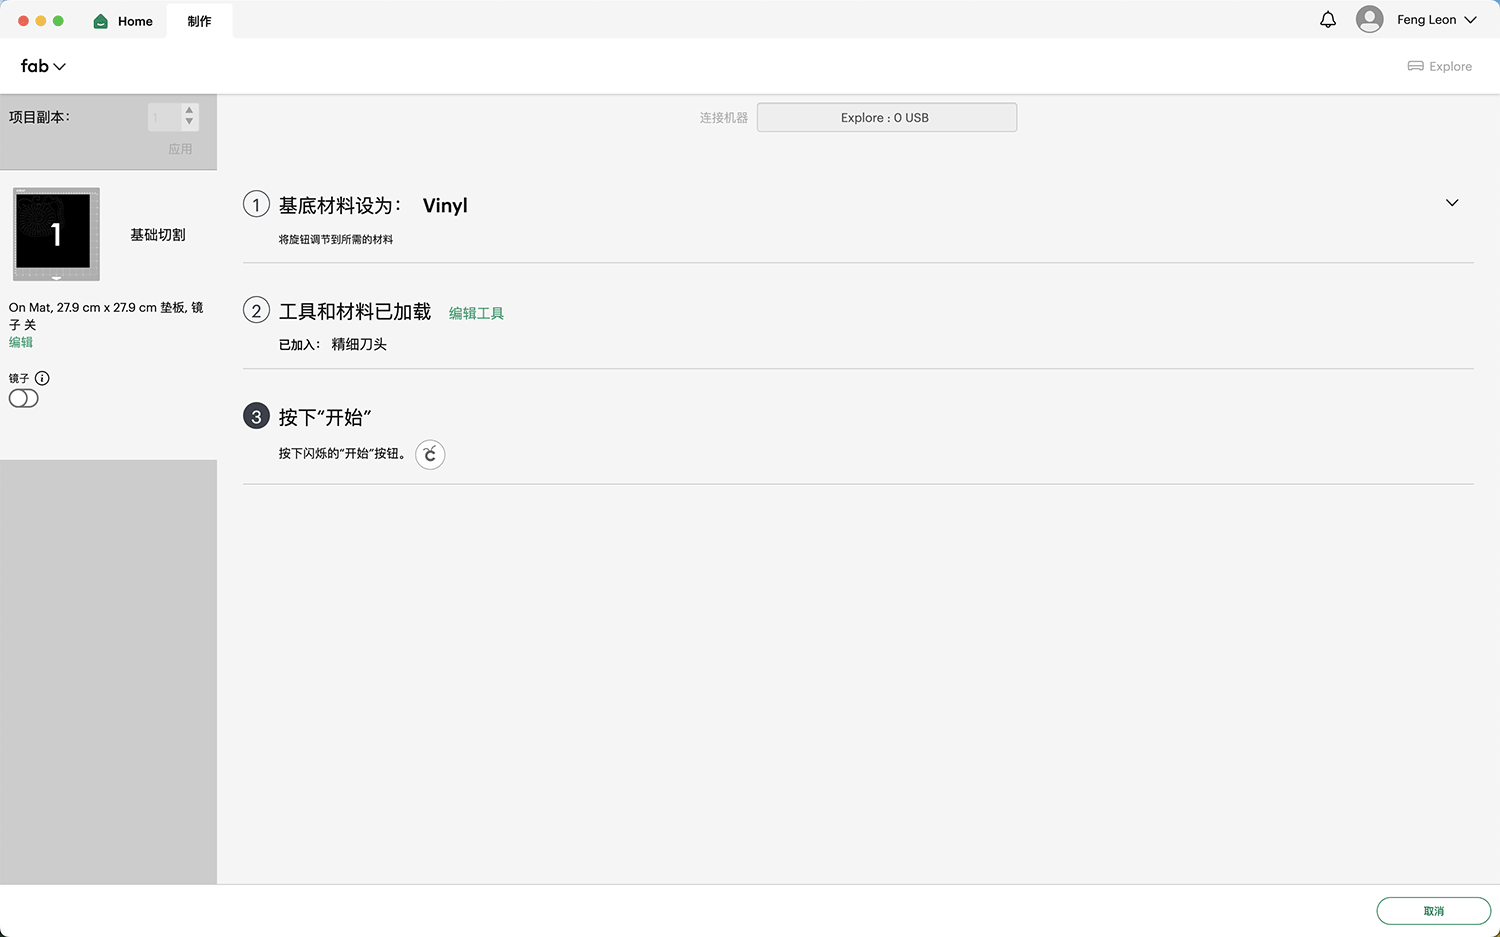
Prompt to press the start button to initiate cutting
After pressing the start button, the cutting began, and the cutting progress was displayed, as shown below.
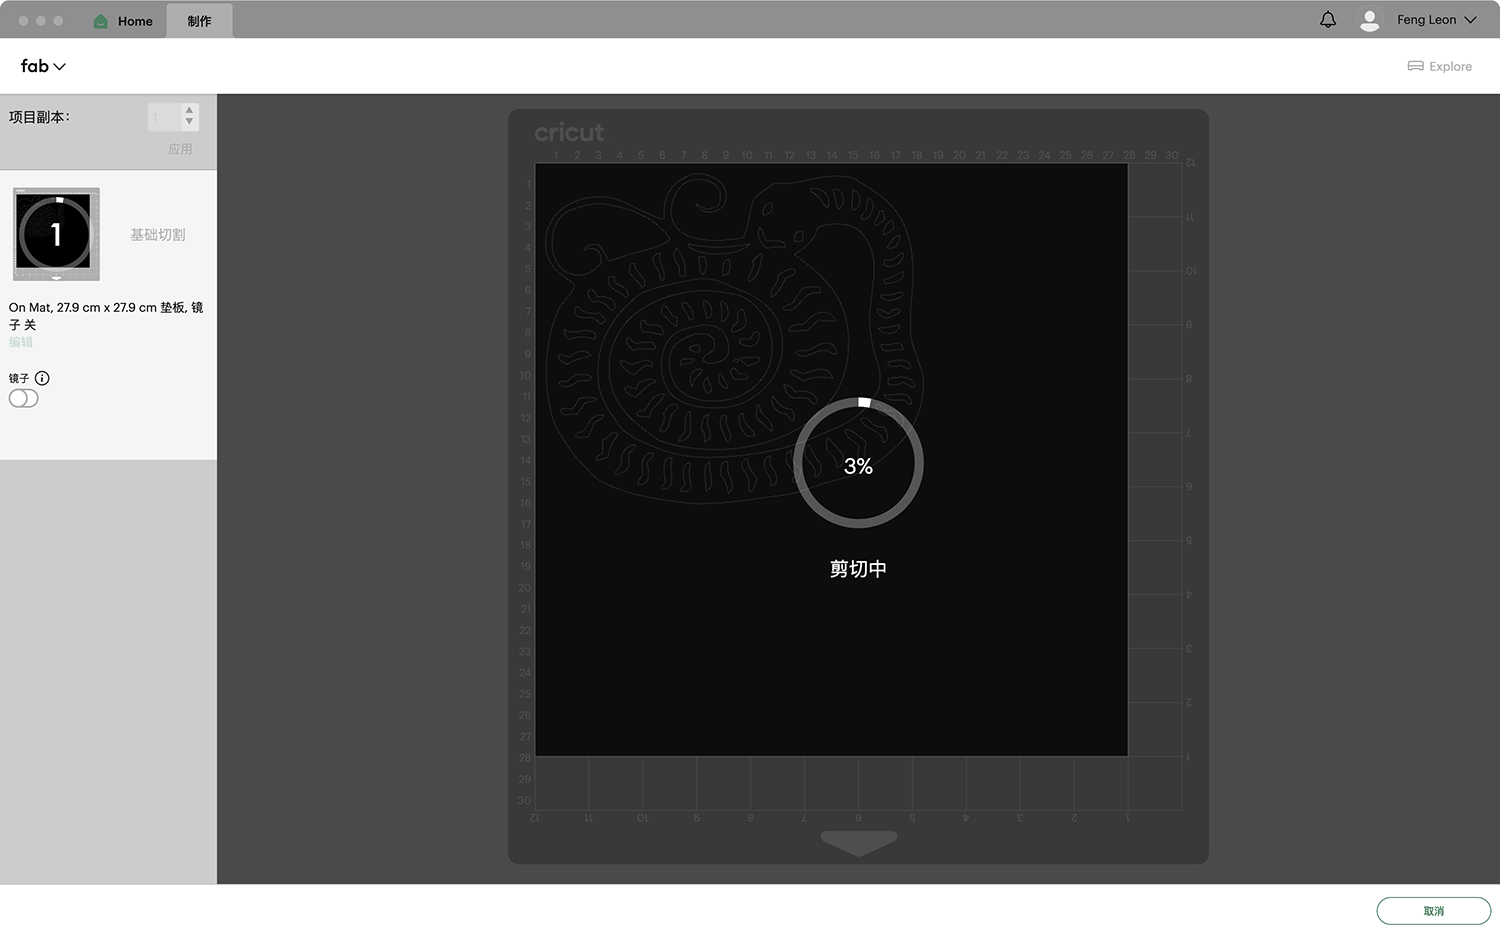
Cutting has begun
This time, because the sticker was laid very flat on the cutting mat, the cutting proceeded smoothly, as shown below.
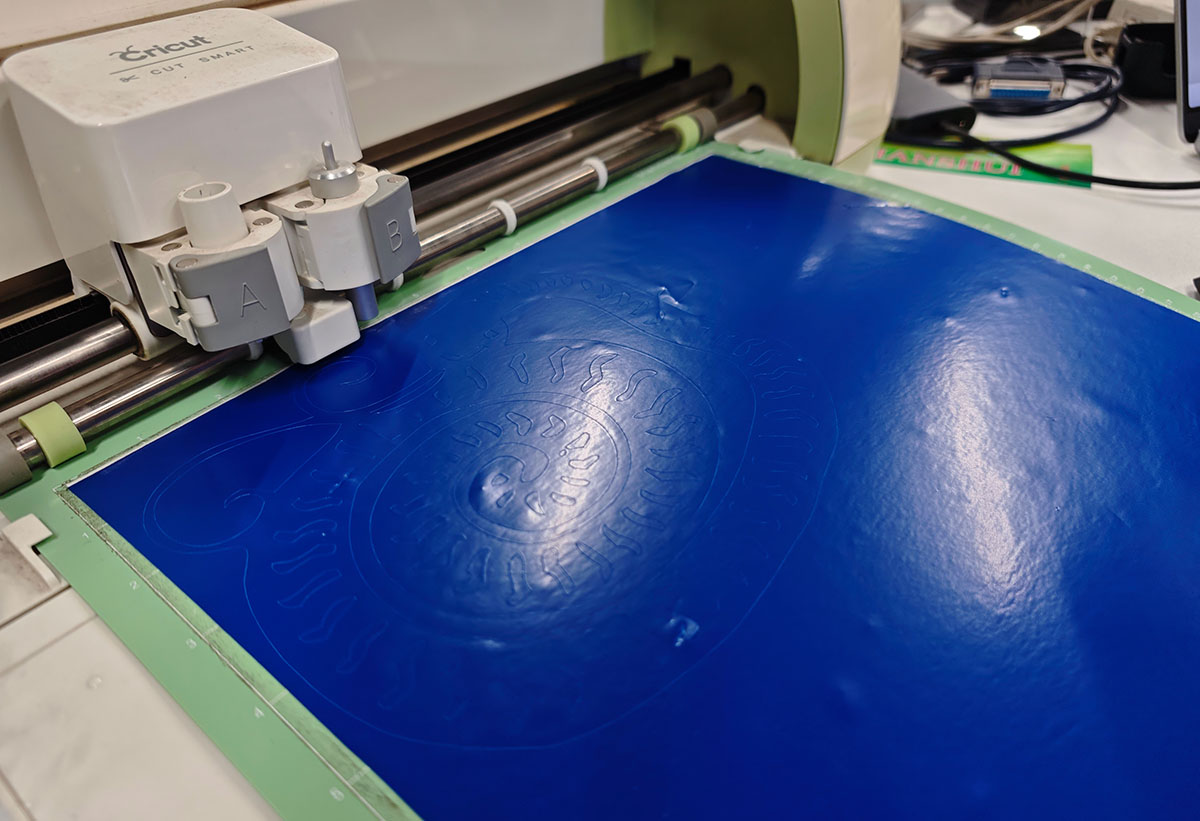
Cutting complete. Because the sticker was flat, there were no lifting issues like in the first attempt
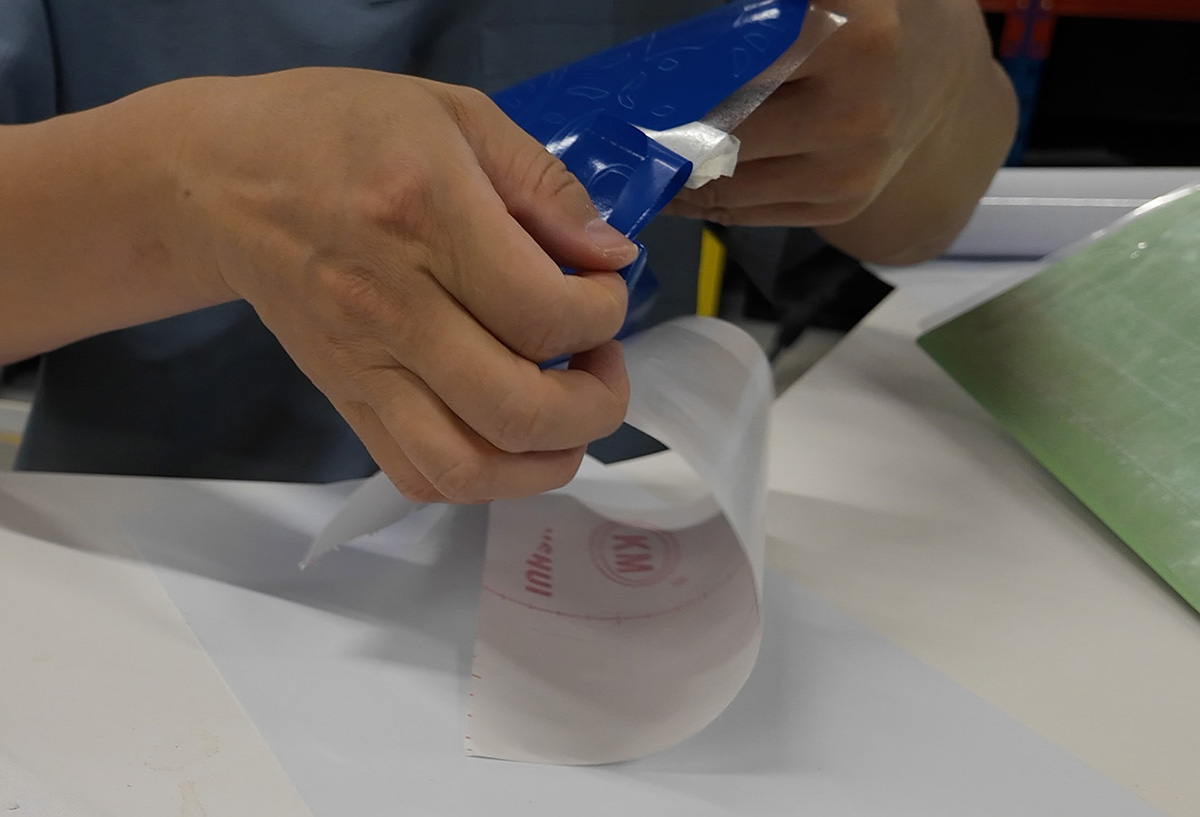
I cut a piece of transfer film approximately the same size as the cut pattern, as shown below, preparing to begin the pattern transfer work.
Preparing a transfer film about the same size as the printed pattern
I attached the adhesive side of the film to the pattern to be transferred, as shown below.
Applying transfer film to the transfer pattern
I pressed the transfer film flat to ensure it adhered firmly to the pattern, as shown below.
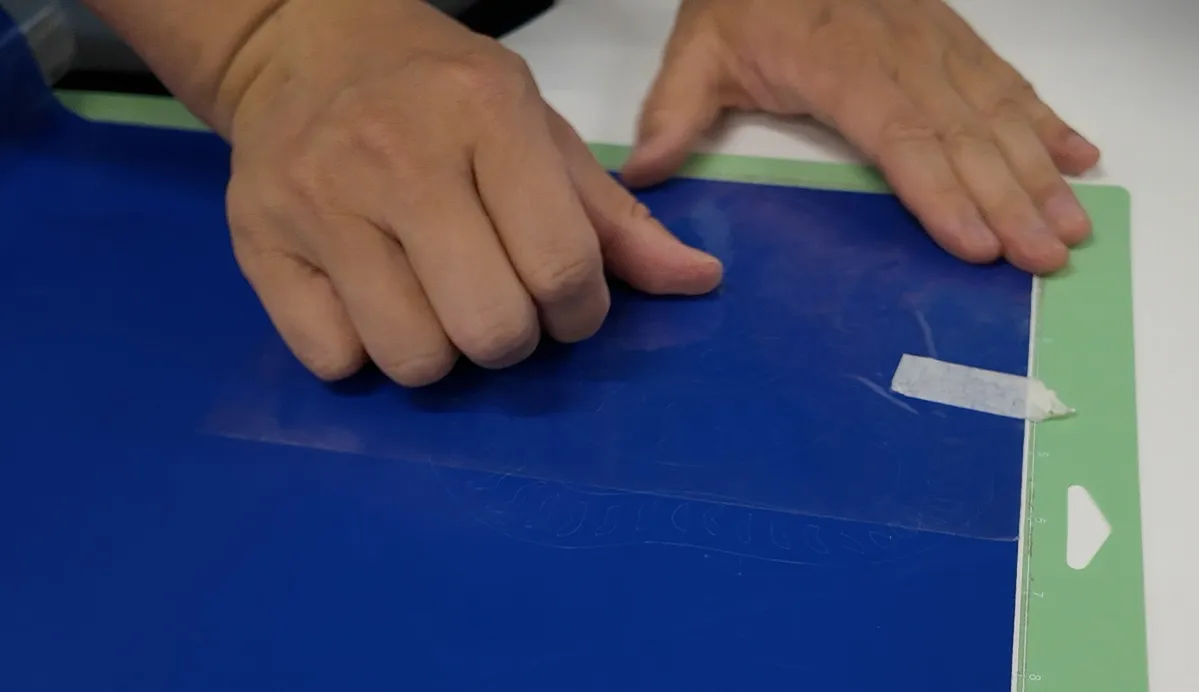
Pressing the transfer film flat on the pattern
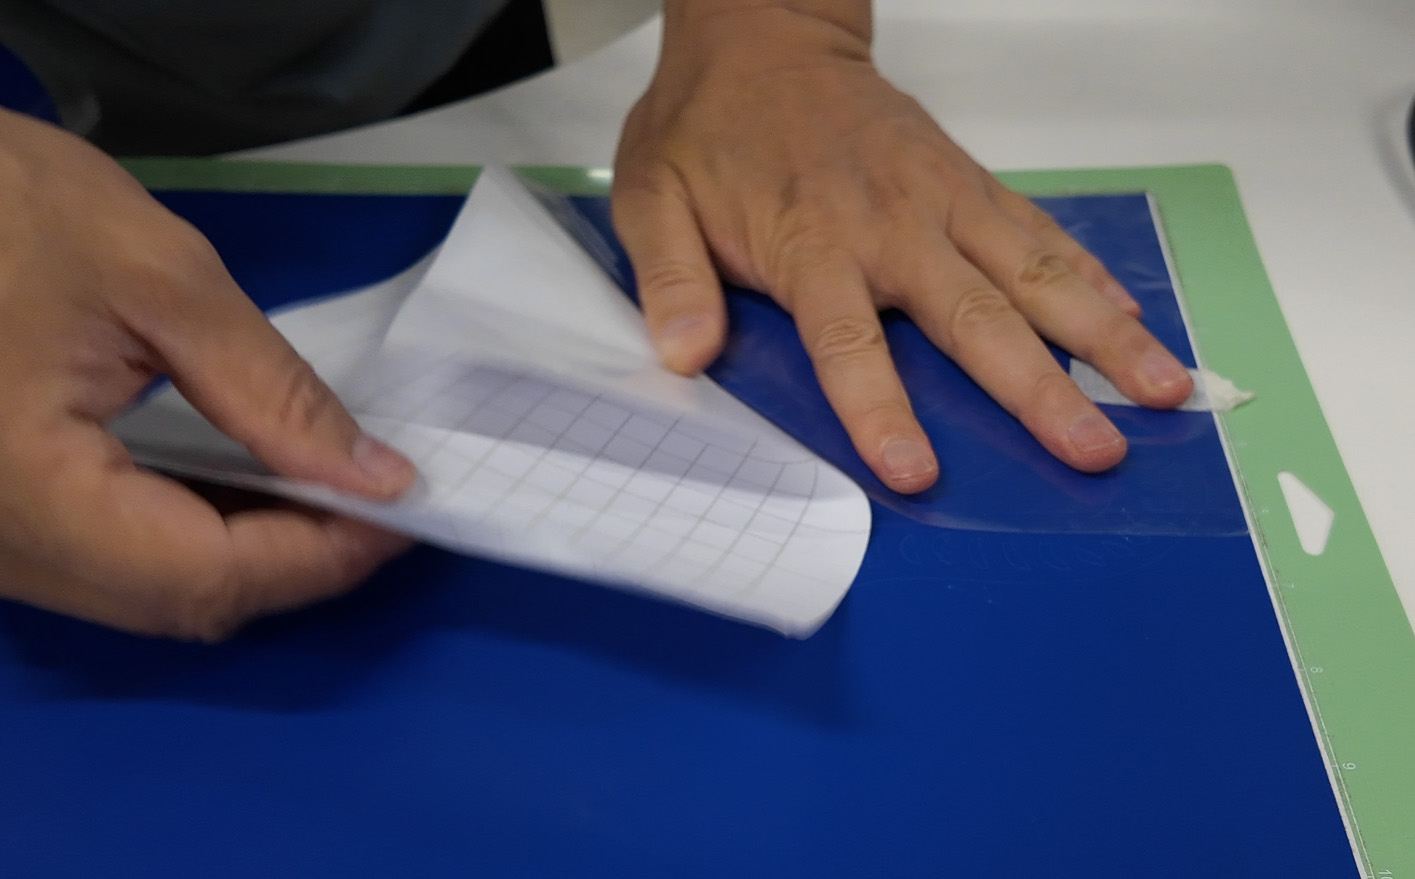
After ensuring the transfer film was firmly attached to the sticker, I cut out the pattern portion and removed the white protective backing from the sticker, as shown below.
Removing the white backing from the sticker
Next, I removed the outer frame portion of the sticker and, using a paper cutter or tweezers, removed the inner sticker parts that needed to be hollowed out, as shown below. Because the transfer film holds the pattern in place, this process is easier, but still time-consuming.
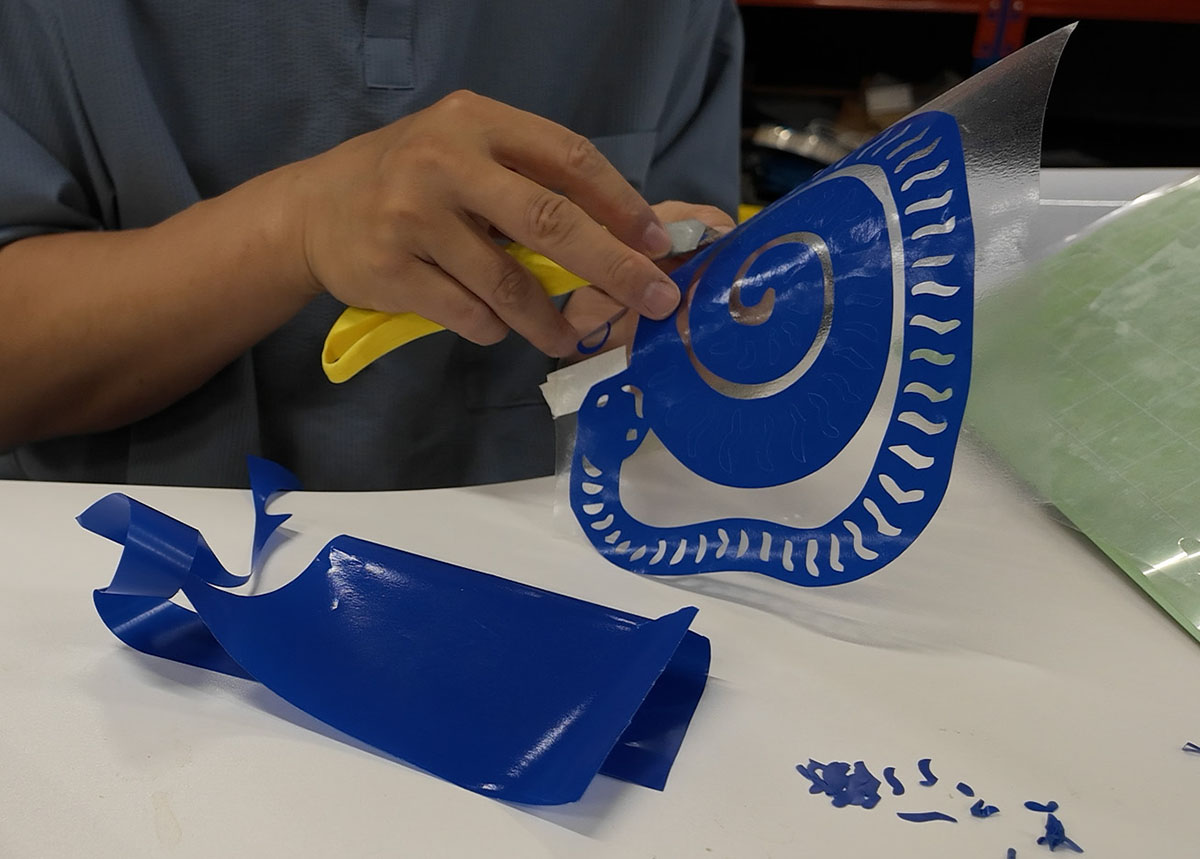
The transfer film holding the pattern in place makes removing excess sticker parts somewhat easier
Finally, I removed all unnecessary sticker parts, leaving only the desired pattern parts, as shown below. Now we can prepare to attach the sticker to the desired surface.
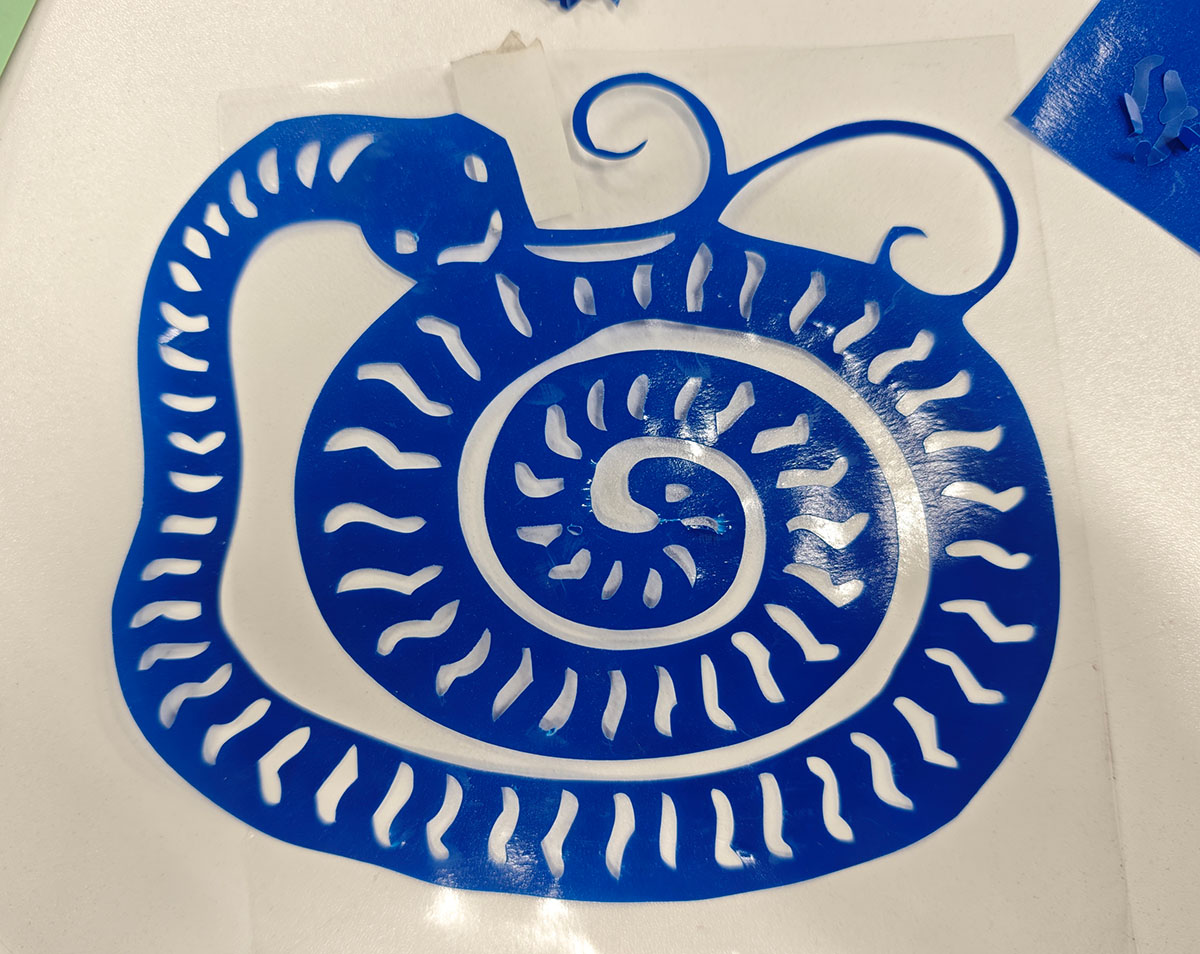
Only the needed pattern sticker remains on the transfer film
I chose the lid of a metal box containing a soldering iron kit, which was just the right size. I directly applied the transfer film with the pattern, pressed it flat, and then carefully removed the transfer film, leaving the original sticker pattern on the metal box surface.
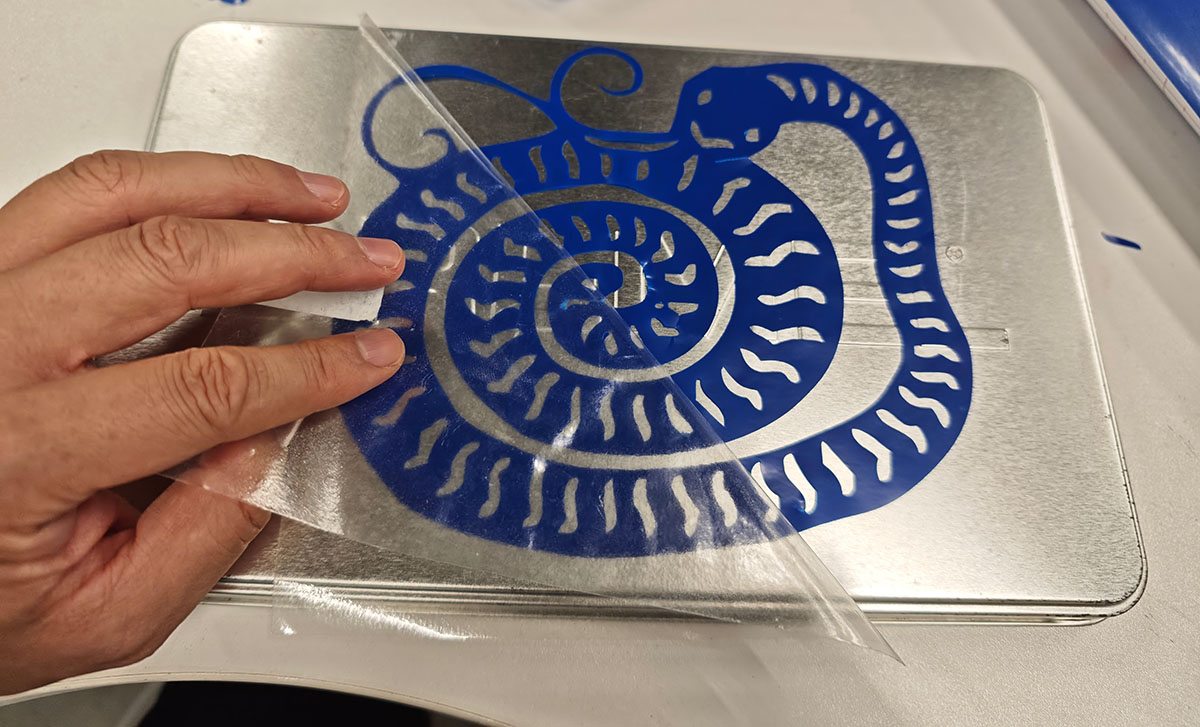
After applying the transfer film and sticker to the metal box surface, I carefully removed the transfer film, leaving the sticker pattern on the metal box surface
Finally, the surface of the soldering iron metal box had a beautiful zodiac snake pattern, as shown below.
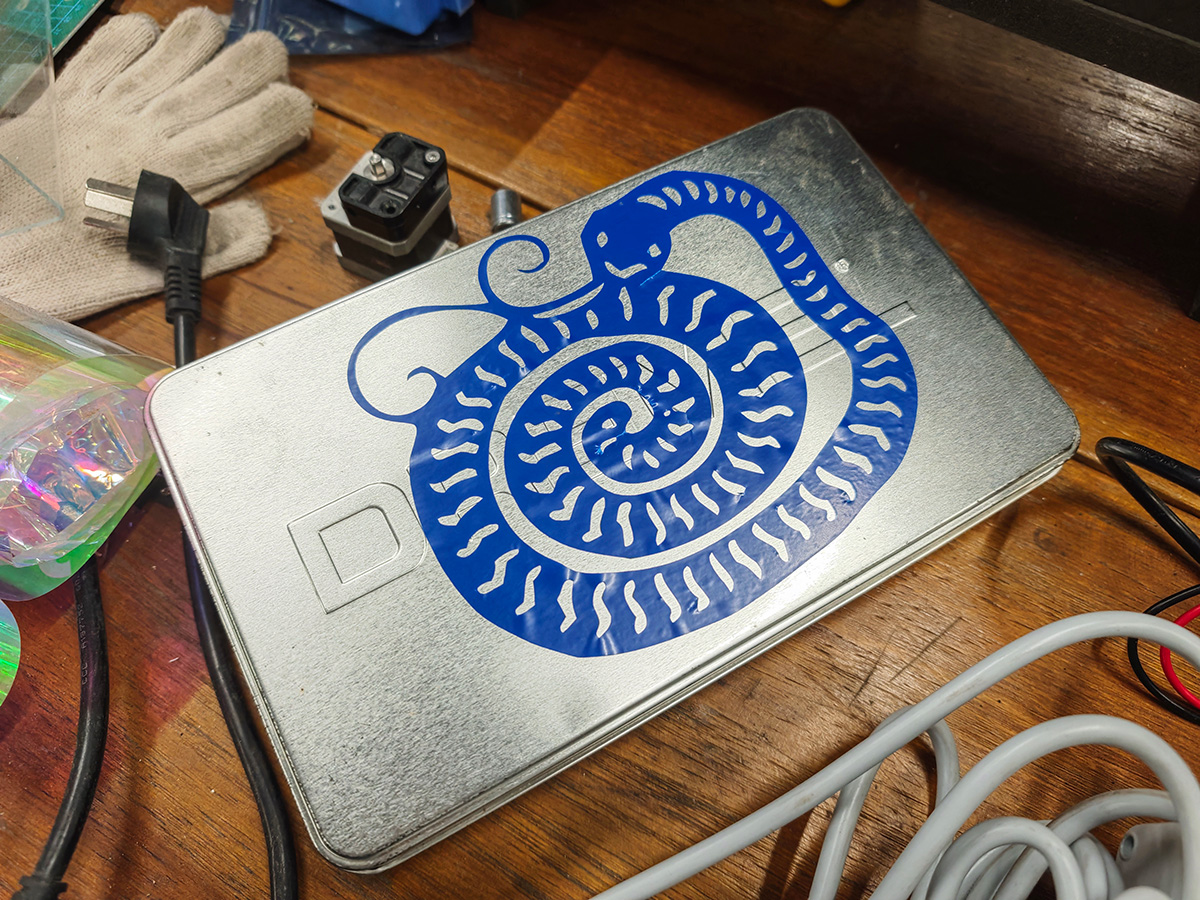
The soldering iron metal box now has a zodiac snake sticker on its surface
Analysis of the Vinyl Cutting Process
Based on feedback from instructor Pradnya Shindekar: "Could you please add few lines or image explaining about vinyl tool (blade) we are using for cutting." This prompted me to further research the Cricut Explore vinyl cutter, referring to the following documents:
https://www.westlincolnlibrary.ca/Cricut%20Air.pdf
https://www.mcplibrary.org/wp-content/uploads/2024/05/Cricut-Explore-Instructions.pdf
https://cricut.com/en-us/tools-accessories/machine-tools/blades-tools
This research gave me a deeper understanding of the equipment and process. Below is an analysis of the key technical steps I observed during my practice:
Core Principles of Vinyl Cutting
The working principle of a vinyl cutter is similar to that of a plotter, but it uses a blade instead of a pen. By controlling the movement and pressure of the blade on the X-Y plane, the machine can precisely cut the surface of the material. Modern cutters like the Cricut Explore use servo motor systems to achieve high-precision tracking of complex paths, and the vertical pressure and rotation angle of the blade can be automatically adjusted according to cutting requirements.
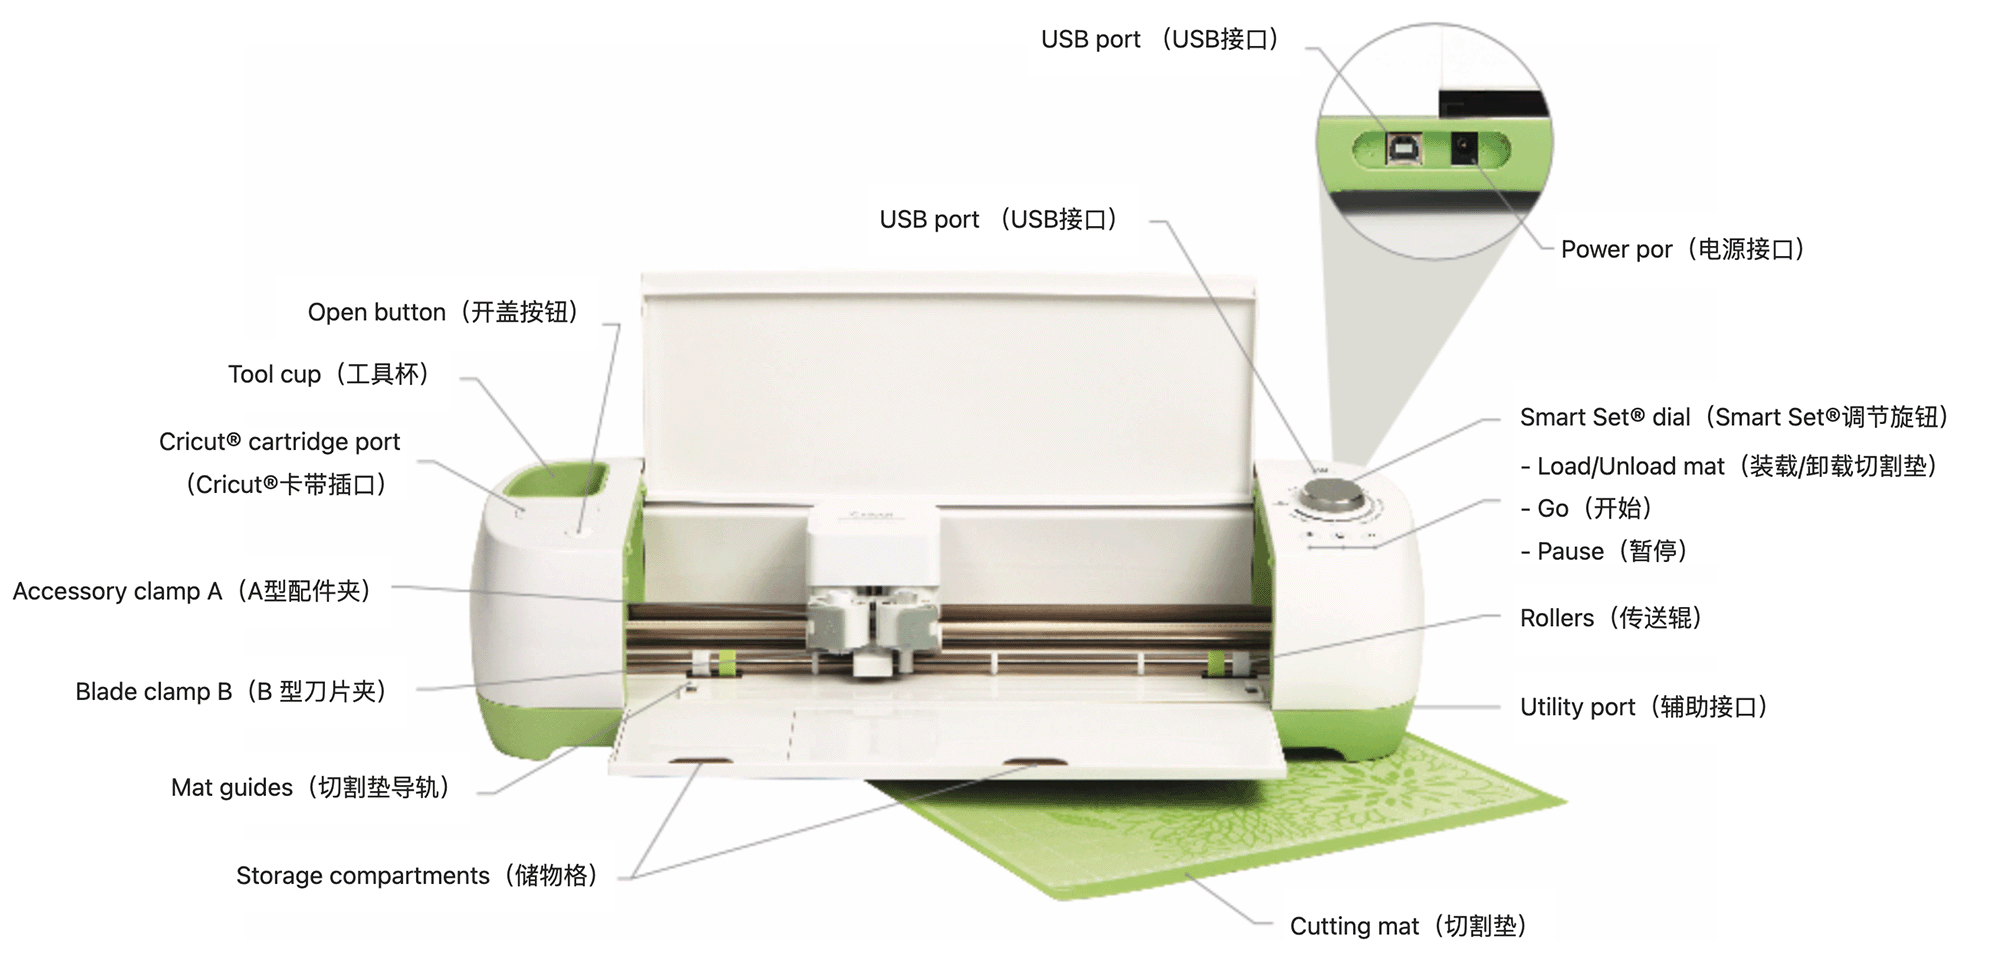
Schematic diagram of the structure and functions of the Cricut Explore vinyl cutter.
Key Parameters Affecting Cutting Quality
In my two attempts, the following key process parameters directly affected the cutting results:
- Cutting Force:
- Determines the pressure of the blade on the material, directly affecting cutting depth.
- Adjustment: Cricut Design Space automatically sets recommended values based on the selected material type.
- Too high: May cut through the backing paper and damage the cutting mat.
- Too low: May not cut through the material completely, making weeding difficult.
- Cutting Speed:
- Affects the balance between cutting precision and efficiency.
- Complex patterns (such as the snake pattern in my second attempt) usually require lower speeds to ensure detail accuracy.
- Simple patterns (like the Fab Lab logo in my first attempt) can use higher speeds for efficiency.
Blade Types and Status
For more details about Cricut Explore blades, see Cricut Blades & Tools.
- Fine Point Blade (default for vinyl on Cricut Explore): The most commonly used standard blade, suitable for medium-thickness materials such as vinyl, paper, and cardstock. The blade is silver and is usually the machine’s default.
- Deep Cut Blade: Blue, used for thicker materials such as heavy leather, thick magnets, and wood veneer. It cuts deeper than the standard blade.
- Fabric Blade: Pink, designed for cutting cotton, felt, and other fabrics, maintaining sharpness to prevent fabric wear.
- Rotary Blade (Maker series only): Suitable for cutting various fabrics such as cotton and denim. The rotating action reduces material stretching during cutting.
- Blade wear directly affects cutting quality and should be checked and replaced regularly: Depending on usage frequency and material type, blades typically need replacement after 50-100 cuts. If edges are no longer clean, consider replacing the blade.
- Blade angle is usually around 45°, suitable for most vinyl materials: This angle provides a good balance between cutting precision and blade life. Special materials may require different angles or specialized blades.
Material Properties and Their Impact
Different material properties have a significant impact on the cutting process. My observations include:
- Vinyl Thickness and Hardness:
- Thicker vinyl requires increased cutting force.
- Softer materials (such as decorative vinyl) are easier to cut but may deform during weeding and transfer.
- Adhesive Properties:
- The strength of the adhesive backing affects adhesion after transfer.
- Different application scenarios (e.g., laptop covers, metal boxes) may require different adhesive strengths.
- Environmental Factors:
- Temperature and humidity affect the flexibility and stickiness of vinyl.
- In low temperatures, vinyl becomes harder and may require parameter adjustments.
Key Post-Cutting Techniques
Post-cutting processing directly determines the final result, including:
- Weeding:
- Basic tools: tweezers, craft knife, weeding needle.
- Technique: Weed from the edge to the center, or from larger areas to detailed regions.
- For complex patterns (such as the snake): Use specialized weeding tools and be patient.
- Transfer:
- Choice of transfer tape: Transparency and stickiness should be chosen based on pattern complexity.
- Application: Smoothly apply from the center outward to avoid bubbles.
- Peeling technique: Peel slowly at a low angle to ensure complete transfer.
- Application to Surface:
- Surface cleaning: Ensure the application surface is free of dust and grease.
- Positioning: Use alignment marks for accurate placement.
- Final fixing: Use a scraper tool to eliminate bubbles and ensure complete adhesion.
Process Optimization Suggestions
Based on my two attempts, I propose the following process optimization suggestions:
- Design Optimization:
- Avoid overly small details: Details smaller than 2mm are easily damaged during weeding.
- Consider material properties: Some patterns may need simplification for specific materials.
- Cutting Environment Optimization:
- Keep the cutting mat clean: Regularly remove sticky residue to extend its life.
- Material preparation: Ensure the material is flat to avoid wrinkles as in my first attempt.
- Efficiency Improvement Tips:
- Arrange materials efficiently: Maximize material usage.
- Batch processing: Cut similar patterns together to improve efficiency.
- Tool preparation: Prepare weeding and transfer tools in advance and establish a workflow.
By gaining an in-depth understanding of these process parameters and steps, I significantly improved cutting quality and efficiency in my second attempt. Although vinyl cutting may seem simple, achieving professional results requires systematic knowledge of material properties, device parameters, and process flow.