Week 03: Group Cutting Experiment
[View the complete group assignment]
On February 9, 2025, Matthew trained Hongtai and me on the basic process of using a laser cutter at Chaihuo Makerspace, as shown below.
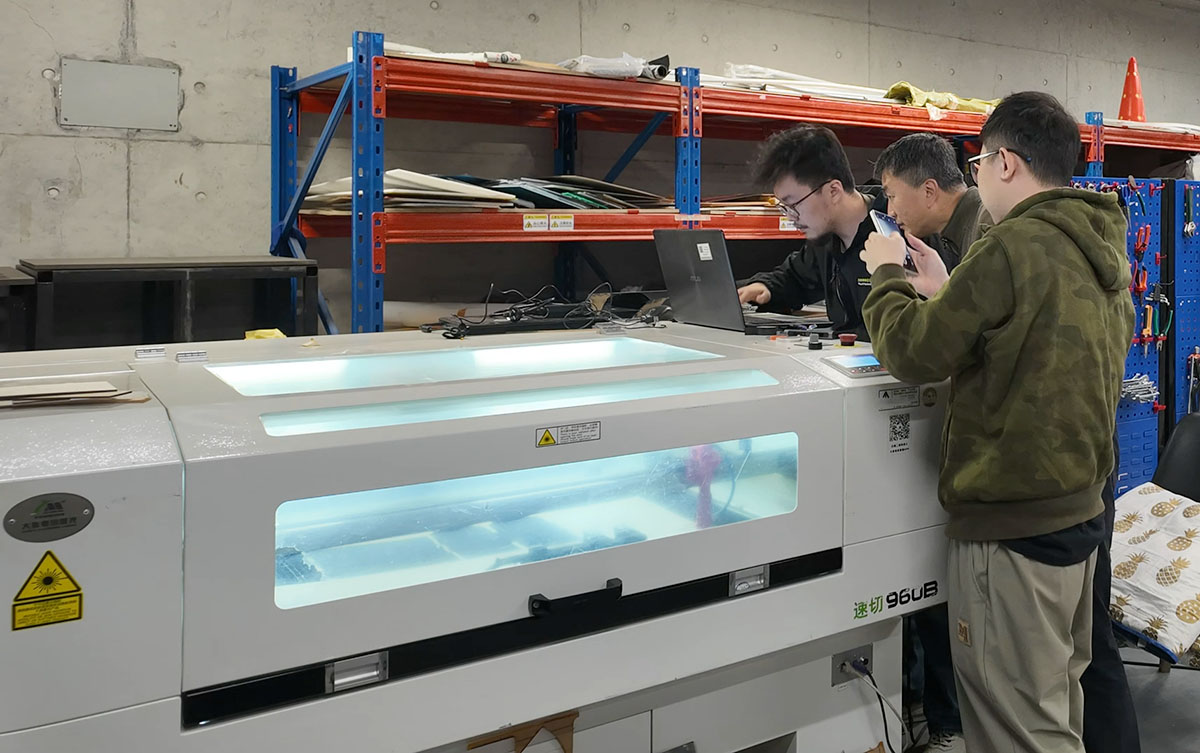
Learning to use the Hans Yueming QuickCut 960B Laser Cutter at Chaihuo Makerspace
Another laser cutter in the space had recommended cutting parameters posted: for 3mm thick wood, it suggested 90% power, 70% intensity, and 30mm/s processing speed, along with operational procedure recommendations.
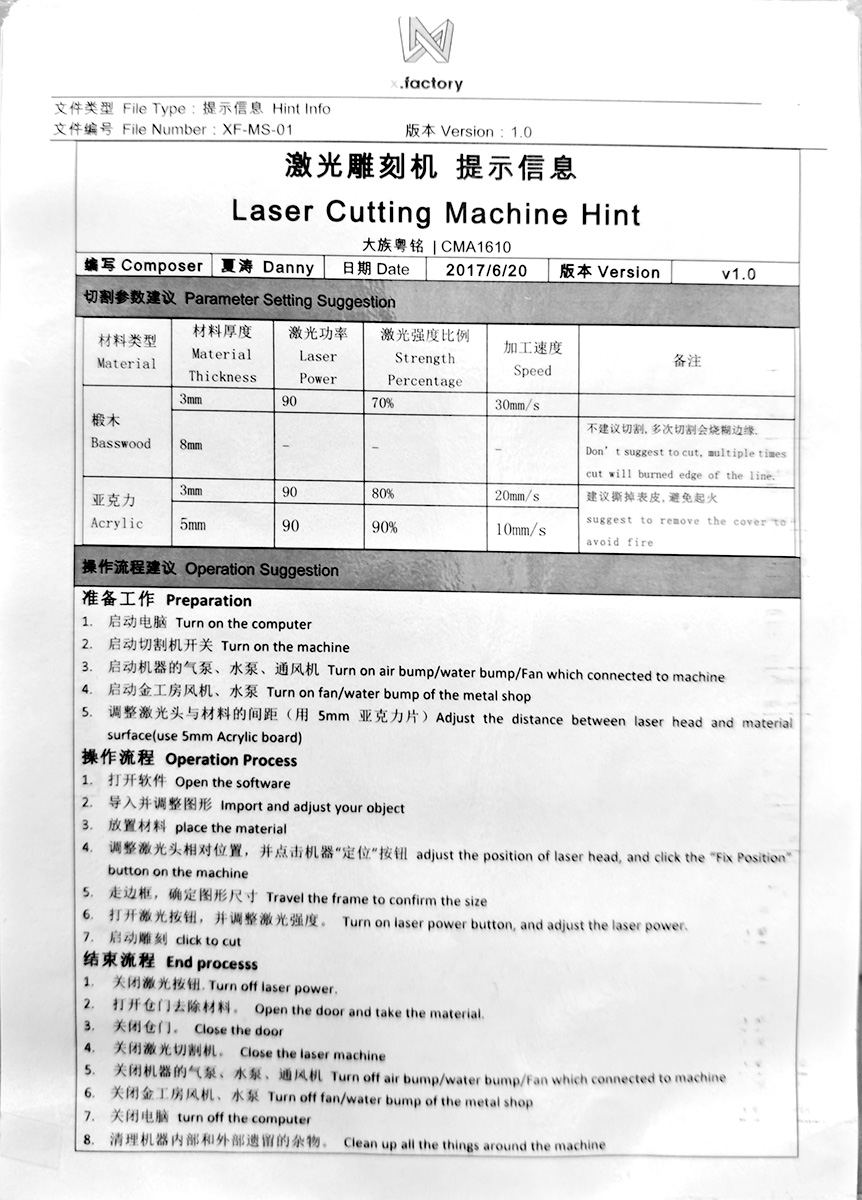
Operating instructions posted on the laser cutter at Chaihuo Makerspace
I extracted the text from the instructions to help future learners understand the process.
Recommended Operating Procedure
Preparation
- Turn on the computer.
- Turn on the machine.
- Turn on the air pump, water pump, and ventilation fan connected to the machine.
- Turn on the metal shop's fan and water pump.
- Adjust the distance between the laser head and material surface (use 5mm acrylic board).
Operation Process
- Open the software.
- Import and adjust your object.
- Place the material.
- Adjust the laser head position and click the "Fix Position" button on the machine.
- Travel the frame to confirm the size.
- Turn on the laser power button and adjust the laser power.
- Click to cut.
End Process
- Turn off the laser power.
- Open the door and remove the material.
- Close the door.
- Turn off the laser cutter.
- Turn off the air pump, water pump, and ventilation fan connected to the machine.
- Turn off the metal shop's fan and water pump.
- Turn off the computer.
- Clean up all debris inside and around the machine.
First, we measured the thickness of the wood board to be cut, which was about 2.75mm, slightly less than 3mm.
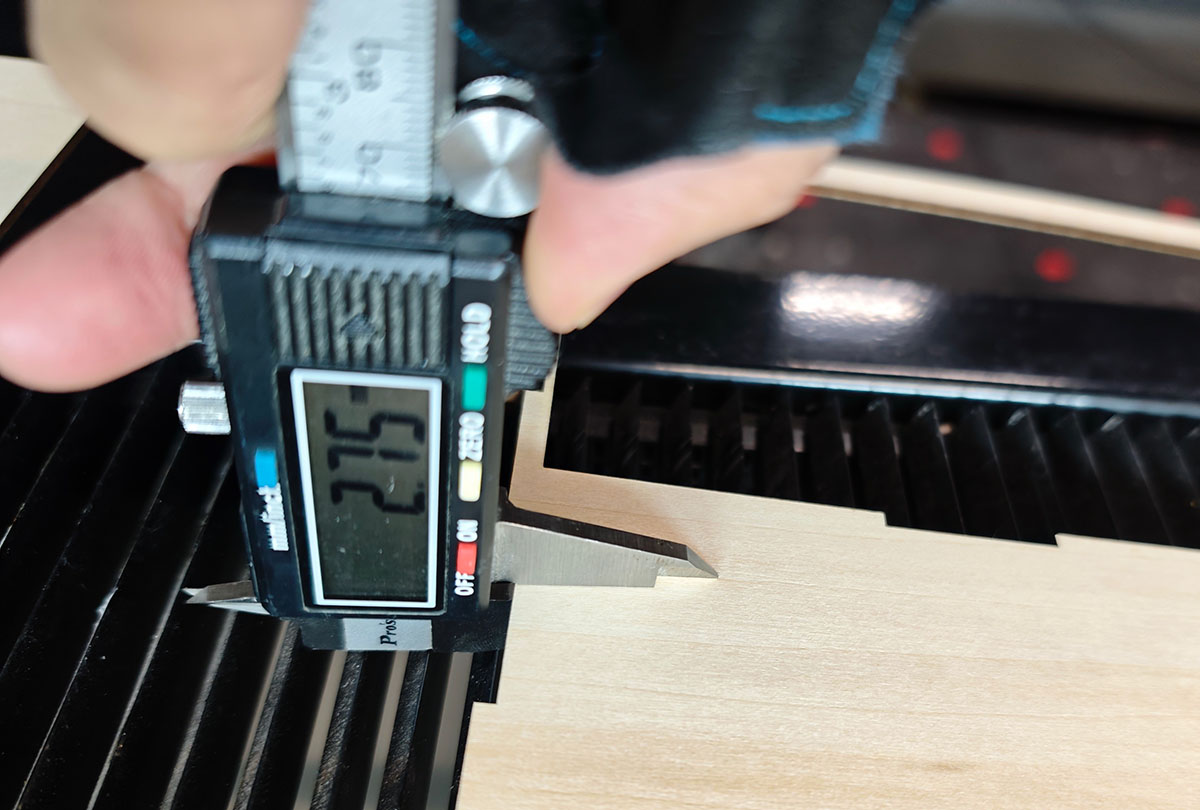
We needed to design a test ruler for laser cutter accuracy testing. The requirement was to test gaps from 3.0mm to 3.6mm in 0.1mm increments.
Hongtai designed this tooth-shaped test file, exported as DXF format. We transferred the file via USB to the laptop connected to the laser cutter, as shown below.
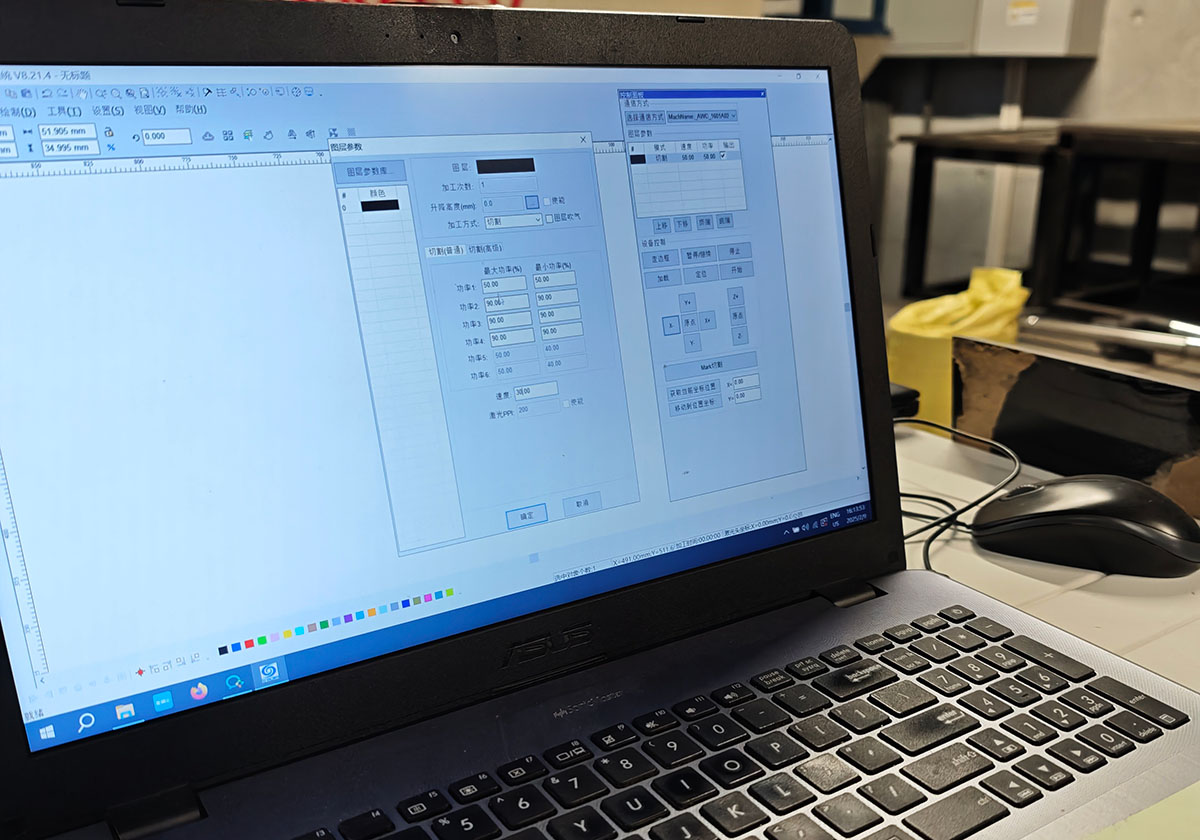
Computer connected to the laser cutter
We imported the test DXF file into the laser engraving and cutting control software on the computer and sent it to the laser cutter. Since the wood was less than 3mm, we tried setting the maximum power to 50% for the first cut.
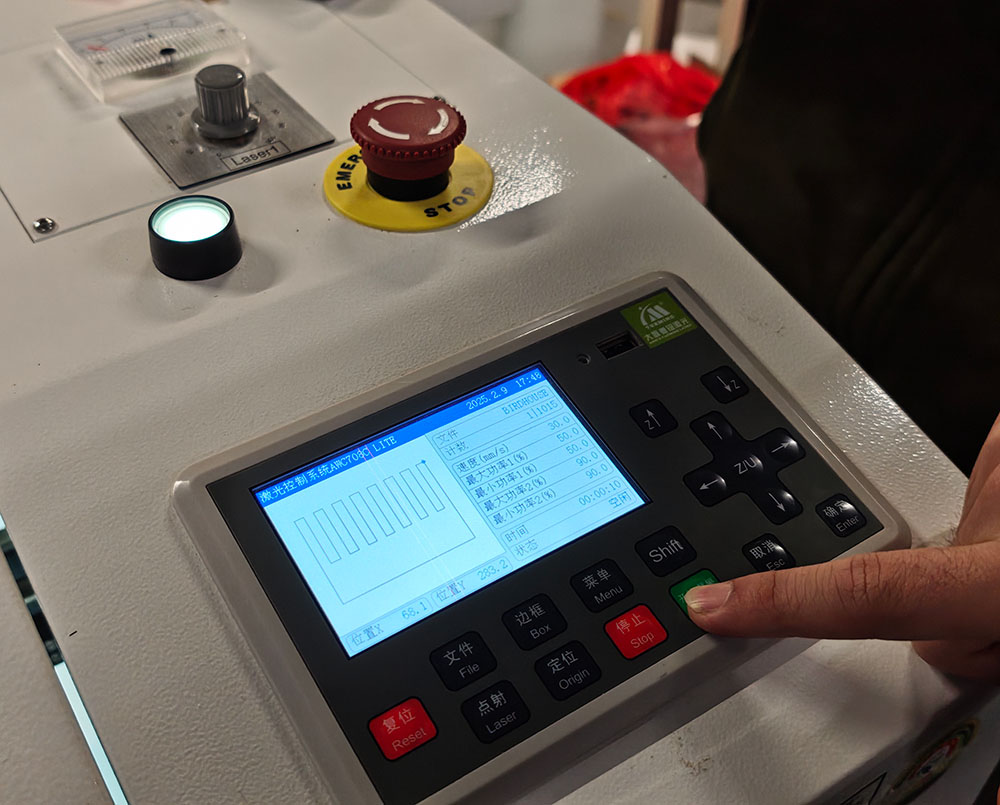
Maximum power set to 50%
The cut didn't go through, only leaving burn marks.
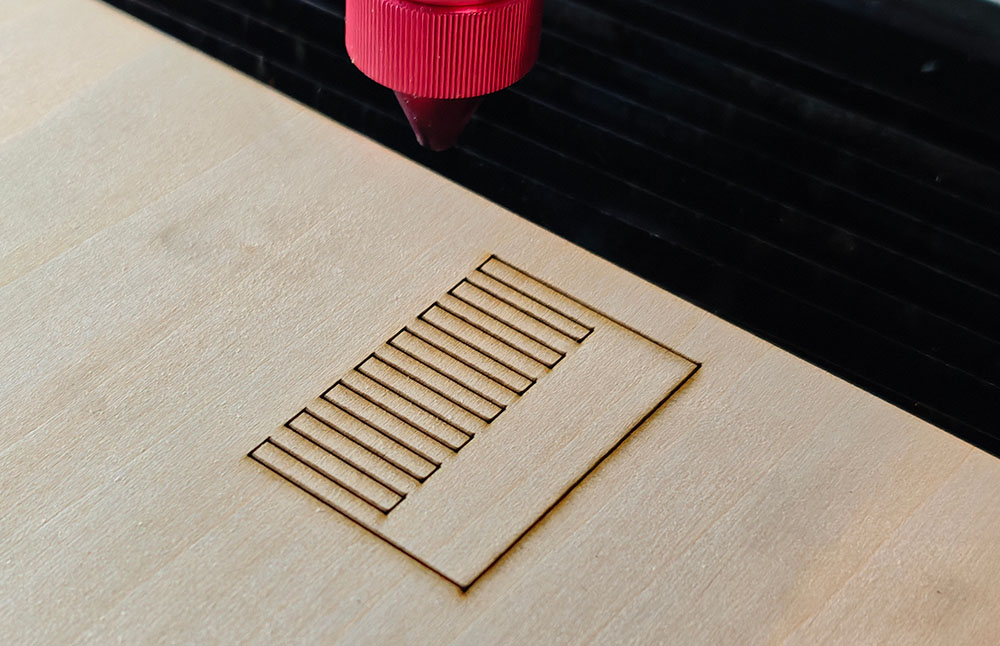
Maximum power at 50% didn't cut through
We then adjusted the power to 90%.

Maximum power set to 90%
This time it cut through completely.
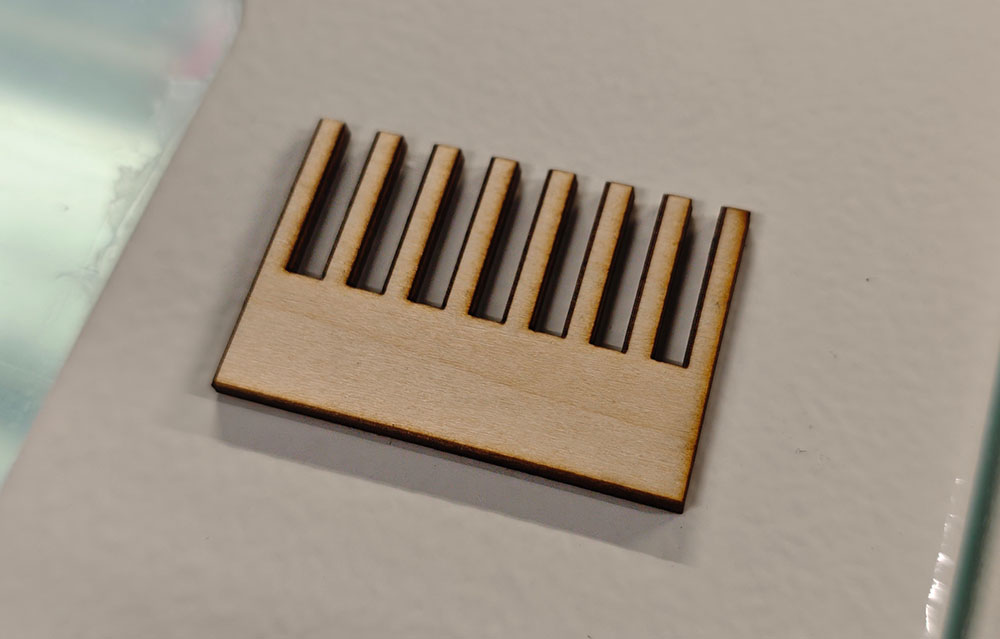
Successful cut at 90% maximum power
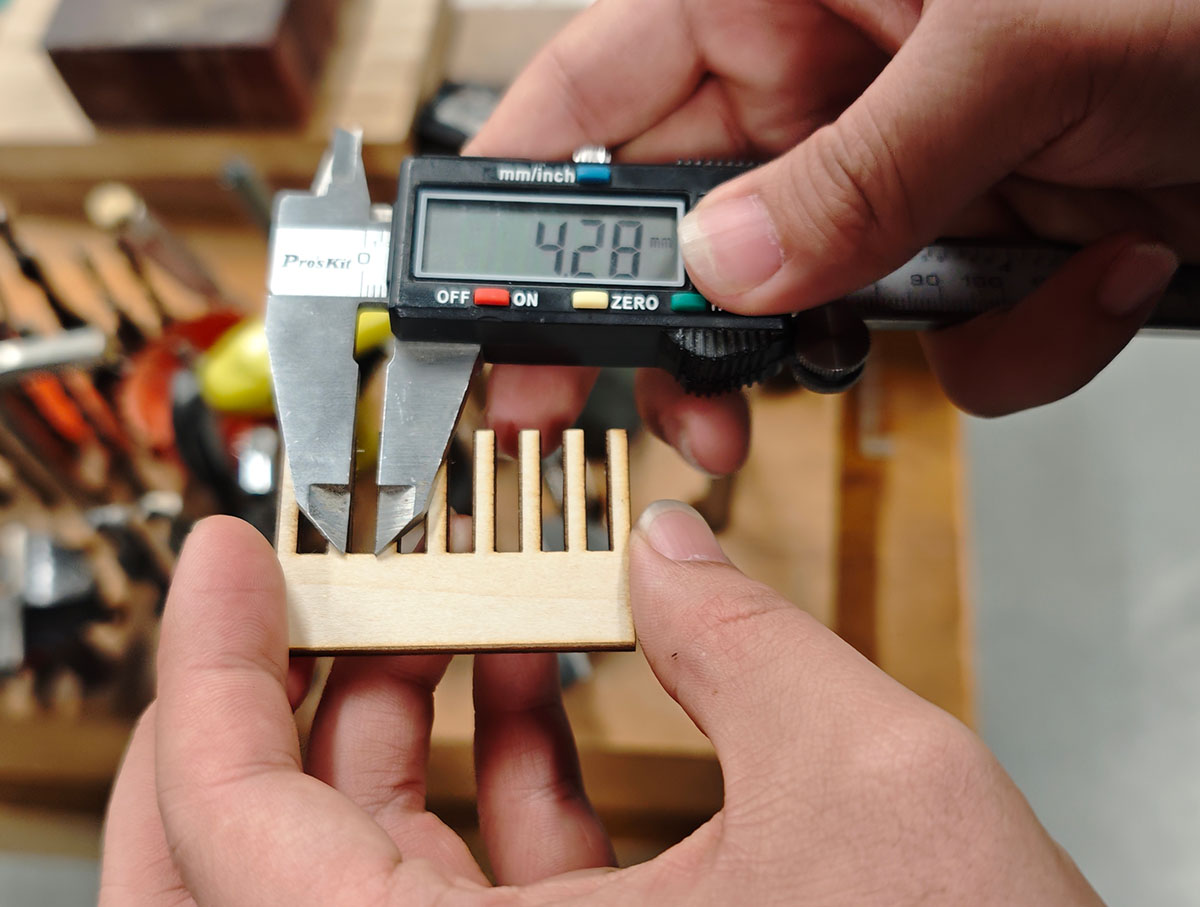
Measuring the difference between theoretical CAD gaps and actual cut gaps with calipers
To better test the 3.0mm-3.6mm gaps, Hongtai designed another test ruler. We cut it again and measured each gap with calipers.
We manually marked the theoretical values (top row) and actual measurements (bottom row). This gave us the deviation values to adjust our design parameters for future cuts.
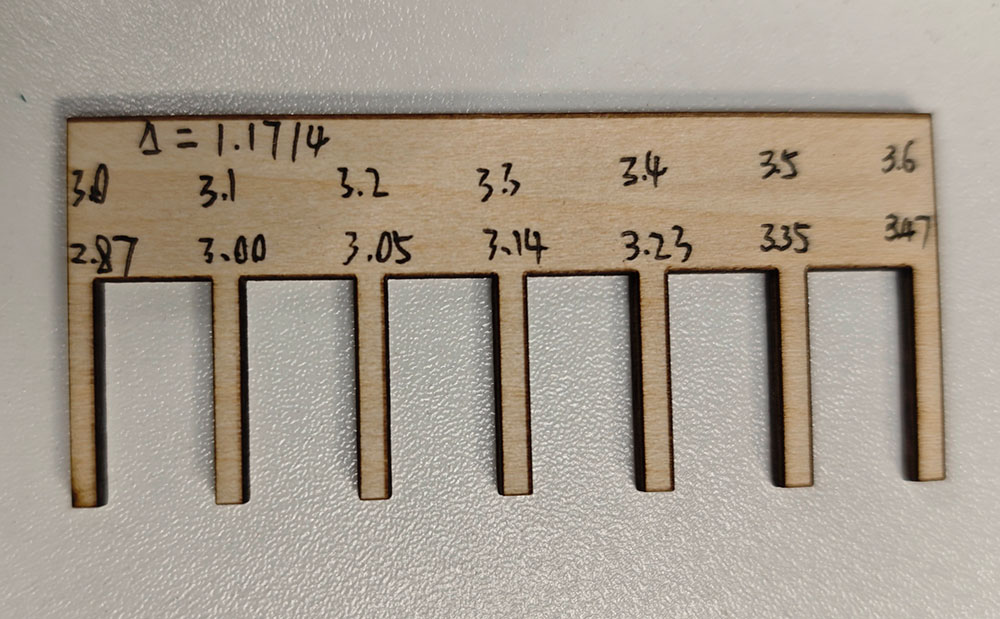
Marked and measured test ruler
Based on these parameters, we adjusted a simple block kit design and sent the DXF to the laser cutter. We reset the maximum power to 90% when starting the cut.
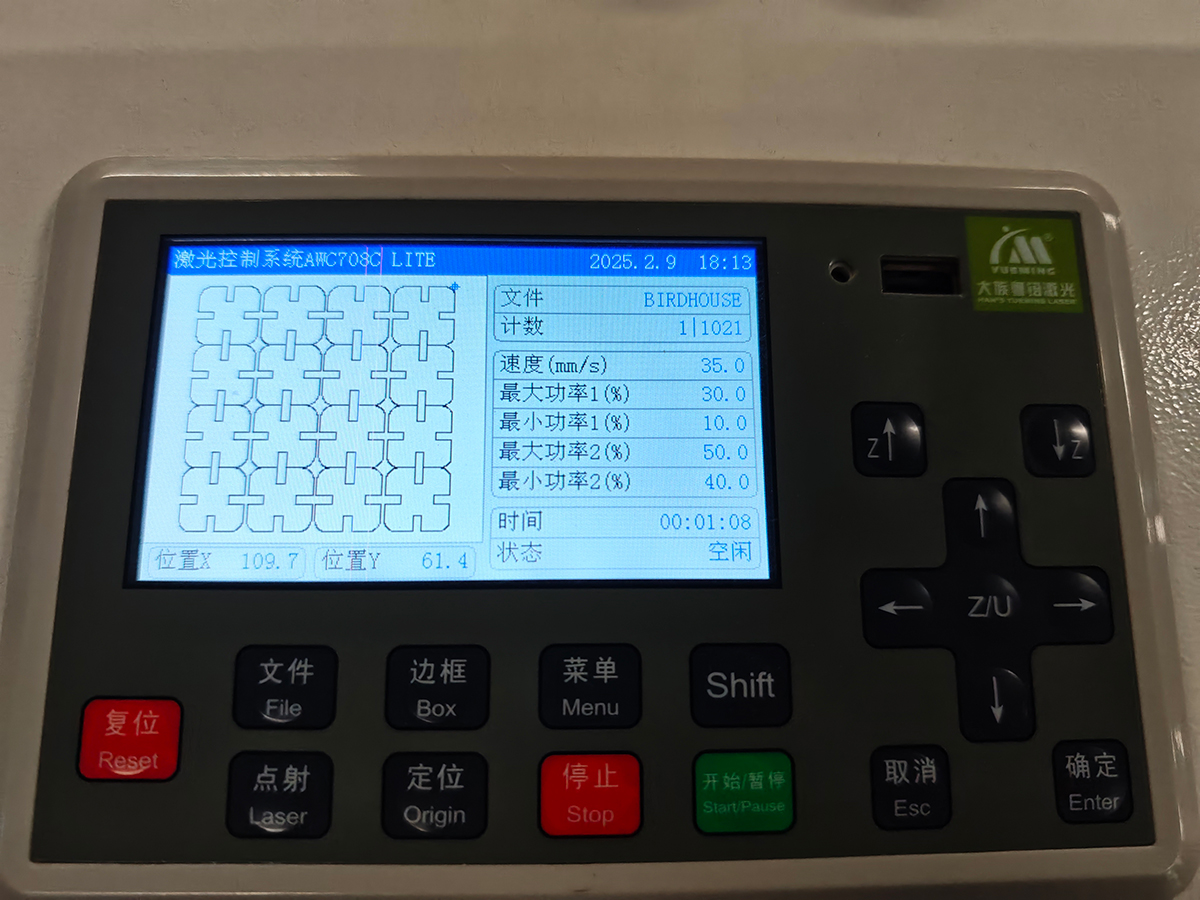
Simple block kit cutting test
The cutting results were good, with complete penetration.
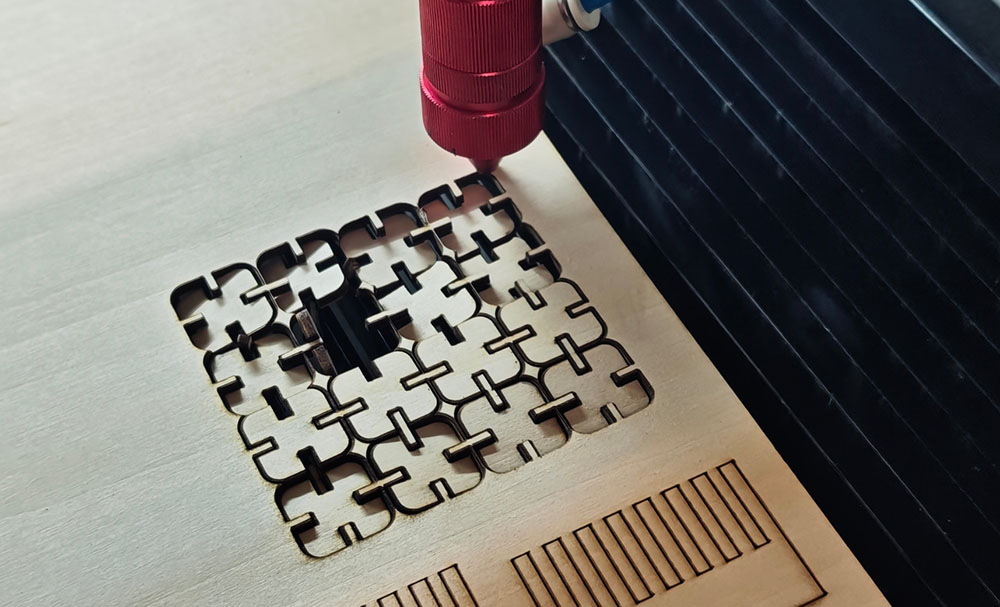
Test kit successfully cut
The kit assembled smoothly.
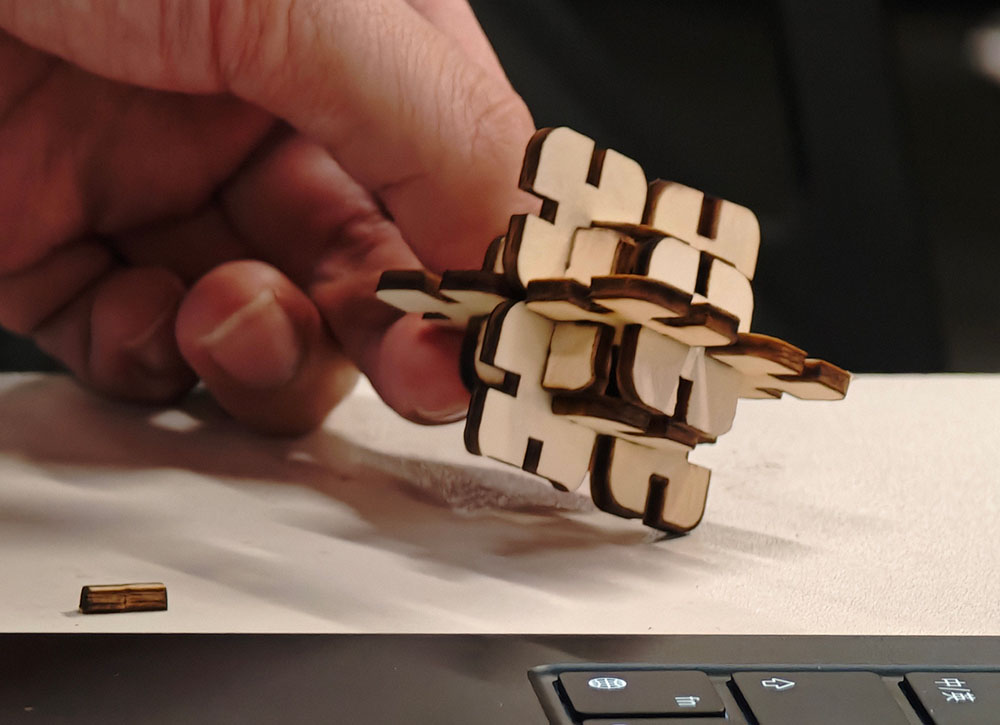
Successful kit assembly test with proper joint clearance
 Lei Feng Fab Academy 2025