
Machines, Programs and Tools
Mac computer, screen, IPhone, GitLab, HTML site, patience.
introduction
This is the backplate part of the final project. The backplate is the plate that all the electronics will be fastened to. The wings will also fasten to it. The backplate will have to be confortable and have straps to secure them to the body. All af this will have to be designed to be worn for hours at a time.
Sketches

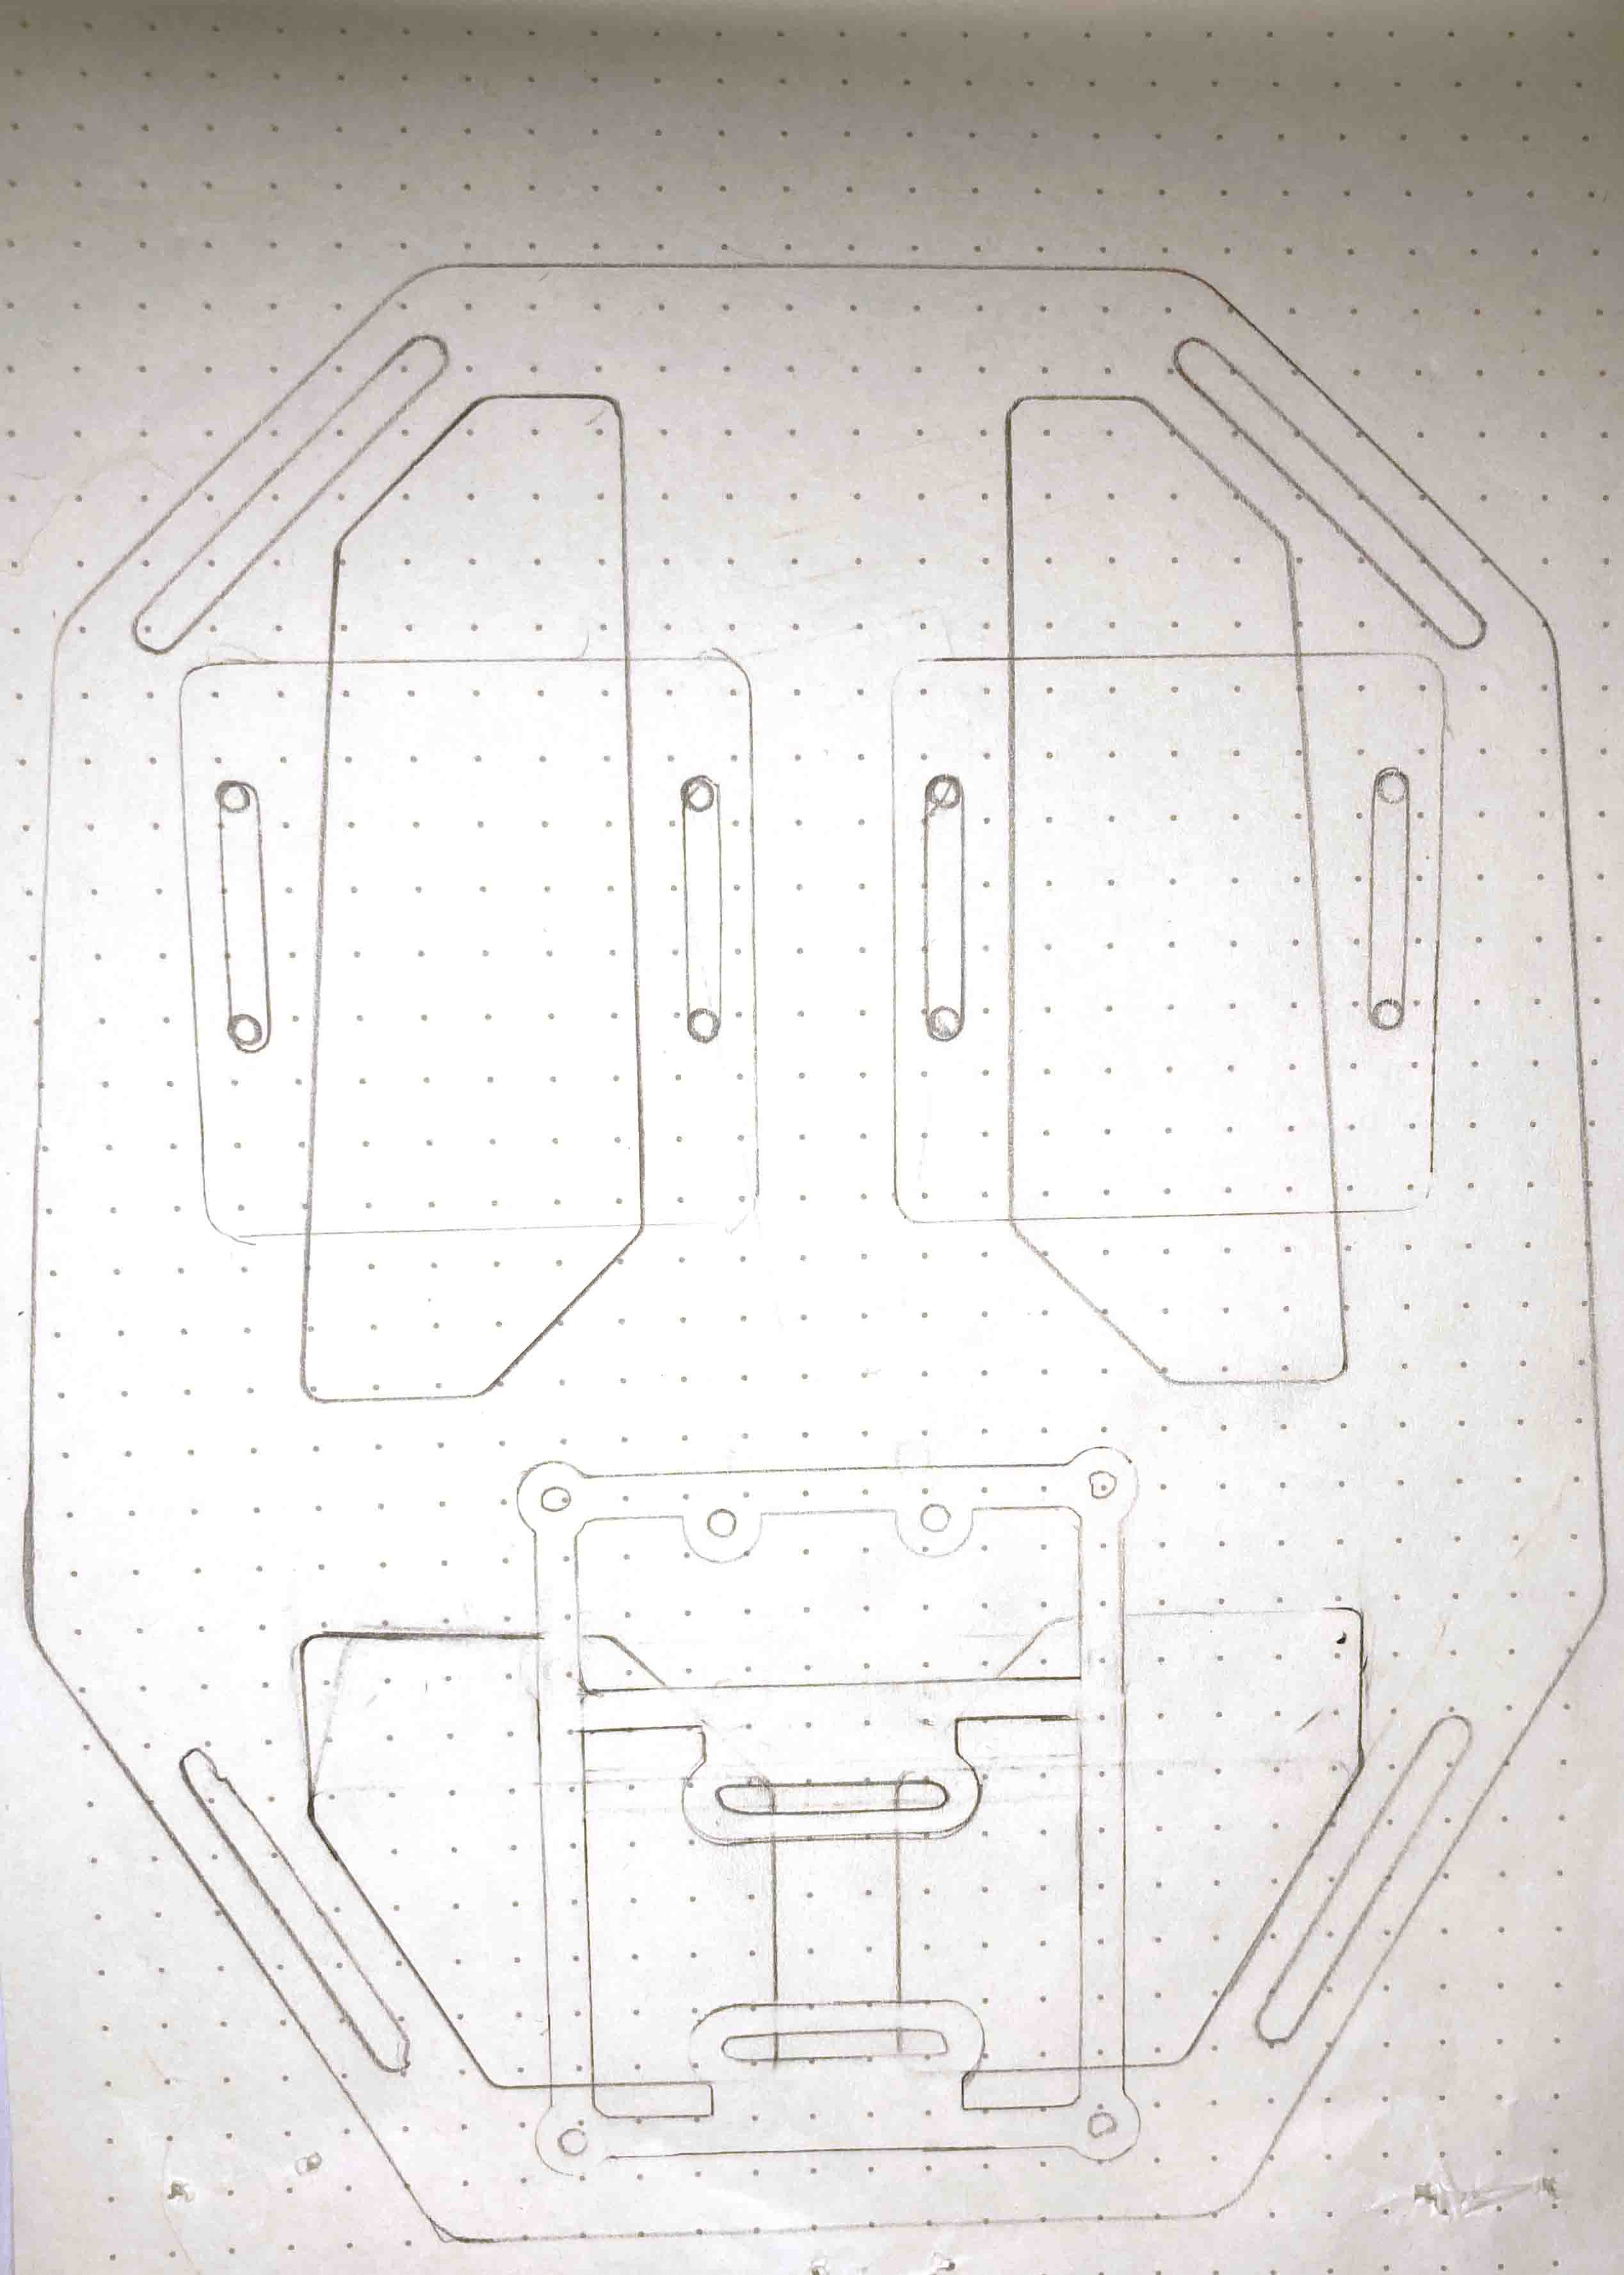
This is a handdrawn sketch of the backplate and where the wires for the power bank will go.


Projects
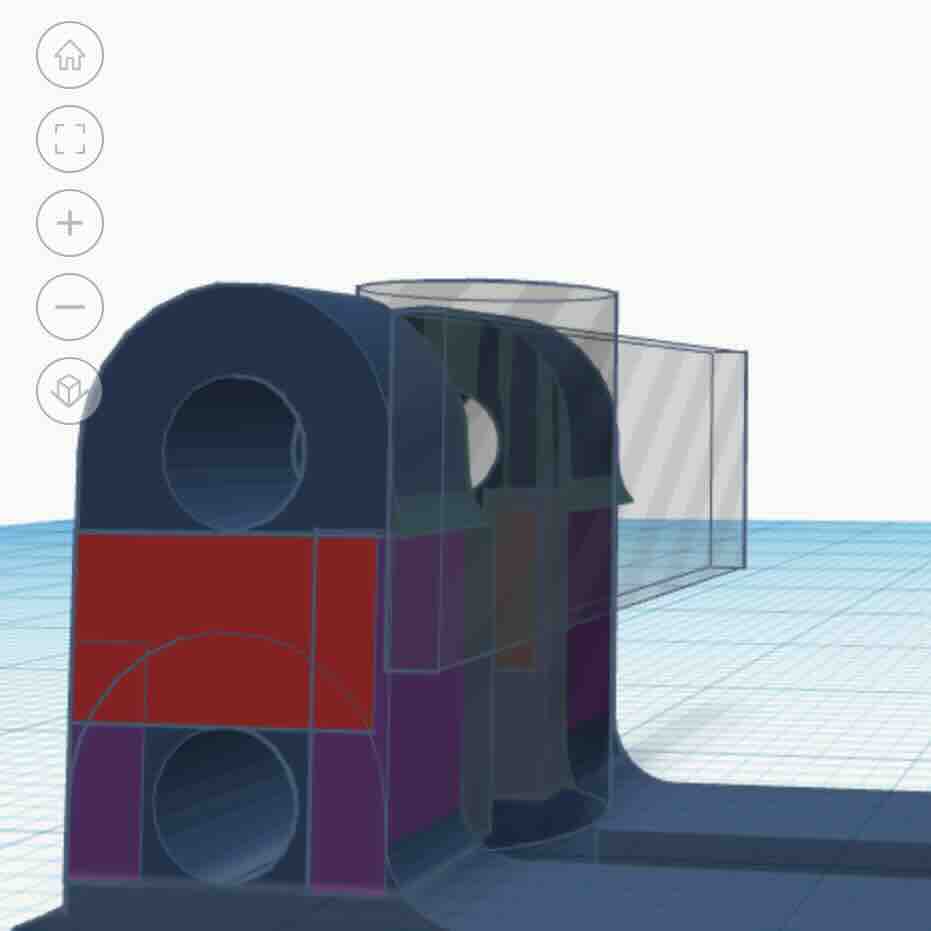
3D Model
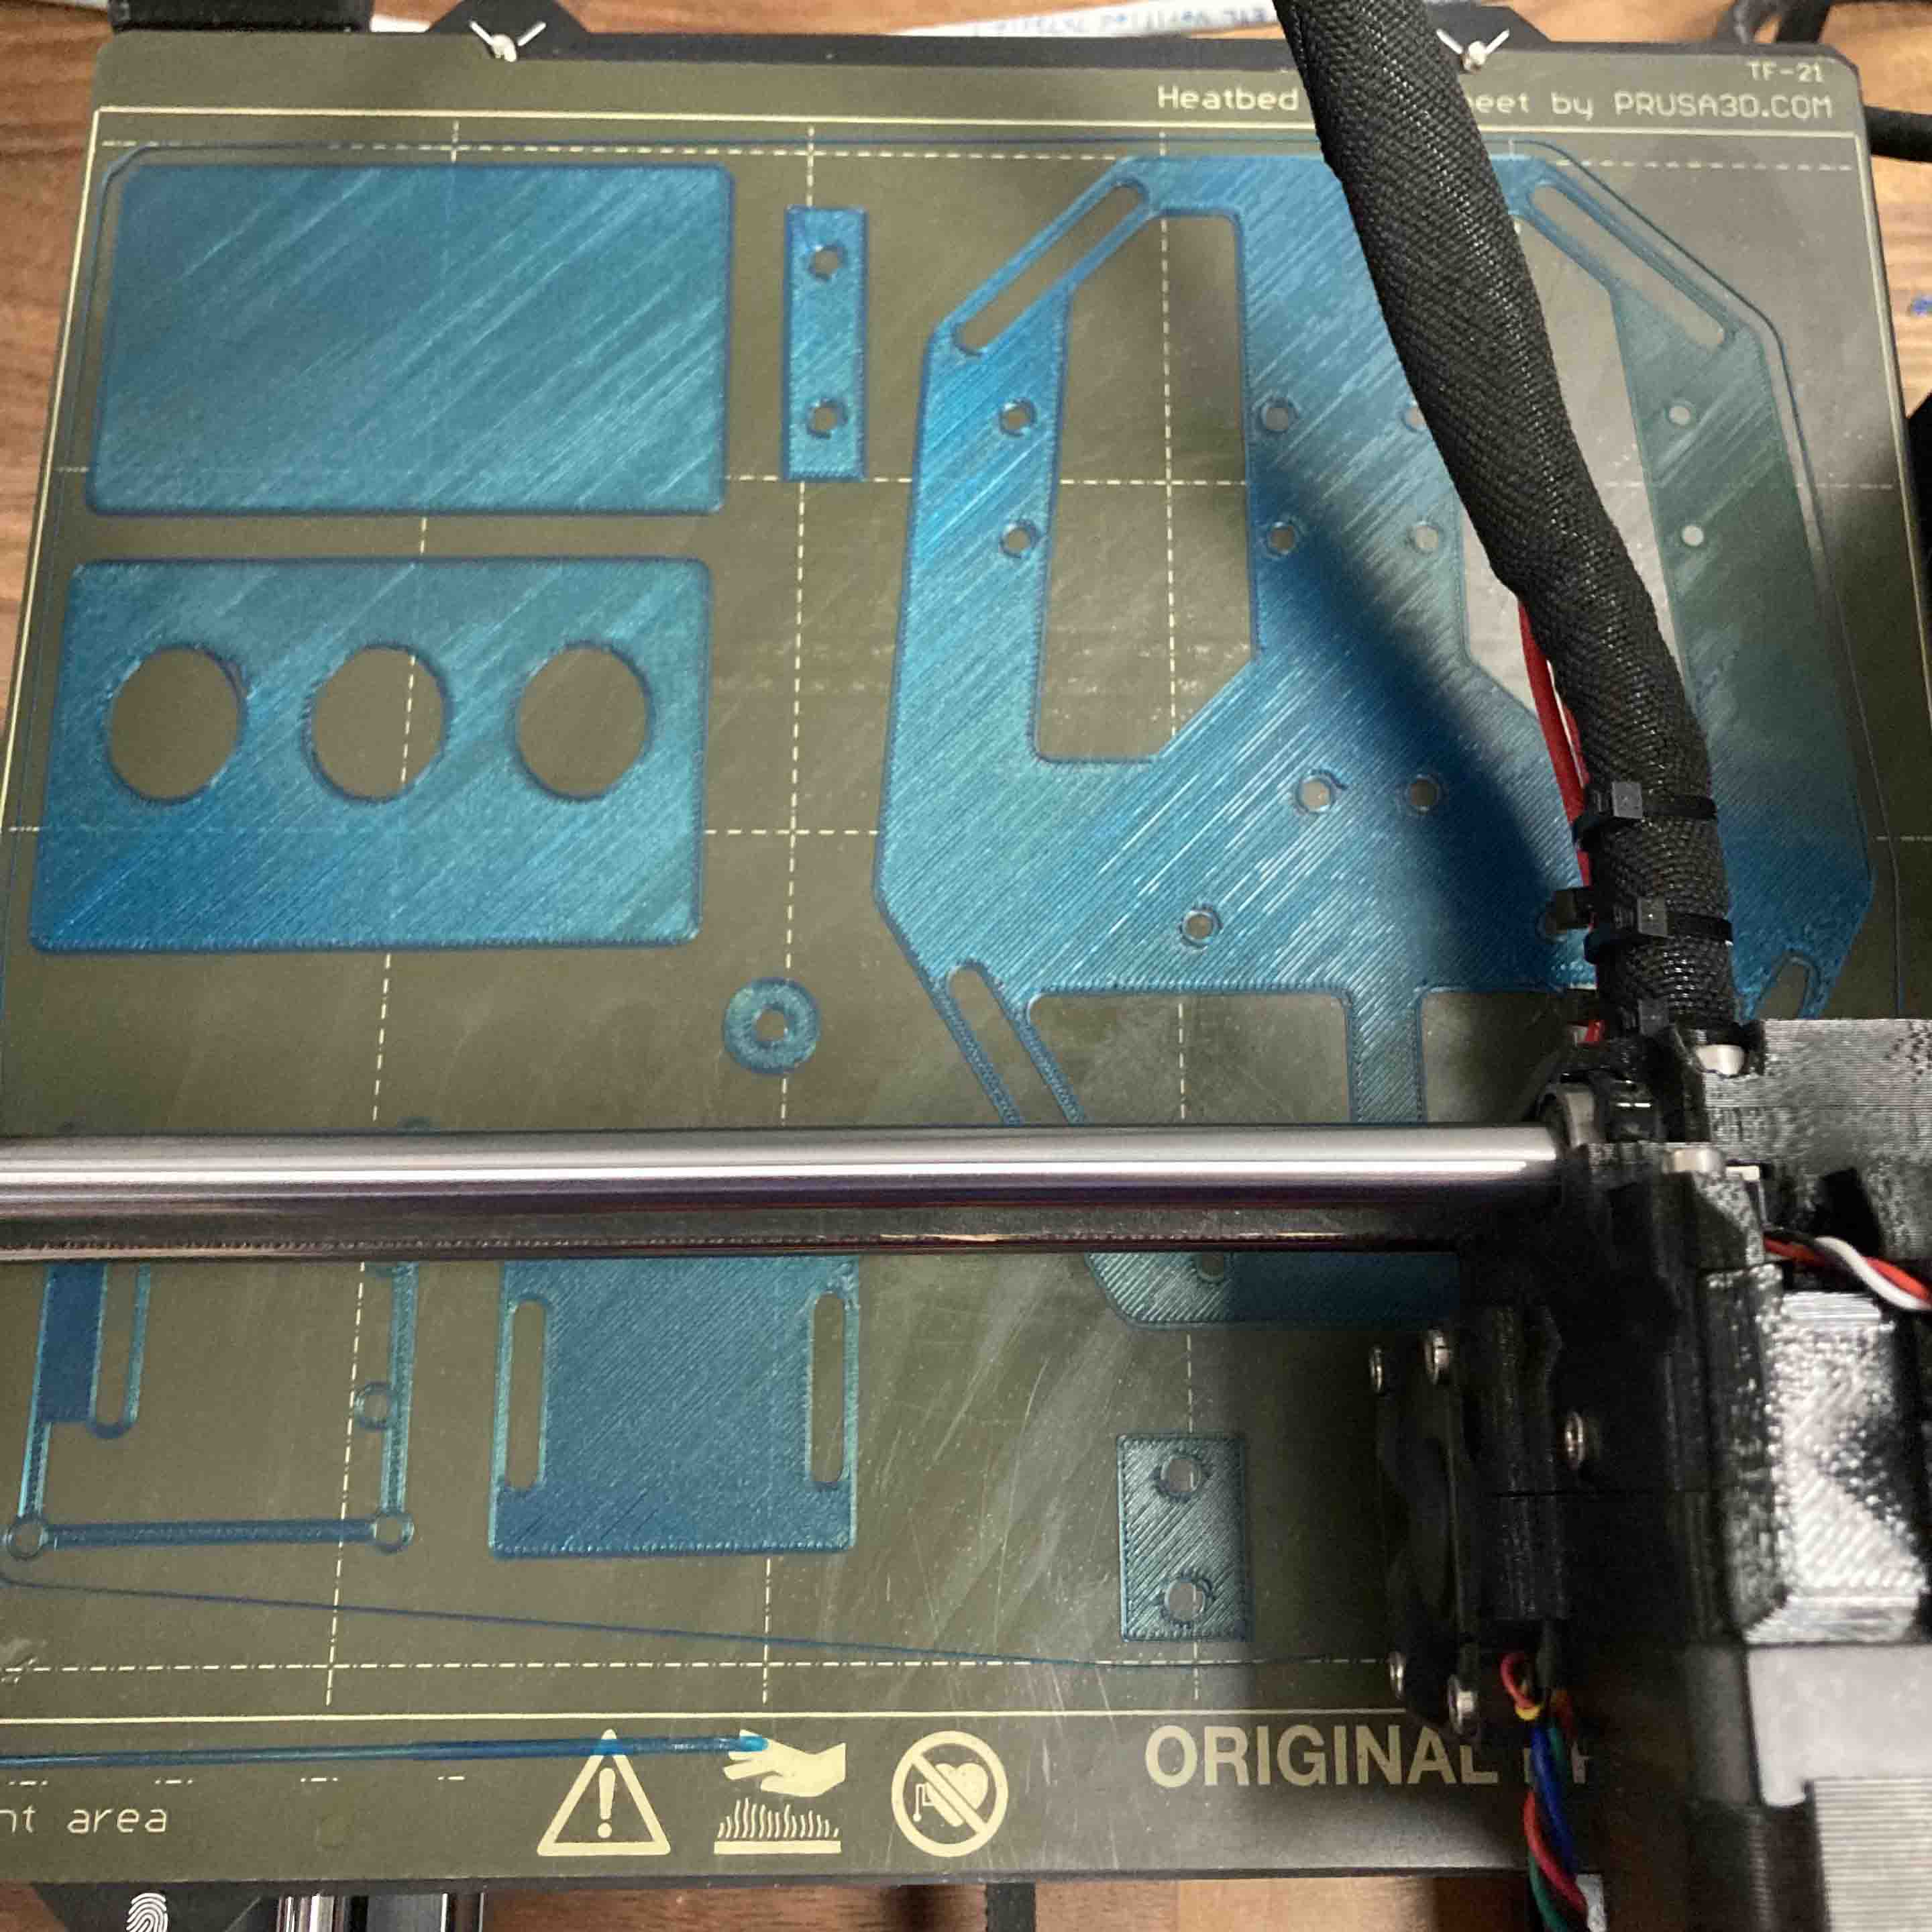
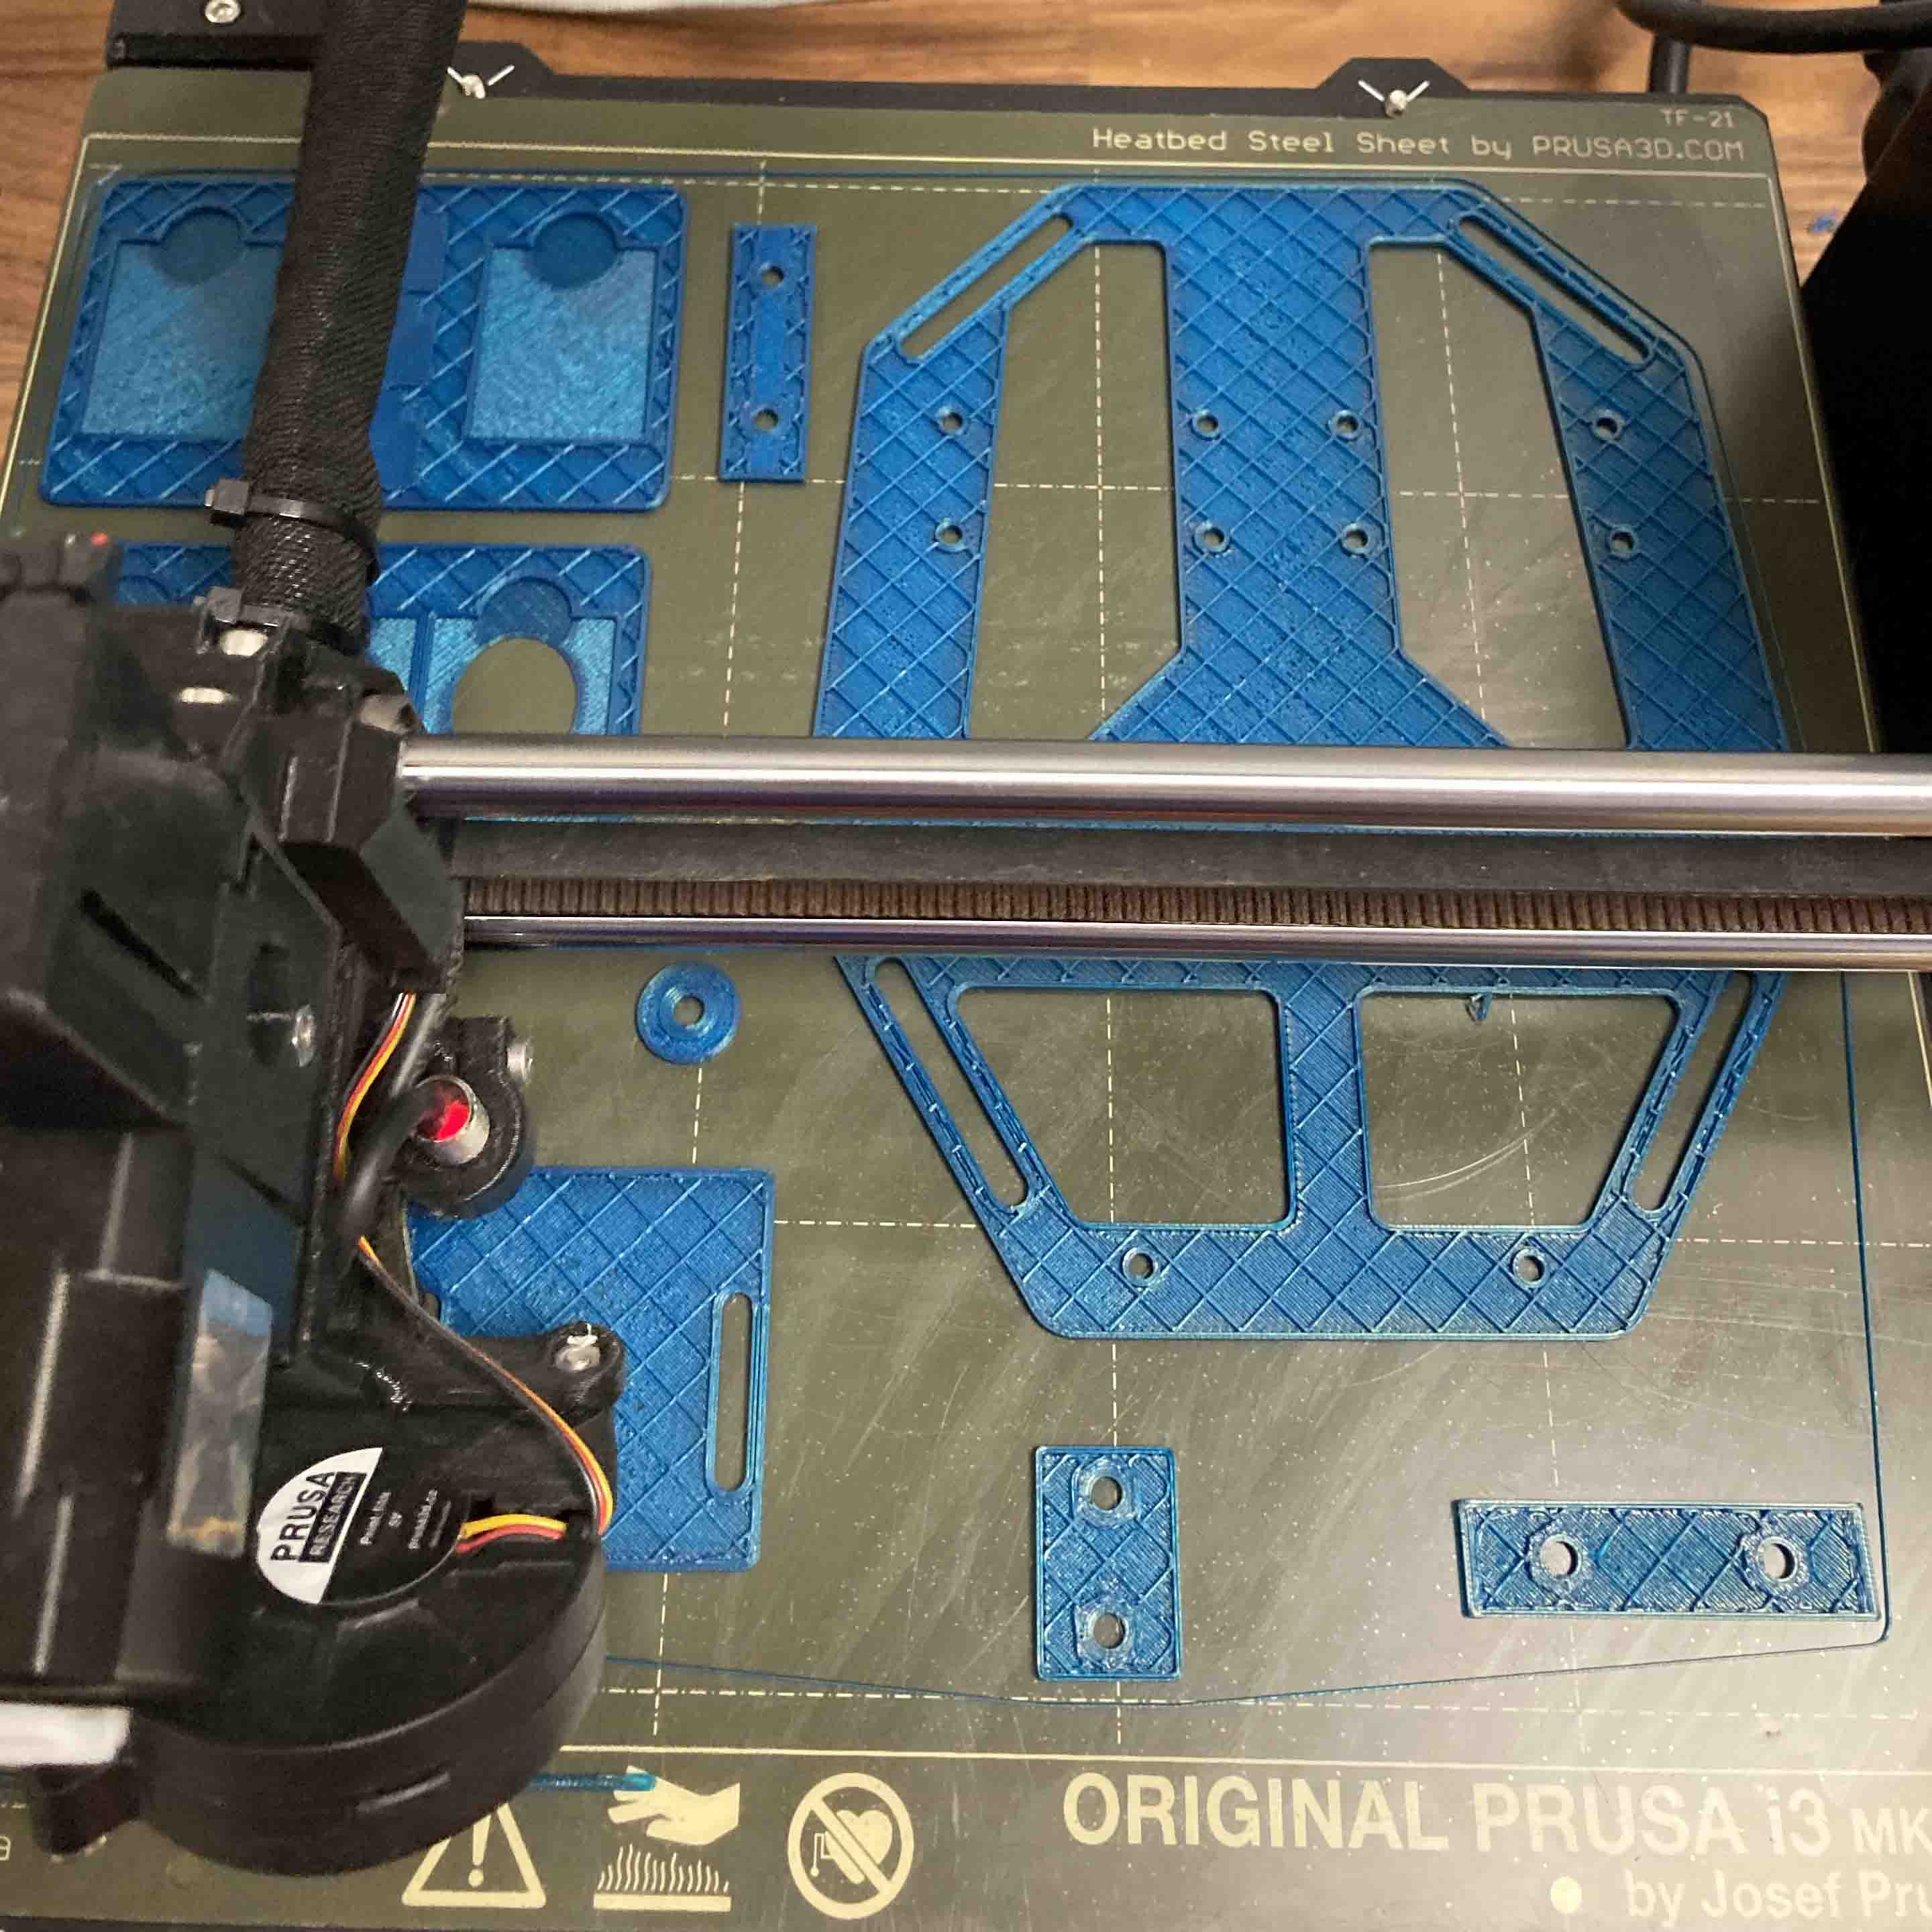
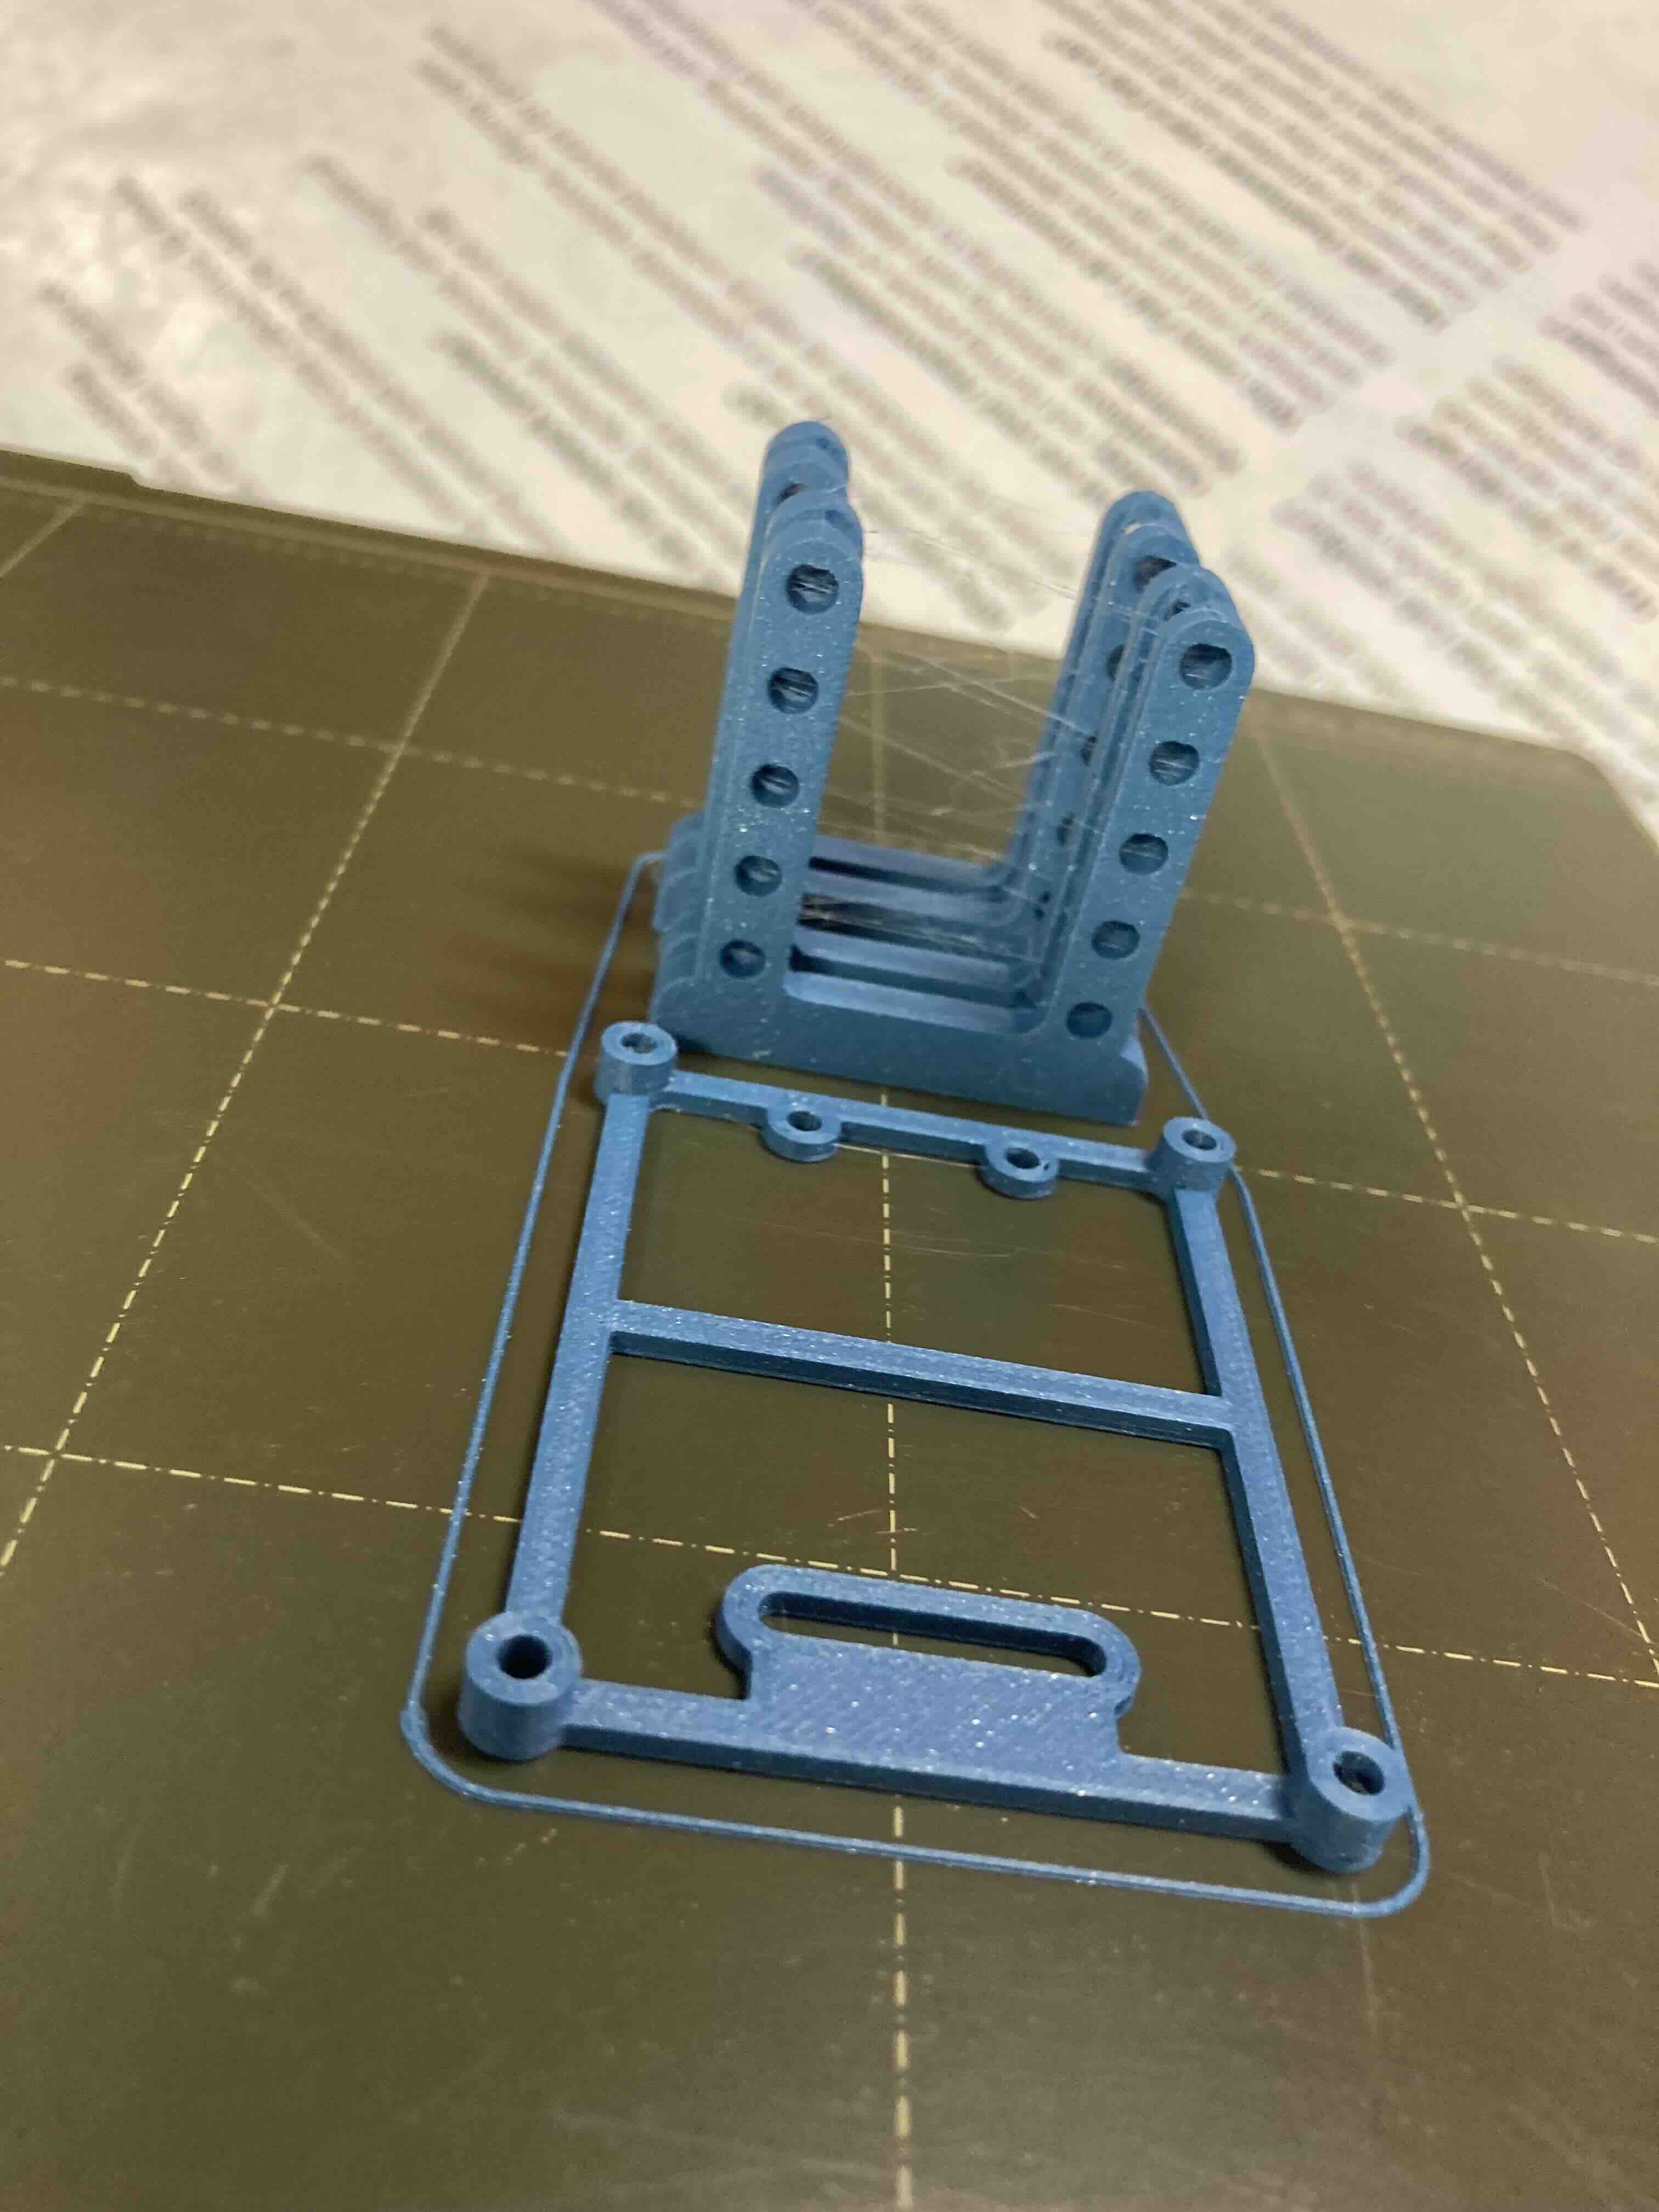
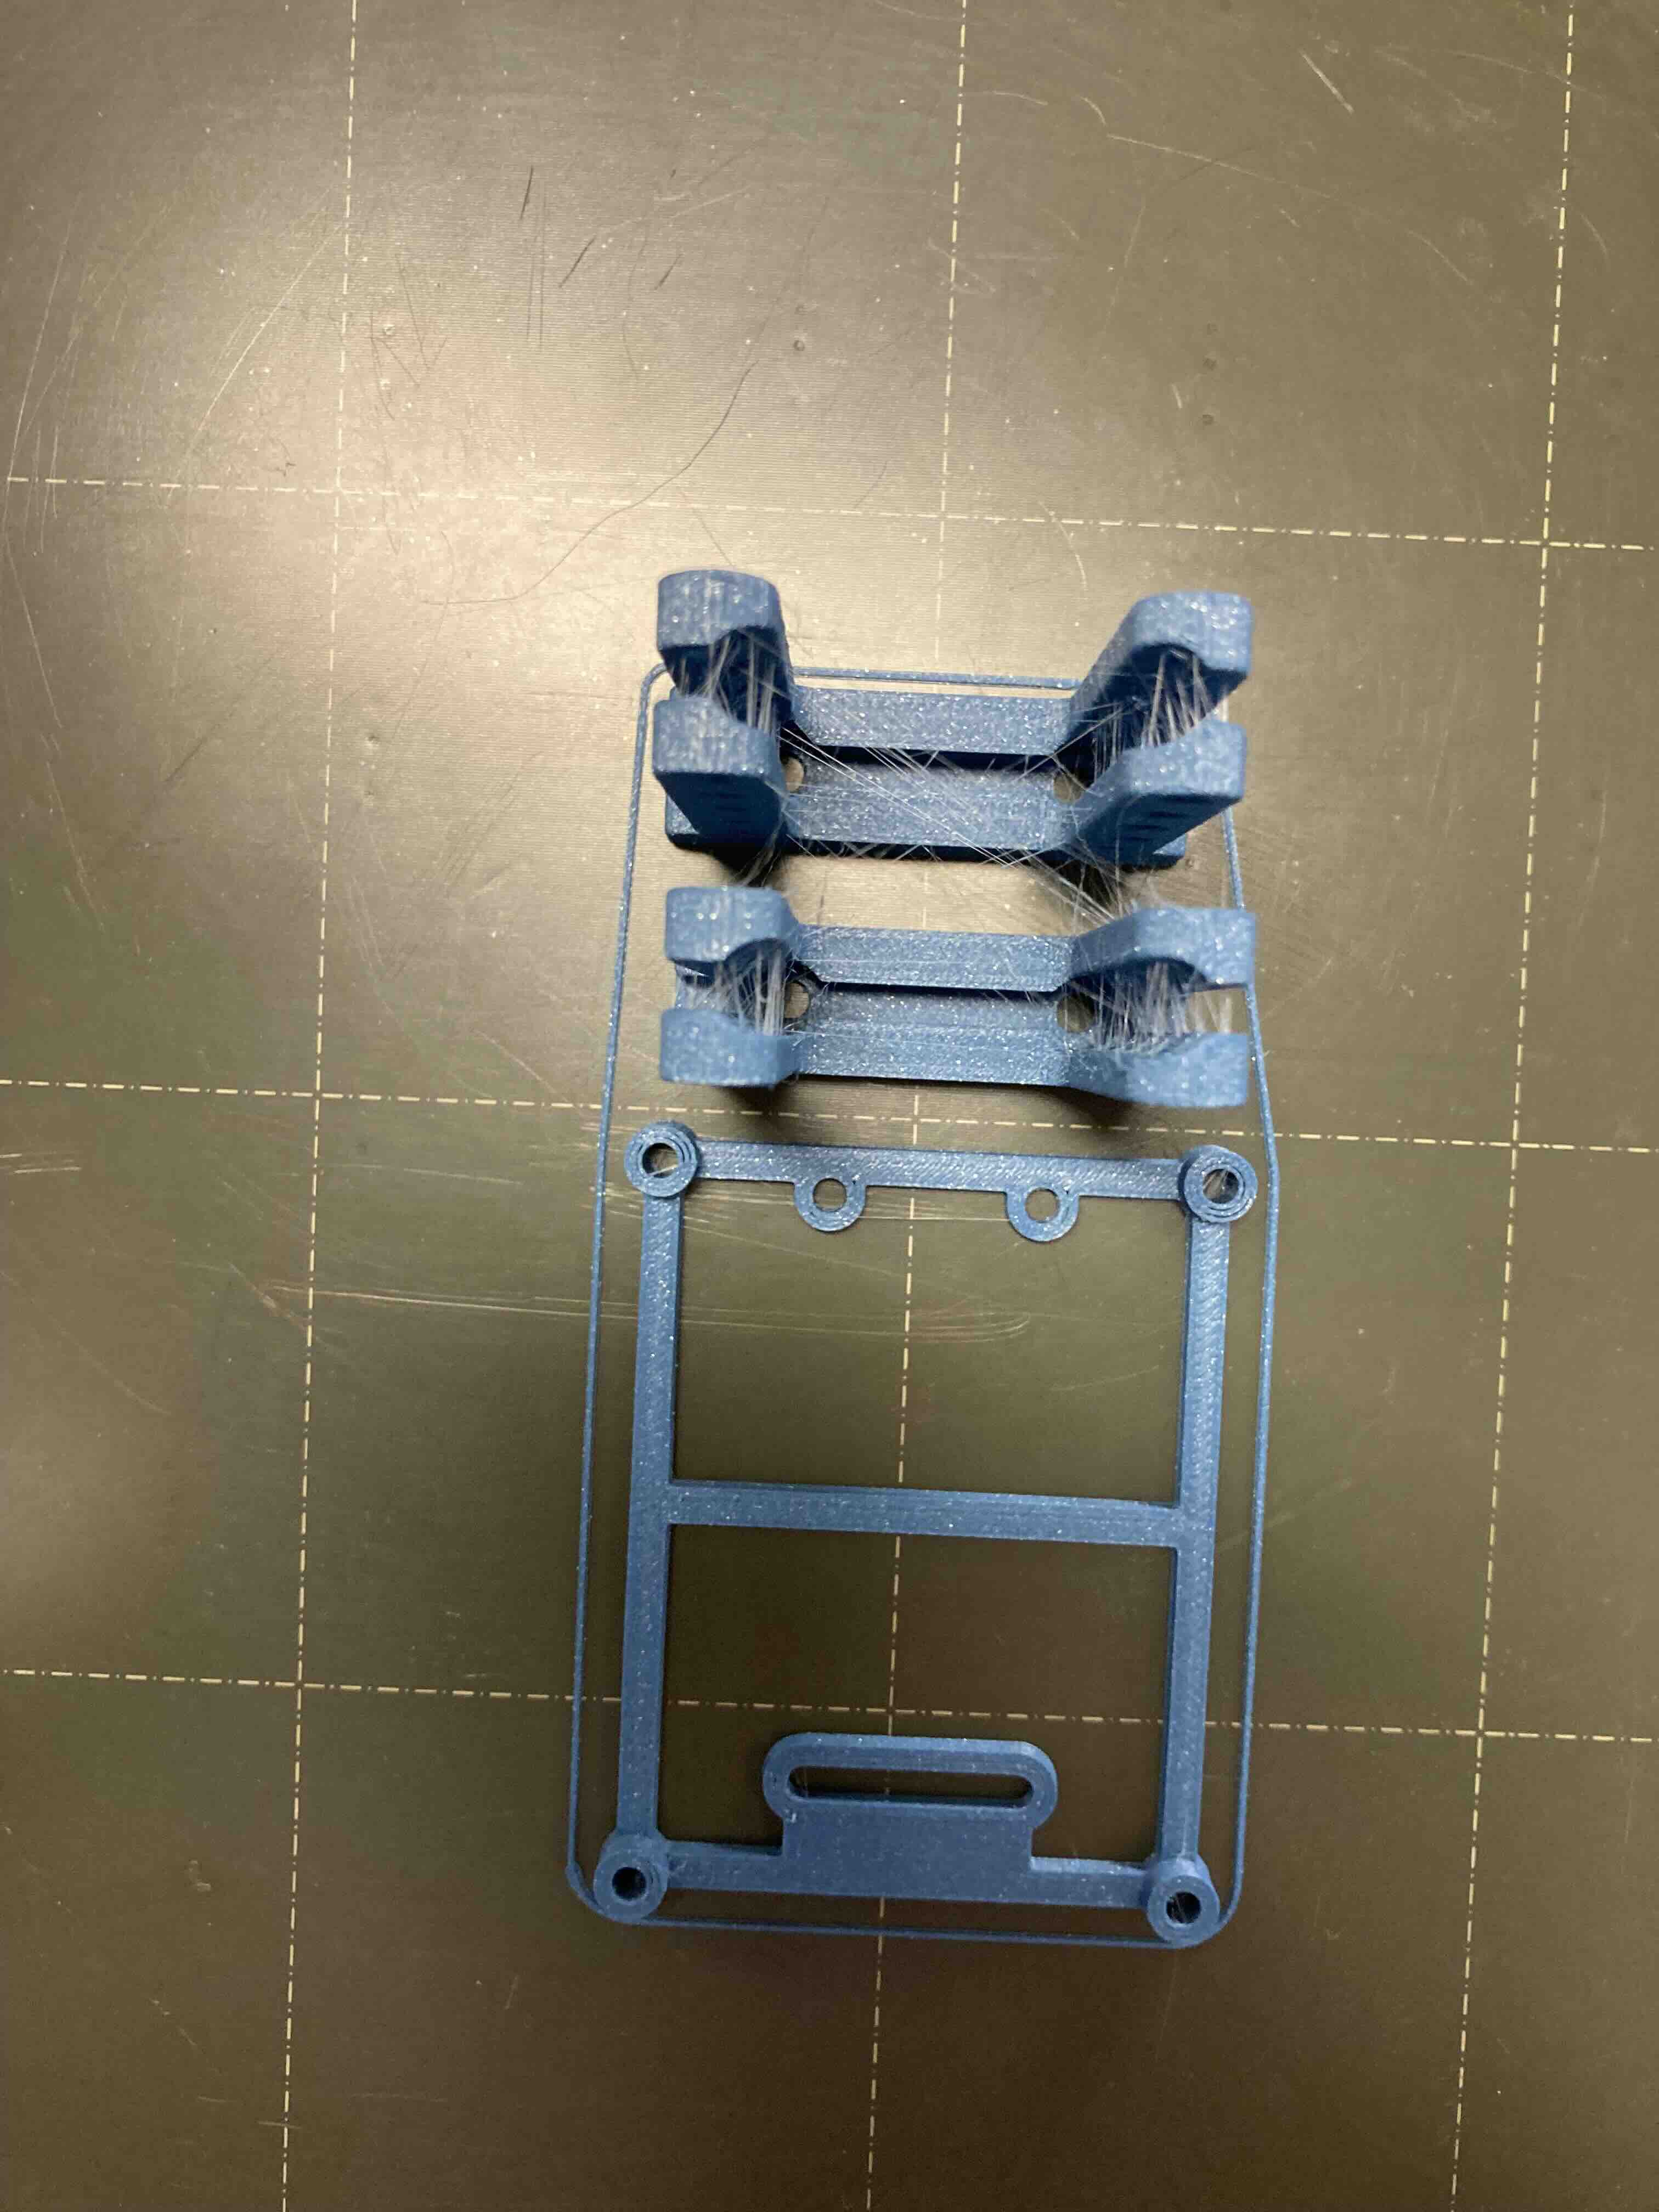
PrusaSlicer view of the backplate and parts for it. This was the first draft of the parts for the Backplate that I 3D printed and ended up altering.

3D printing in progress

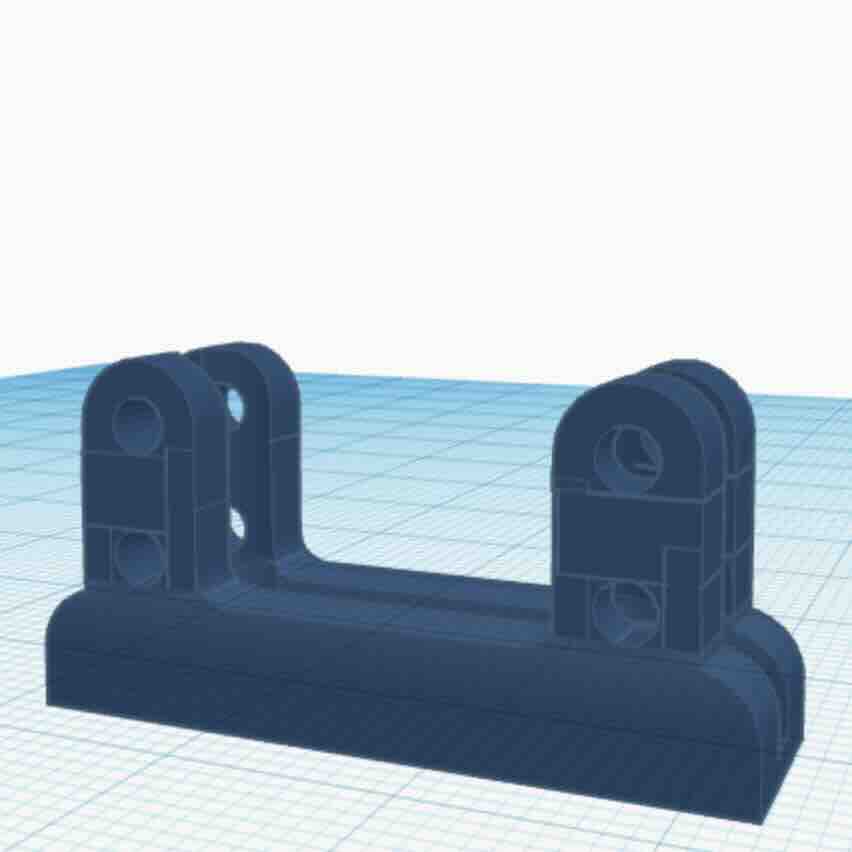
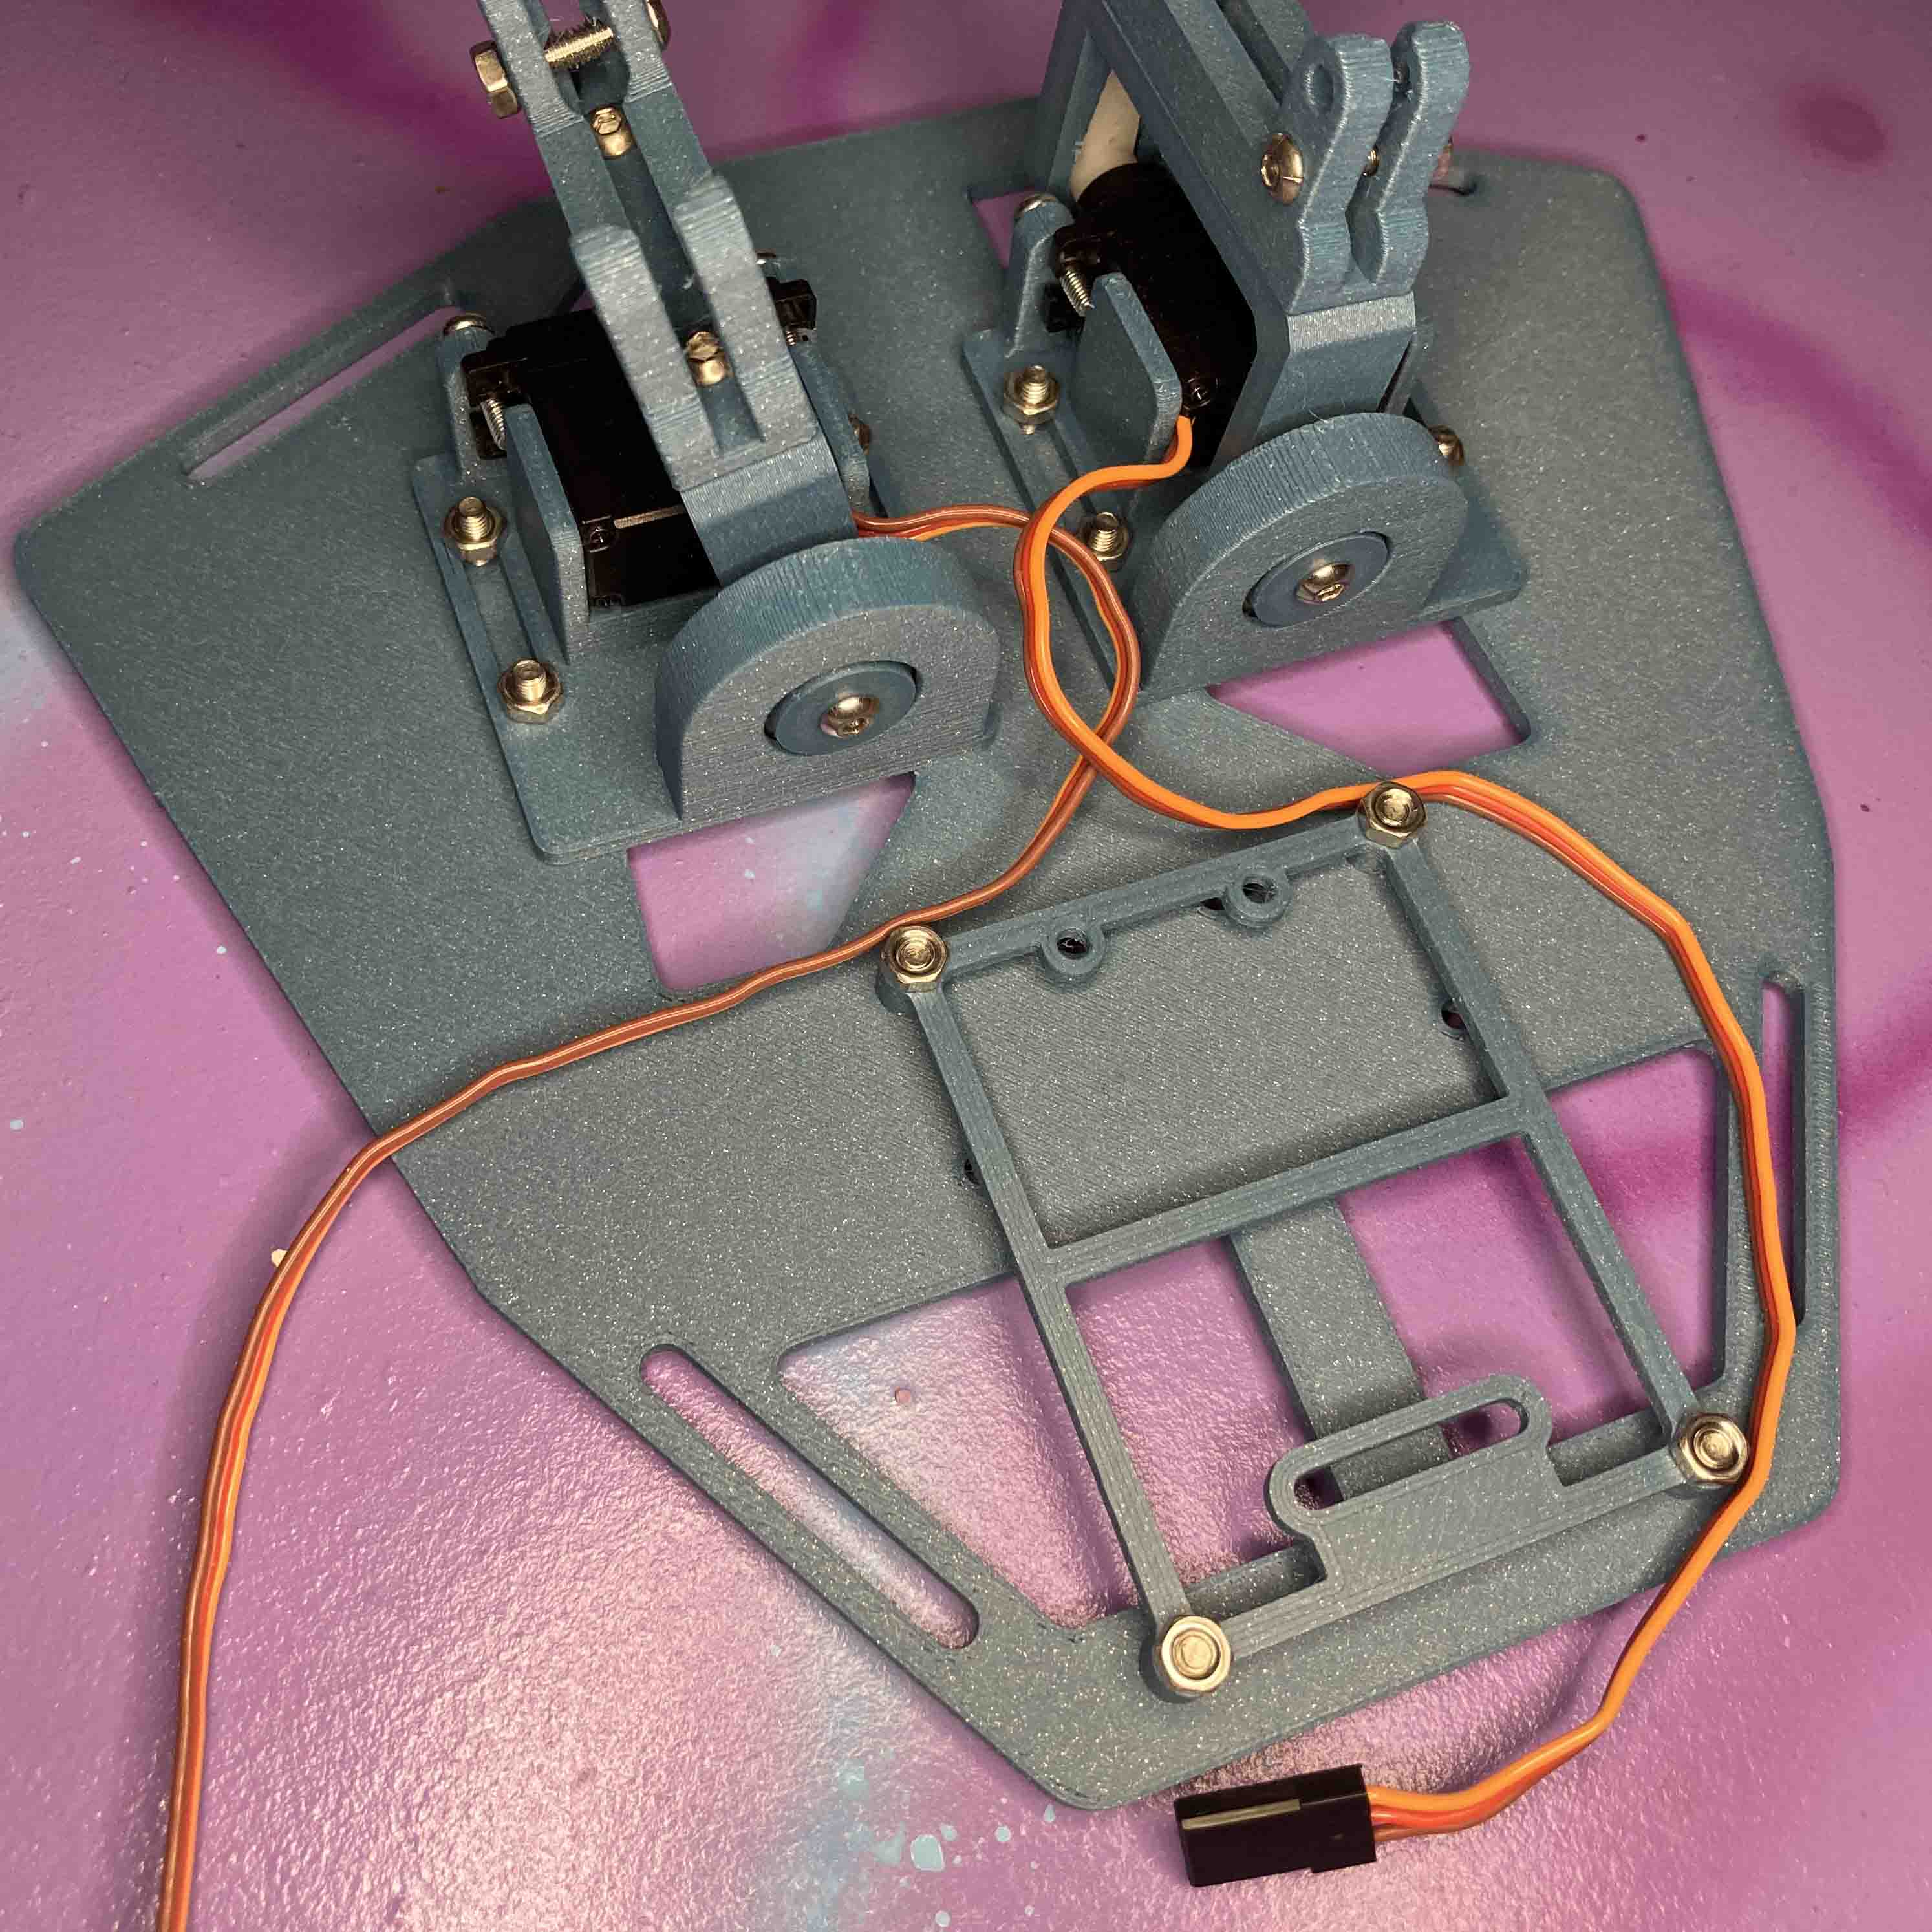
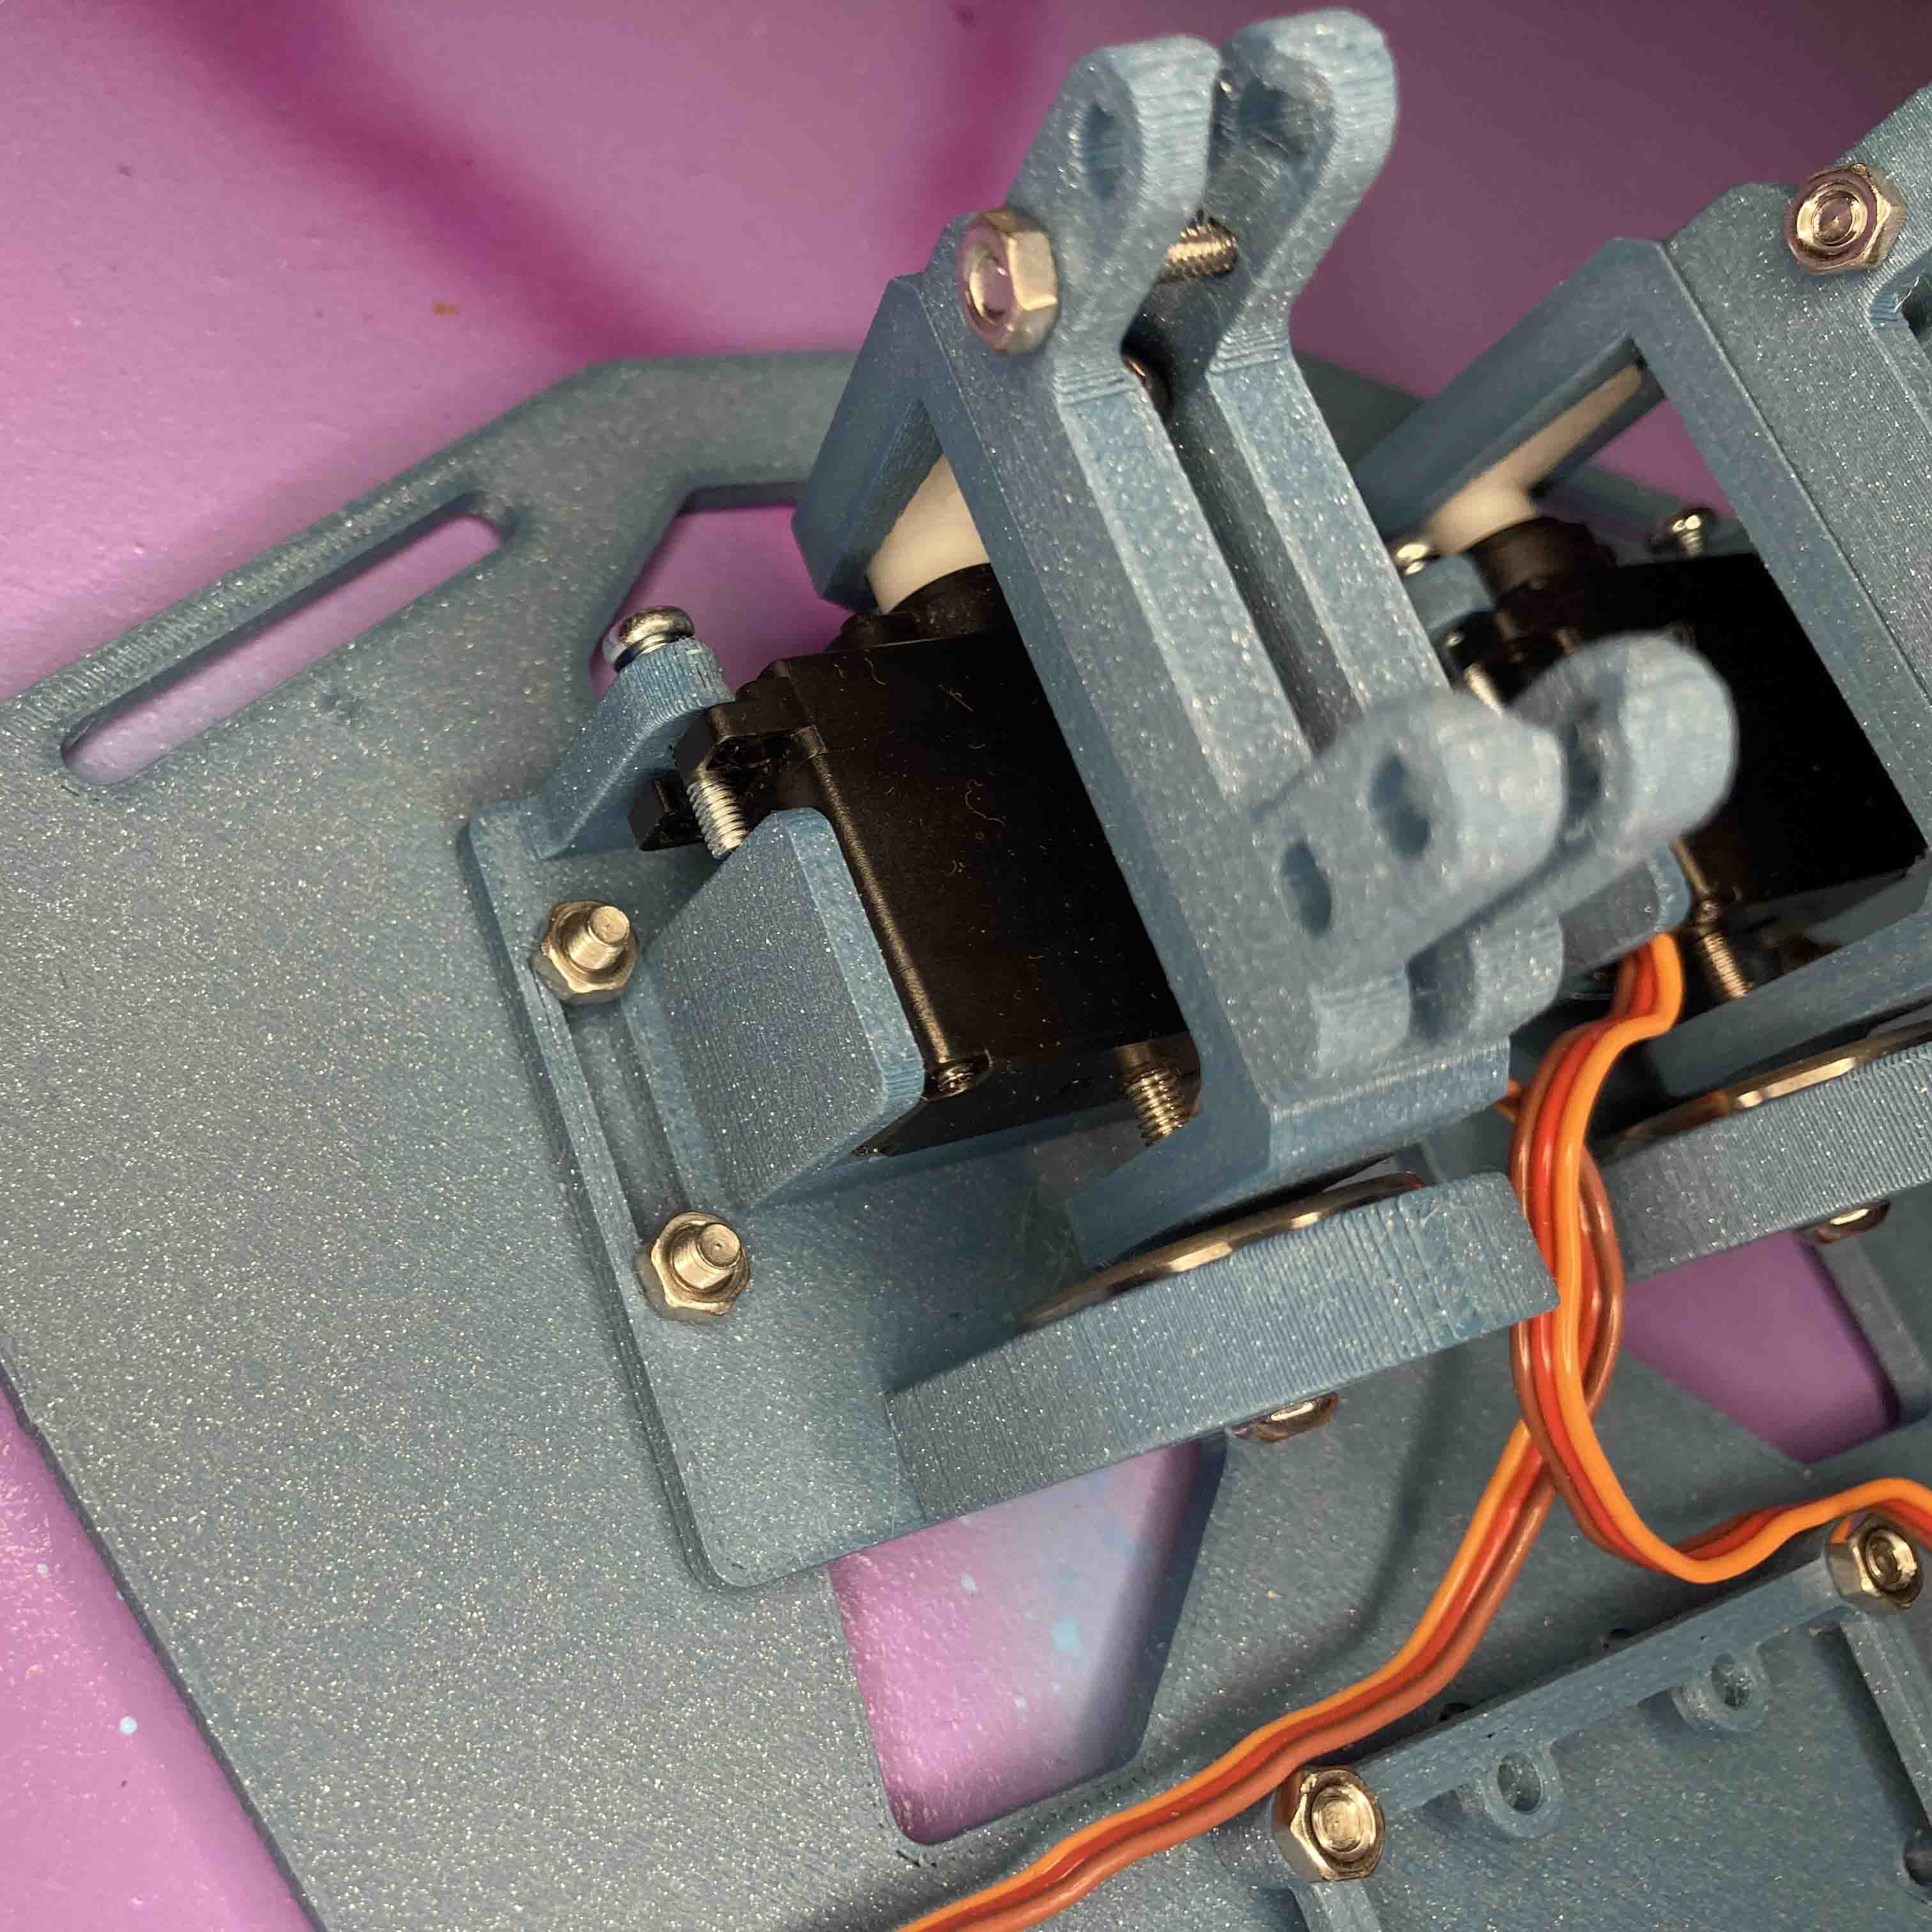
Assembly
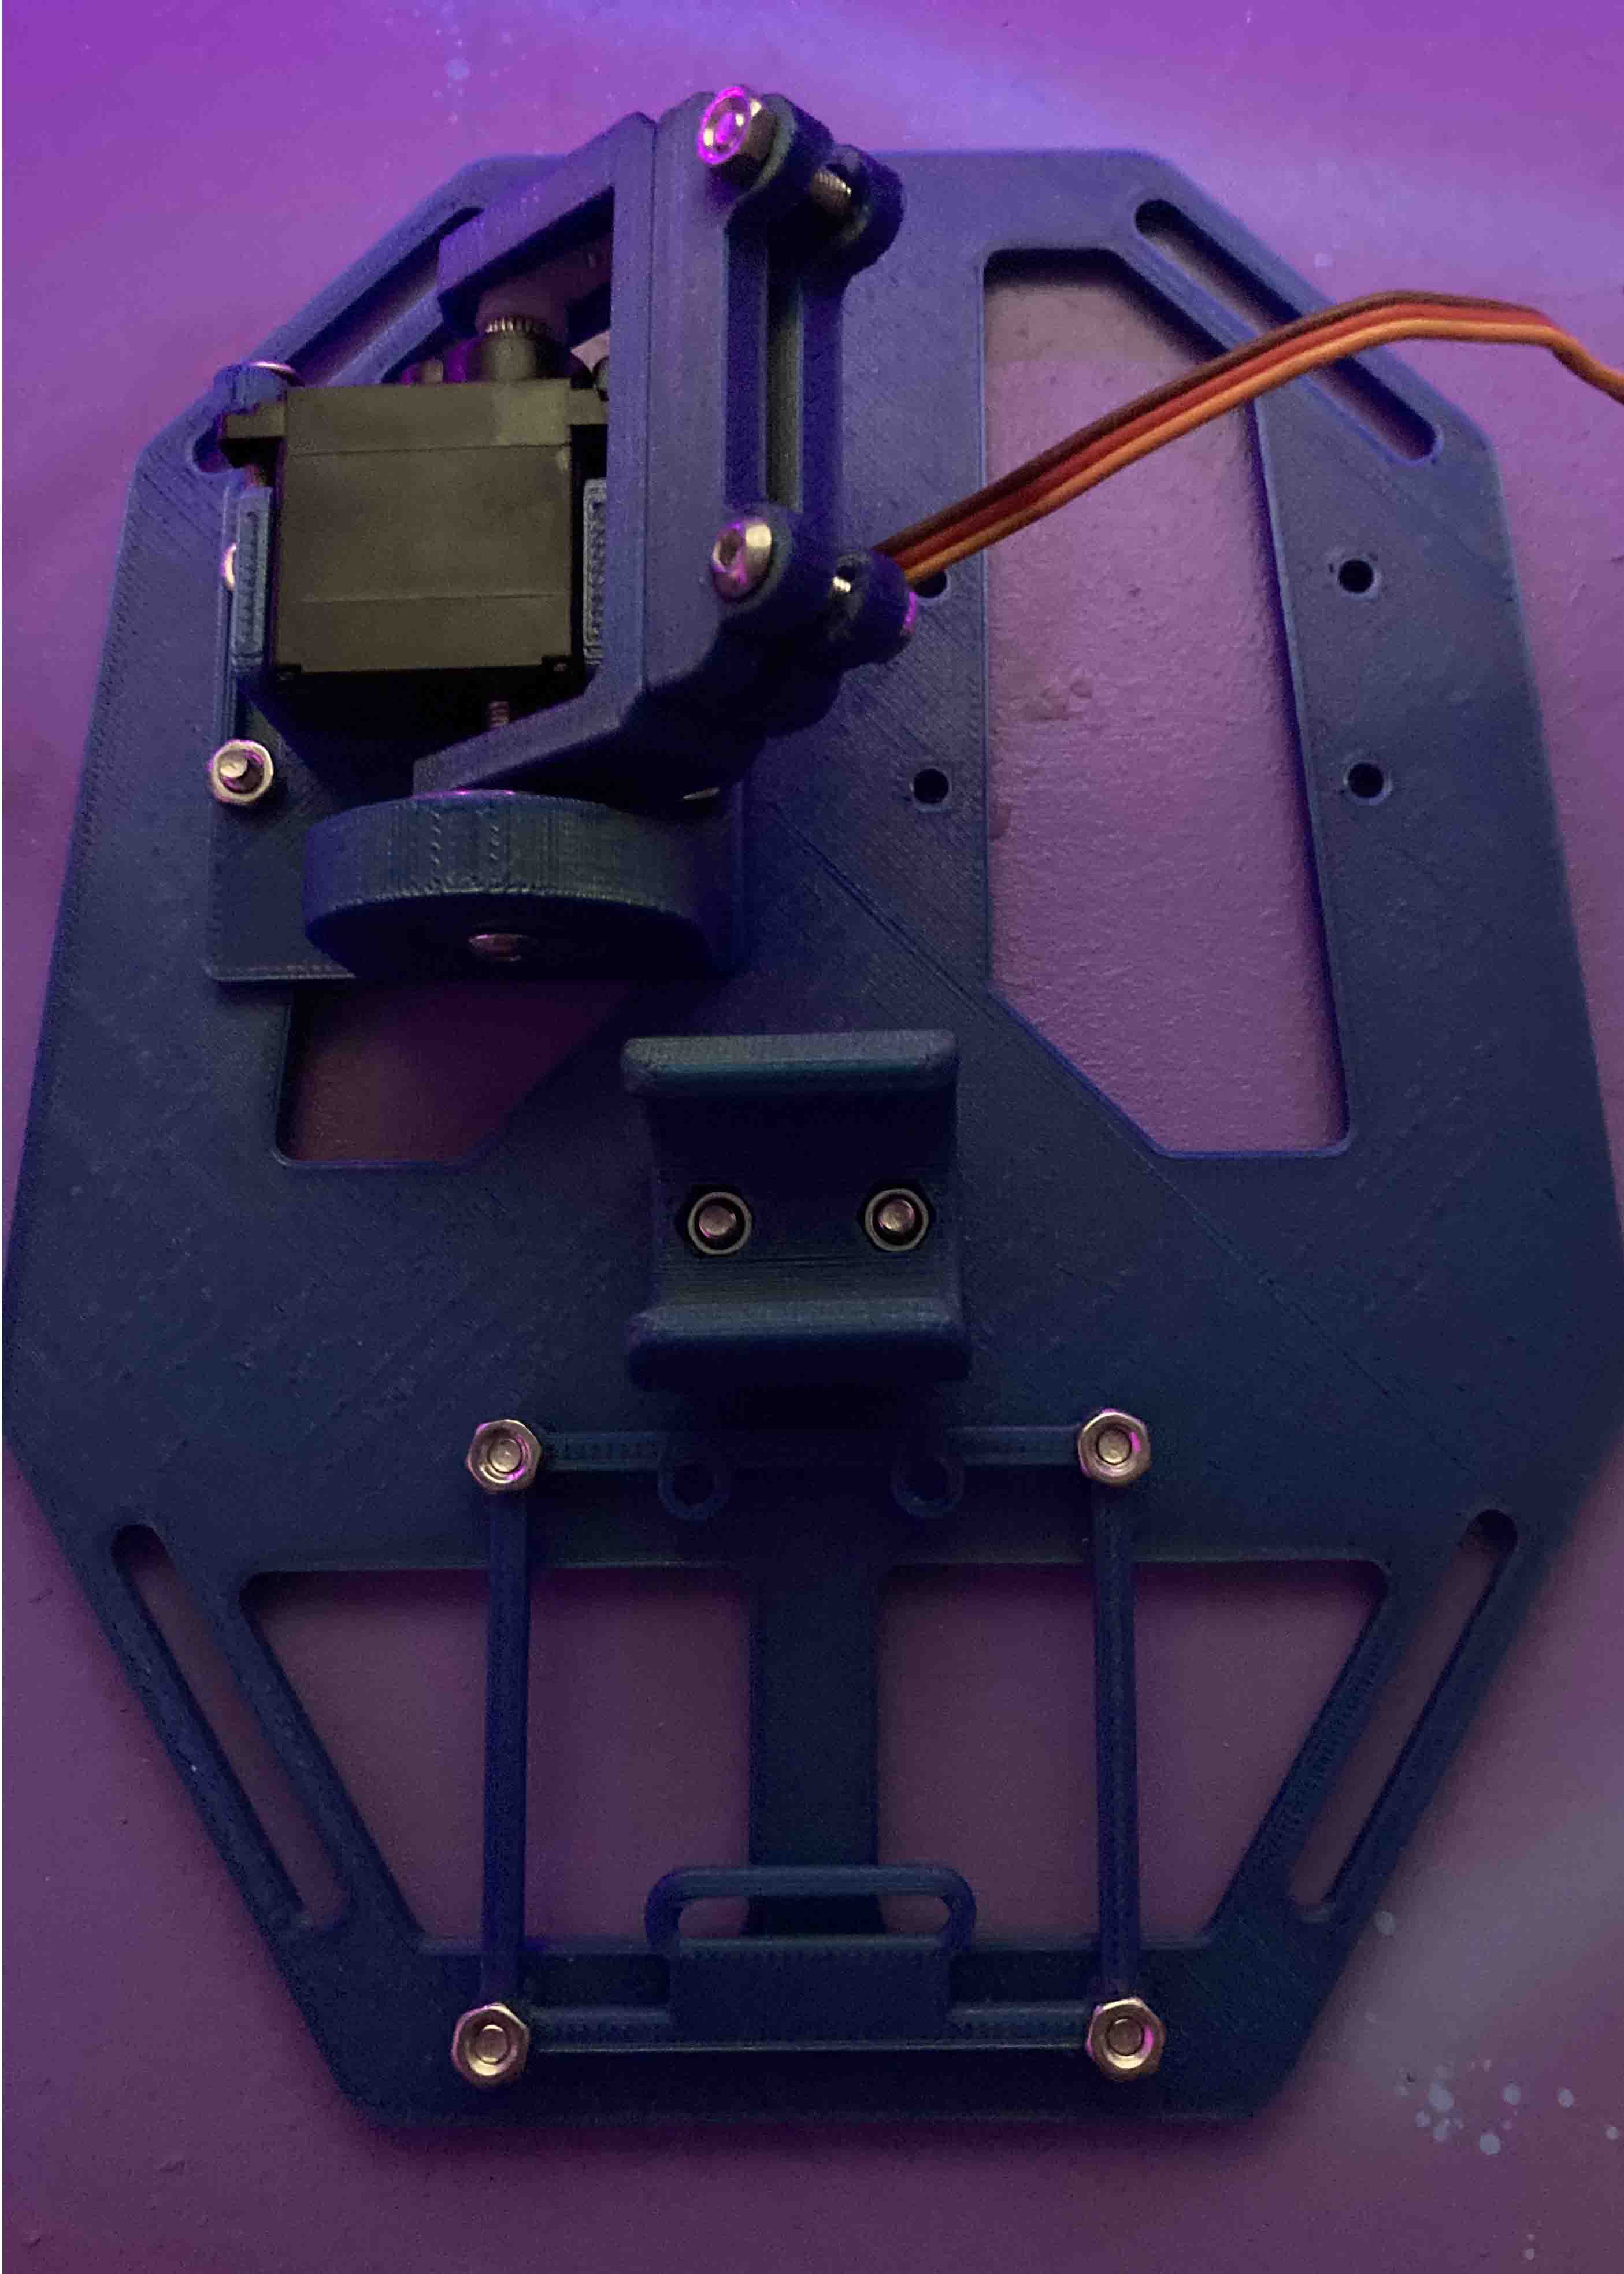
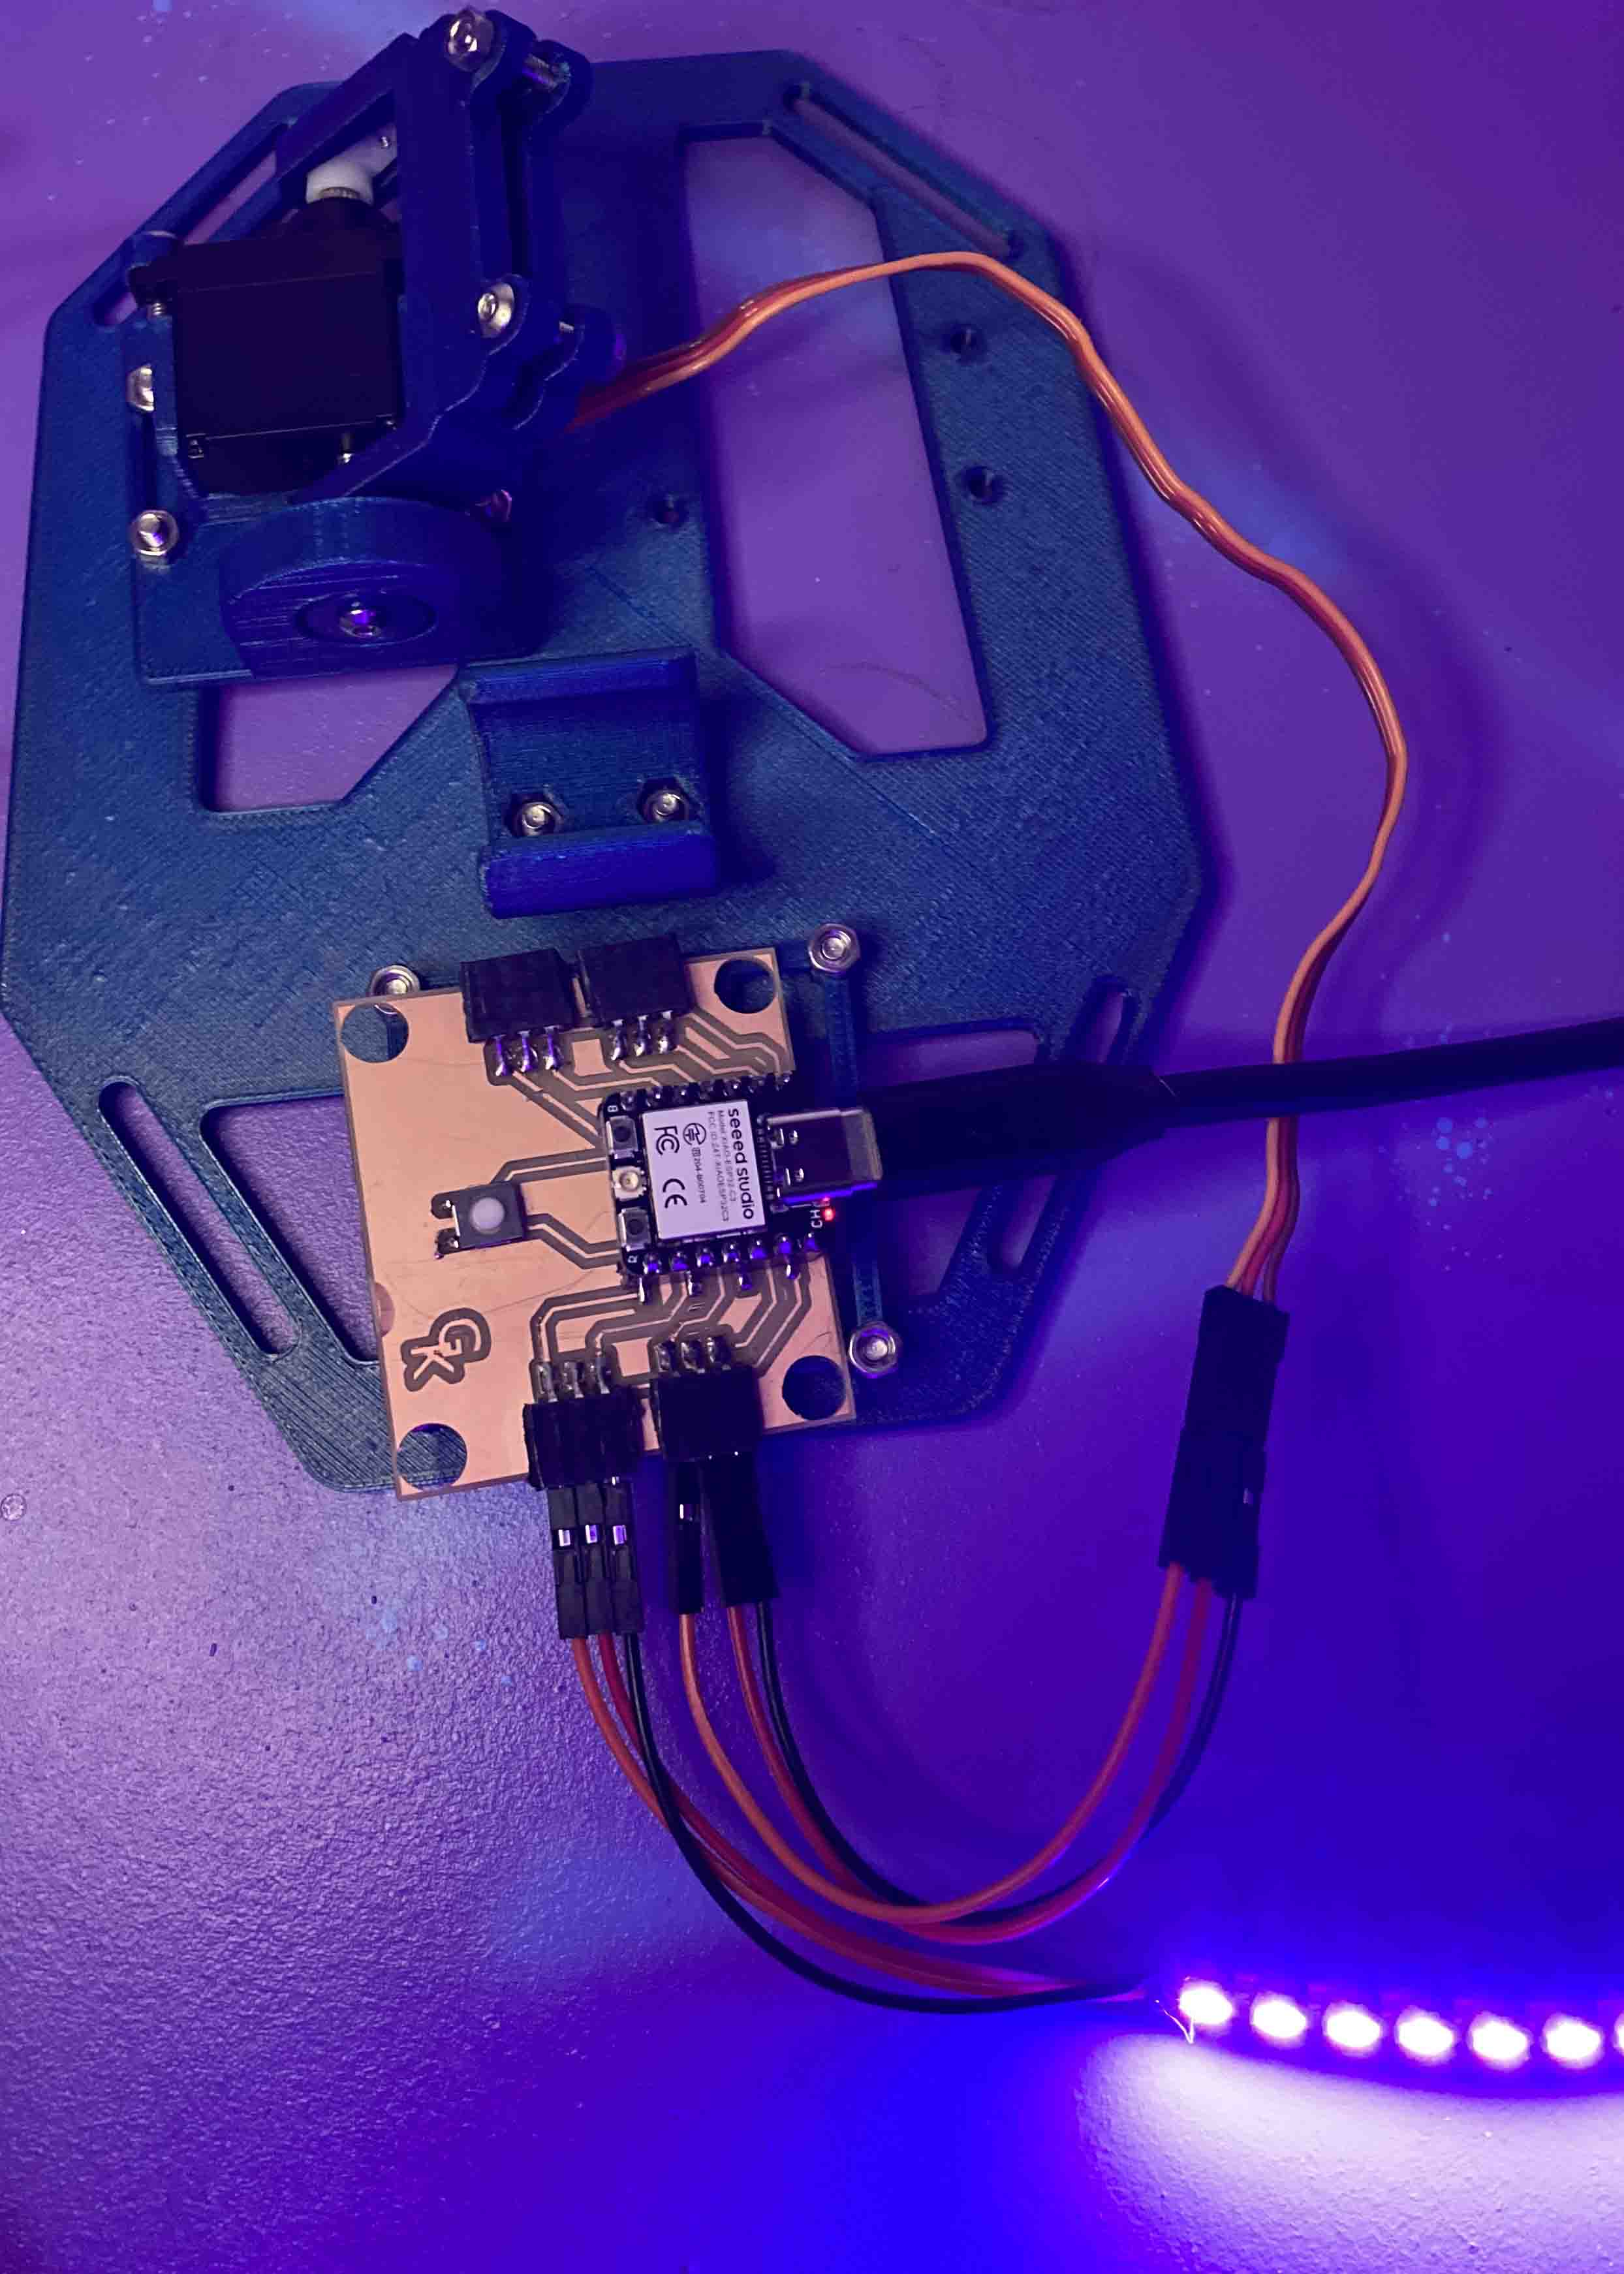
3D printed parts assembled with one Servo and PCB plate. Most of those parts I ended up redesigning. This assembly was to see the space it would take and how it would work.

Item list
| Name | Item 1 | Item 2 | Item 3 | Item 4 | Item 5 |
|---|---|---|---|---|---|
| 1x Battery-Clip | 2x M3 x 8mm screws. | 2x M3 lock nuts | |||
| 1x PCB-Mount | 4x M3 lock nuts | 4x M2.5 x 10mm | |||
| 1x Servo-Holder-A | 1x servo motor. | 2x M2.5 x 8mm | 1x 608ZZ ball bearing | 4x M3 lock nuts | 4x M2.5 x 10mm |
| 1x Servo-Holder-B | 1x servo motor. | 2x M2.5 x 8mm | 1x 608ZZ ball bearing. | 4x M3 lock nuts | 4x M2.5 x 10mm |
| 2x Servo-Arm | 2x M3 x 10mm | 3x M3 lock nuts | 1x servo horn | 2x servo screw | |
| 2x Wing-Clip | 2x M3 lock nuts | 2x M3 x 10mm | |||
| 2x Servo-Pin | 1x M3 x 15mm. | ||||
Sketches
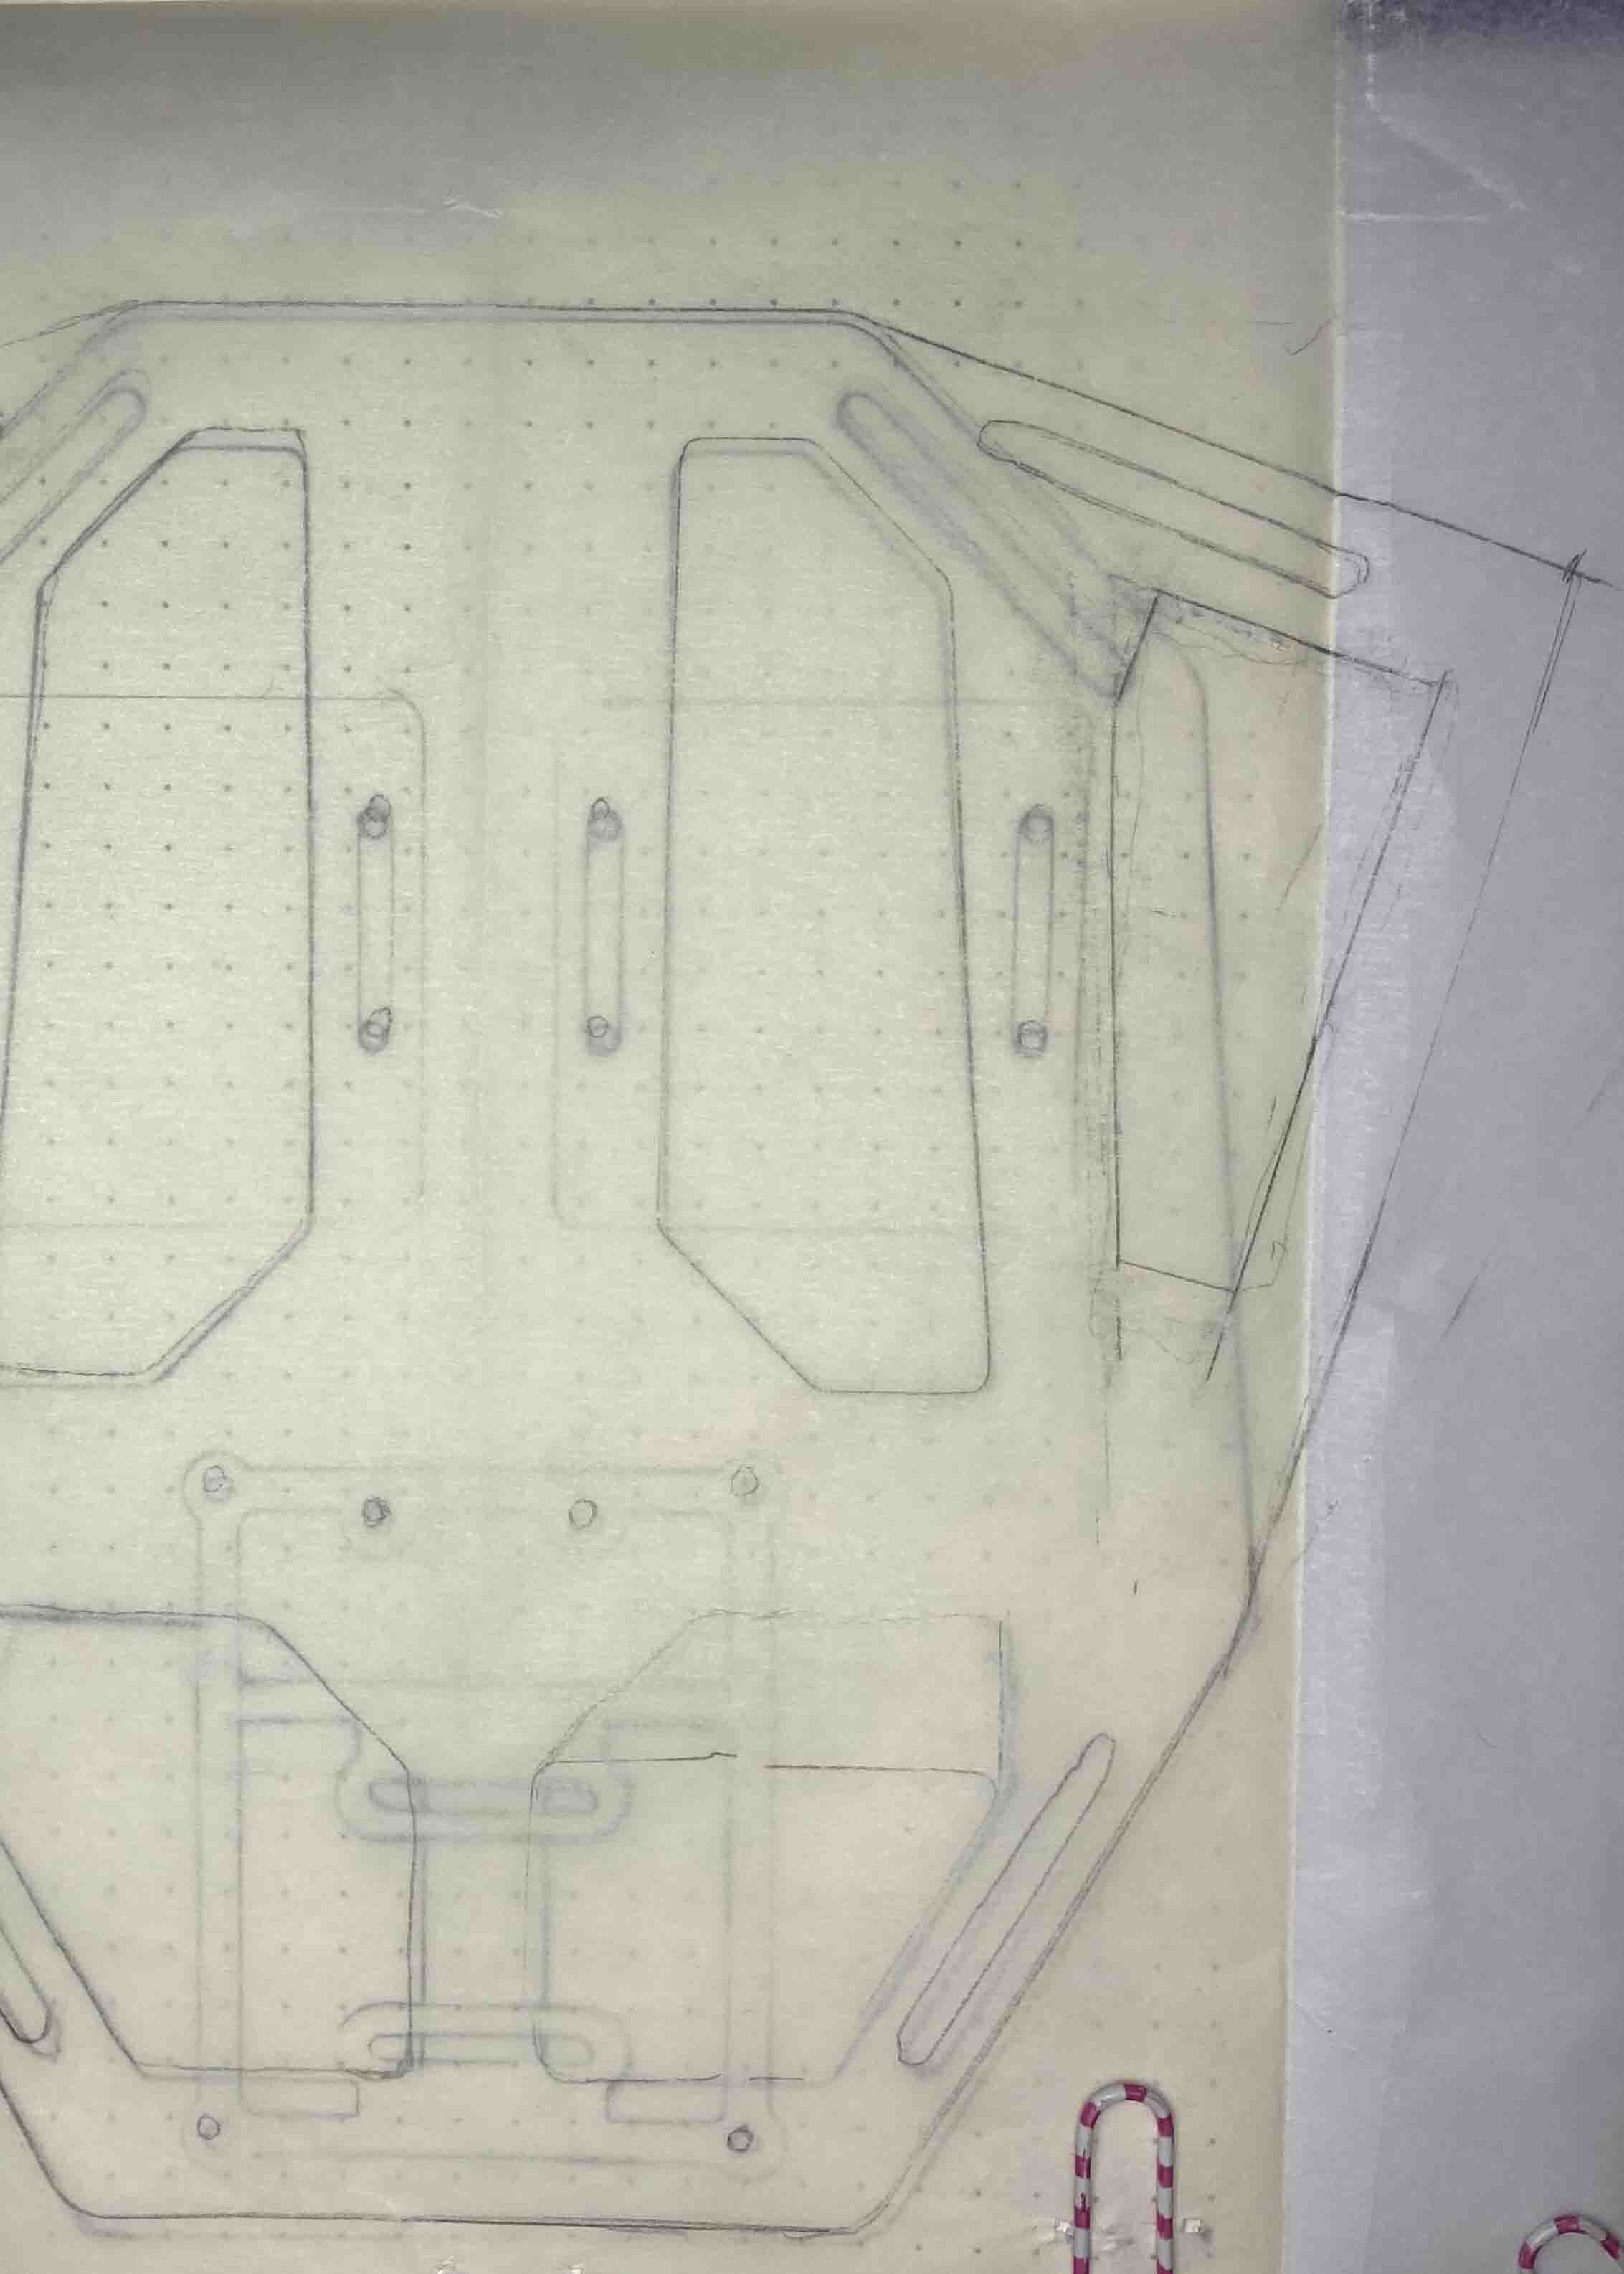
This is the redesigning of the backplate. The holes are differnt, the top part was redesigned so it would be more confortable to wear and the straps will not rub against your neck. I changed the PCB mount to make it longer.
Backplate 2
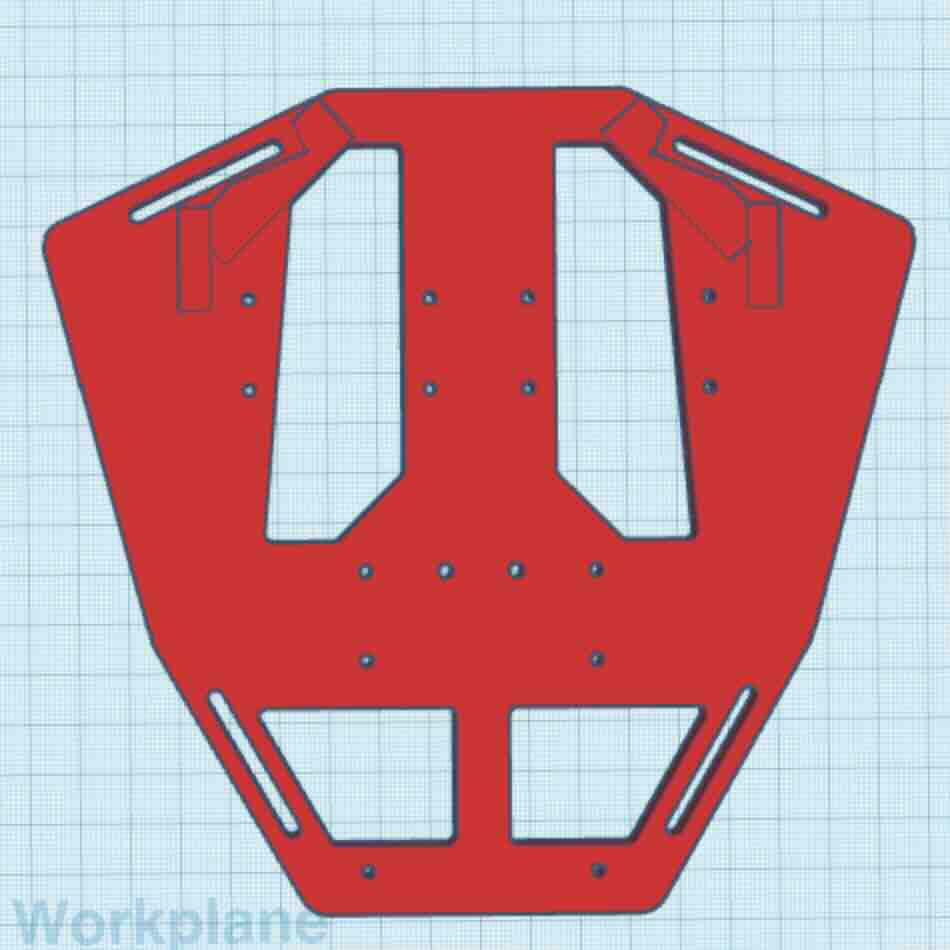
Altered backplate so it fits better to the body and the harness doesnt chafe.

PCB mount 2
Altered to fit the PCB board I made.


Wing clip 2
Altered wing clip but it didnt work the arm was too short, I changed that again.

3D printing
3D printing in process with new parts.


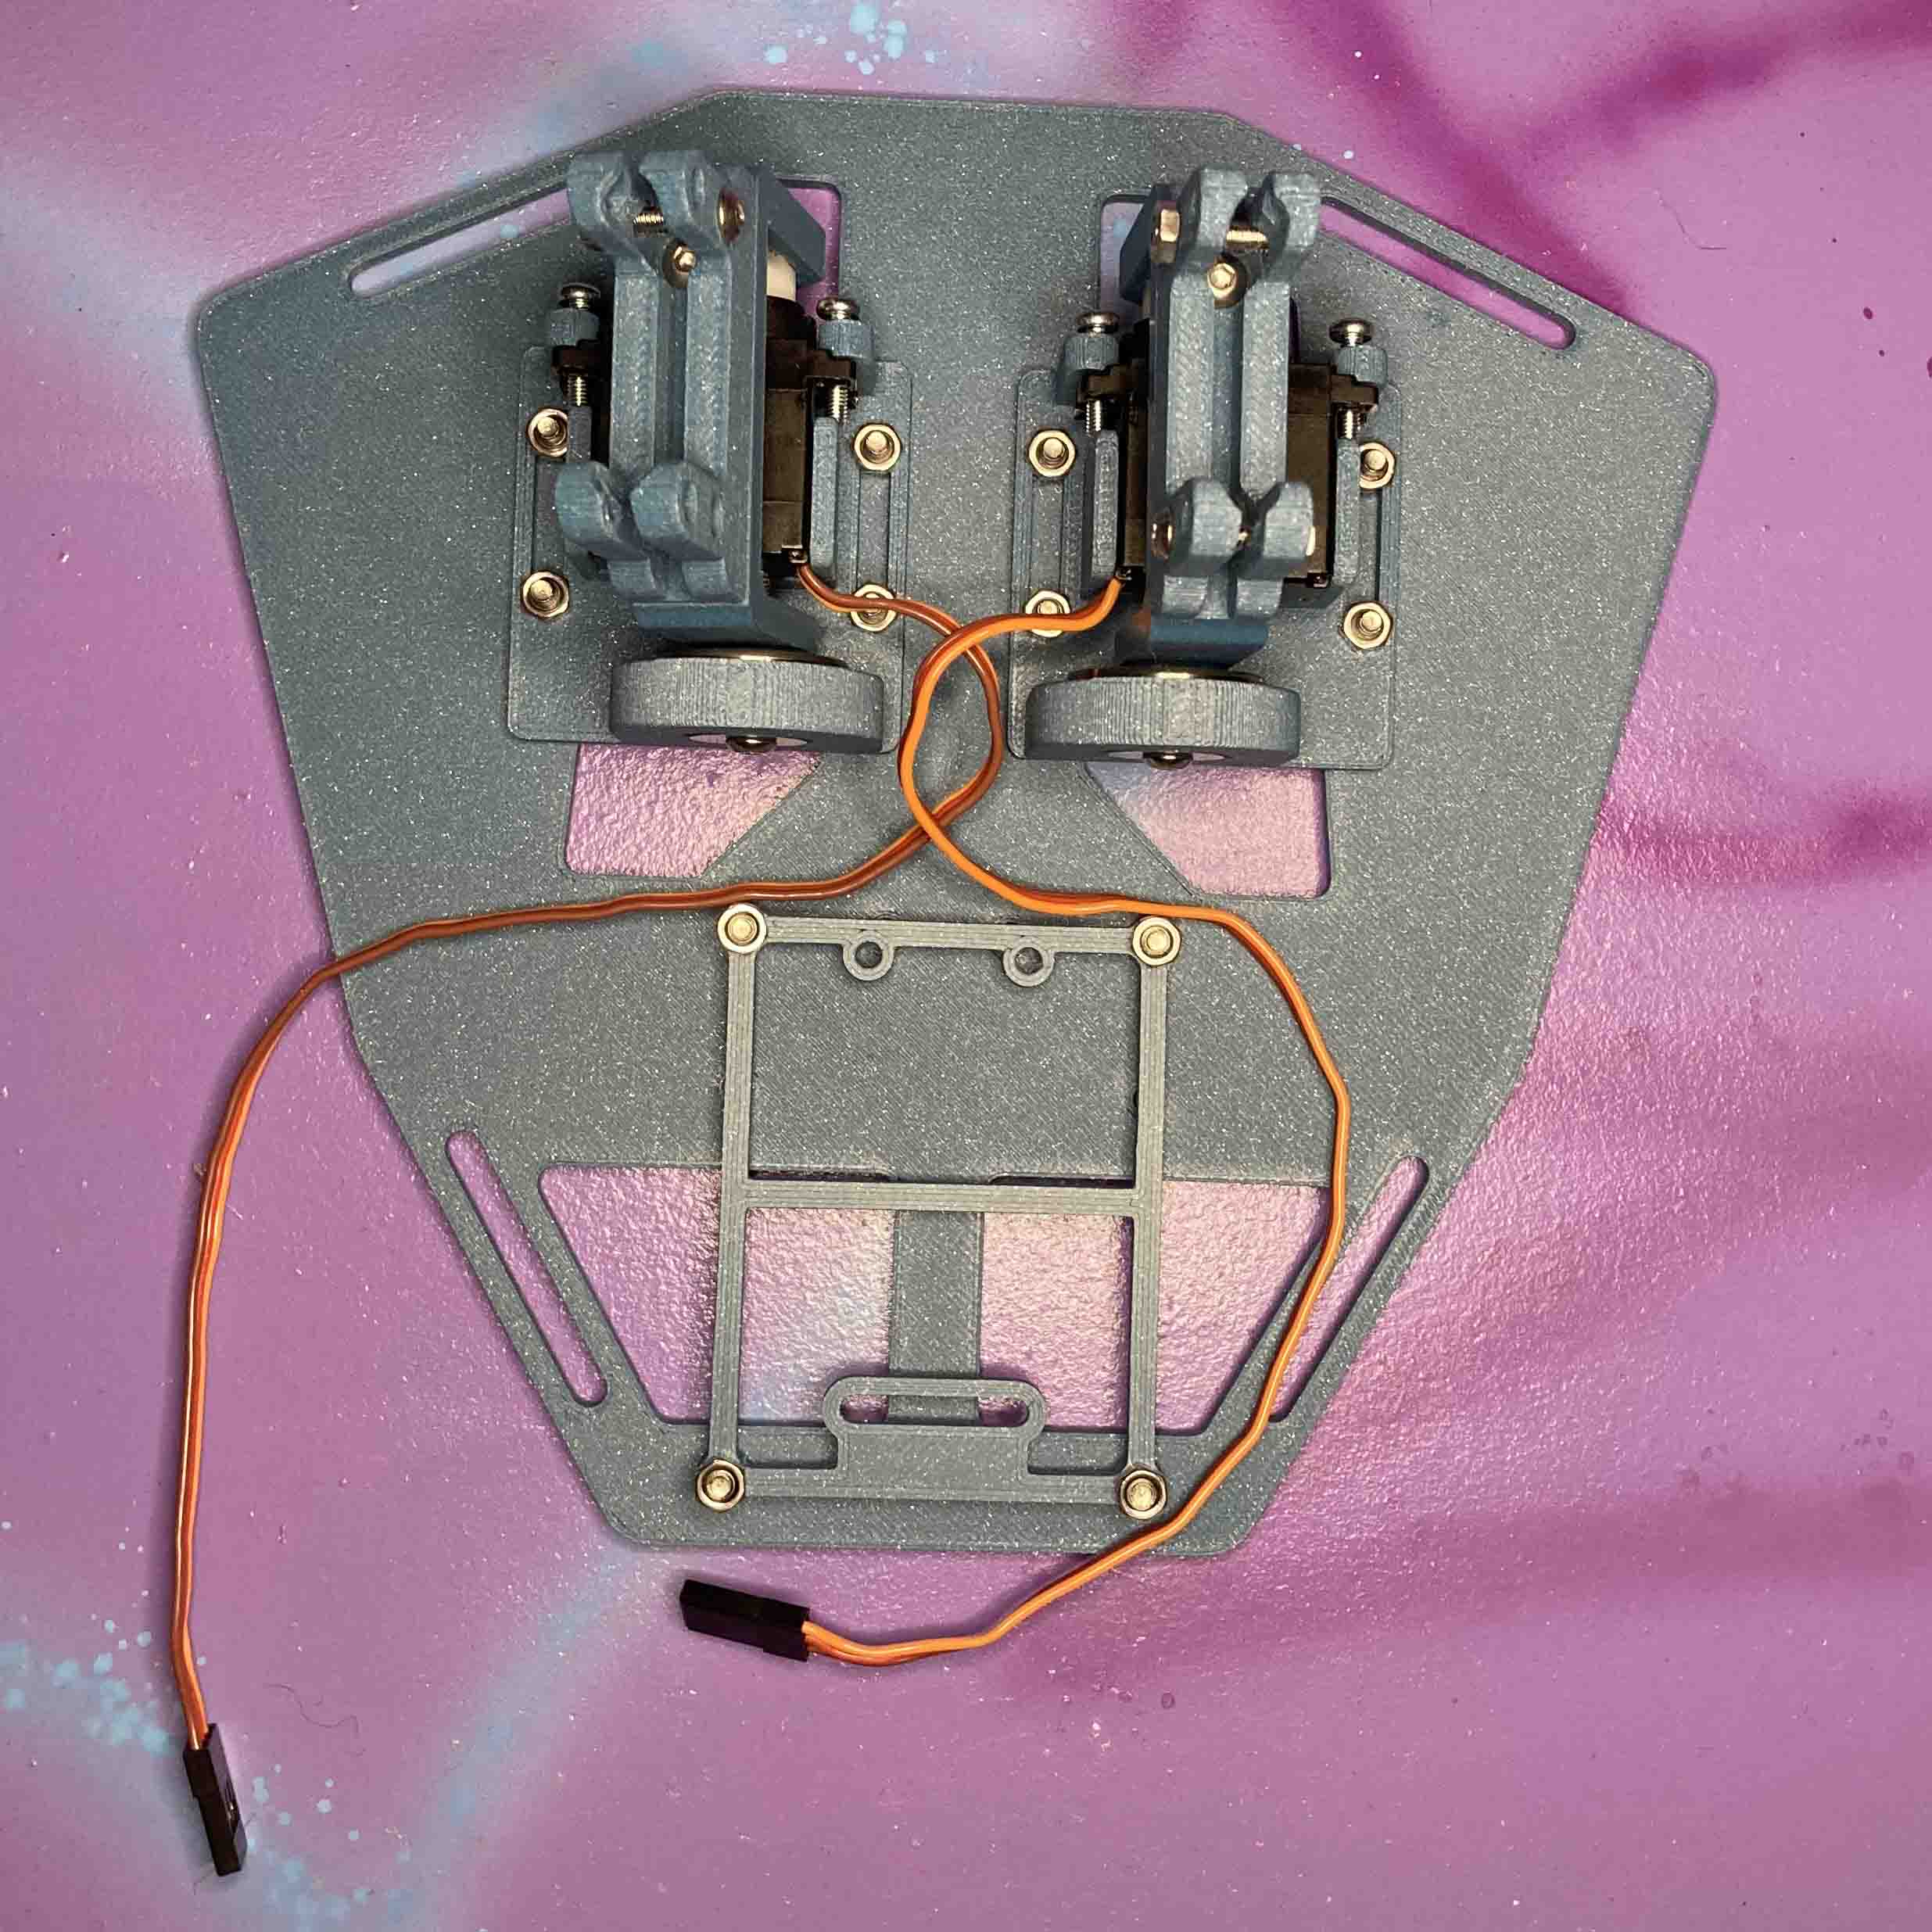
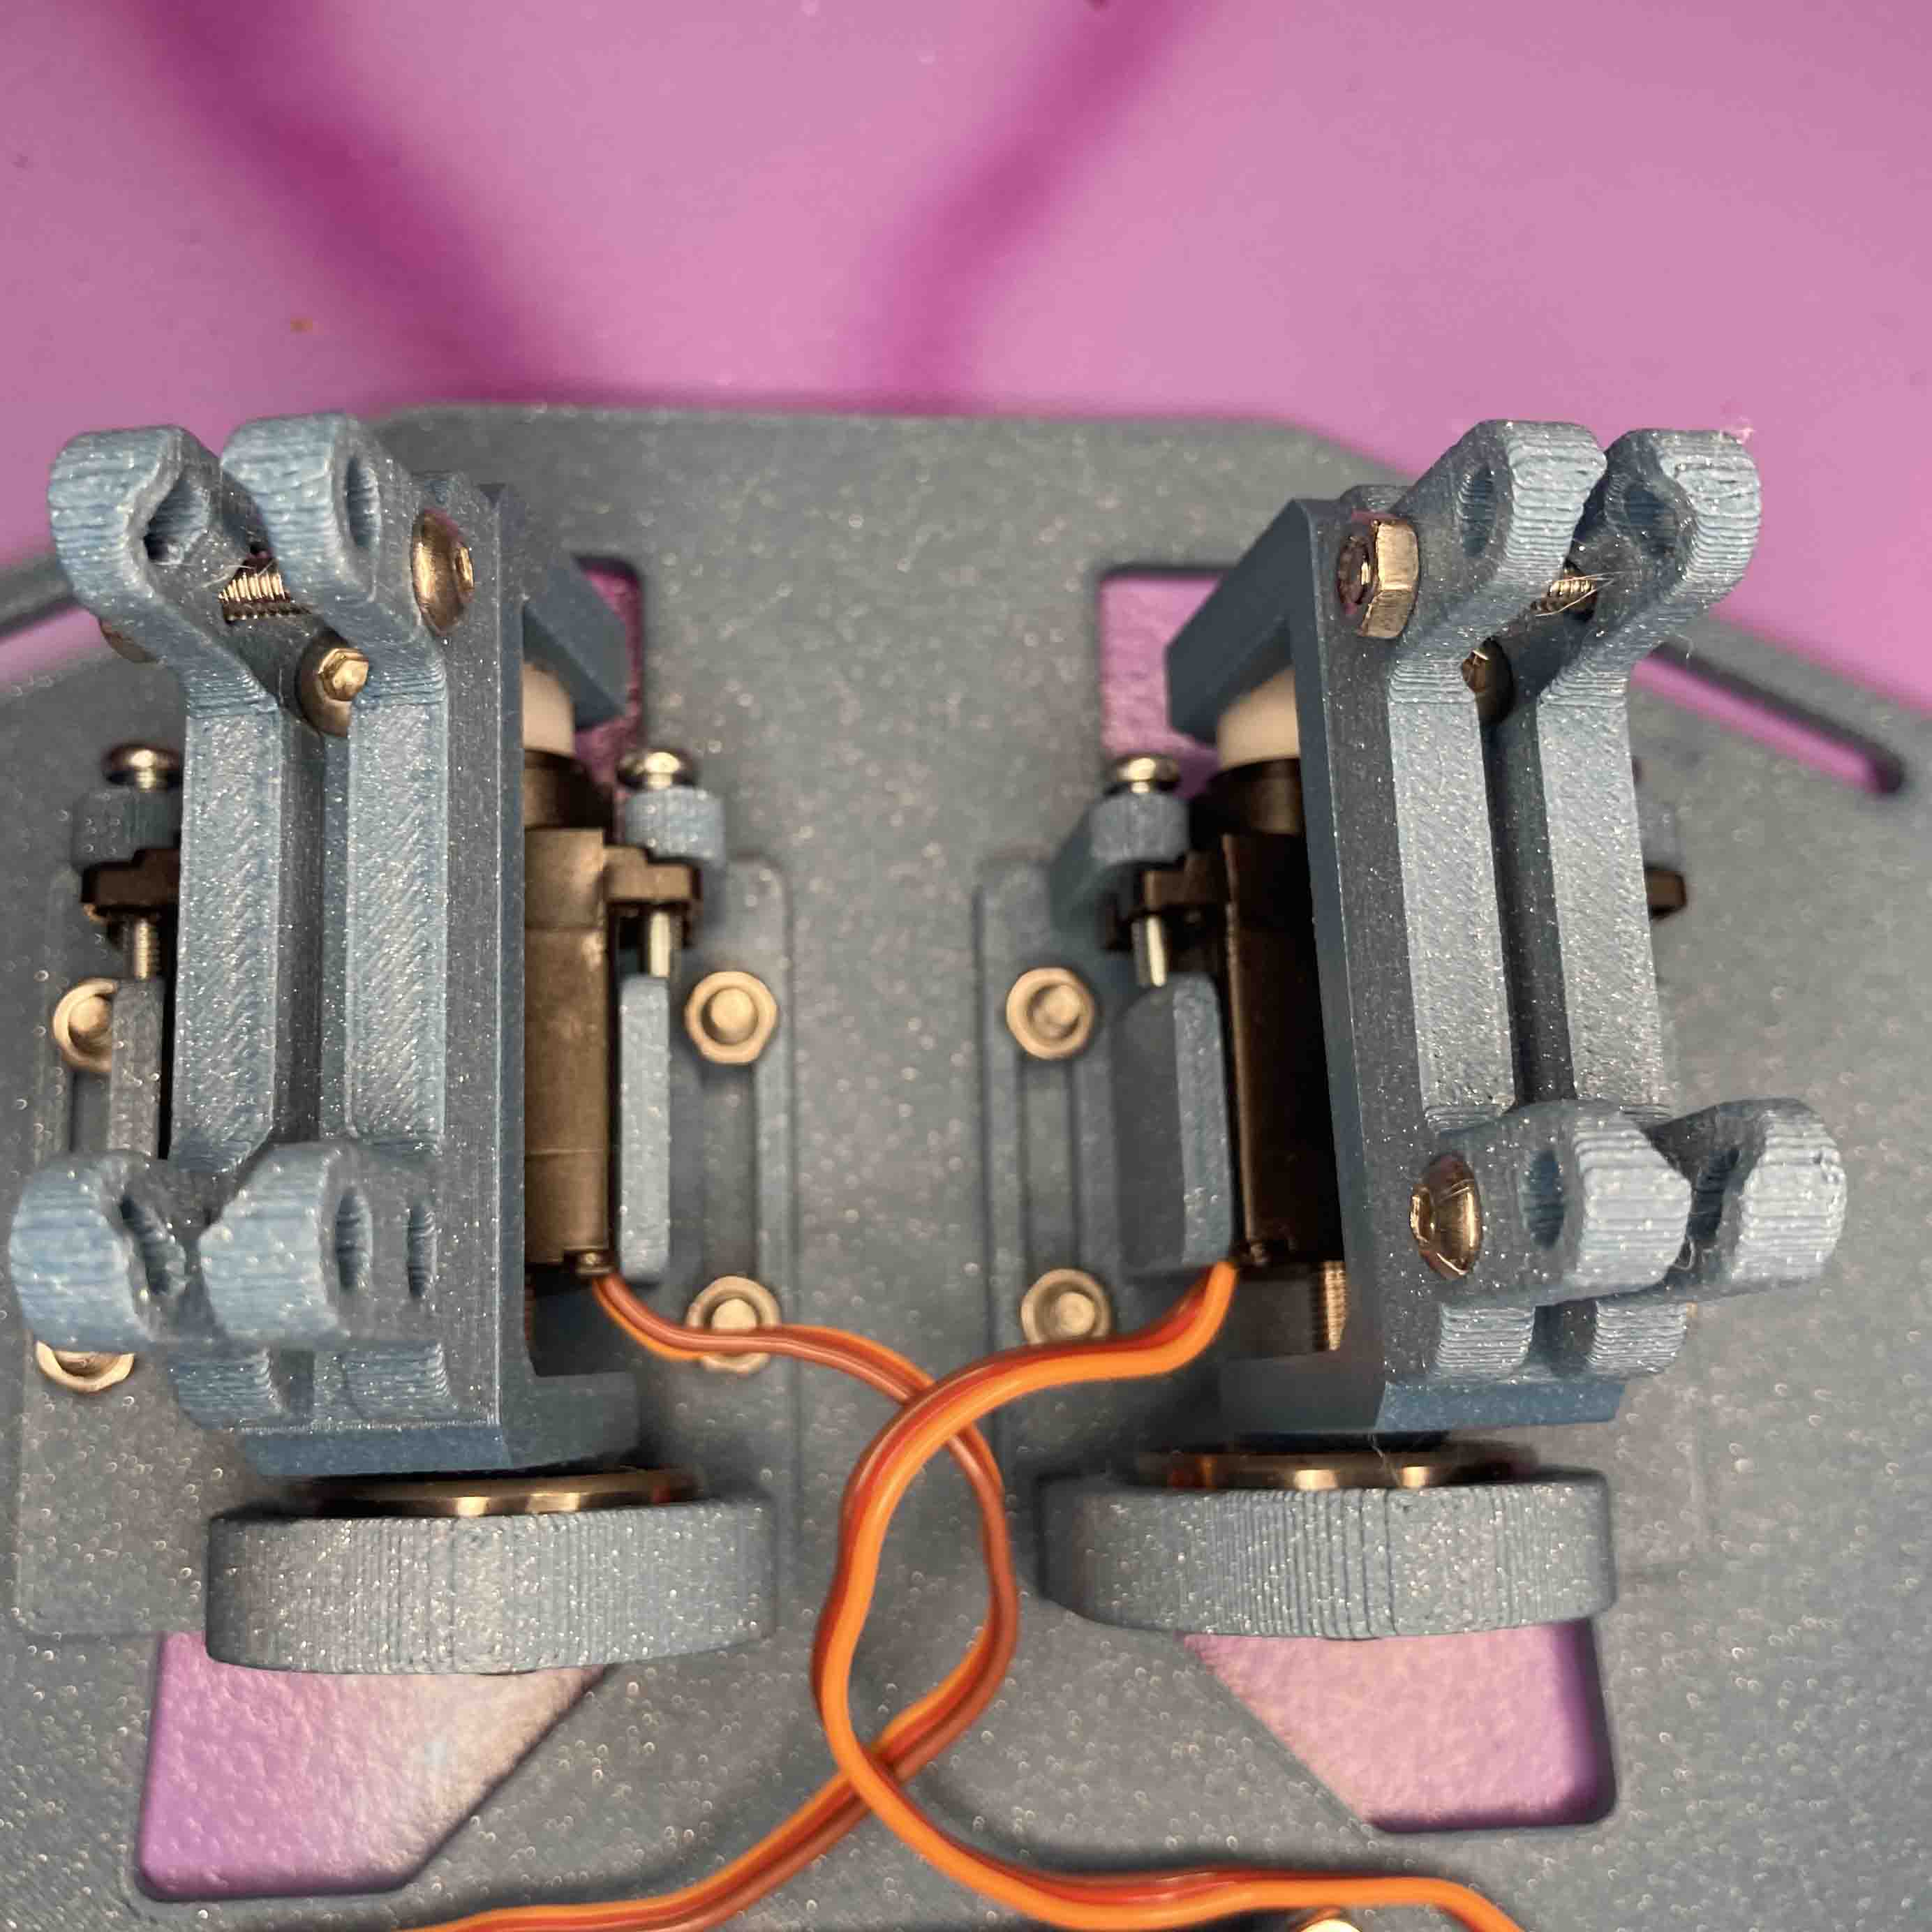
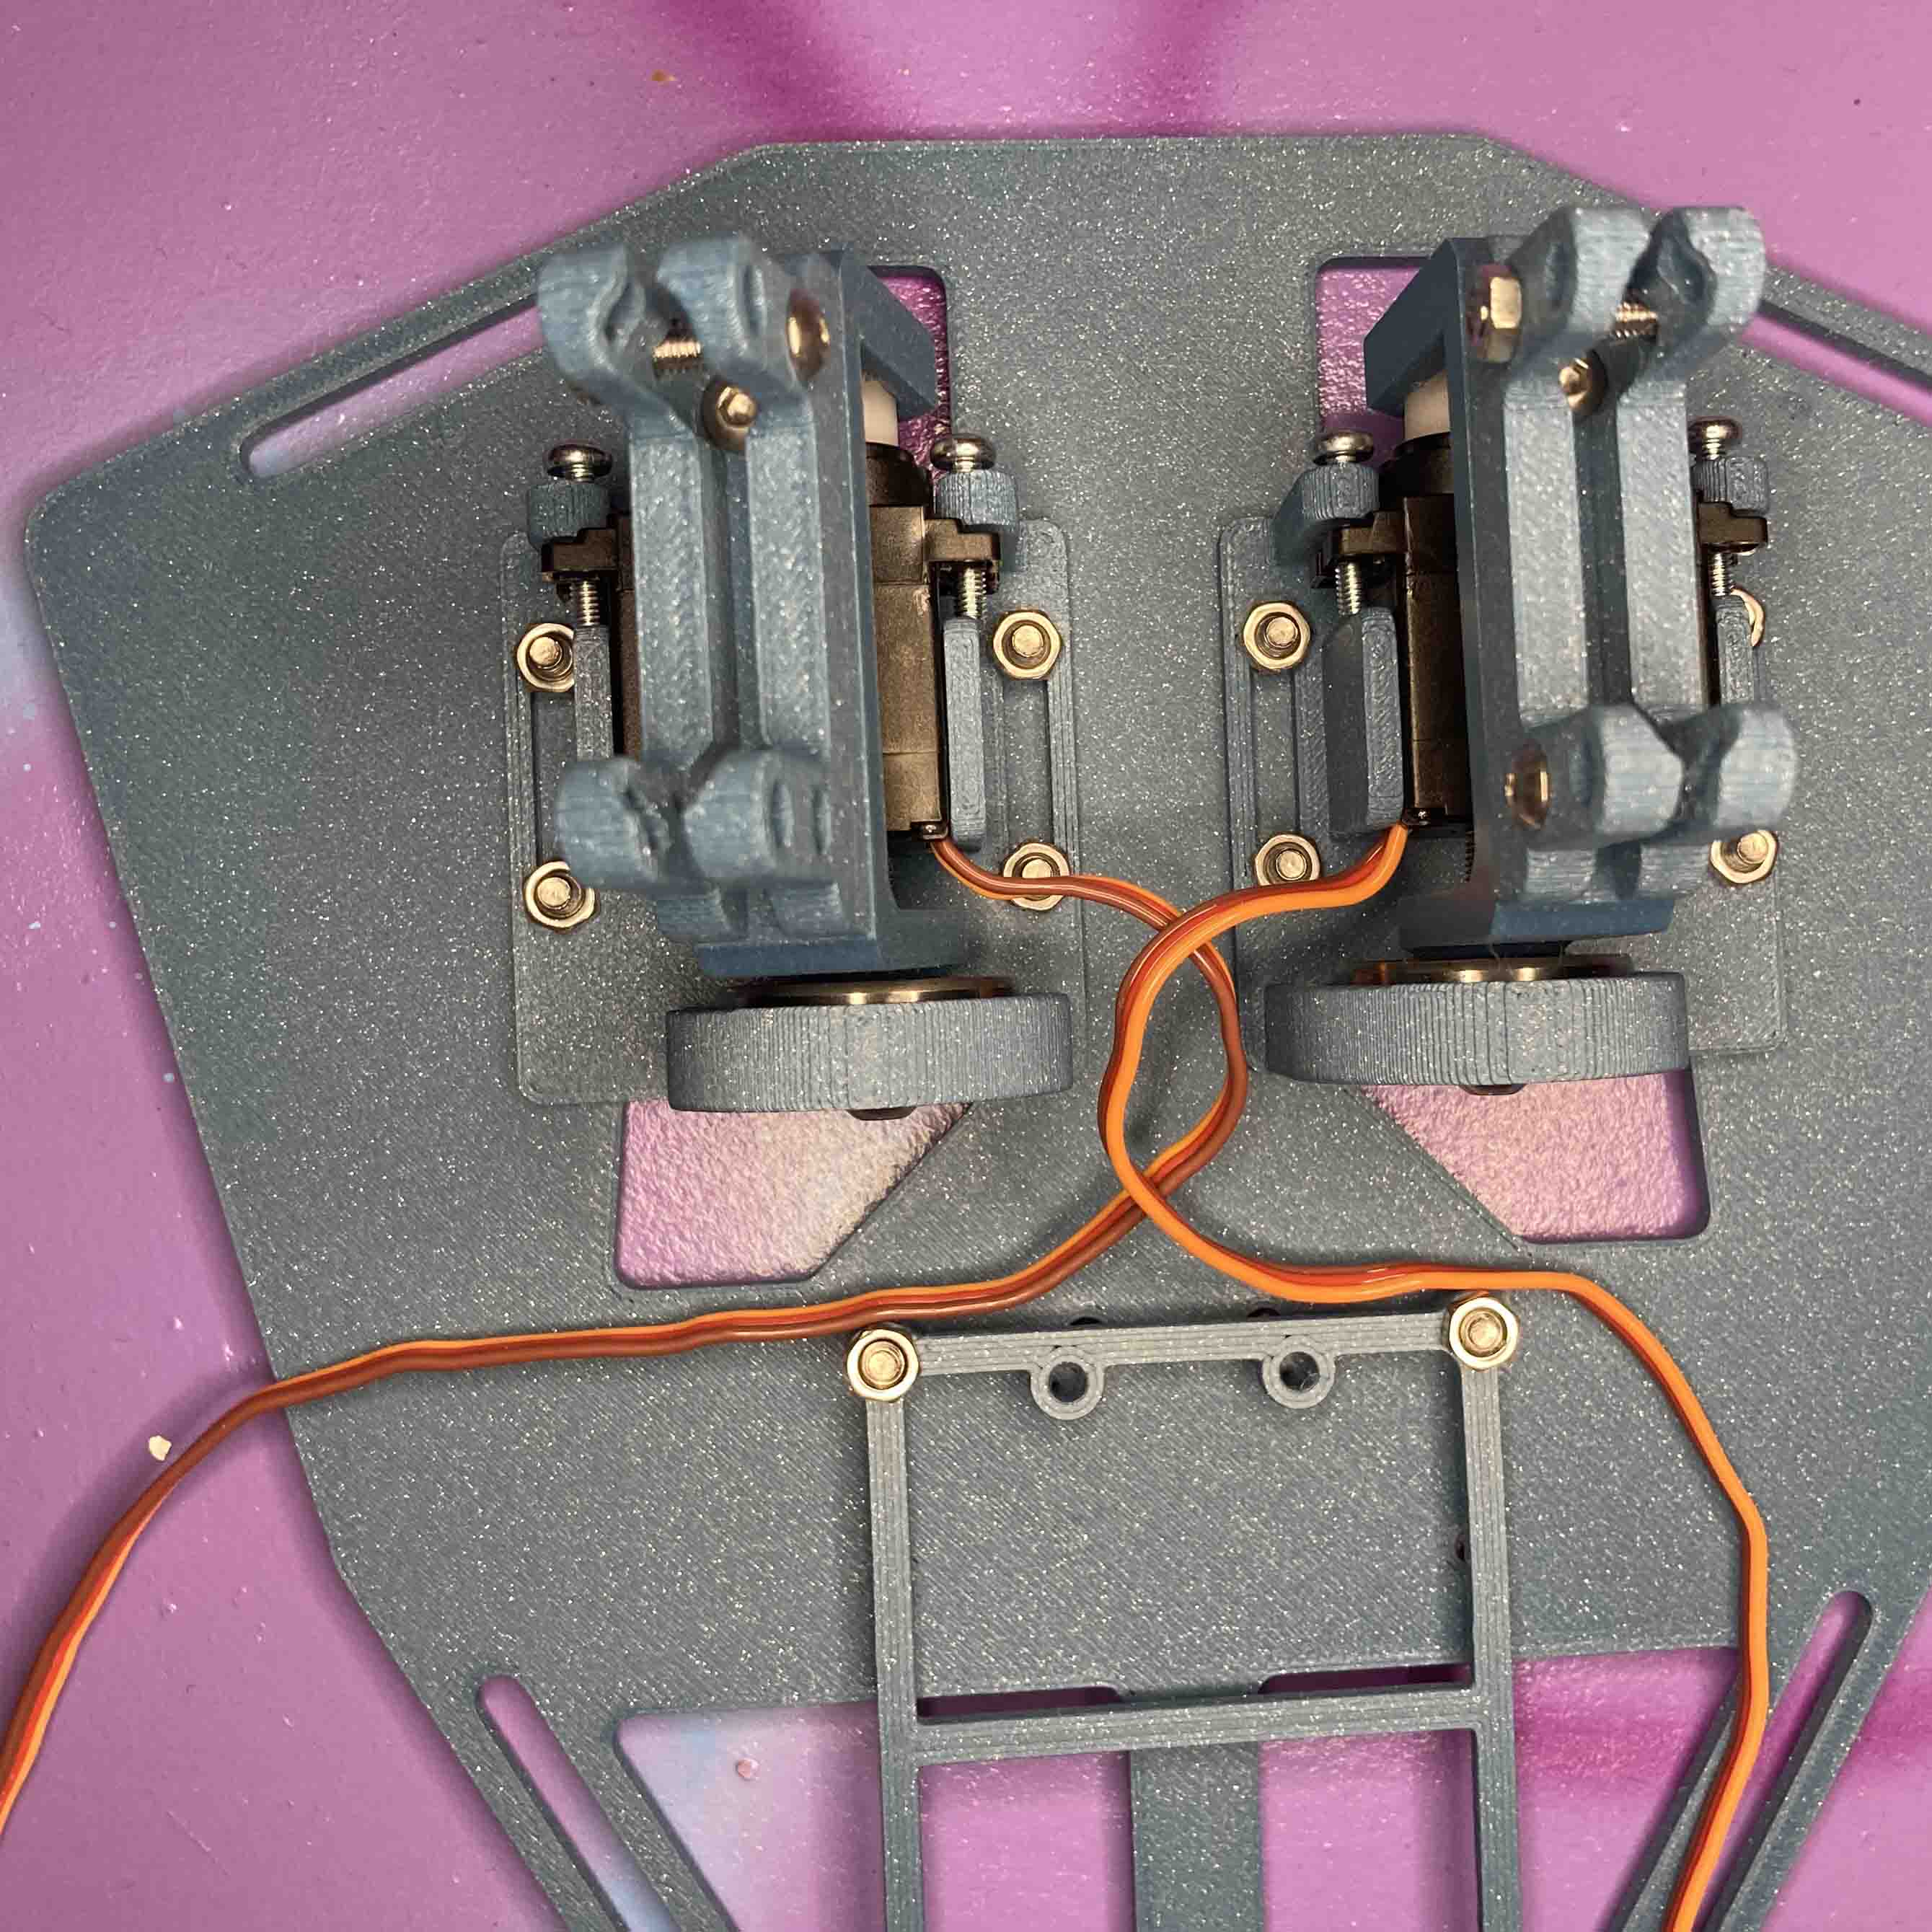
Backplate 2
Assembled backplate with new parts.

Item list
| Name | Item 1 | Item 2 | Item 3 | Item 4 | Item 5 |
|---|---|---|---|---|---|
| 1x PCB-Mount | 4x M3 lock nuts | 4x M2.5 x 10mm | |||
| 1x Servo-Holder-A | 1x servo motor. | 2x M2.5 x 8mm | 1x 608ZZ ball bearing | 4x M3 lock nuts | 4x M2.5 x 10mm |
| 1x Servo-Holder-B | 1x servo motor. | 2x M2.5 x 8mm | 1x 608ZZ ball bearing. | 4x M3 lock nuts | 4x M2.5 x 10mm |
| 2x Servo-Arm | 2x M3 x 10mm | 3x M3 lock nuts | 1x servo horn | 2x servo screw | |
| 2x Wing-Clip | 2x M3 lock nuts | 2x M3 x 10mm | |||
| 2x Servo-Pin | 1x M3 x 15mm. | ||||
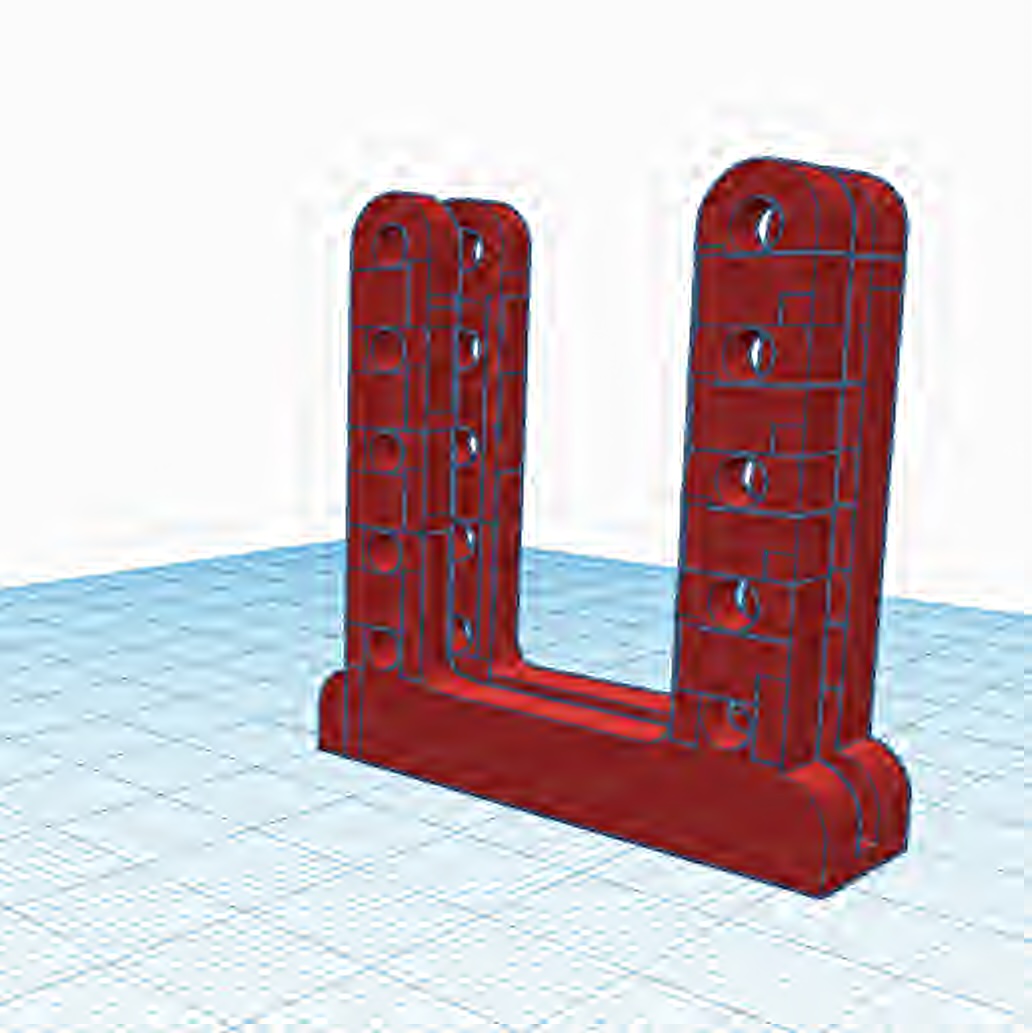
Wing clip 3
Altered wing clip to make sure the wings dont bend in a weird way. Needs to be 60% infill at least since there is stress on it and it broke several times. I put 5 screw holes in it, incase I needed them later.


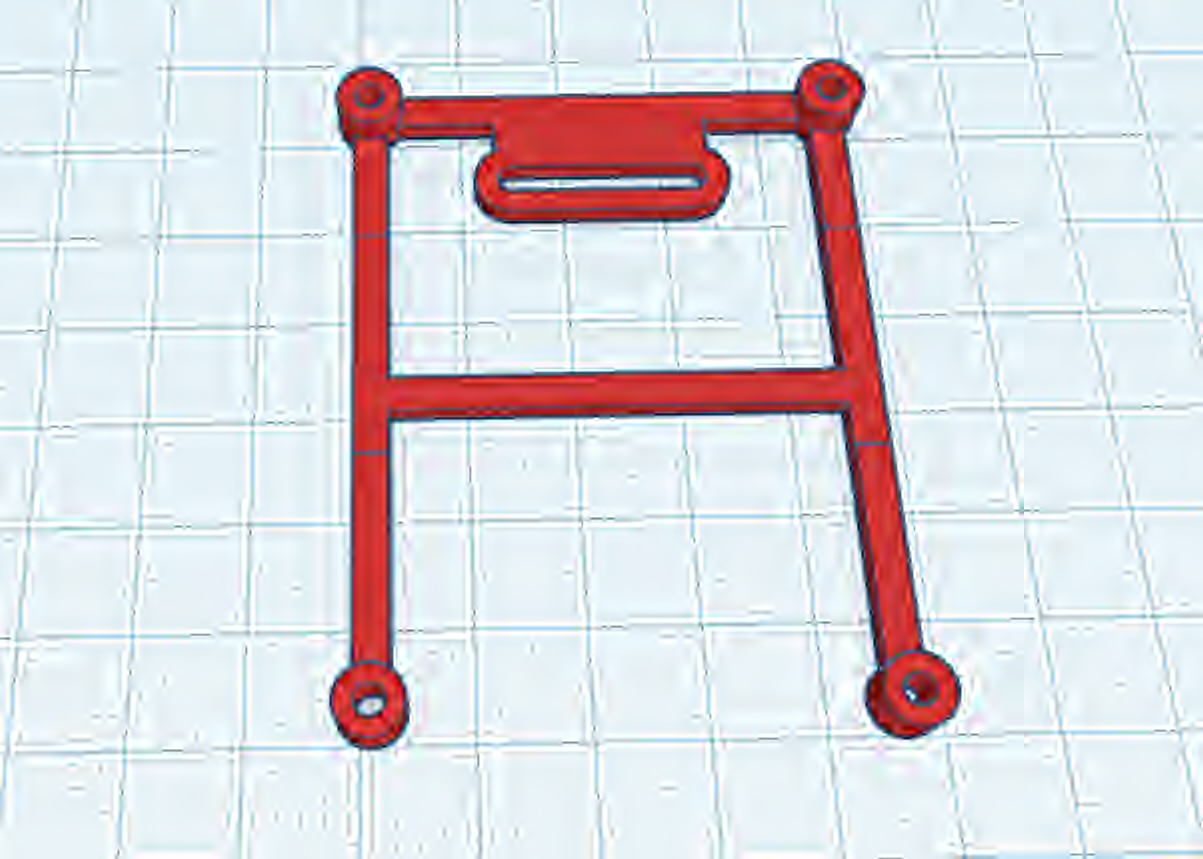
PCB Mount 3
Altered PCB mount to make sure that fabric doesnt touch the parts. I had to put it on top so it keeps the PCB board safe.
Stationary mount
Stationary mount that attaches the wings directly to the wing clip if you dont want to use the animatronics.

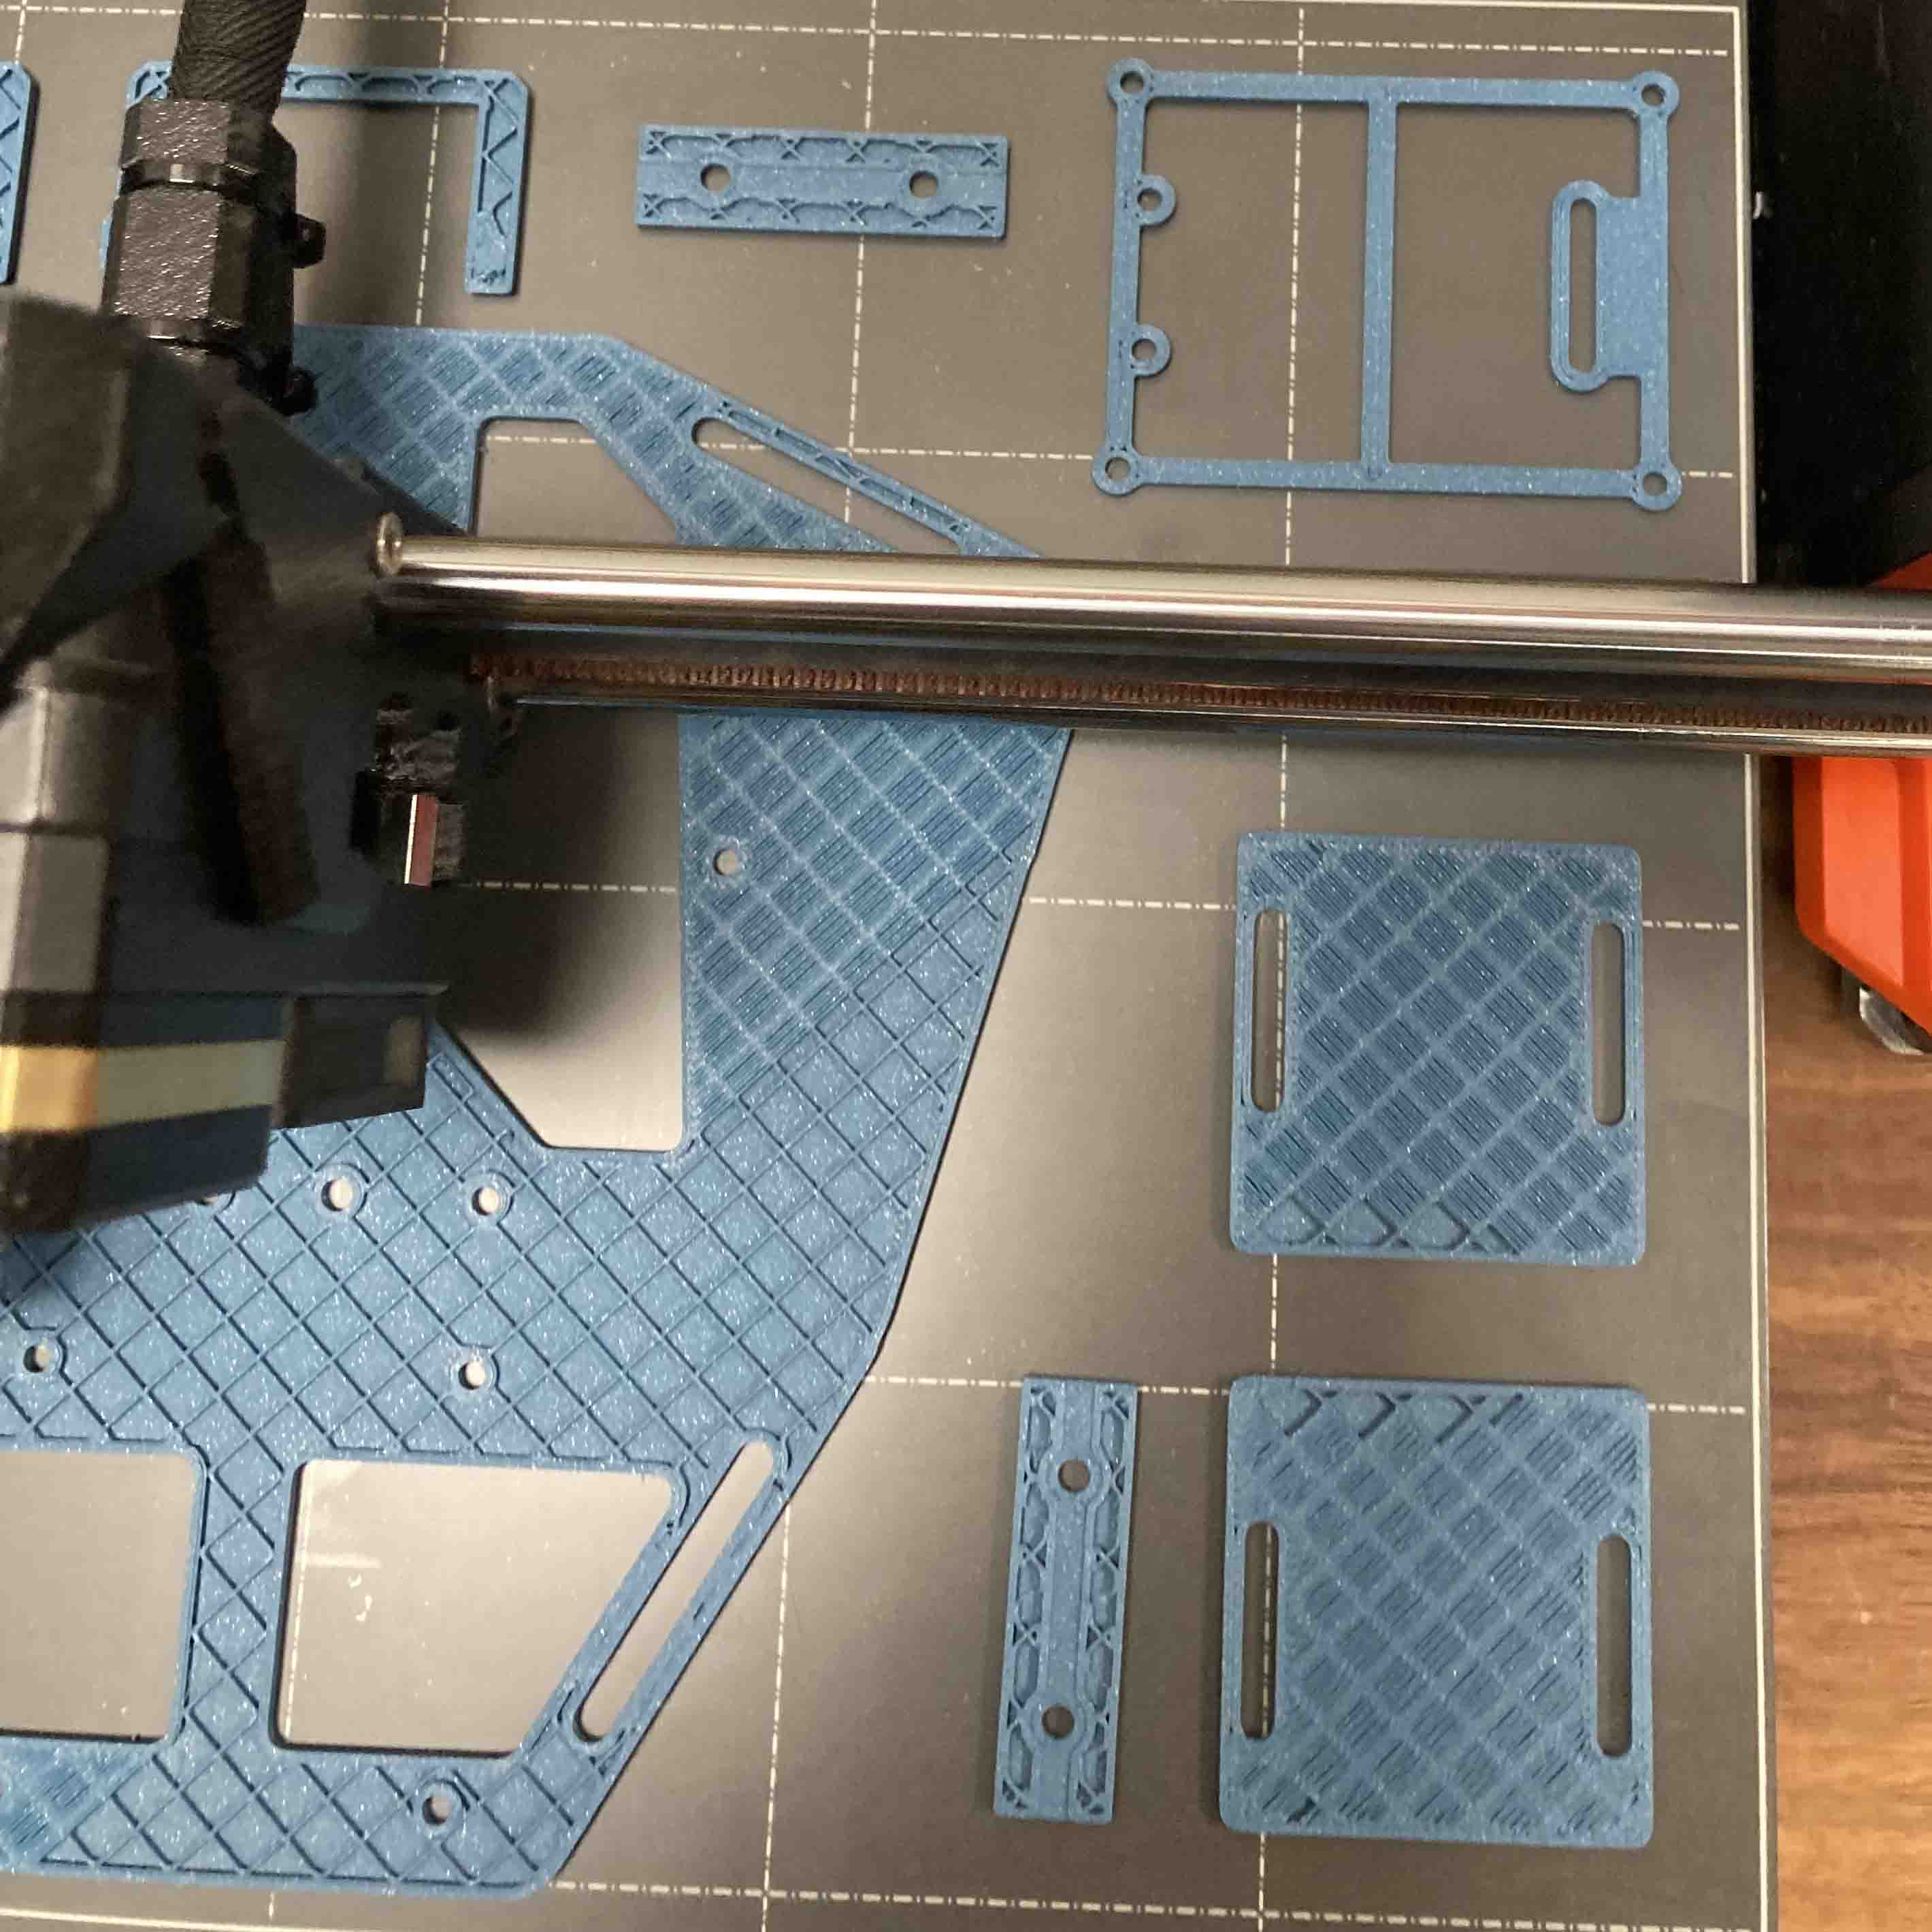
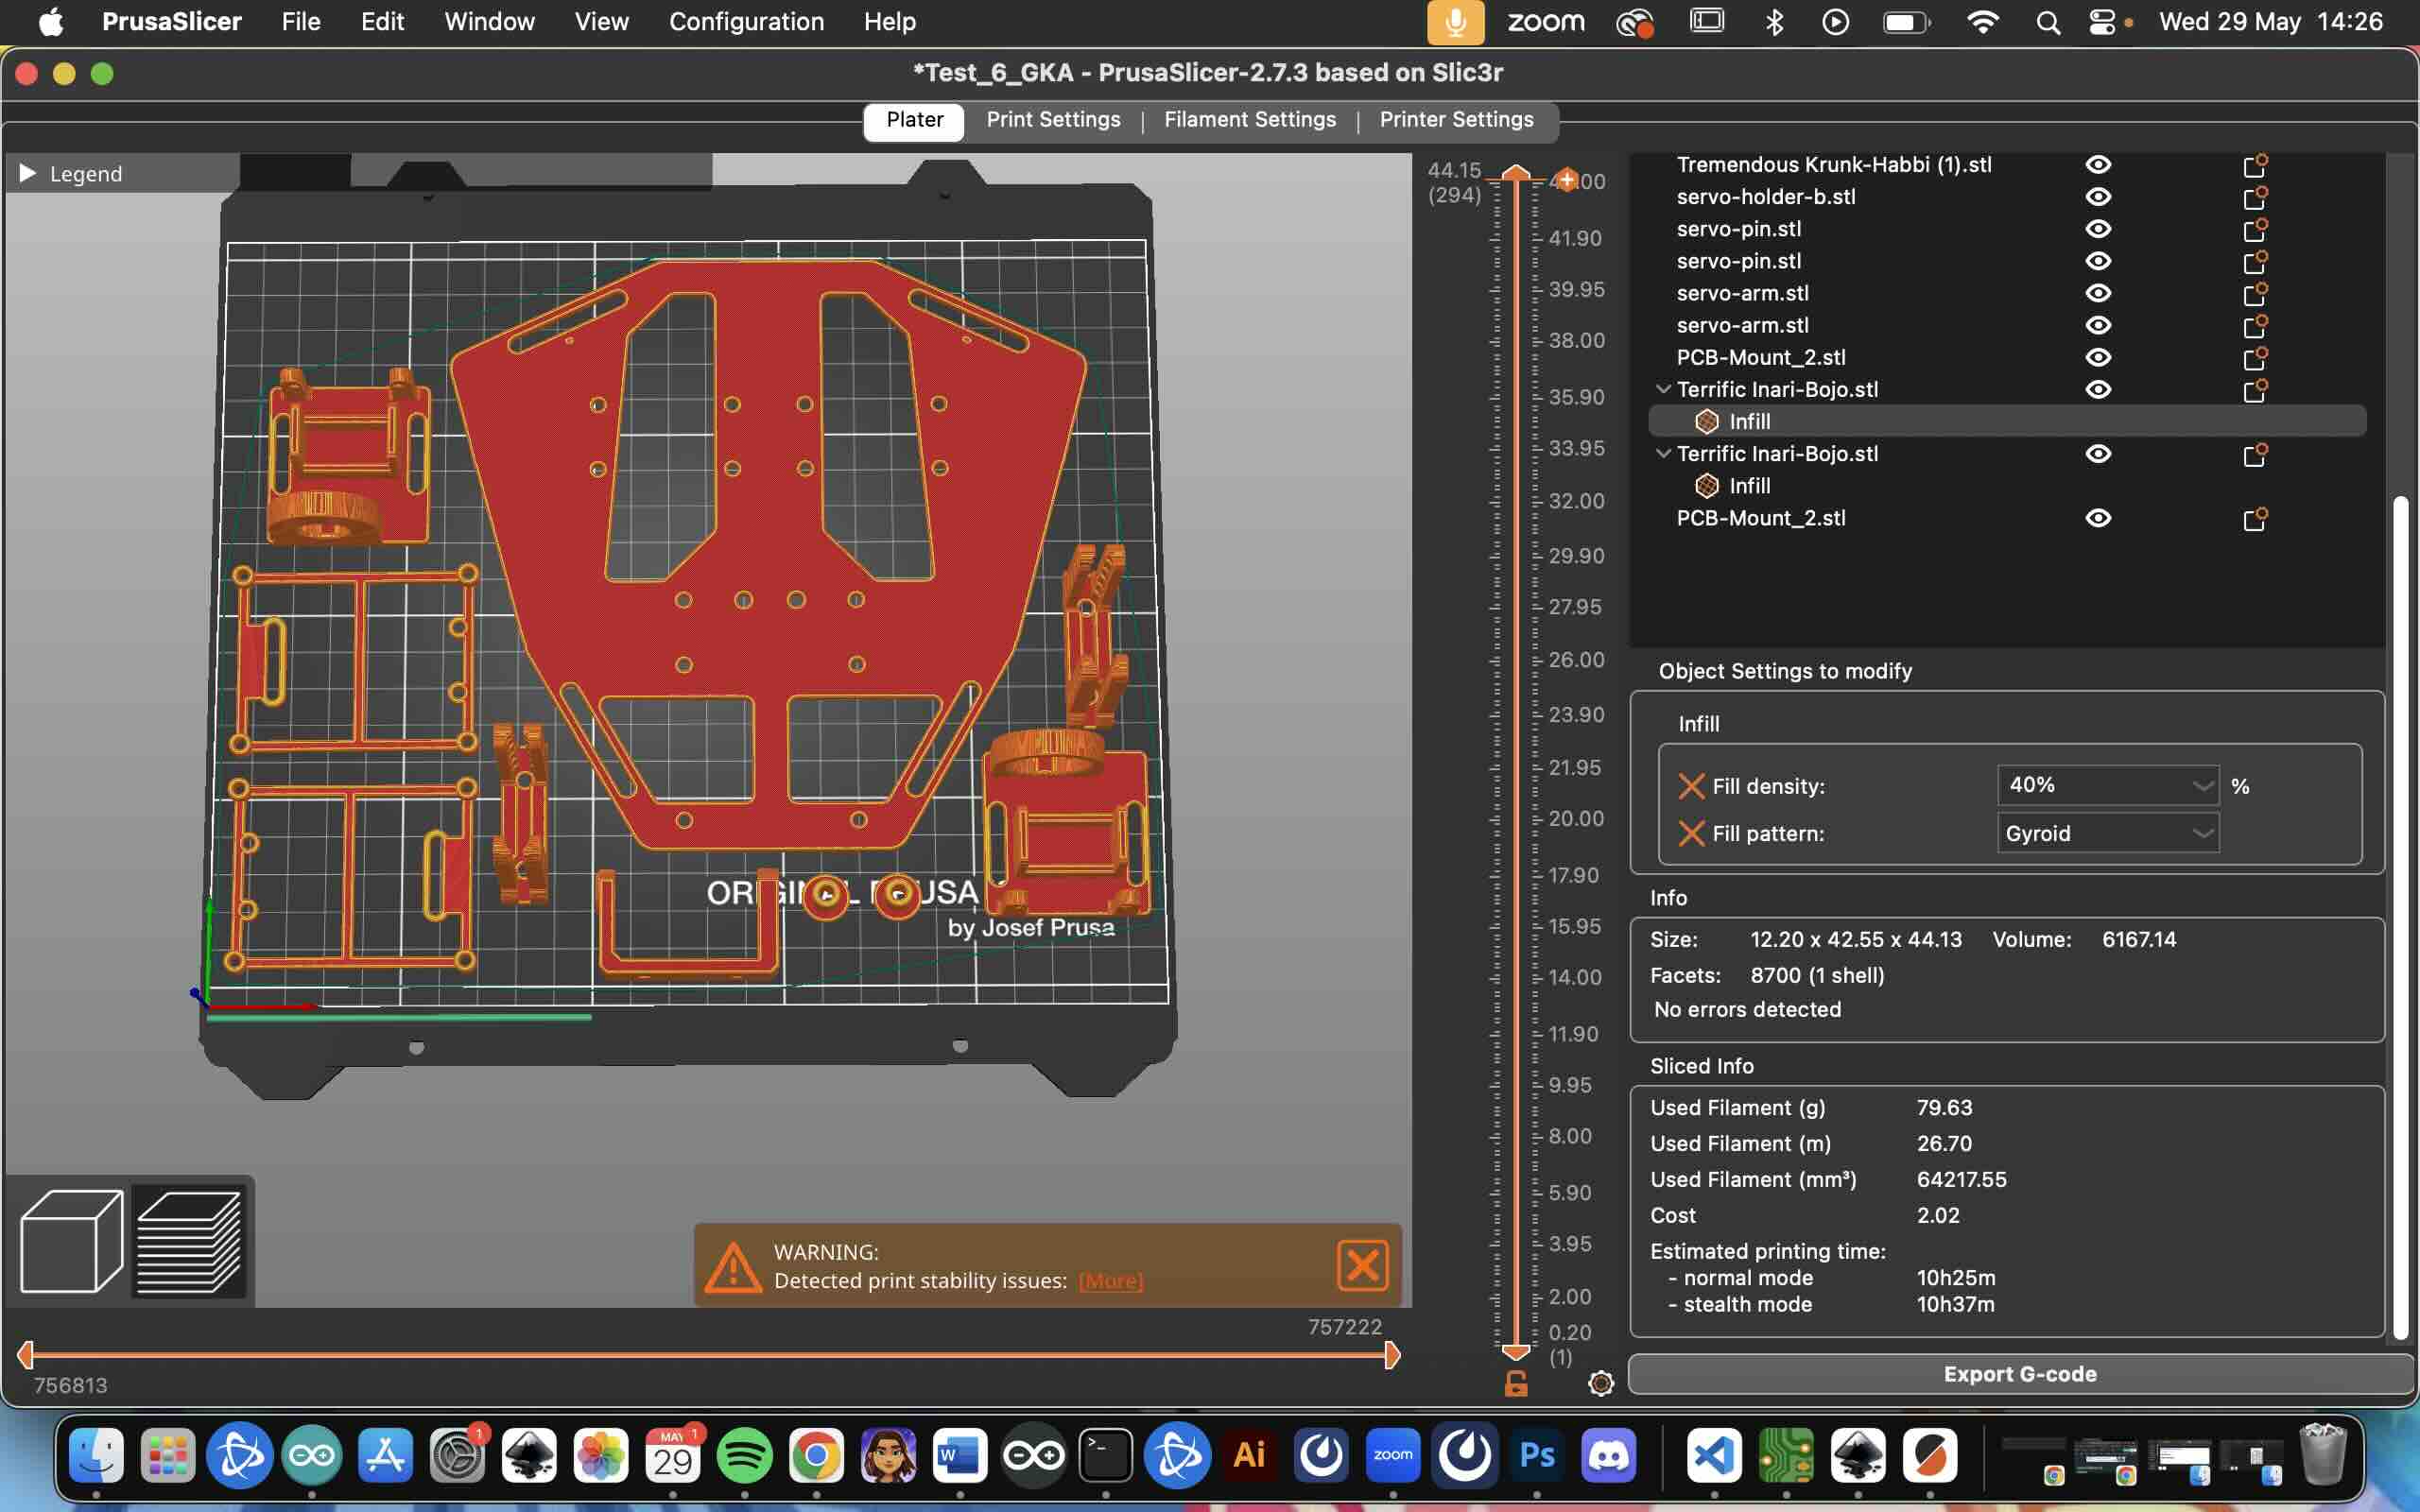
3D Model
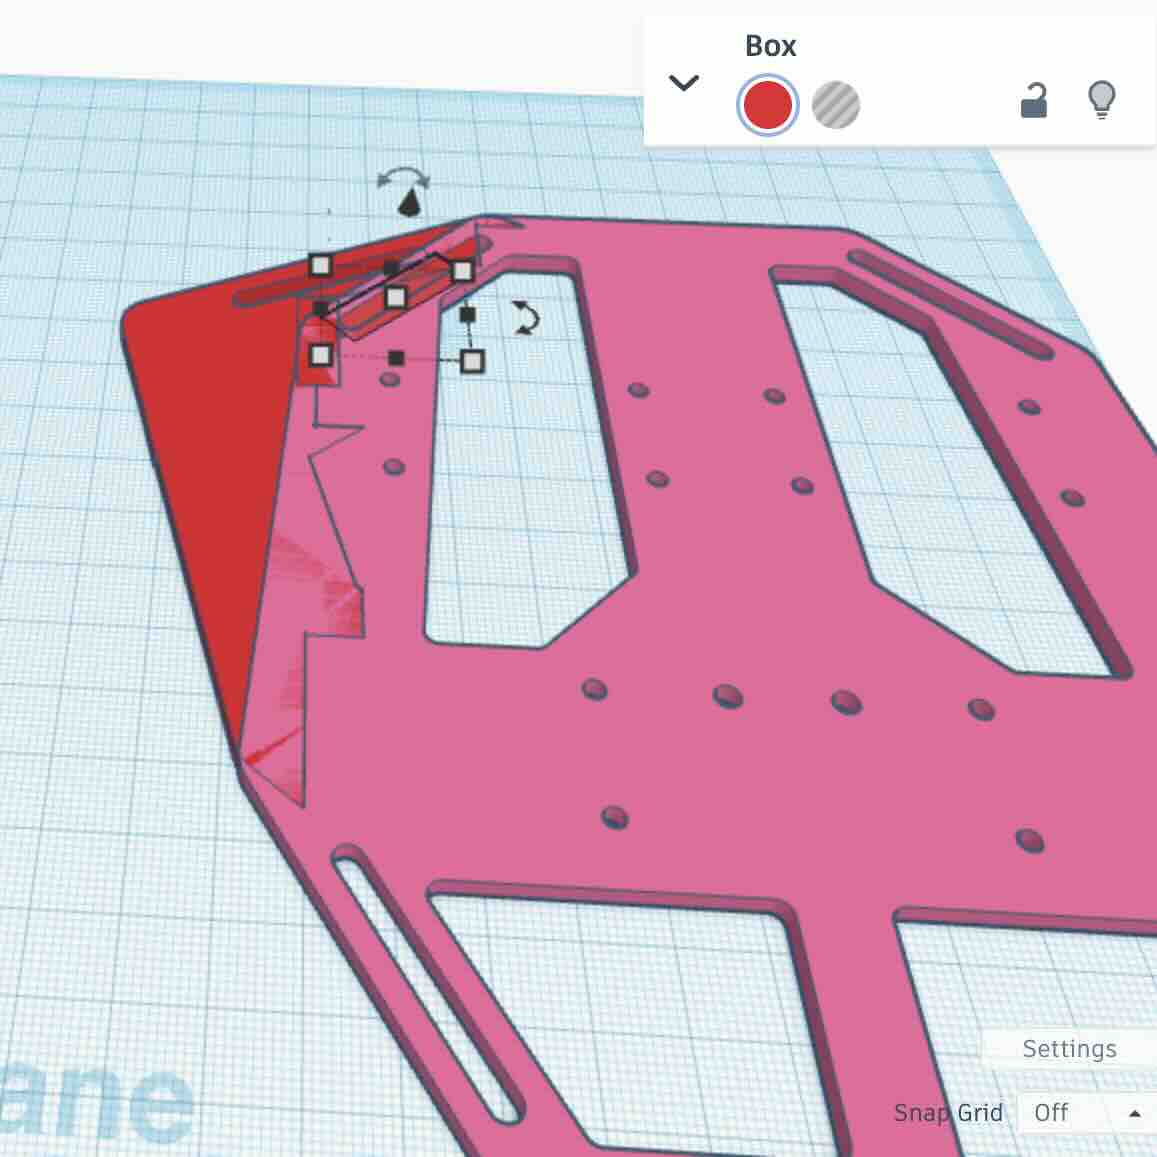
PrusaSlicer view of the new backplate and parts for it, every part has been redesigned except the Servo holder, the servo pin and the servo arm.
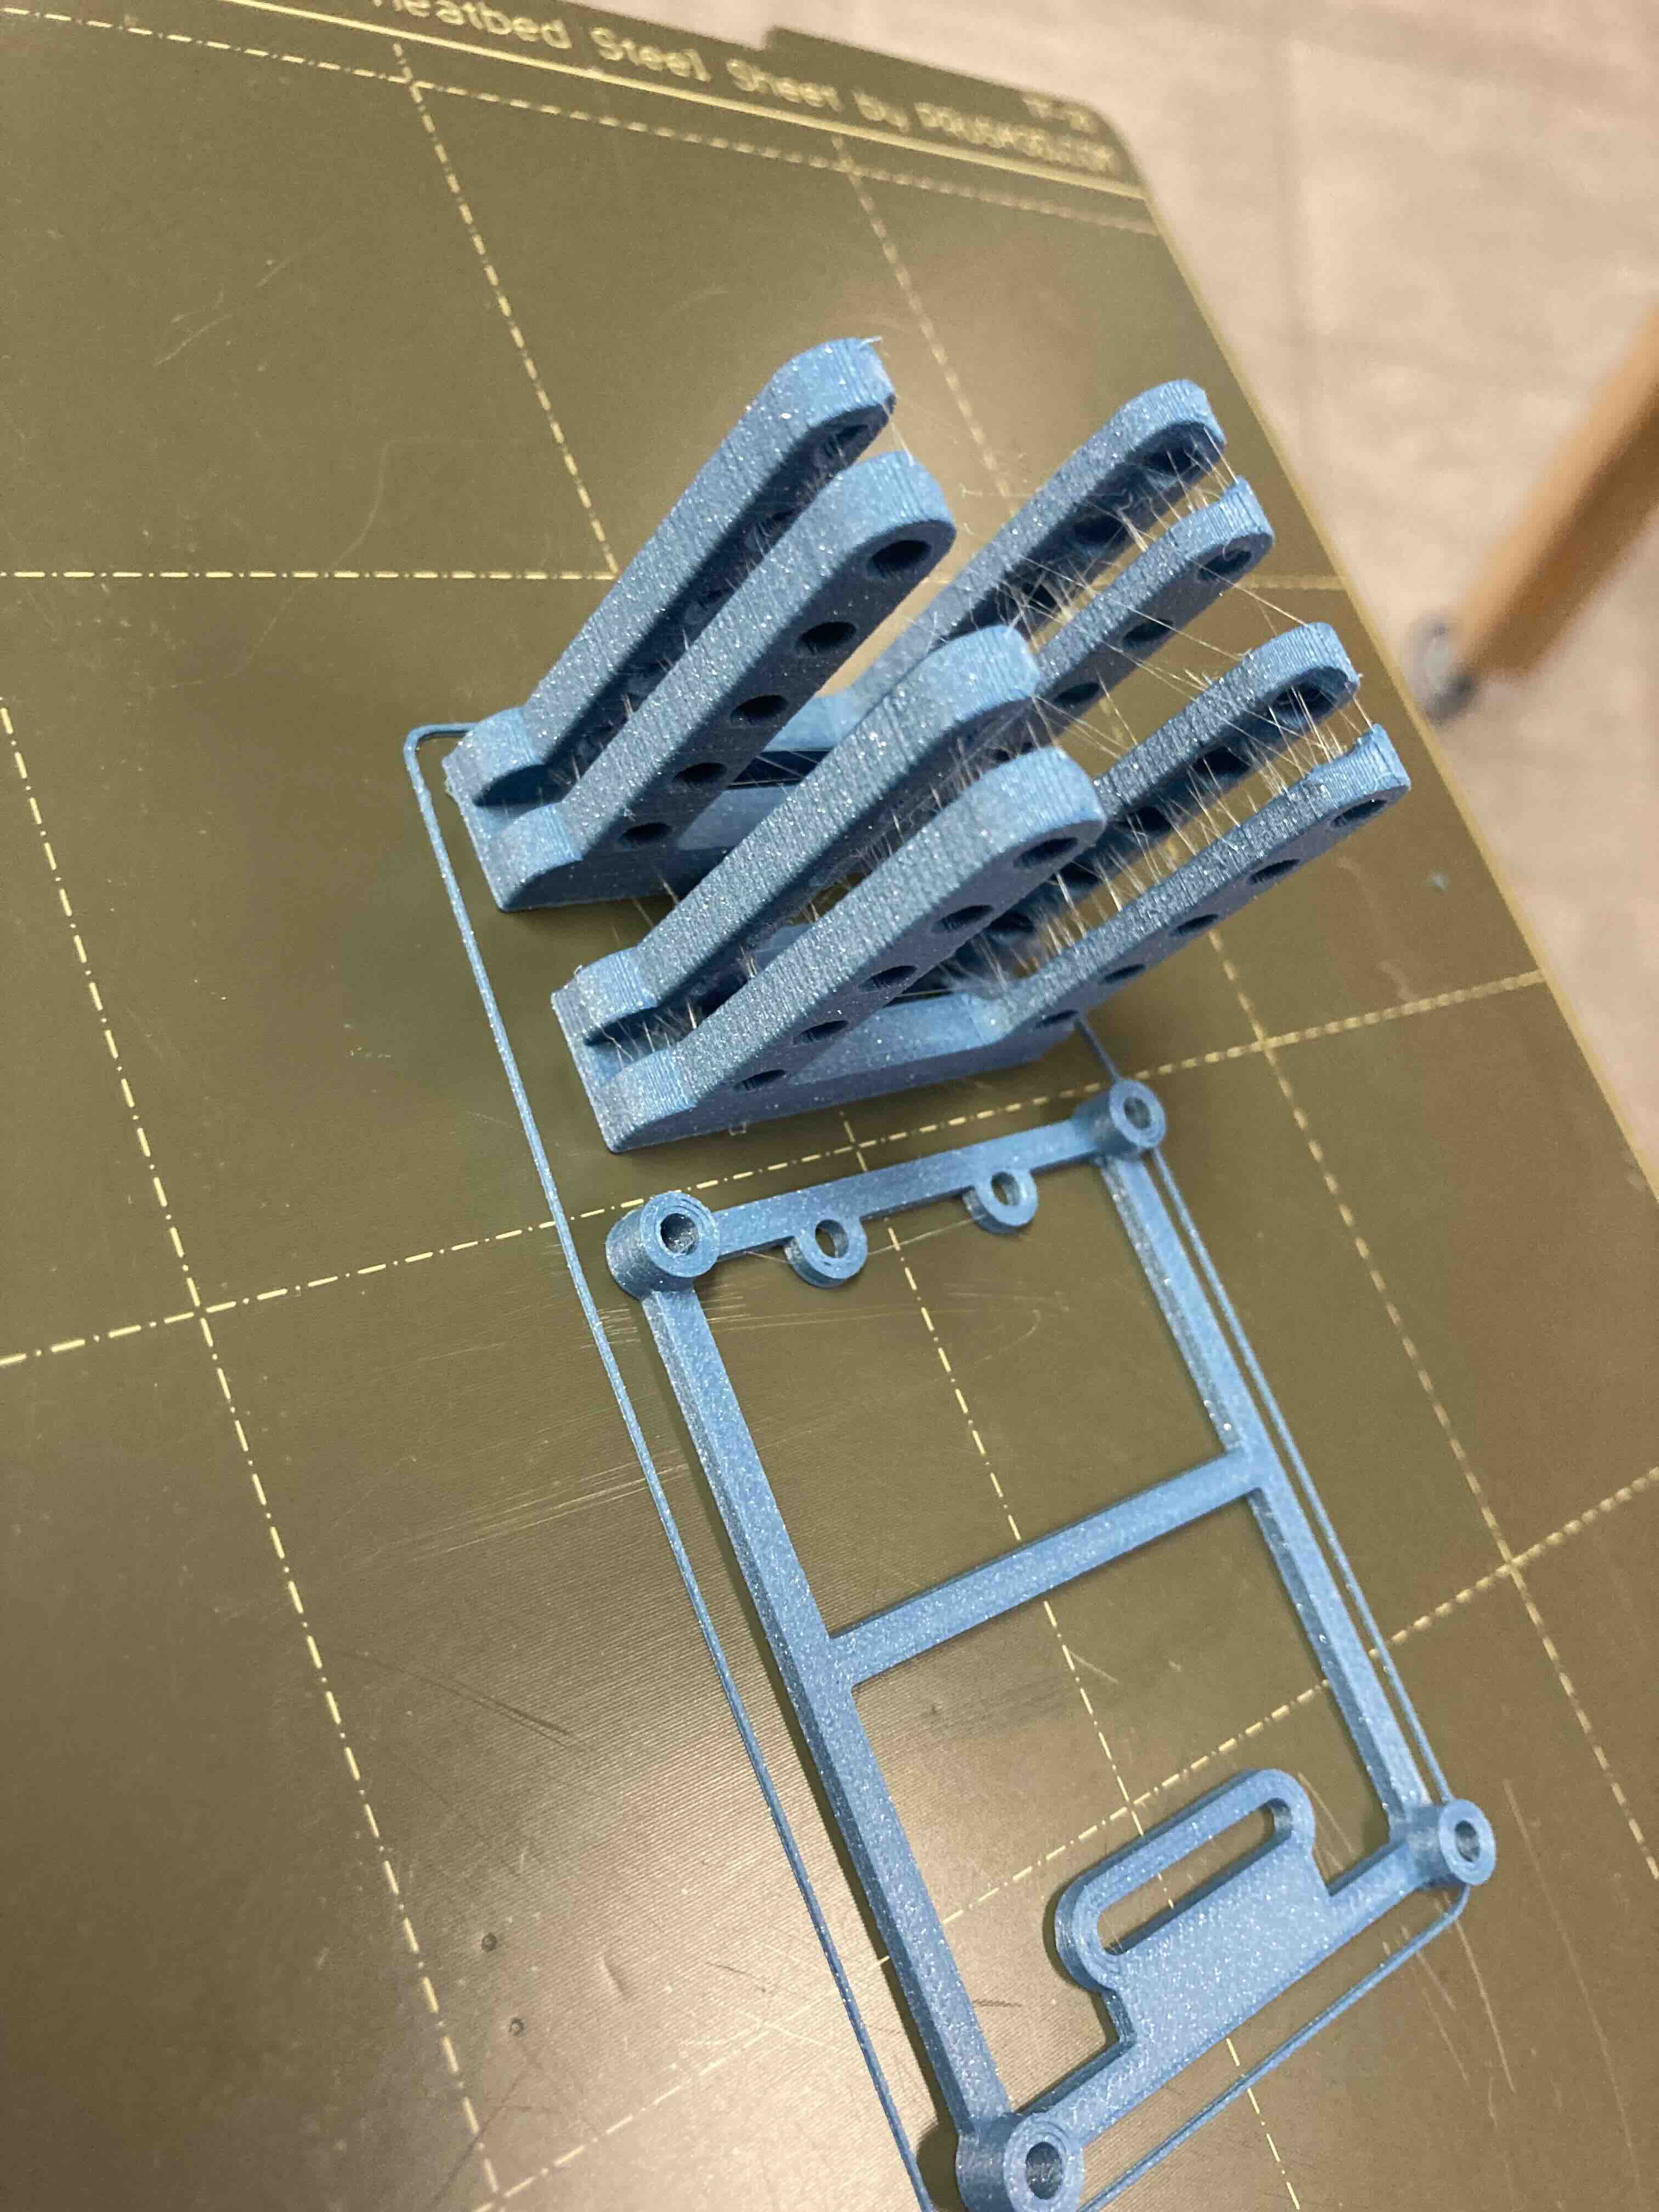
3D printing in progress
Summary
I based my design on wings made by adafruit. Initially I thought I would not need to change a lot of things. But with my wings (made from PETG) I needed more structure and stability. The backplate also hurt my sister so I redesigned so that the straps would hit the shoulders not around the neck. I also changed it so it would not slip. The wing clips didnt add any stability as short as they were so I had to elogate them and print them seperatly with more infill. The PCB board was also my design so it had a different shape than Adafruits. Their mount also had it exposed to the fabric which if it is can snag the material and ruin the back of the costume. I also added a stationary mount so if you want to wear the wings without the anamatronics you can.
>