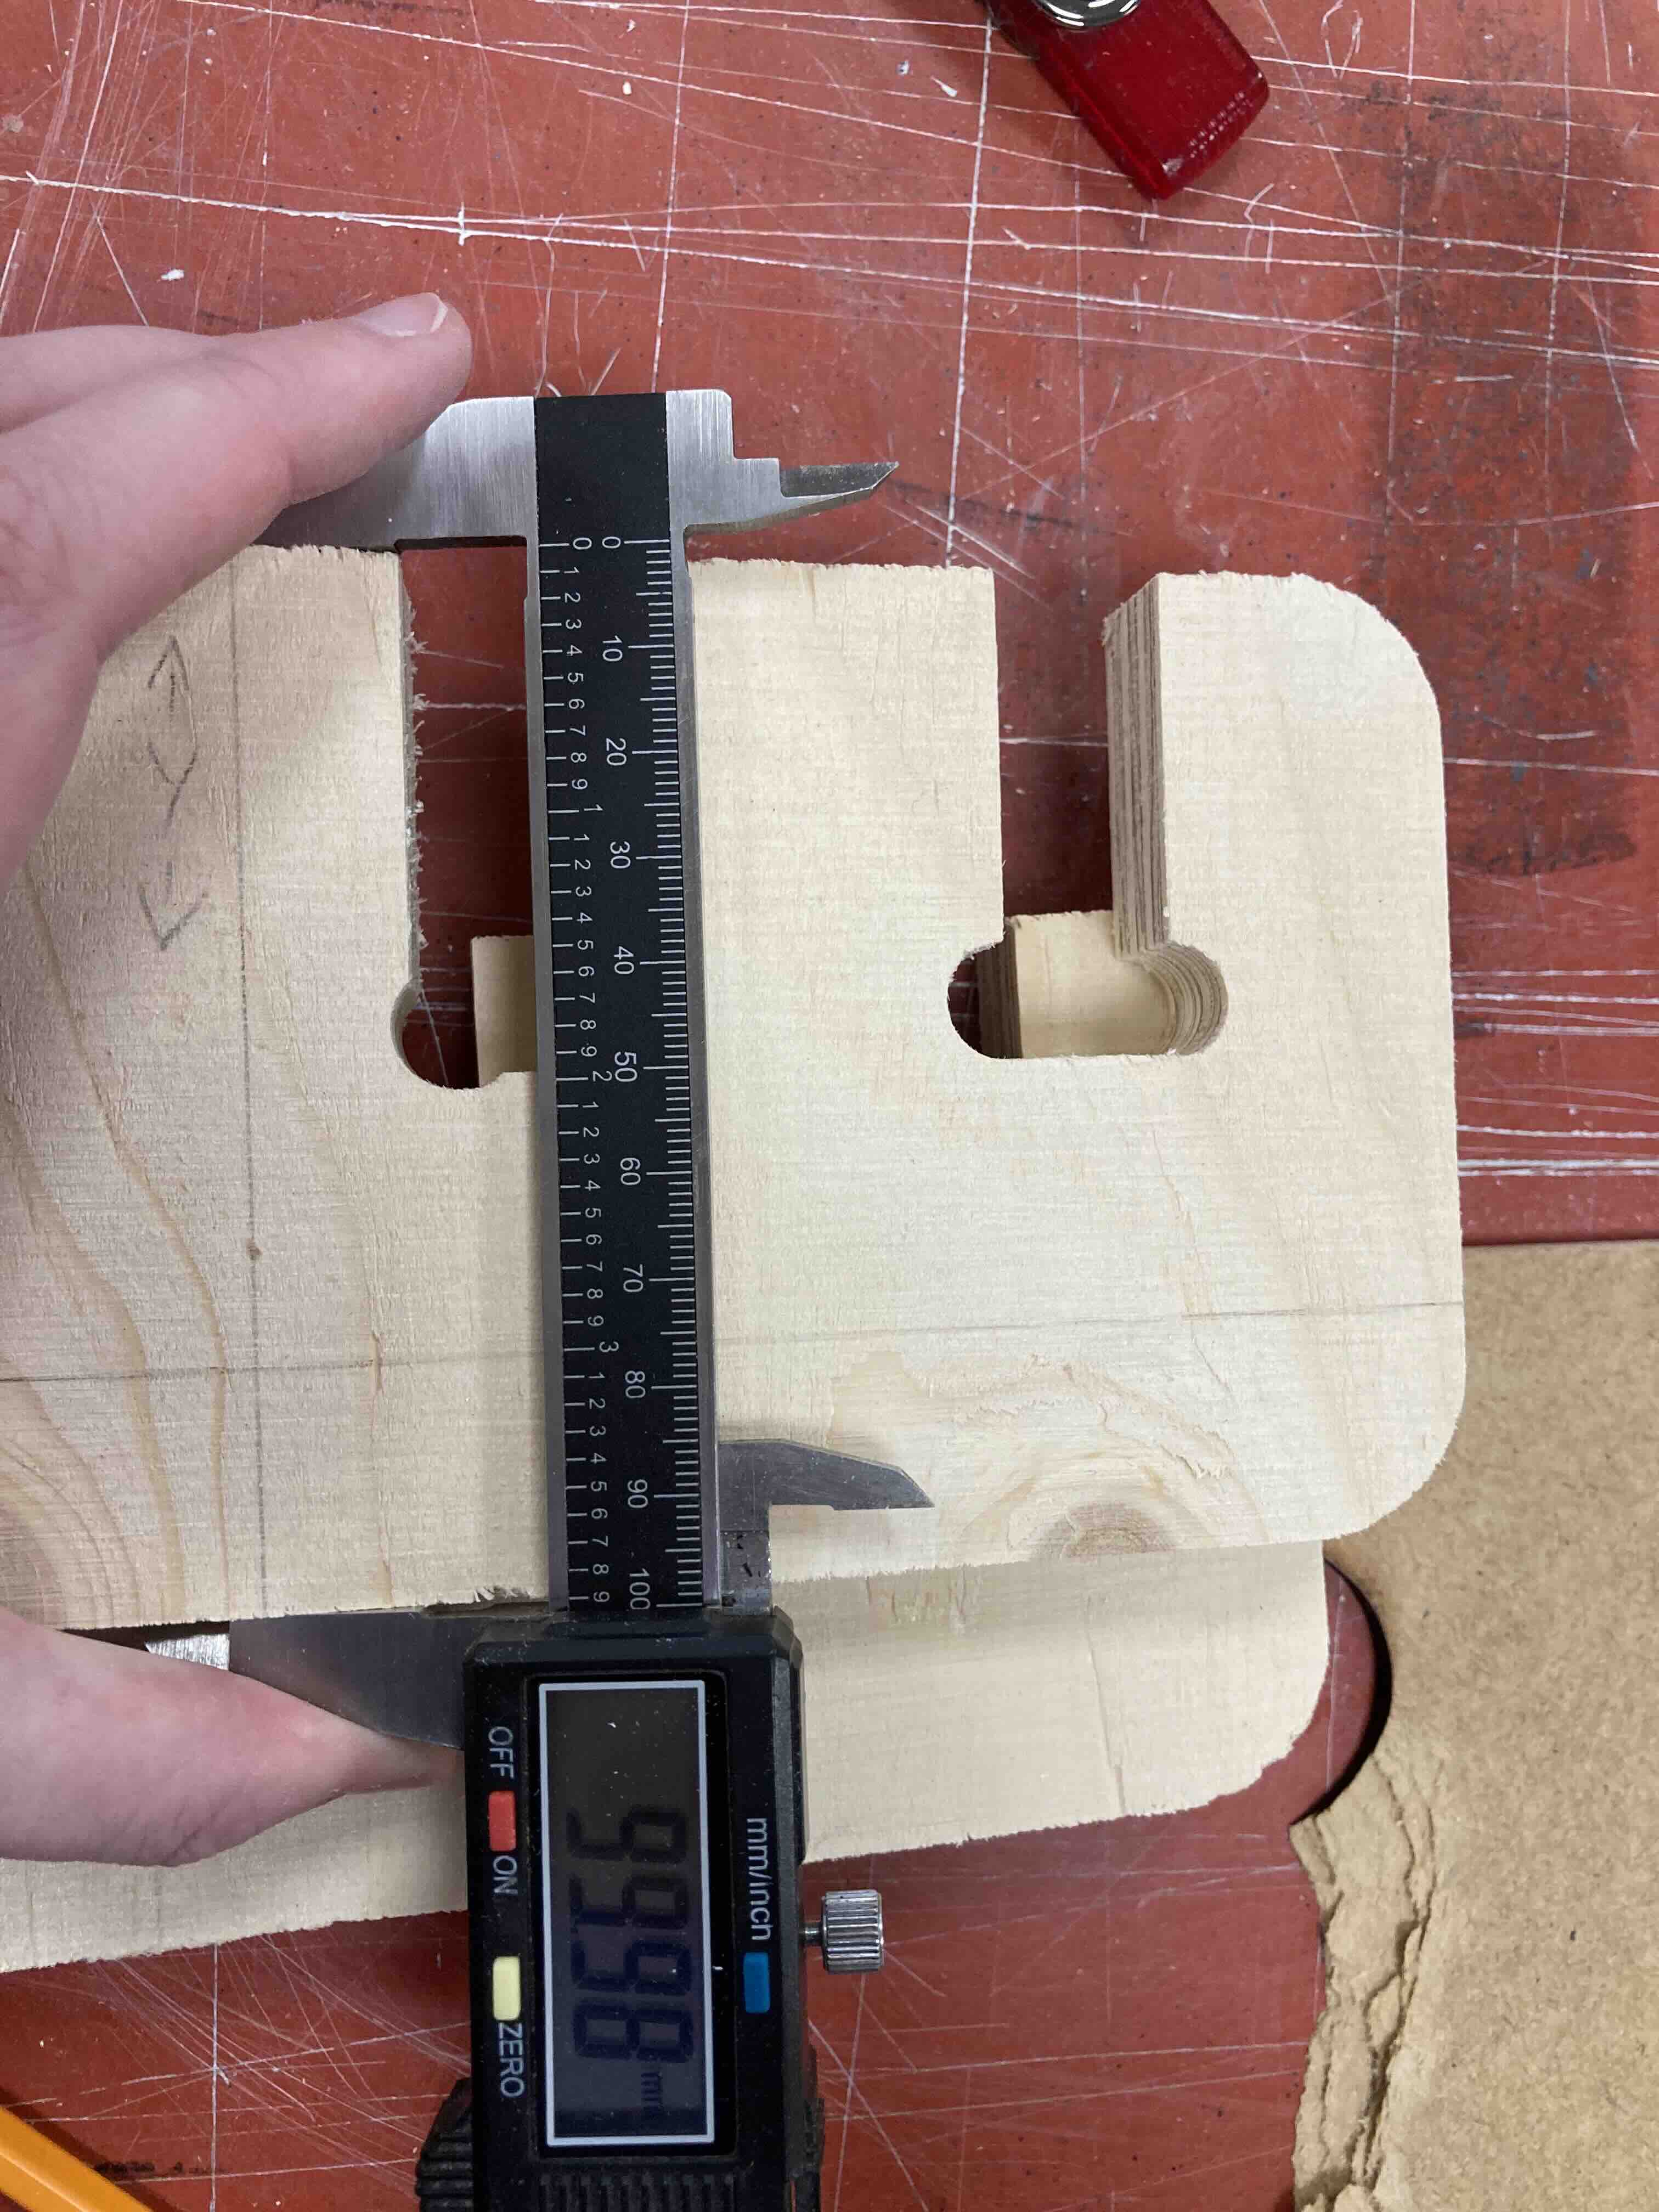
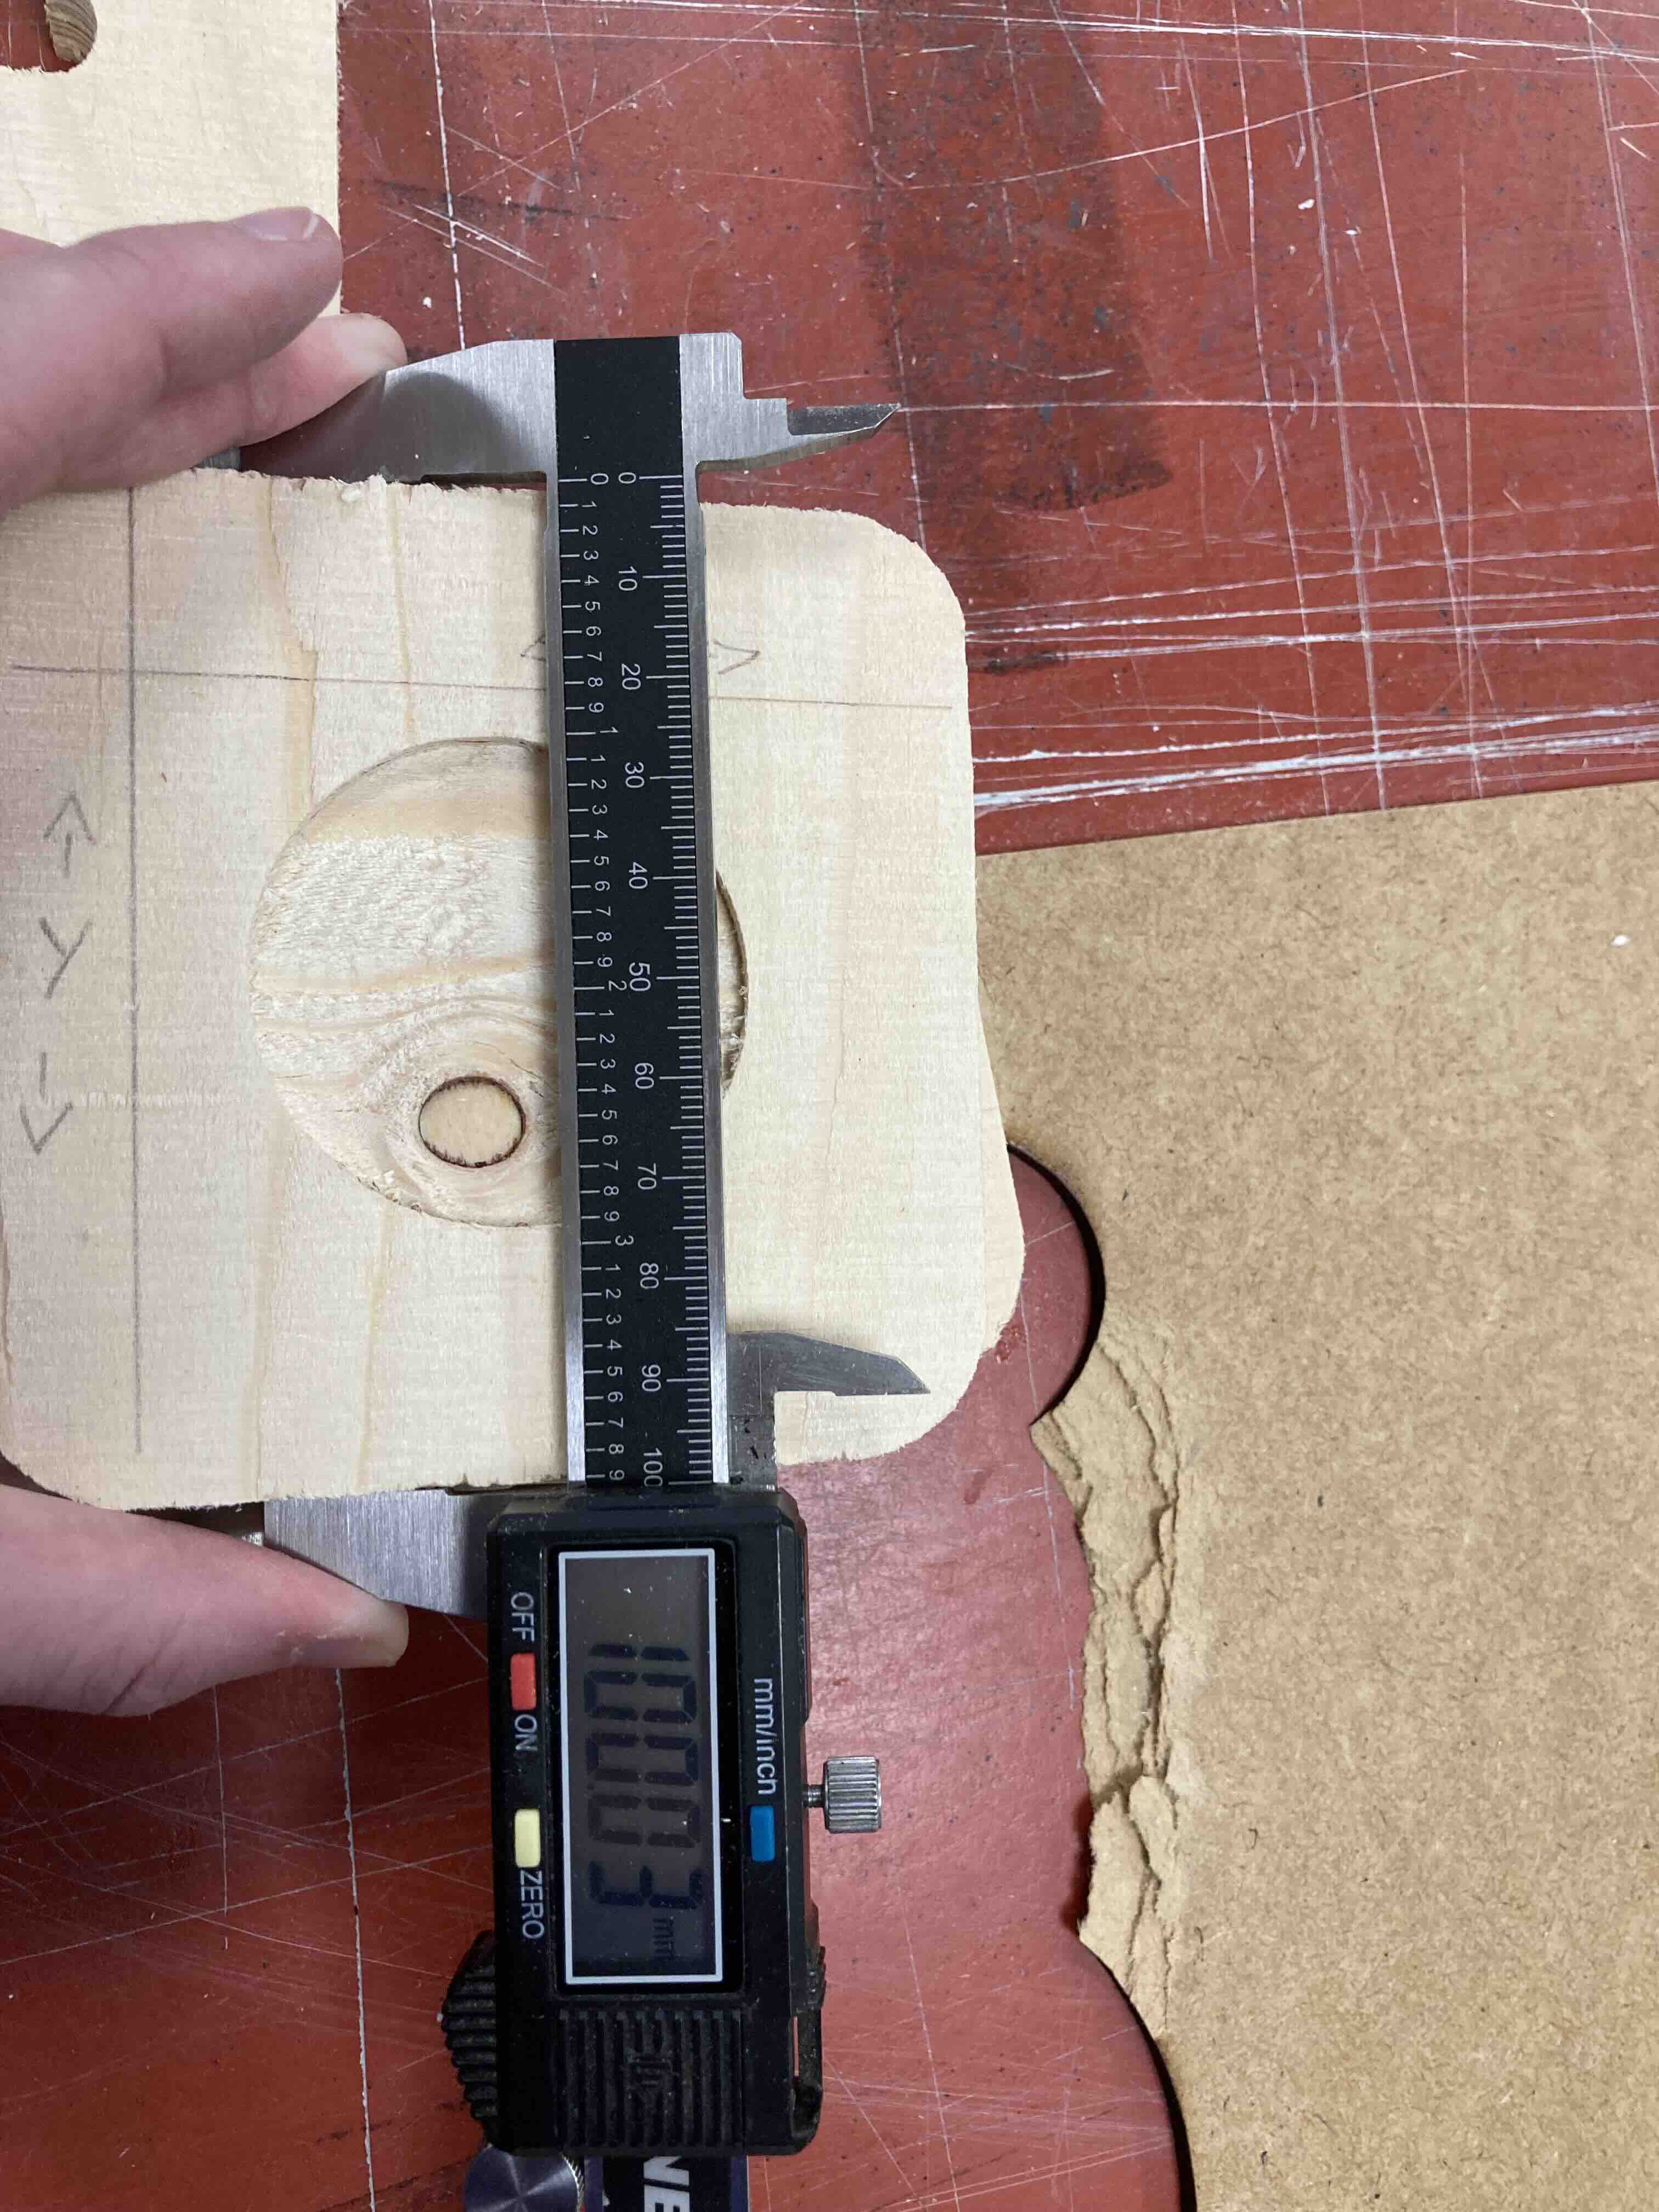
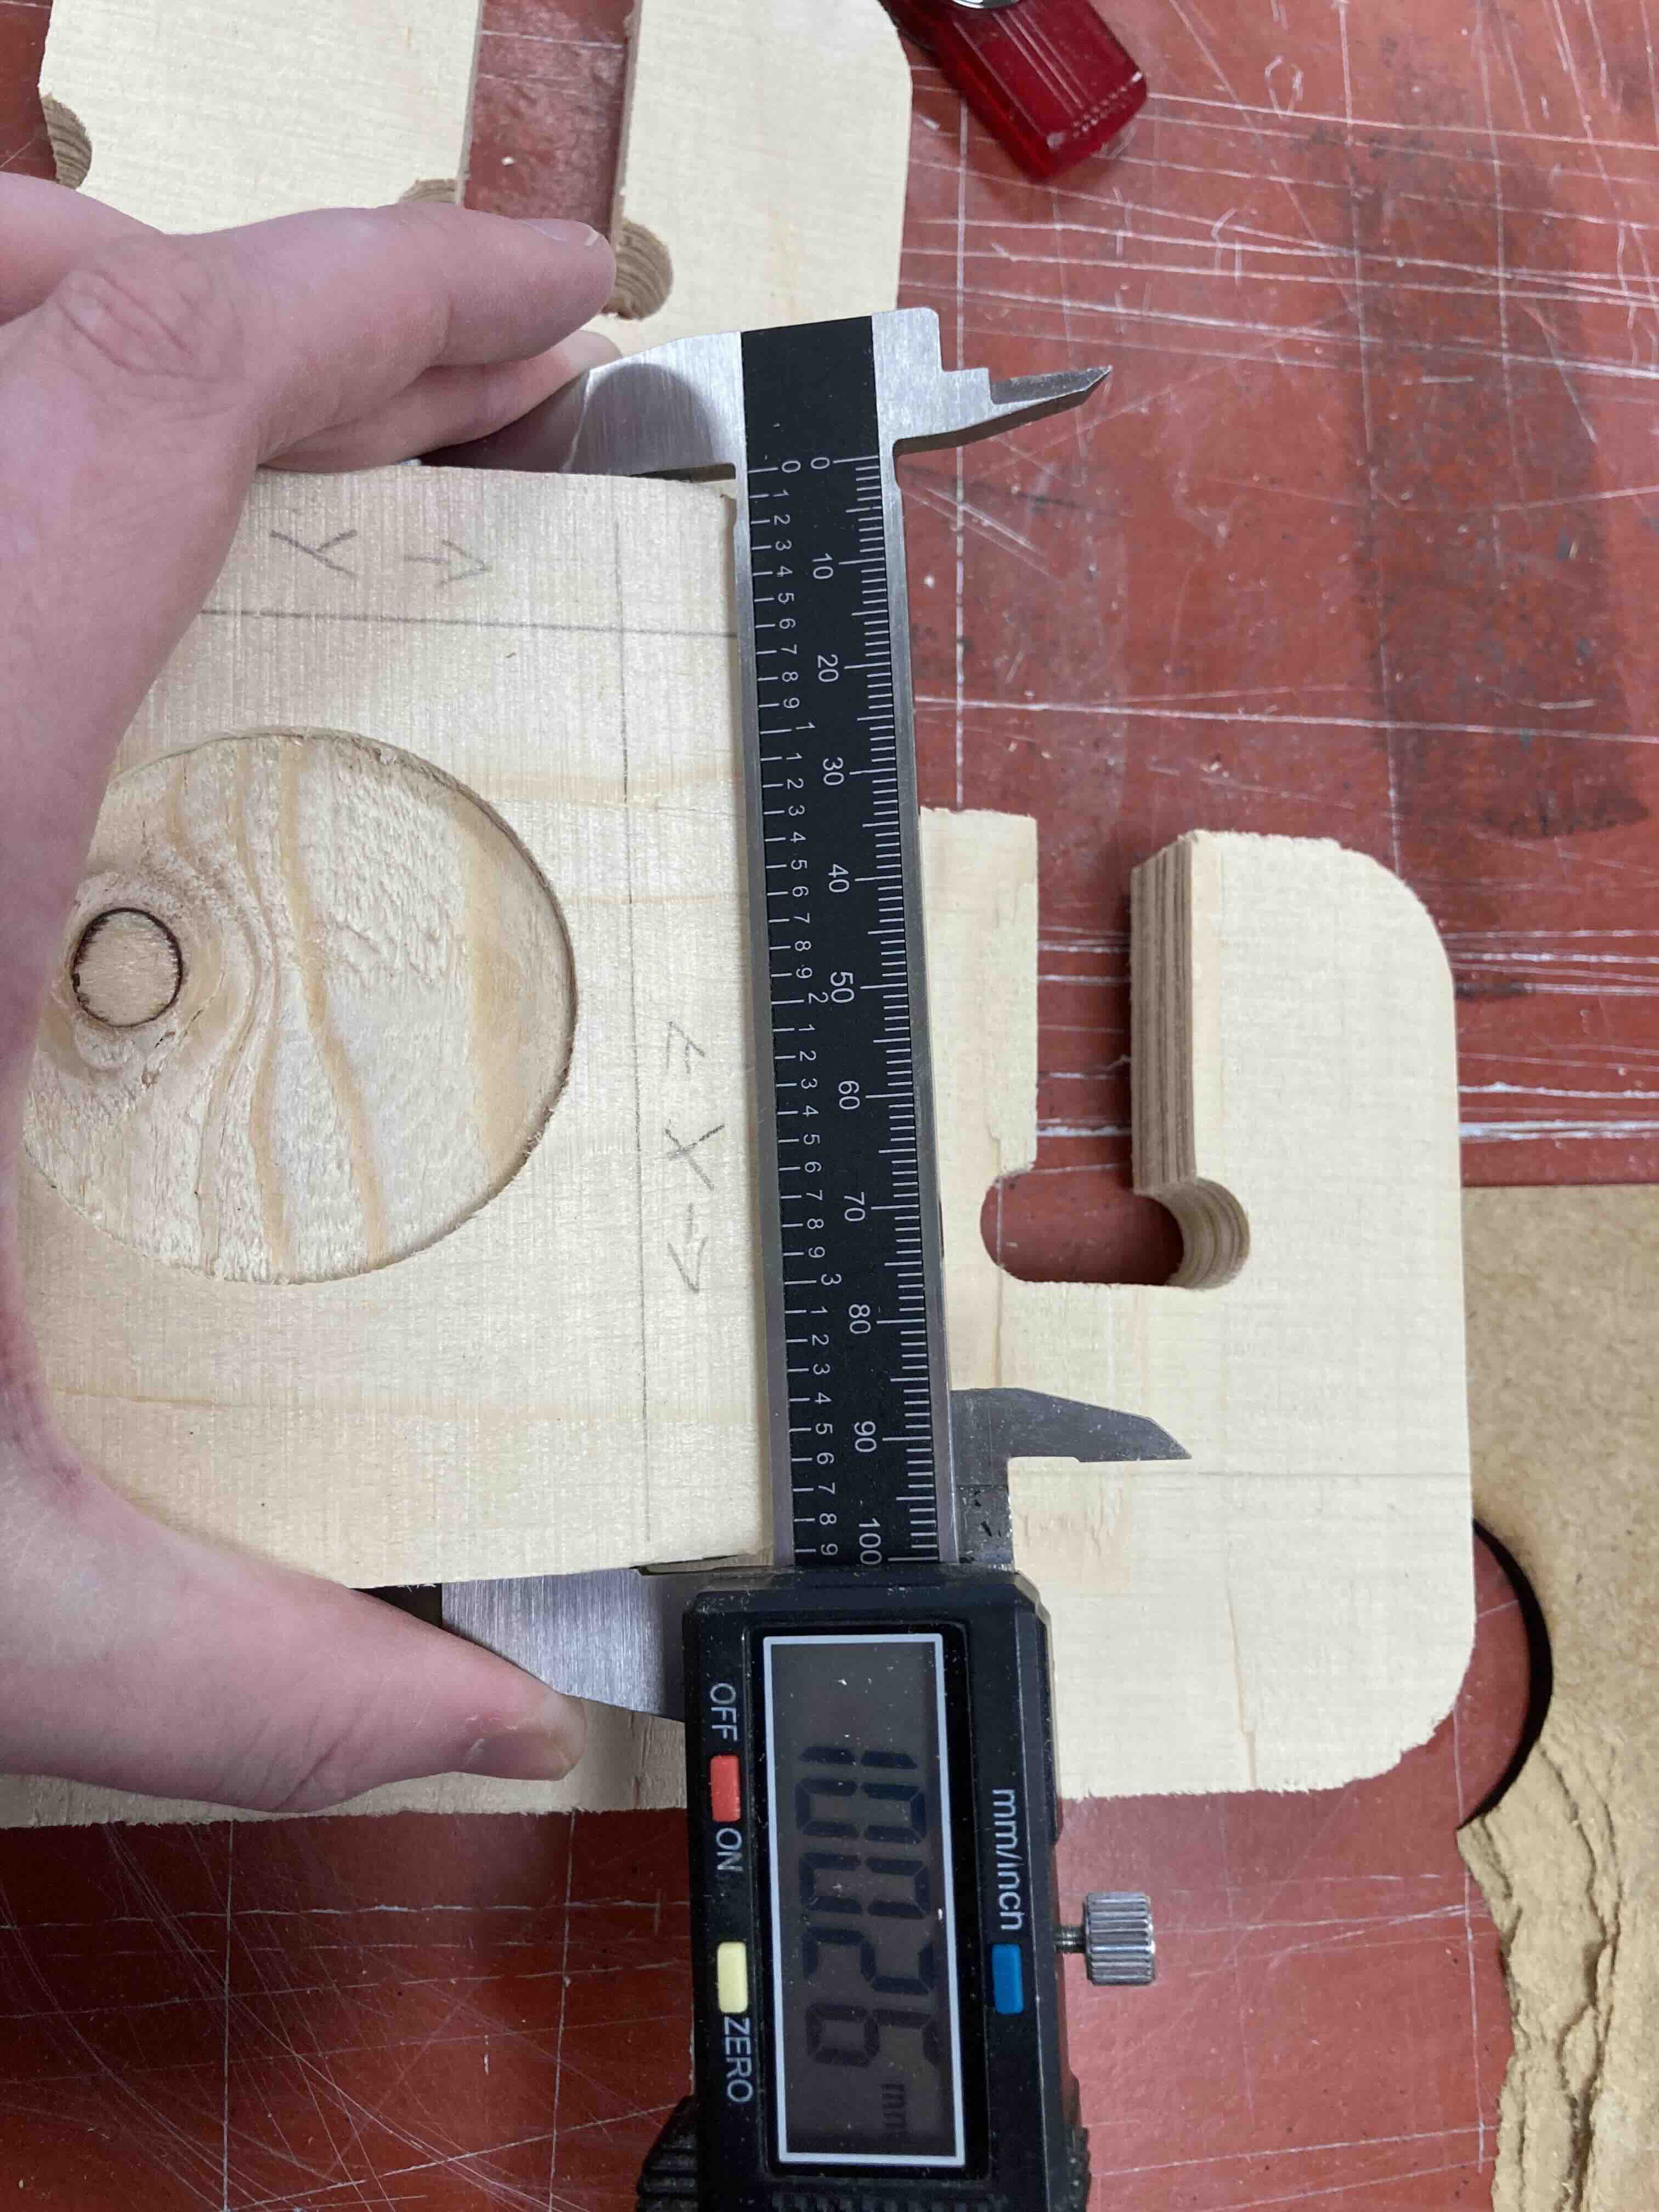
These are sketches I made of the box including the measurements for the box. I had limited space to put it in so I had to make sure I used all of it and that the boxwould fit in it.
ShopBot: Safety Course
Took a safety course in how to work around ShopBot.
I had to learn to test runout, alignment, fixturing, speeds, feeds, materials, and toolpaths for your machine
Safety Training
Before using the CNC machine all users undergo safety training

The most important part of the safety training is understanding that there can be a fire hazard, a risk of damage to the machine and a risk of injury to people so keeping an eye on the machine at all times is crucial.
Always keep hands, bodyparts and clothing away from all moving parts
Always use eye protection while the machine is running
Use ear protection while the machine is running
Use gloves while handling stock
Do not leave the machine while it is running, always keep an eye on the machine
Make sure the vacuum is turned on
Do not use the machine if you are tired
Do not use the machine if you are alone in the lab
During the training the users also learn how to use the machine:
How to turn on and off the machine
How to set up the machine
How to use the software
Test runout, alignment, fixturing, speeds, feeds, materials, and toolpaths for your machine
words about test runout, alignment, fixturing, speeds, feeds, materials, and toolpaths
The students made test joints as an excersize to test the shopbot and working the machine. These test pieces made sure the runout and alignment are OK.
Working with plywood on the shopbot the material is fixtured to the bed with screws.
Toolpaths are generated using VCarve
Feeds and speeds are calculated using the Fablab Speed and Feeds Calculator
Inkscape: Testers
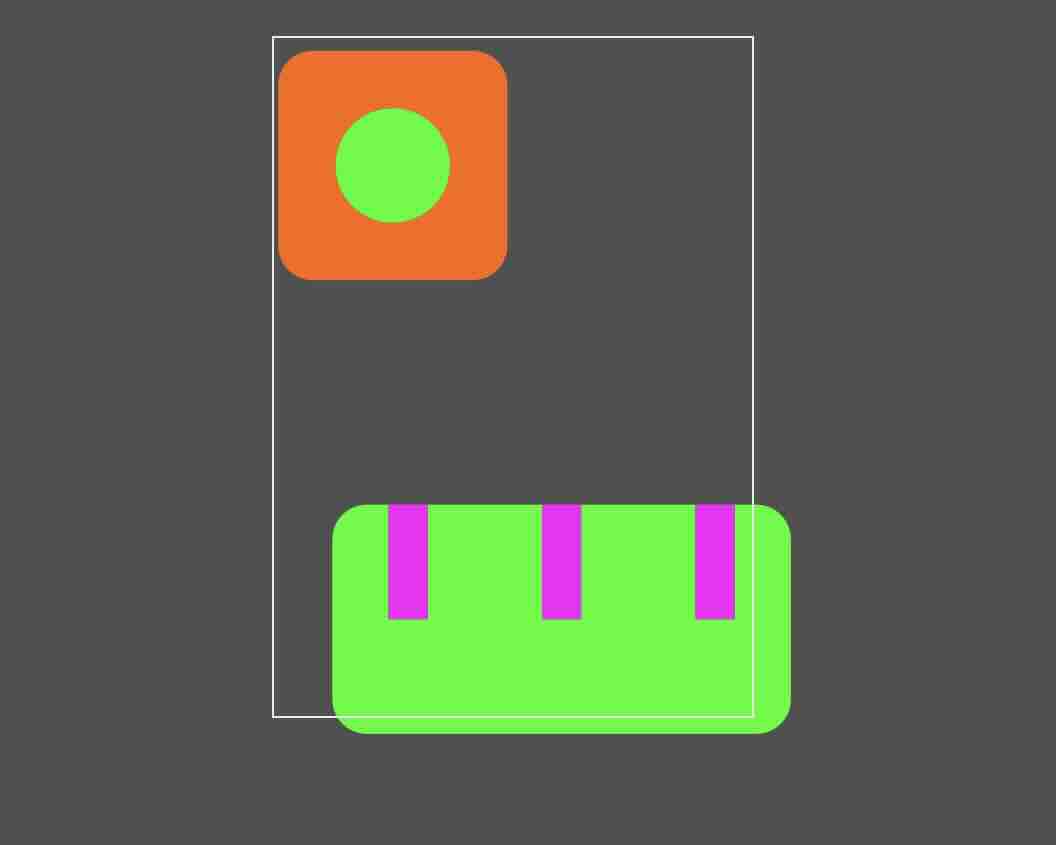
2D tester for ShopBot. One of the testers was a 10x10 cm square with a 5 cm deep pocket that was 5 mm wide. This one will show you if the ShopBot is aligned properly and if the cut depth is correct. The other test piece is a cob that will help determie the right clearance for interlocking joints.
ShopBot: Testers
Cut out 2D testers that I had made previously.
ShopBot_Test
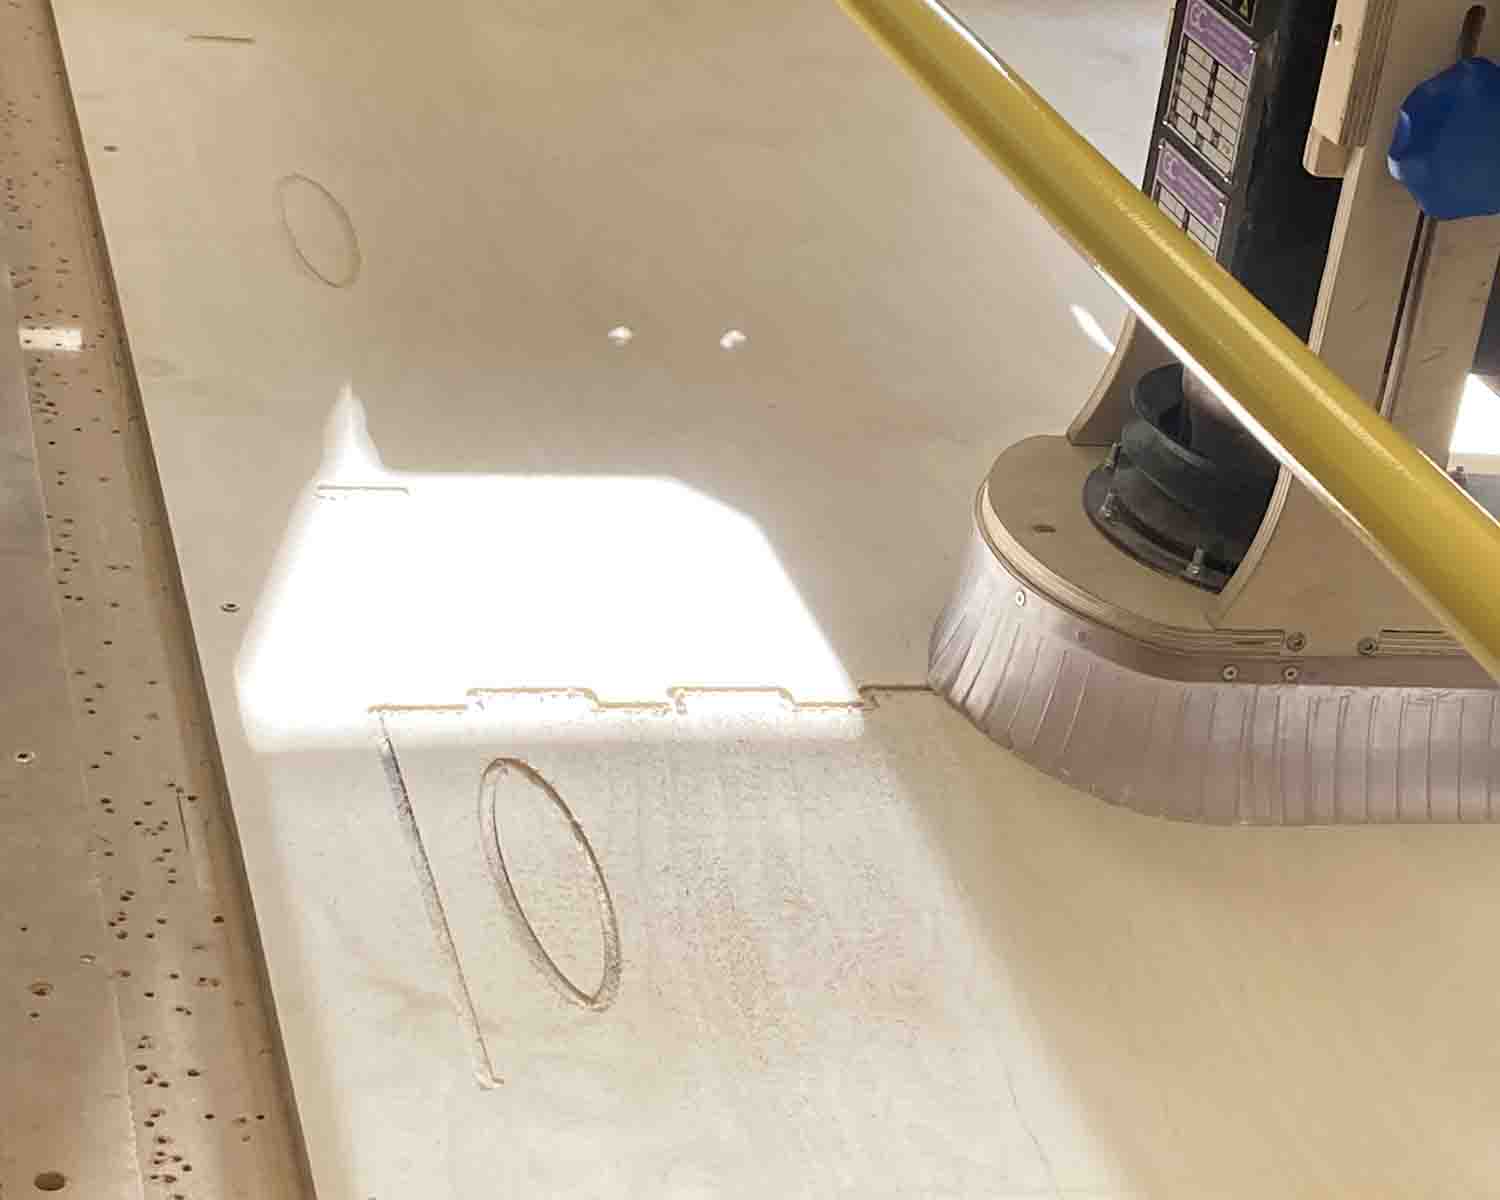
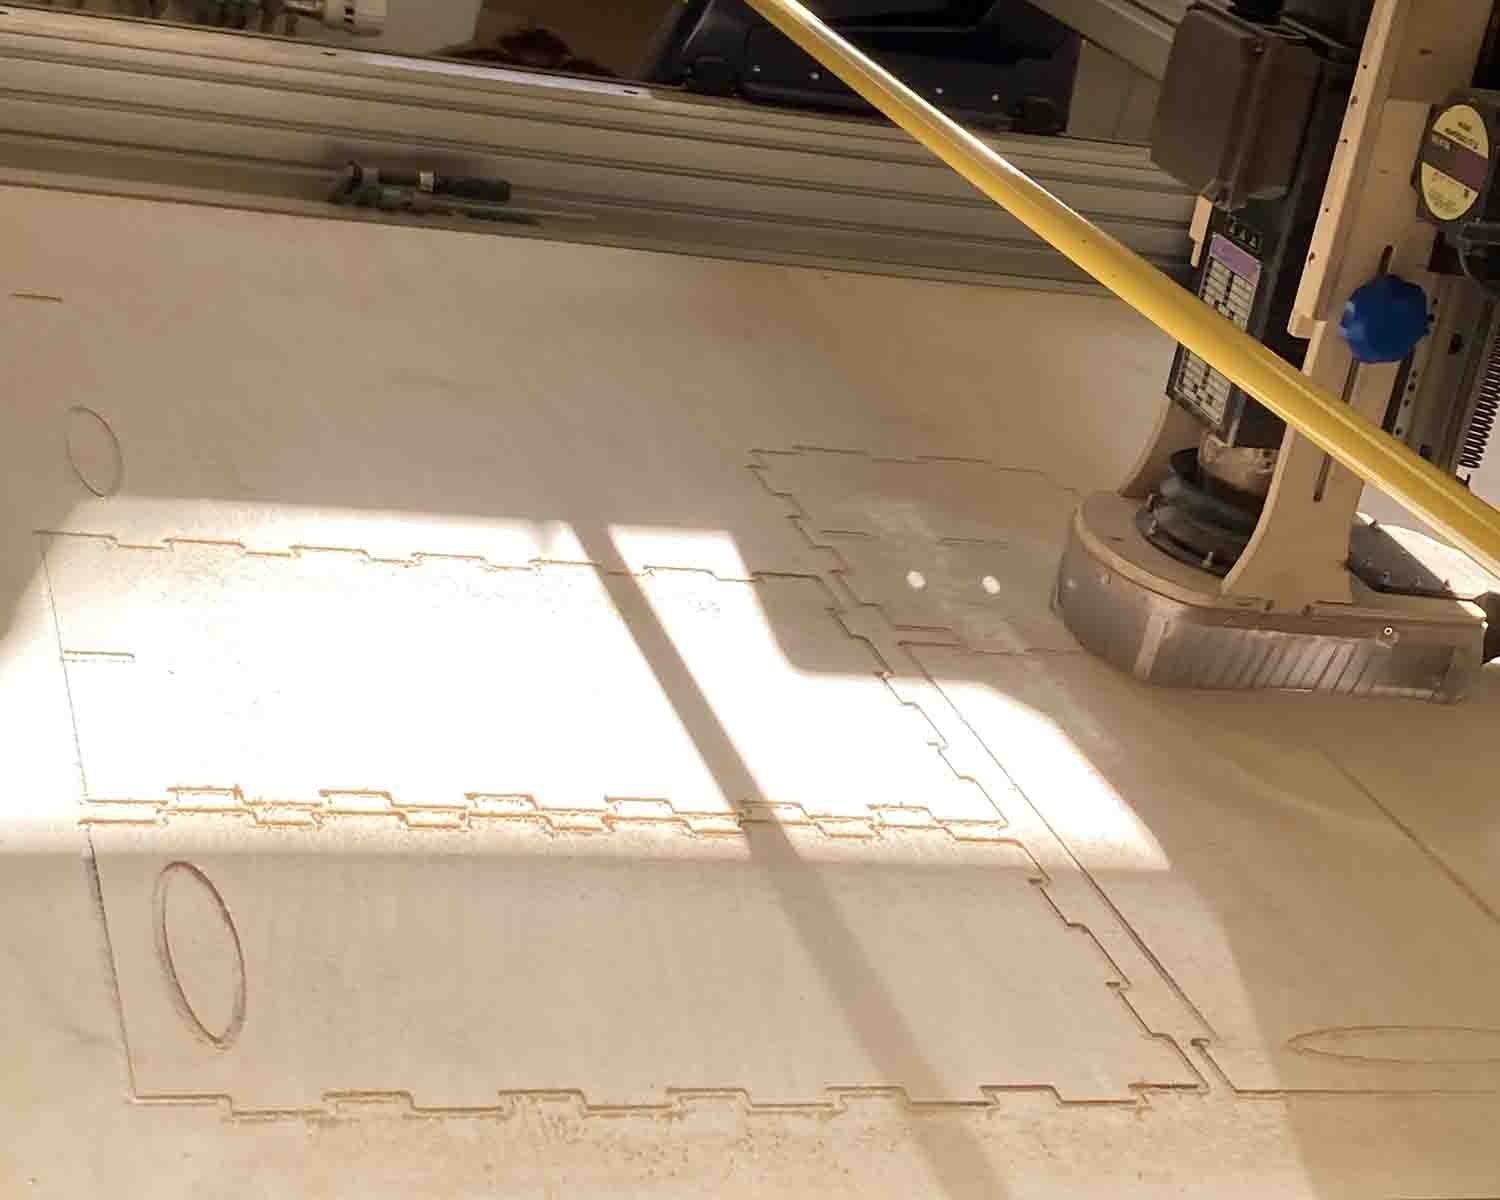
Milling out the test pieces in the ShopBot.
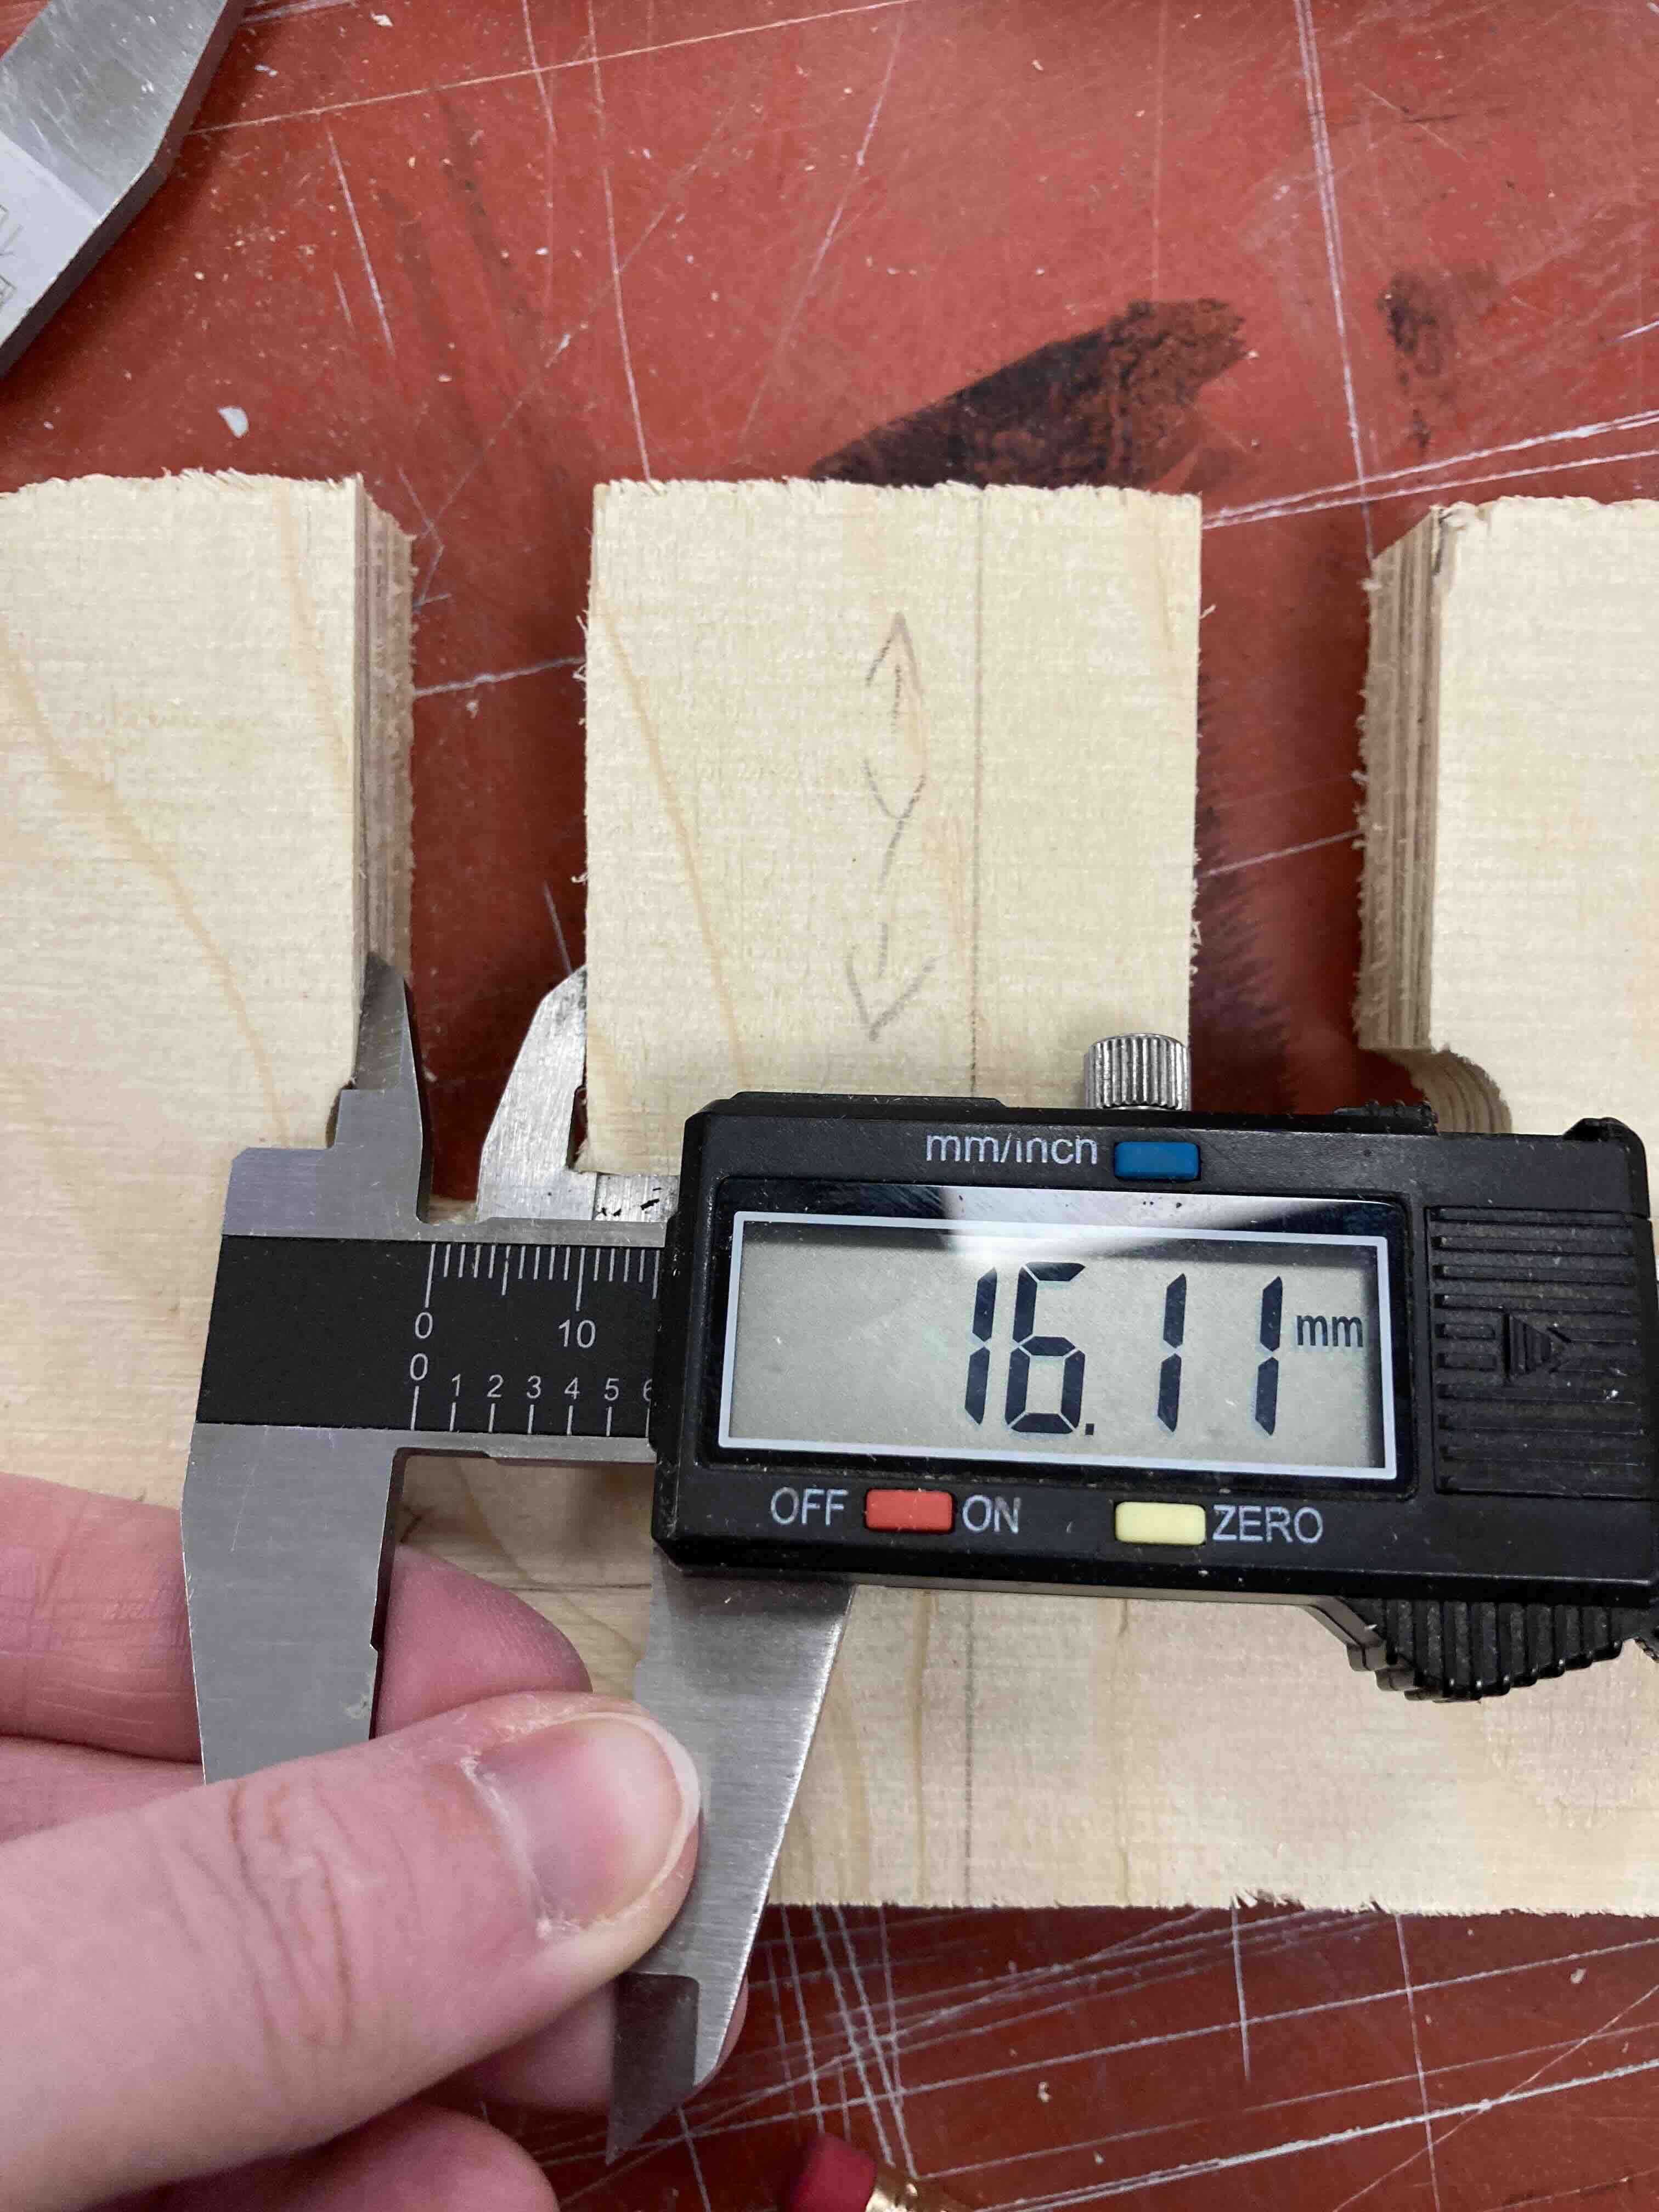
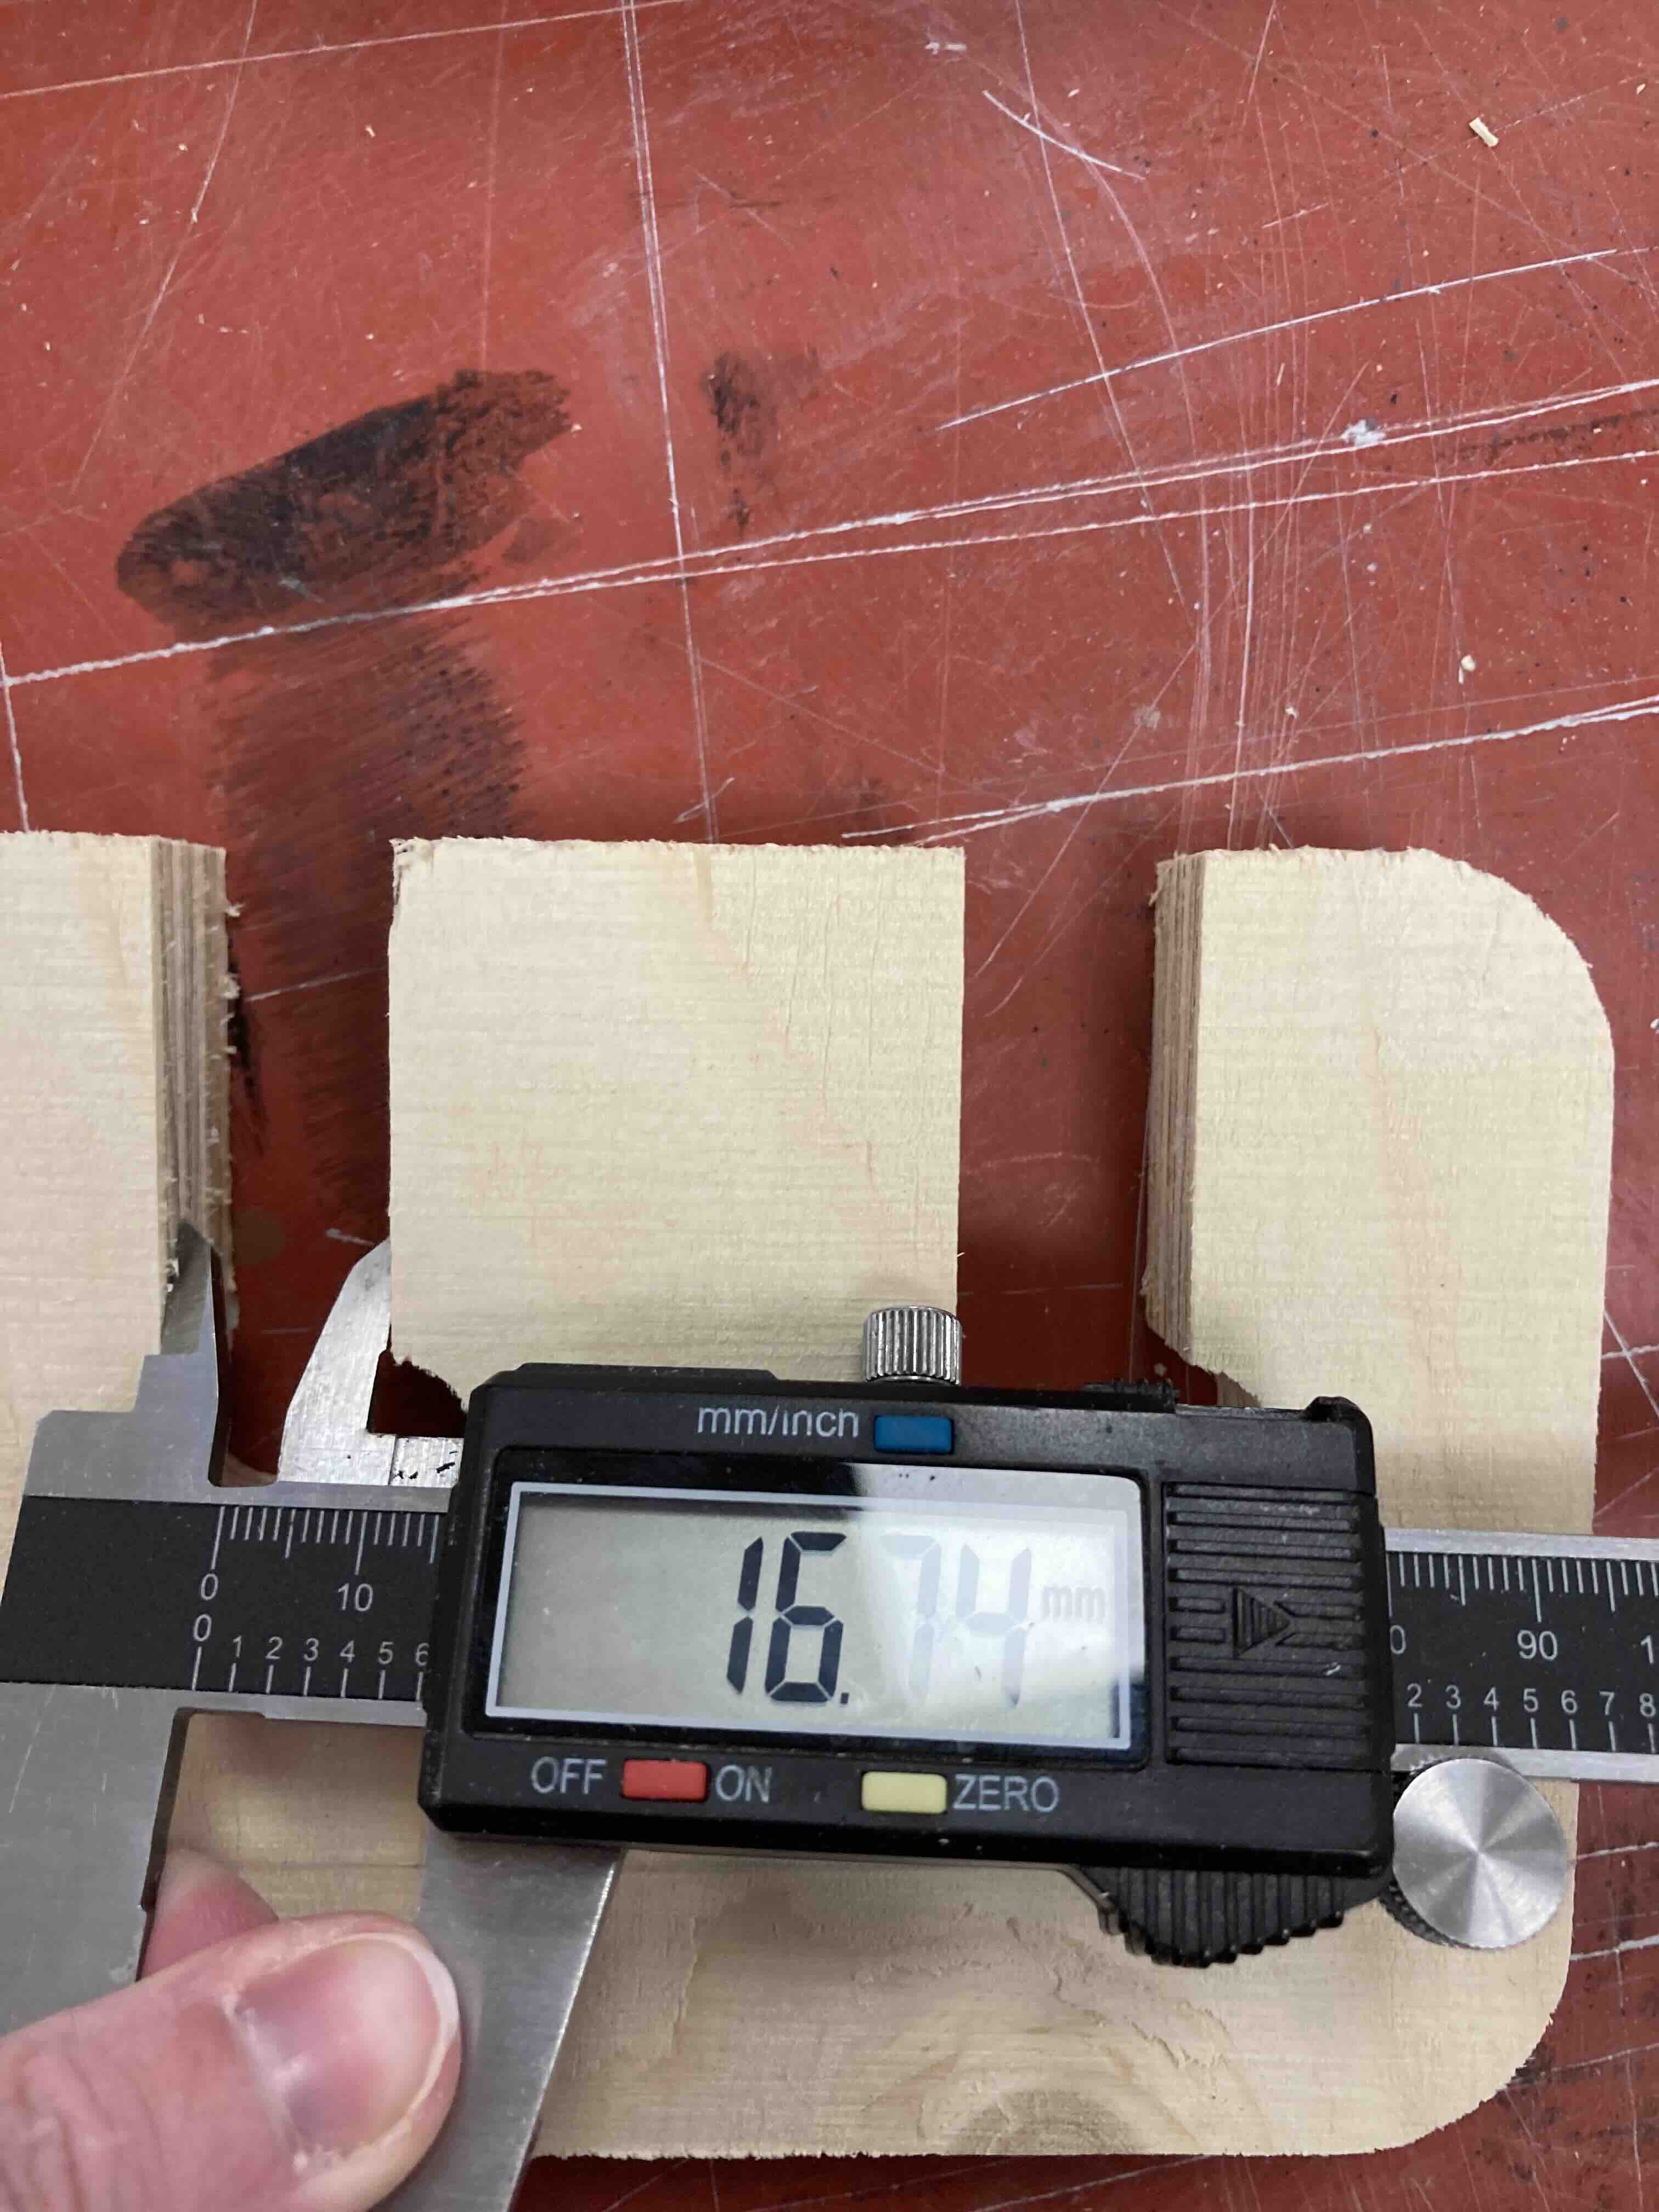
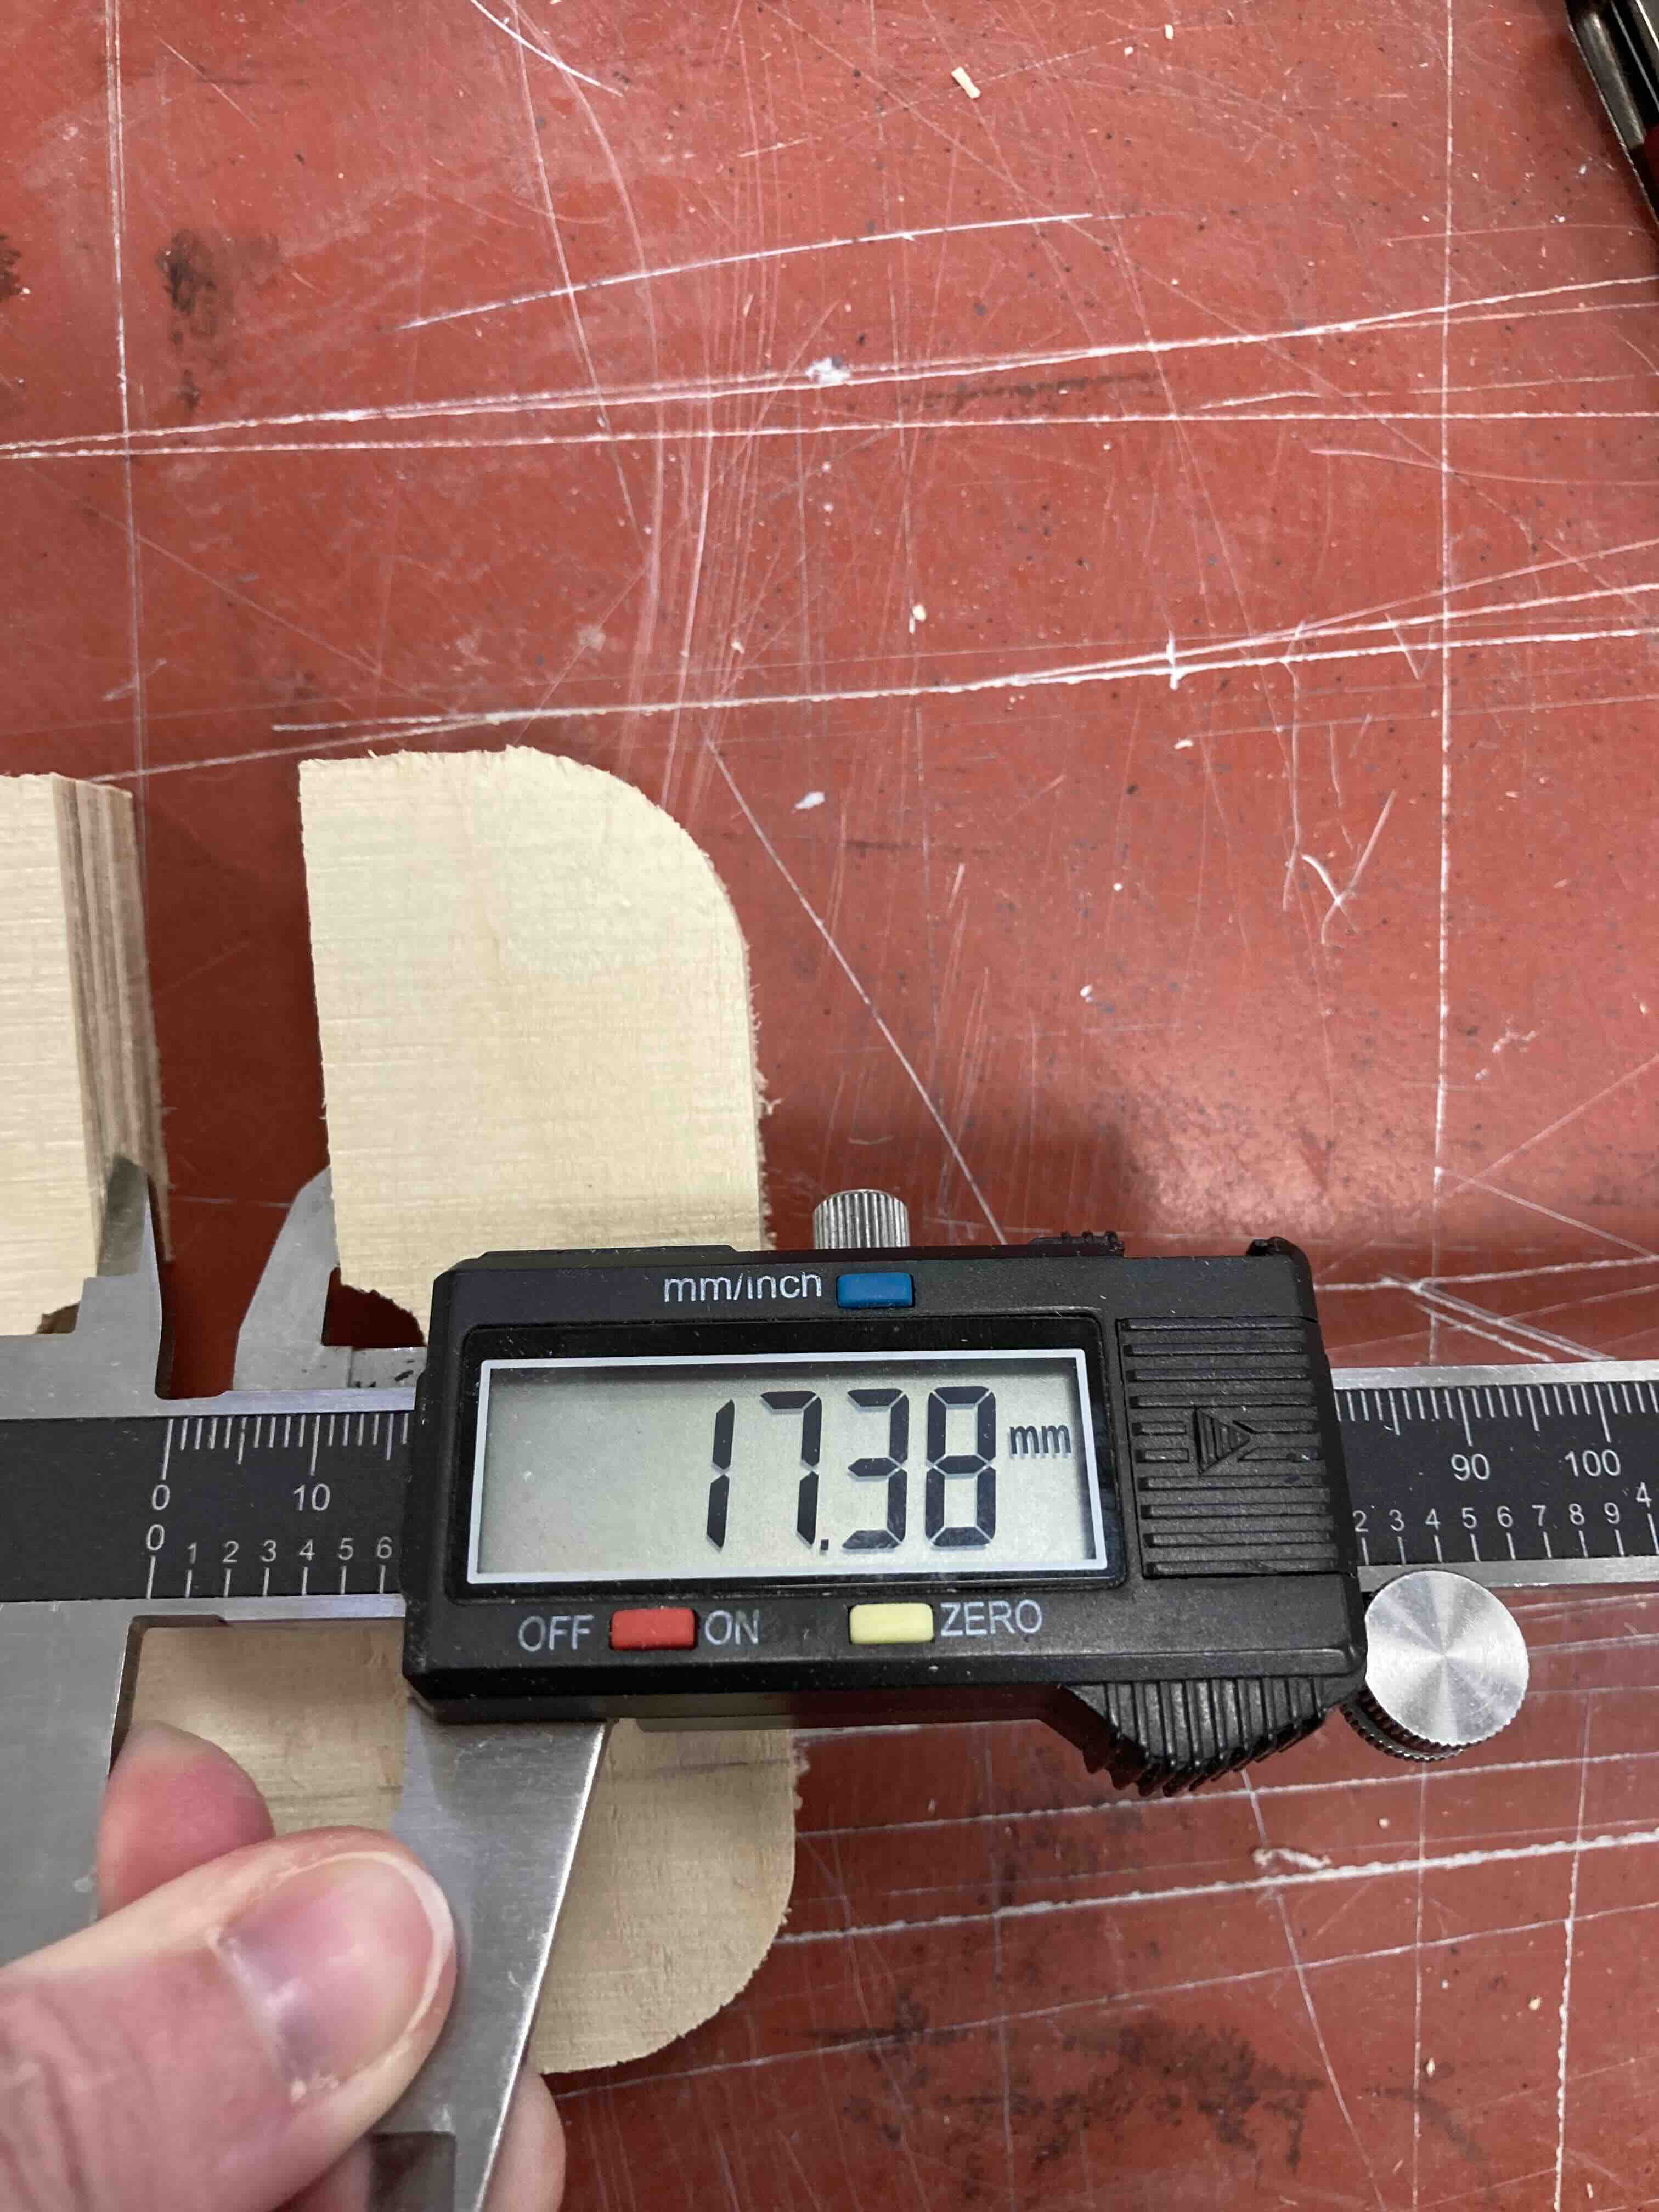
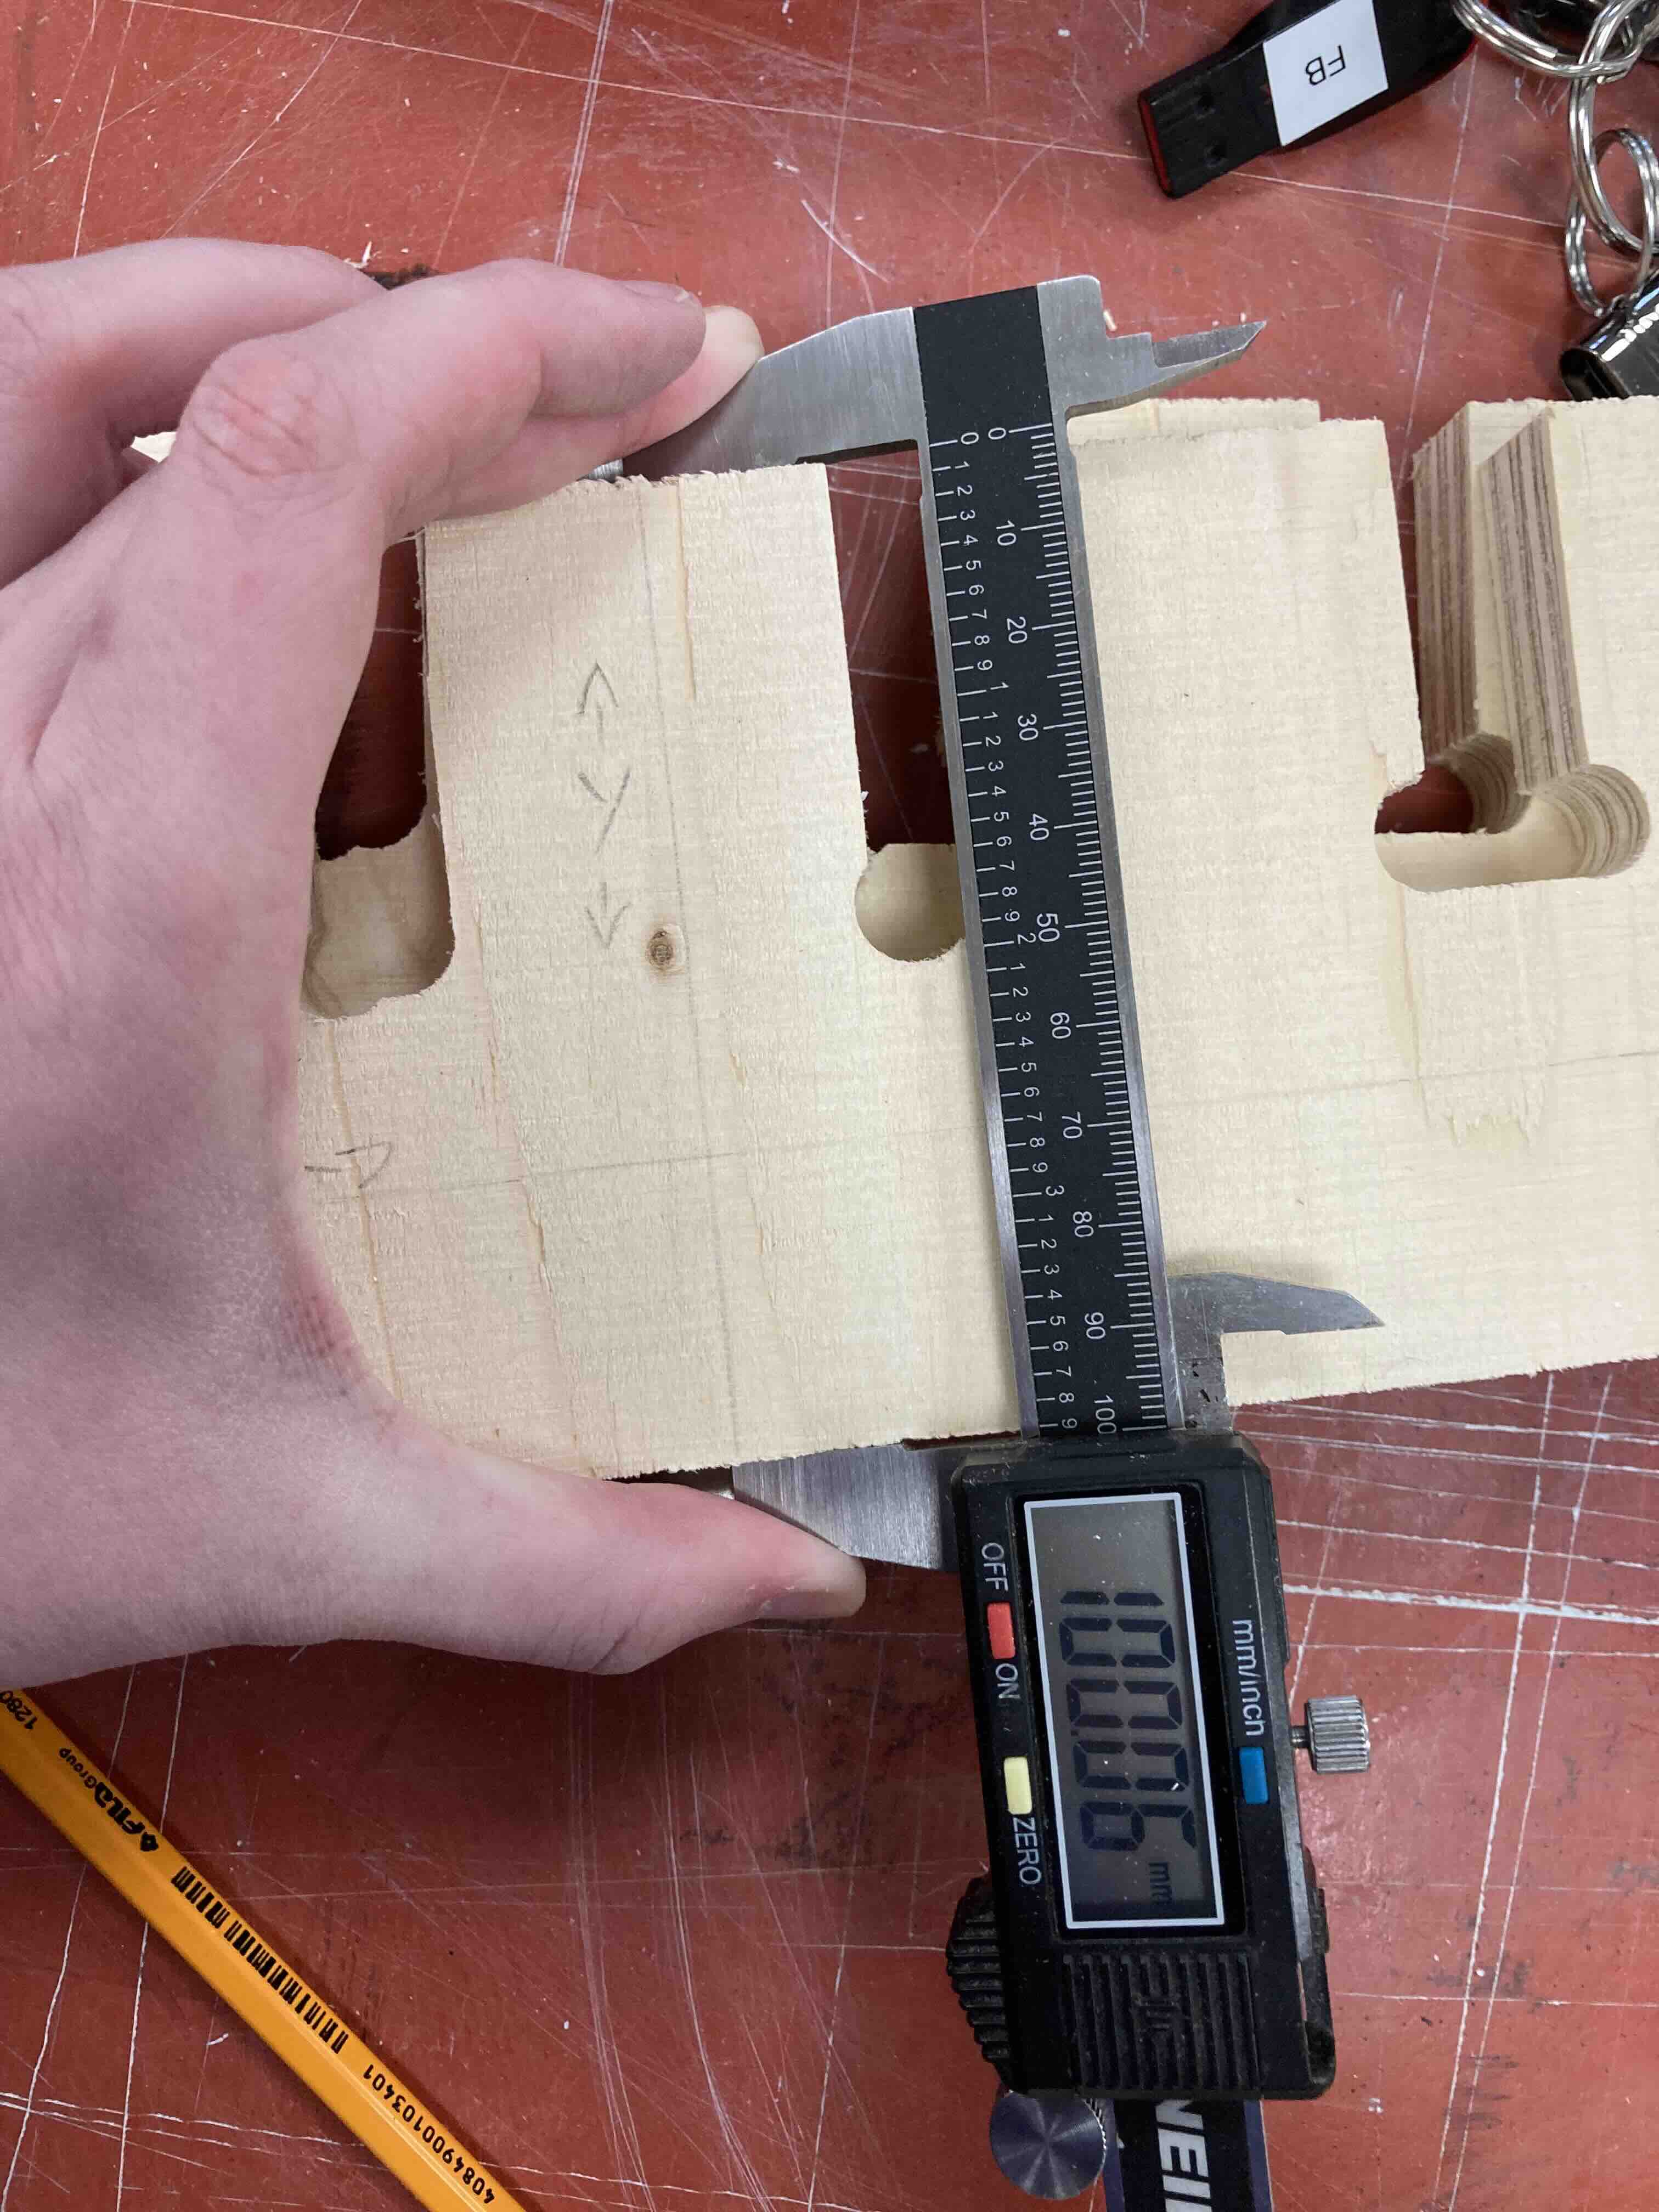
Measuring the difference between the file and the cut. I measured all the test pieces and the measurements were withing acceptable margins idicating that the Shopbot was properly aligned and set up.
Inkscape: Box
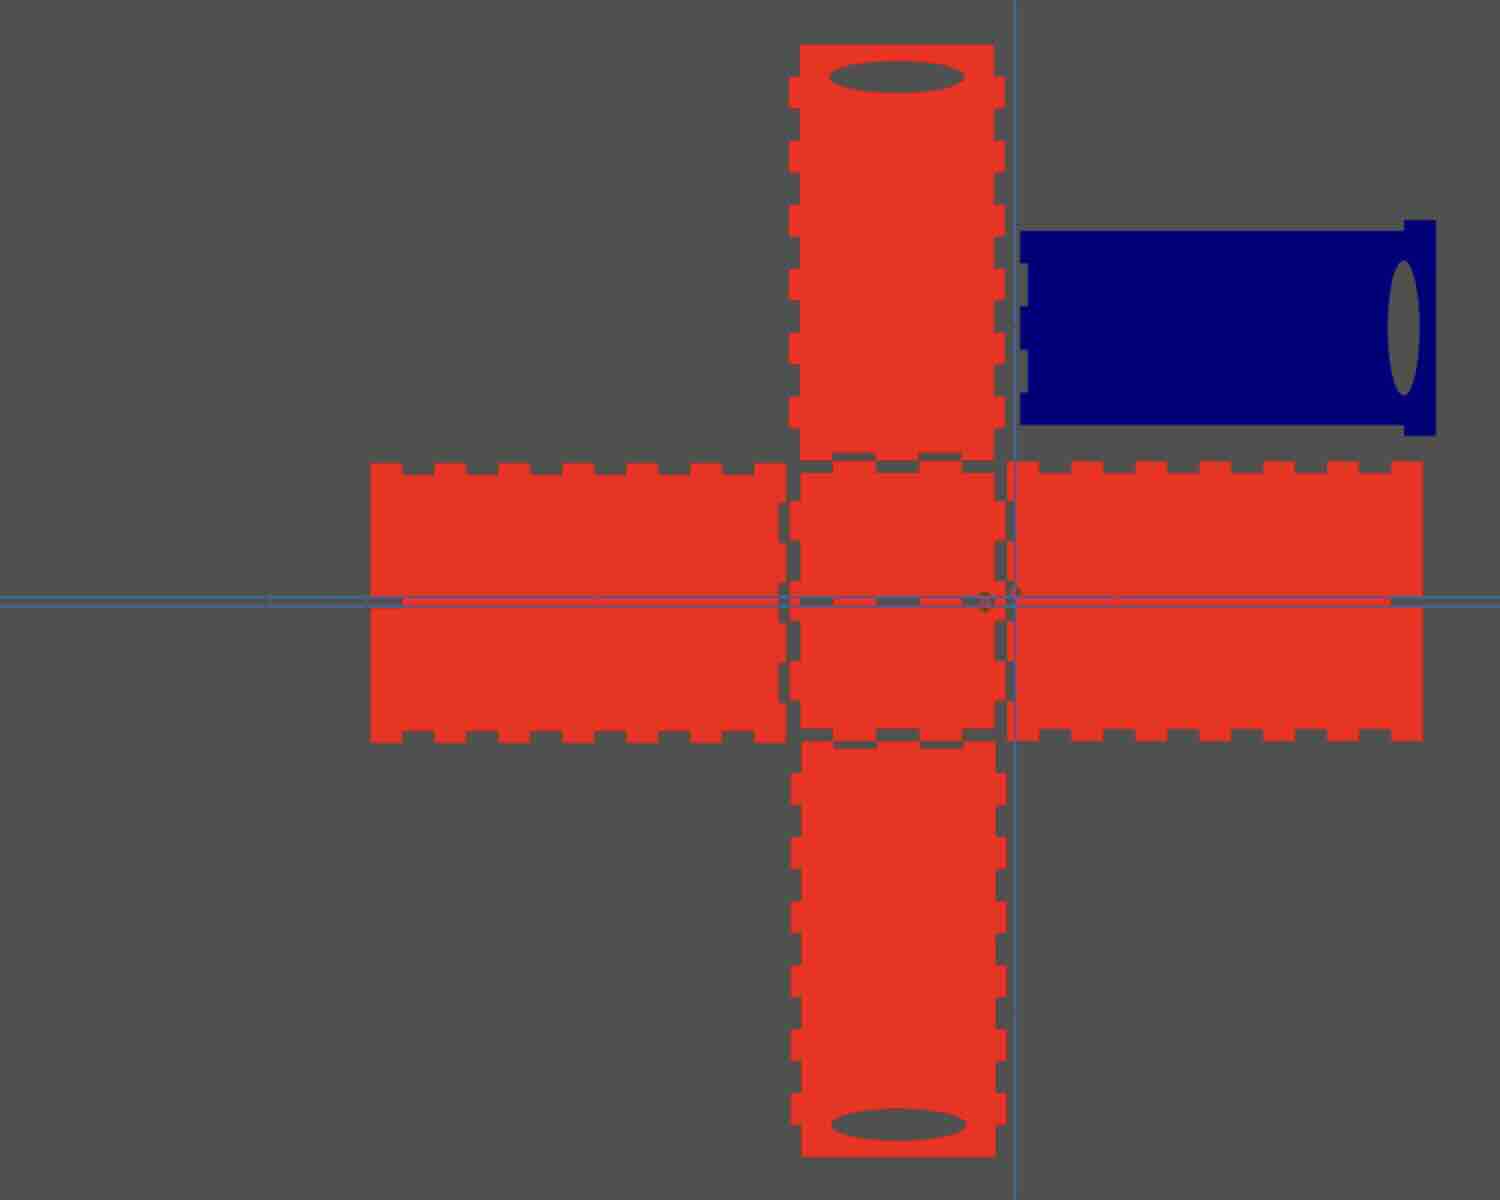
Used a boxed that I designed in 2019 as a reference and altered it for my Studio to fit into a specific area. The new box has two sections to sort design papers. I made a Vector drawing of the box in Inksape, imported the drawing into VCarve and made a CAM-Toolpath. I used Profile Toolpath and chose outside cute. Then I used indie cut to cut out the handles. I put tabs on the item to make sure it would not fall apart.
ShopBot: Box
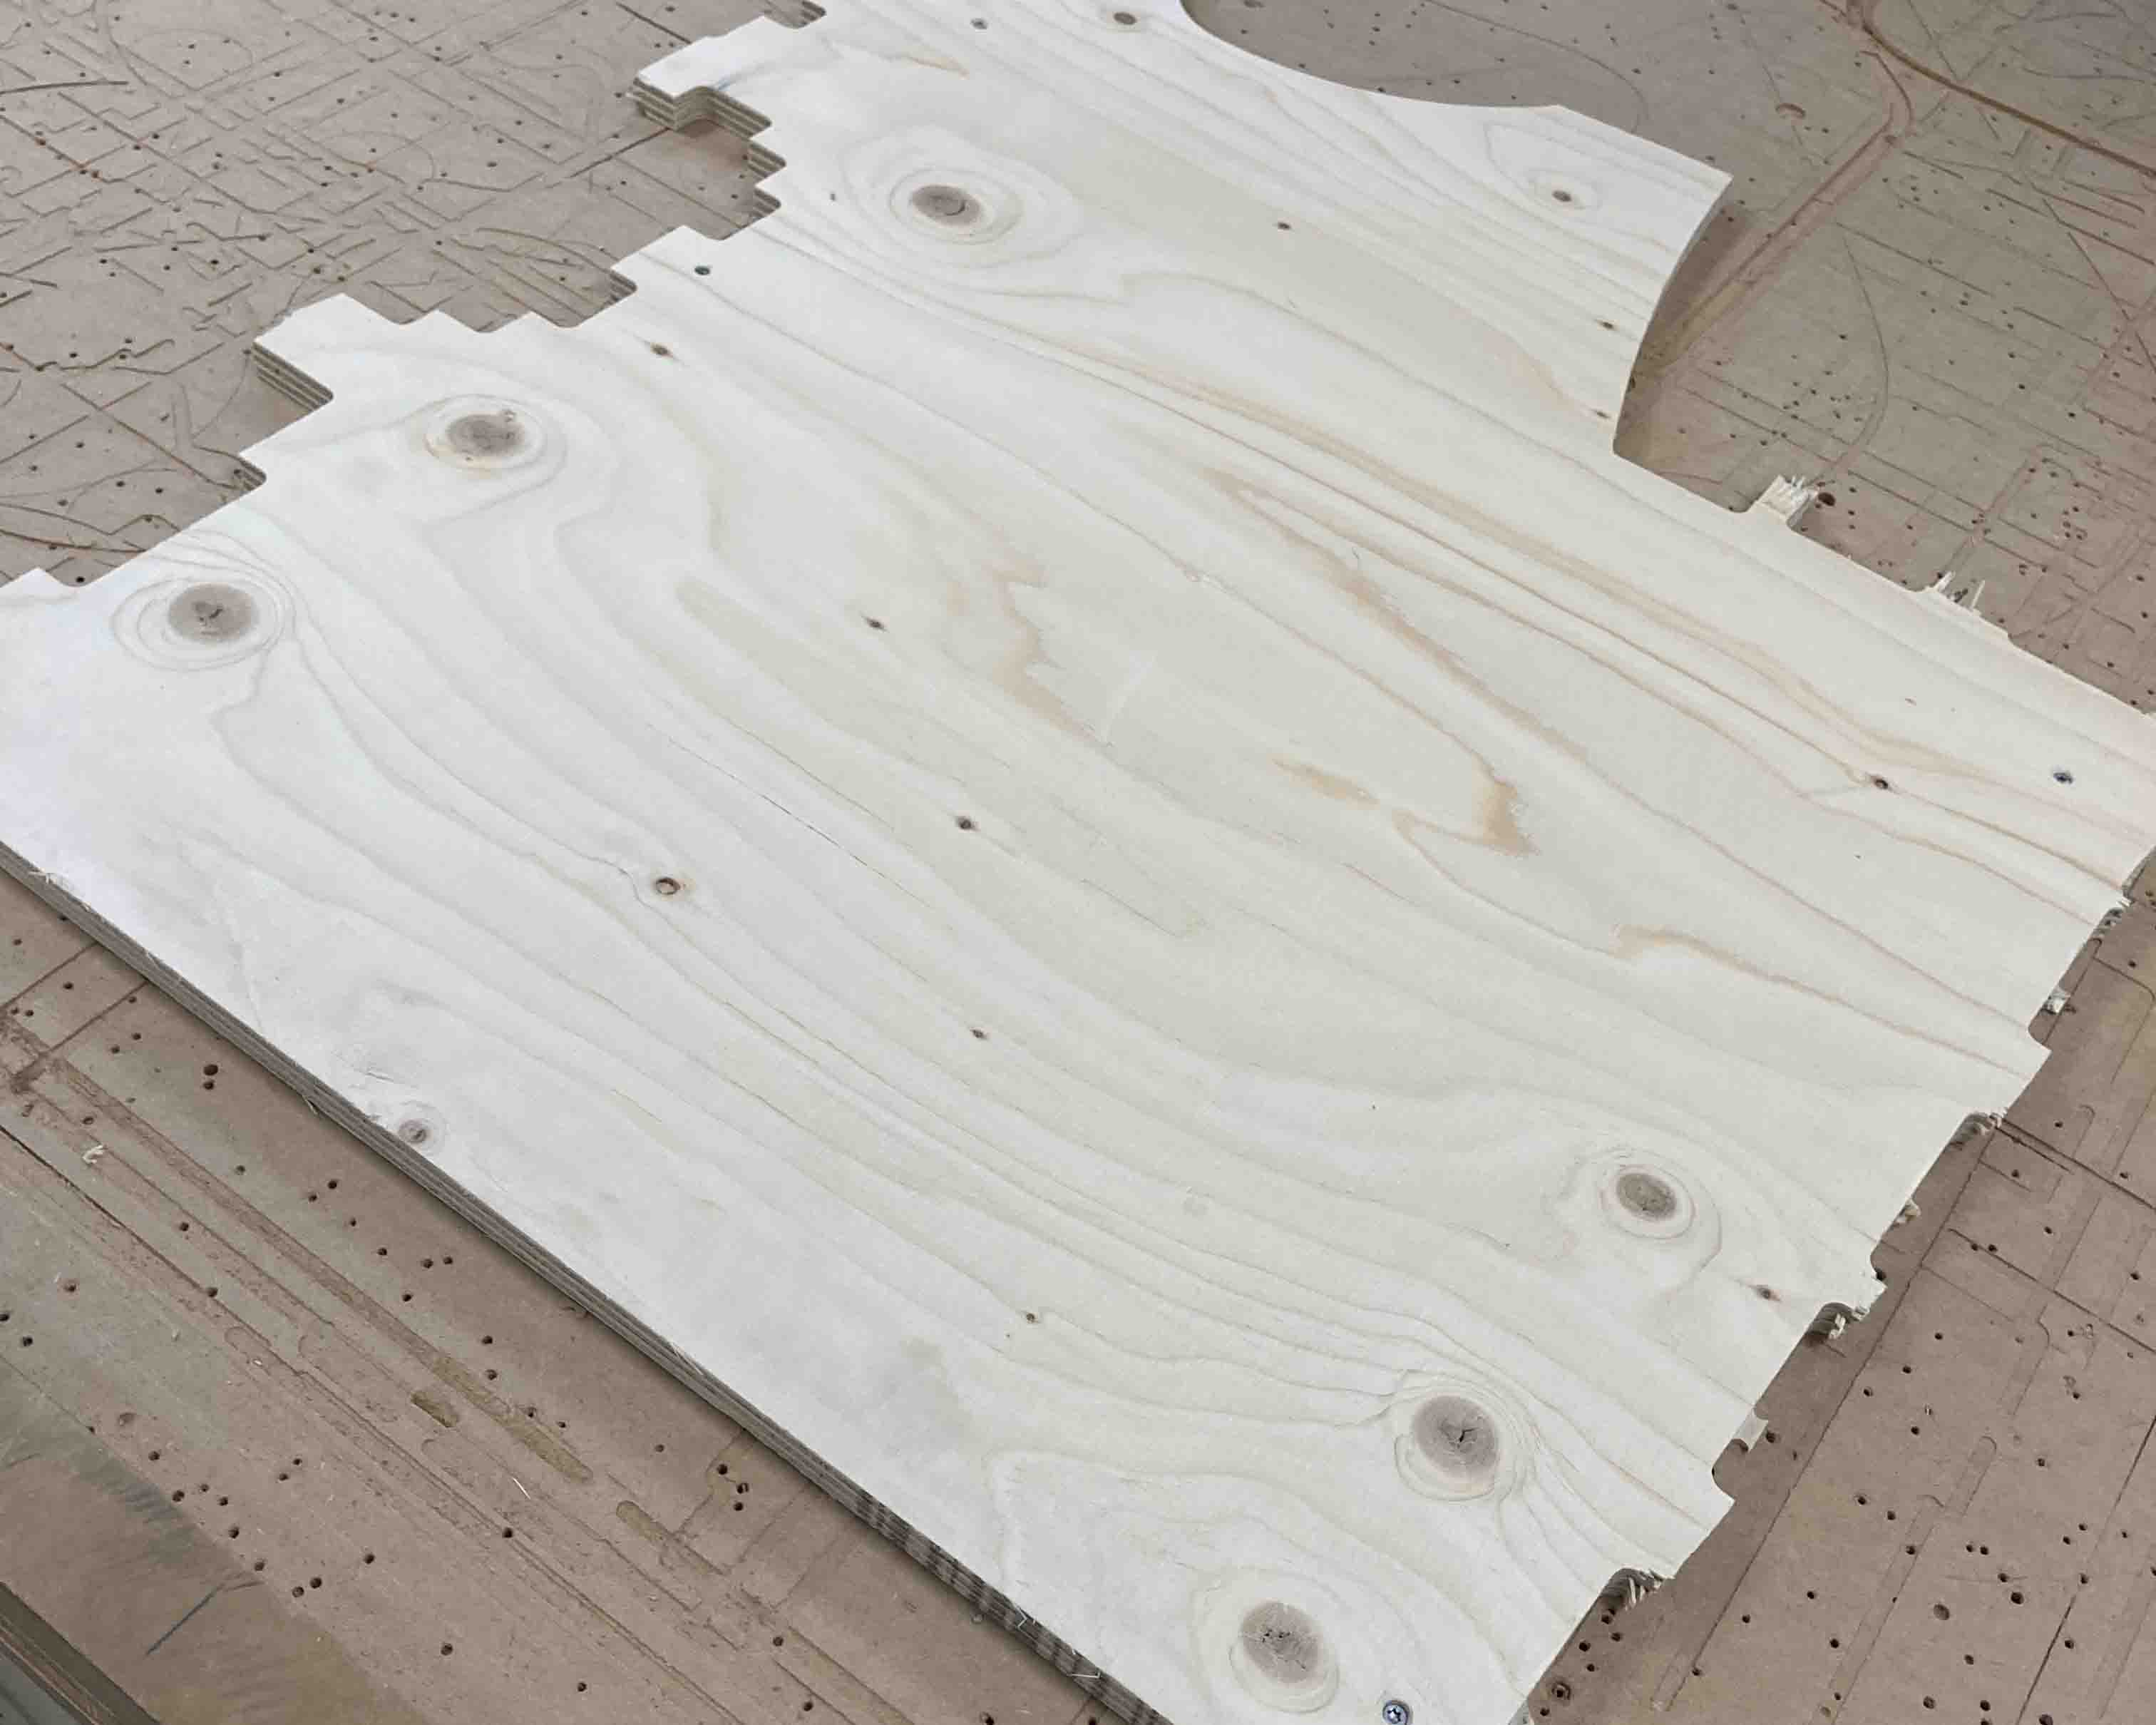
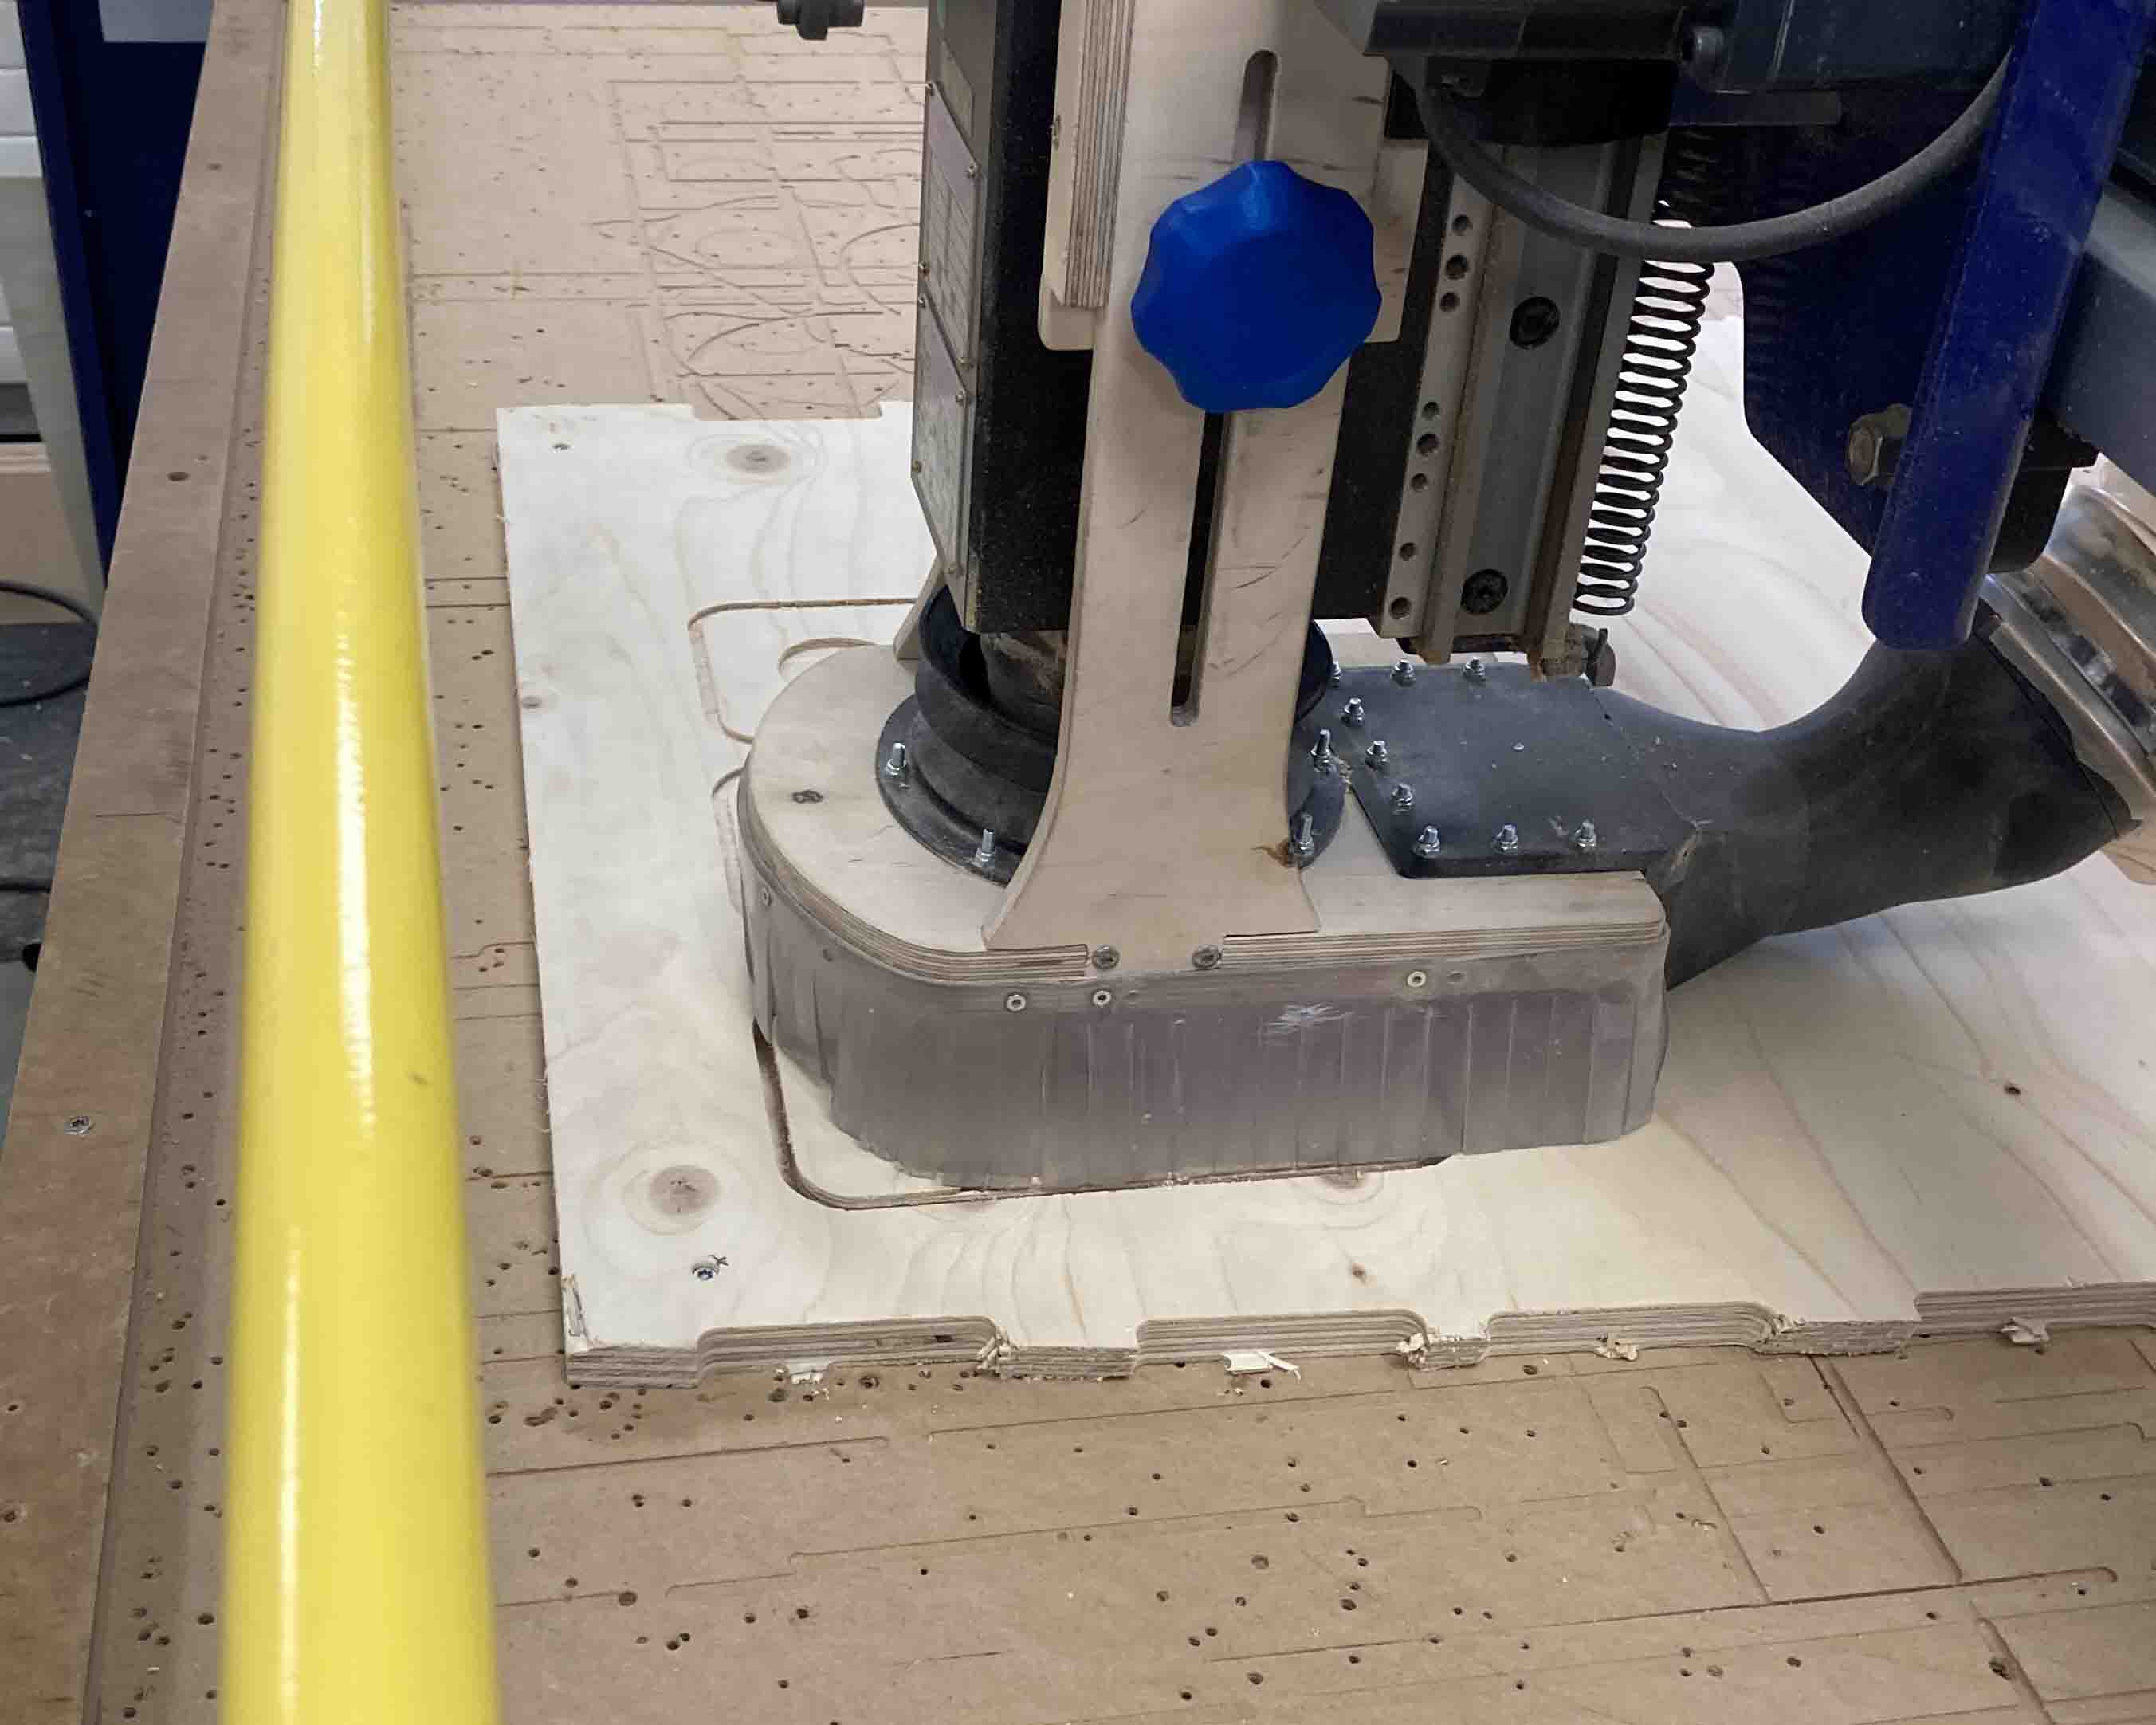
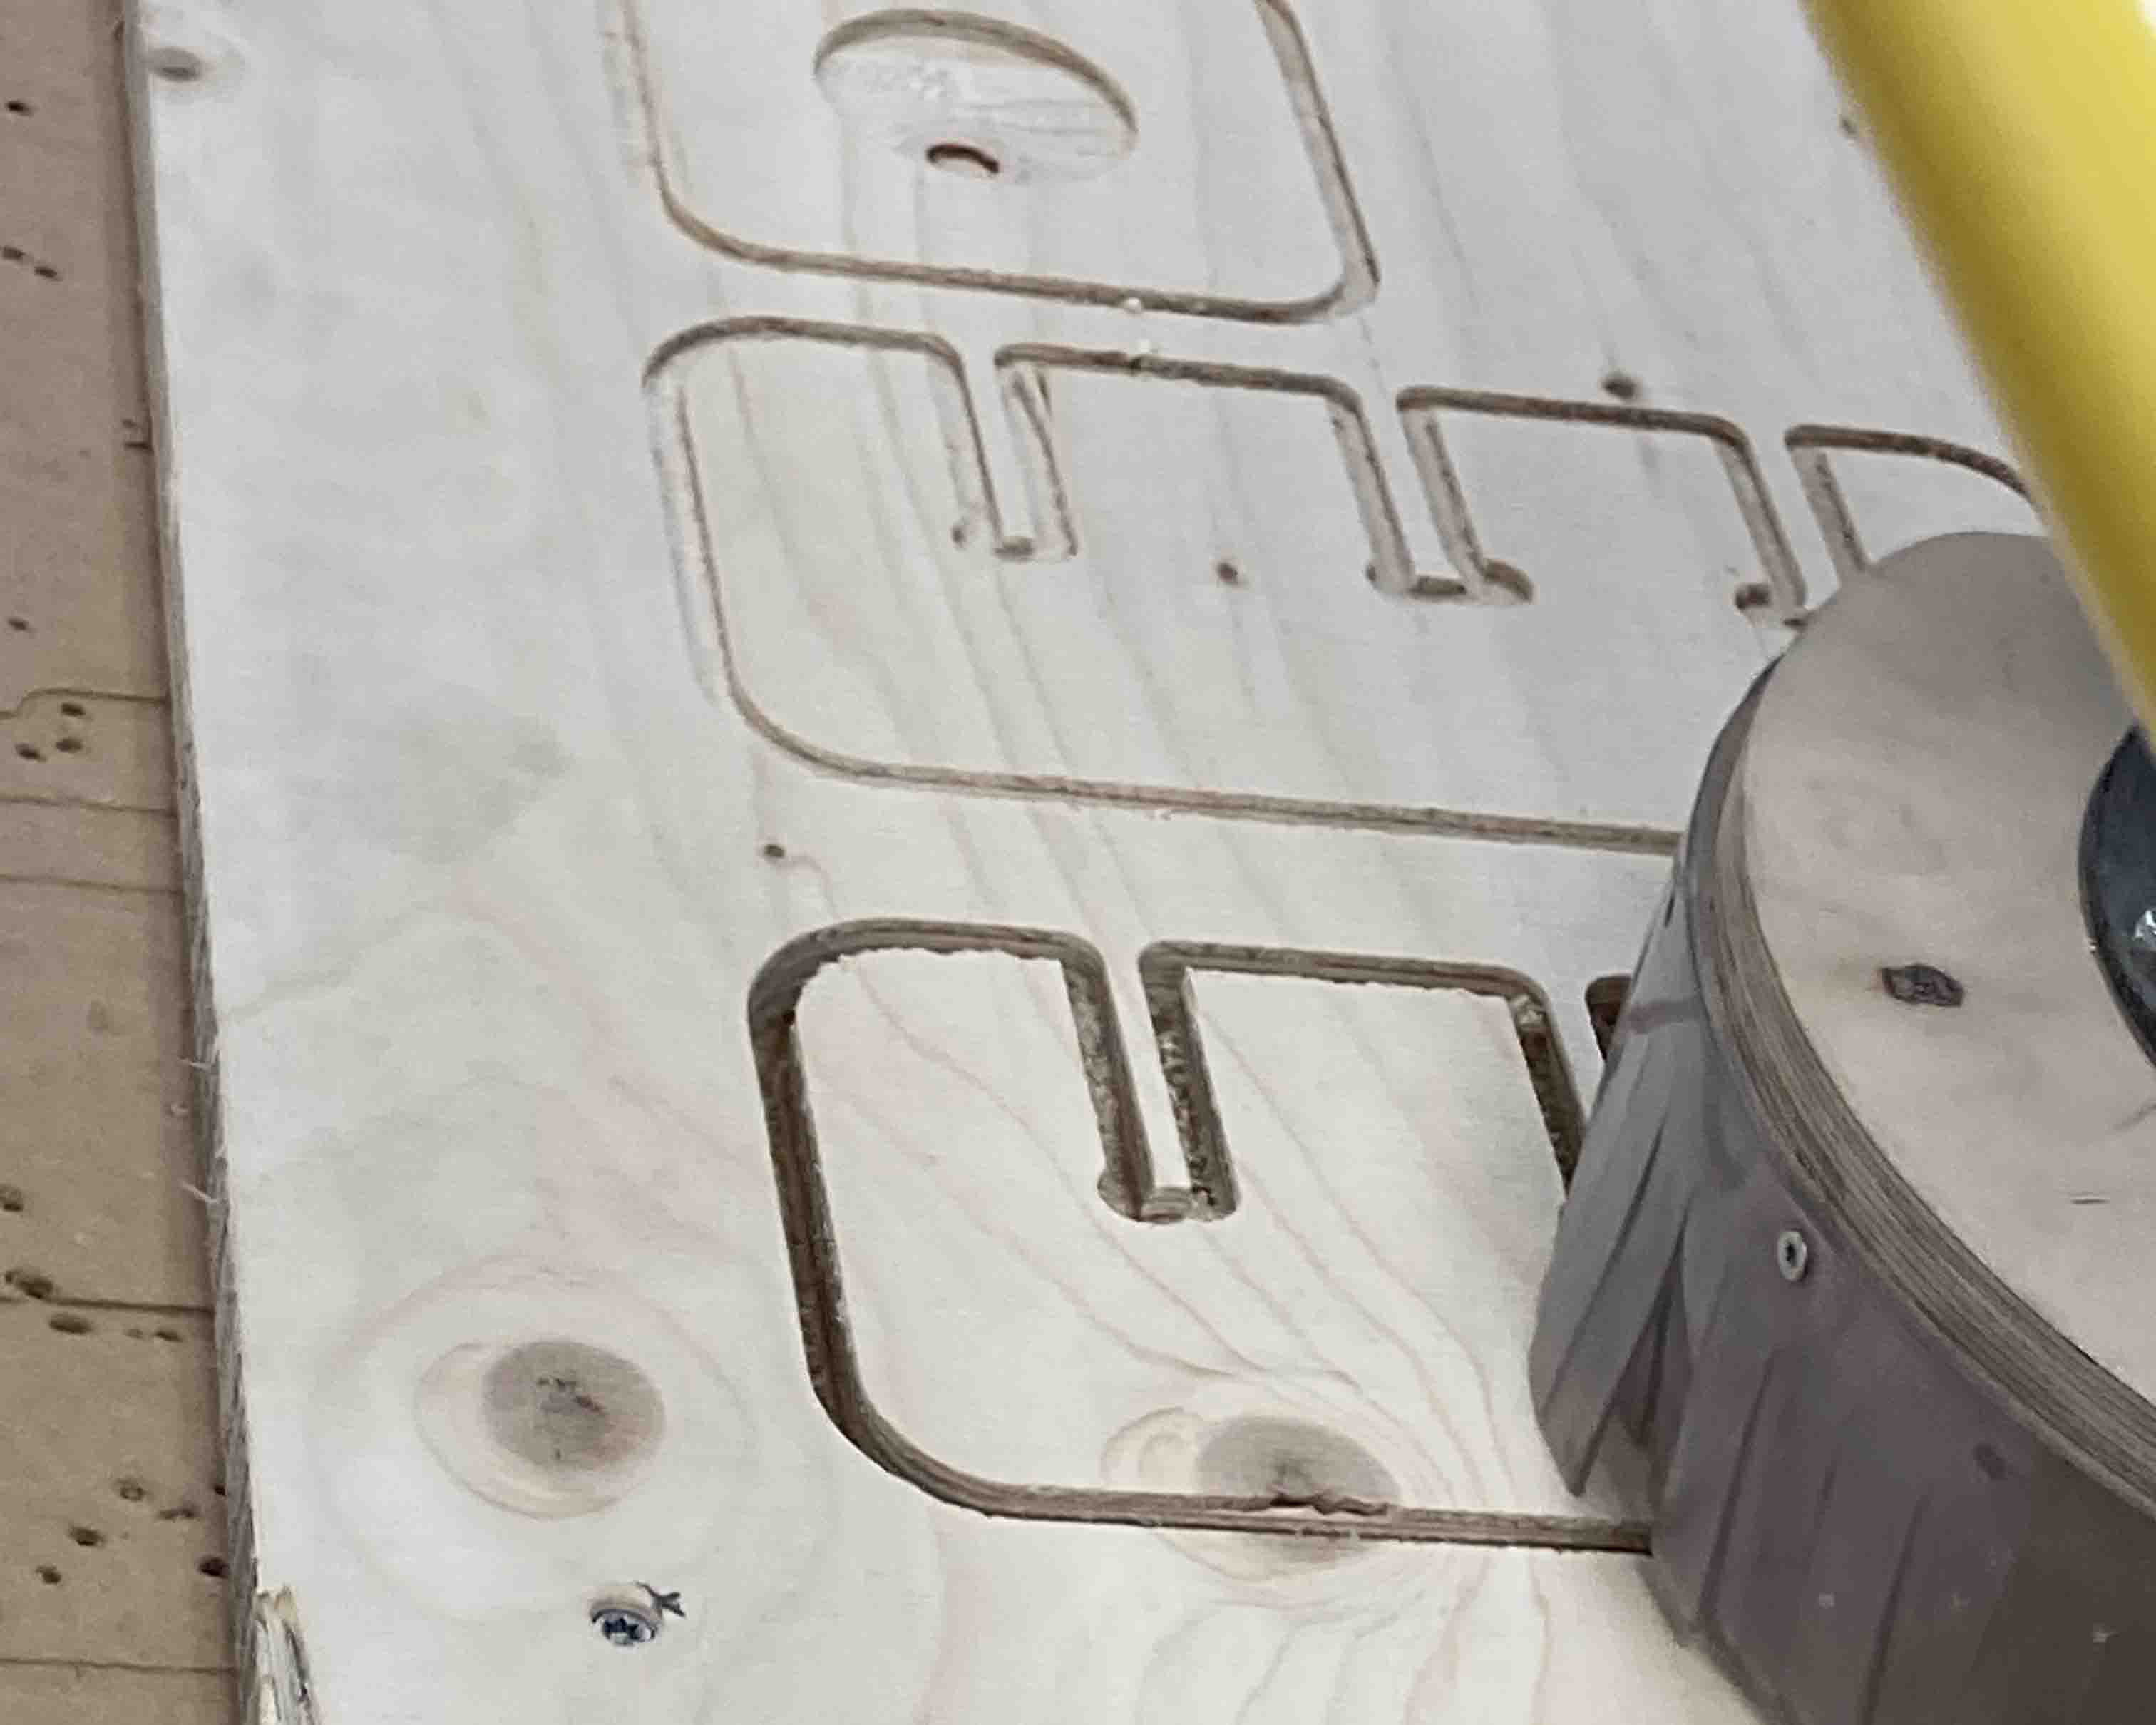
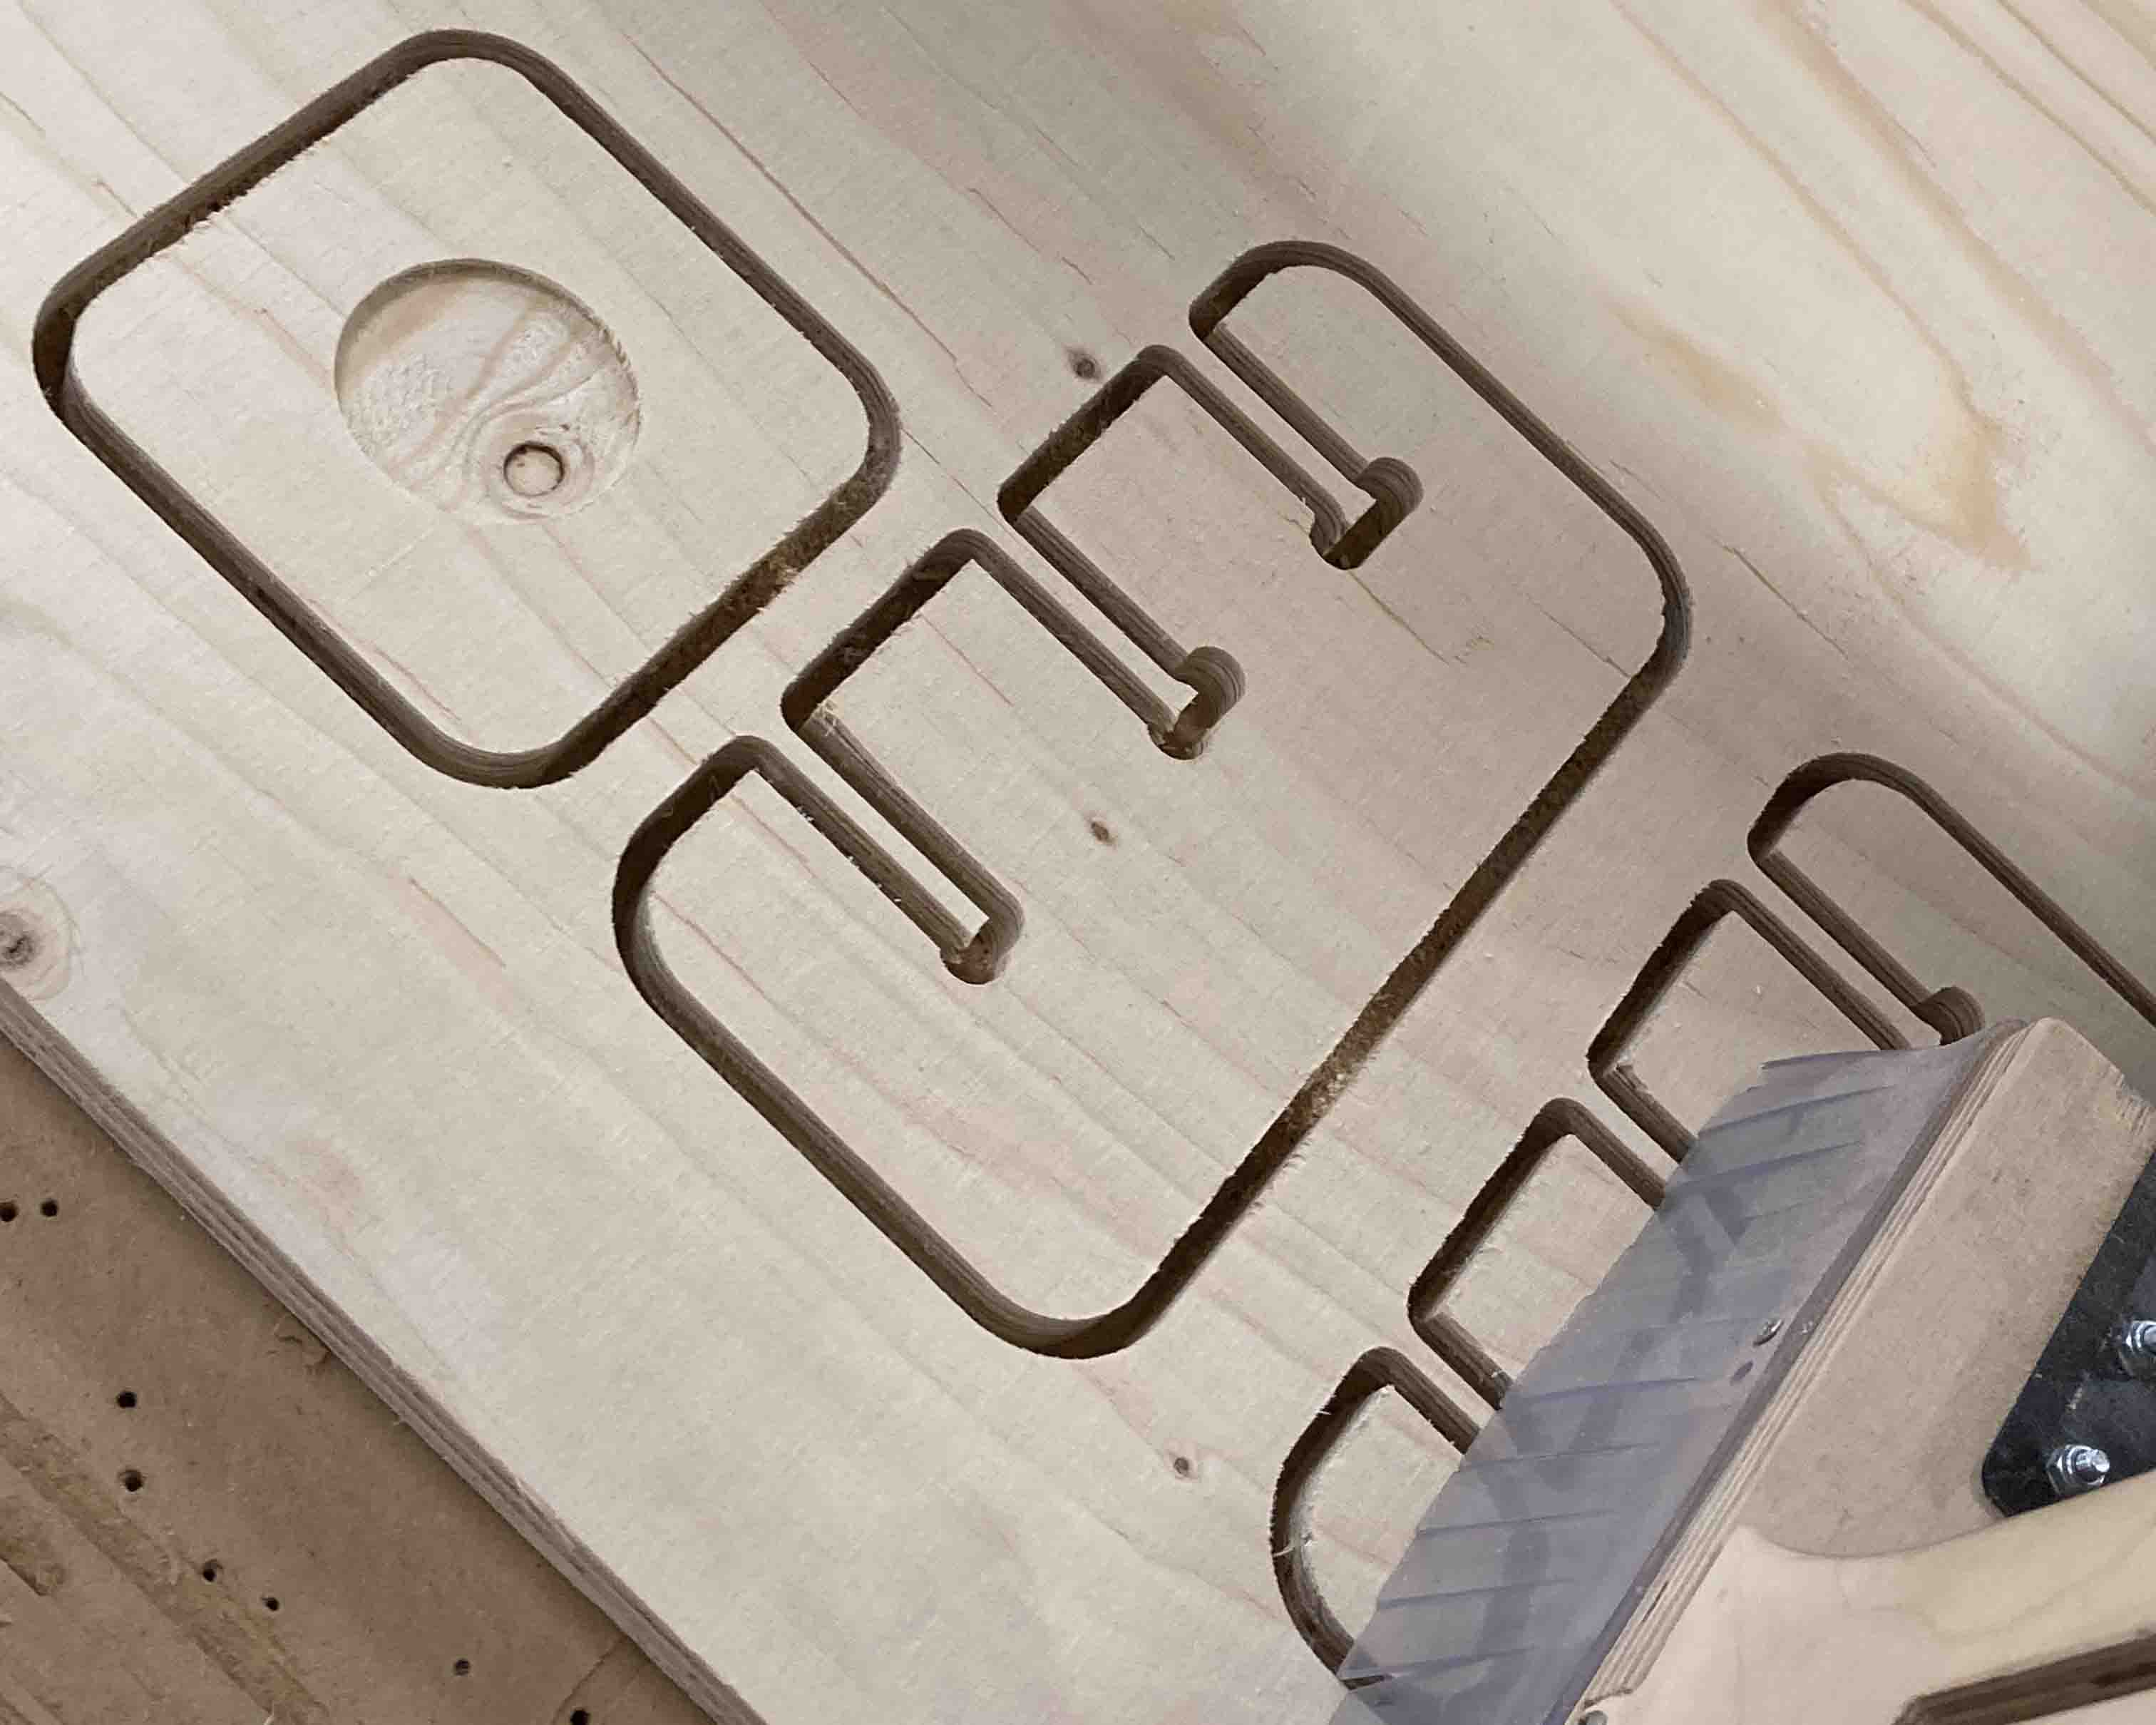
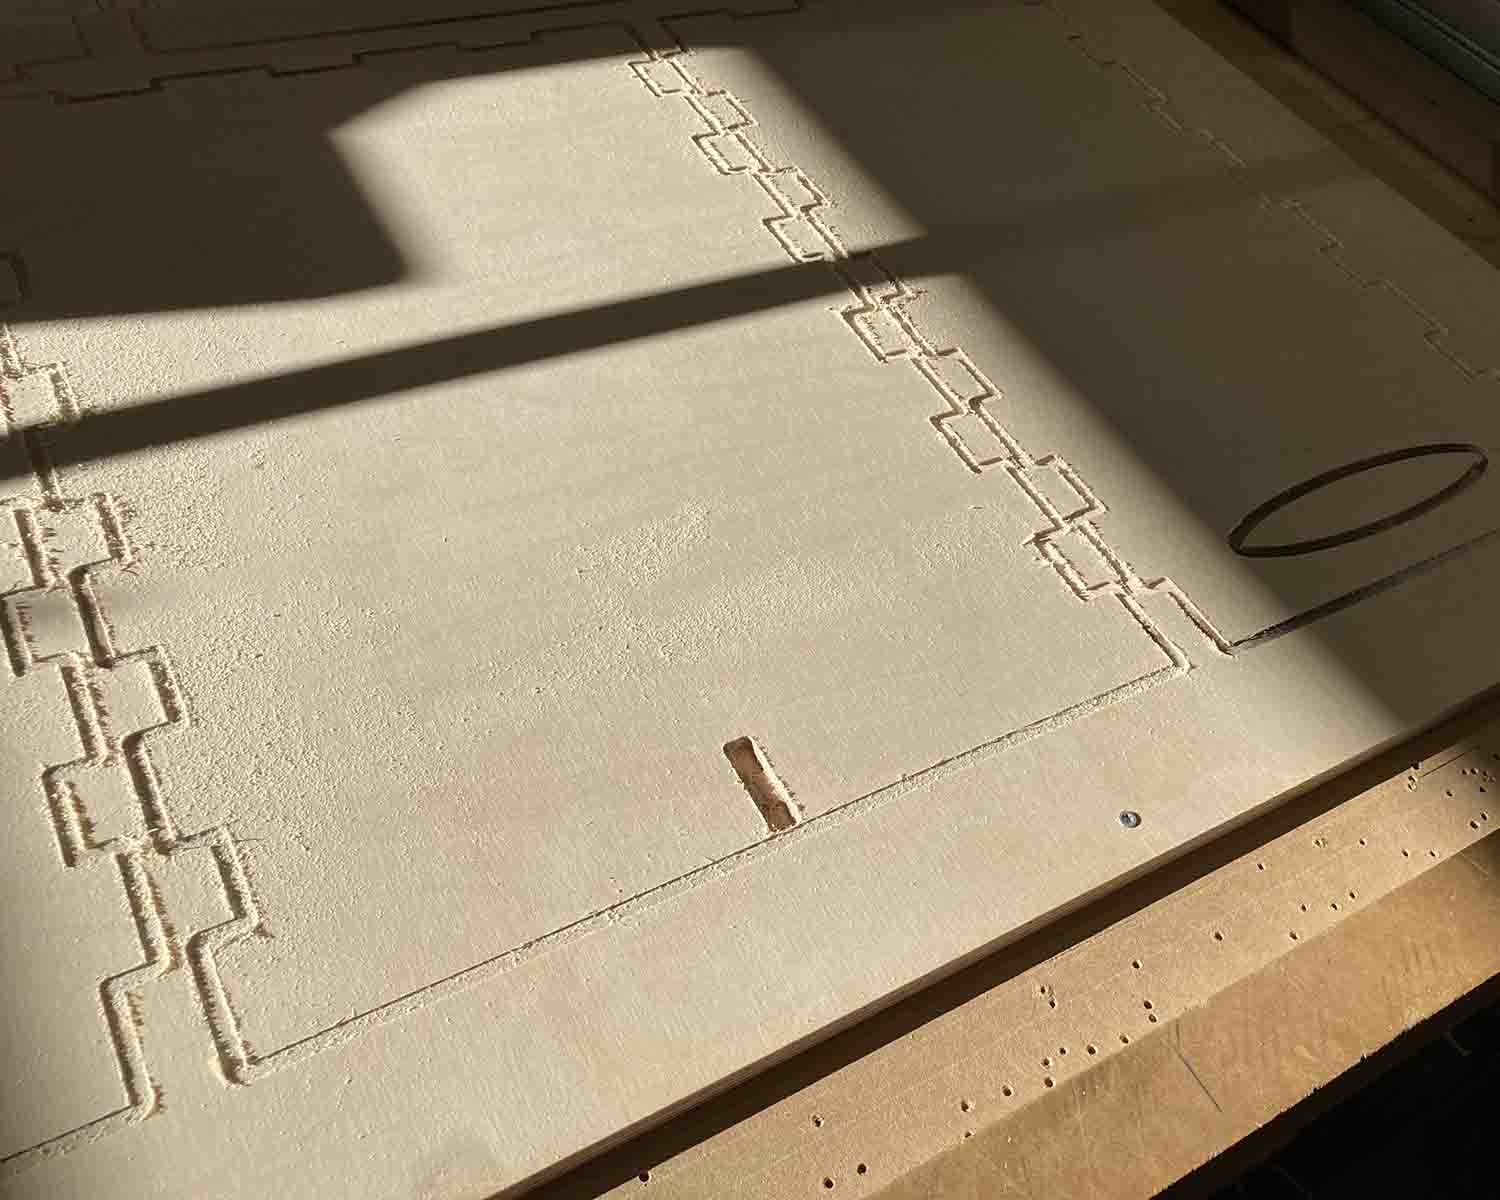
I made the Cam toolpath by using the VCarve. I fixed the material to the bead using screws, setting up the machine using 6mm downcut milling bit for tthe first 3 mm. Then I used a 6 mm upcut milling bit to go through the material. I used Fablab speed and feeds calculator to find the feeds and speeds for the milling bit. Link to Fablab Speed and Feeds Calculator Pictures of the process.
ShopBot: Box
The Box assembled.
ShopBot_box
ShopBot_OldBox_1
ShopBot_OldBox_2
The safety course was a refresh for me since I had taken it once before. Im very safety consious to begin with.
Before starting the box I designed testers to check the function of the ShopBot. This gave me real measurements of the tool path and tool depth. I measured them and factored that into my design.
Then I cut the box out. It was 6 pieces. I designed it so that the middle is removable if at any point I just want it to be a one unit.
I ended up having to make two passes with the ShopBotsince the wood was thicker on oneside. The assmbled box is current funtioning as I hoped. Fitting into the space I had and holding together.


