Mac computer, Raspberry Pi computer, computer, roland modela mdx-20, drill bit(1/32), mailing bit, copper board, tweezers, Solder wire, Soldering iron, Solder Wick, double sided tape, USB drive, ropping alcohol, flathead screwdriver.
Introduction
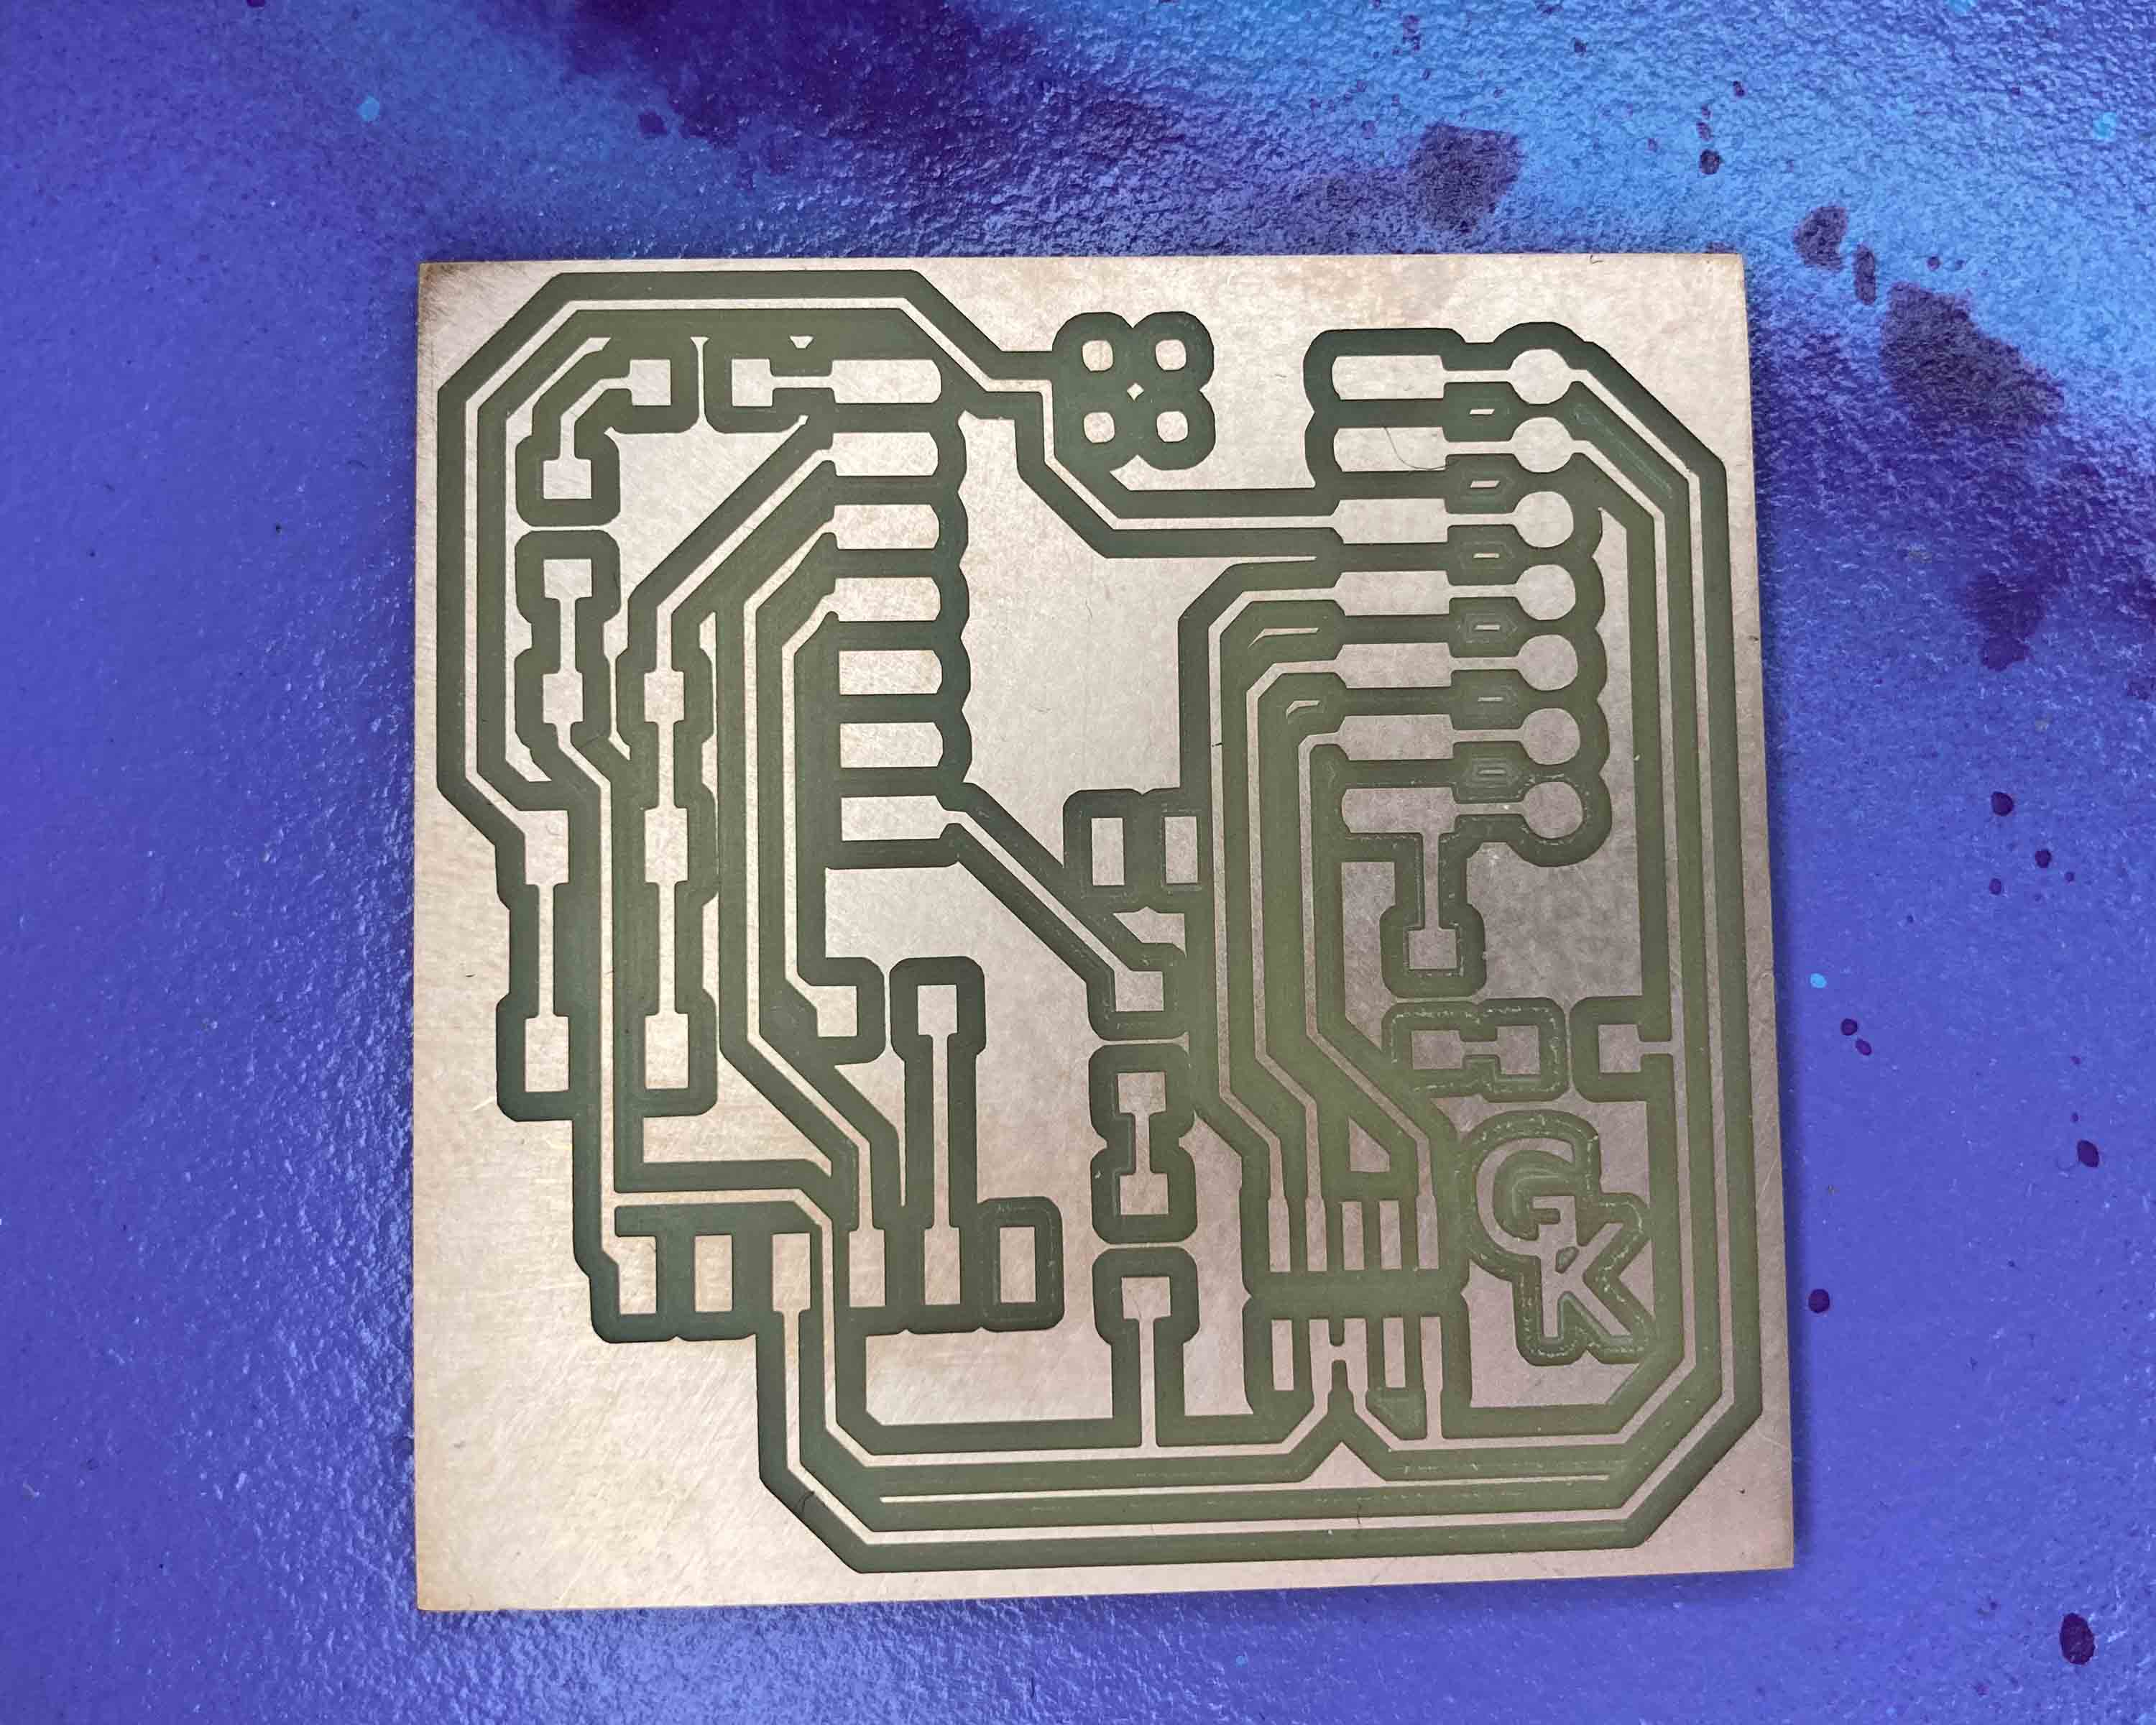
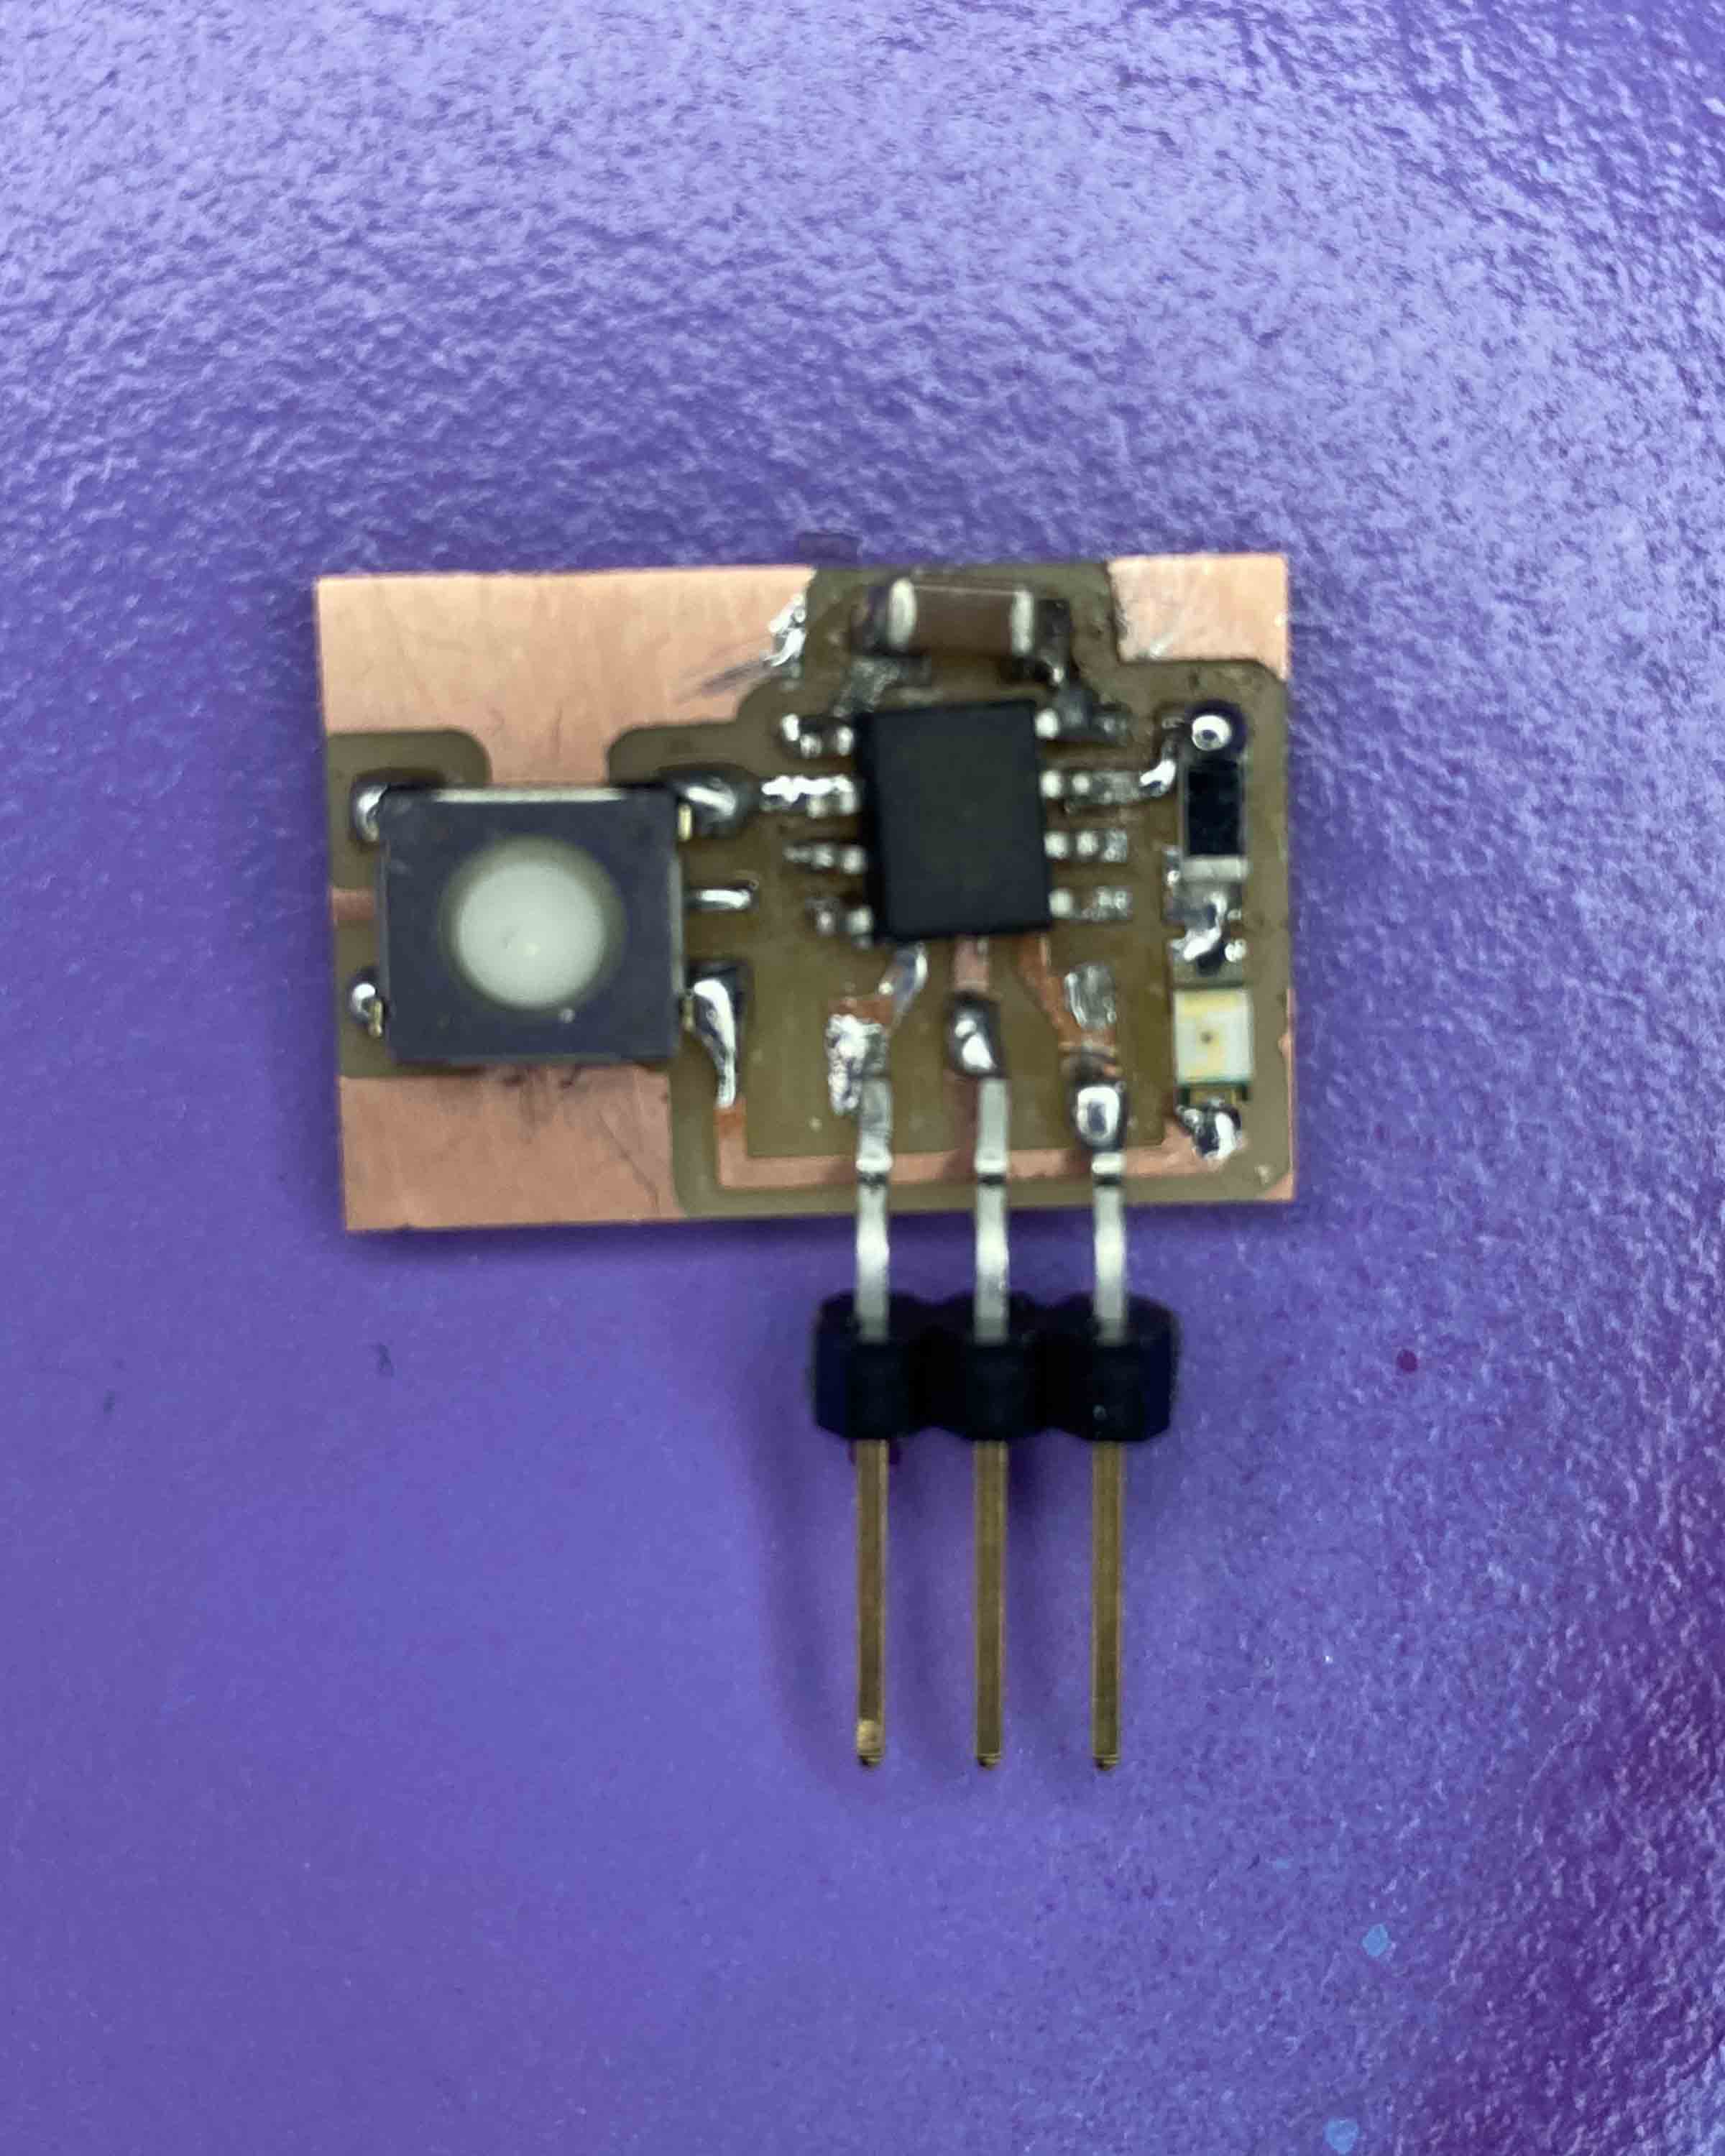
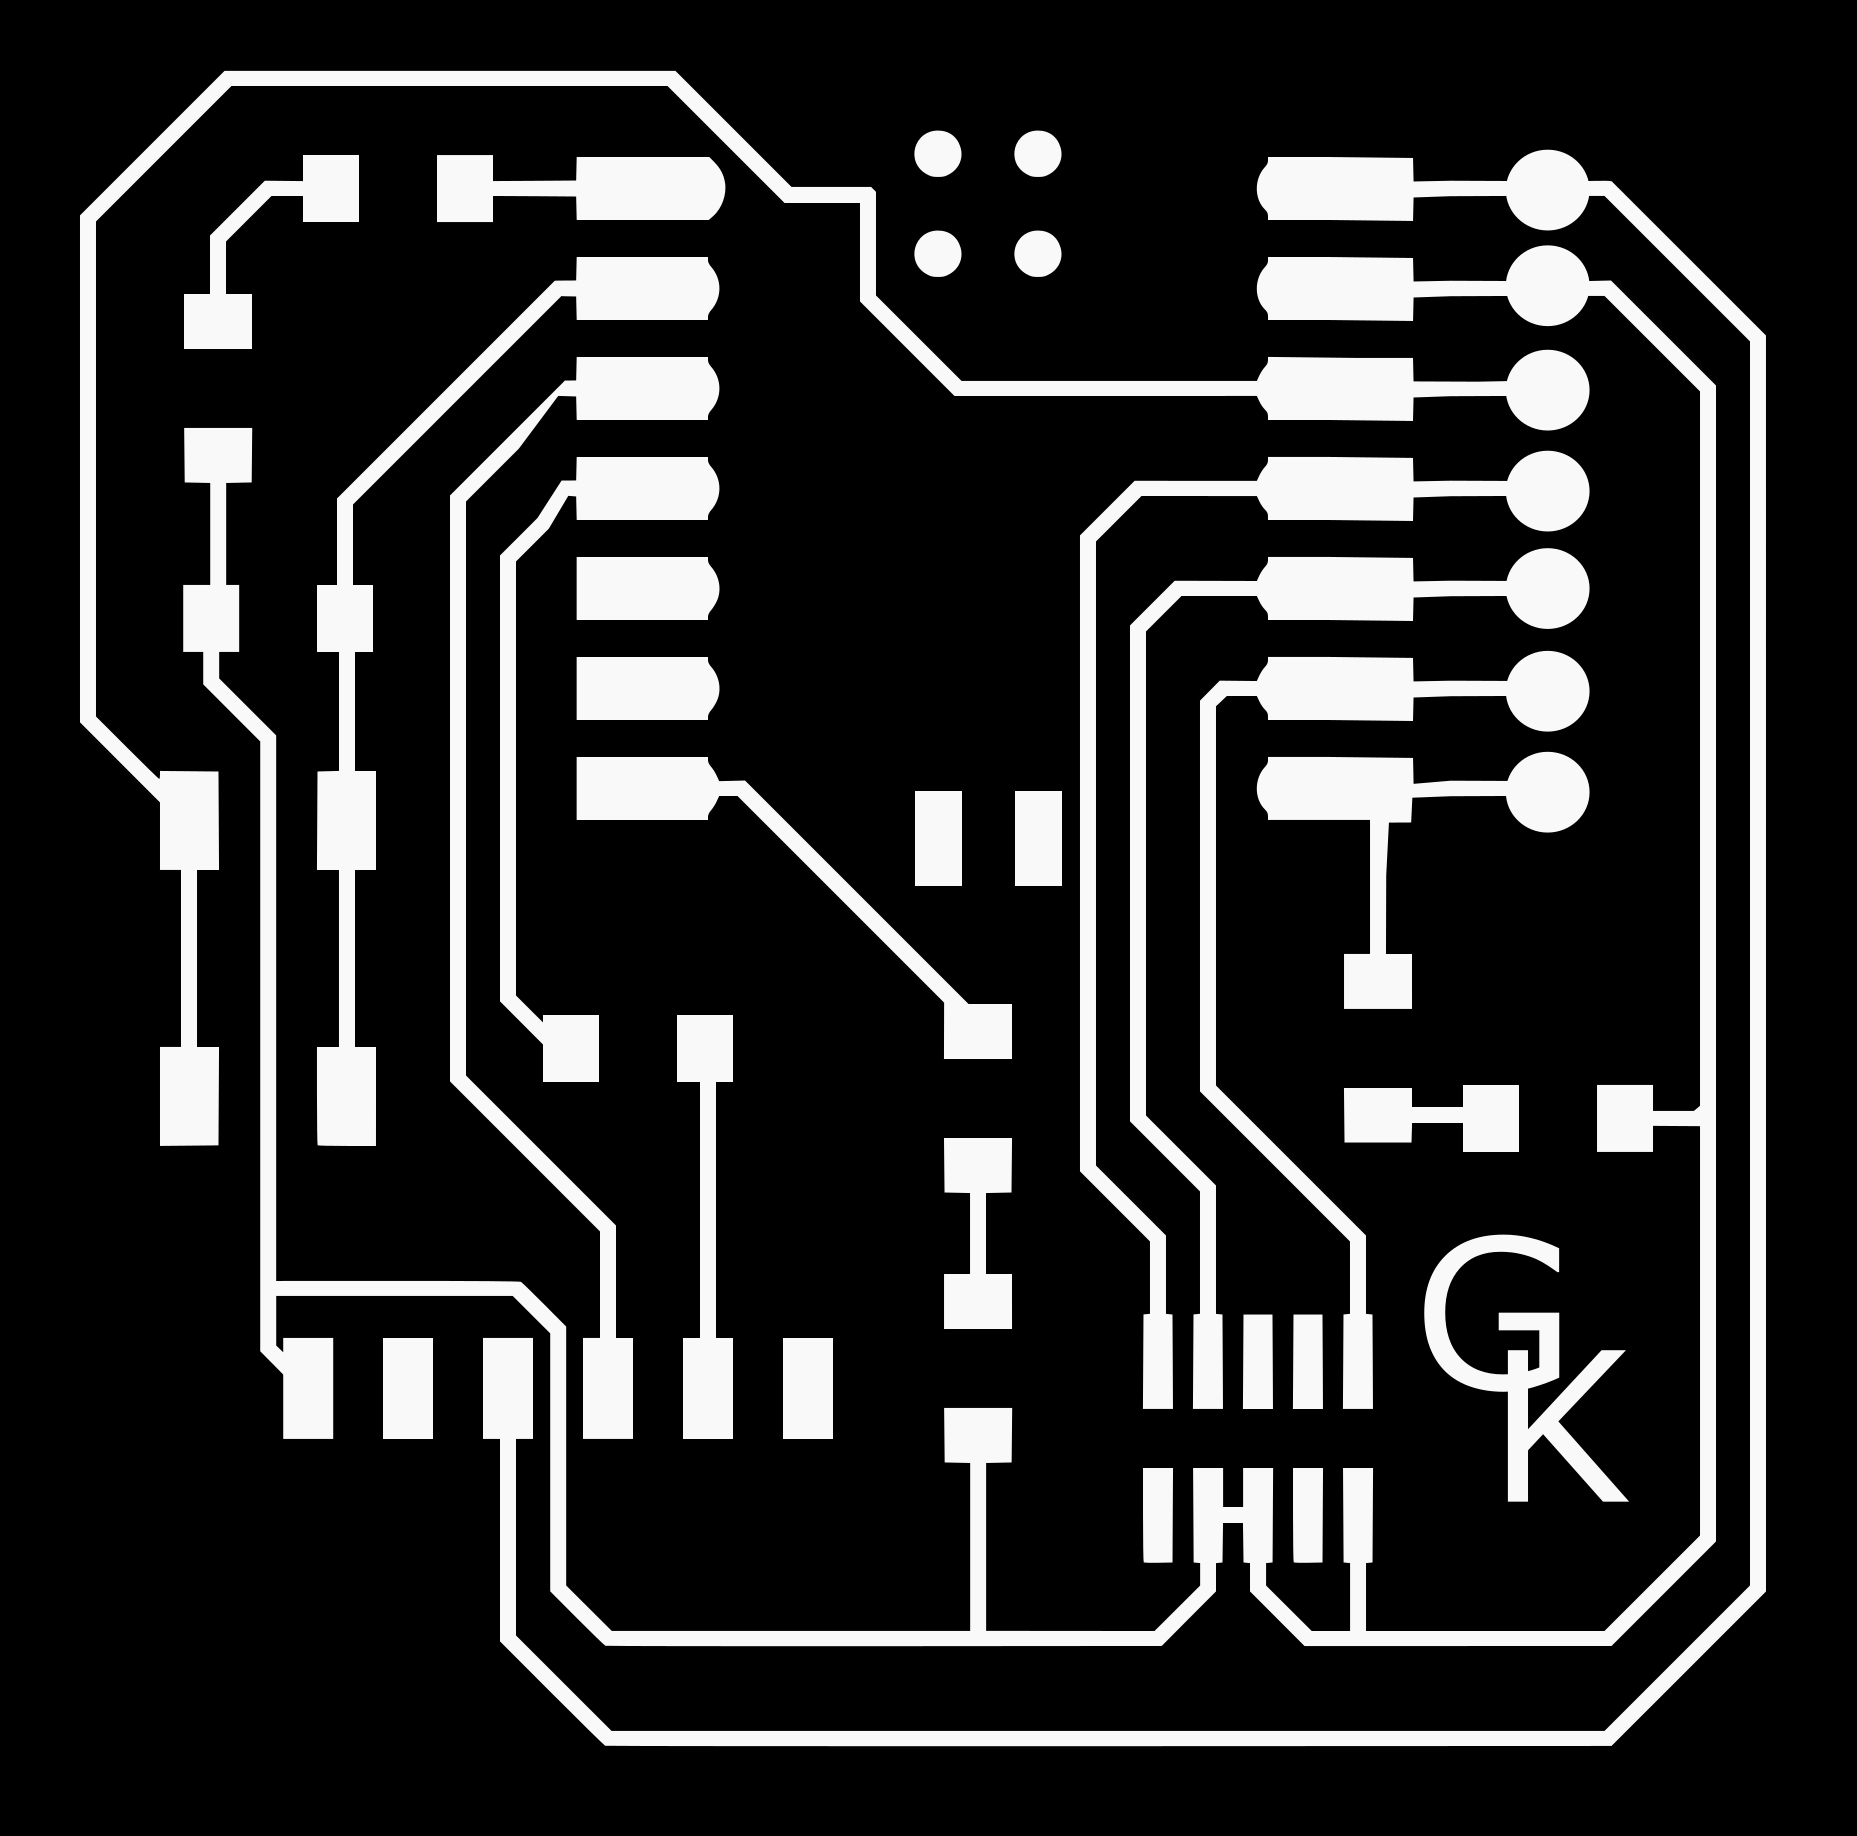
This week we had to make a PCB board. I made a Quentorres board and a ATiny board too. I made a measuring board and sent a board out for production at a Board house.
Projects
Roland modela mdx-20 : My Board
I used Fabmodules to make the toolpath for the circuts. I then found all the electronic components that I needed for the board. I soldered (soldering is melting a metal alloy over the joints) the electronic components, starting with the smallest one and working upto the biggest ones. by soldering them inplace I alloed th electrical current to flow between them. I then used multimeter to make sure all the connections were working as planed.
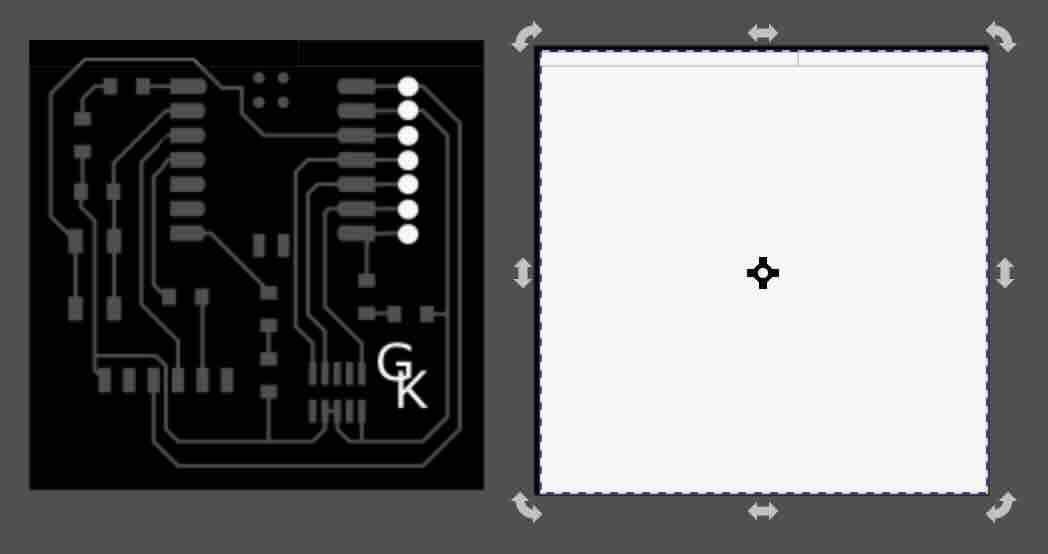
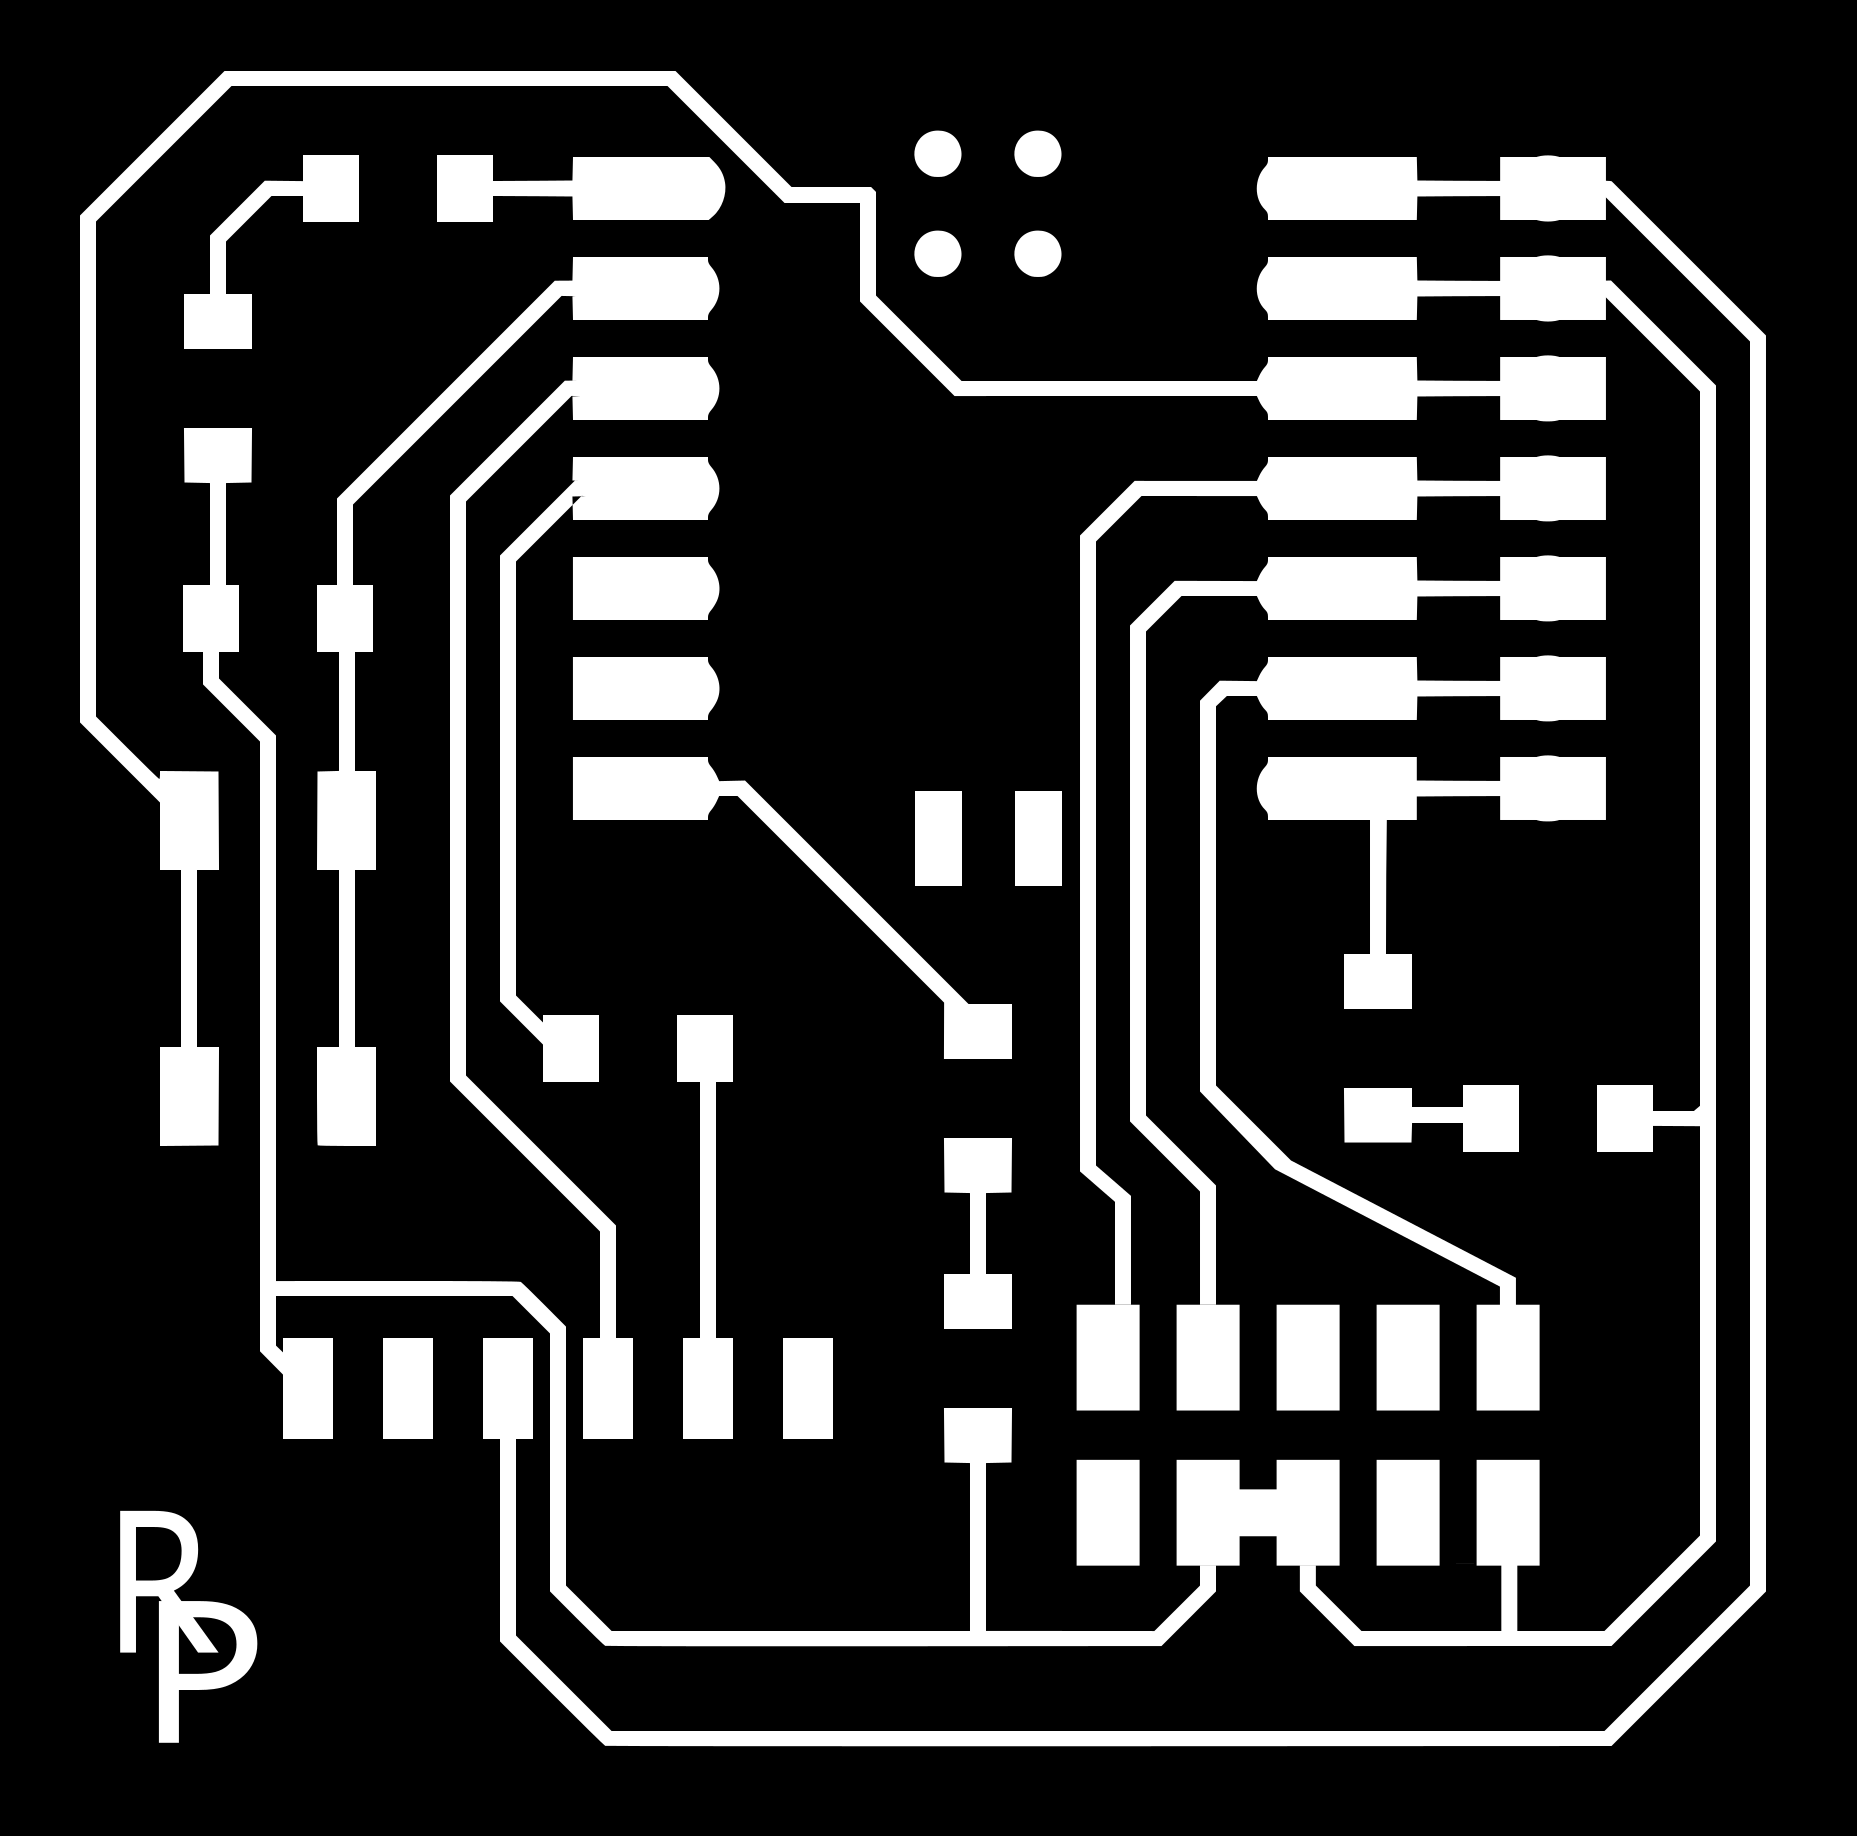
I started with downloading a file that and tell a pattern for the board. I opened the file and Incscape I made minor changes. I change the logo to my initials. Then I made a white box to put behind the file. When was done I exported the files made sure the DPI was set to 1000 then I moved the top layer to see only the white box exported the white box made sure that the DPI was set to 1000 I moved both files to my USB drive. I made the toolpath by working with a svg file in InkScape and saving that one as PNG fle. I then imported the file to fabmodule and make the G-Code. I pushed calculate on fabmodule to make the toolpath.
I got help with putting double sided tape on the back of the copper board the top double sided tape needed to lie next to other but not overlap. Remove the film of the double sided tape and attached the copper board to the copper board, that‘s attached to the roland modela mdx-20 to make sure the board doesn‘t warp. Spray the board with ropping alcohol and to clean the fingerprints.
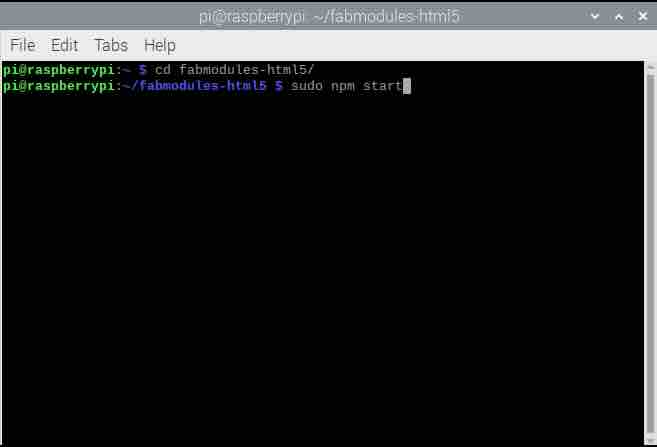
Open Raspberry Pi computer put in code.
Raspberry Pi computer
pi@raspberrypi:~ $ pwd
/home/pi
pi@raspberrypi:~ $ cd fabmodules-html5/
pi@raspberrypi:~/fabmodules-html5 $ ifconfig
eth0: flags=4099 mtu 1500
ether b8:27:ed:3e:2e:be txqueuelen 1000 (Ethernet)
RX Packets 0 Bytes 0 (0.0 B)
Rx errors 0 dropped 0 overruns 0 frame 0
TX packets 0 bytes 0 (0.0 B)
TX errors 0 dropped 0 overruns 0 carrier 0 collisions 0
lo: fags=73 mtu 65536
inet 127.0.0.1 netmask 255.0.0.0
inet6 ::1 prefixlen 128 scopeid 0x10
loop txqueuelen 1000 (Local Loopback)
RX packets 0 bytes 0 (0.0 B)
RX errors 0 dropped 0 overruns 0 frame 0
Tx packets 0 bytes 0 (0.0 B)
TX errors 0 dropped 0 overruns 0 carrier 0 collisions 0
wlan0: flags=4163 mtu 1500
inet 10.50.0.44 netmask 255.255.255.0 broadcast 10.50.0.255
inet6 fe80: :2813:c4b7:cb47:e0b0 prefxlen 64 scopeid 0x20
ether b8:27:eb:6b:7b:eb txqueuelen 1000 (Etherner)
RX packets 117734 bytes 15788606 (15.0 MiB)
RX error 0 dropped 0 overruns 0 frame 0
TX packets 3493 bytes 666904 (651.2 KiB)
TX errors 0 dropped 0 overruns 0 crrier 0 collisions 0
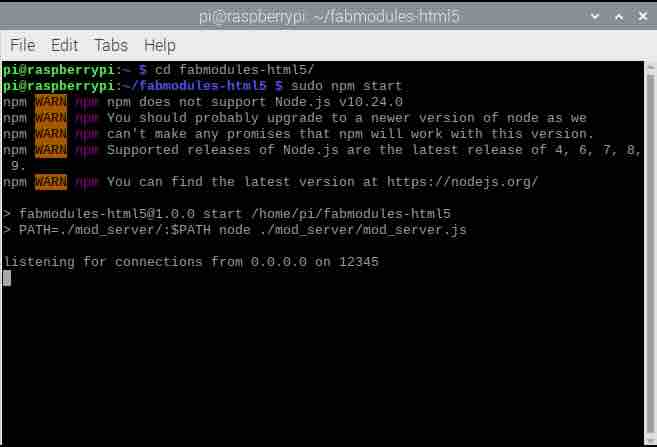
pi@raspberrypi:~/fabmodules-html5 $ sudo np start
npm WARN npm npm does not support Node. js v10.24.0
npm WARN npm You should probably upgrade to a newer version of node as we
npm WARN npm cant make any promises that npm will work with this version.
npm WARN npm Suported releases of Node. js are the latest release of 4, 6, 7, 8,
9.
npm WARN npm You can find the latest version at https://nodejs.org./
> fabmodules-html5@1.0.0 start /home/pi/fabmodules-html5
> PATH=./mod_server/:SPATH node ./mod_server/mod_server.js
listening for connections from 0.0.0.0 on 12345
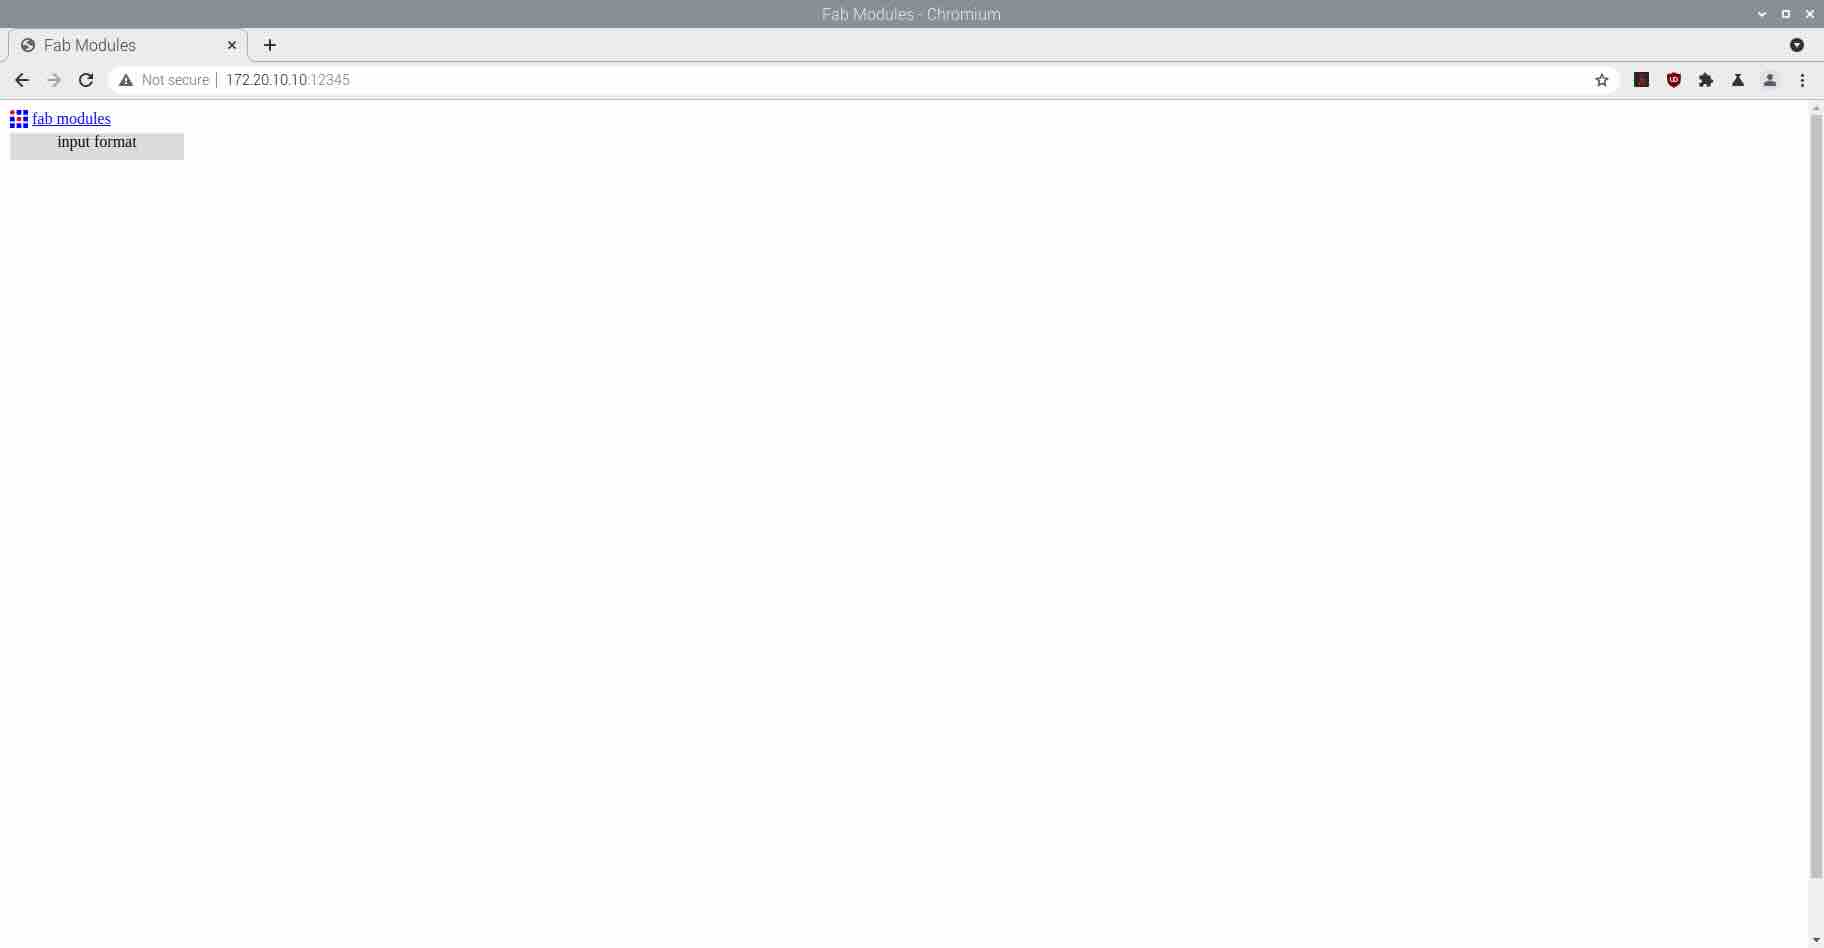
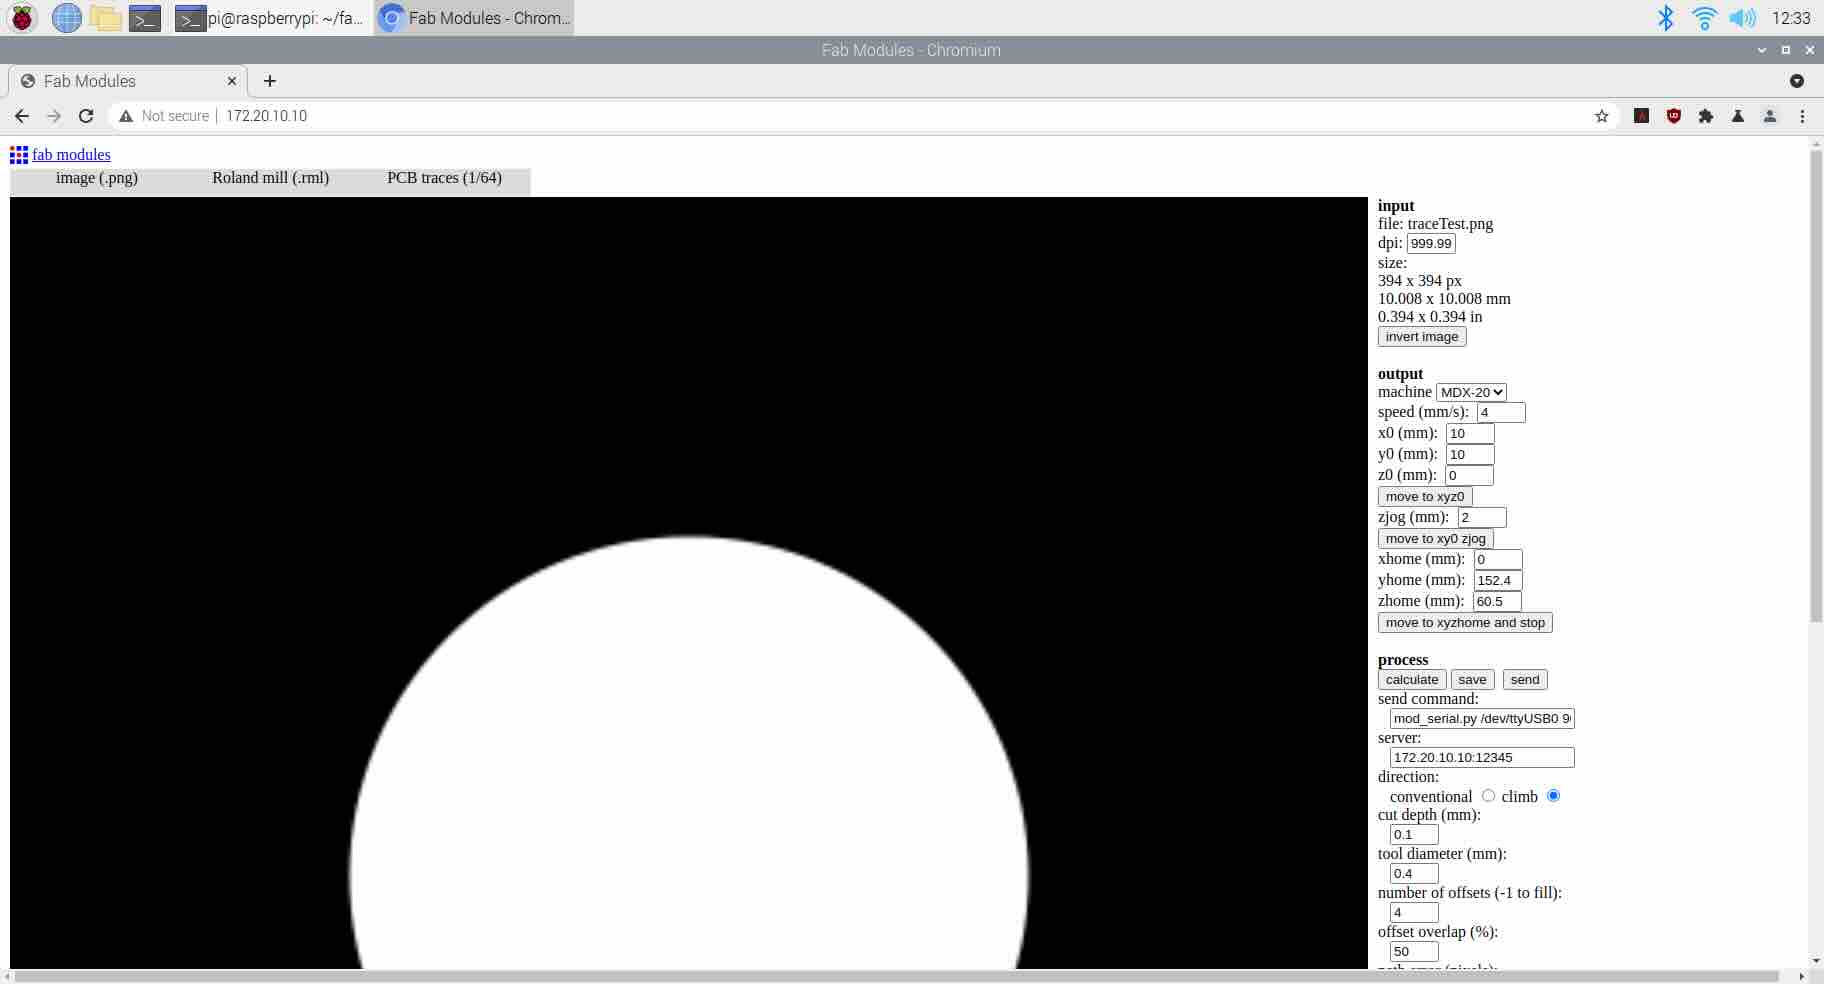
Then I input that USB drive to the computer that‘s attached to the roland modela mdx-20 I opened a window 10.50.0.44:12345. Press input format: Image(.png) then find the file that will be used. Roland mill(.rml). Process:PCB traes (1/64).
Input: you first set the board size (the dimensions) and DPI (desired resolution(Dots Per Inch)). Then invert the image.
Output: Select the mashine (MDX-20, Adjust the milling speed), Configure XYZ home (the starting point), Move to home (Hit move to xyz0 to move to home, set x0 y0 z0. The move to xyz0 moves to home but keeps the milling at a safe distance from the board 2mm), Safe ZJog (for safety).
Process: Here you need to change the server ip port to match the hosting server. Keep other settings as defult and unchanged (self explanatory). The calculate button creats the tool path.
Final step: Hit send to begin the milling process, monitoring the mashine to ensure proper operations.
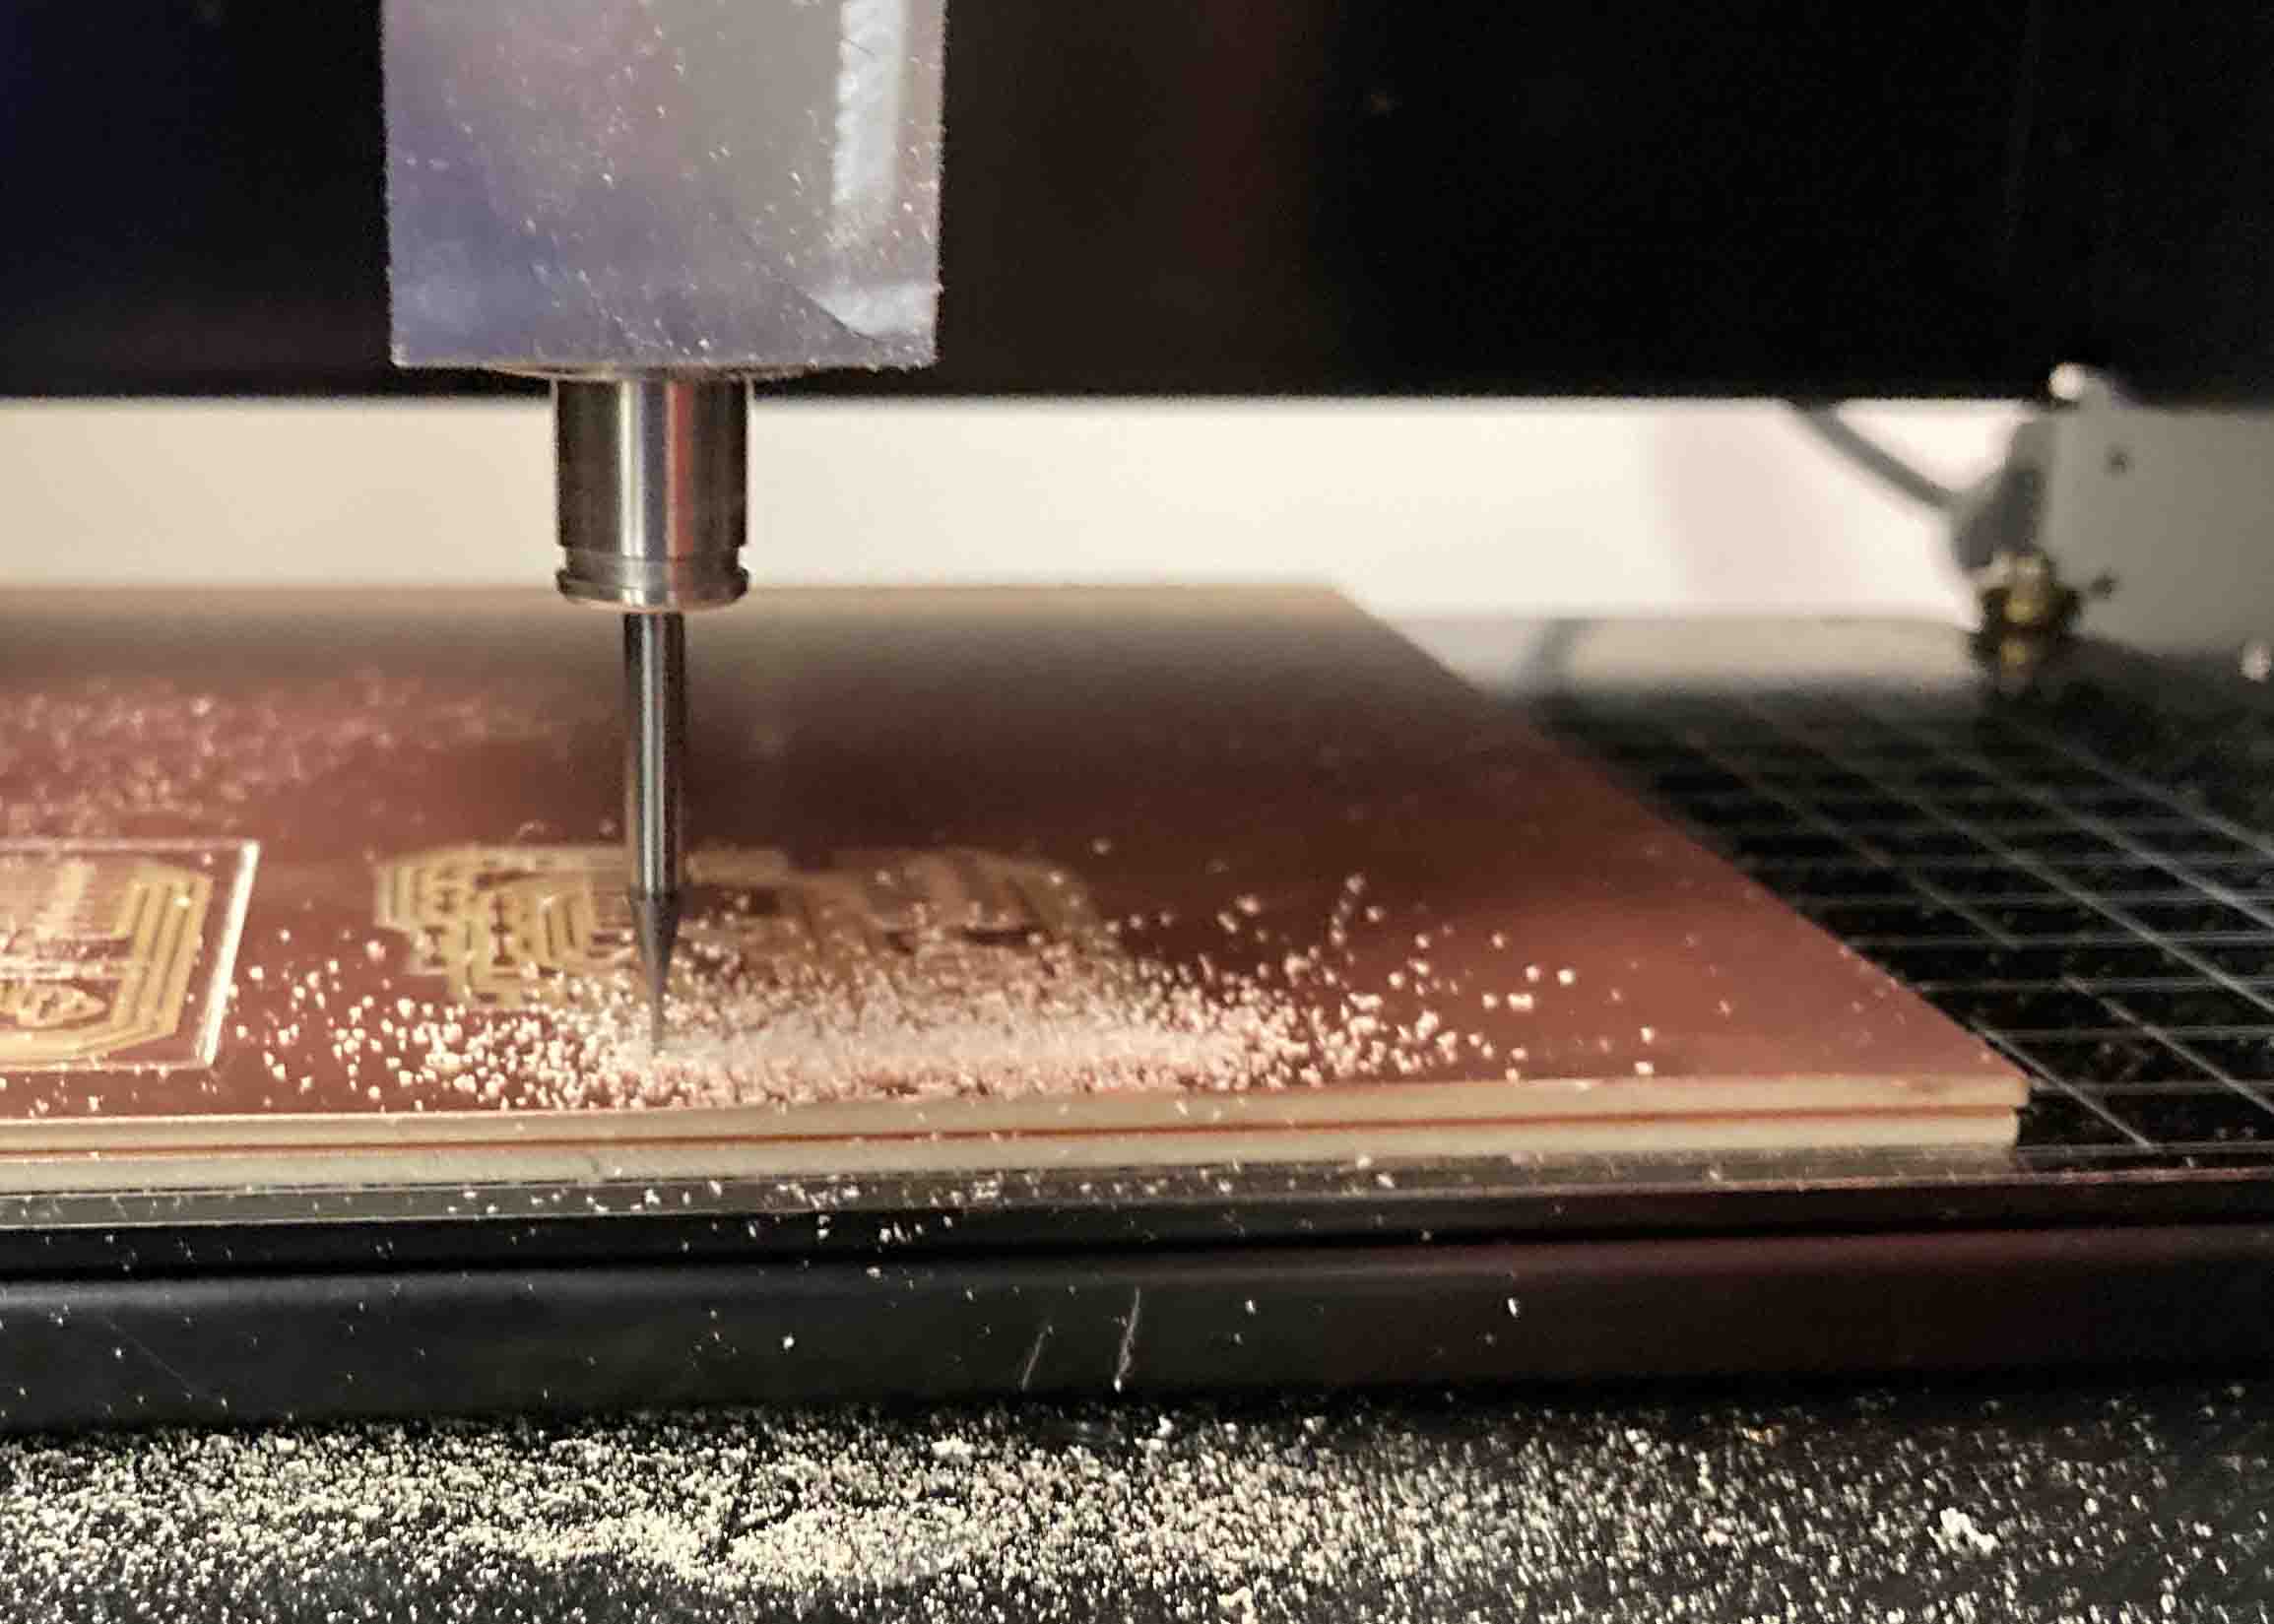
We start with removing the drilling(1/32) bit by using all that use tool that is usually attached to the roland modela mdx-20. It helps If you move the drill up so you have easier access to it. Remove that drilling to make space for the tracing drill(1/64). you start with putting the tracing drill(1/64). as far up as you can then you move the roland modela mdx-20 to the right position by lowering the drill down then you take that the tracing drill(1/64) bit make it touch the copper board unfashioned the tracing bit(1/64) and present when the roland modela mdx-20 is right.
Vacuum after roland modela mdx-20 is done.
Then I input that USB drive to the computer that‘s attached to the roland modela mdx-20 I opened a window 10.50.0.44:12345. Press input format: Image(.png) then find the file that will be used. Roland mill(.rml). Process:PCB outlines (1/32).
You need to change the tracing bit(1/64) out for the drilling bit(1/32) to do the outlines.
Vacuum after roland modela mdx-20 is done.
When you‘re done, you need to pry it out with a flathead screwdriver and you need to be extra careful, so you don‘t chip the board.
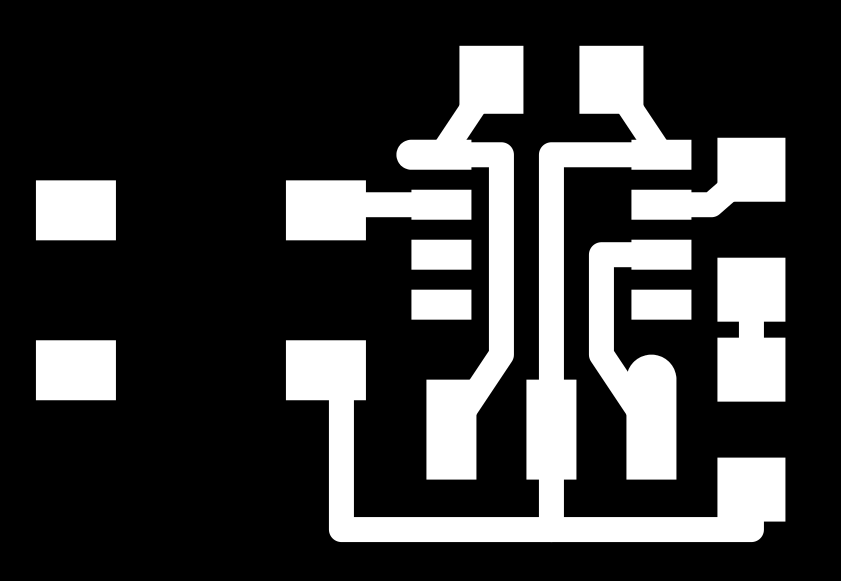
I started with soldering the test board. It came out okay because that day I was soldering the test piece I I had seizures in my hands so I wasn‘t as steady.
Item list
Name
Quantity
Item1
ATtiny 412.
1x
Item2
RES 1K OHM 1% 1/4W 1206.
1x
Item3
LED Blue Clear 1206 SMD.
1x
Item4
Capacitor 1 uF SMD.
1x
Item5
Single Row Side-Insertion Pin 1X3 2.54mm.
1x
Item6
Button 6.0x6.0mm.
1x
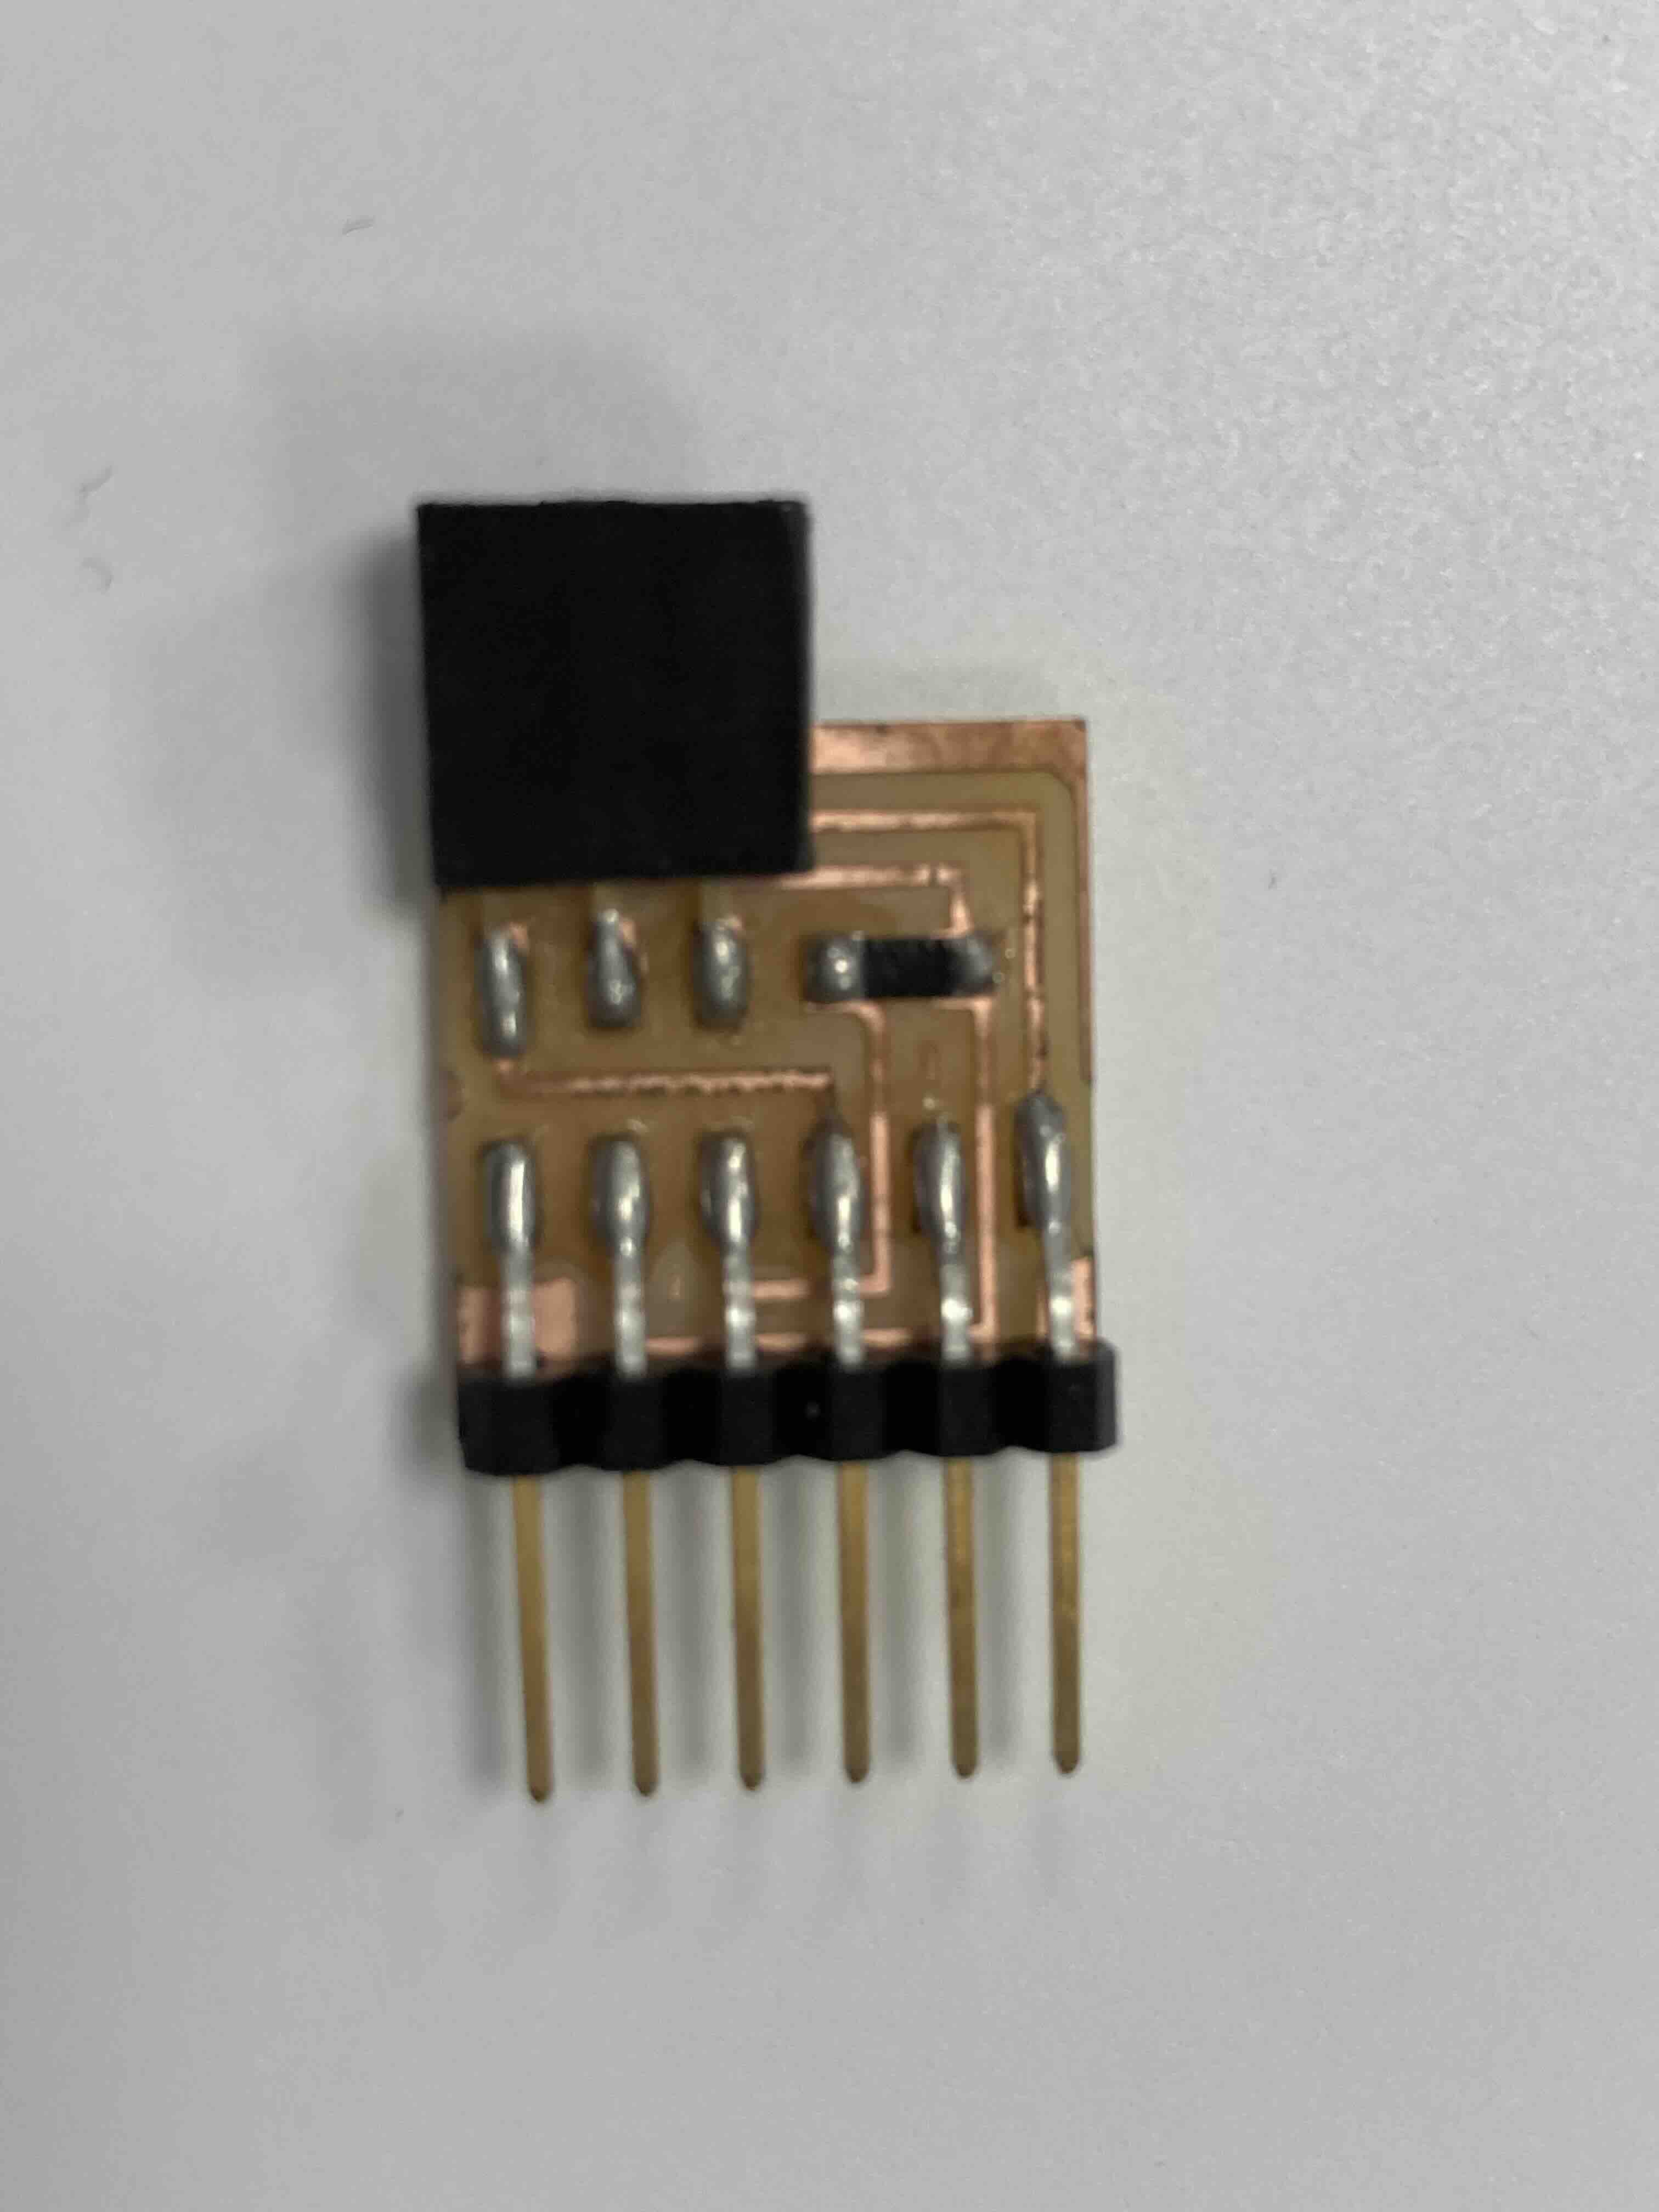
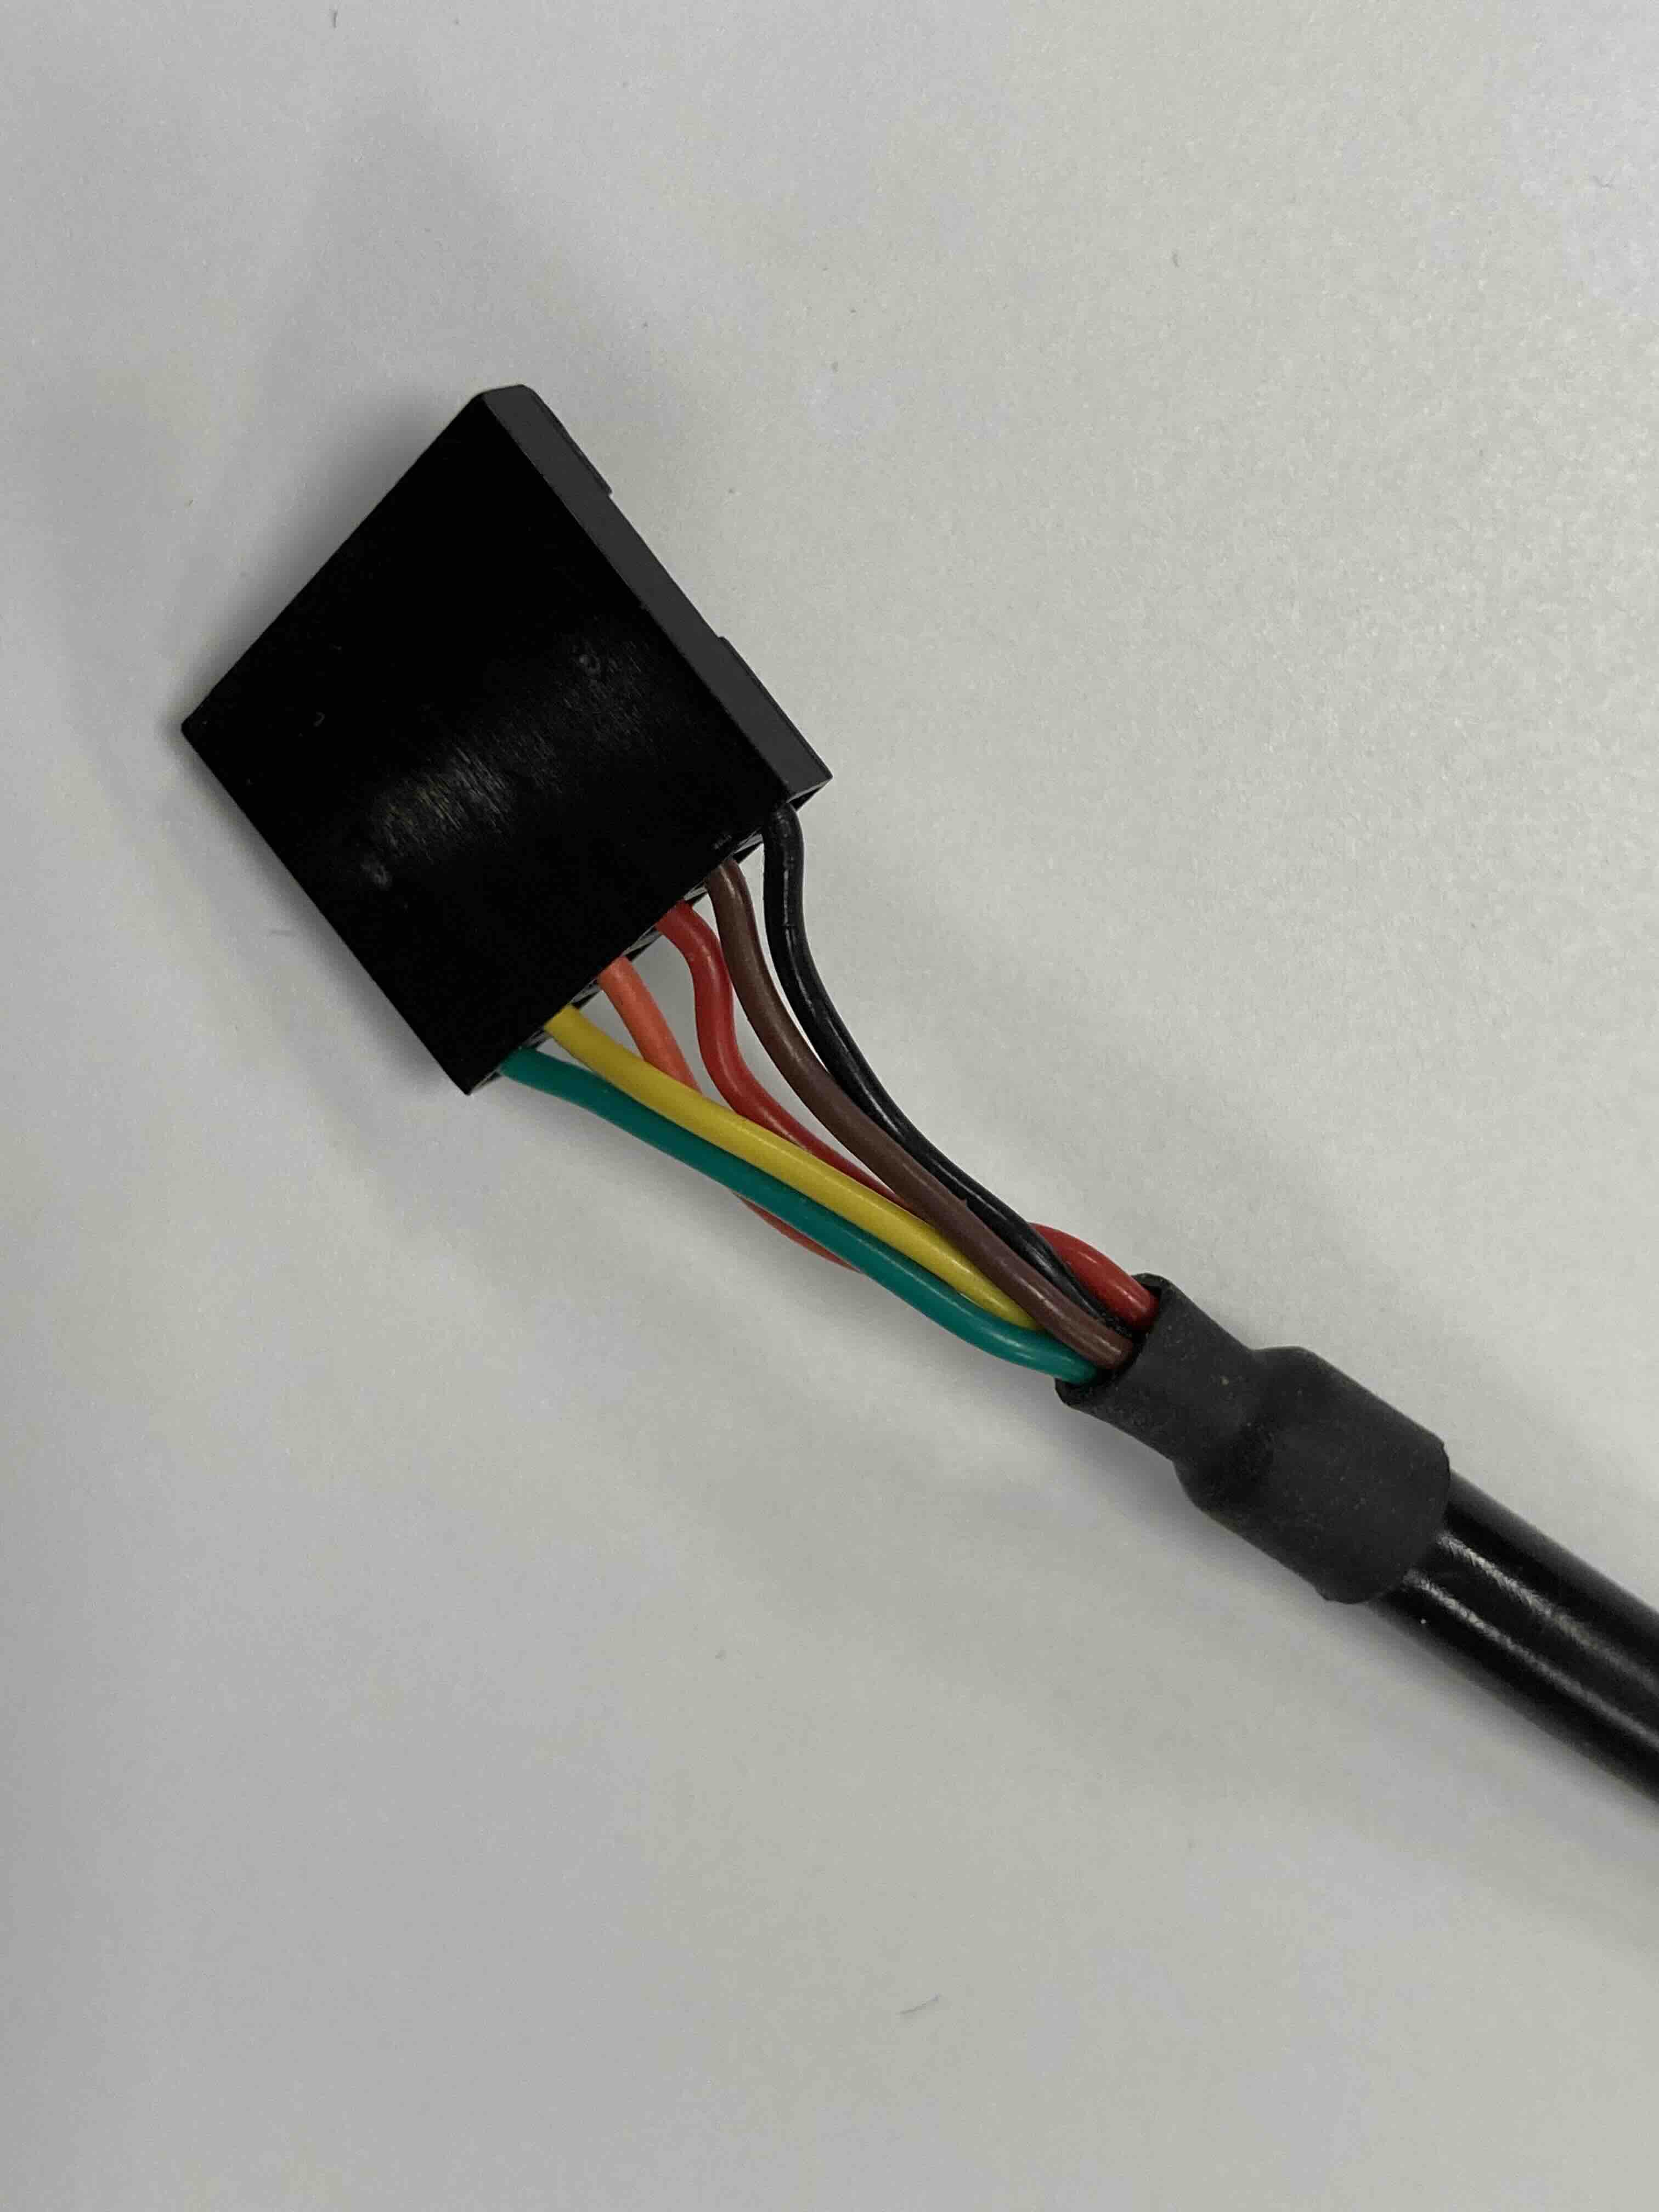
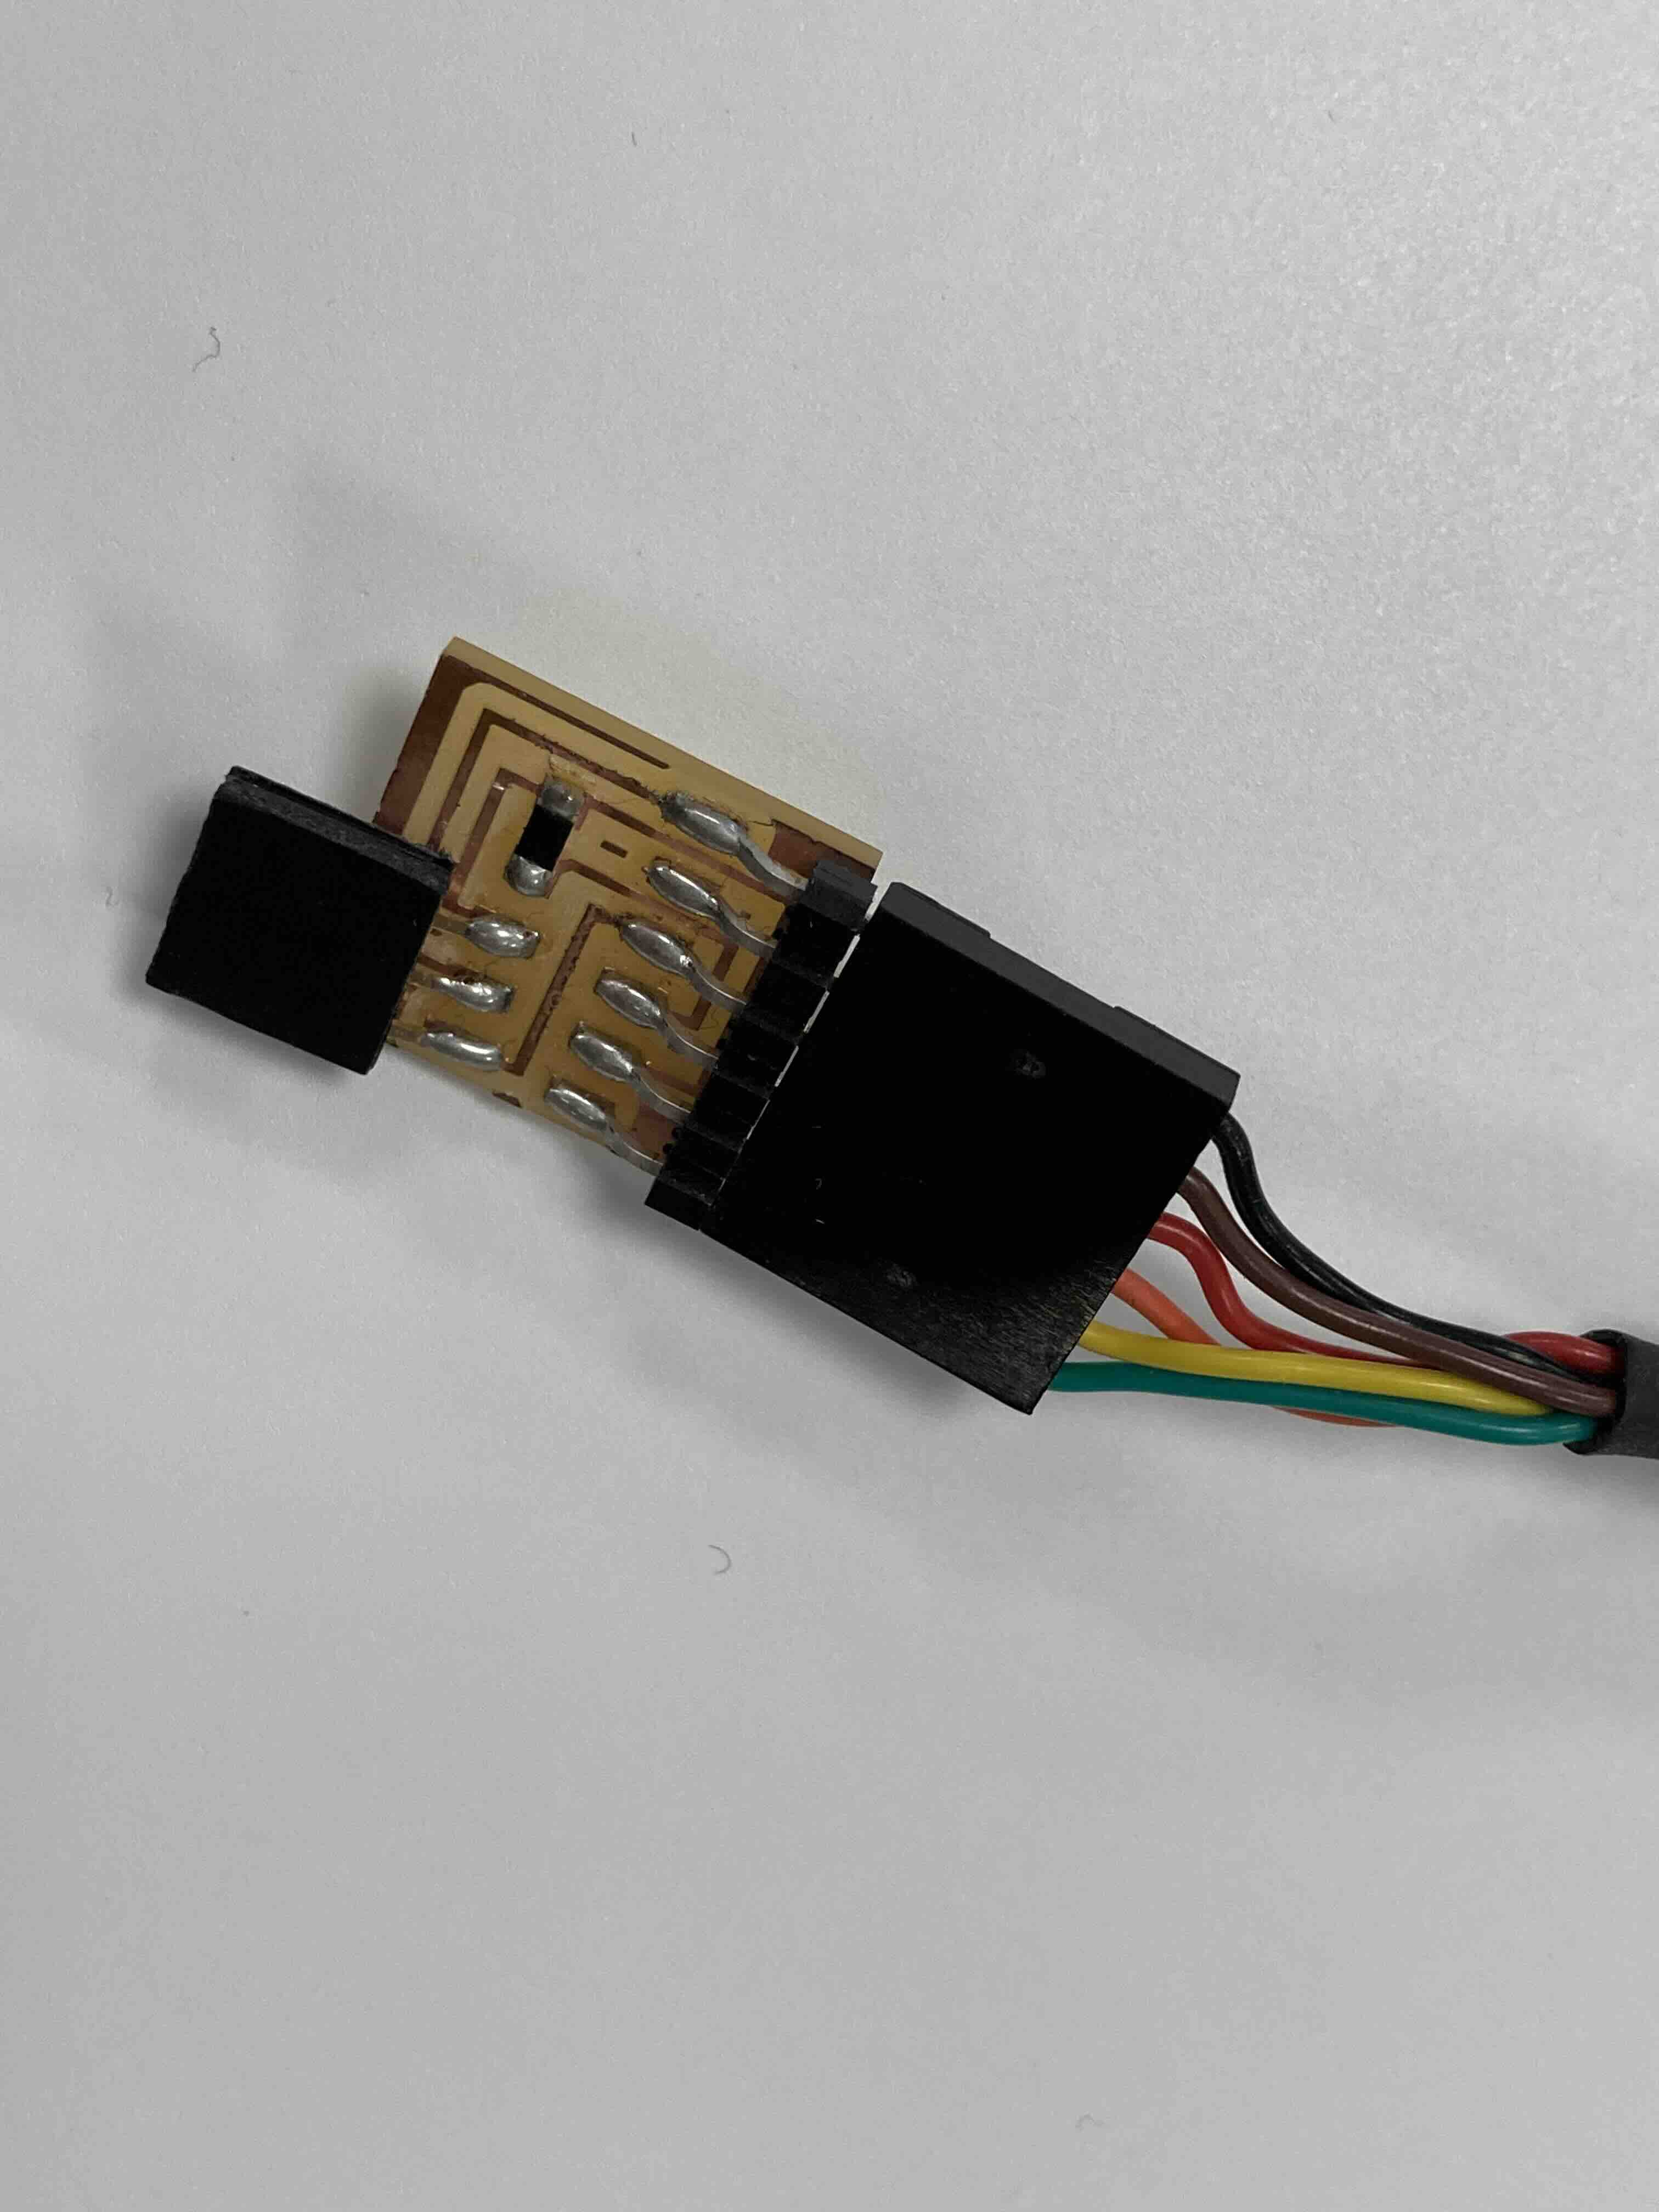
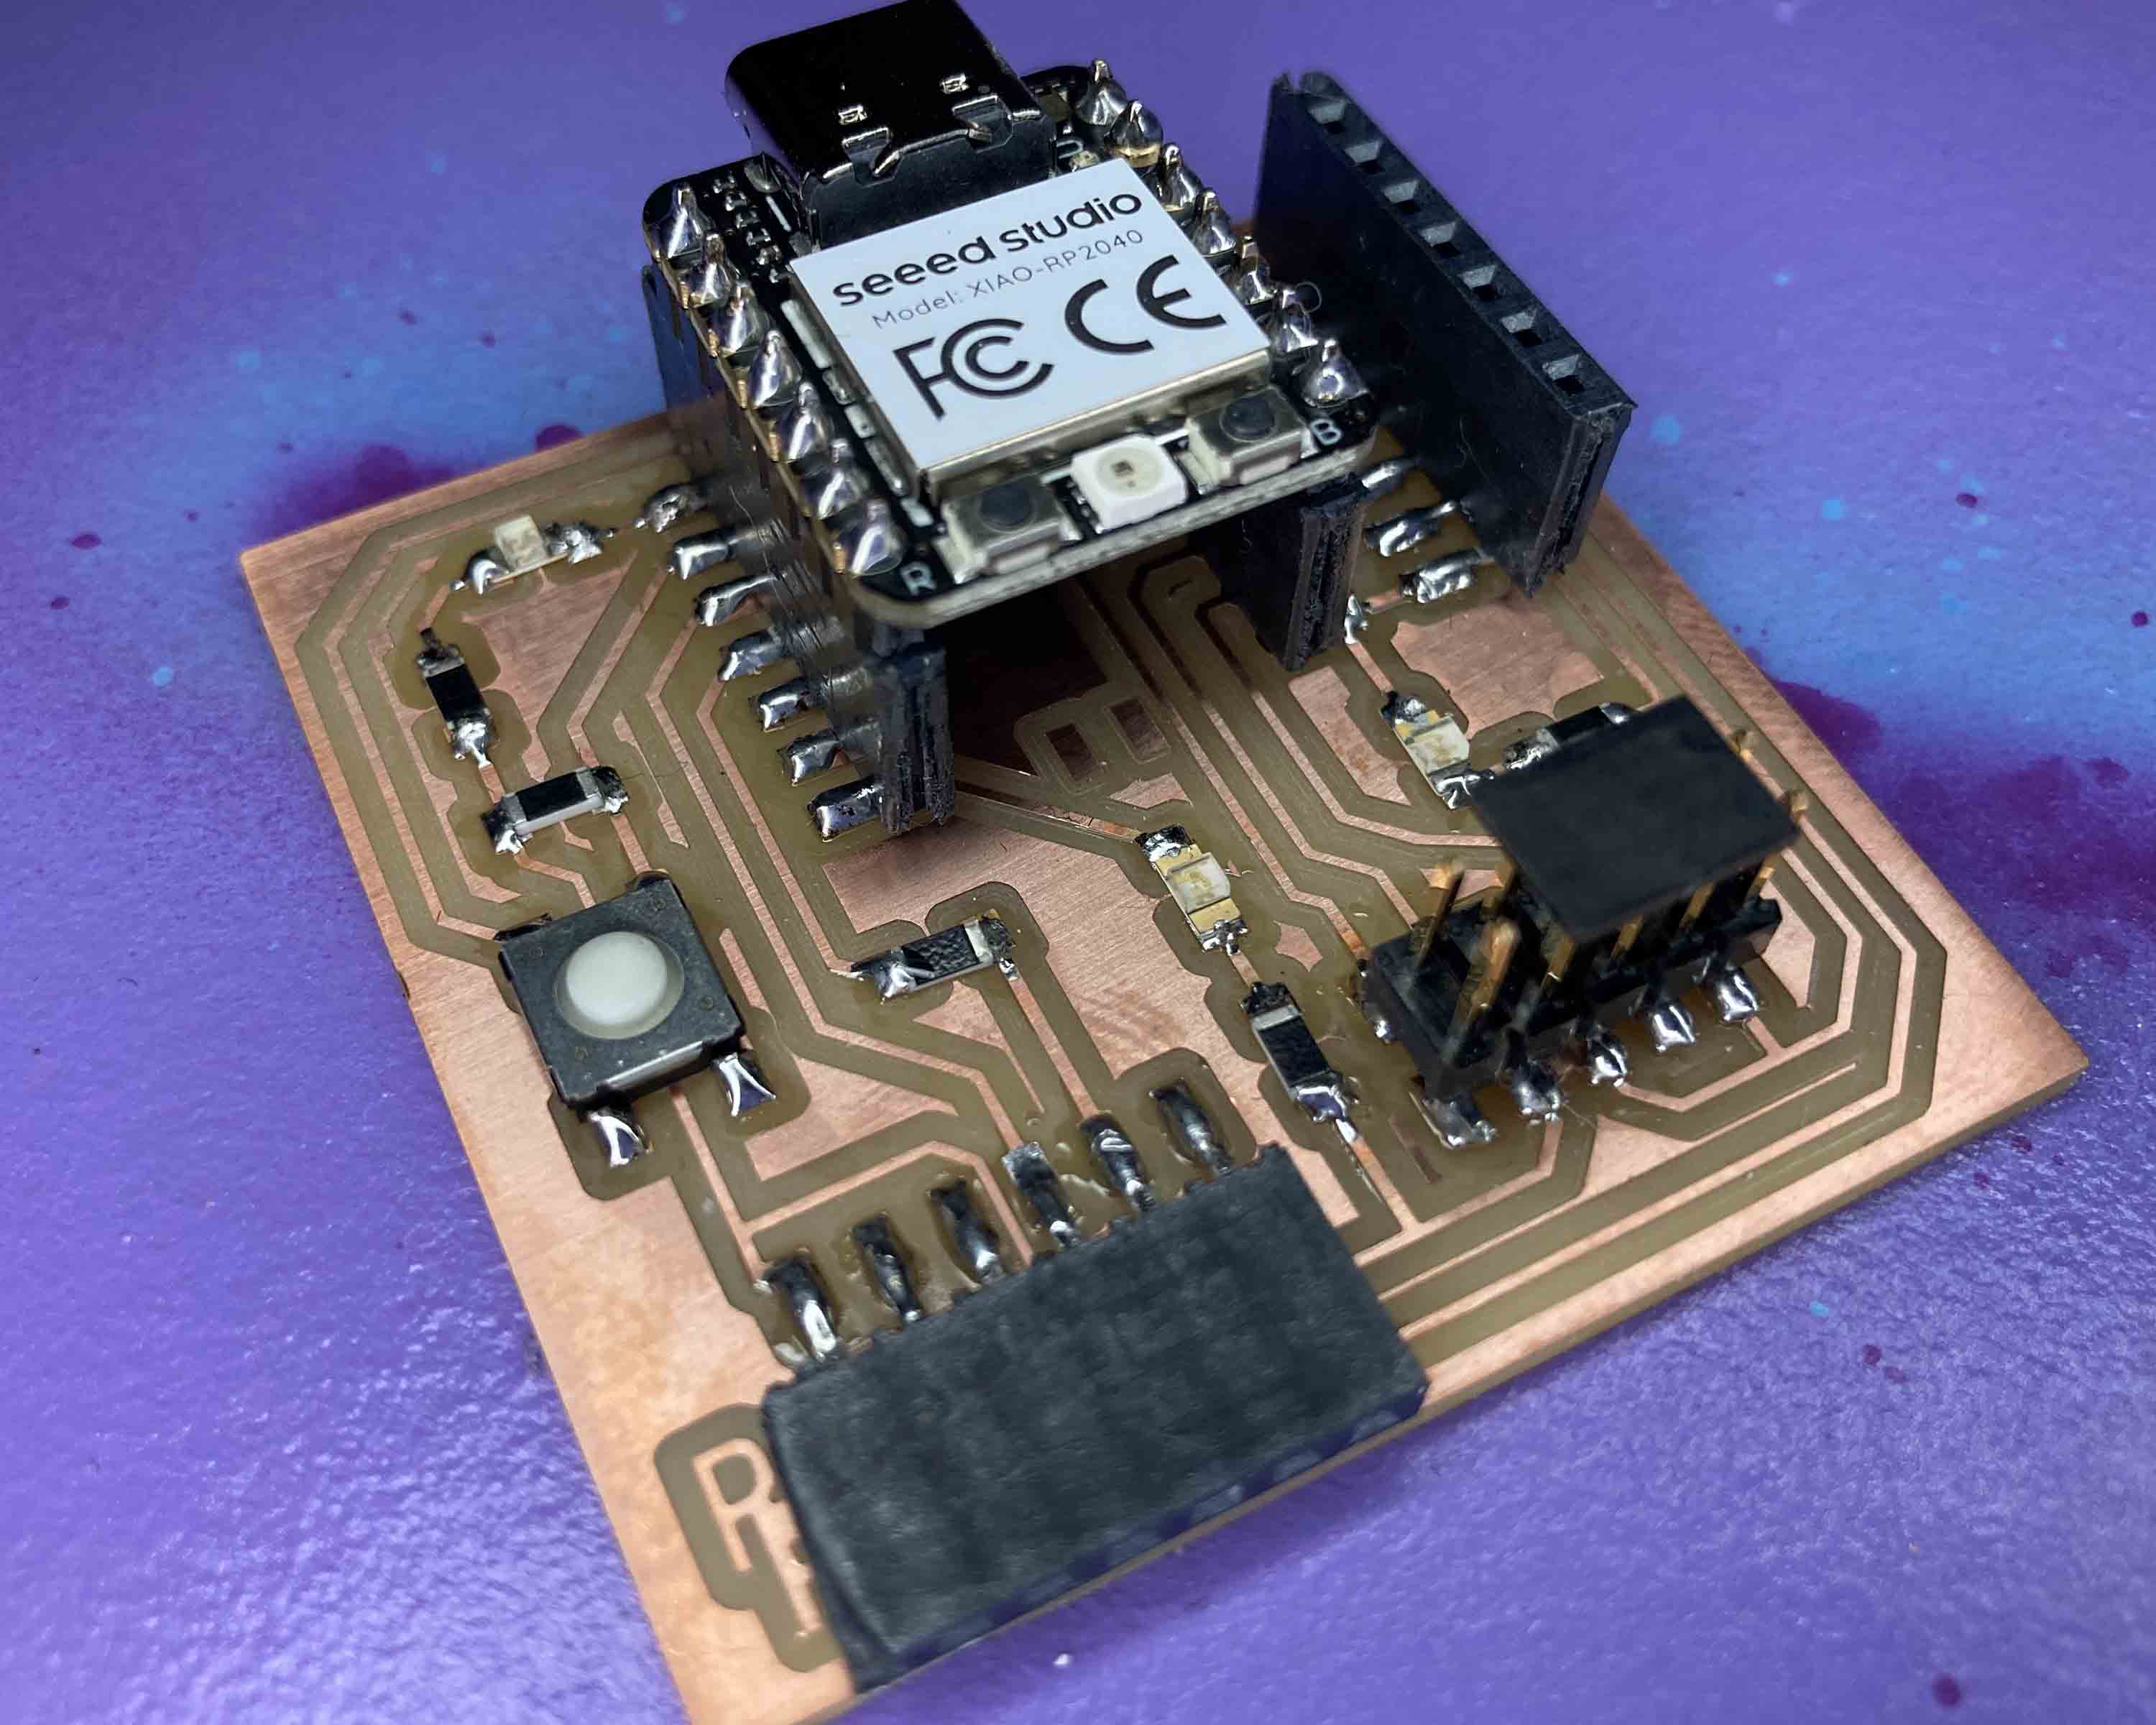
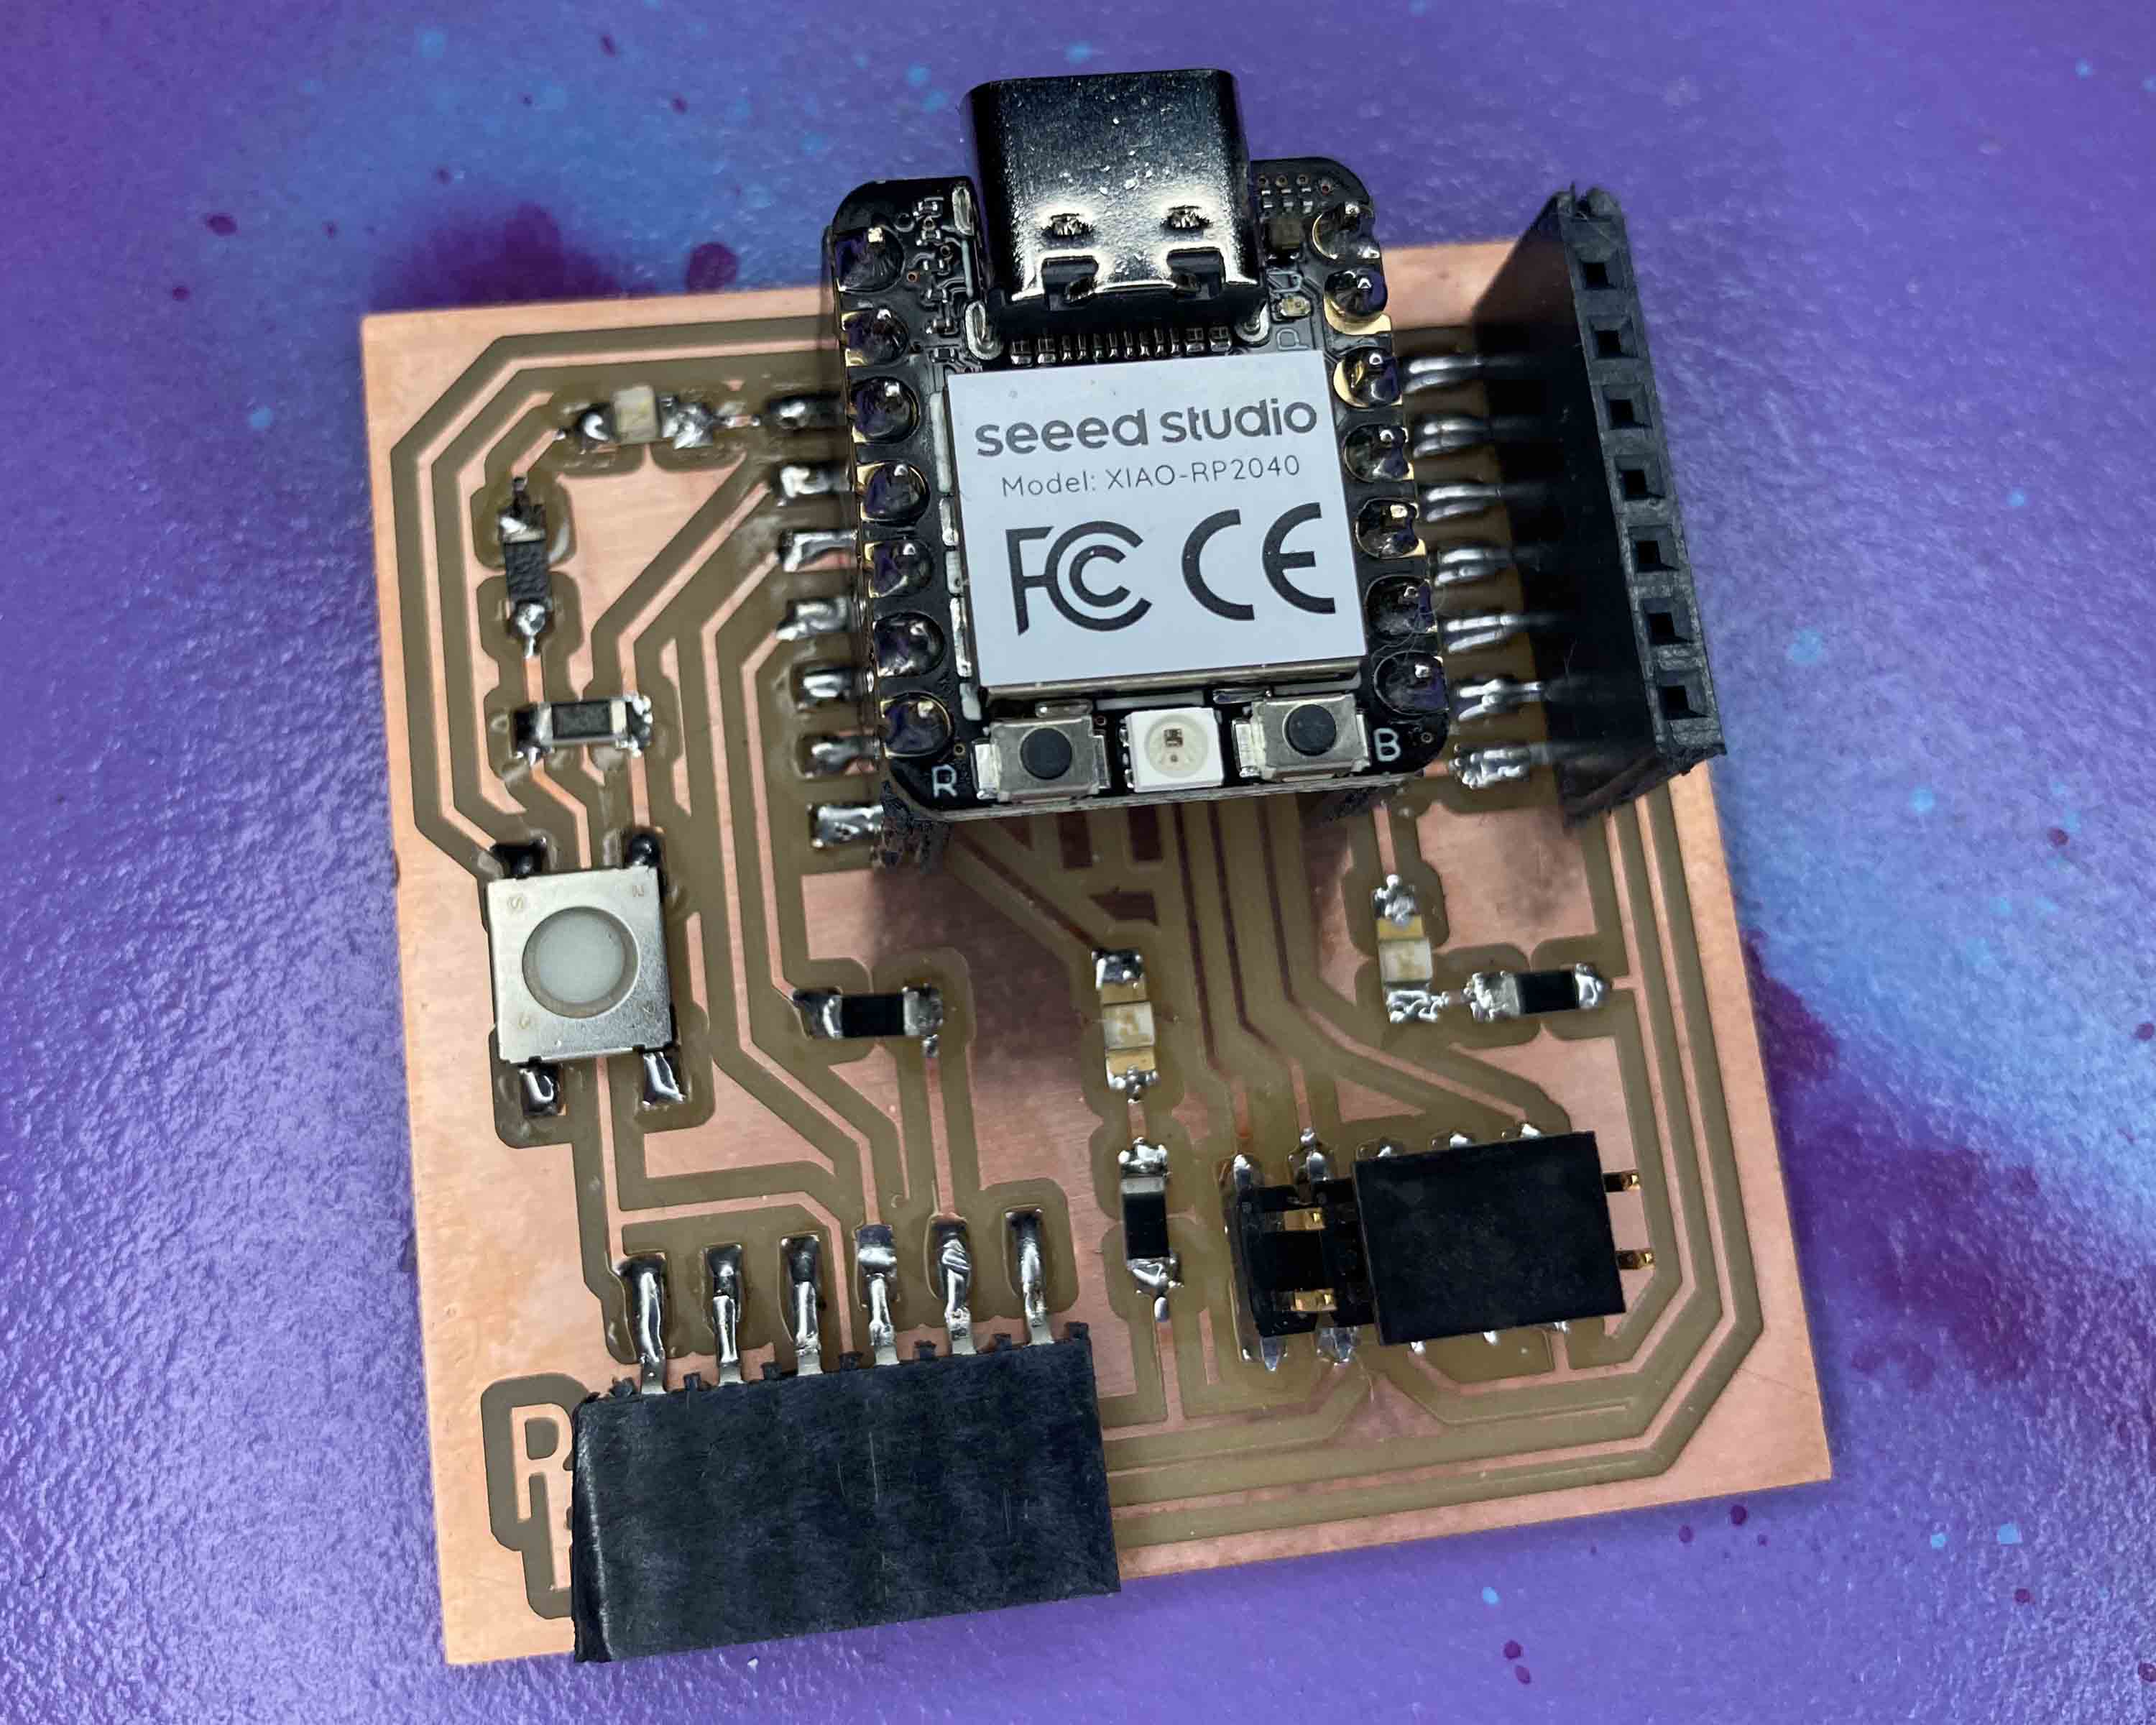
ATtiny attached with light blinking.View of finished soldering.
I programmed the board using UPDI pins on ATiny 412 by connecting the USB-FTDI cabel to a serial UPDI 3 pin board that was connected to my test board. I used Arduino to upload the code.
Roland modela mdx-20 : Róbert Board
Róbert figured out that fab lab Reykjavík didn‘t have a pacific part that was in the demo board, so he altered the boards to fit the parts we had I got to use his model for the board. I cut it out as I did that previous one.
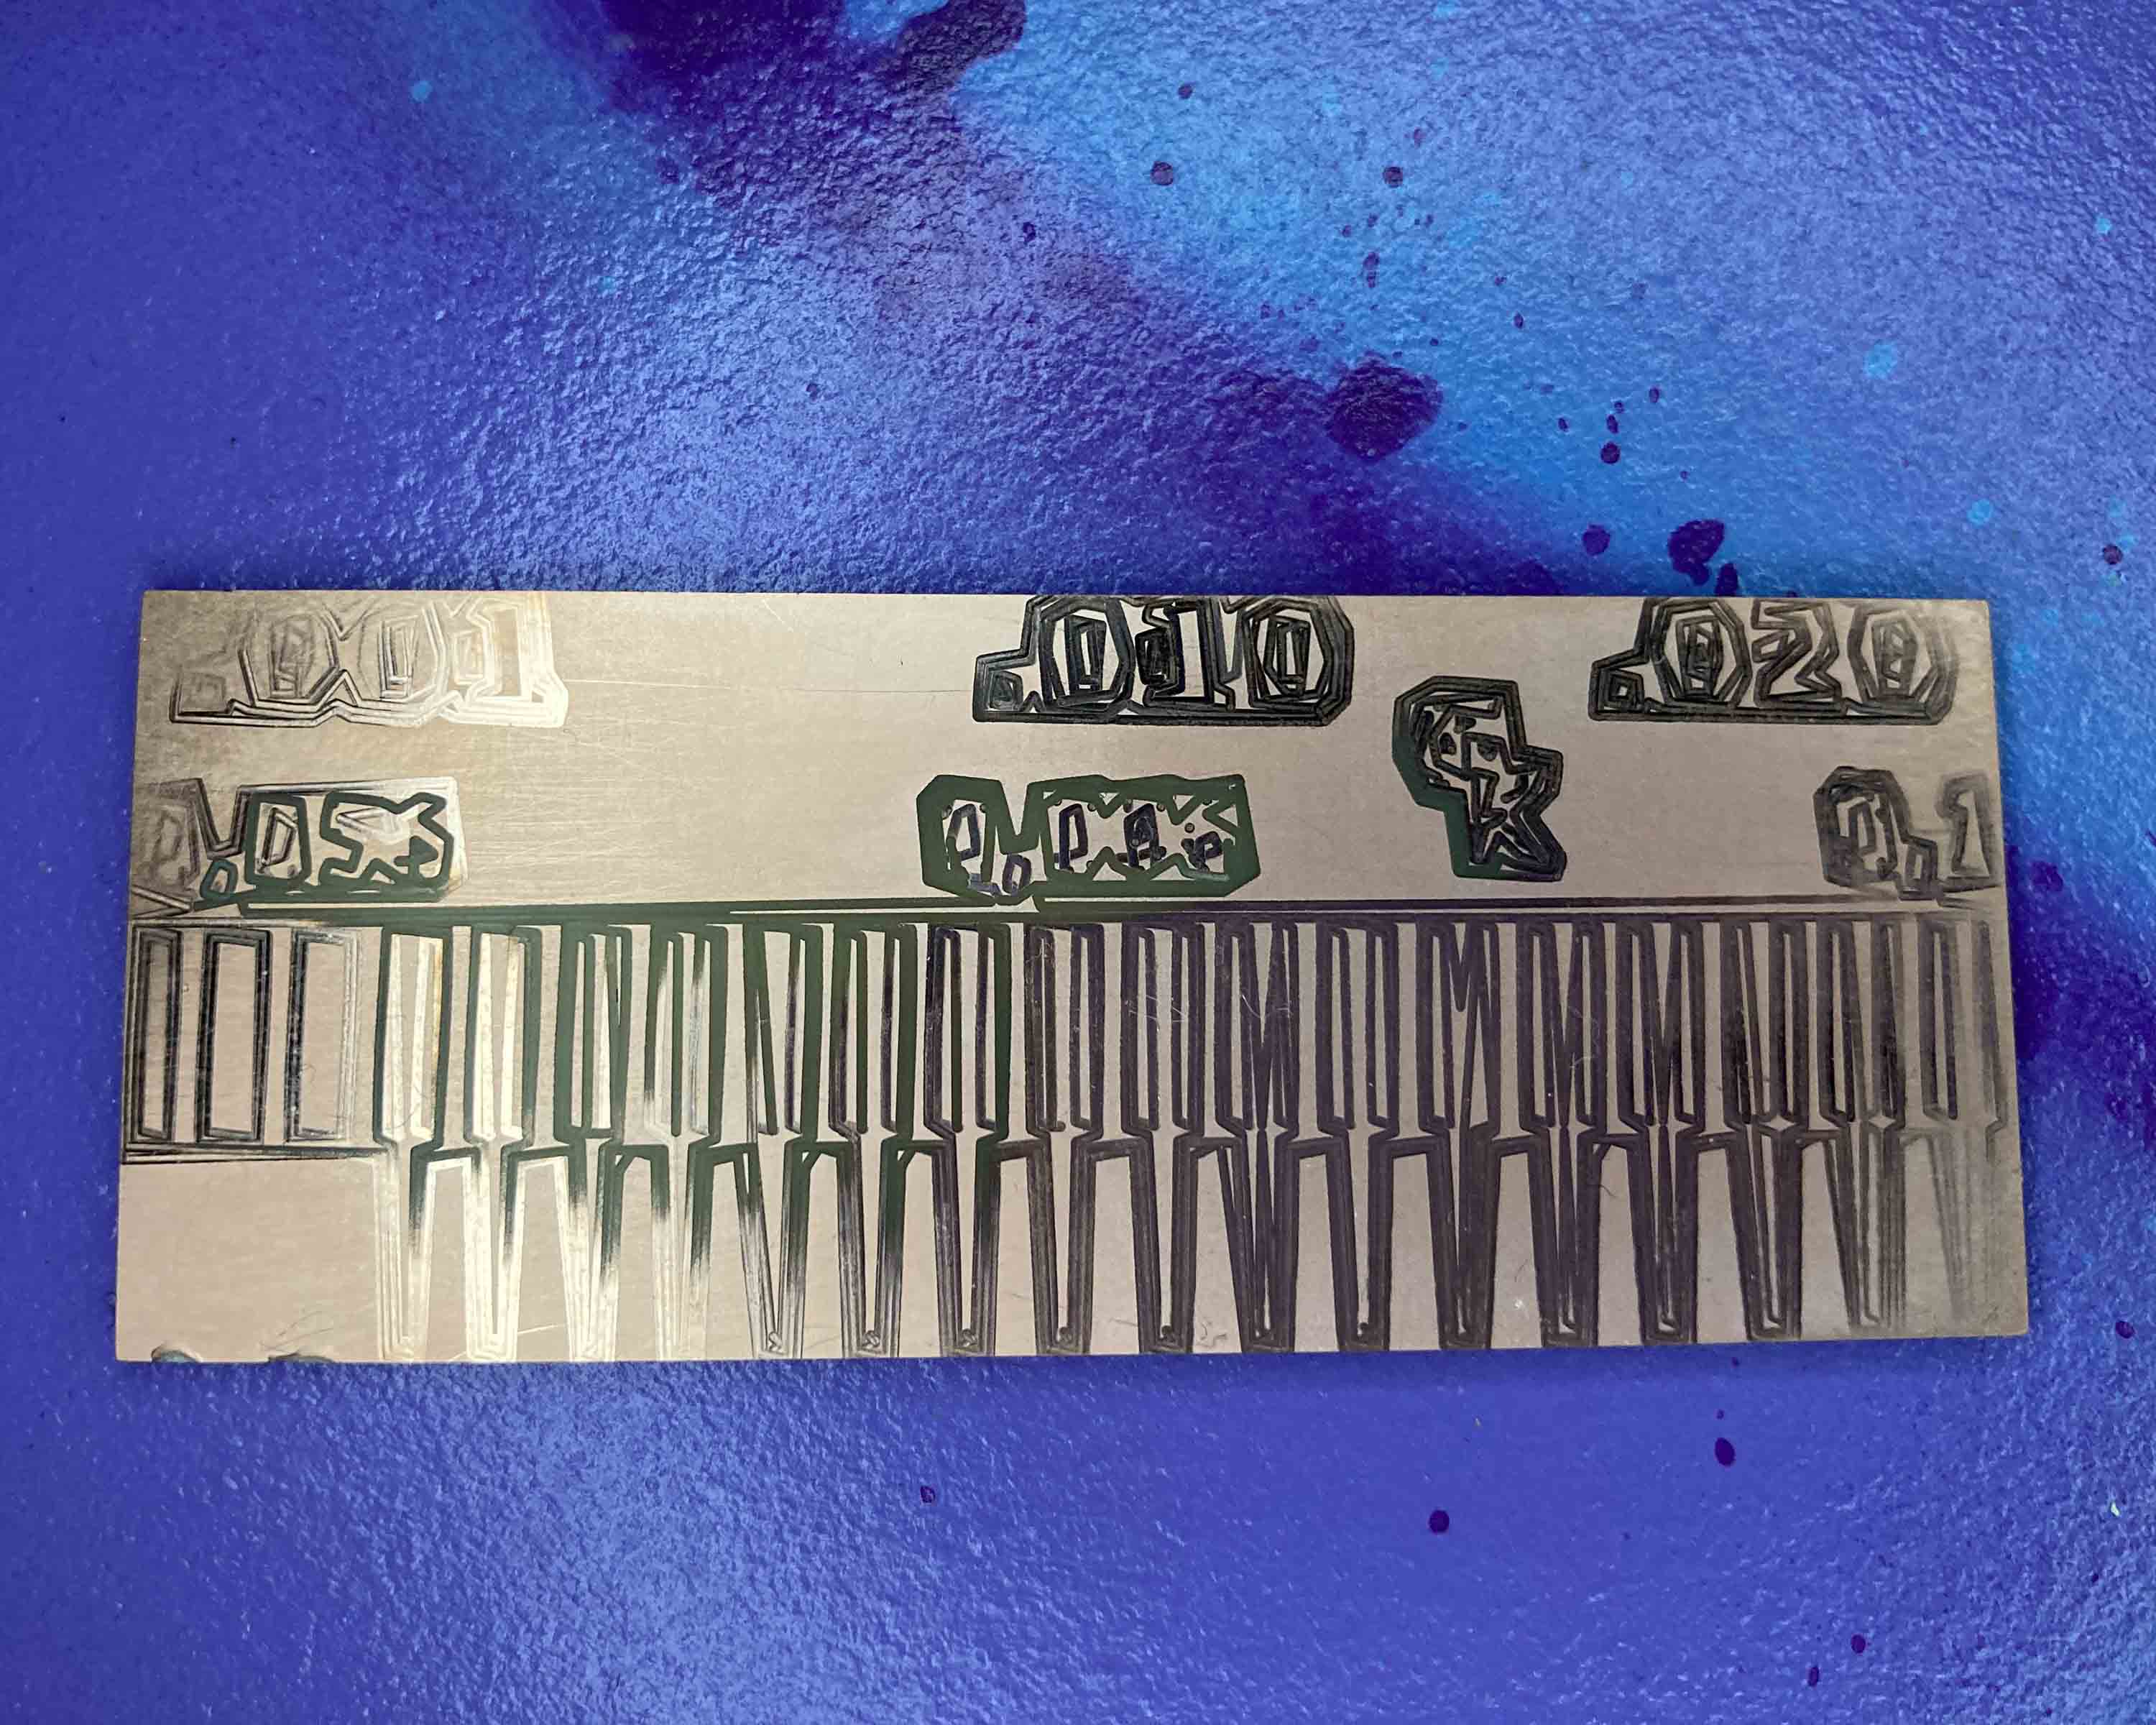
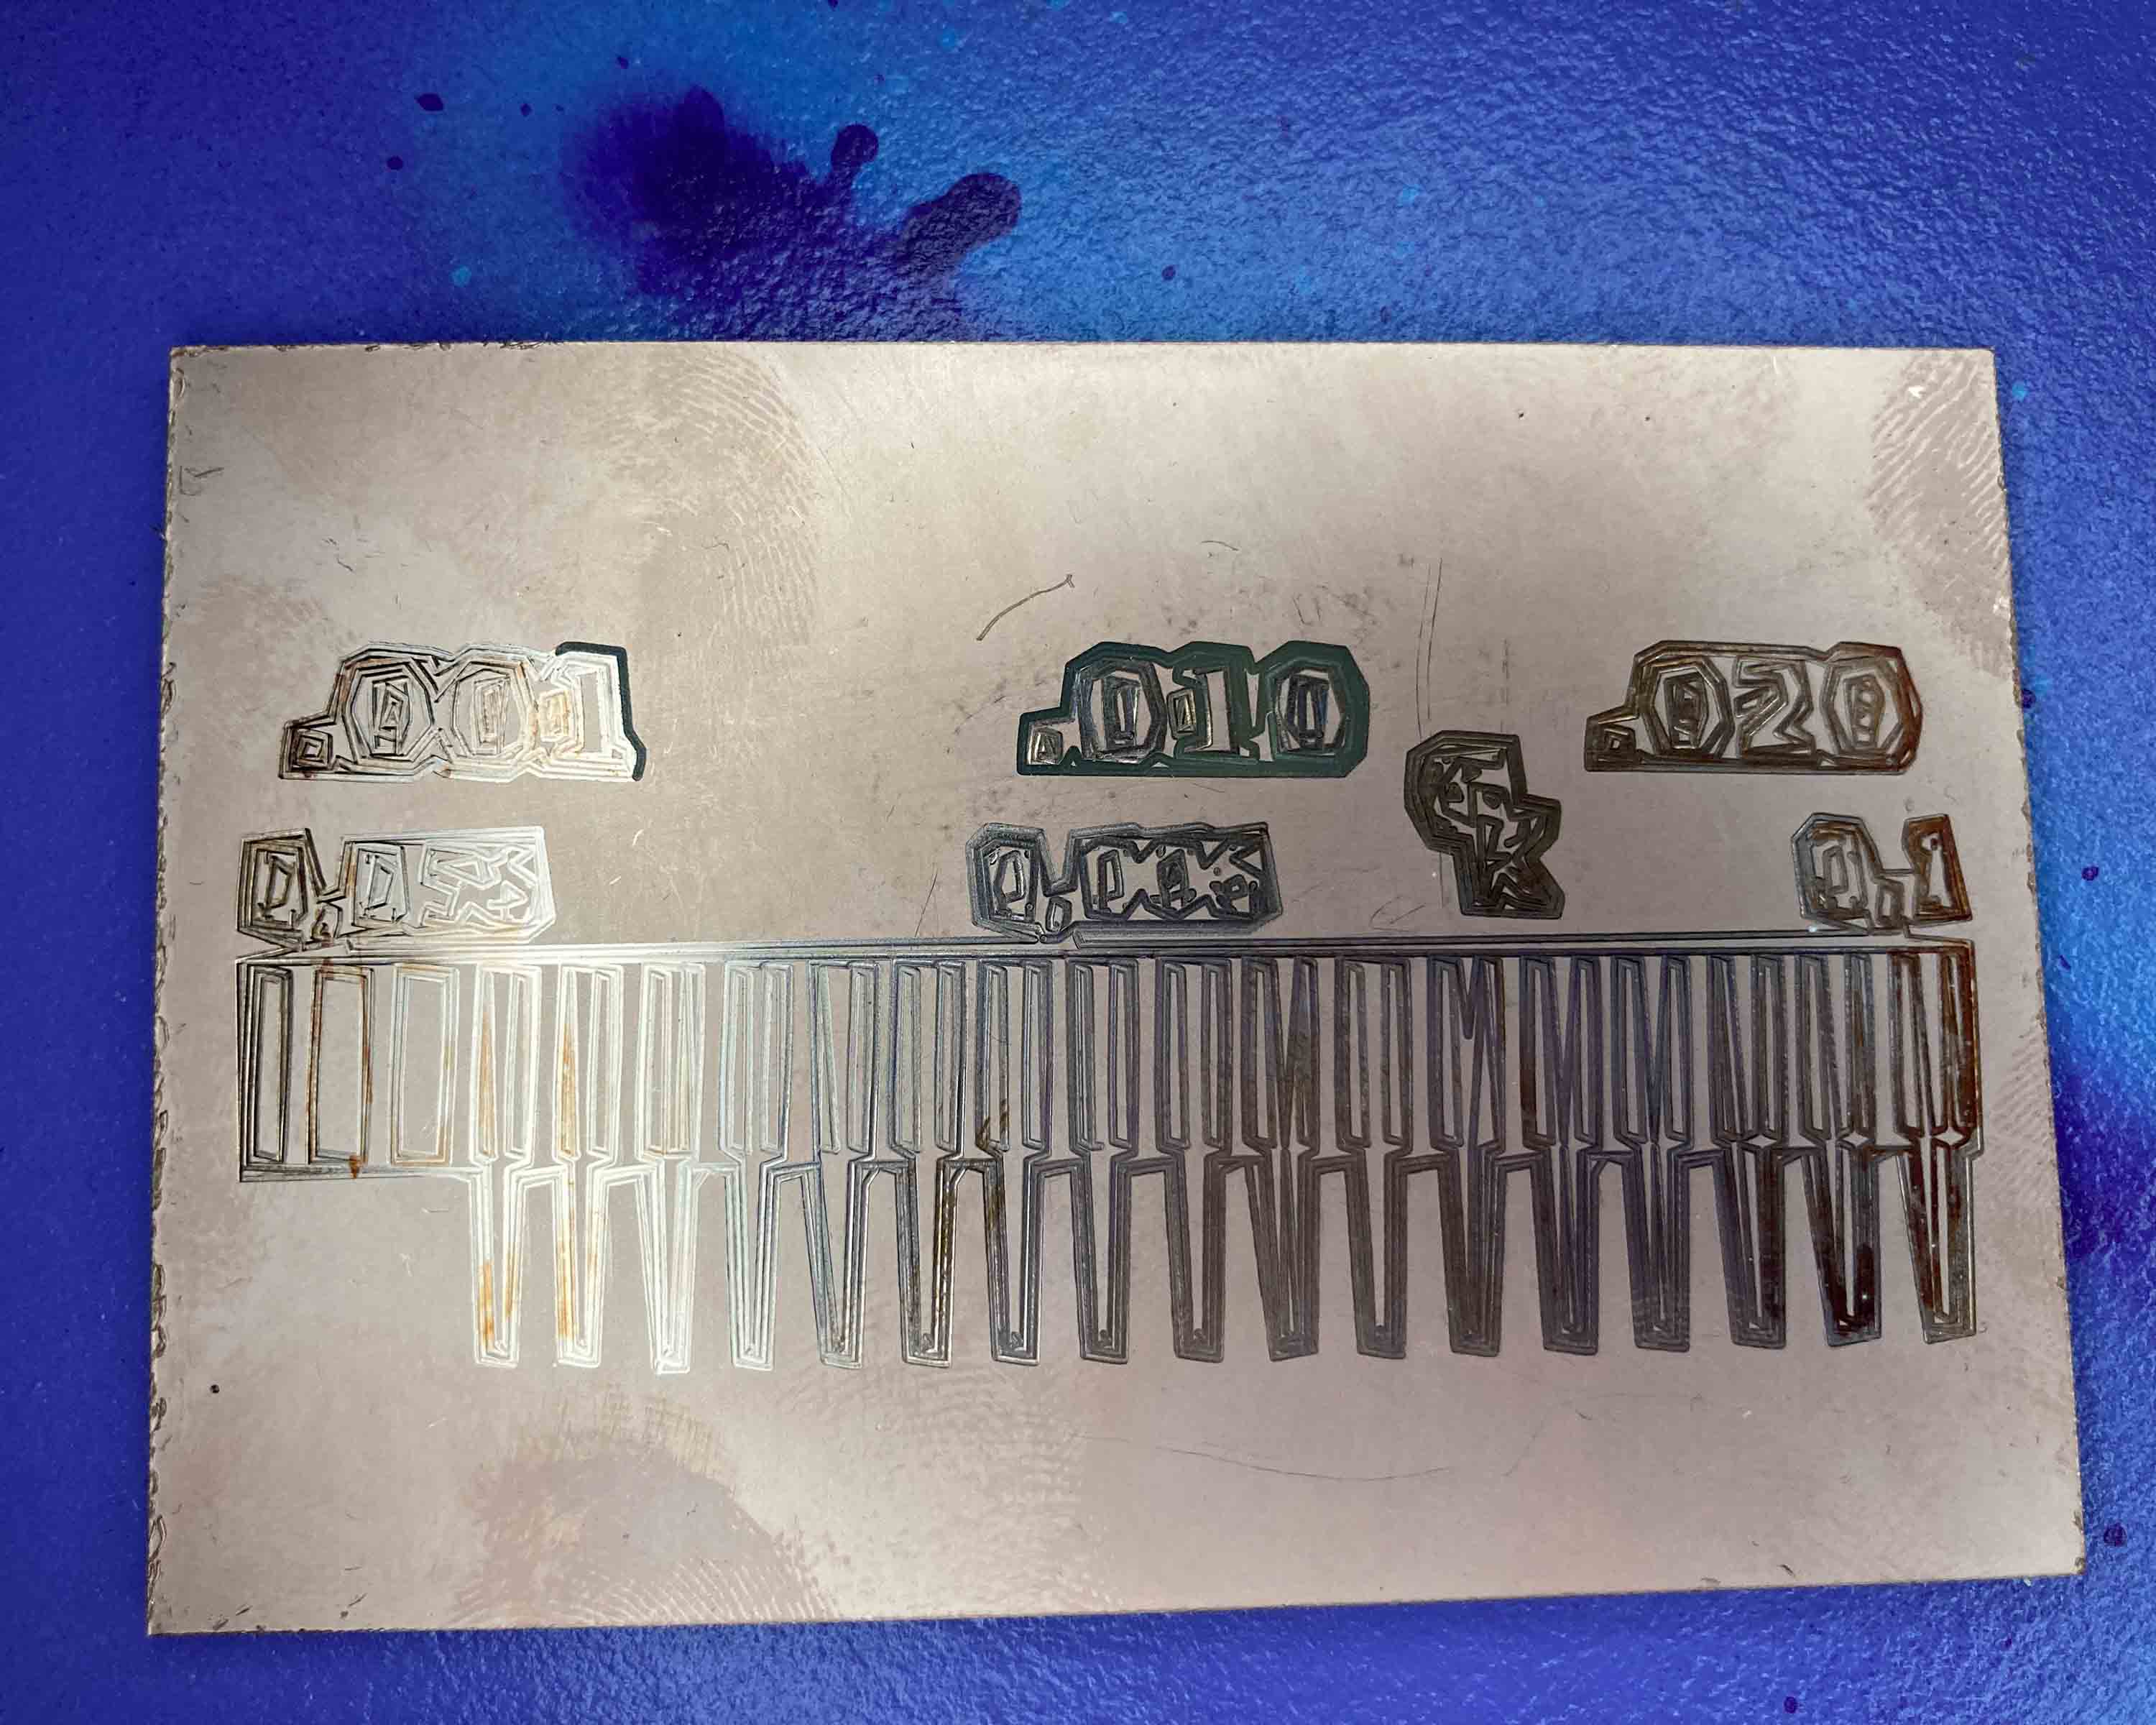
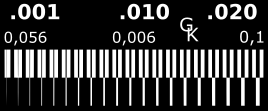
I made a measuring model for the roland modela mdx-20. The base for the model was a template that I found then I altered it to fit the needs. I required the measurements on the board or in cm. I put my initials on it also but I forgot to change the DPI to 1000 and my instructor figured it out after the second or third attempt of cutting it out. After I fix the DPI to 1000 the board came out pretty not all funky.
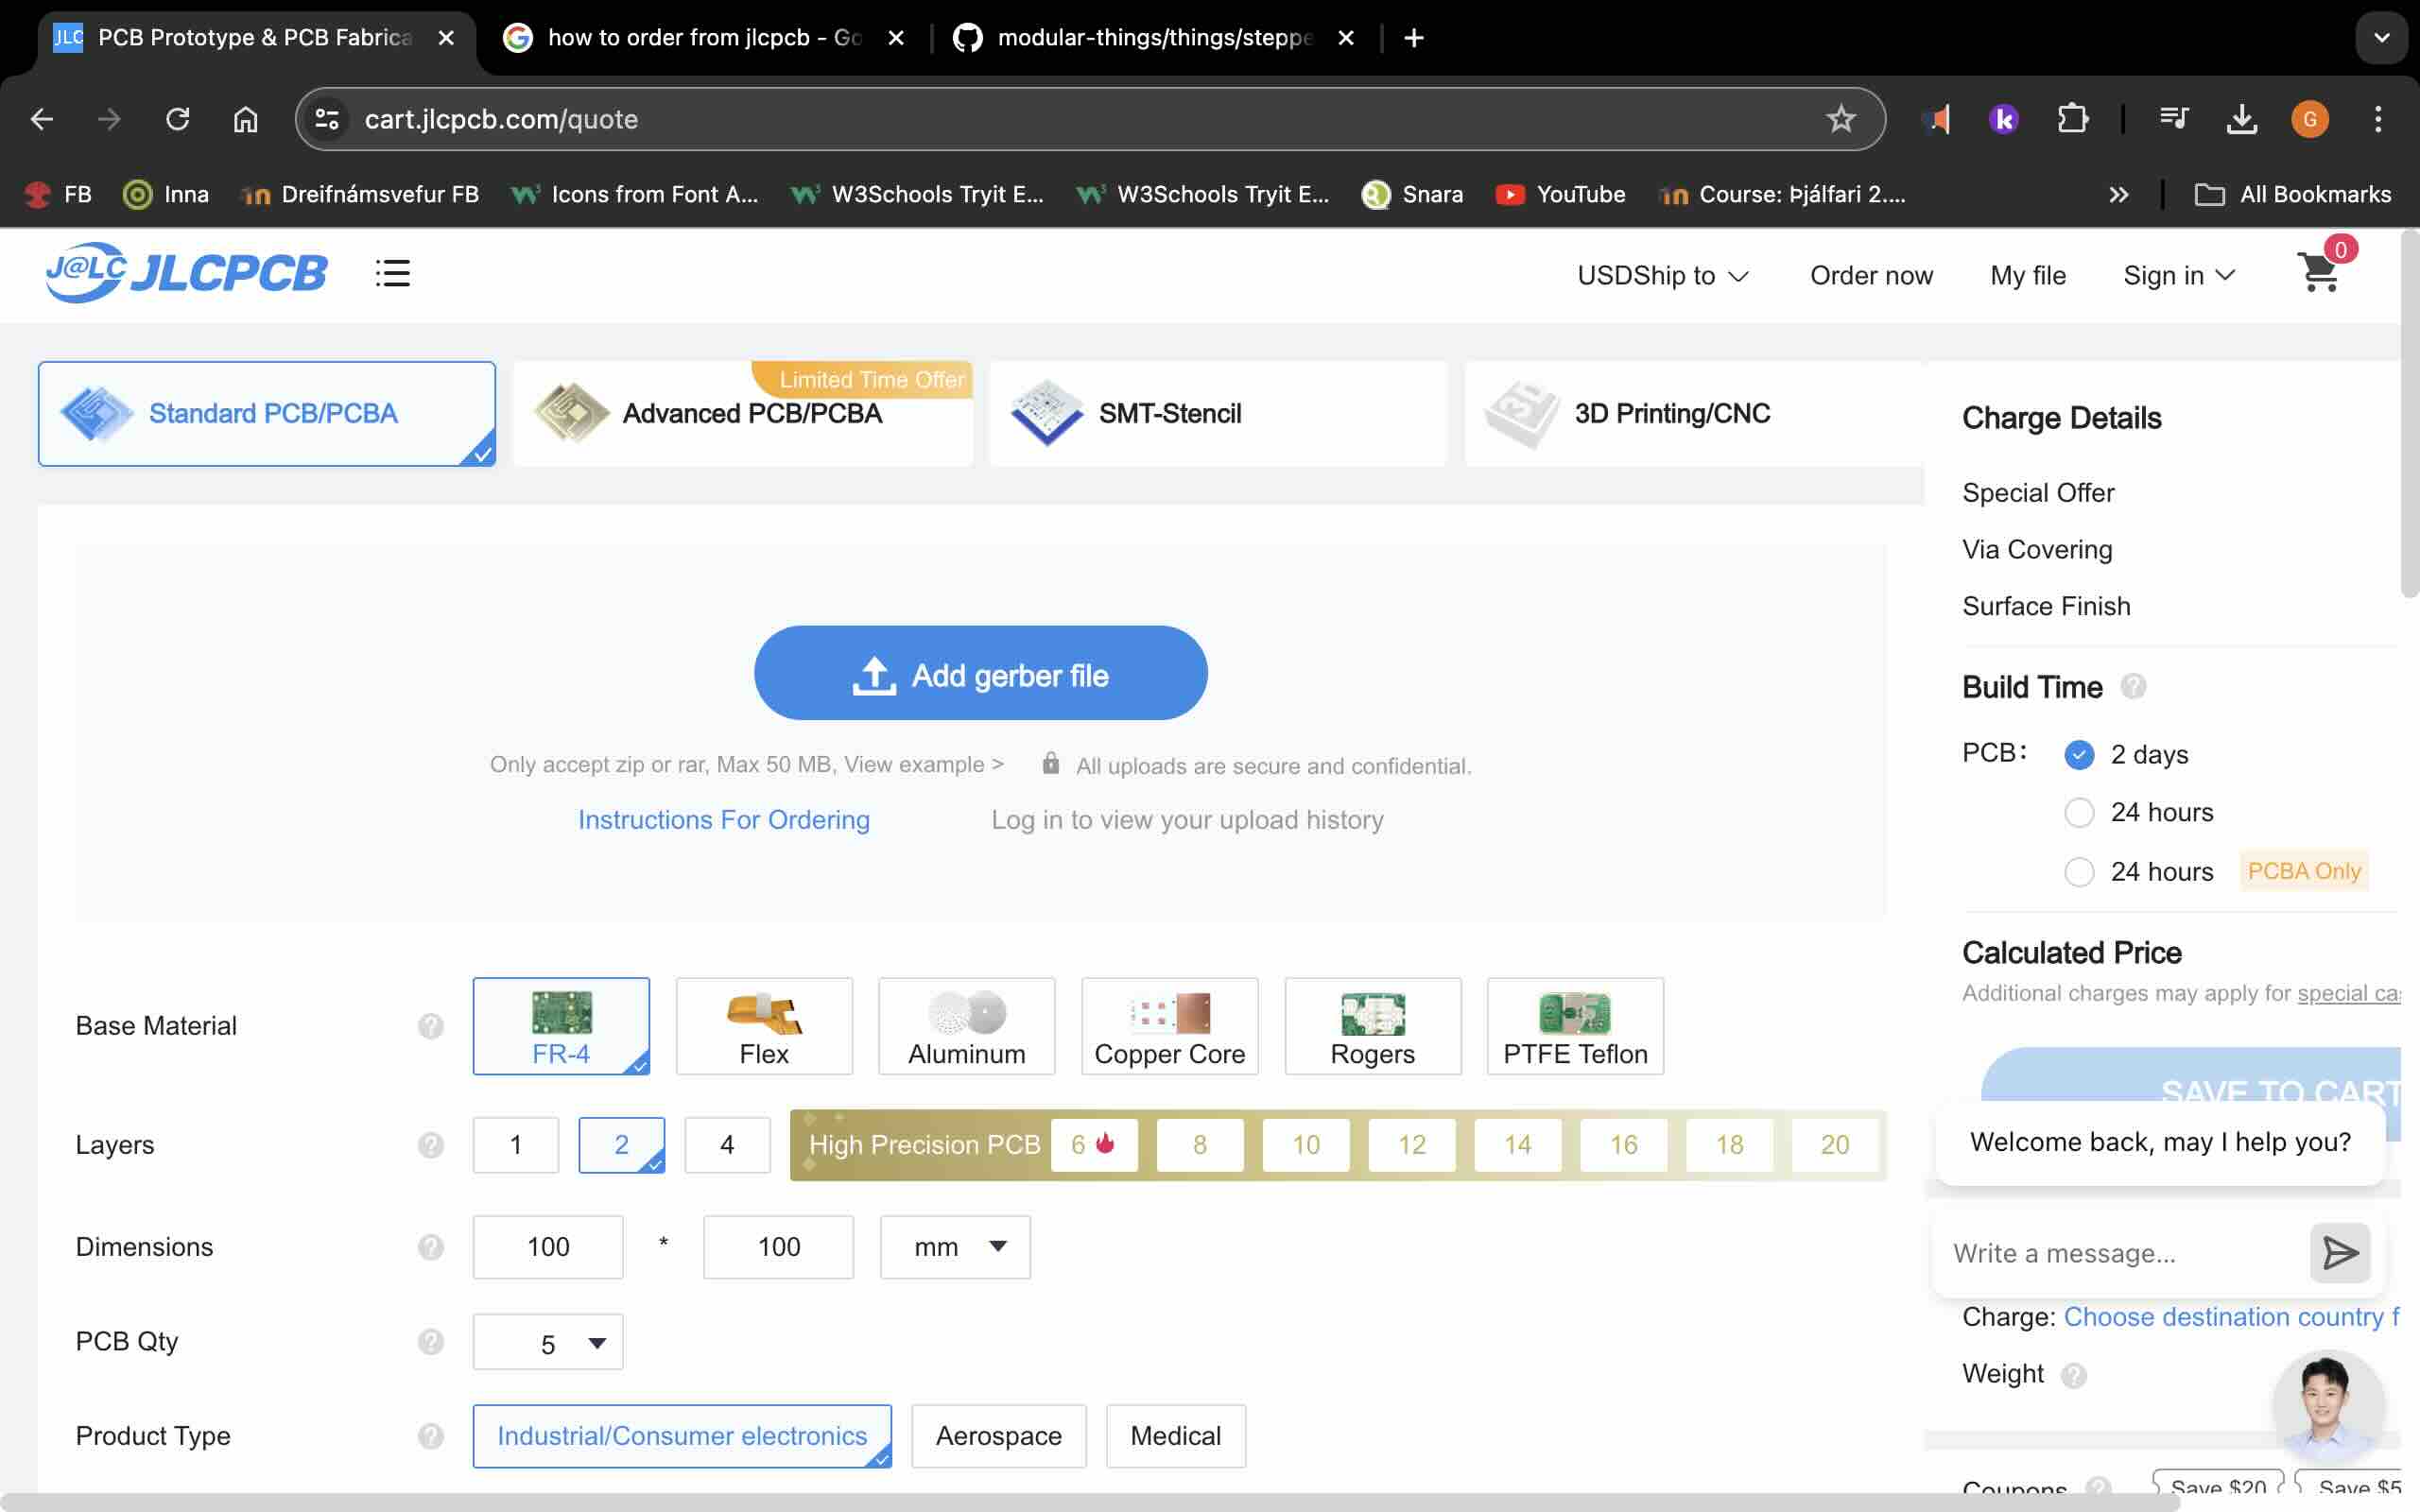
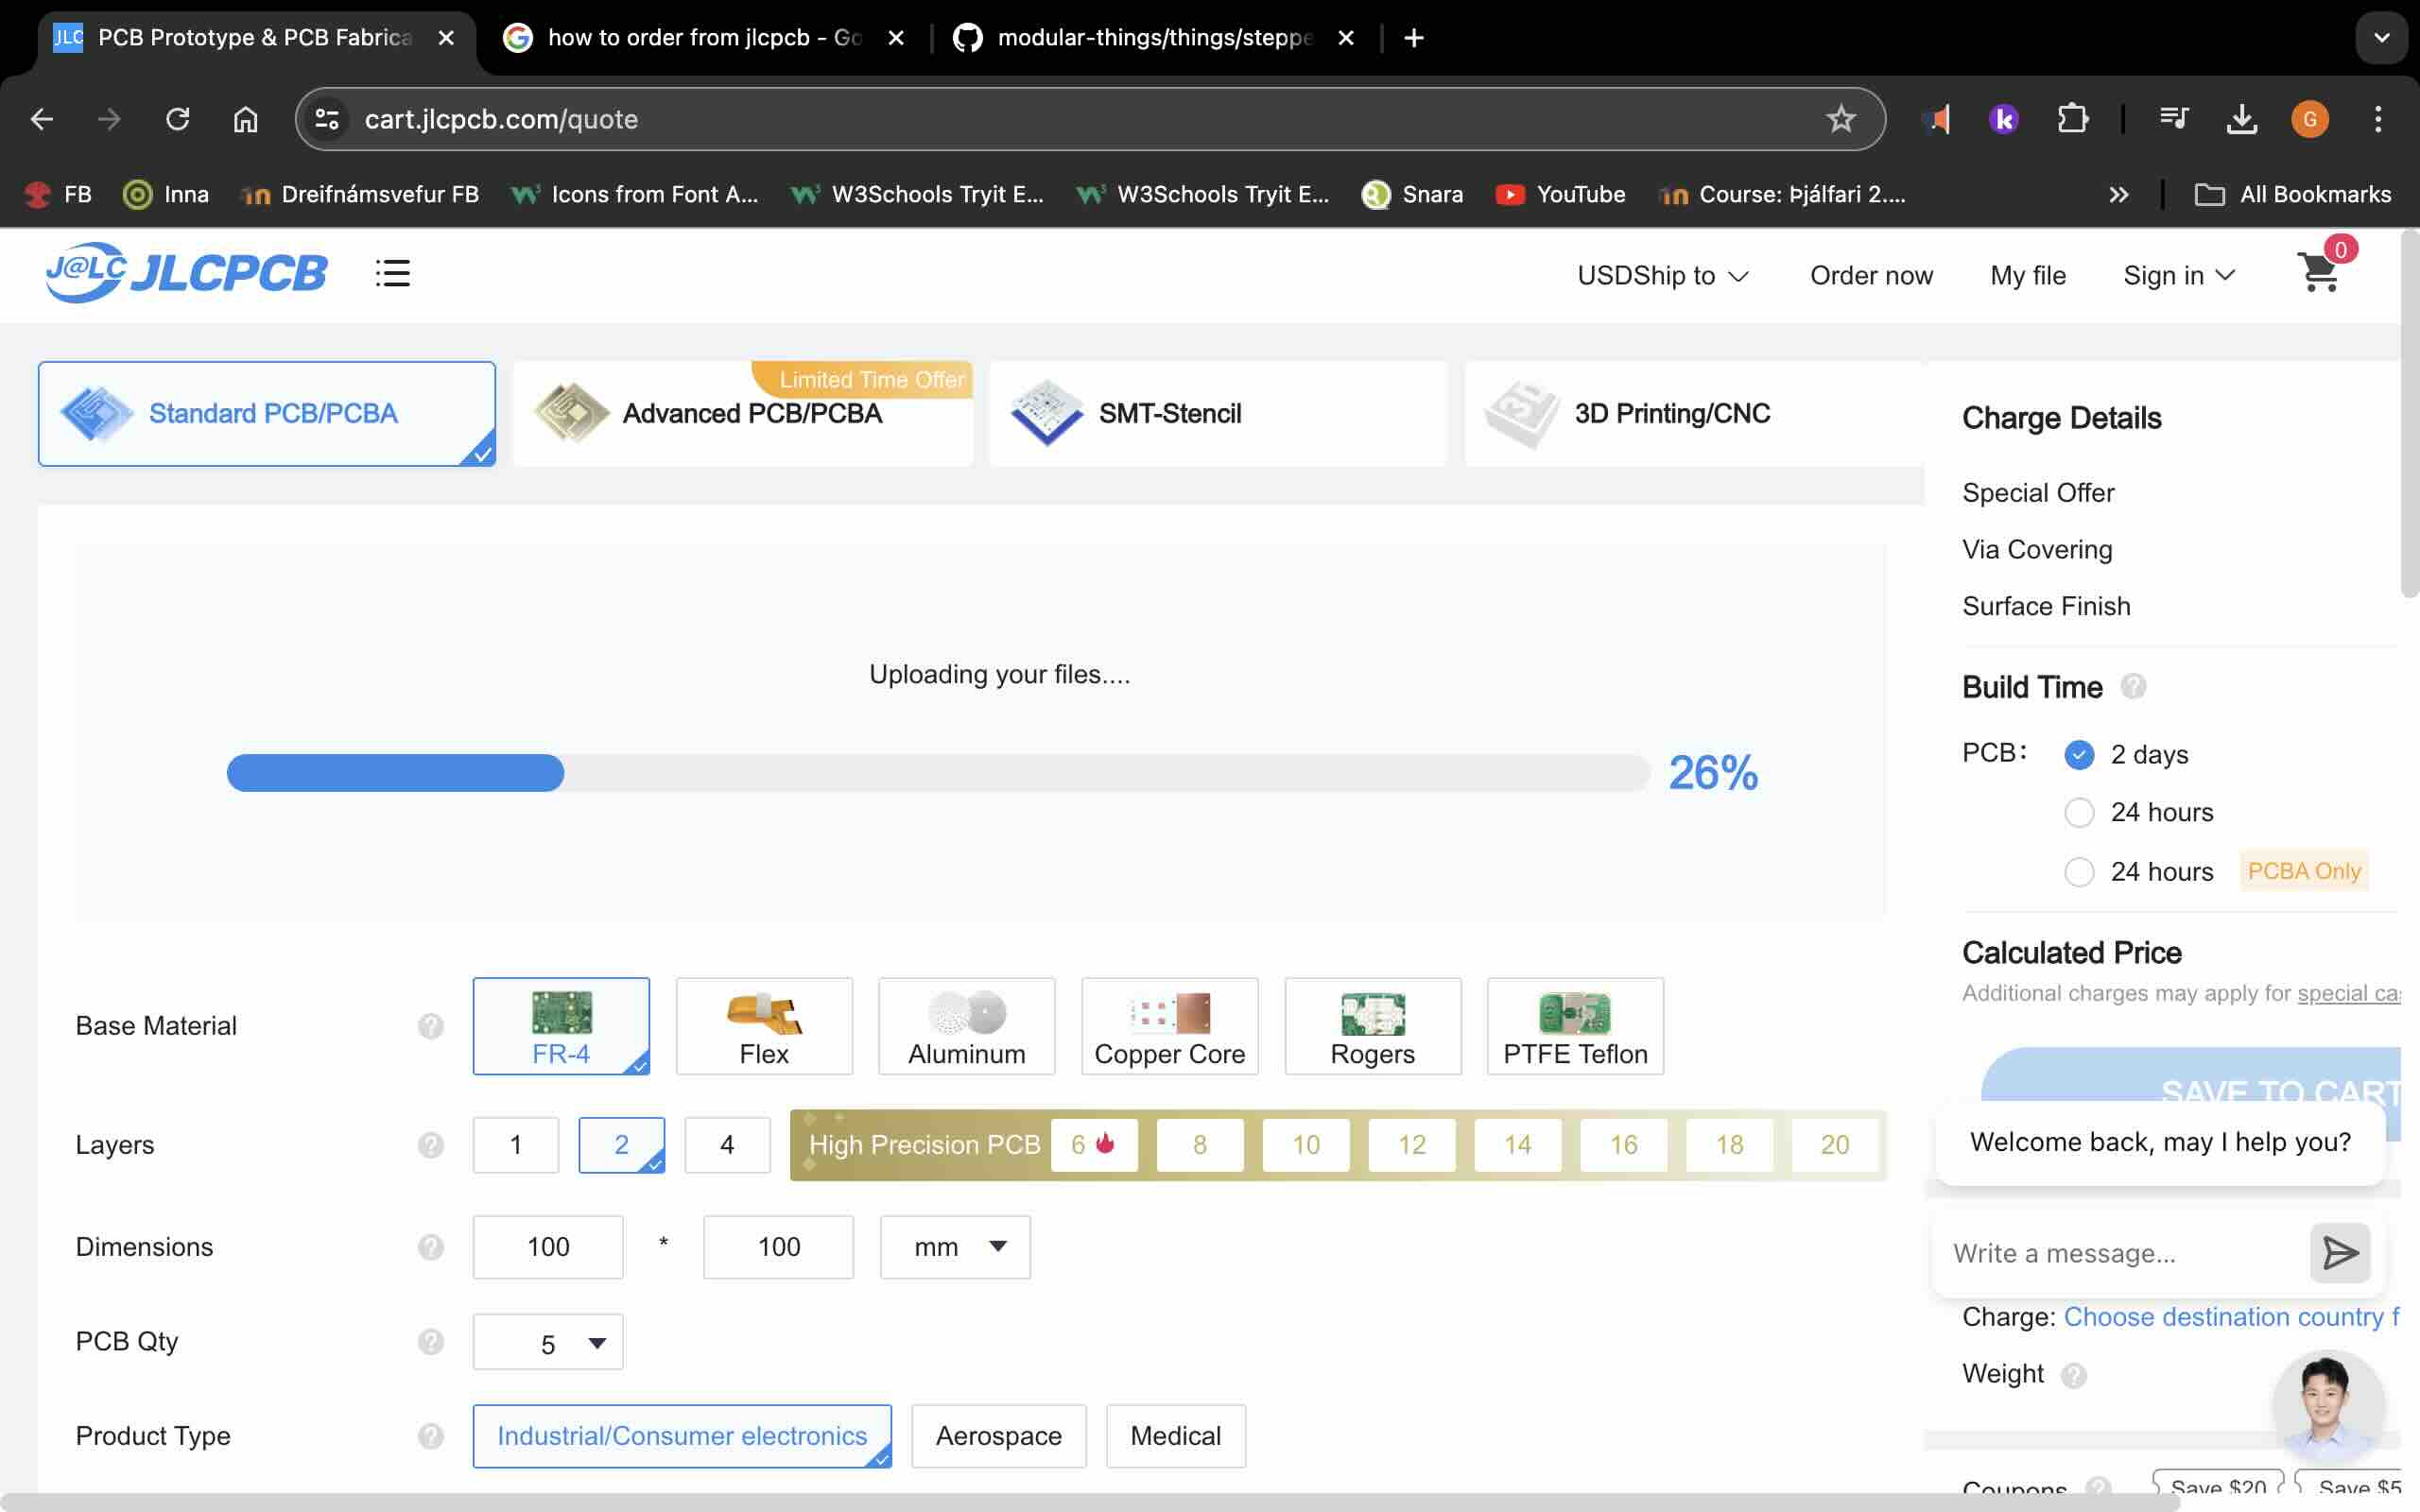
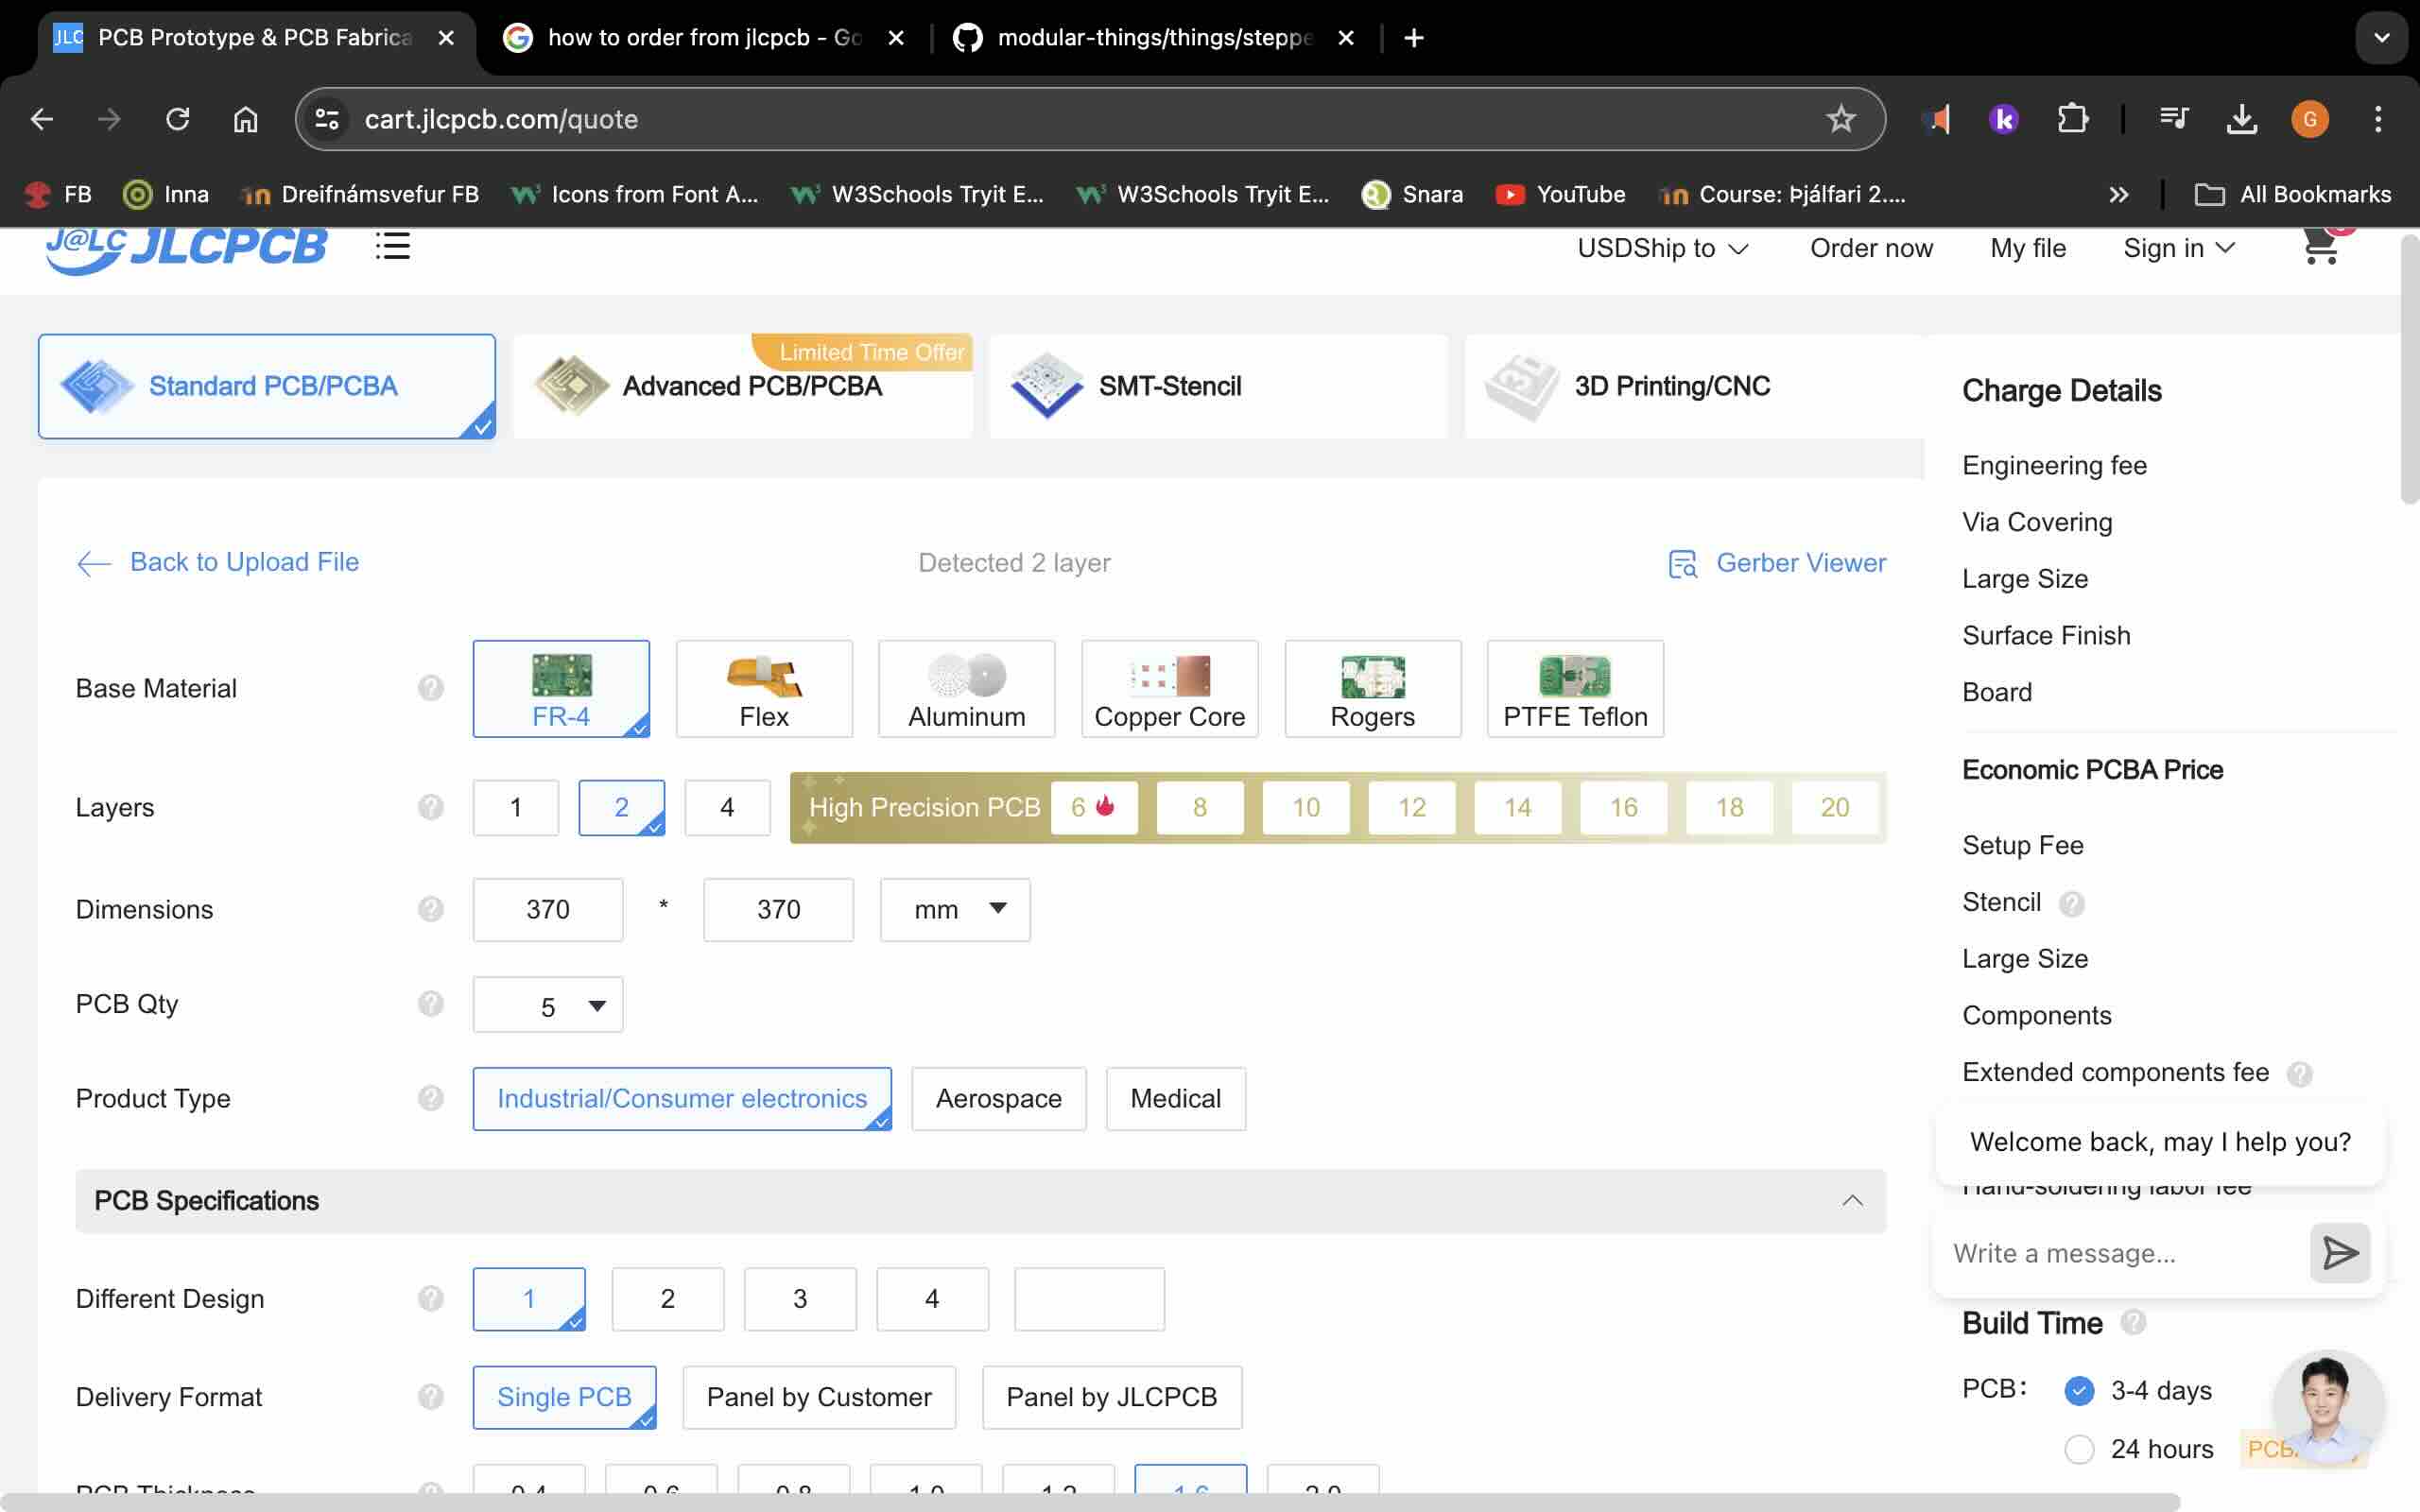
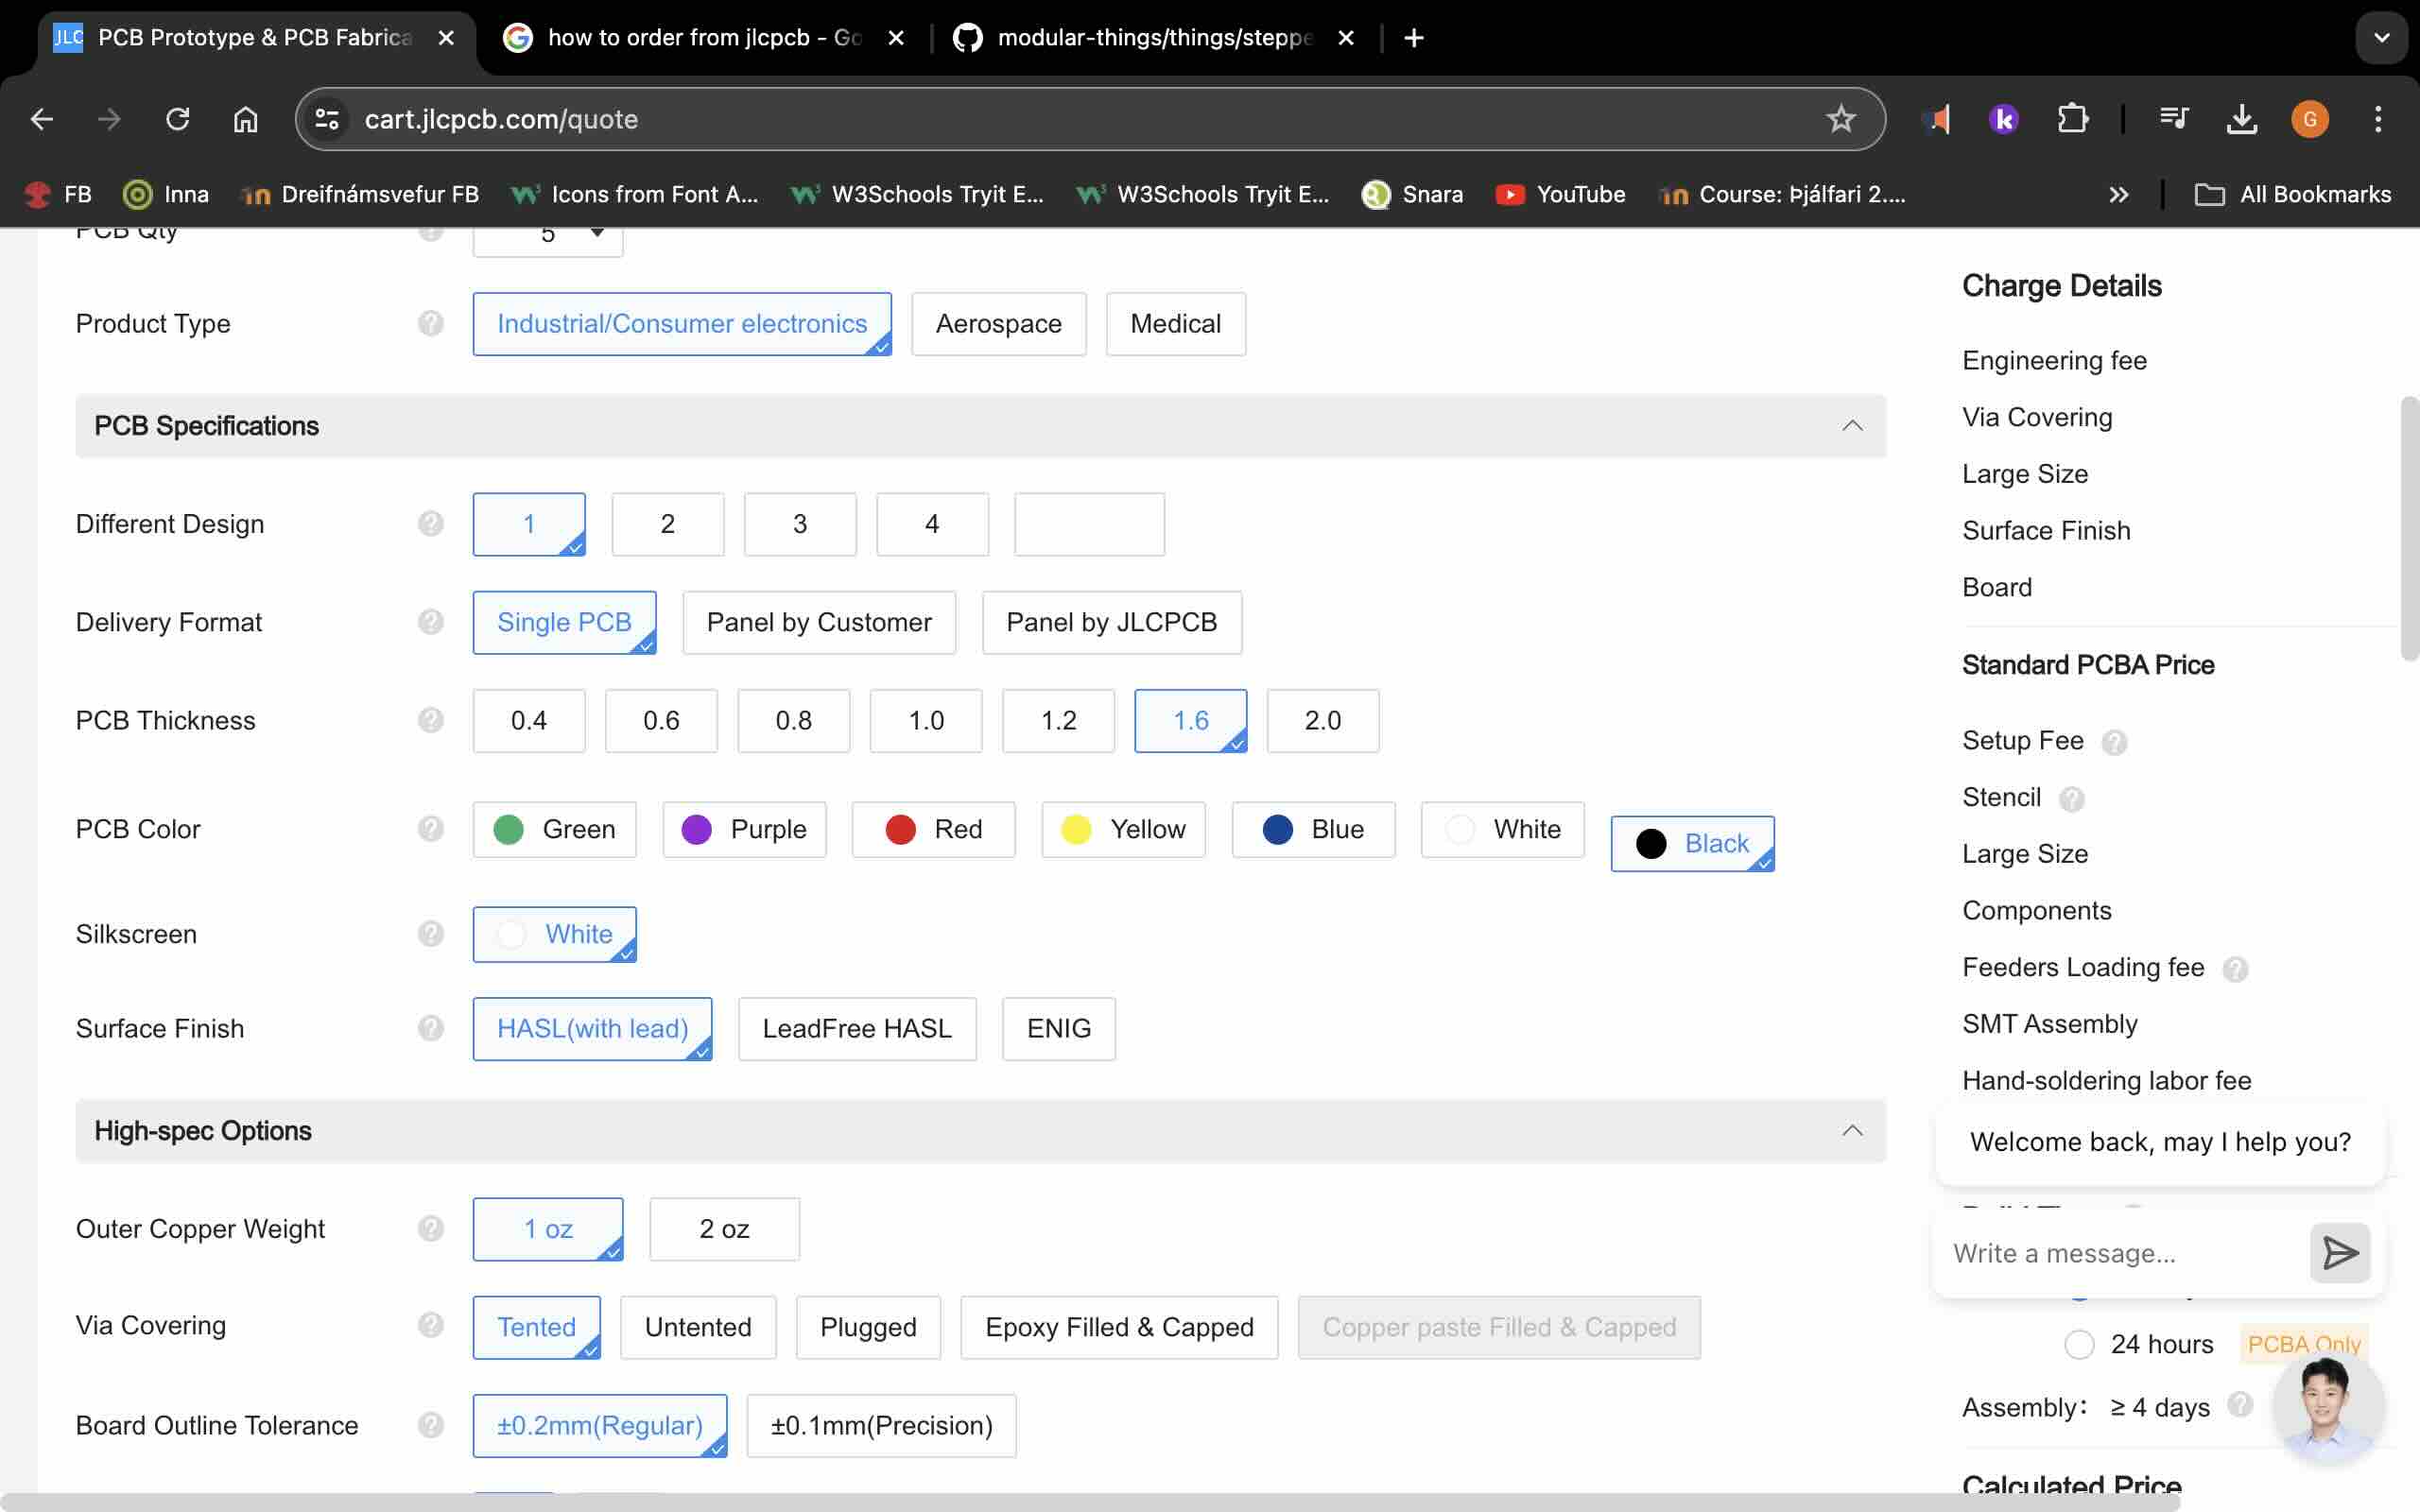
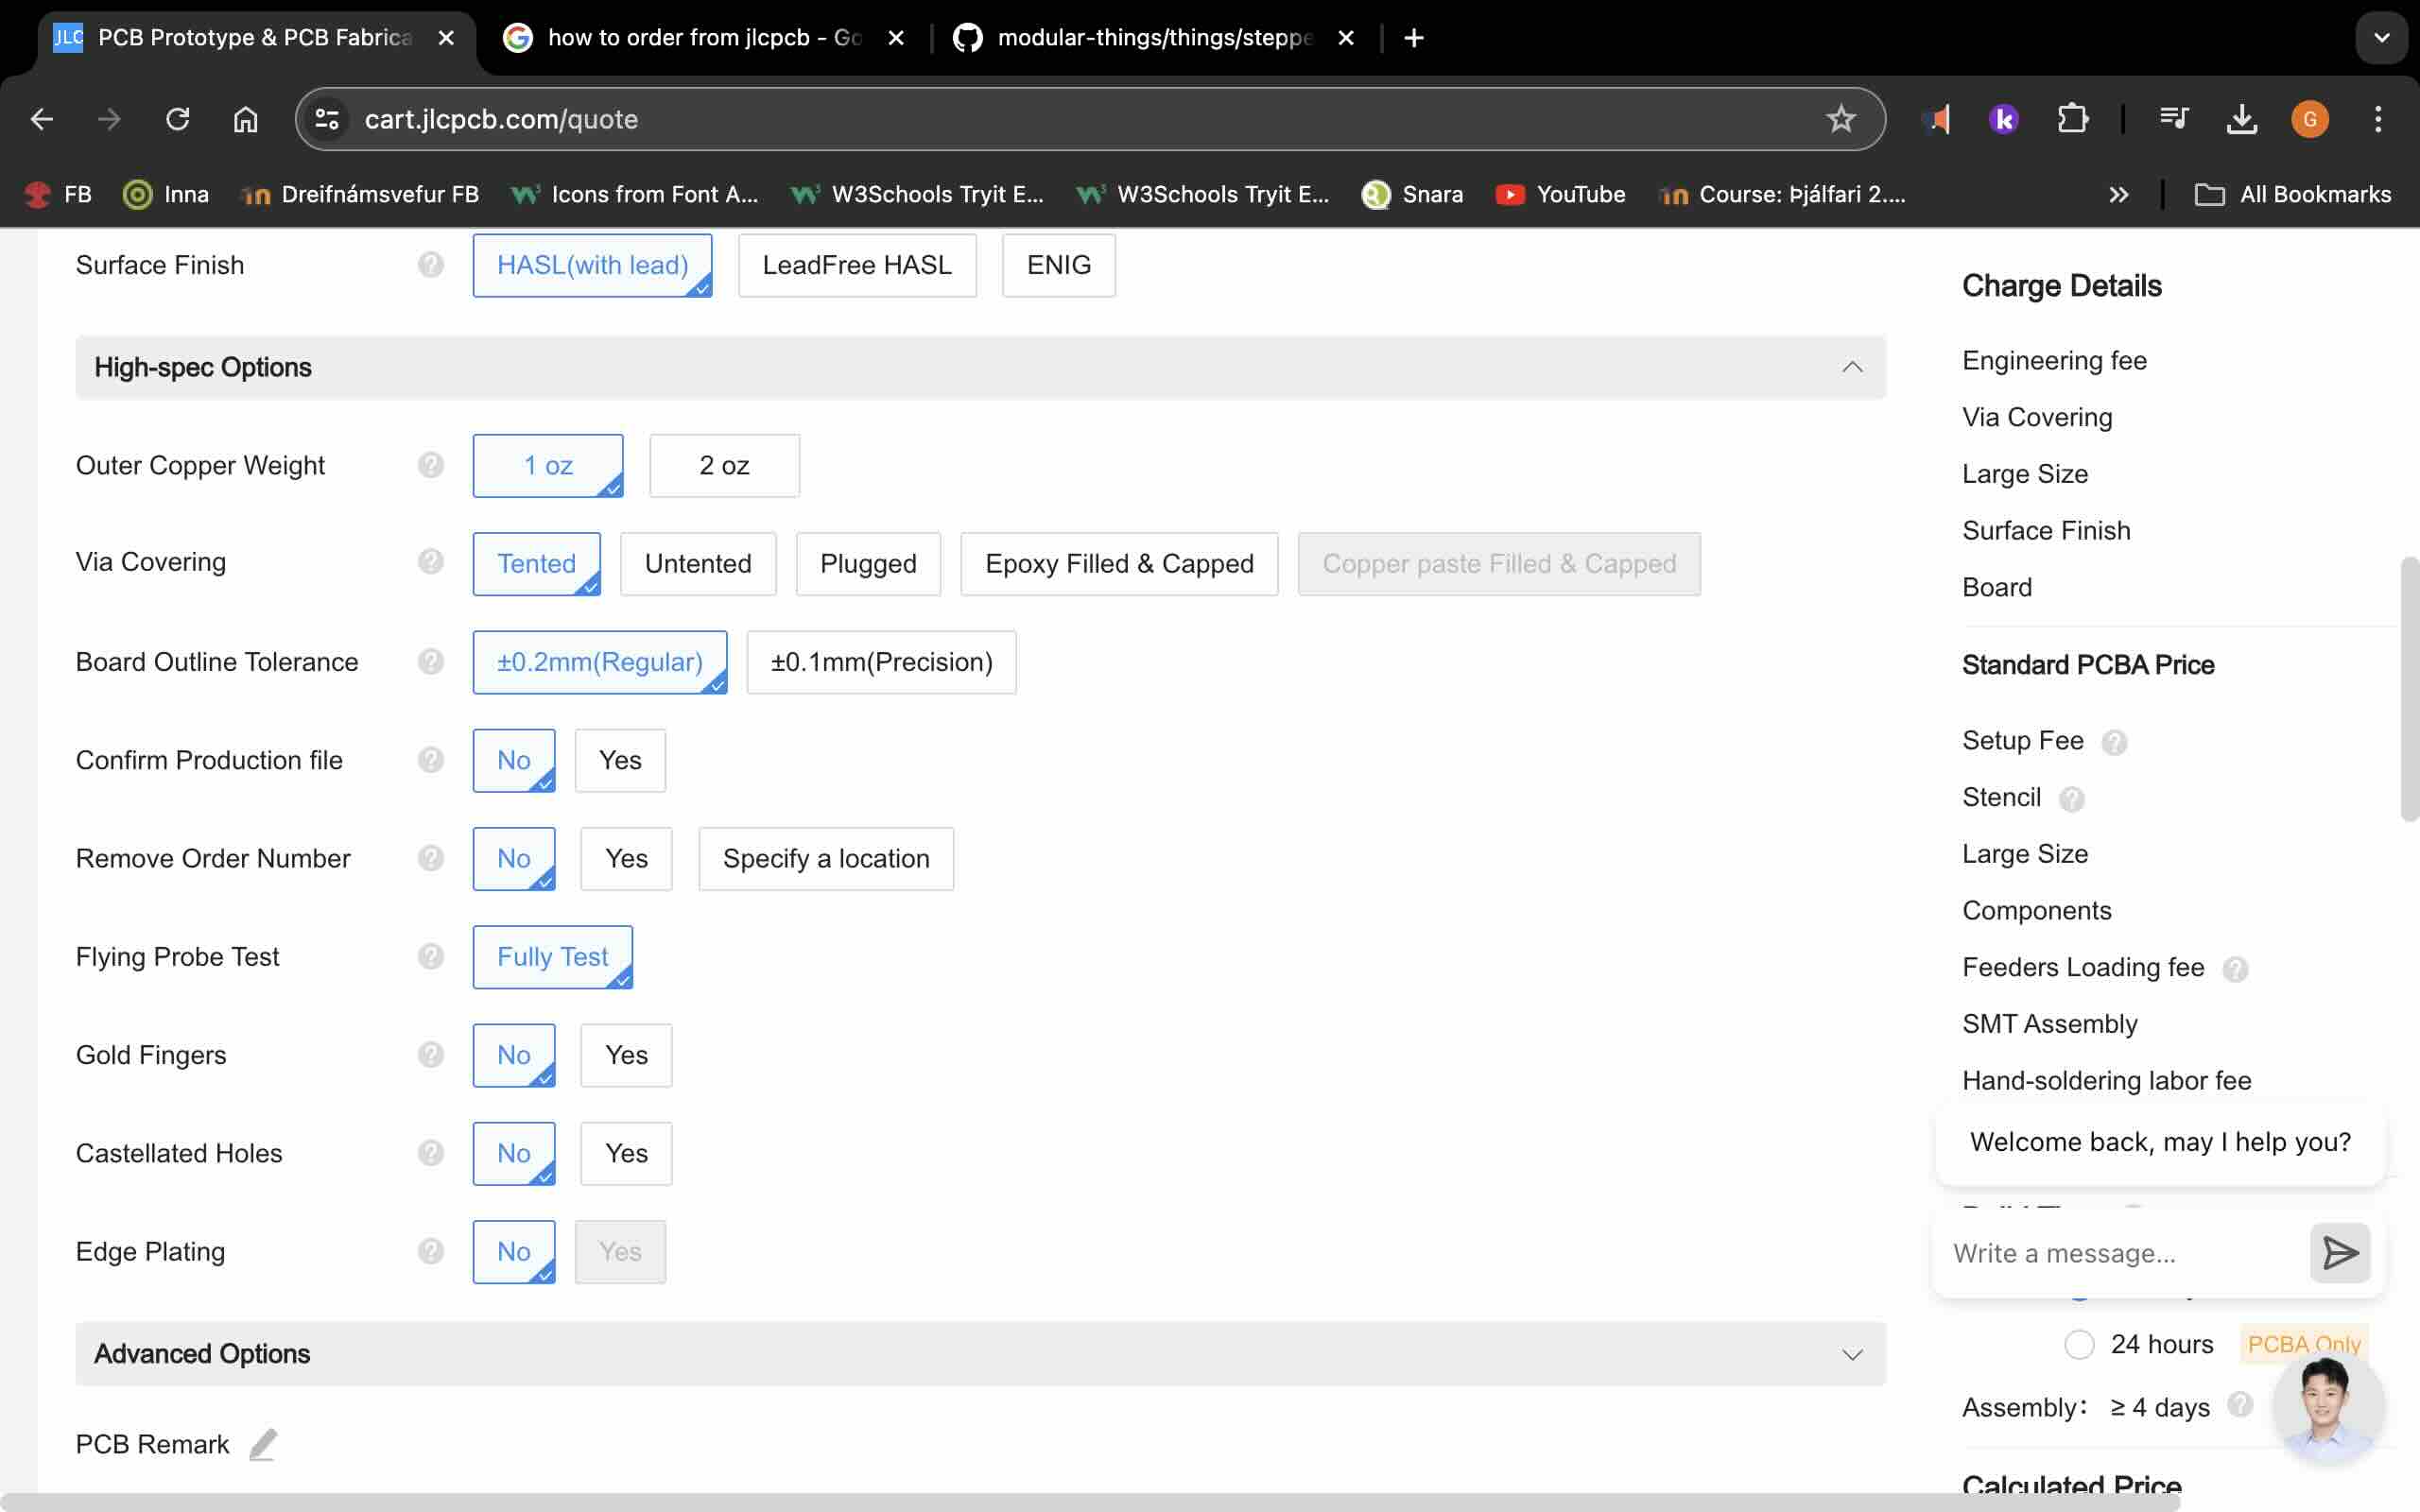
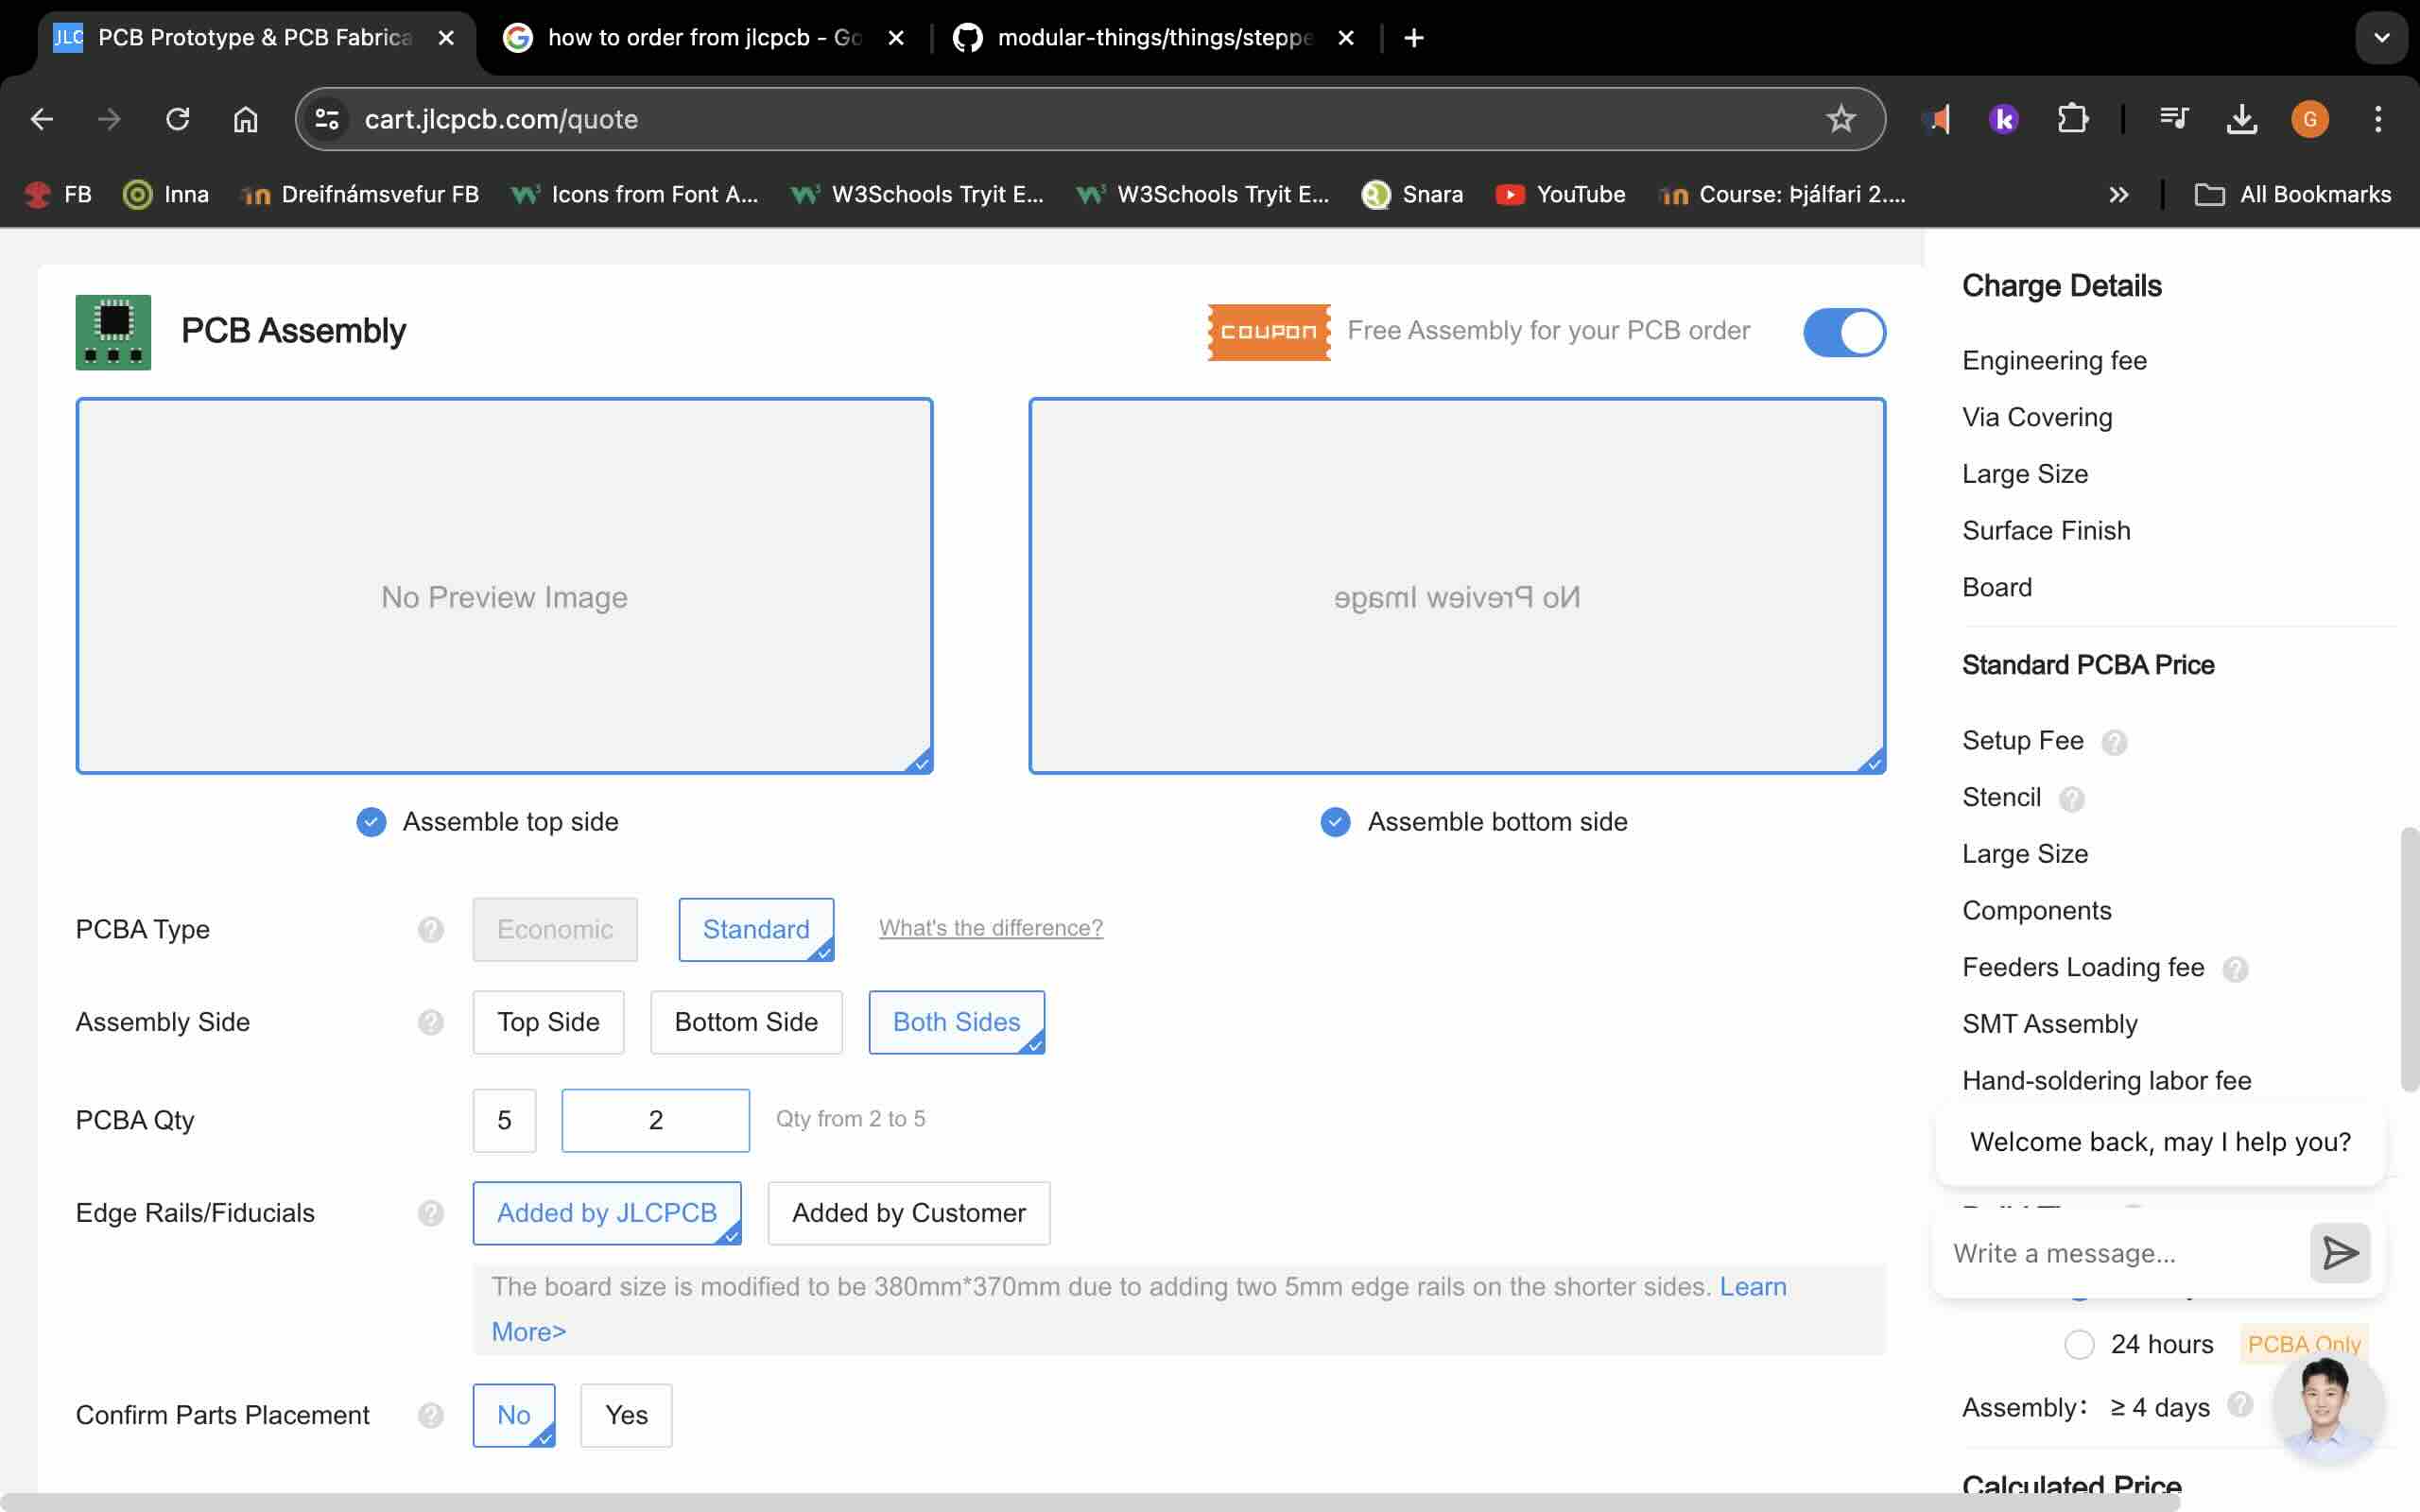
I went through the process of ordering a pcb from JLCPCB up until the point of actually placing the order.
I followed the instructions from JLCPCBs youtube video.
The settings I chose using the info in the video linked above.
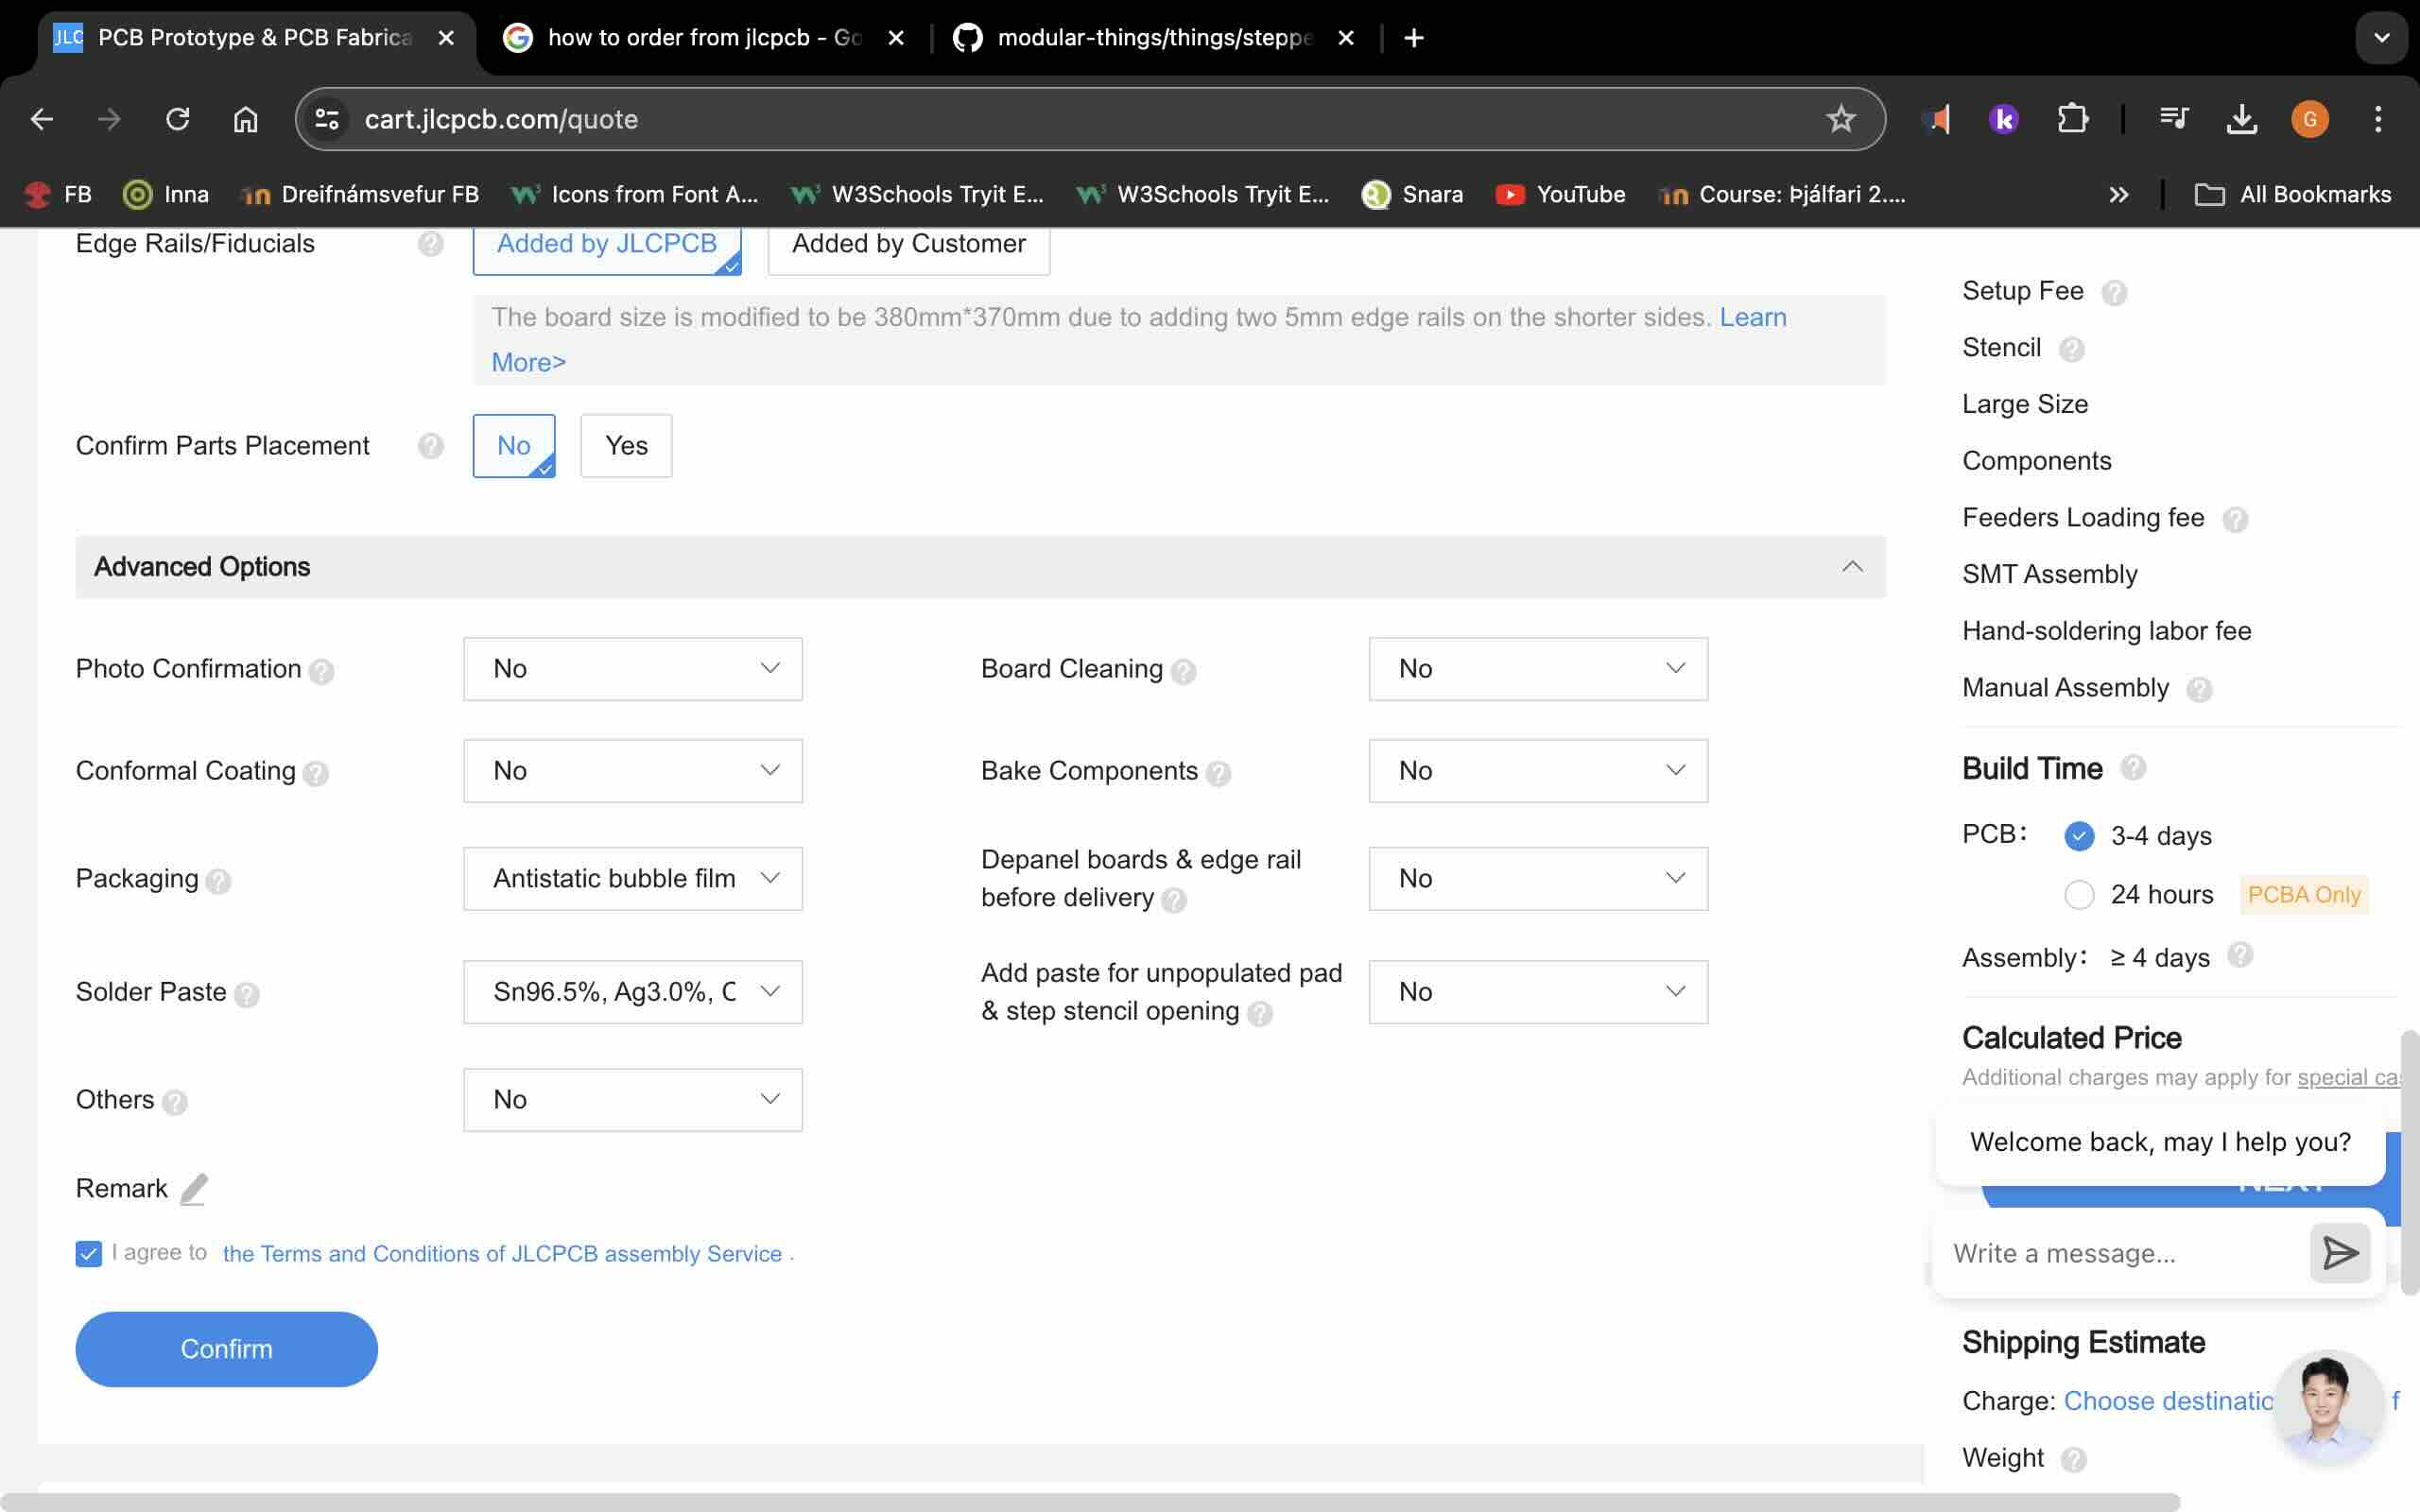
Error code
I didnt get the image of the board.
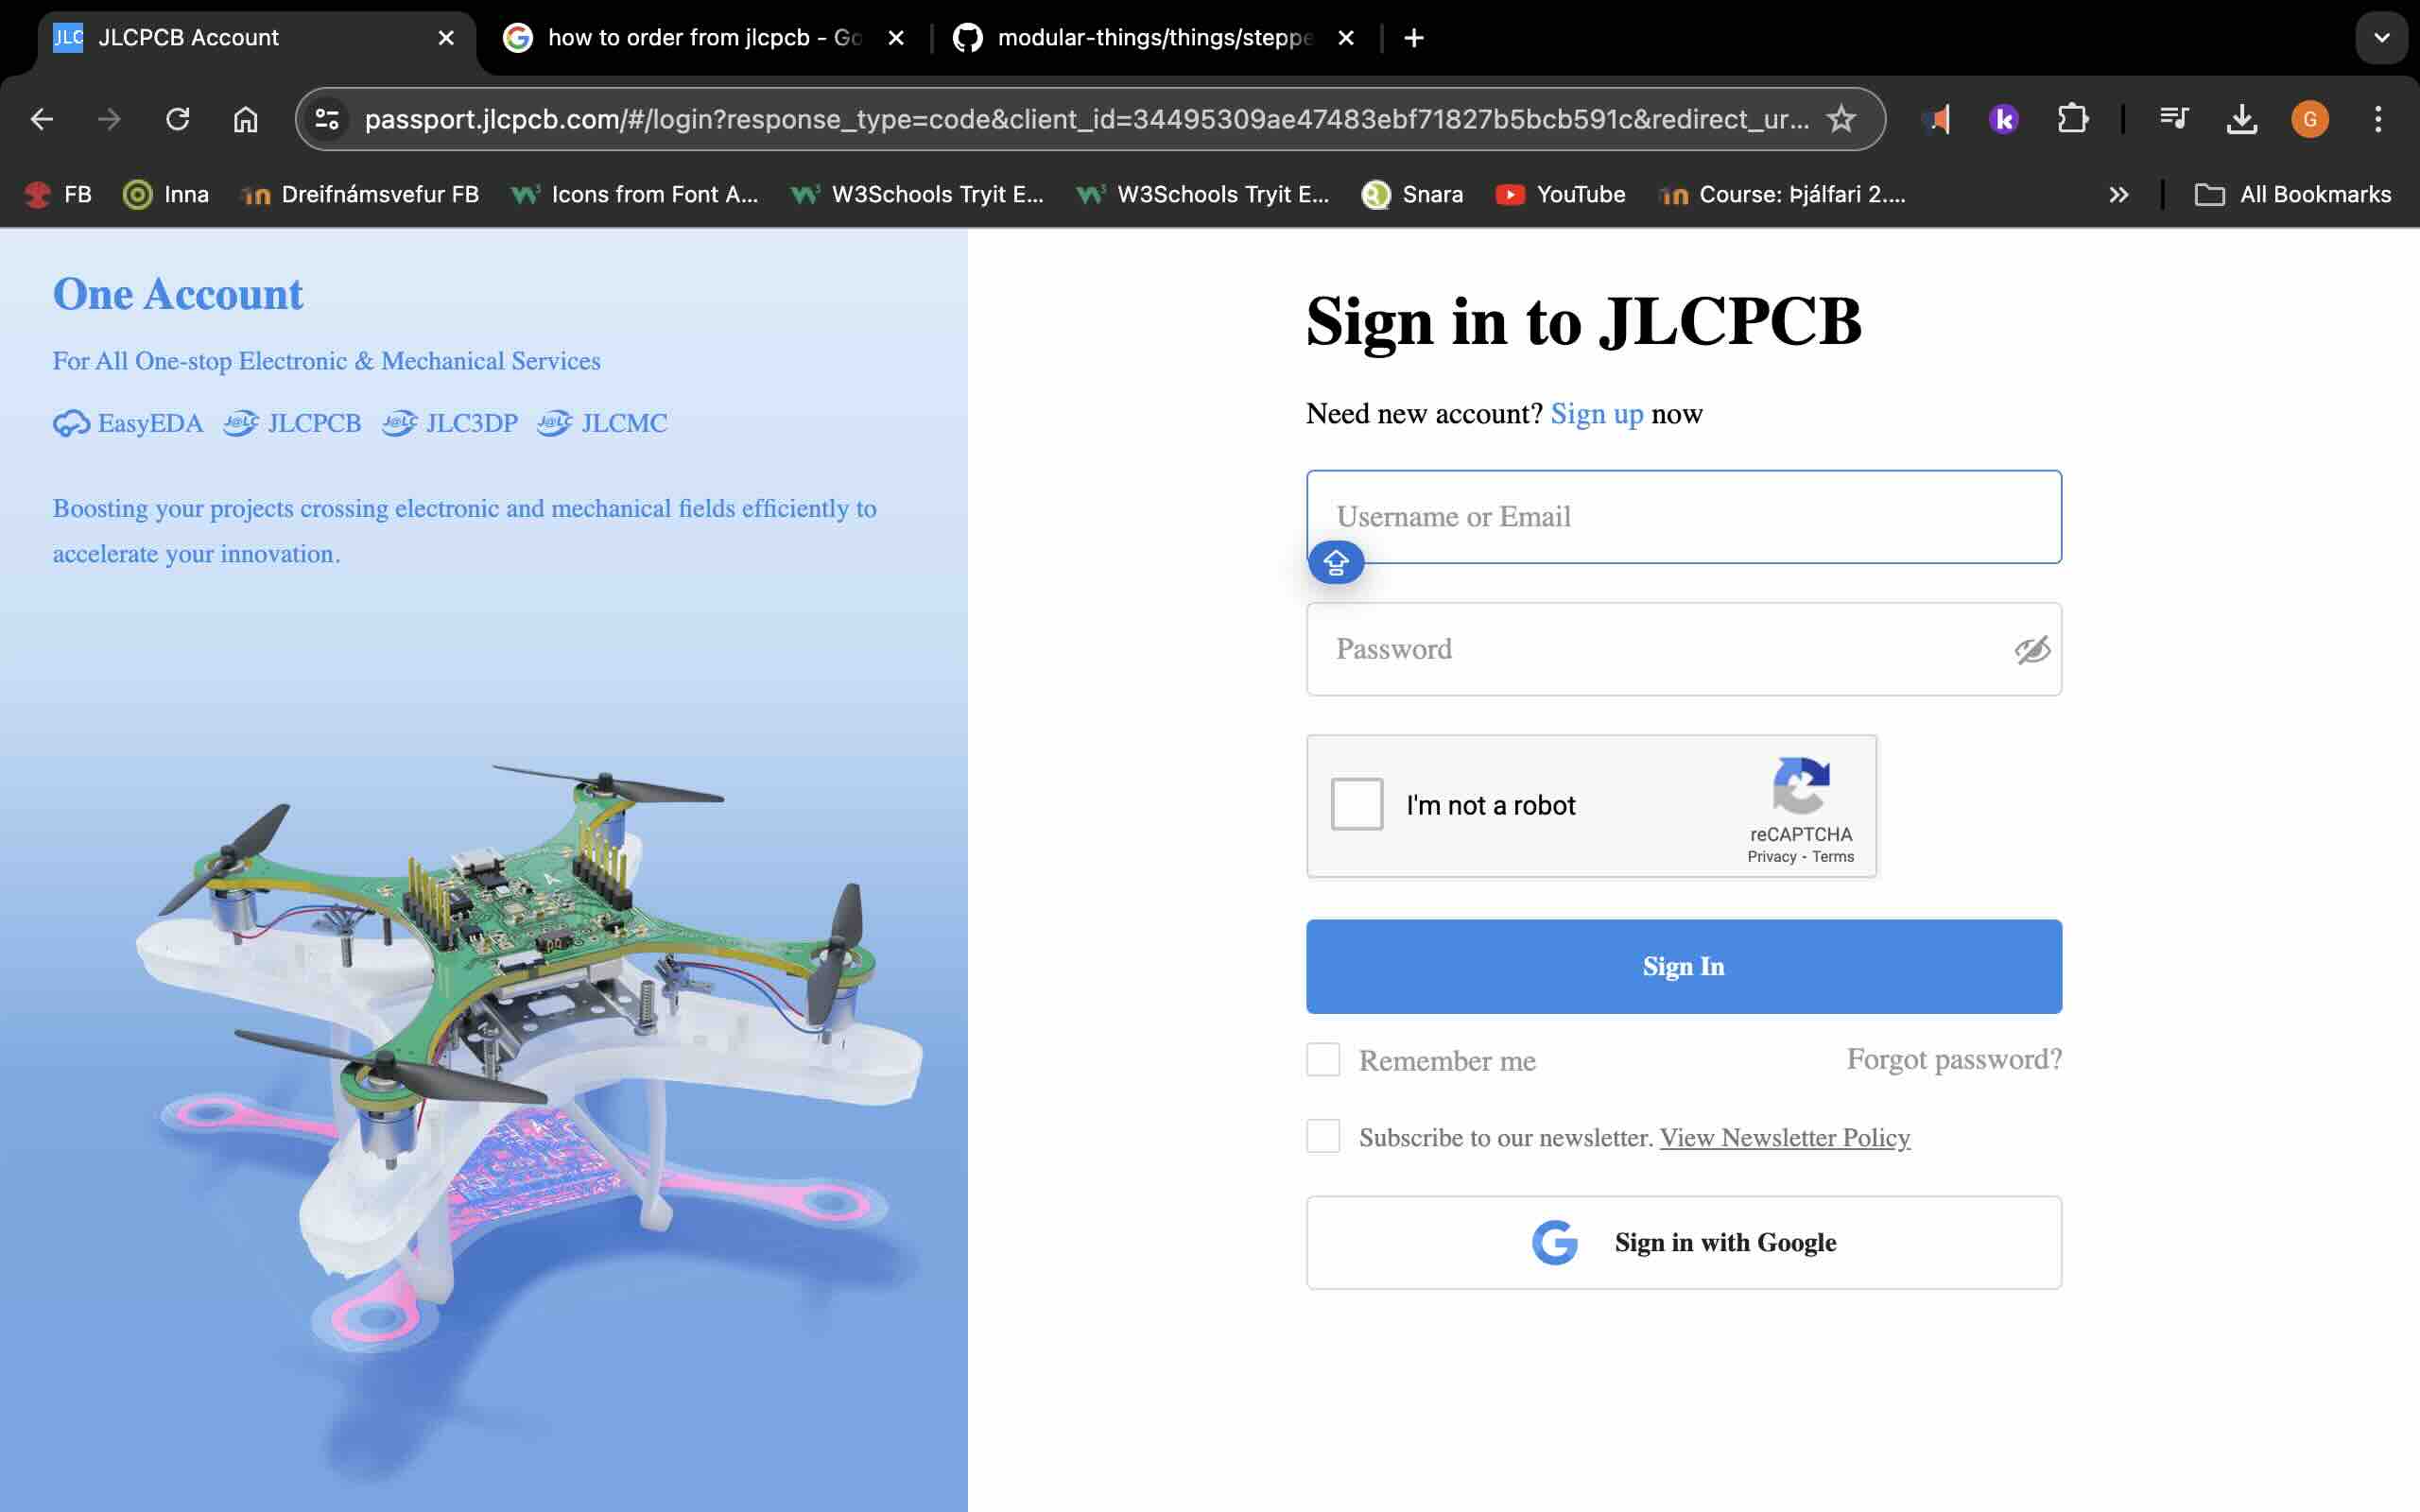
How to confirm order
When you are not signed in this is how you order. Order page.
Summary
Making the first board went well, I only changed minor things on it like putting my initials. When we were ready to make it we found out that the FabLab didnt have all the things needed to make the board. Then I made a board like Robert made since we had the electronics for it. That board was a ATiny one. Soldering didnt go as well as I hoped since I had lots of seizures that week and my hands were shaking. So some of them I had to redo.
Then we made a Measuring board. I made some mistakes on that one so I had to redo it. I fixed the issue by making sure the DPI was 1000. I then went through the process of making a order at a board house up to finishing and paying. The process was really simple but the preview image never loaded.


.jpg)


