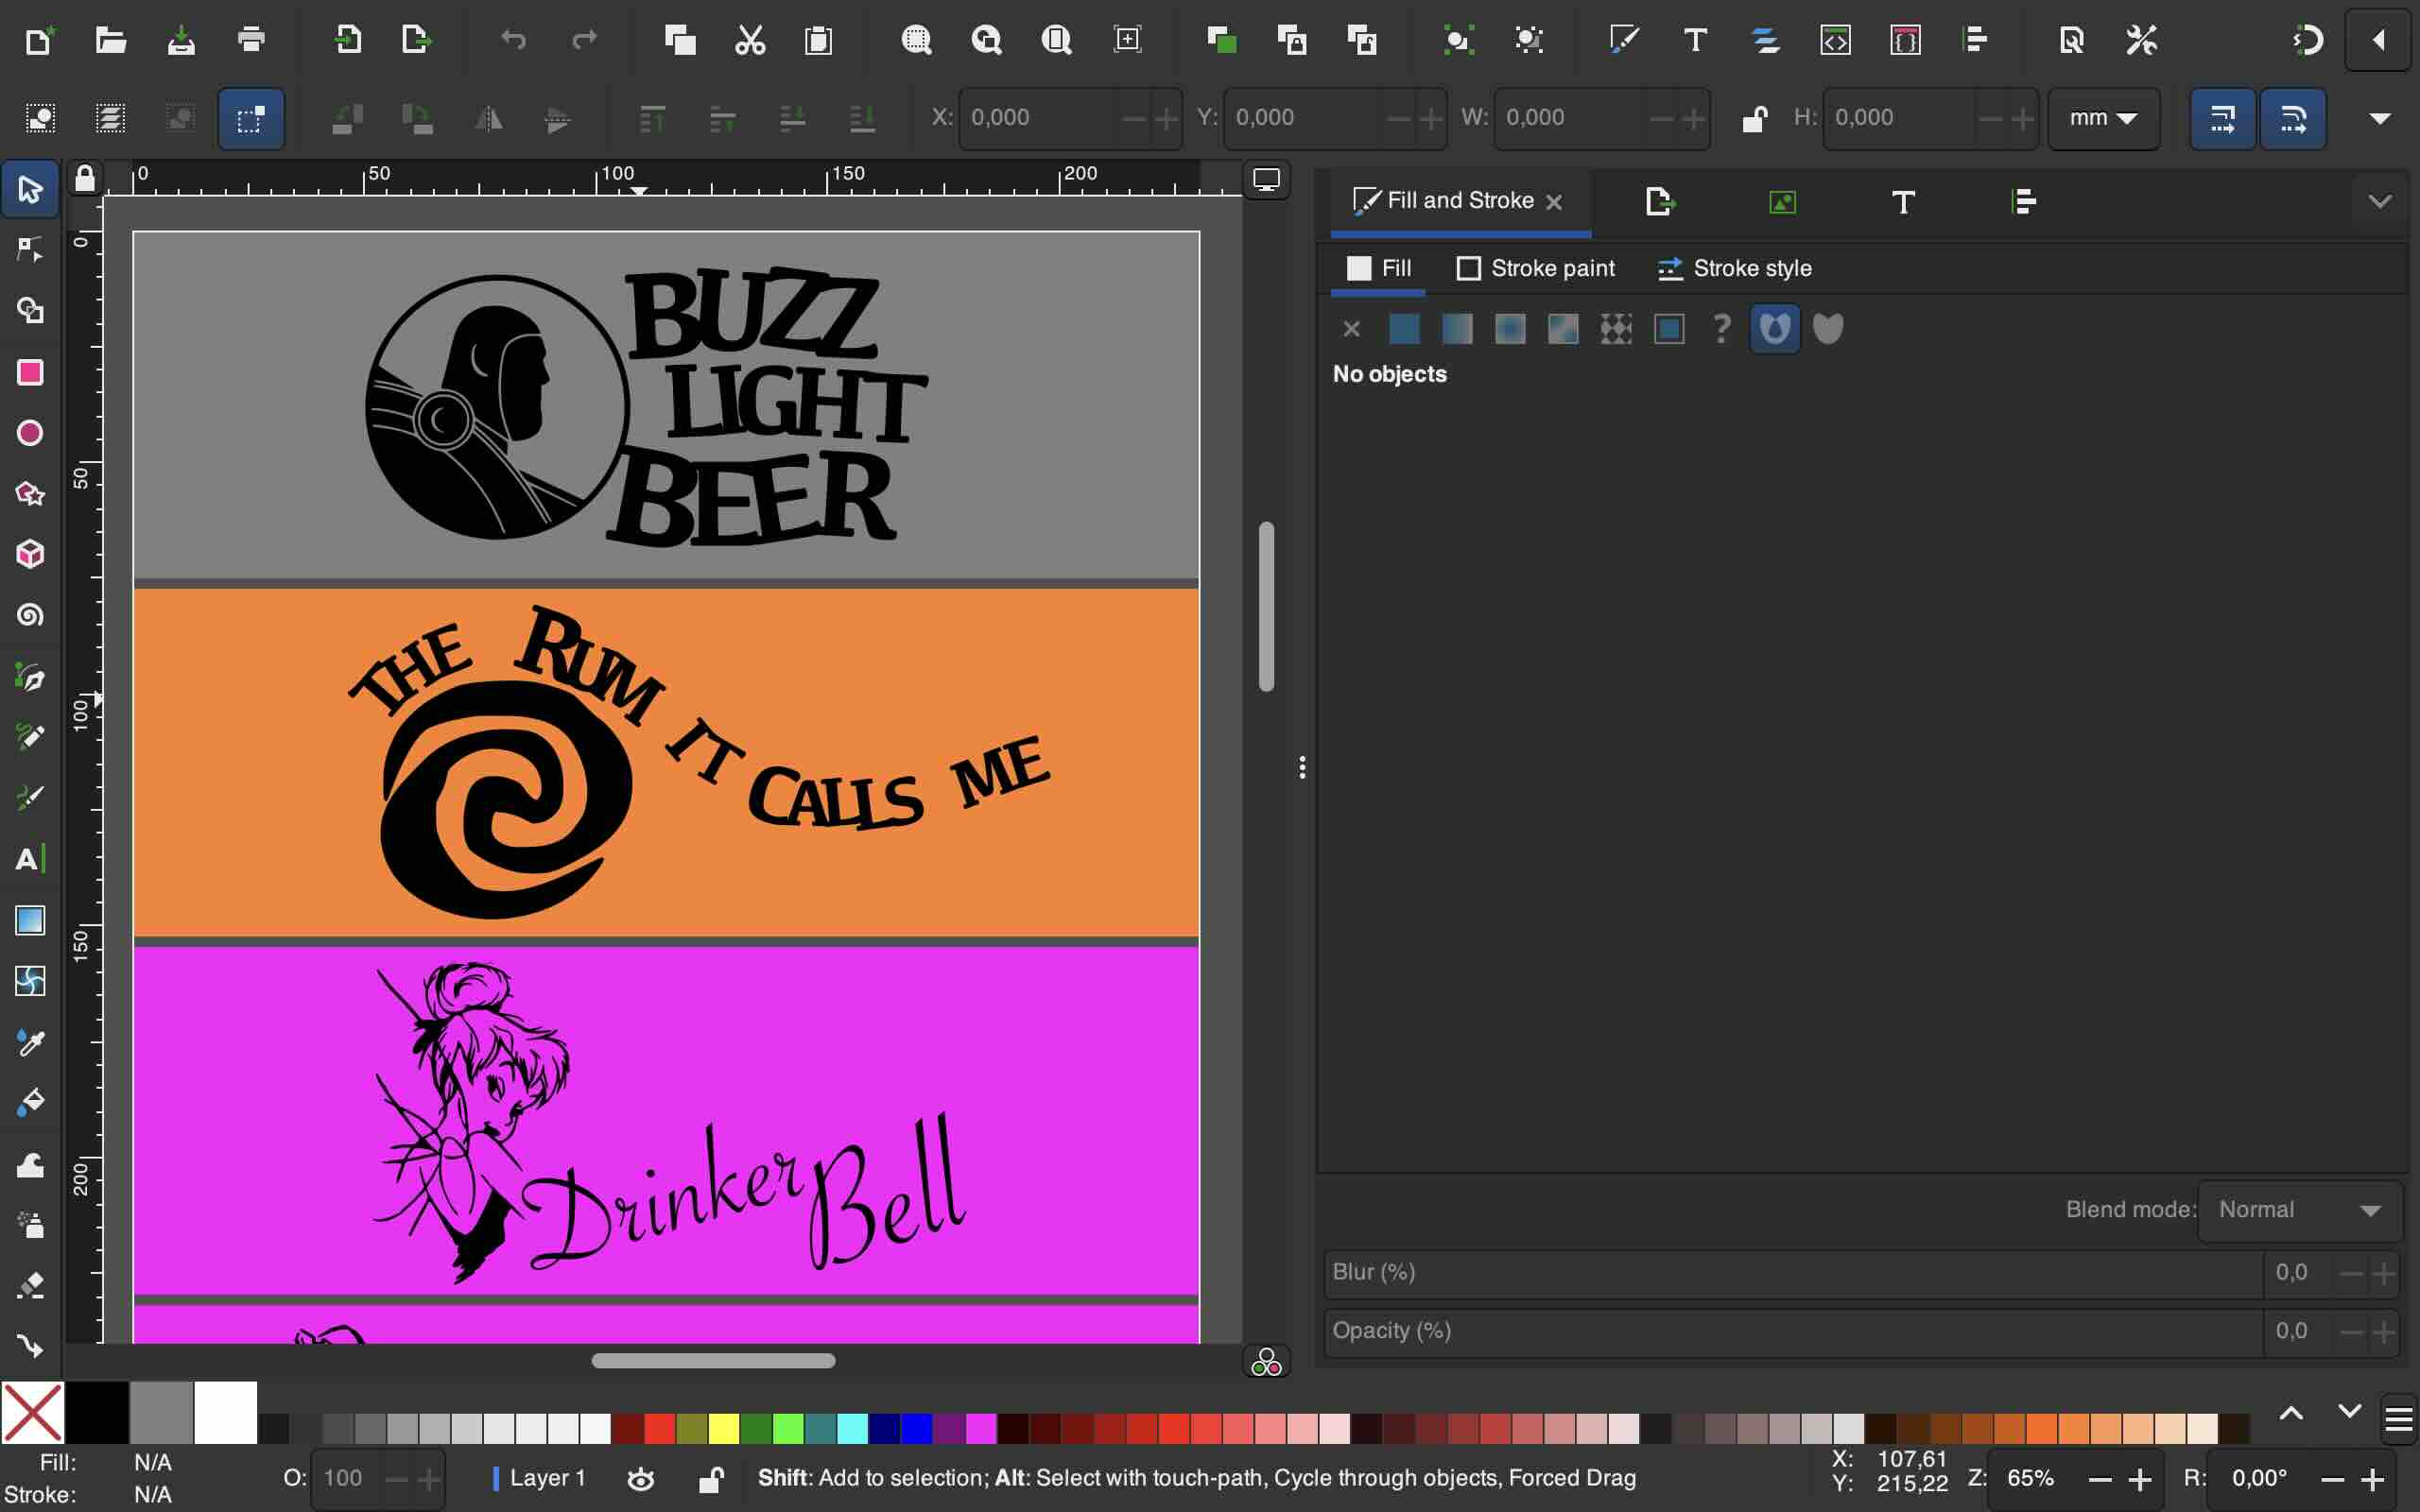
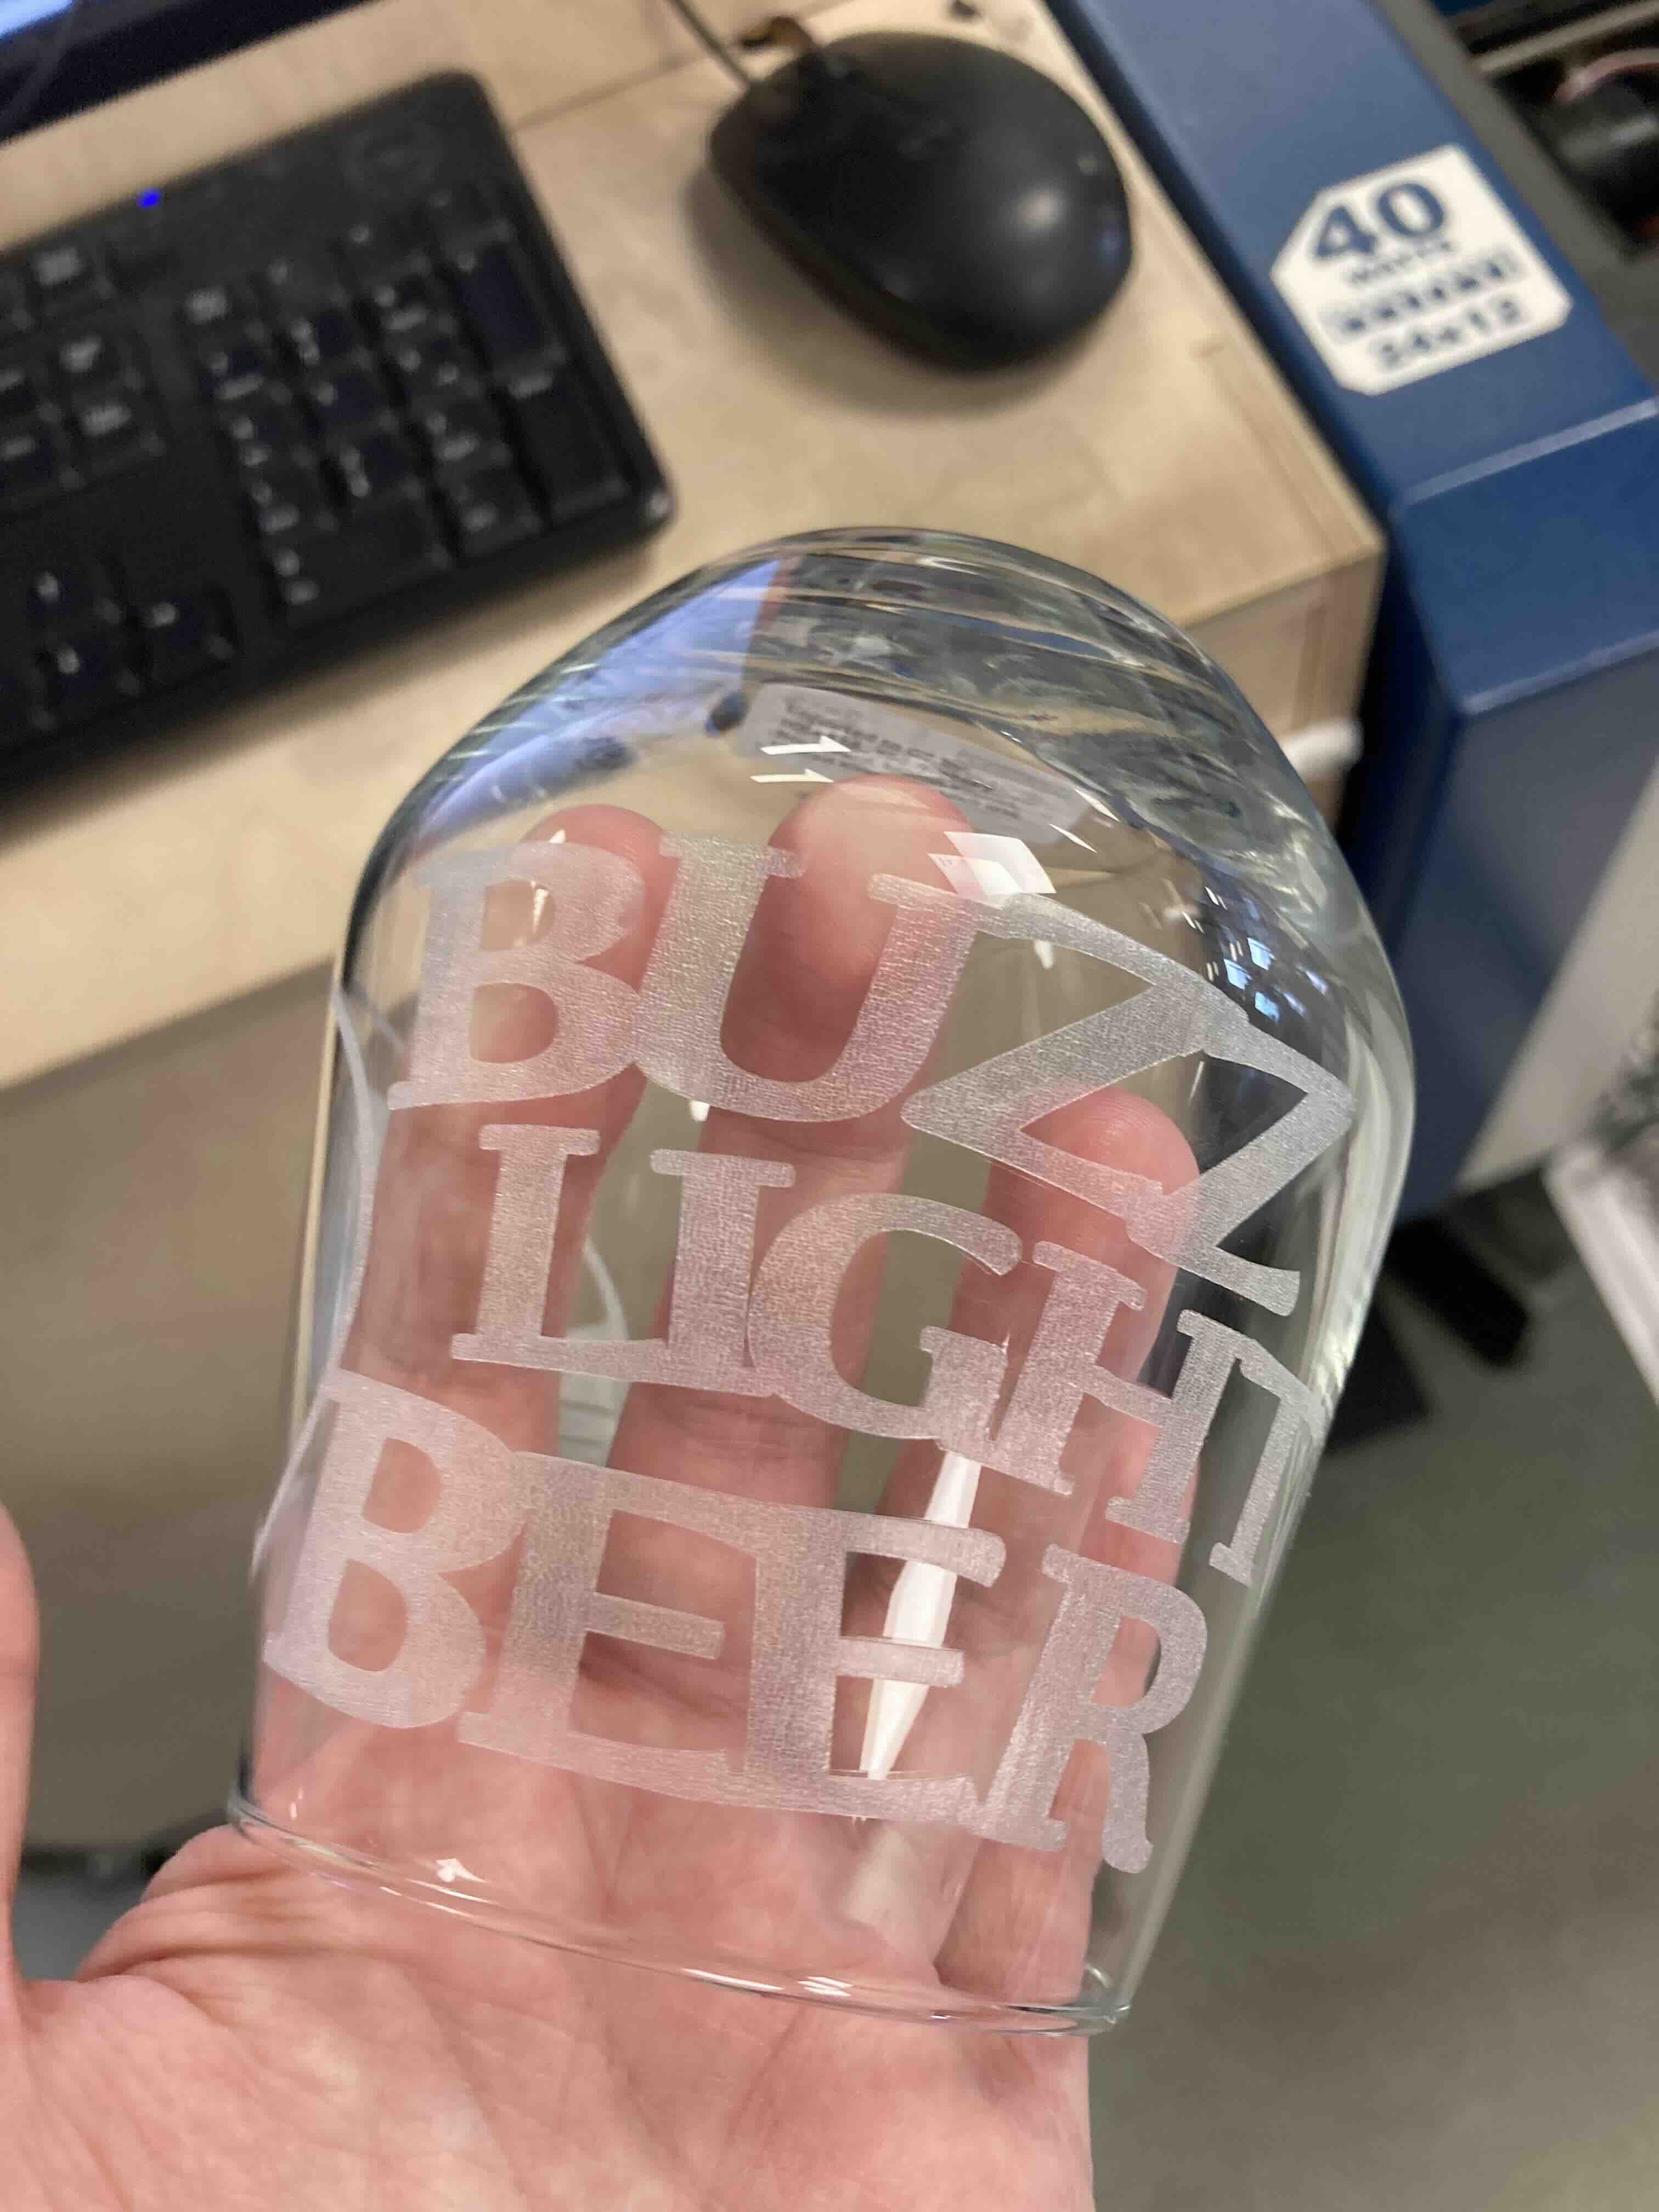
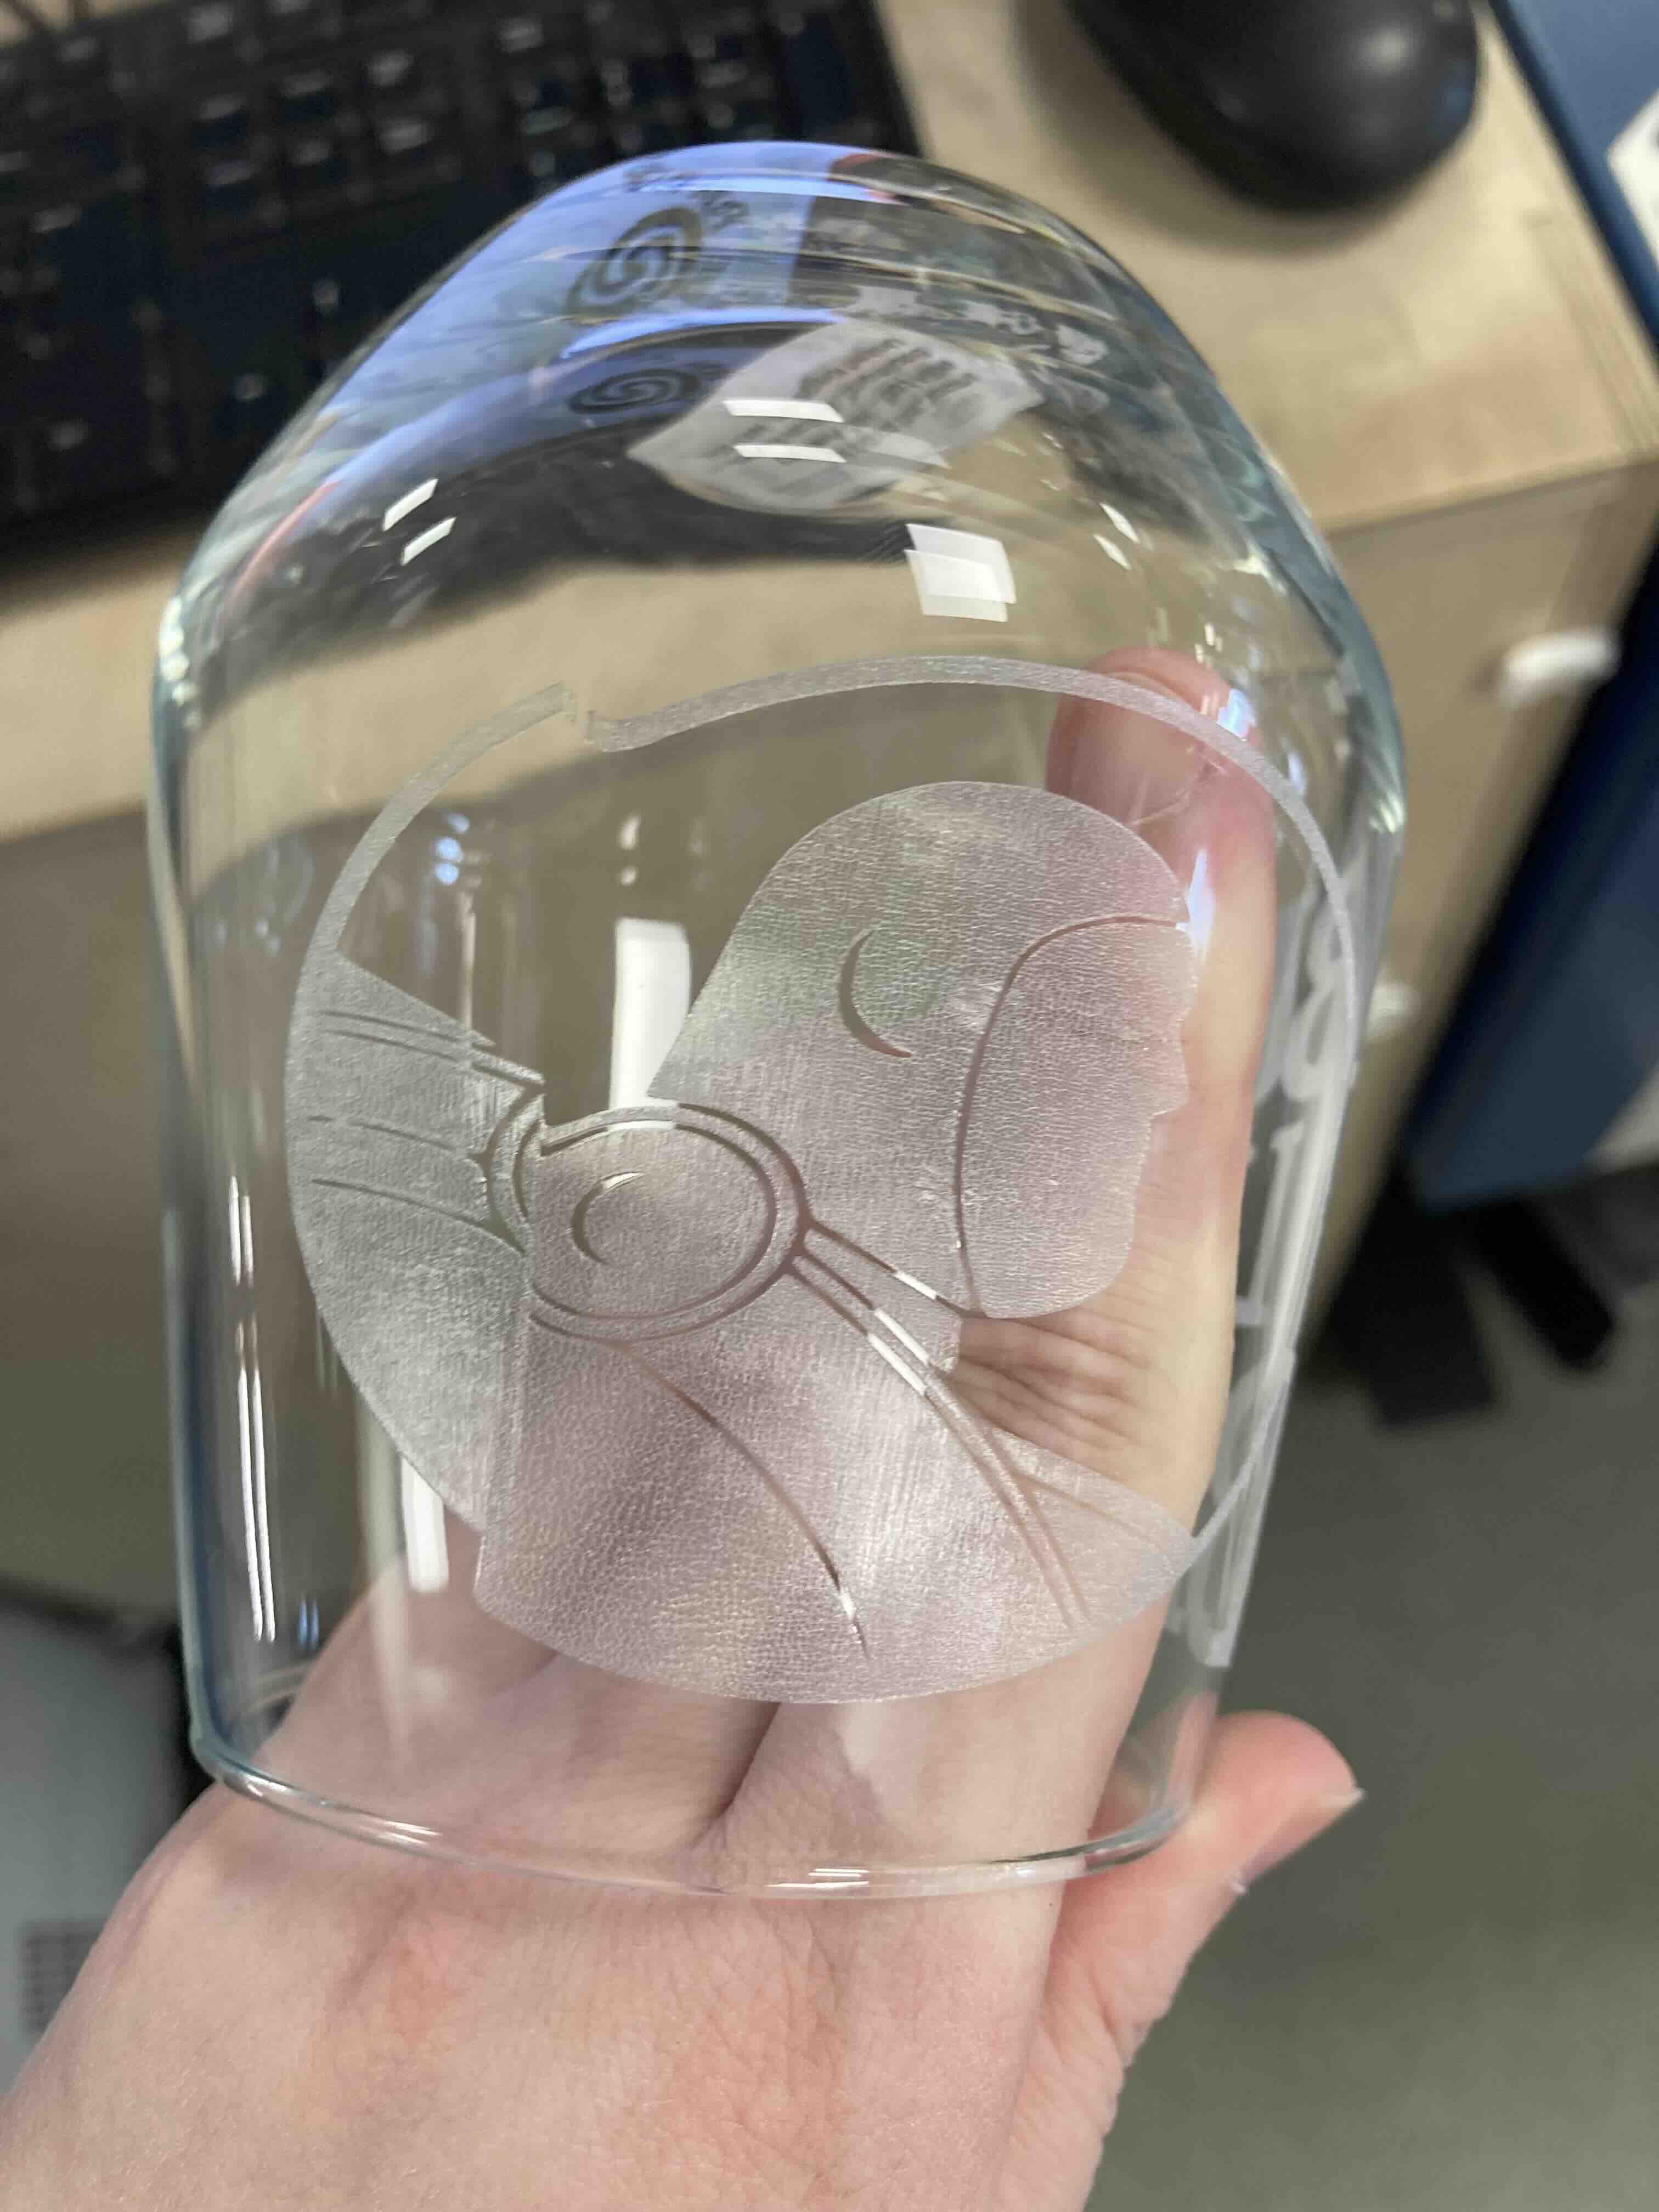
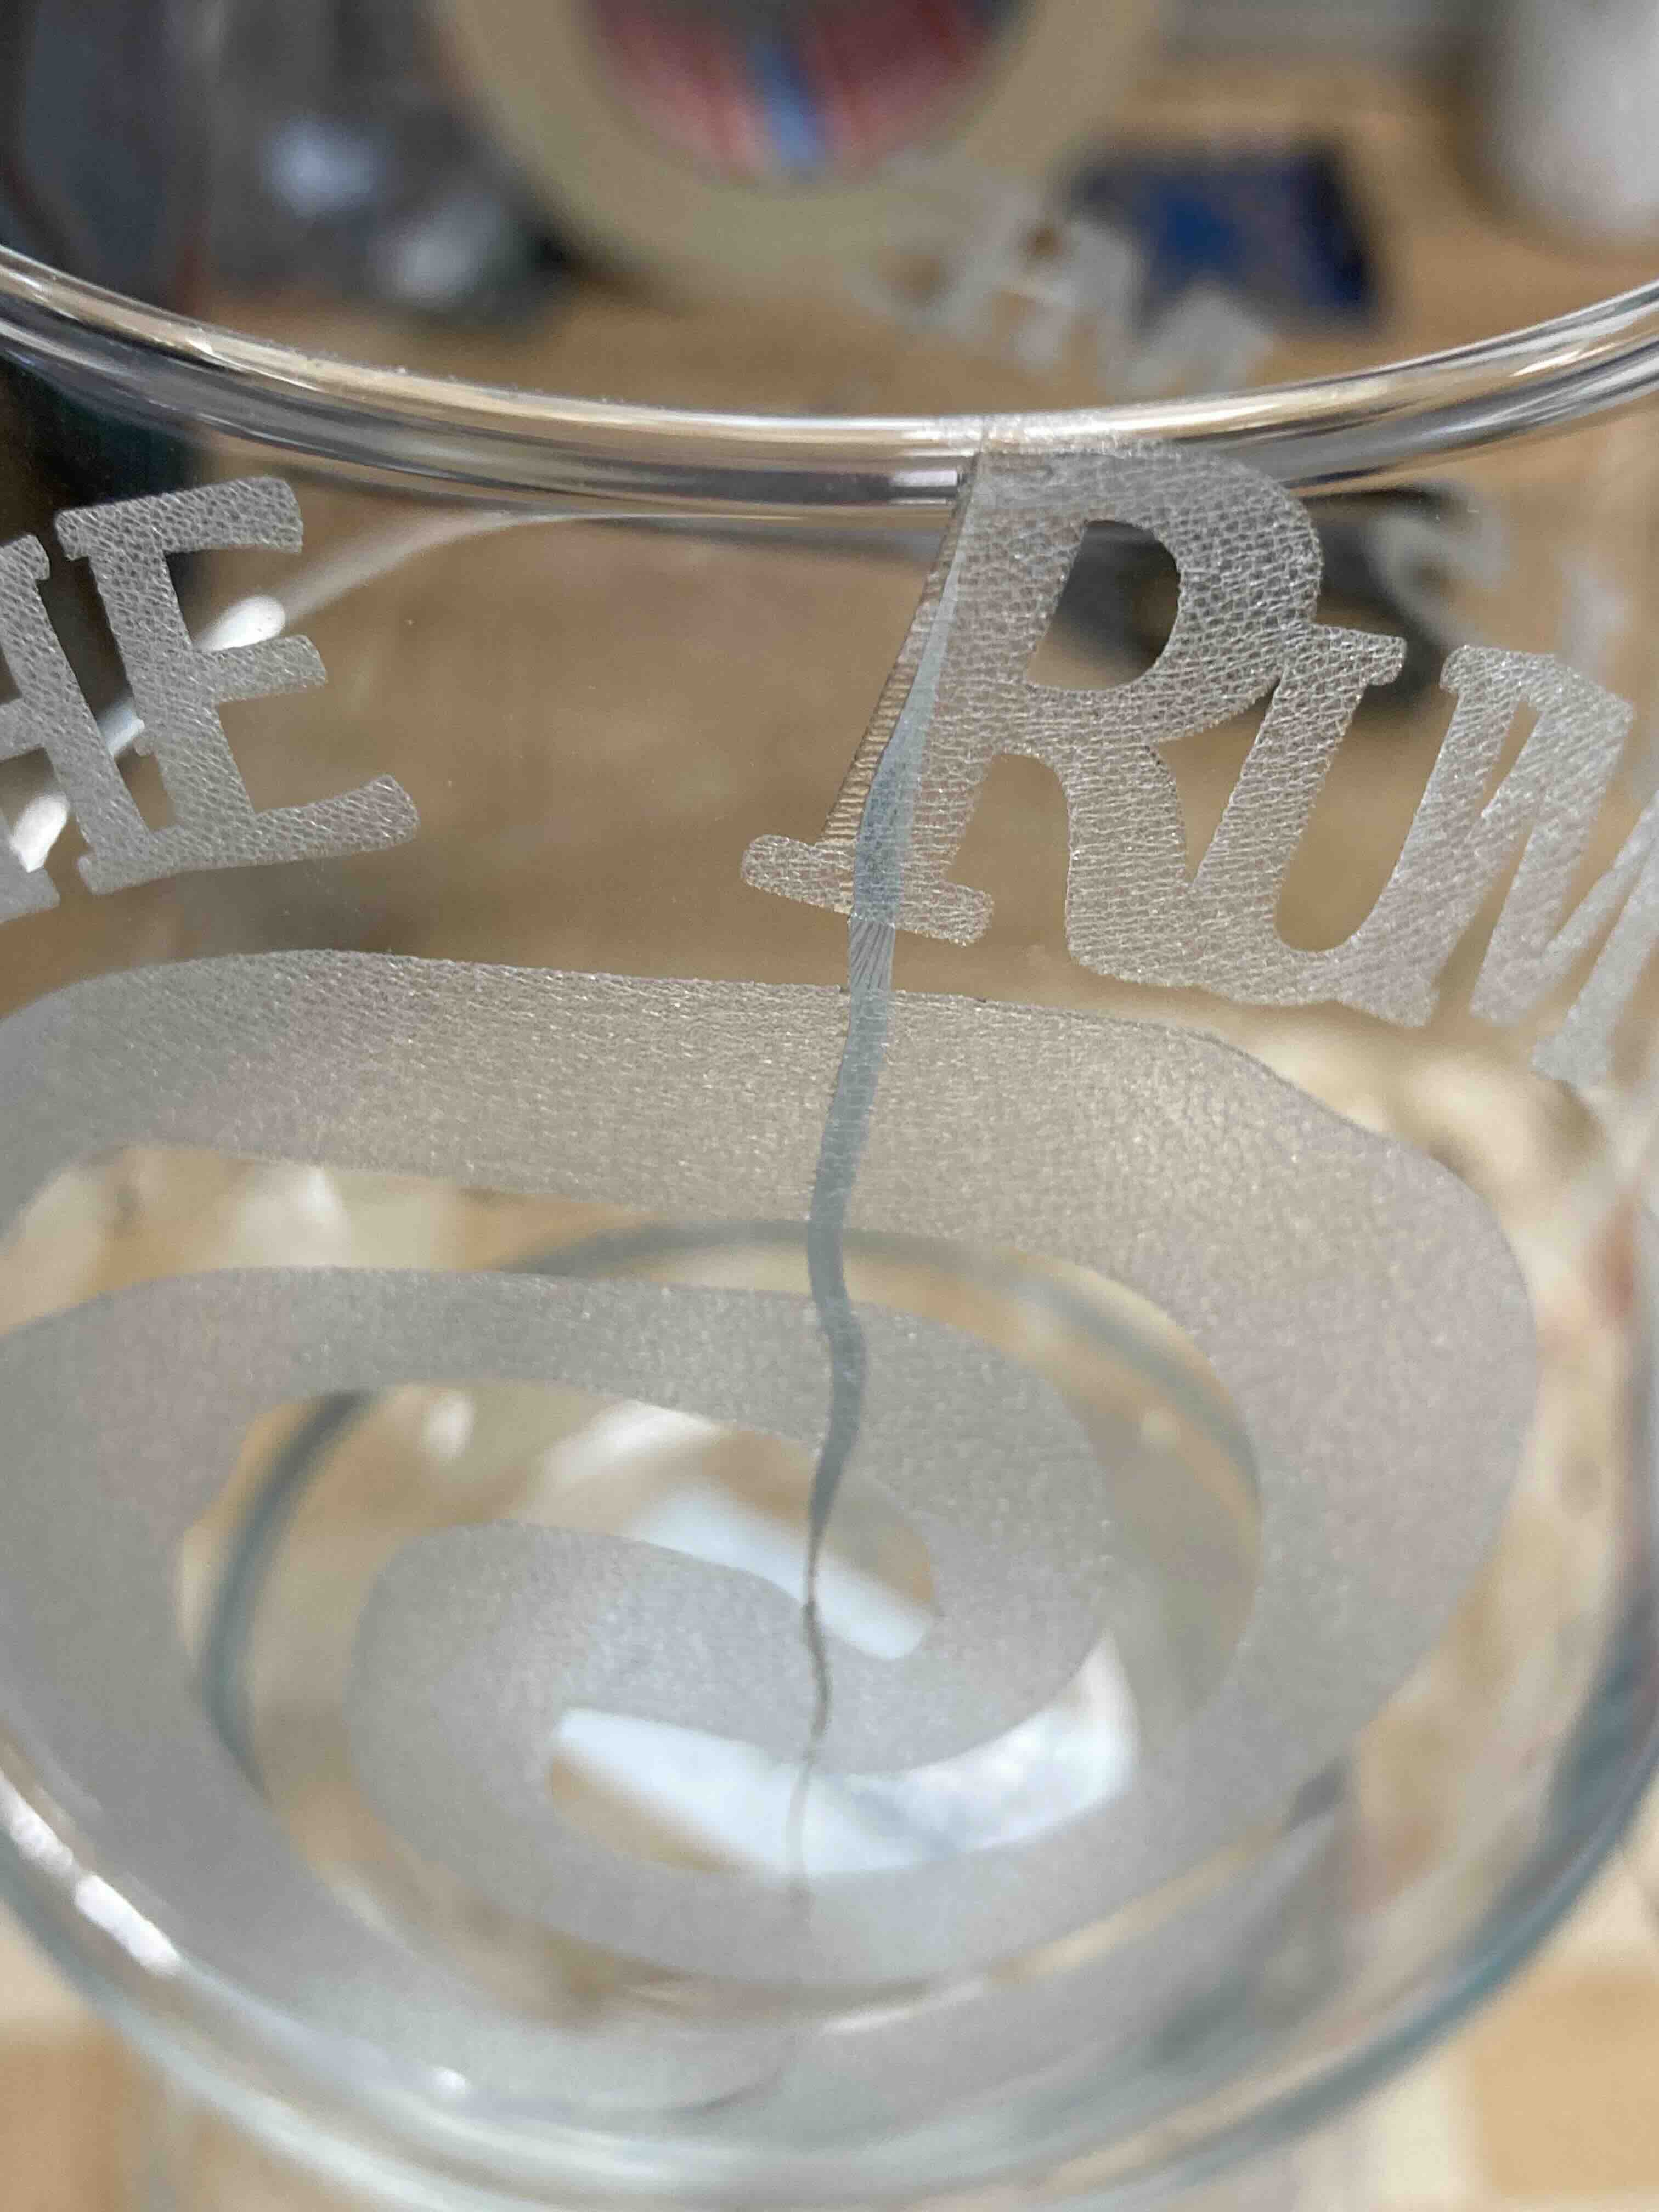
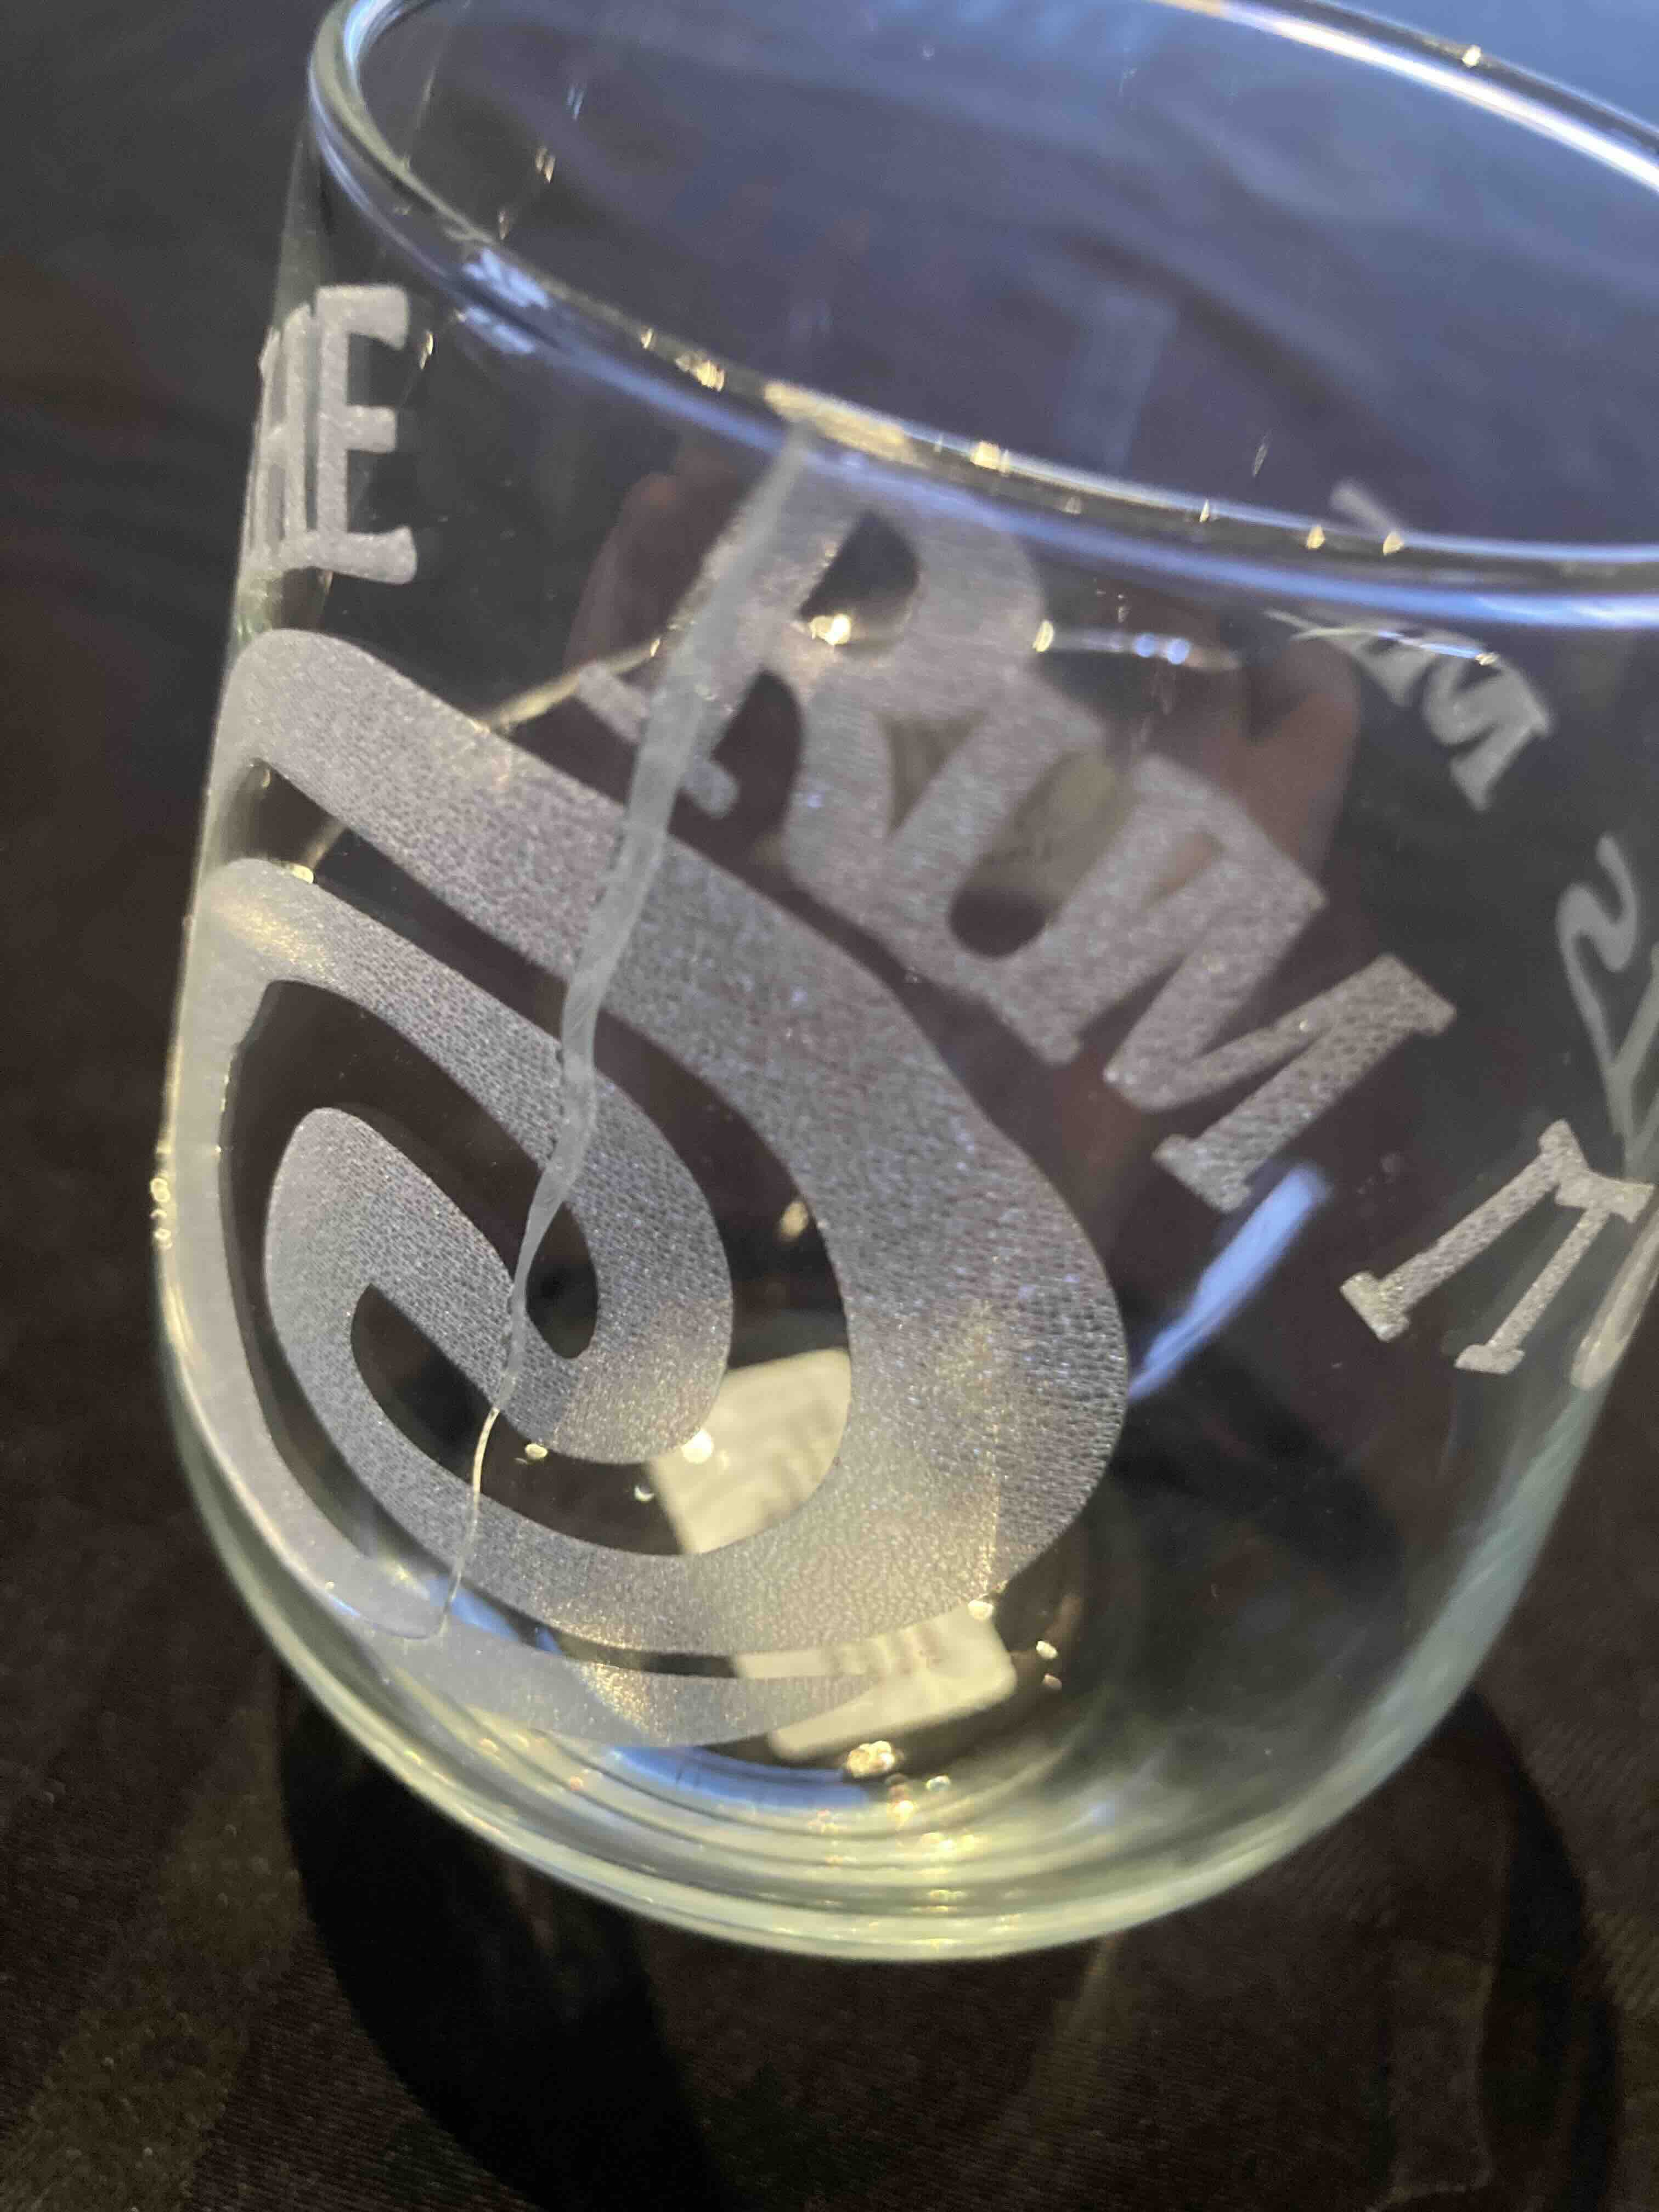
I used Inkscape to make the design that I edge in the glasses.
Lasercutter: Glass edging
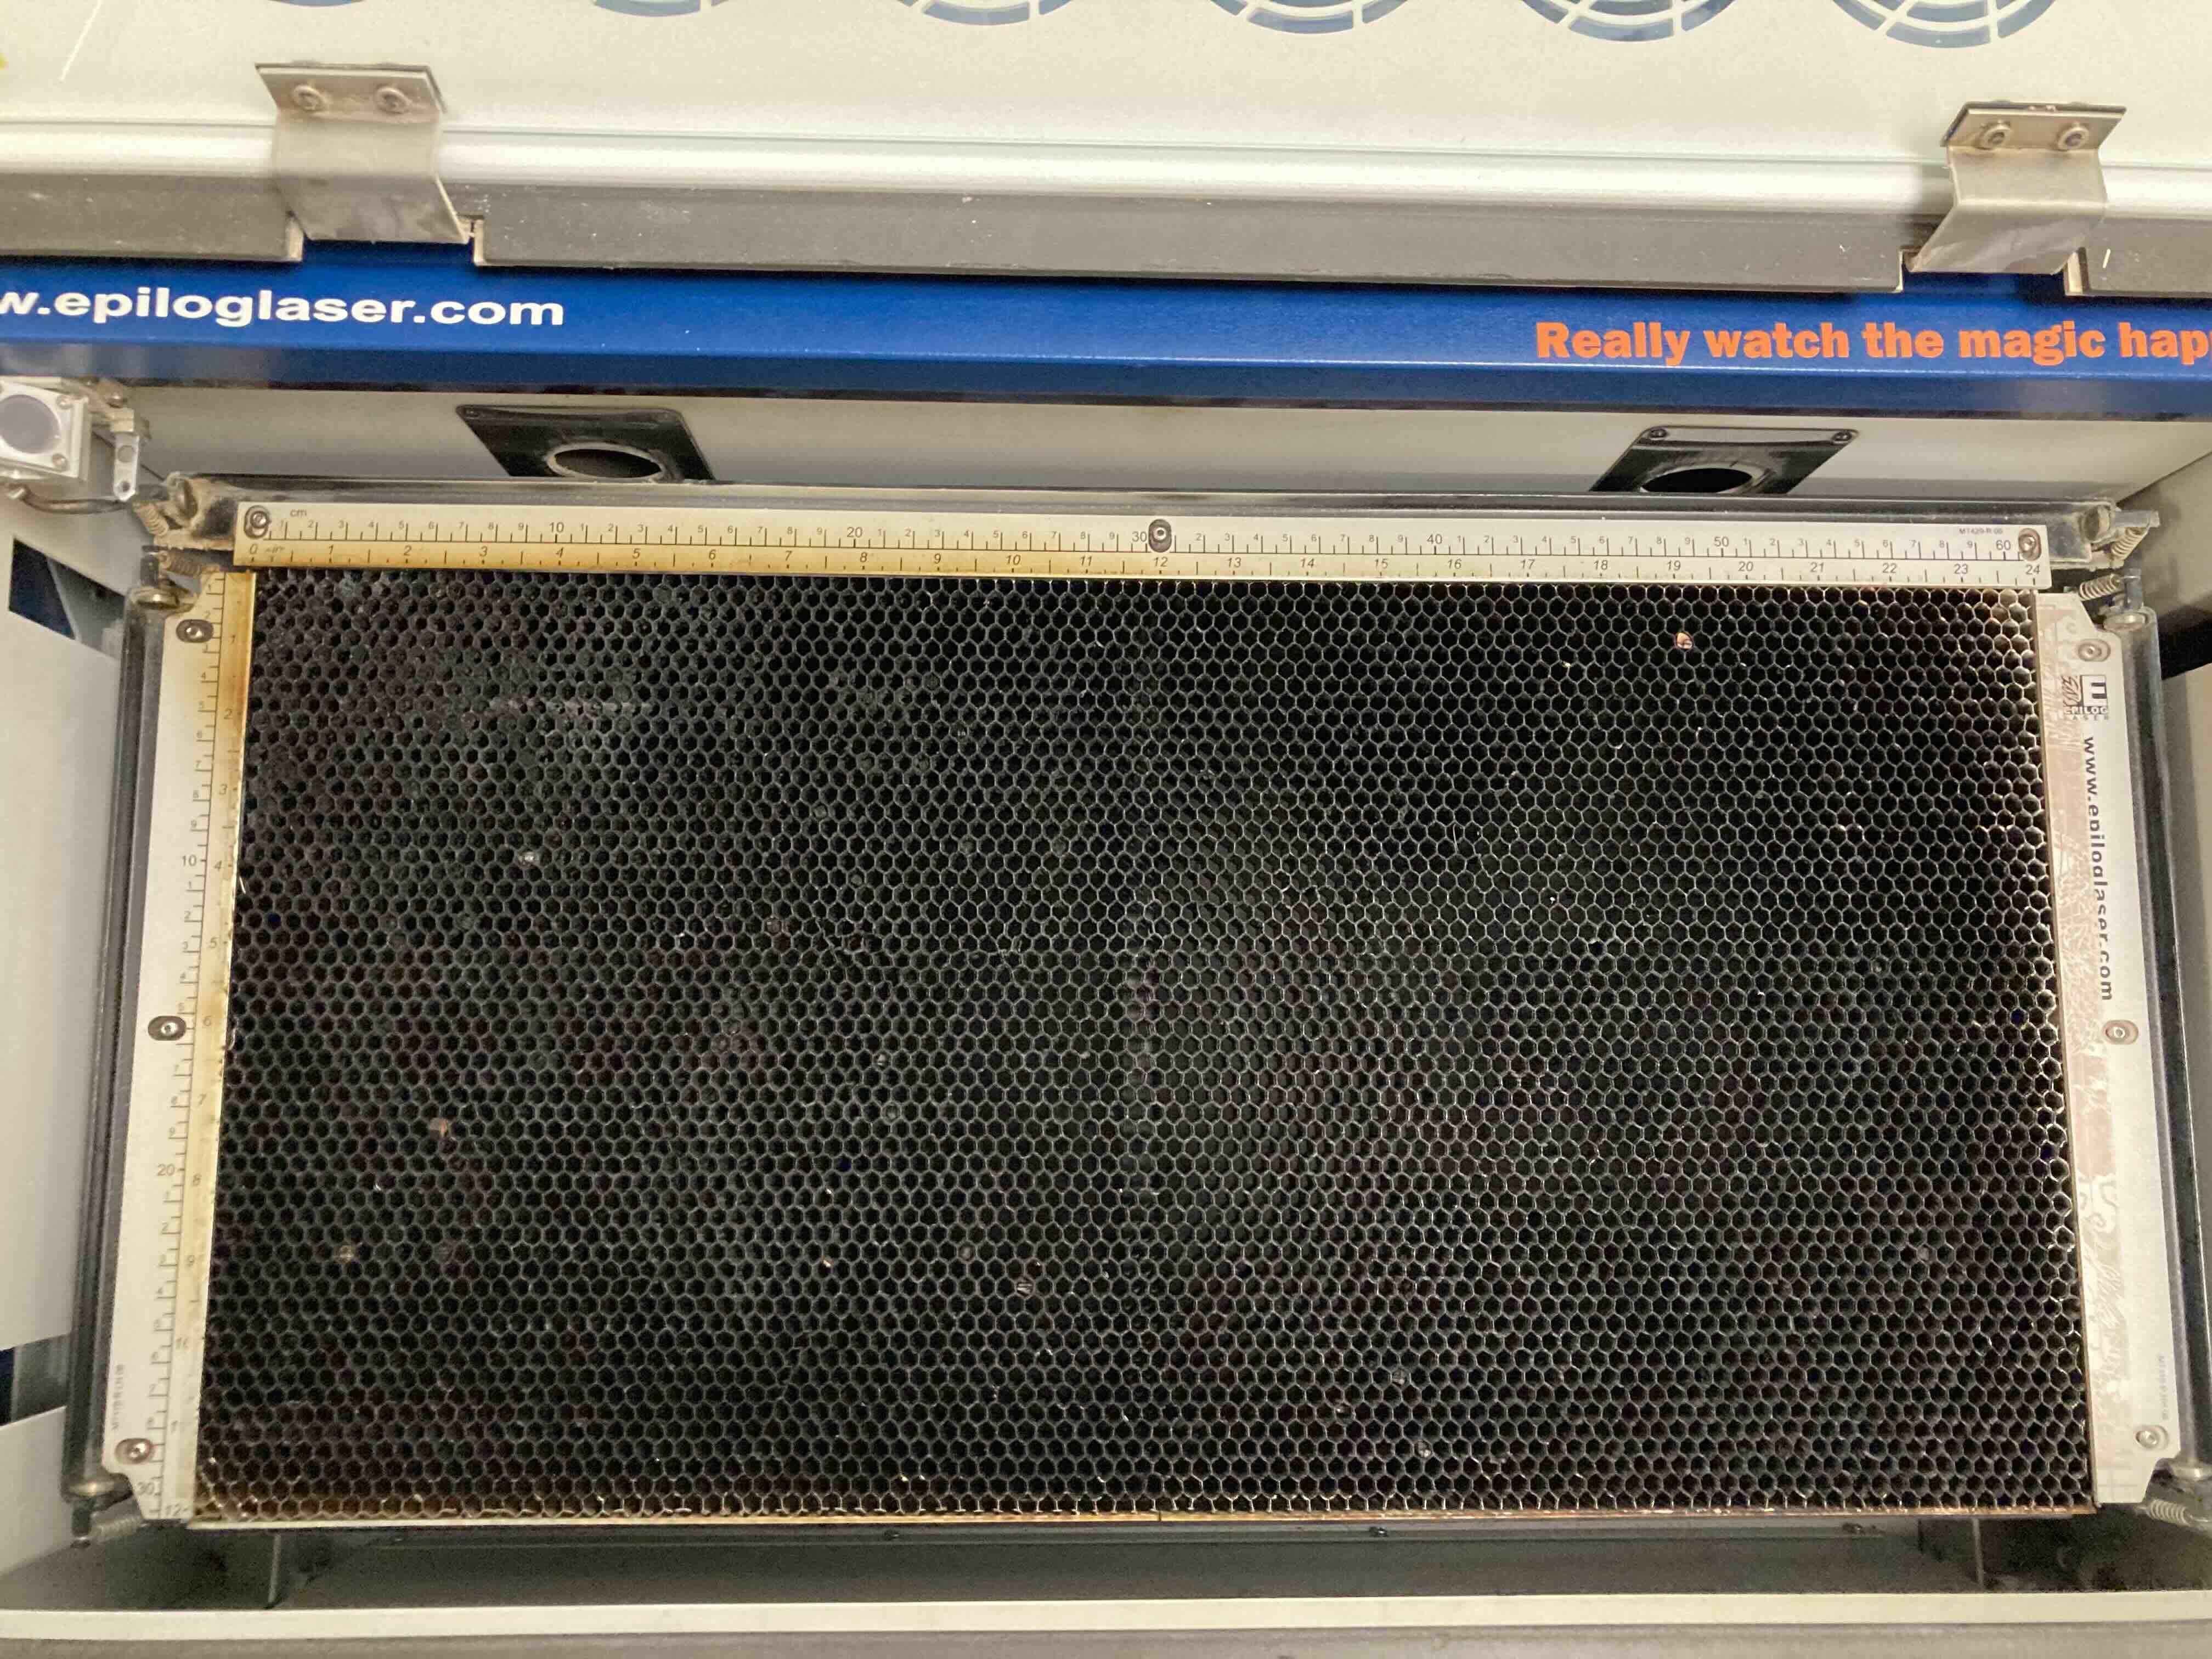
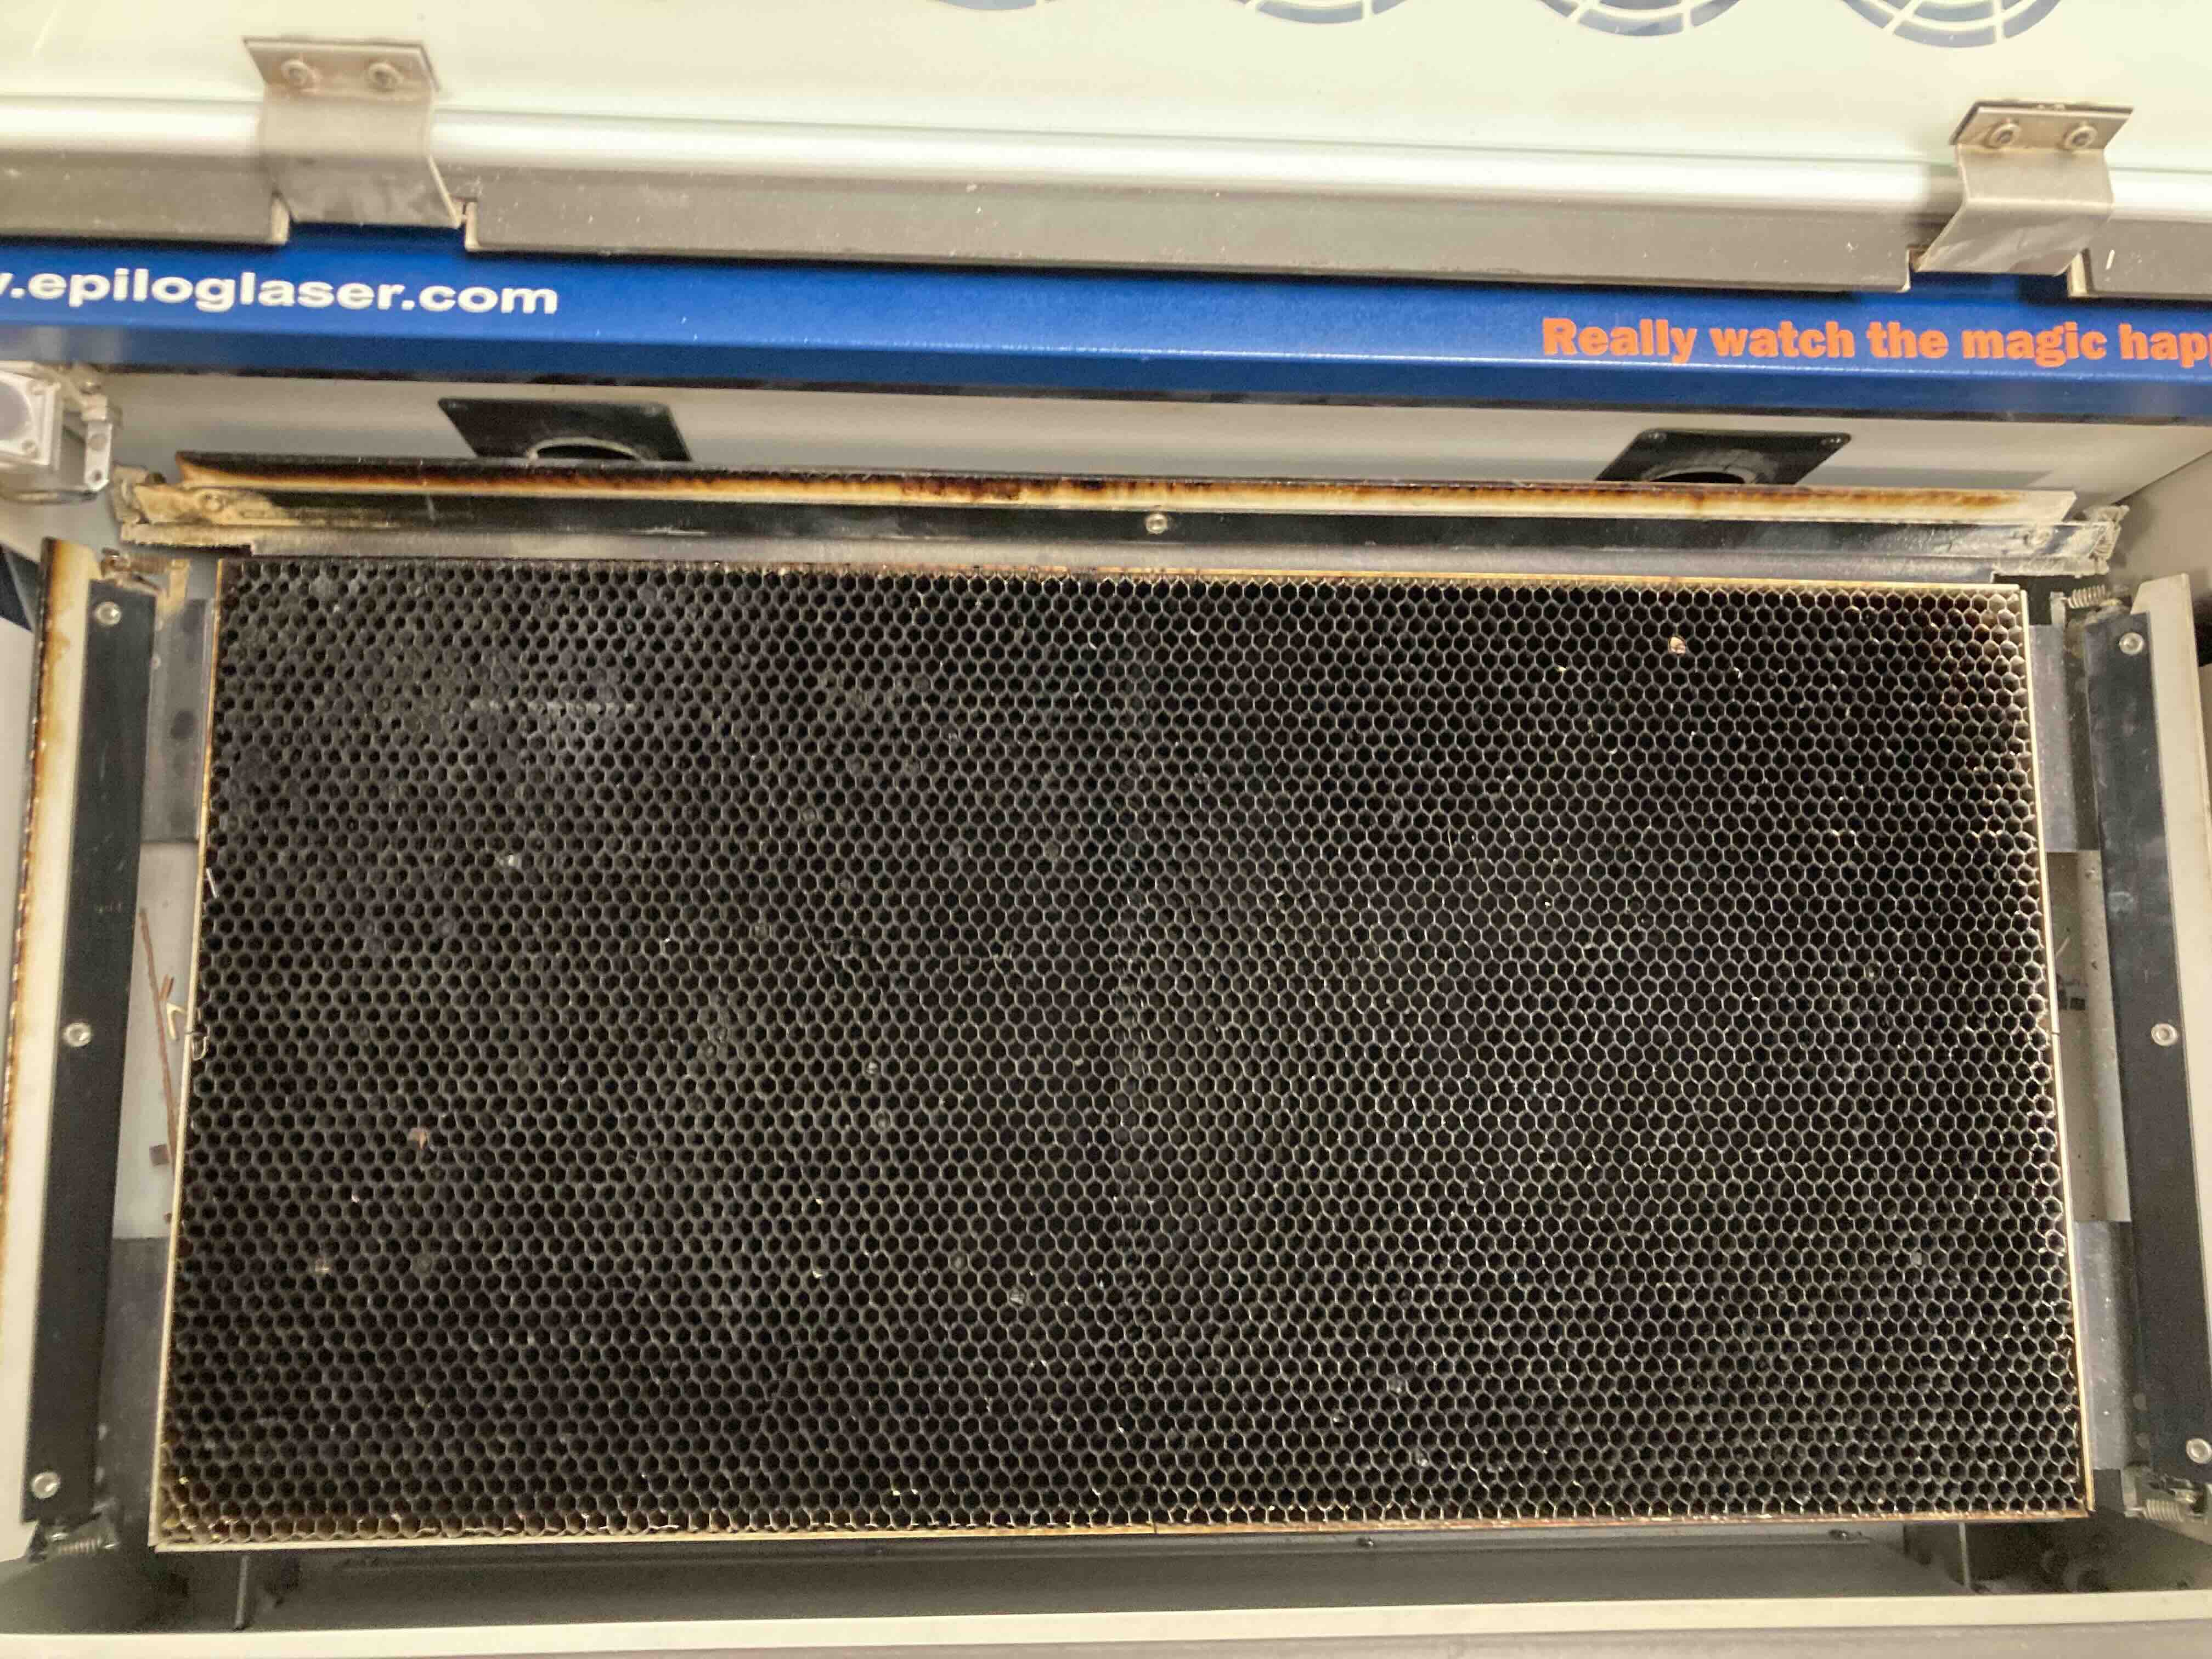
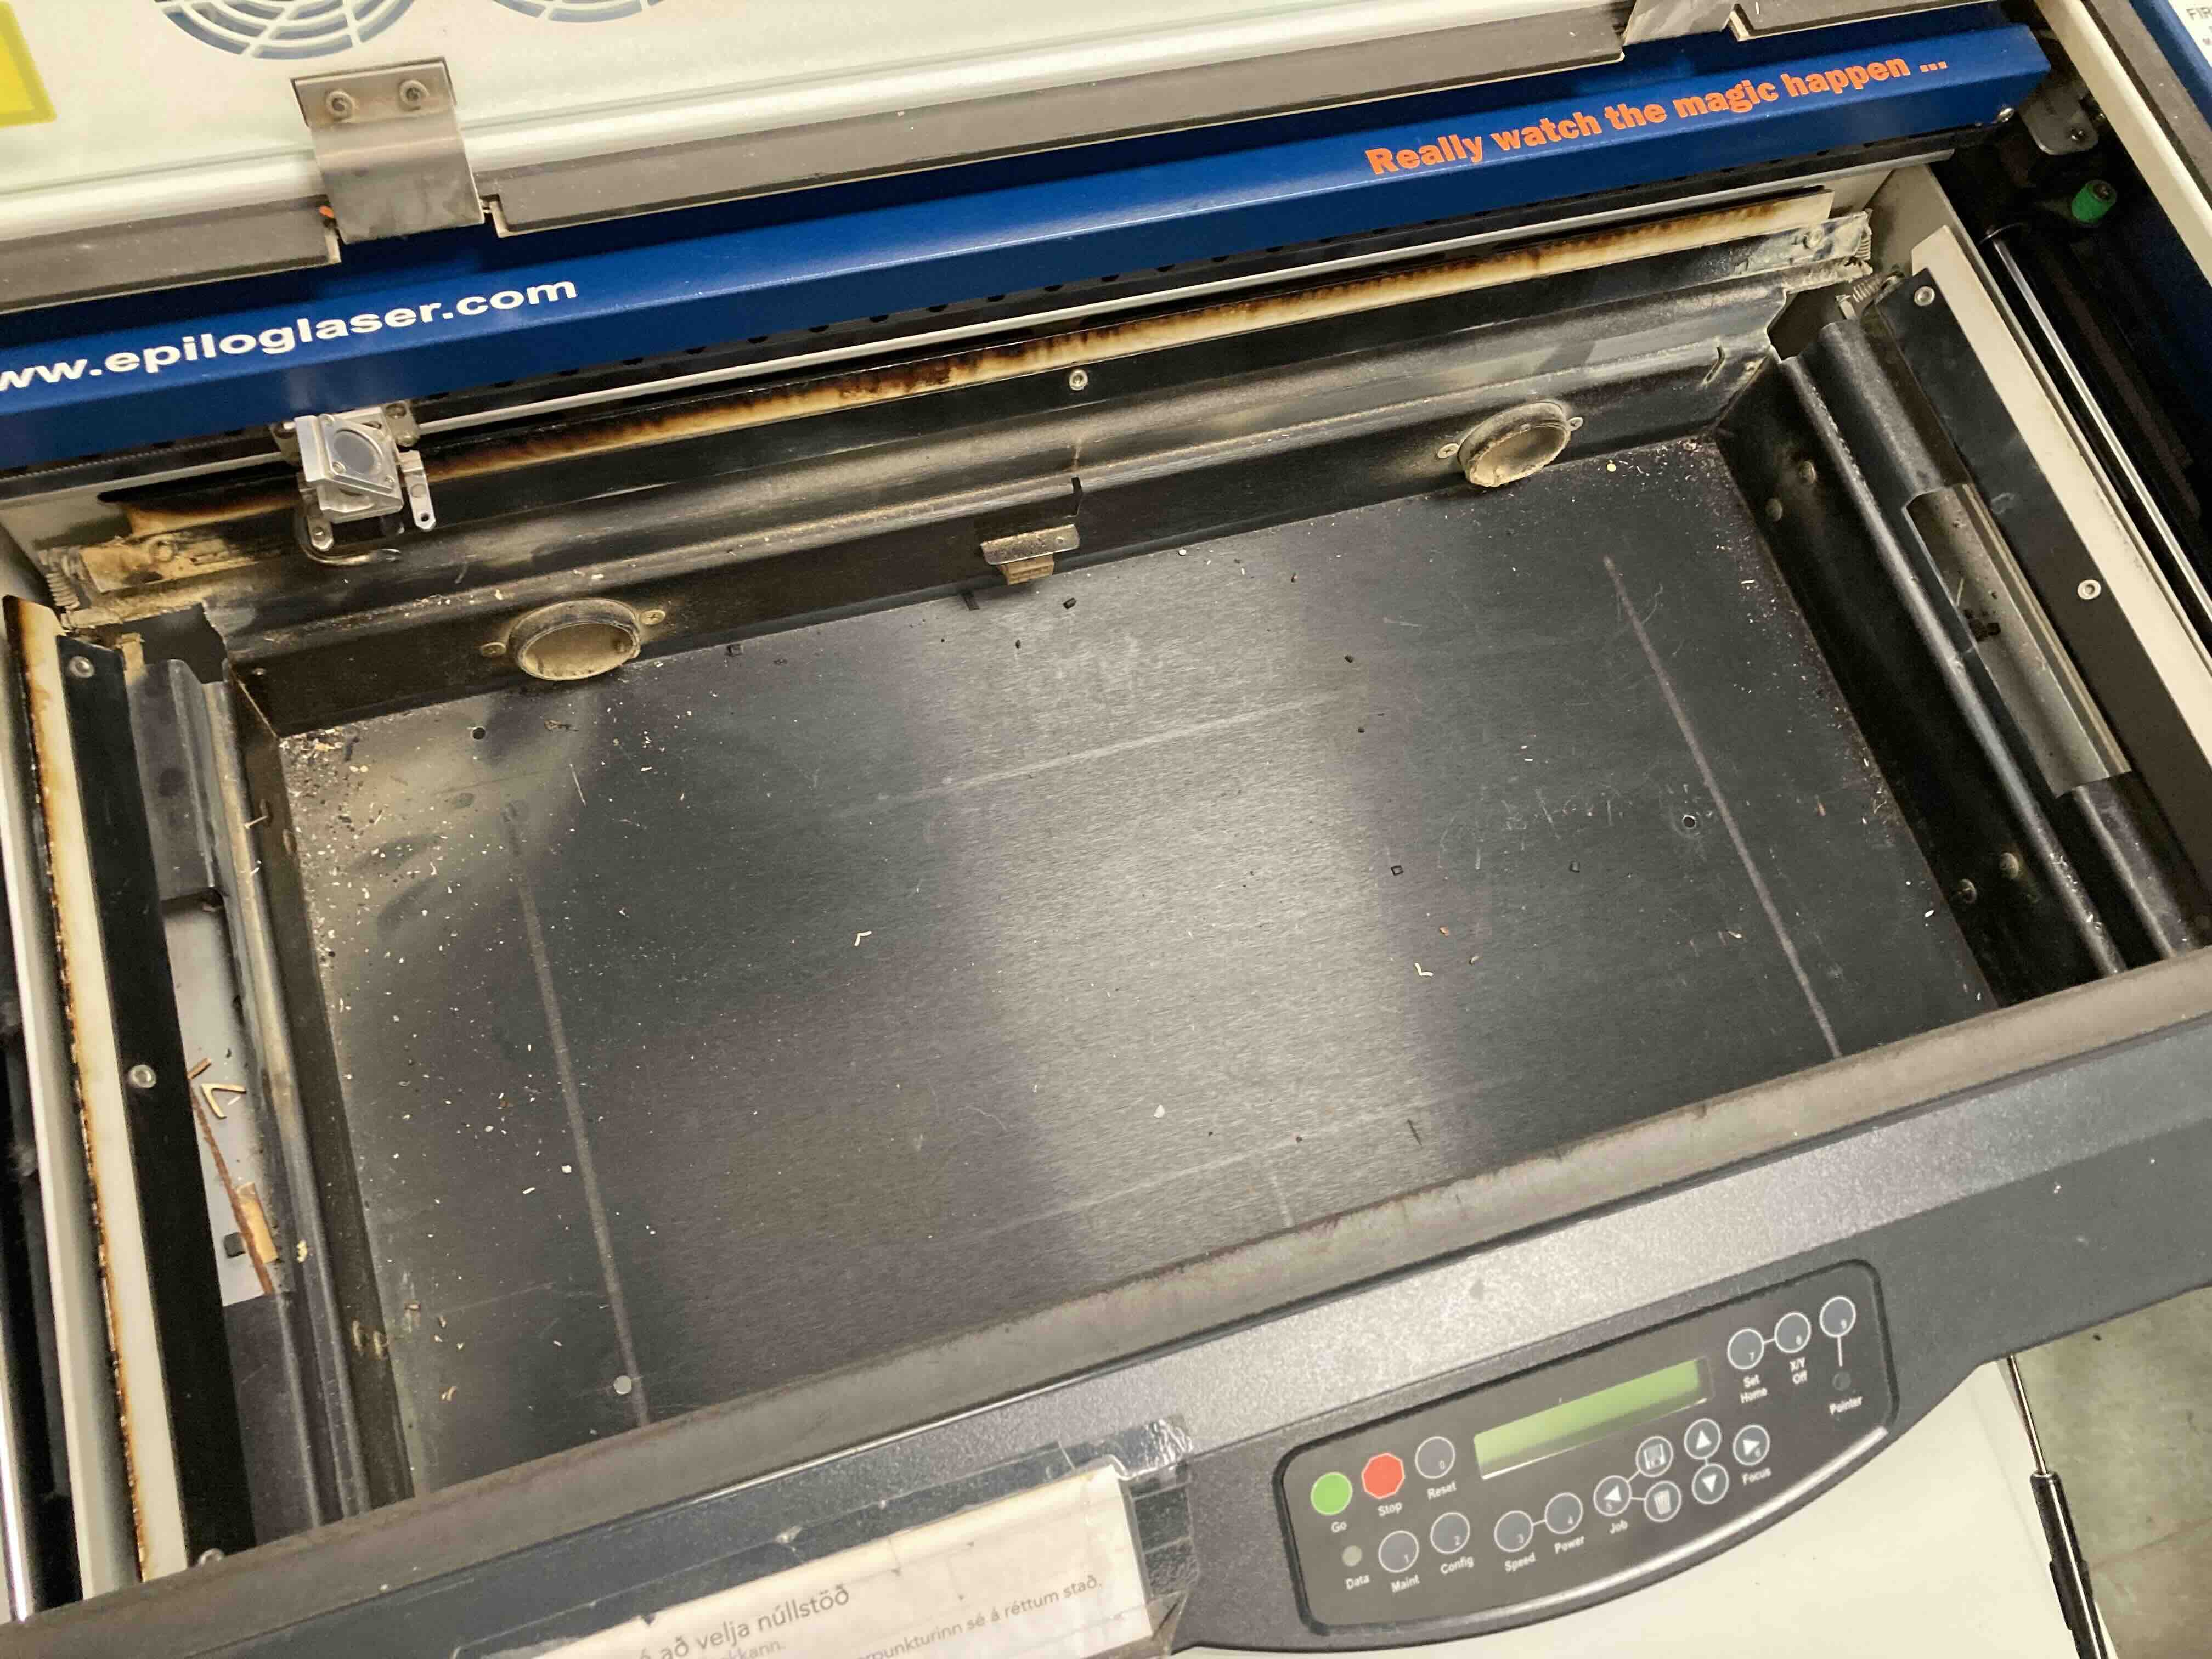
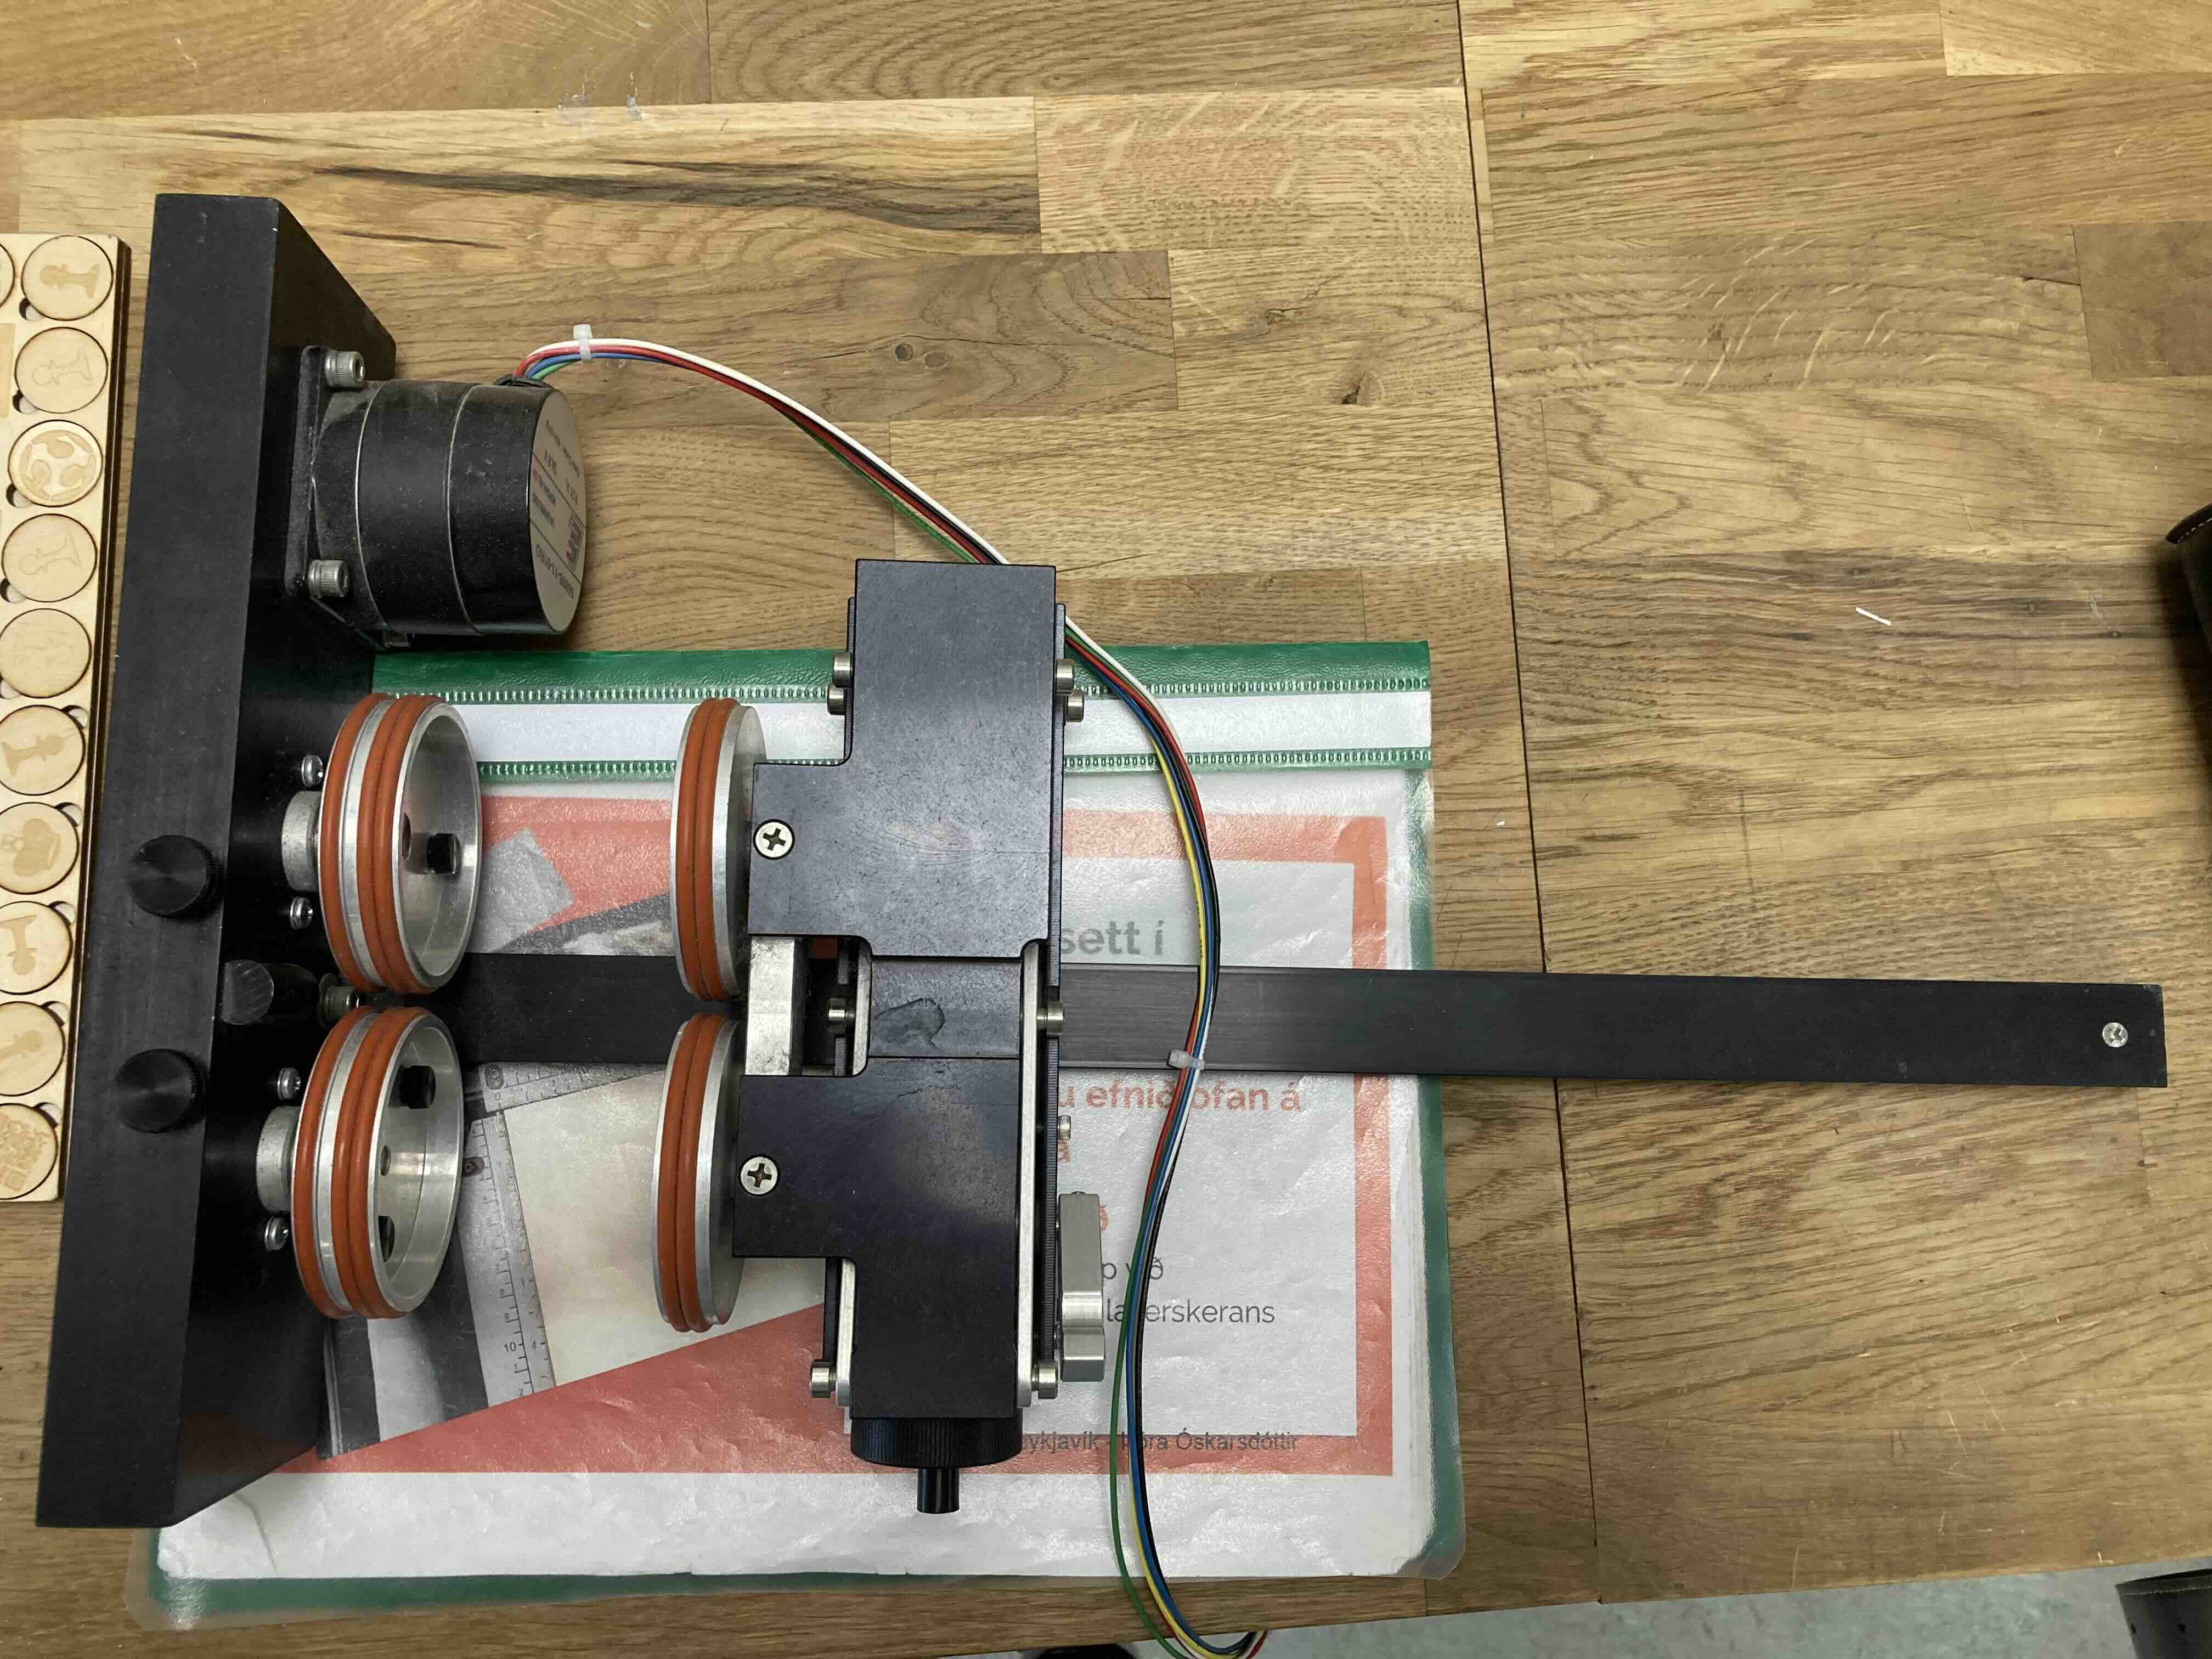
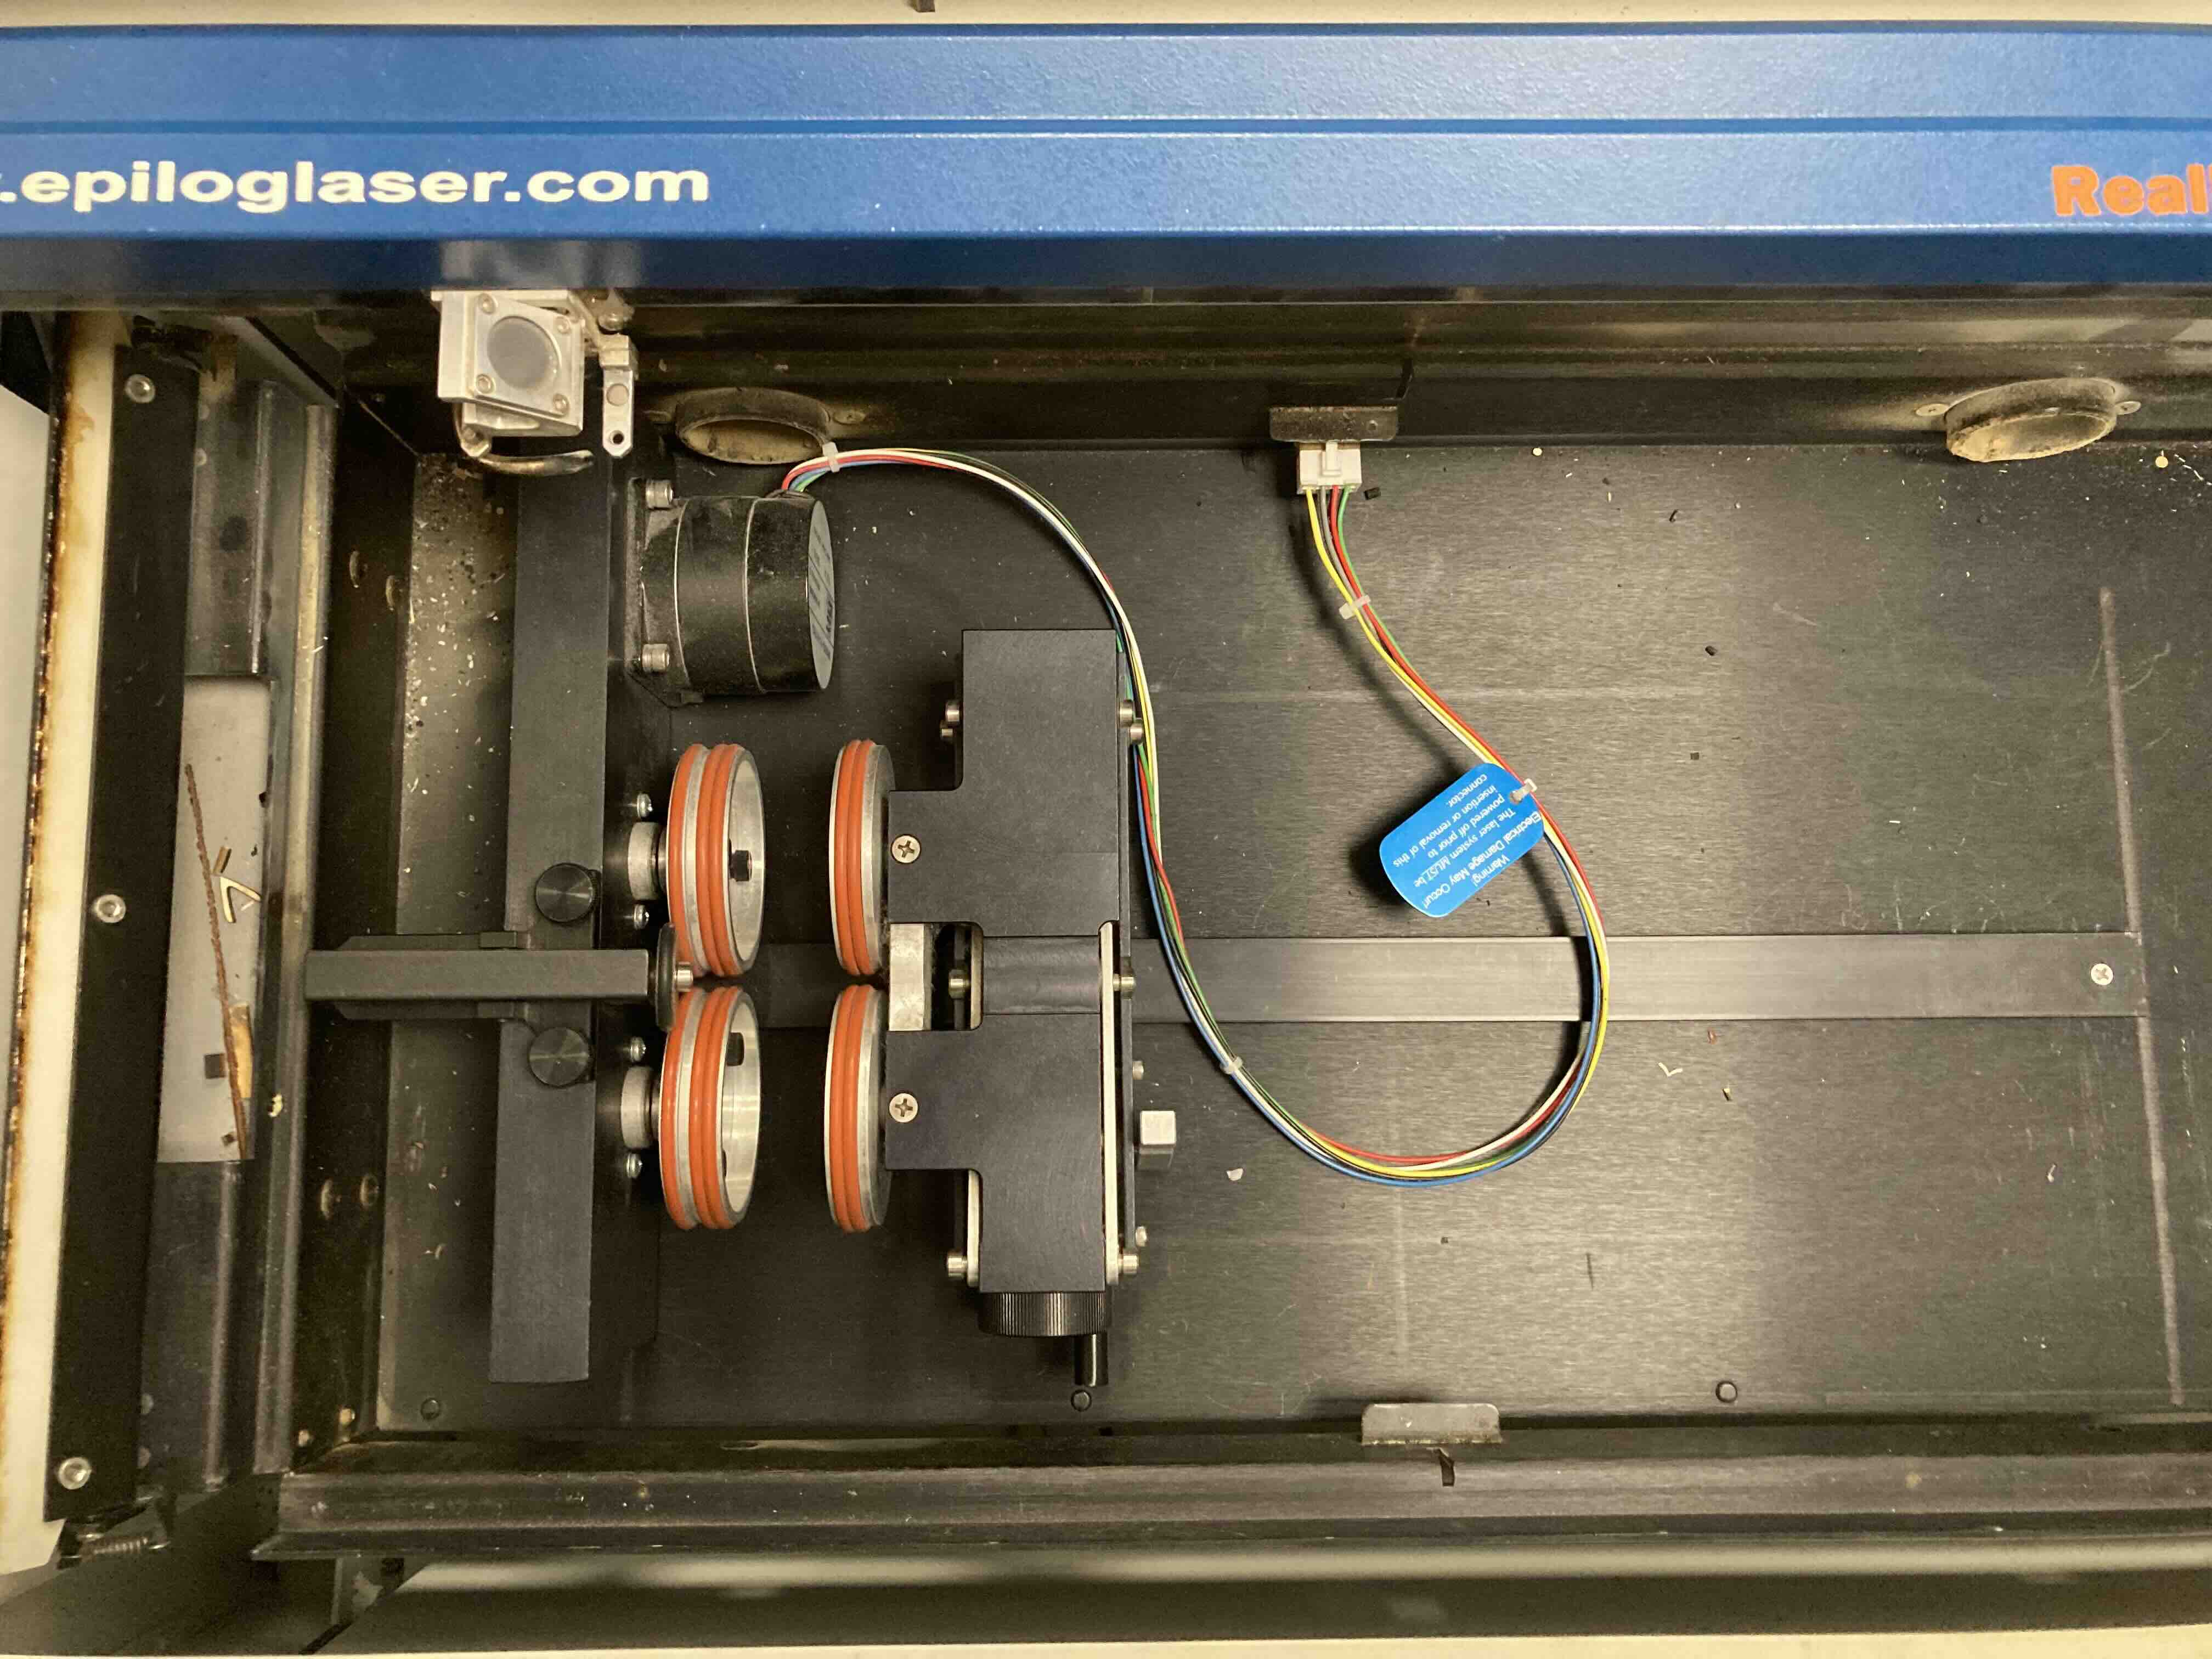
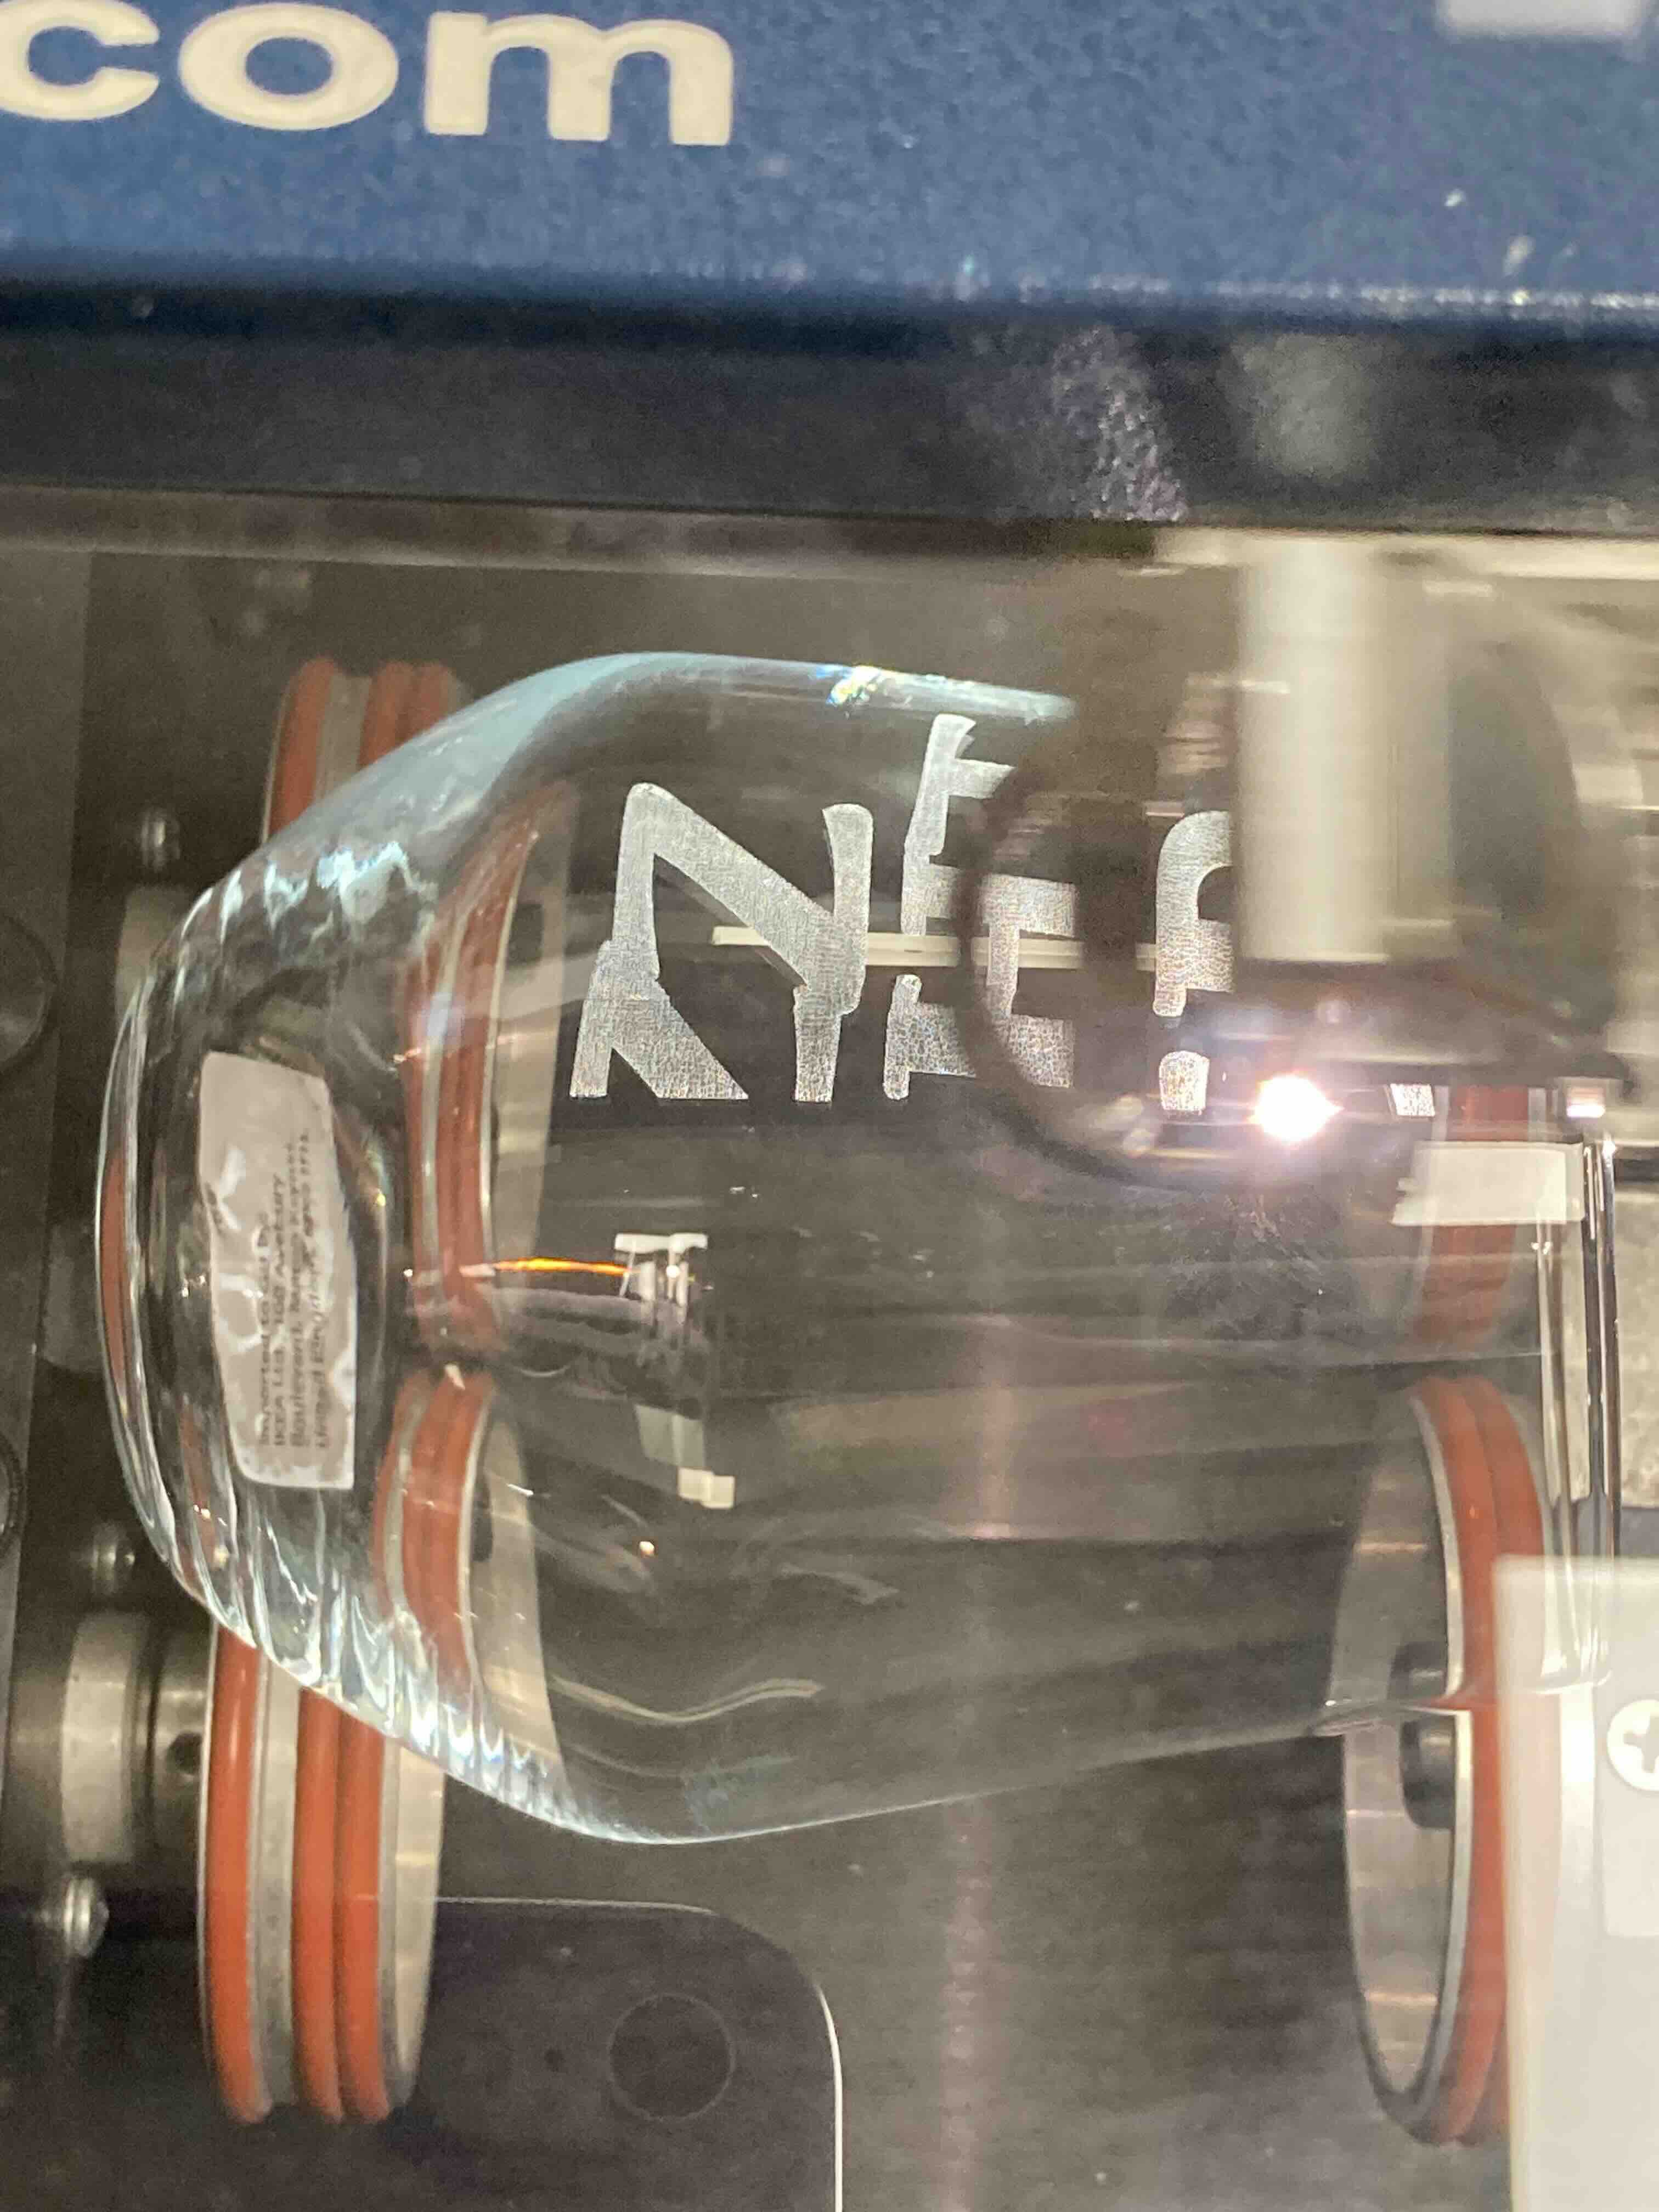
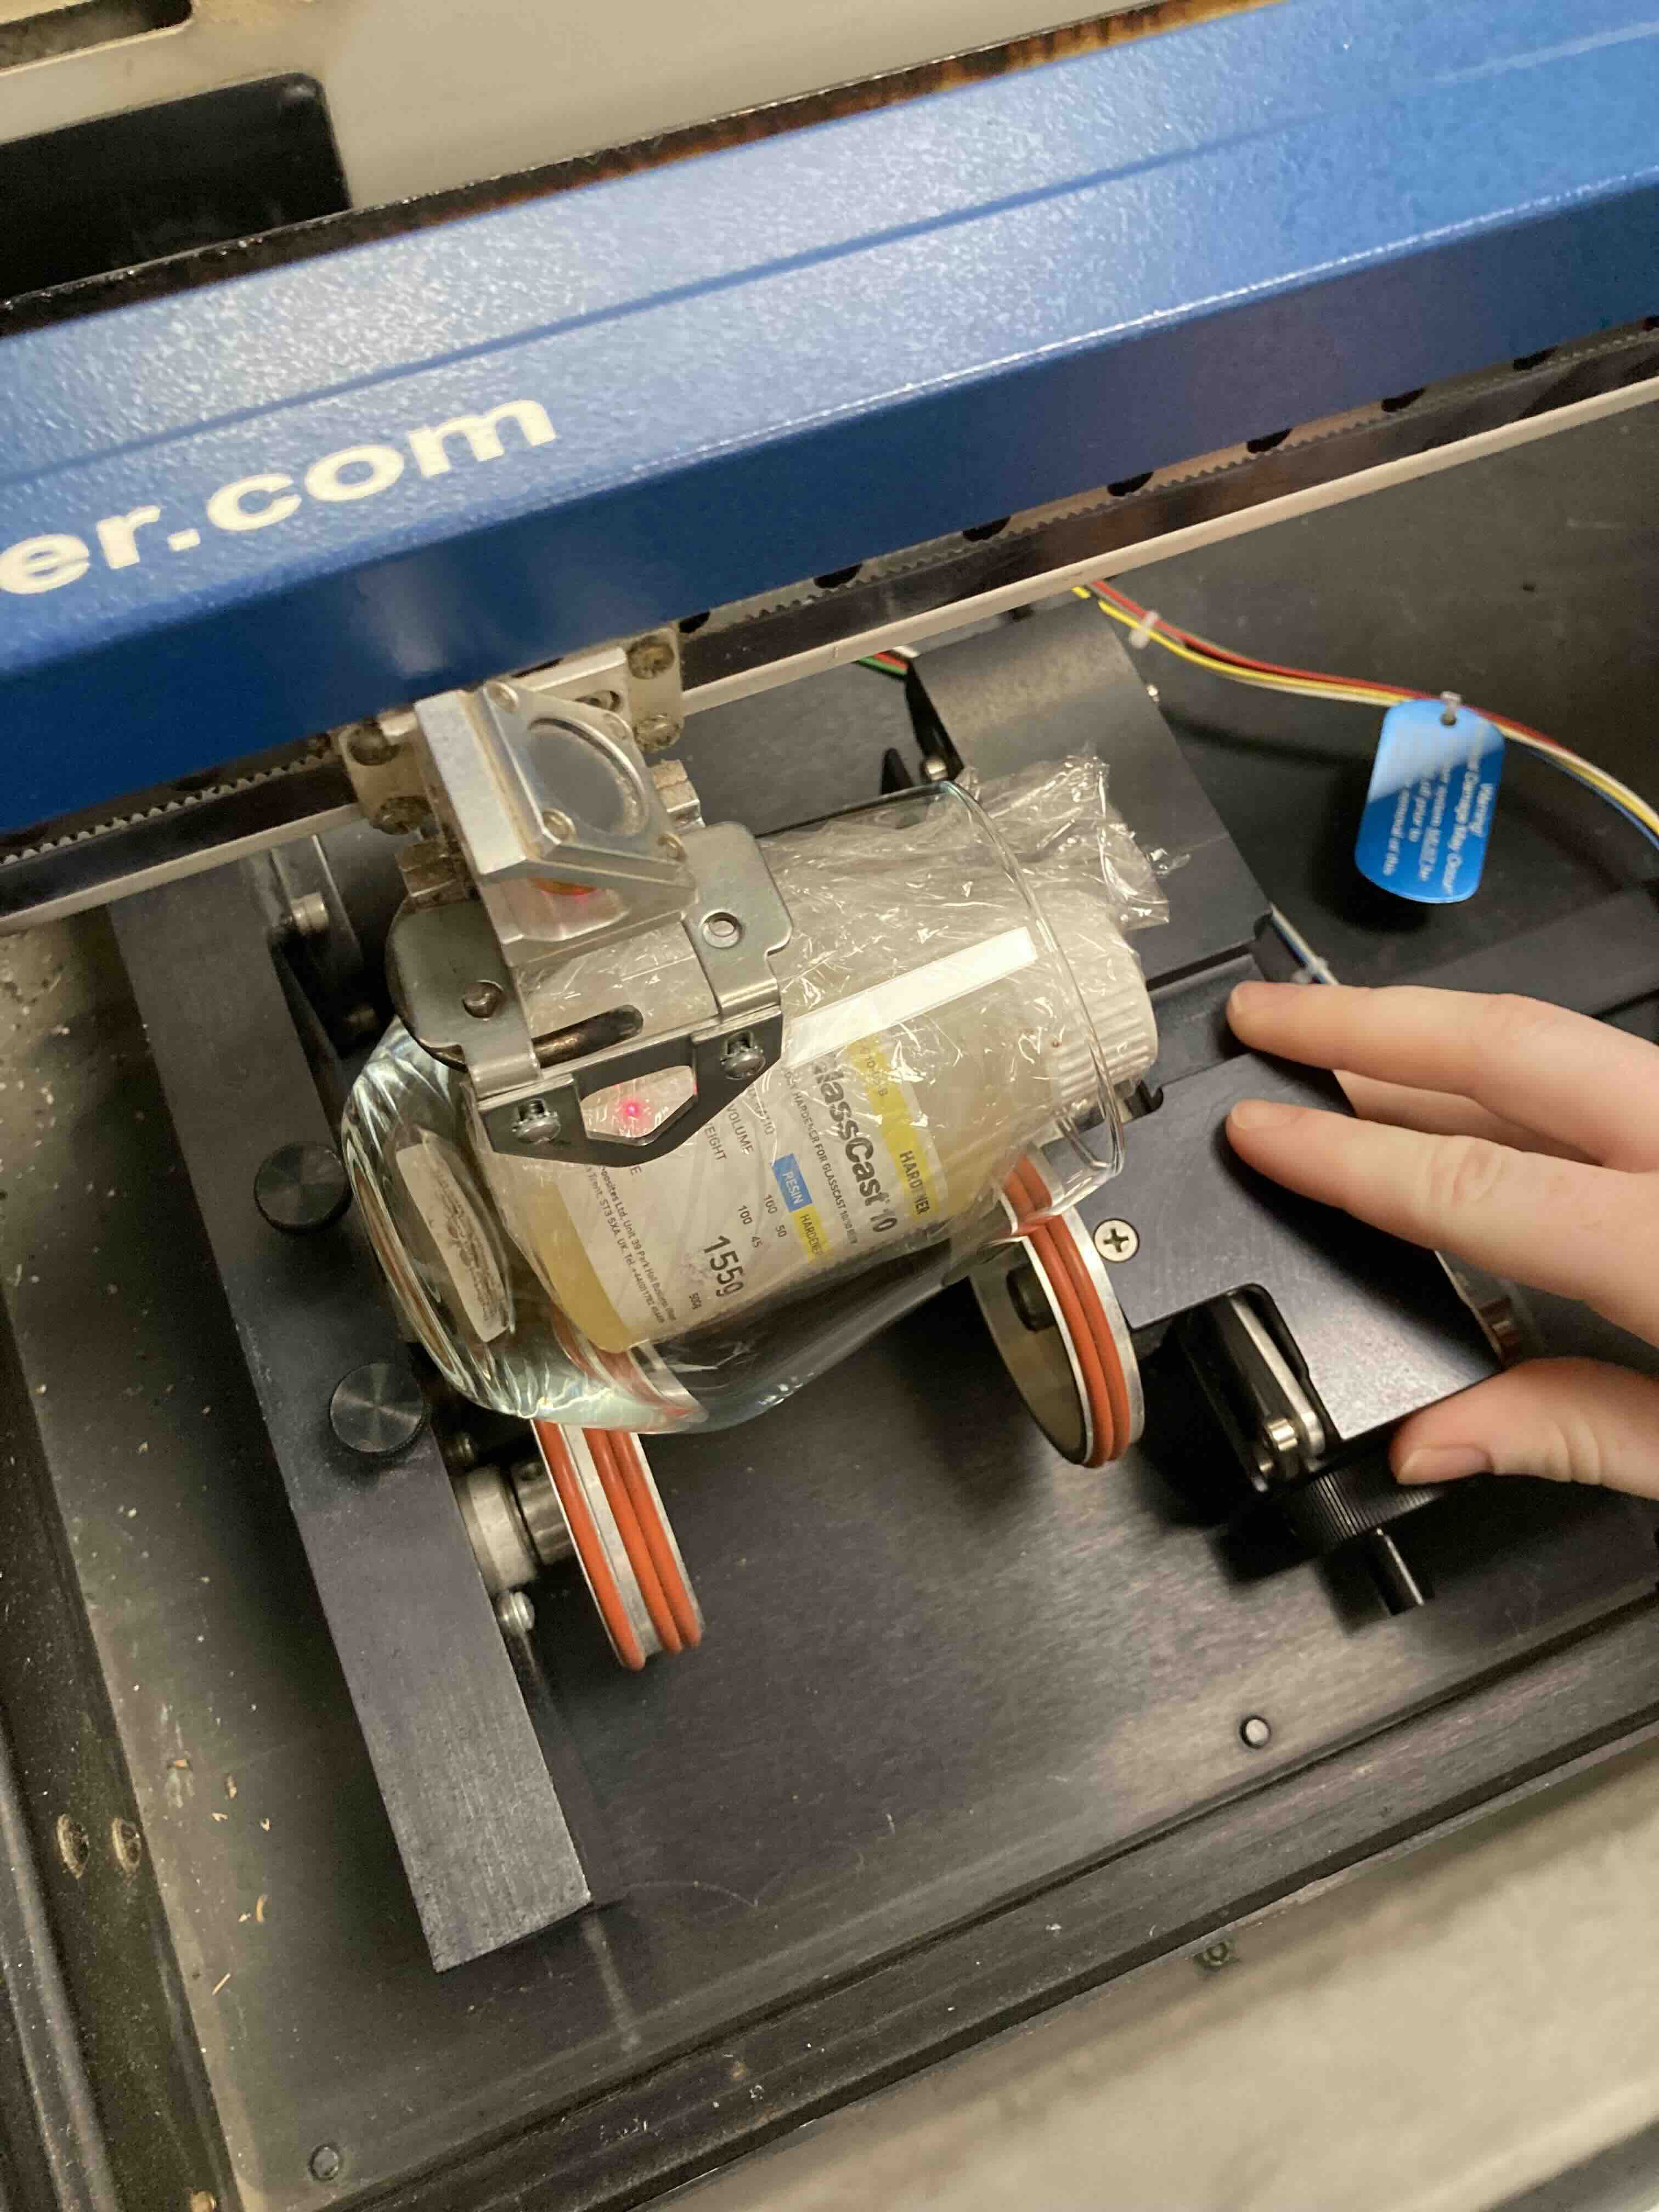
How the lasercutter is diasembled and prepped for edging in glass.
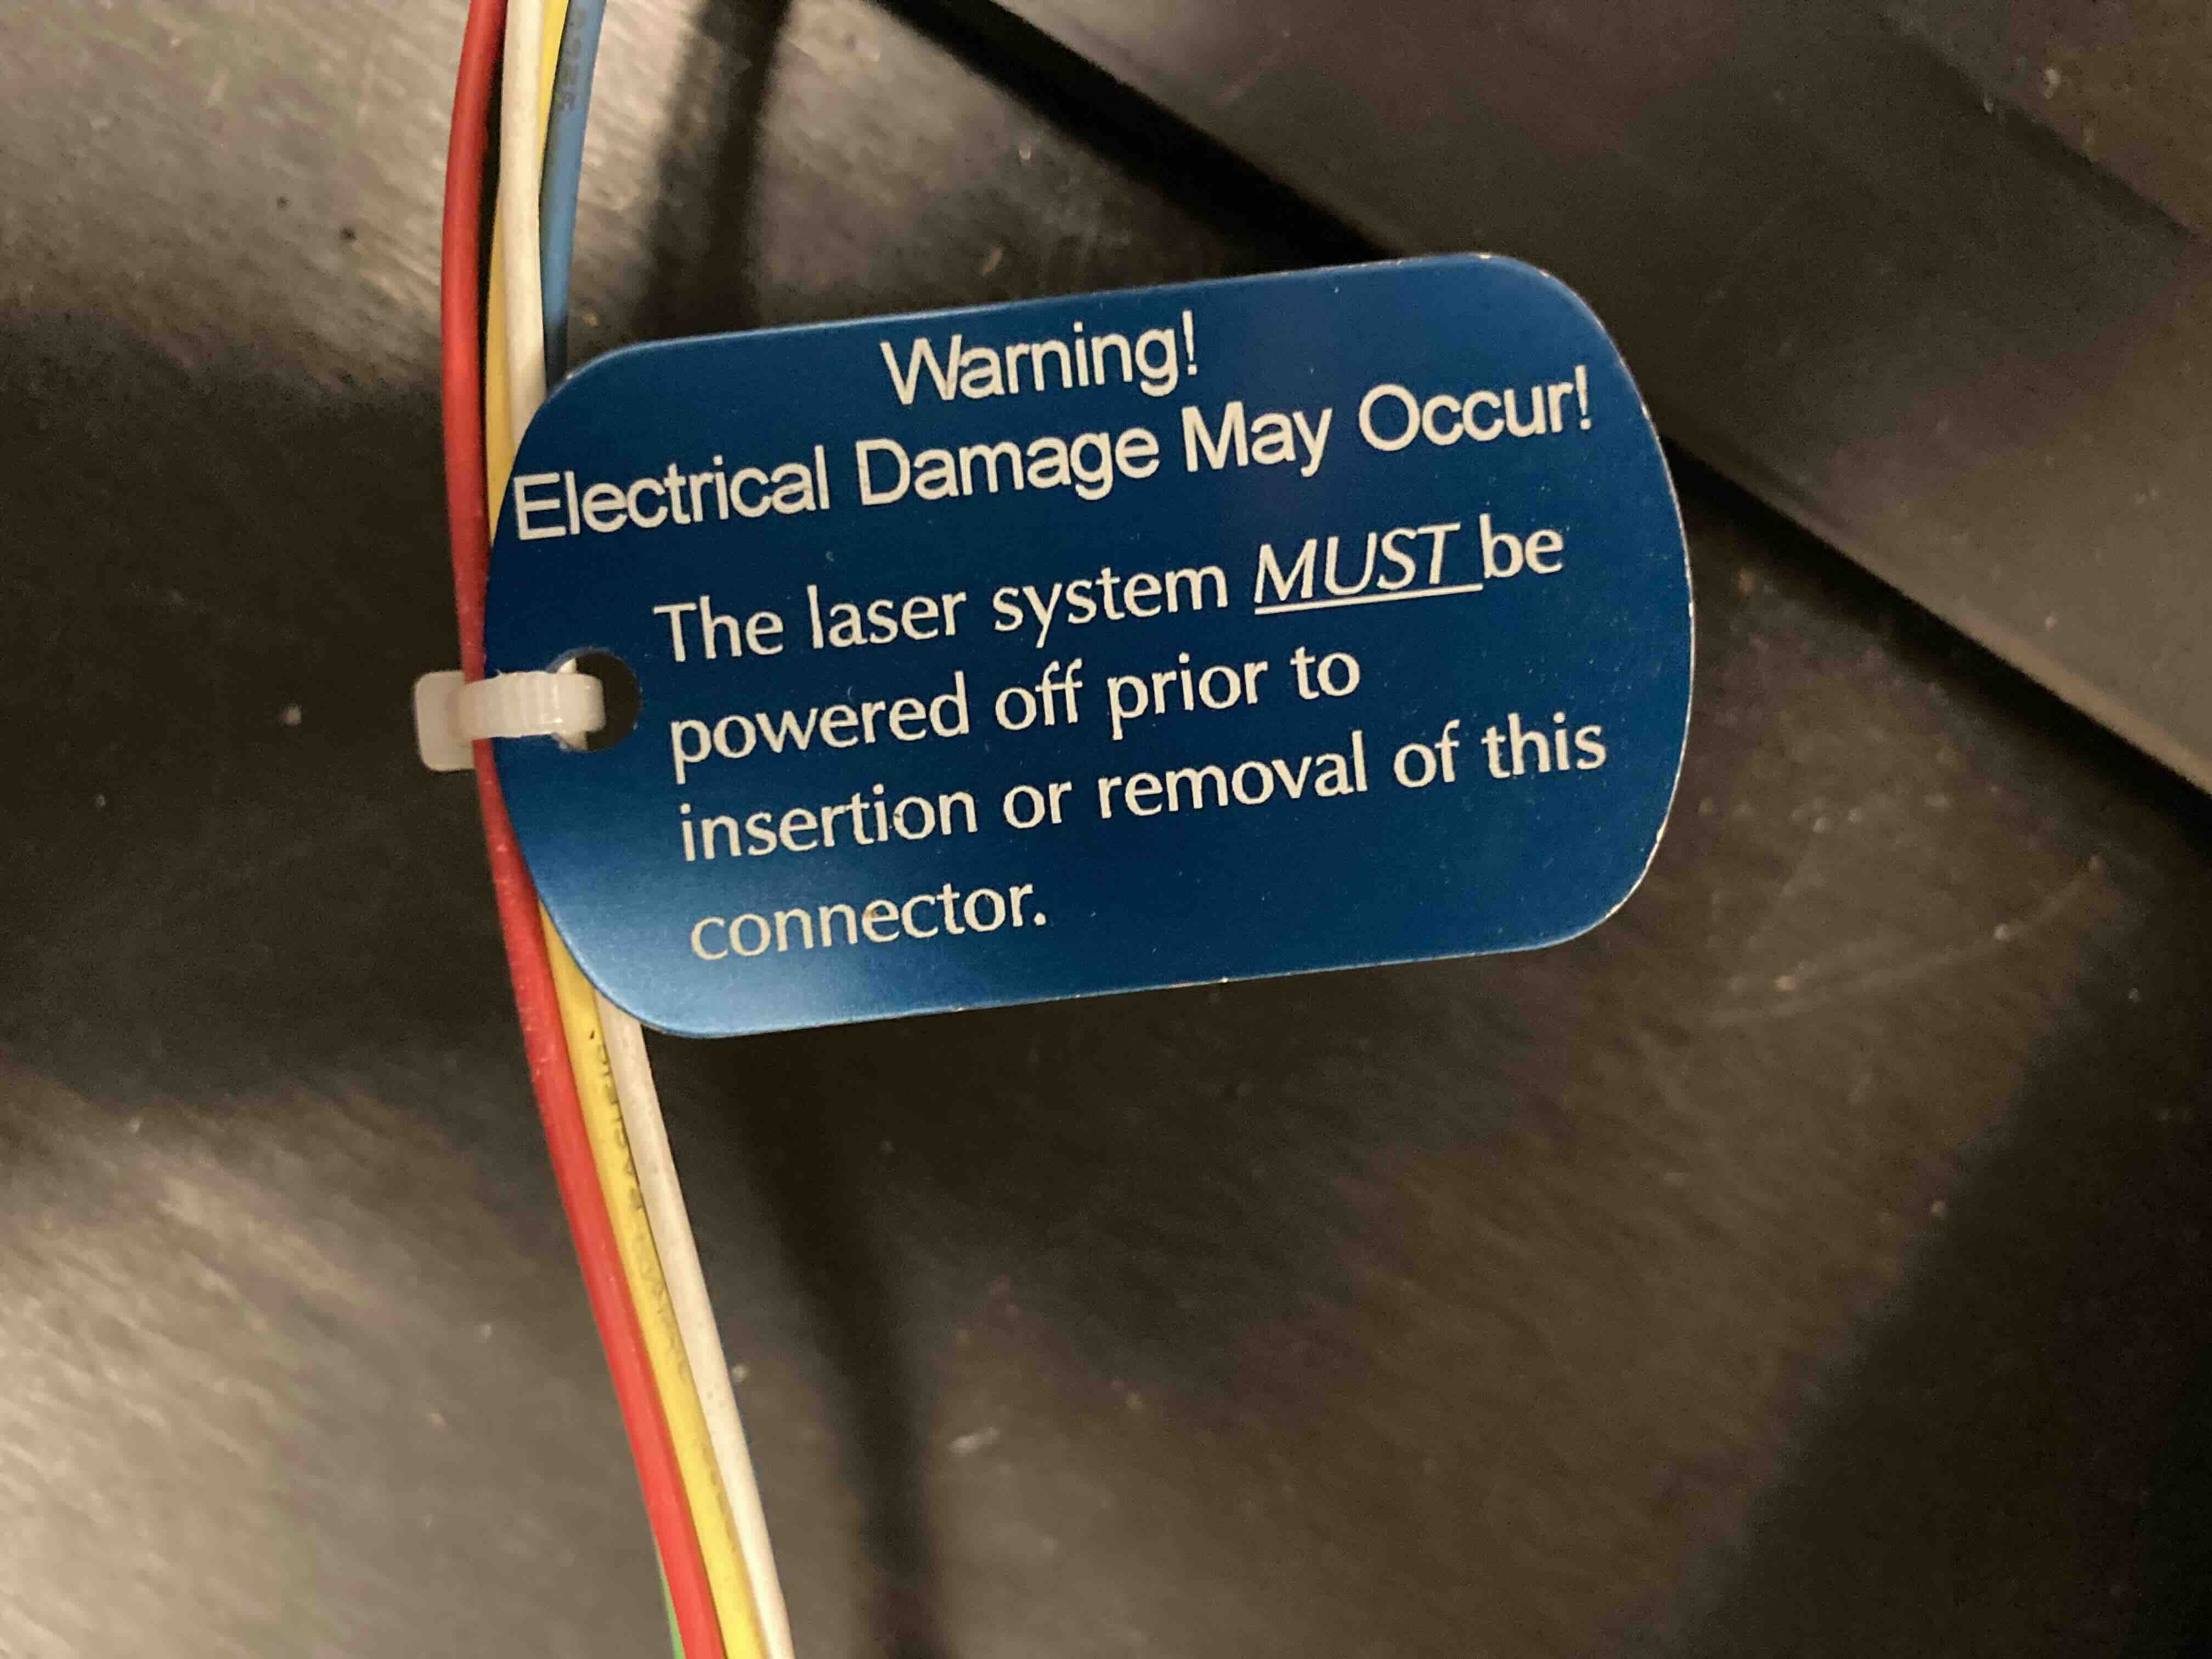
Safety tip: make sure the lasercutter is off. .
Flip the magnets up to remove the vire rack.
Remove the wire rack.
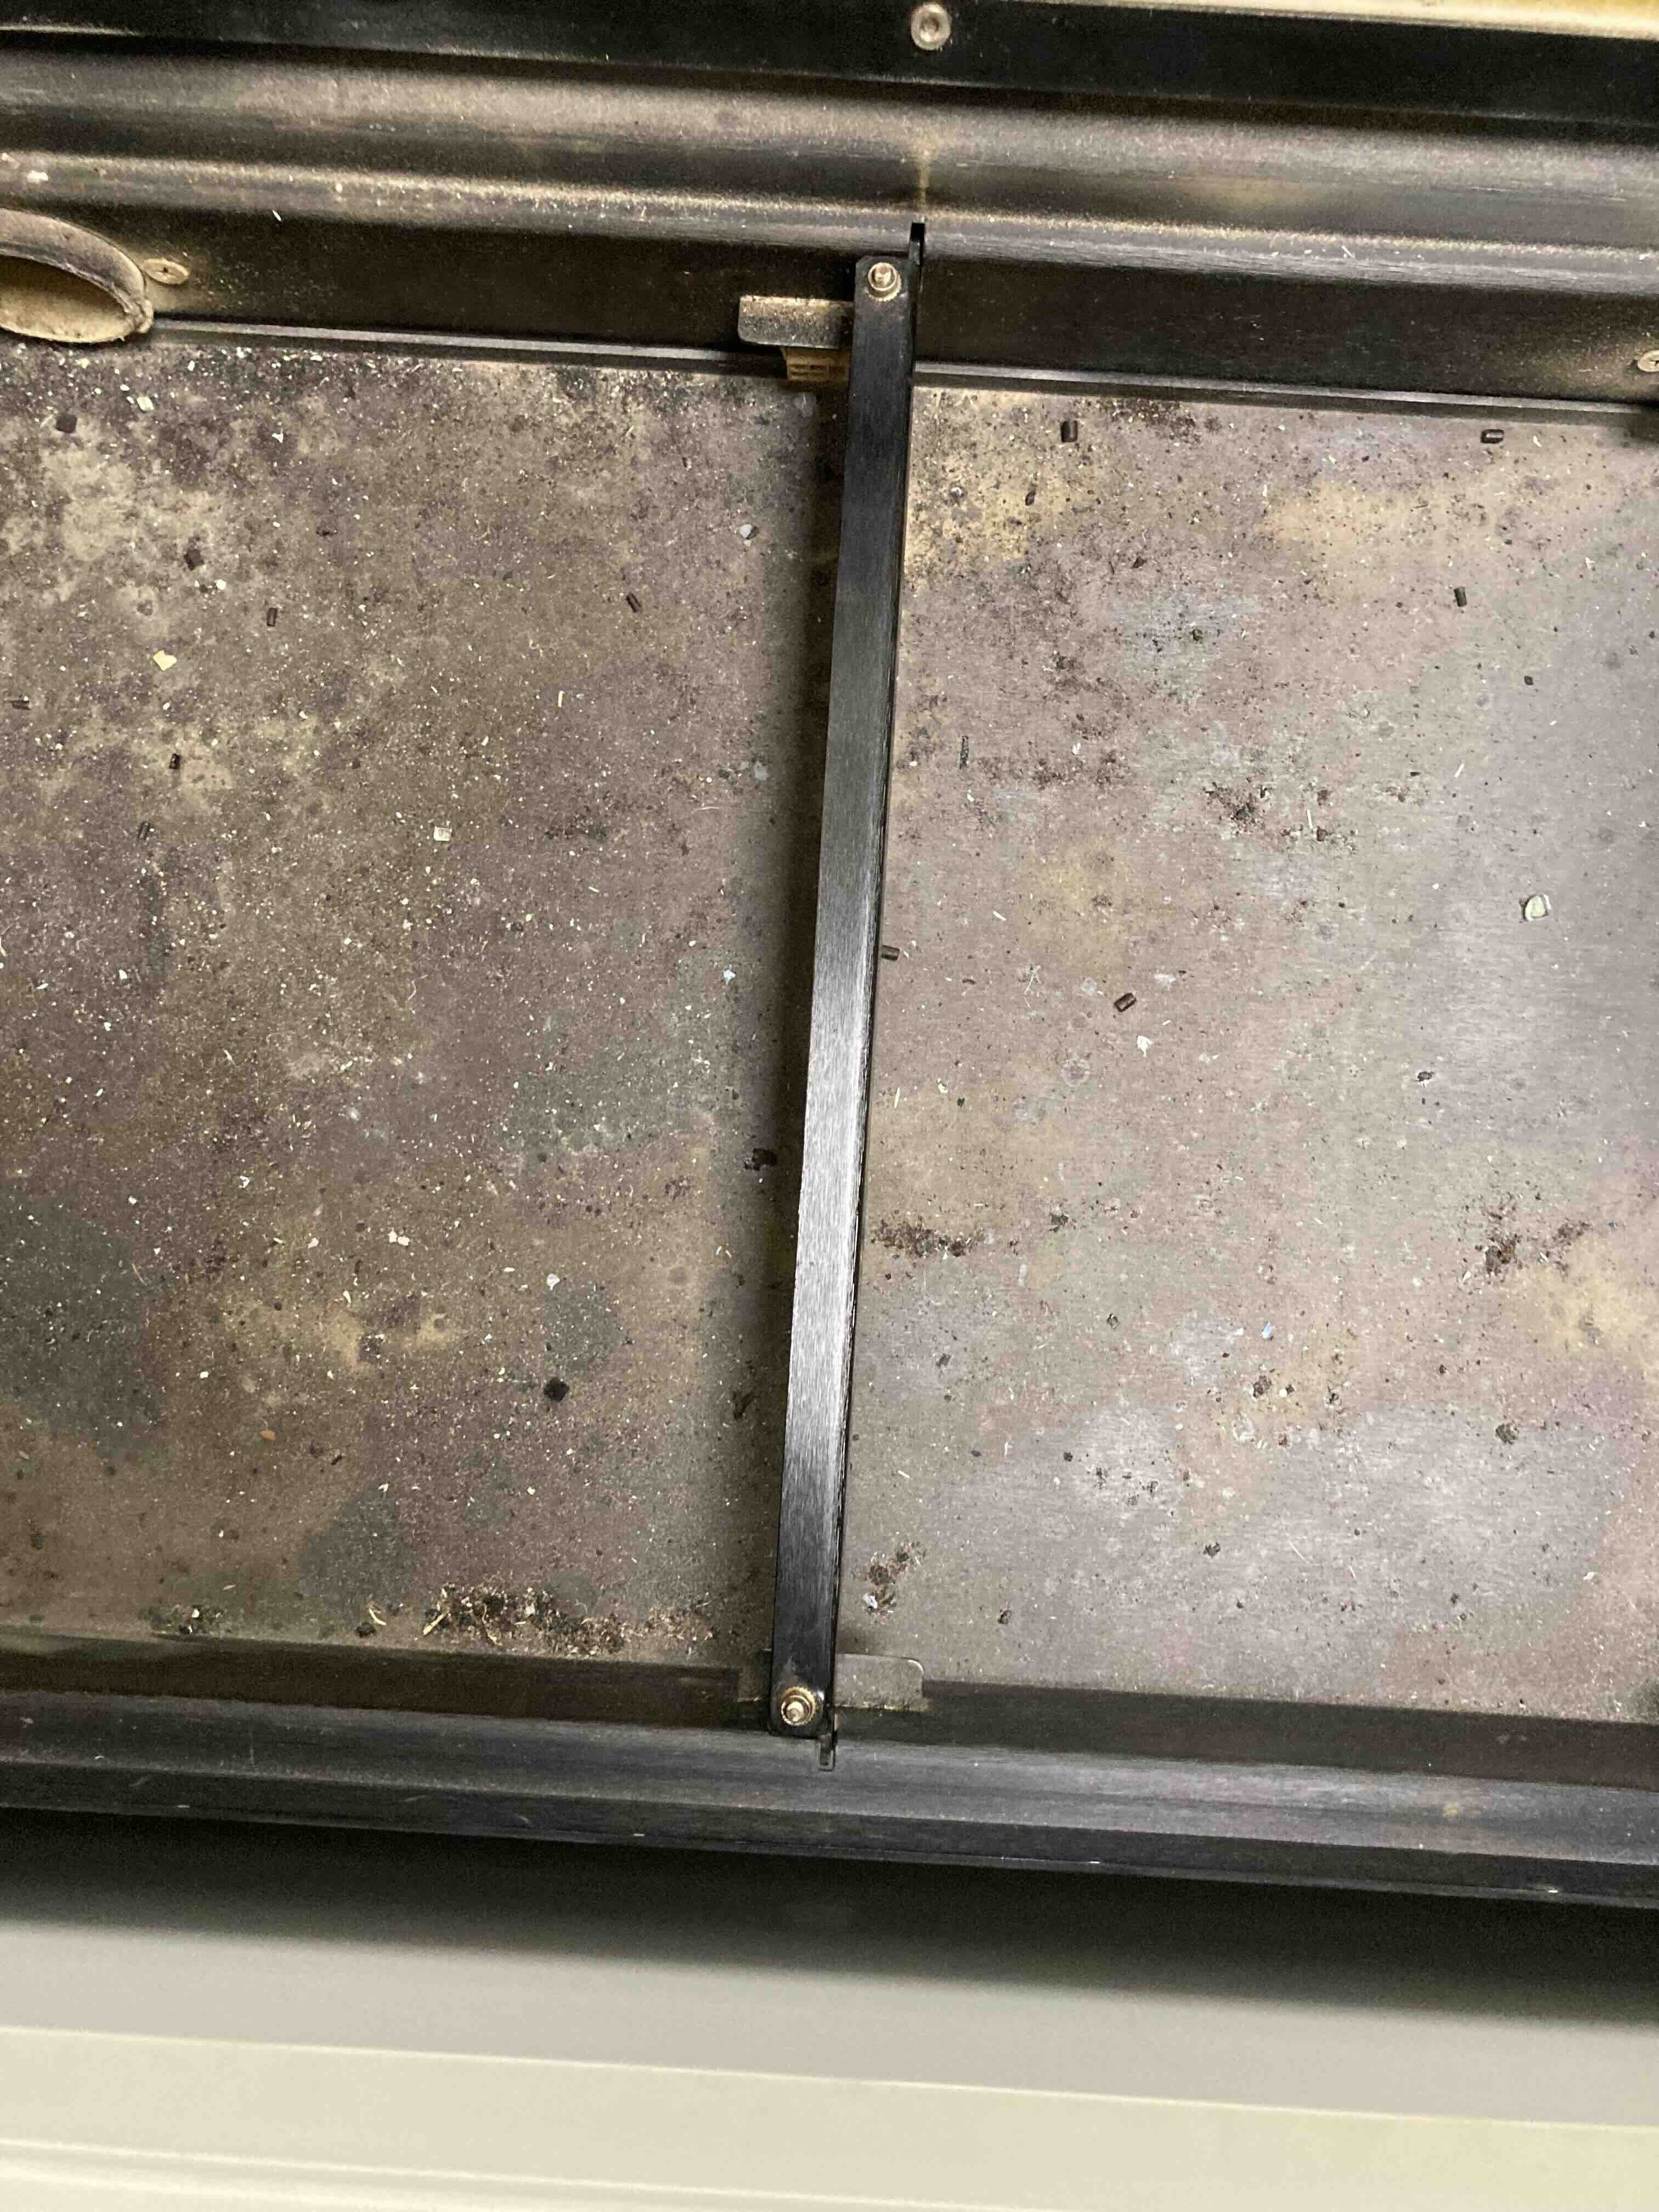
Remove the entire wire rack. Remove the metal bar.
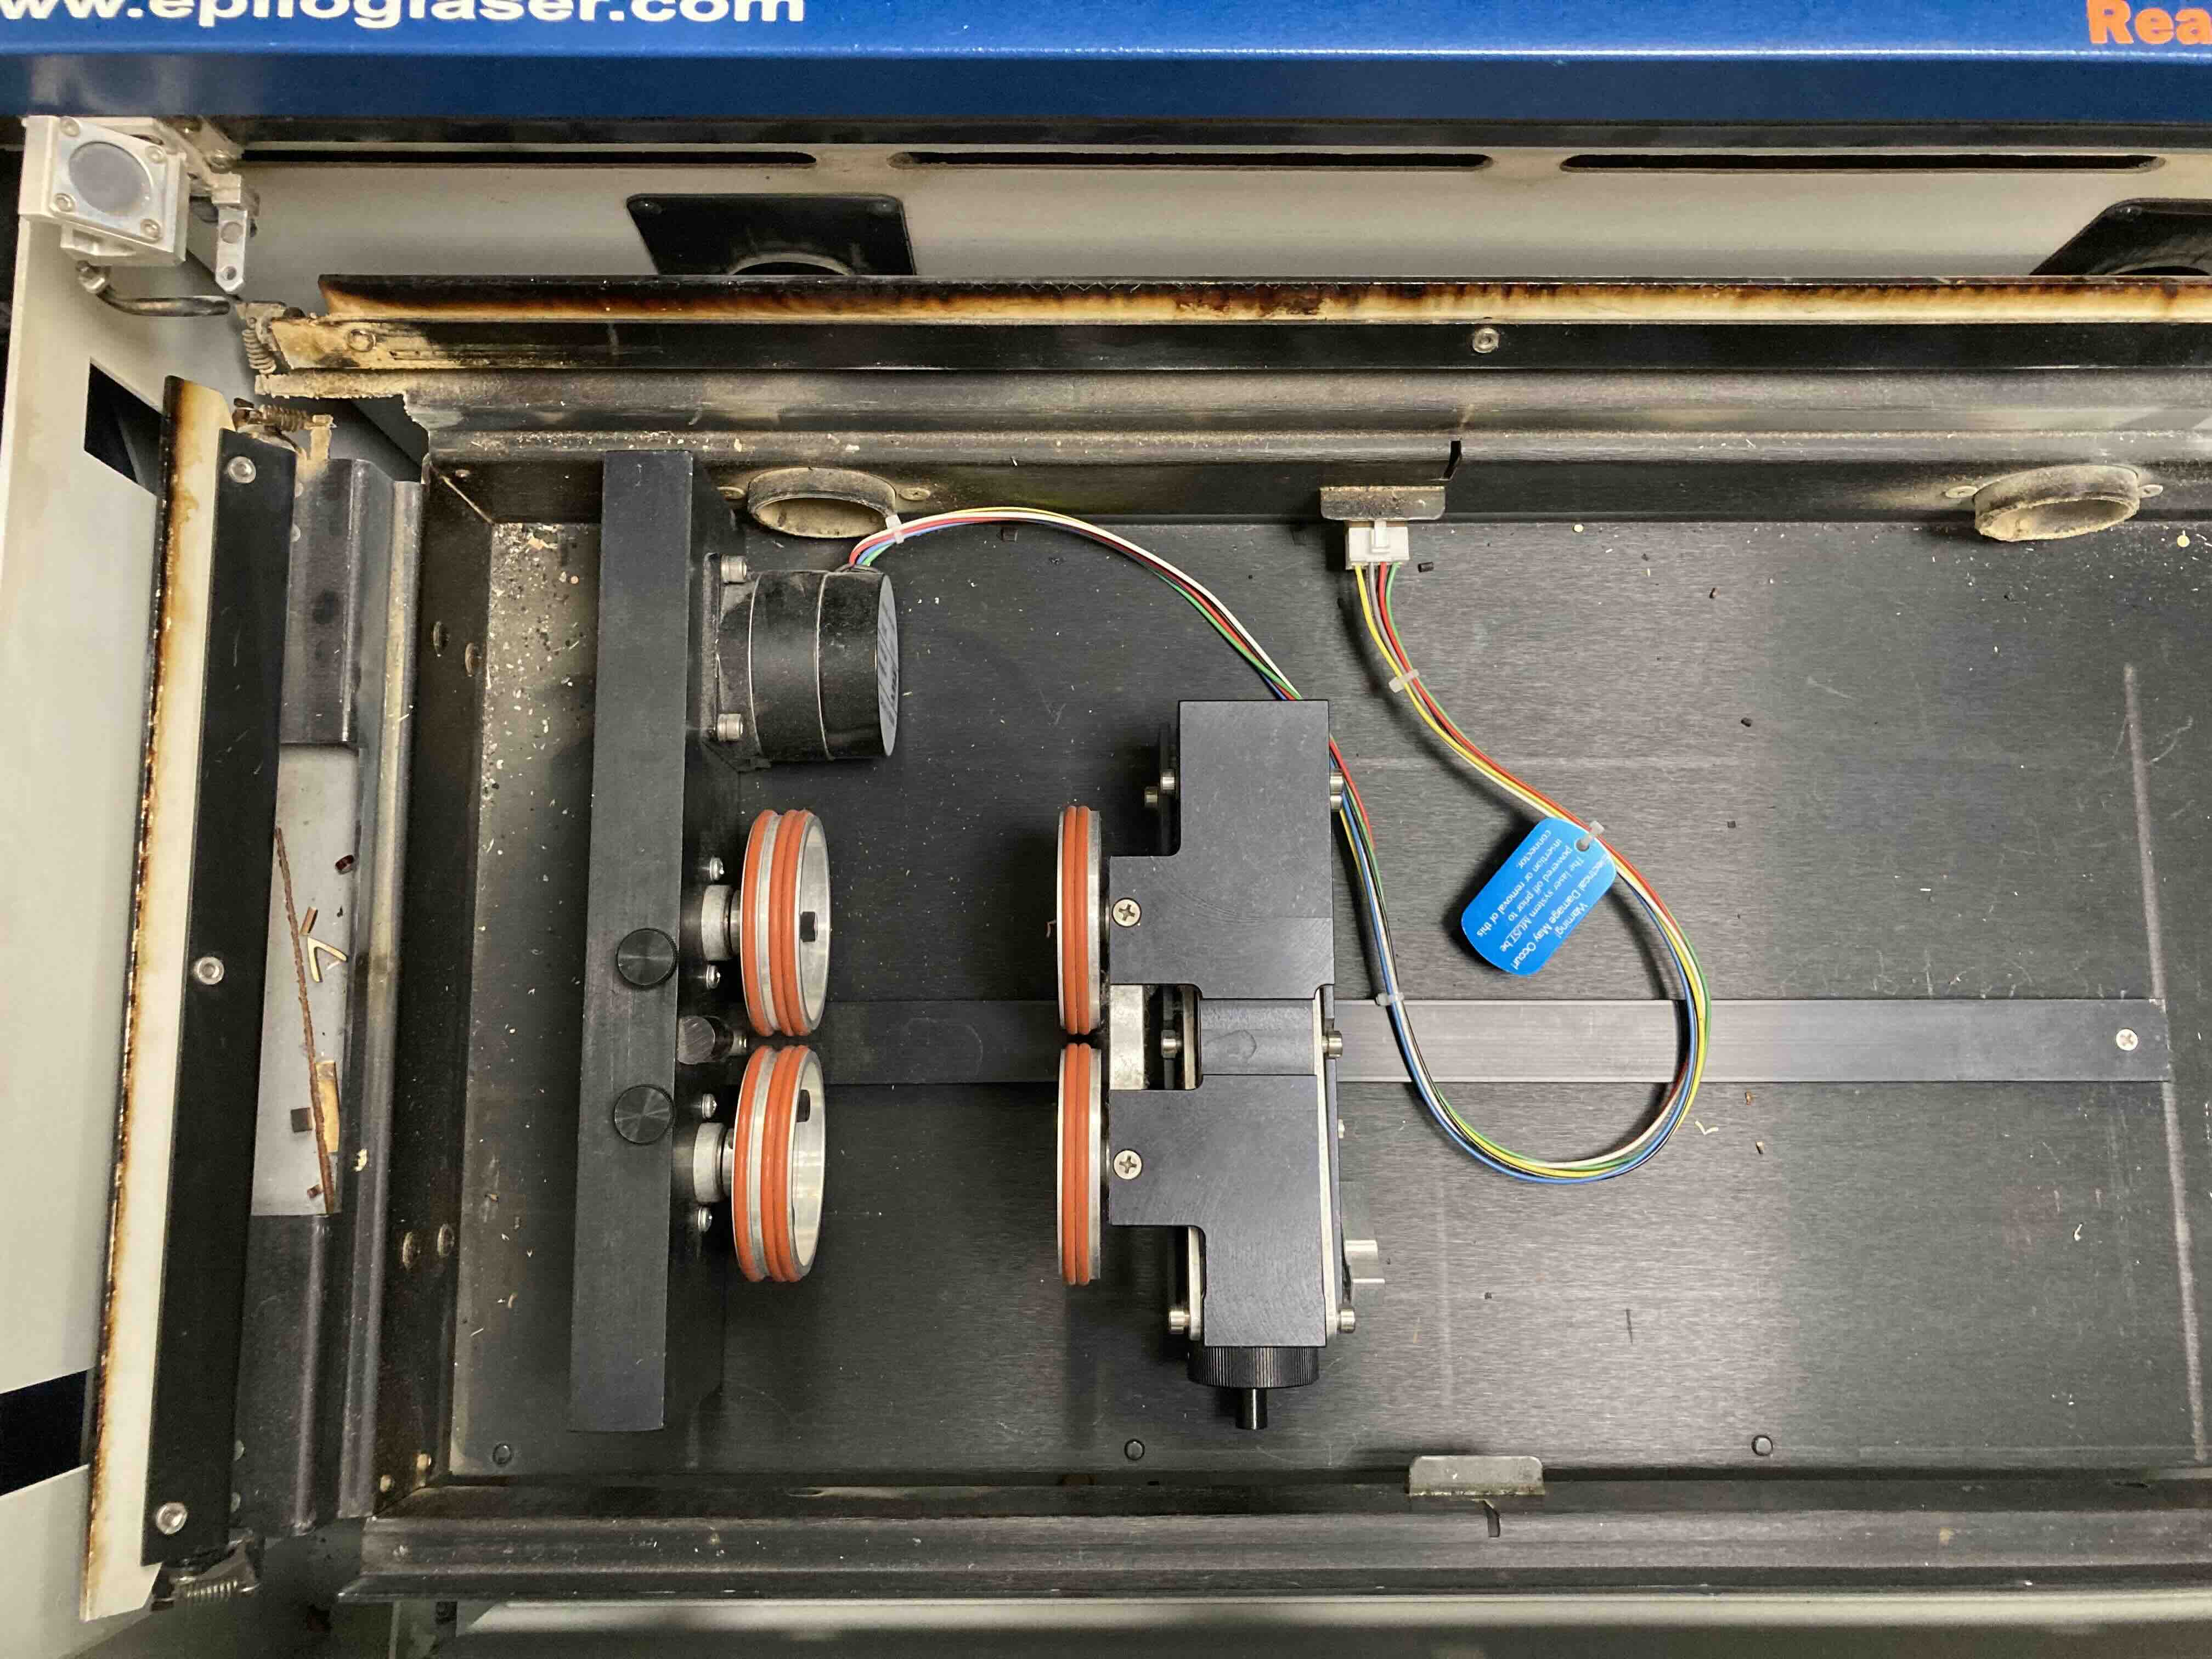
Open with one good pull.
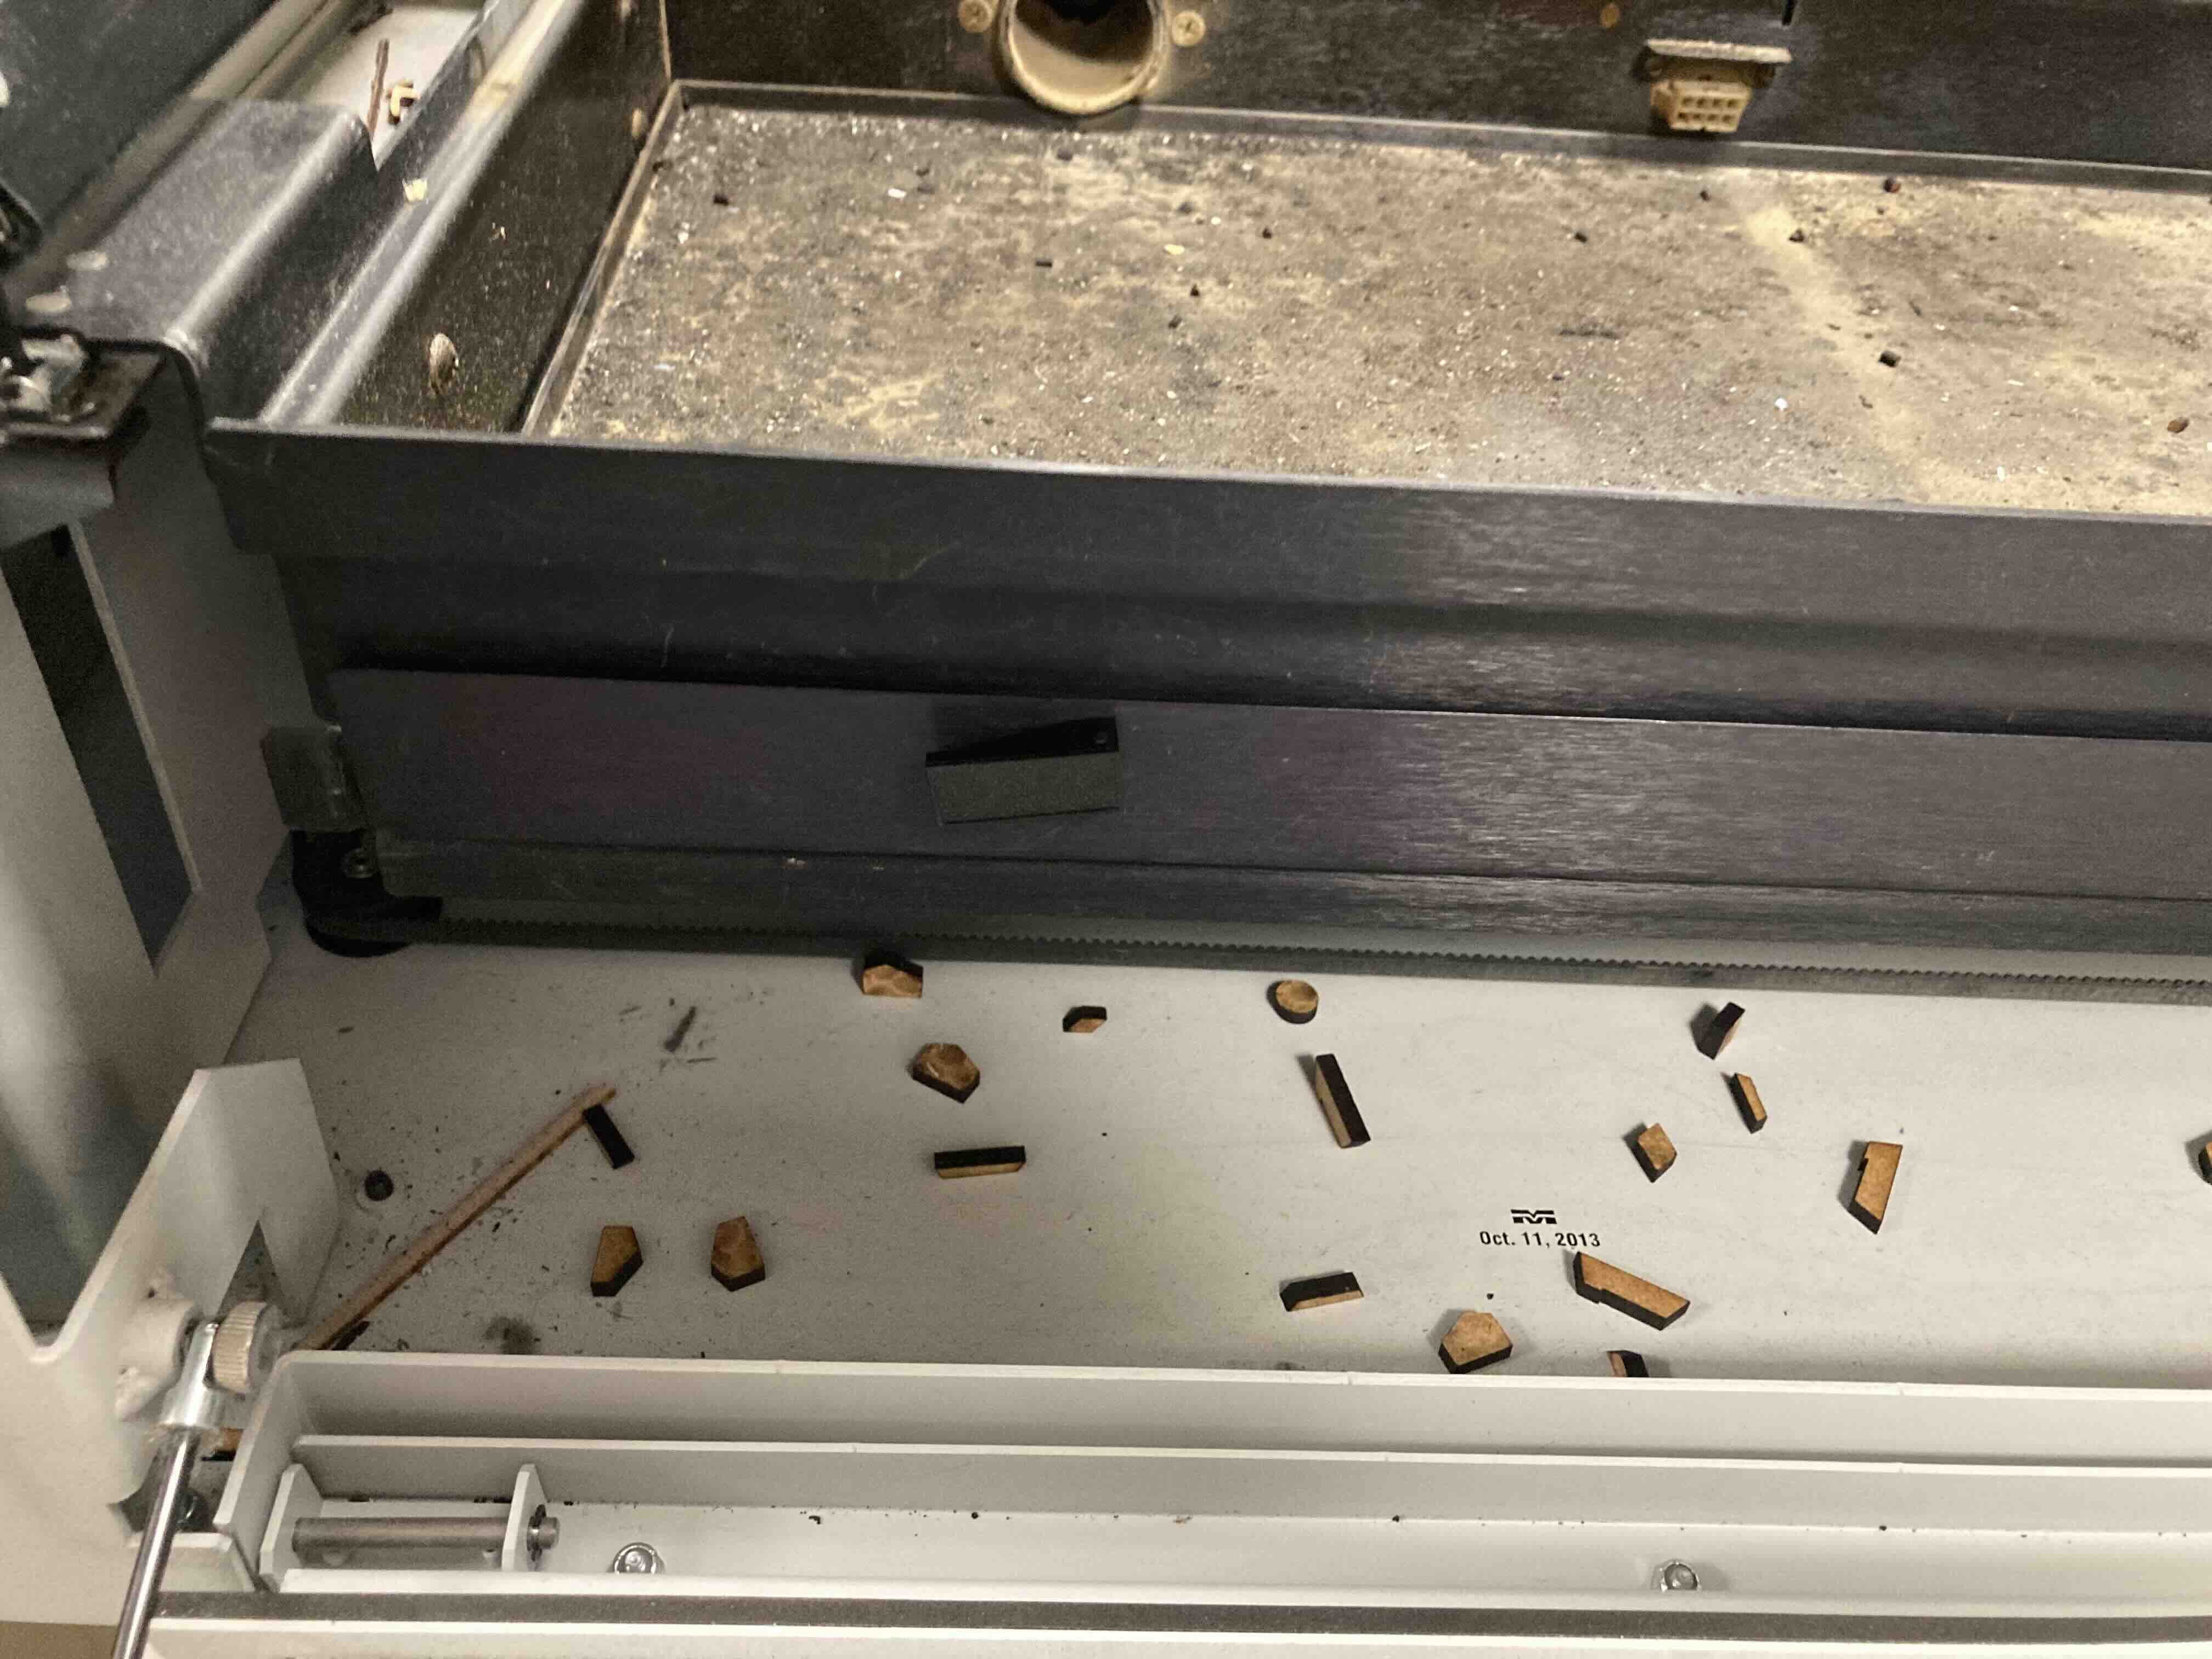
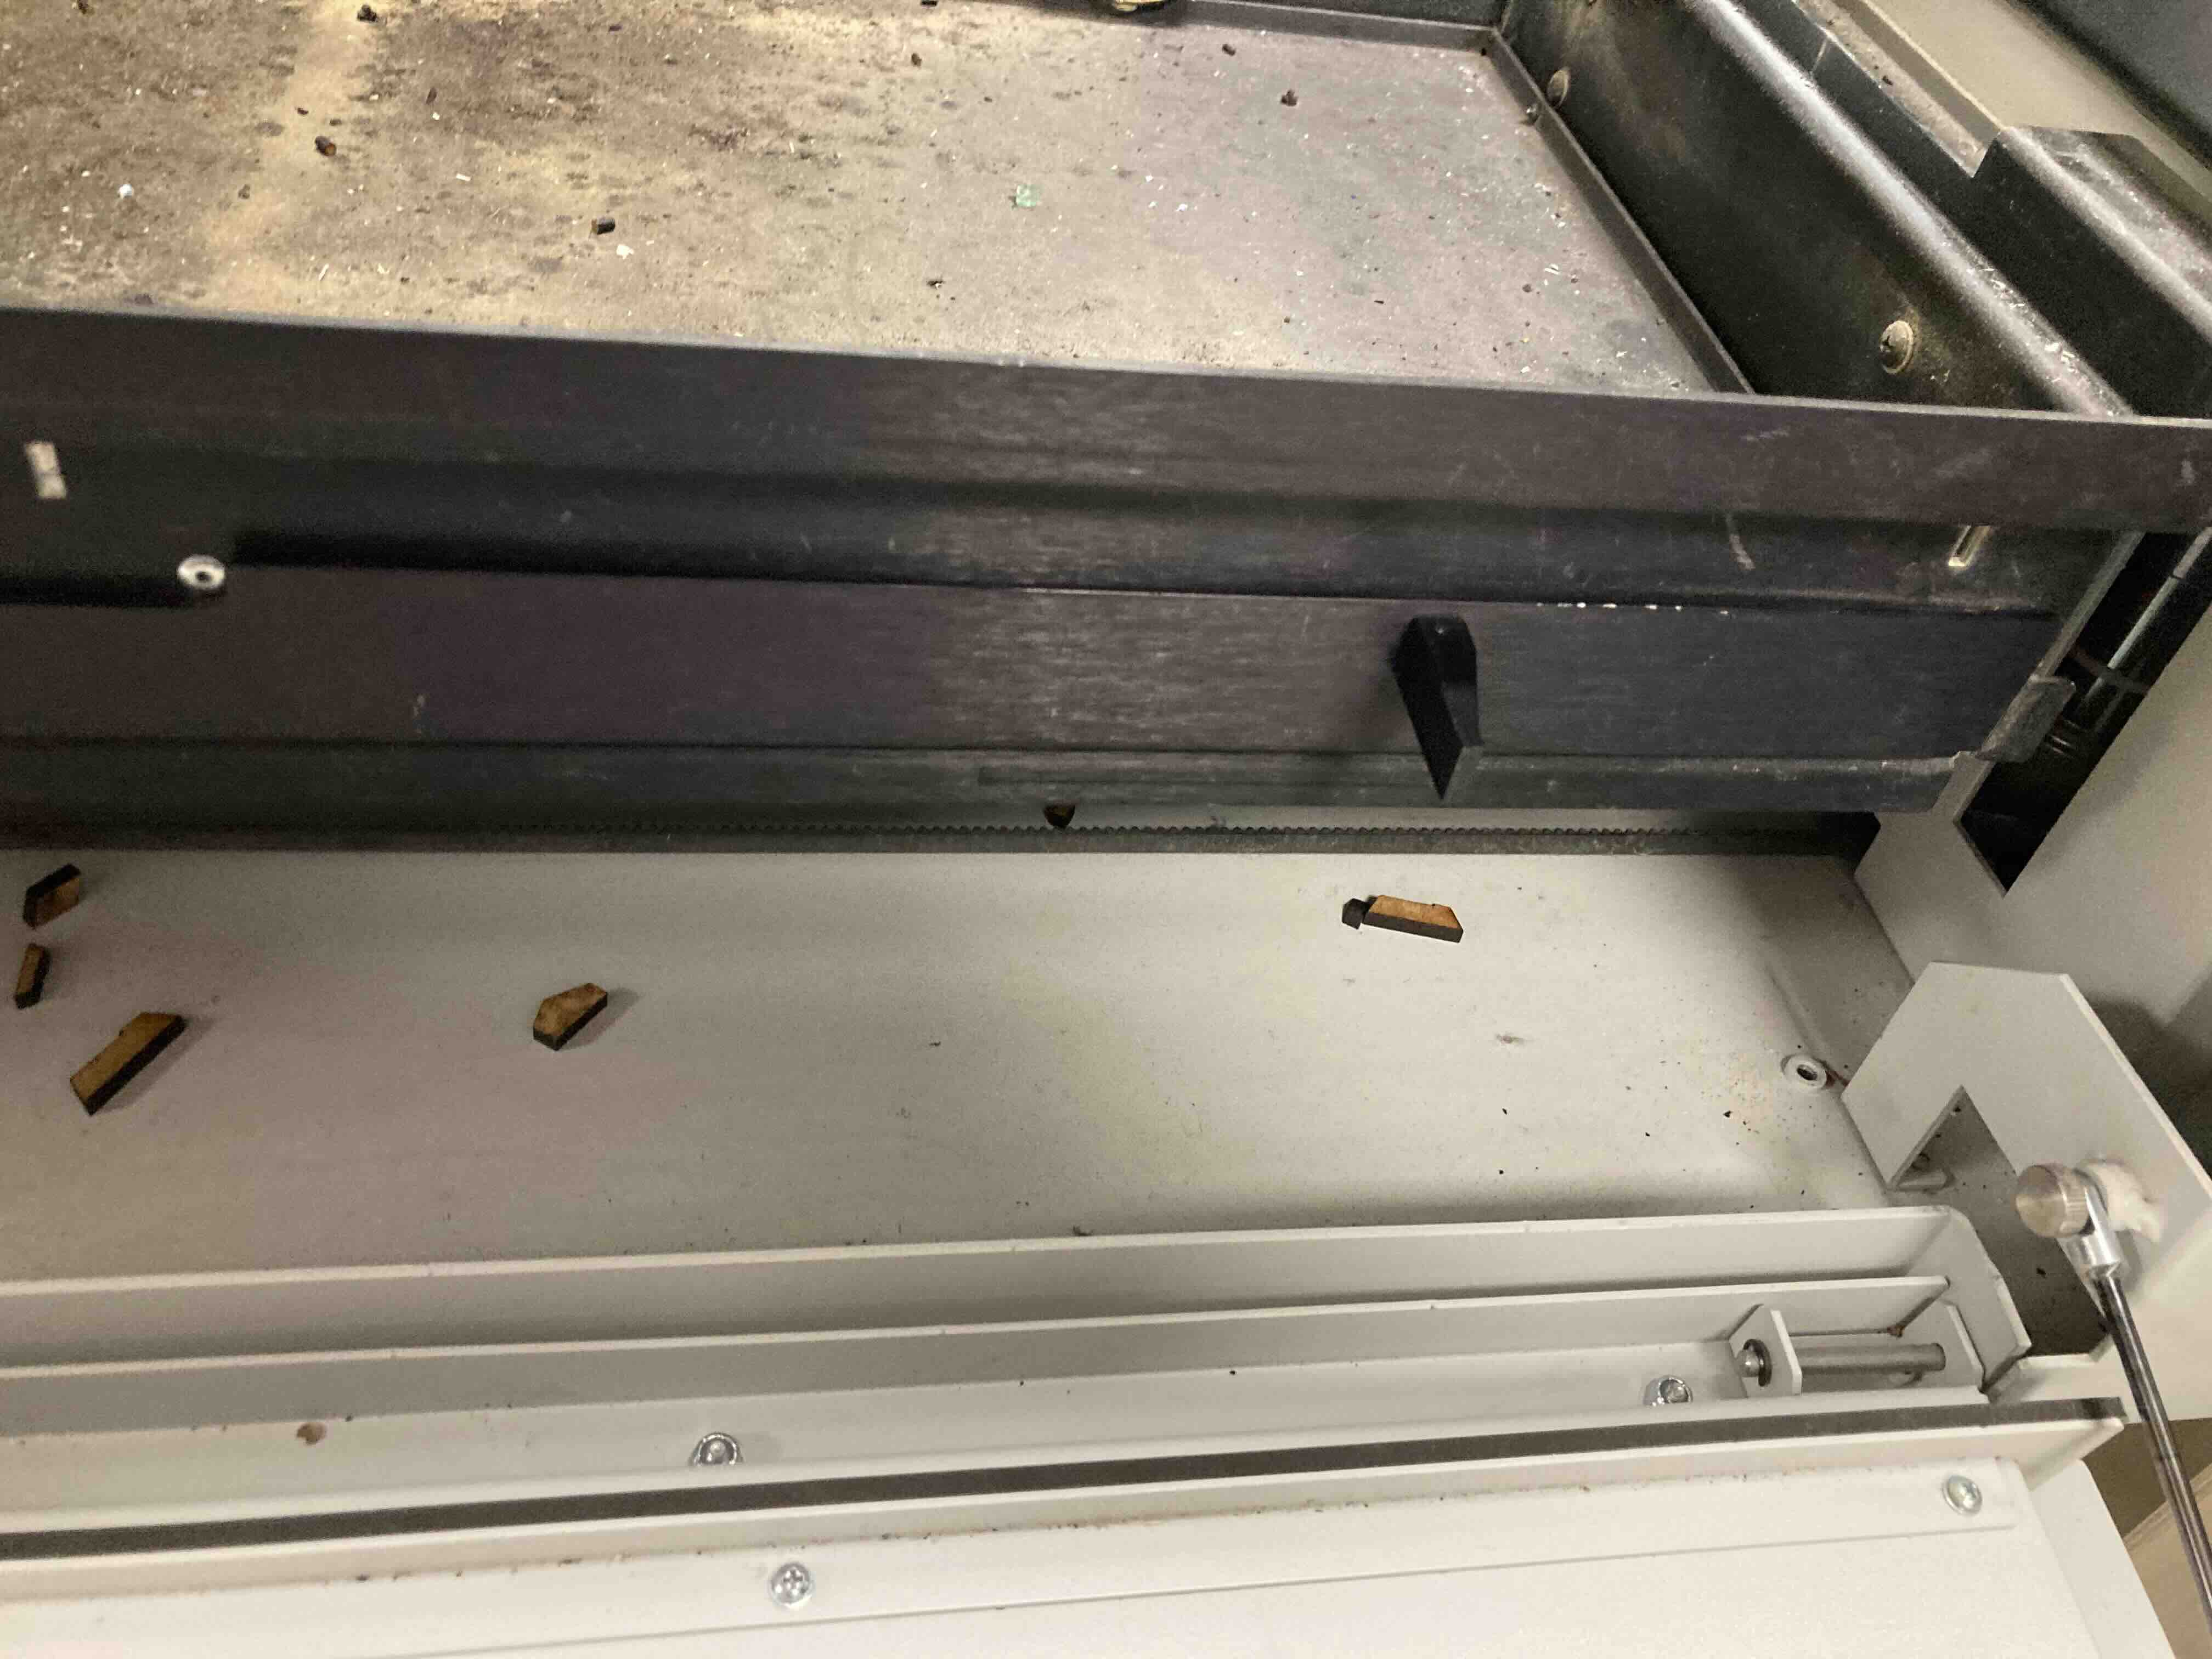
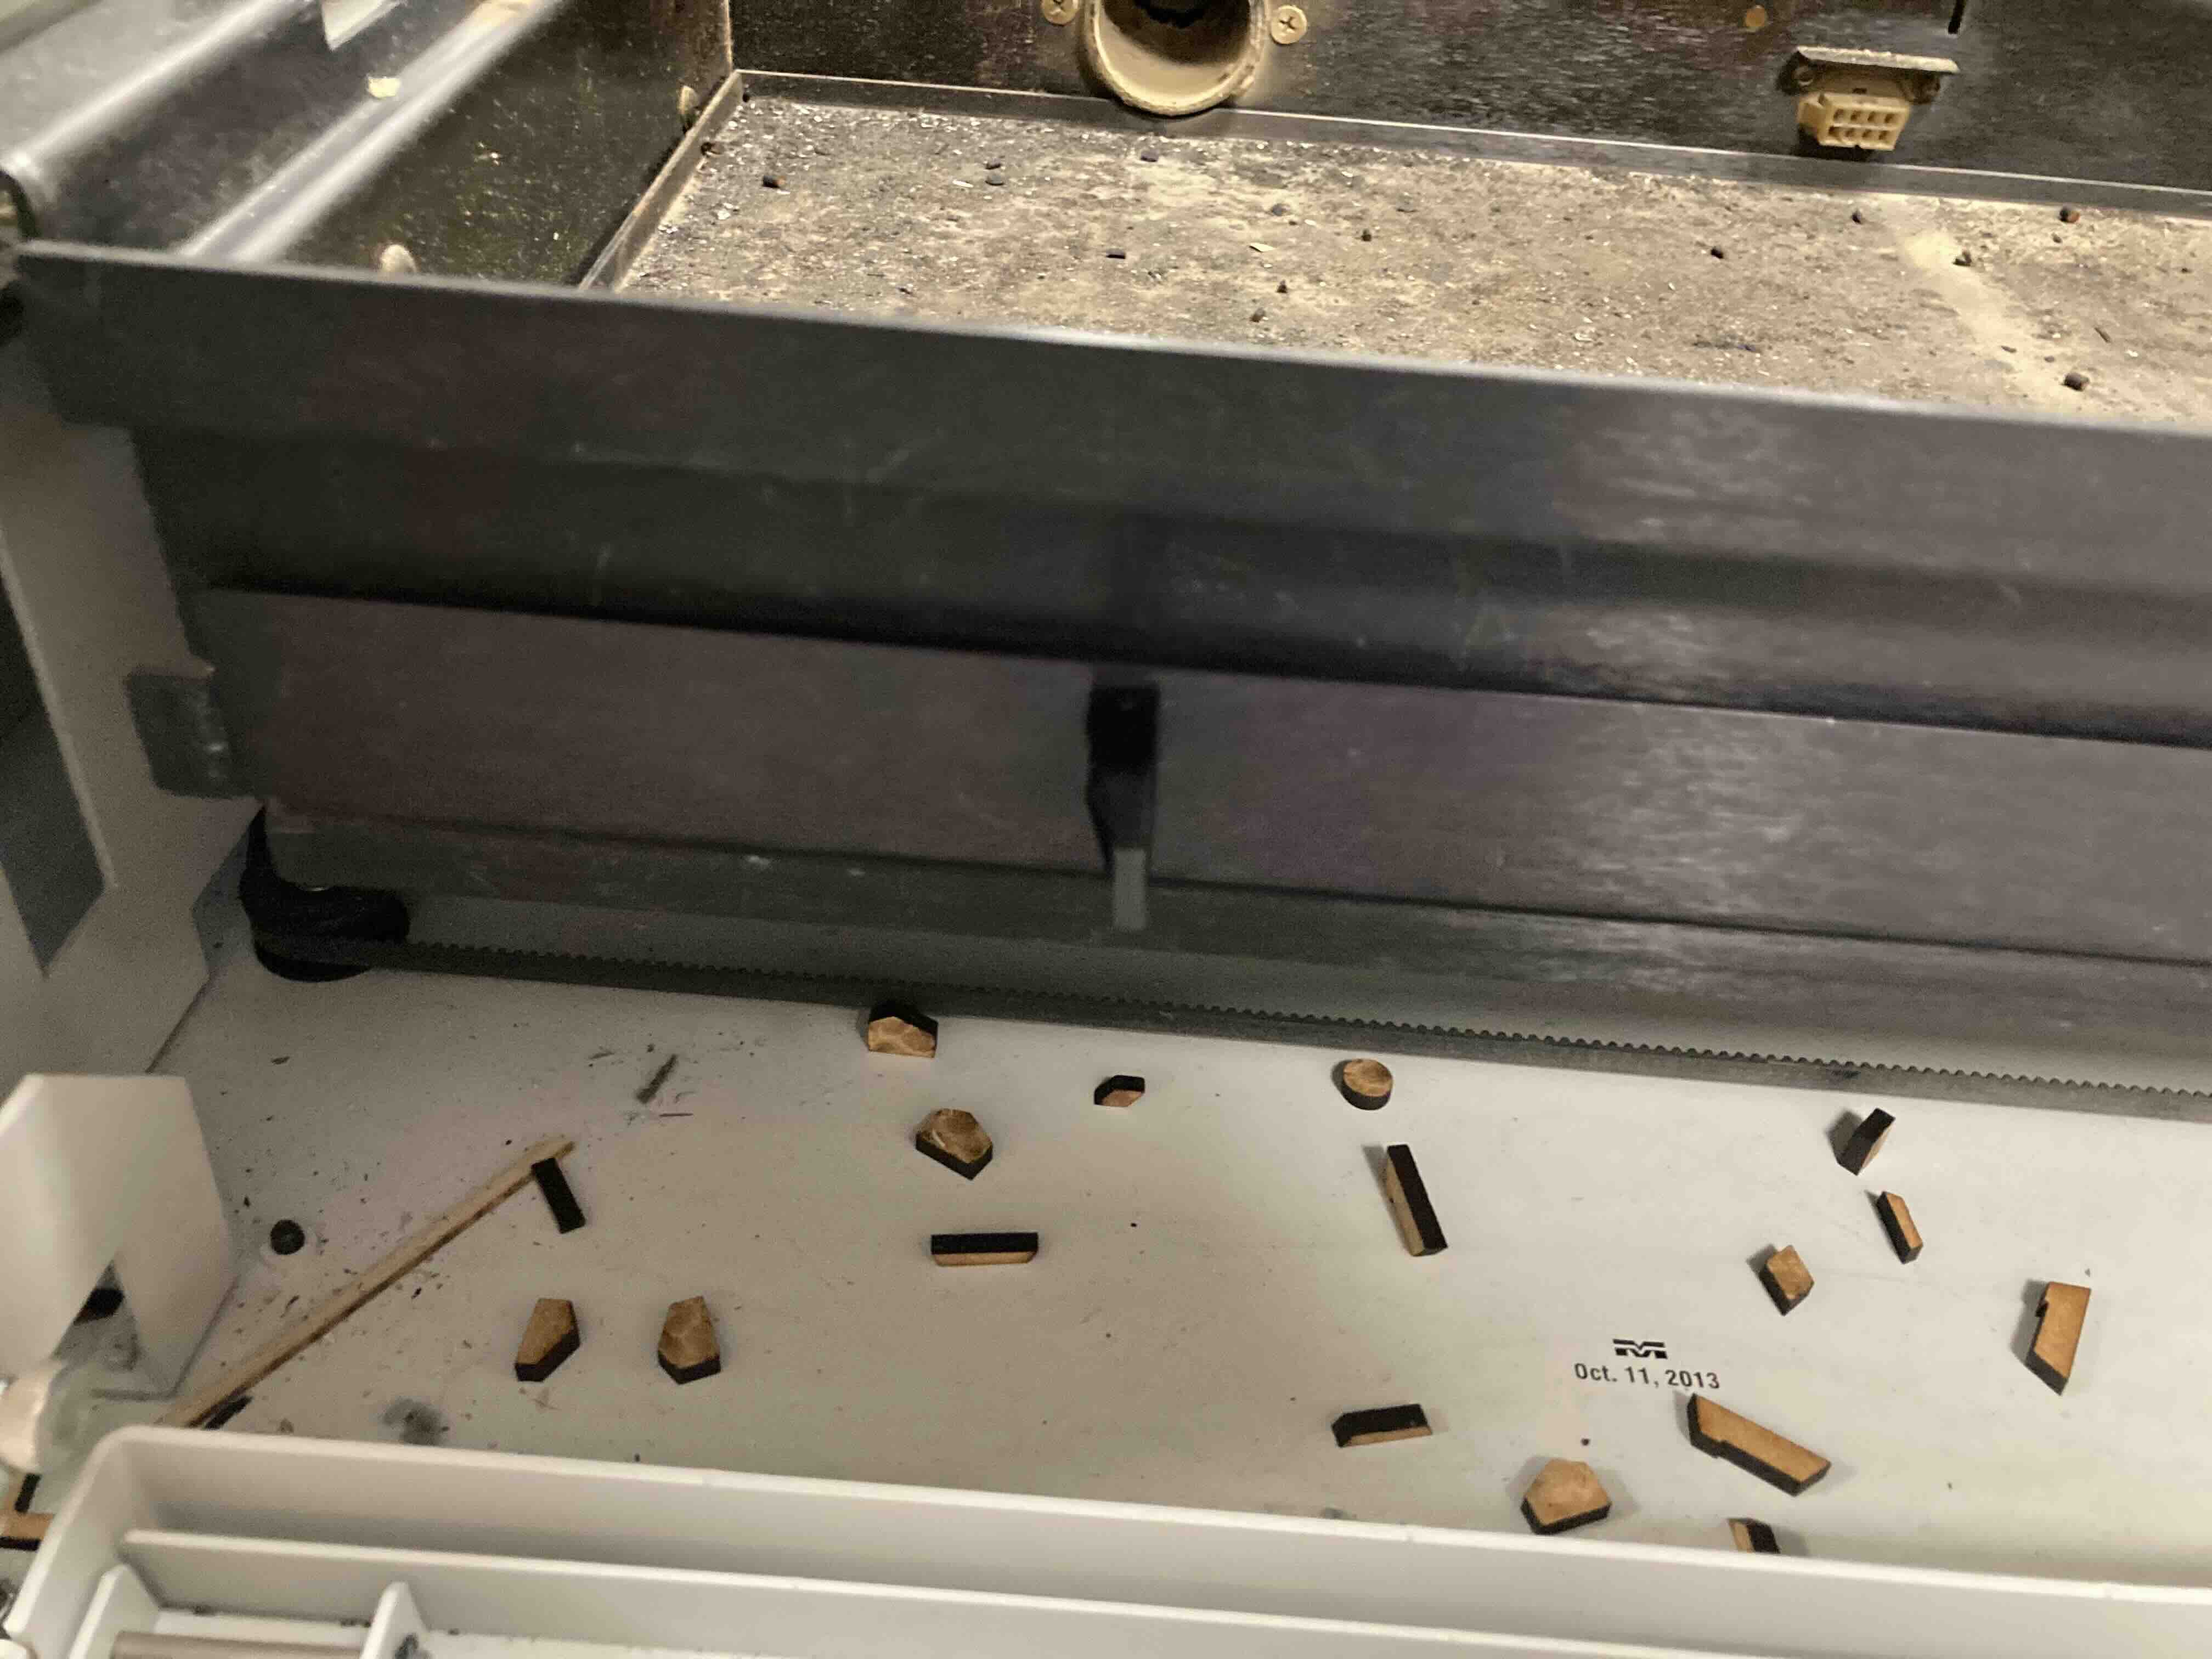
Pull out the shelve.
Locate the tiny holes.
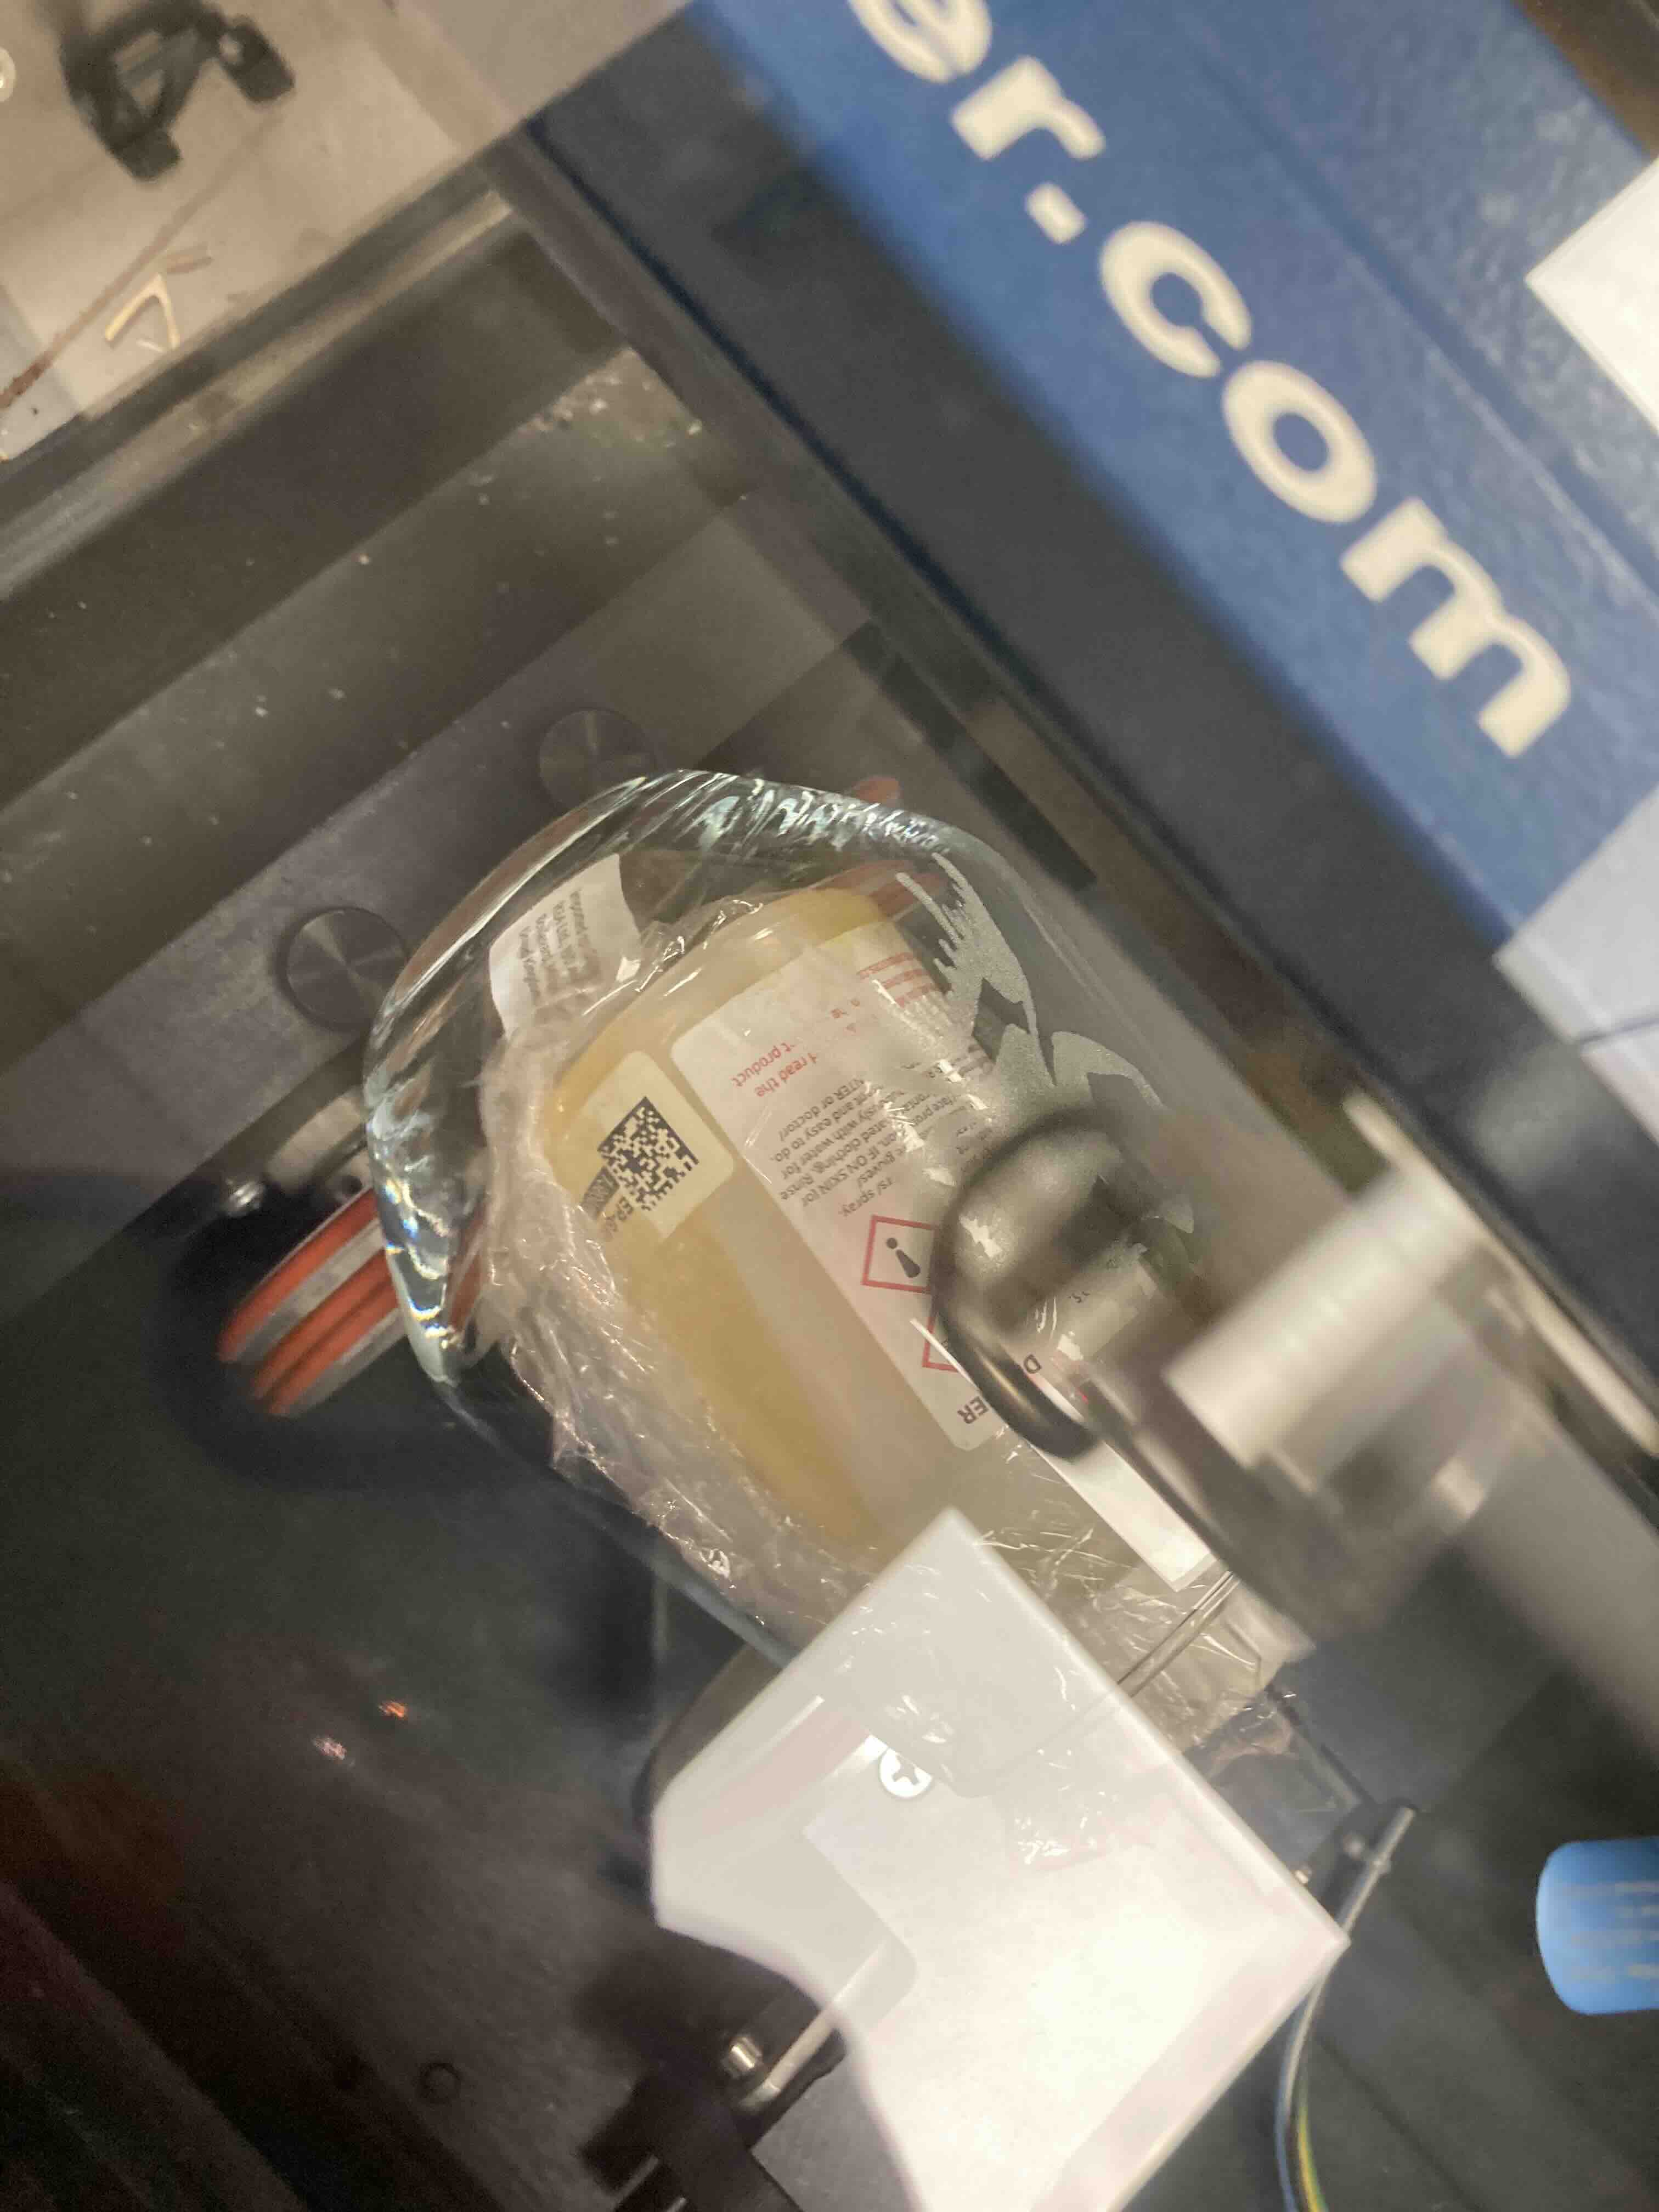
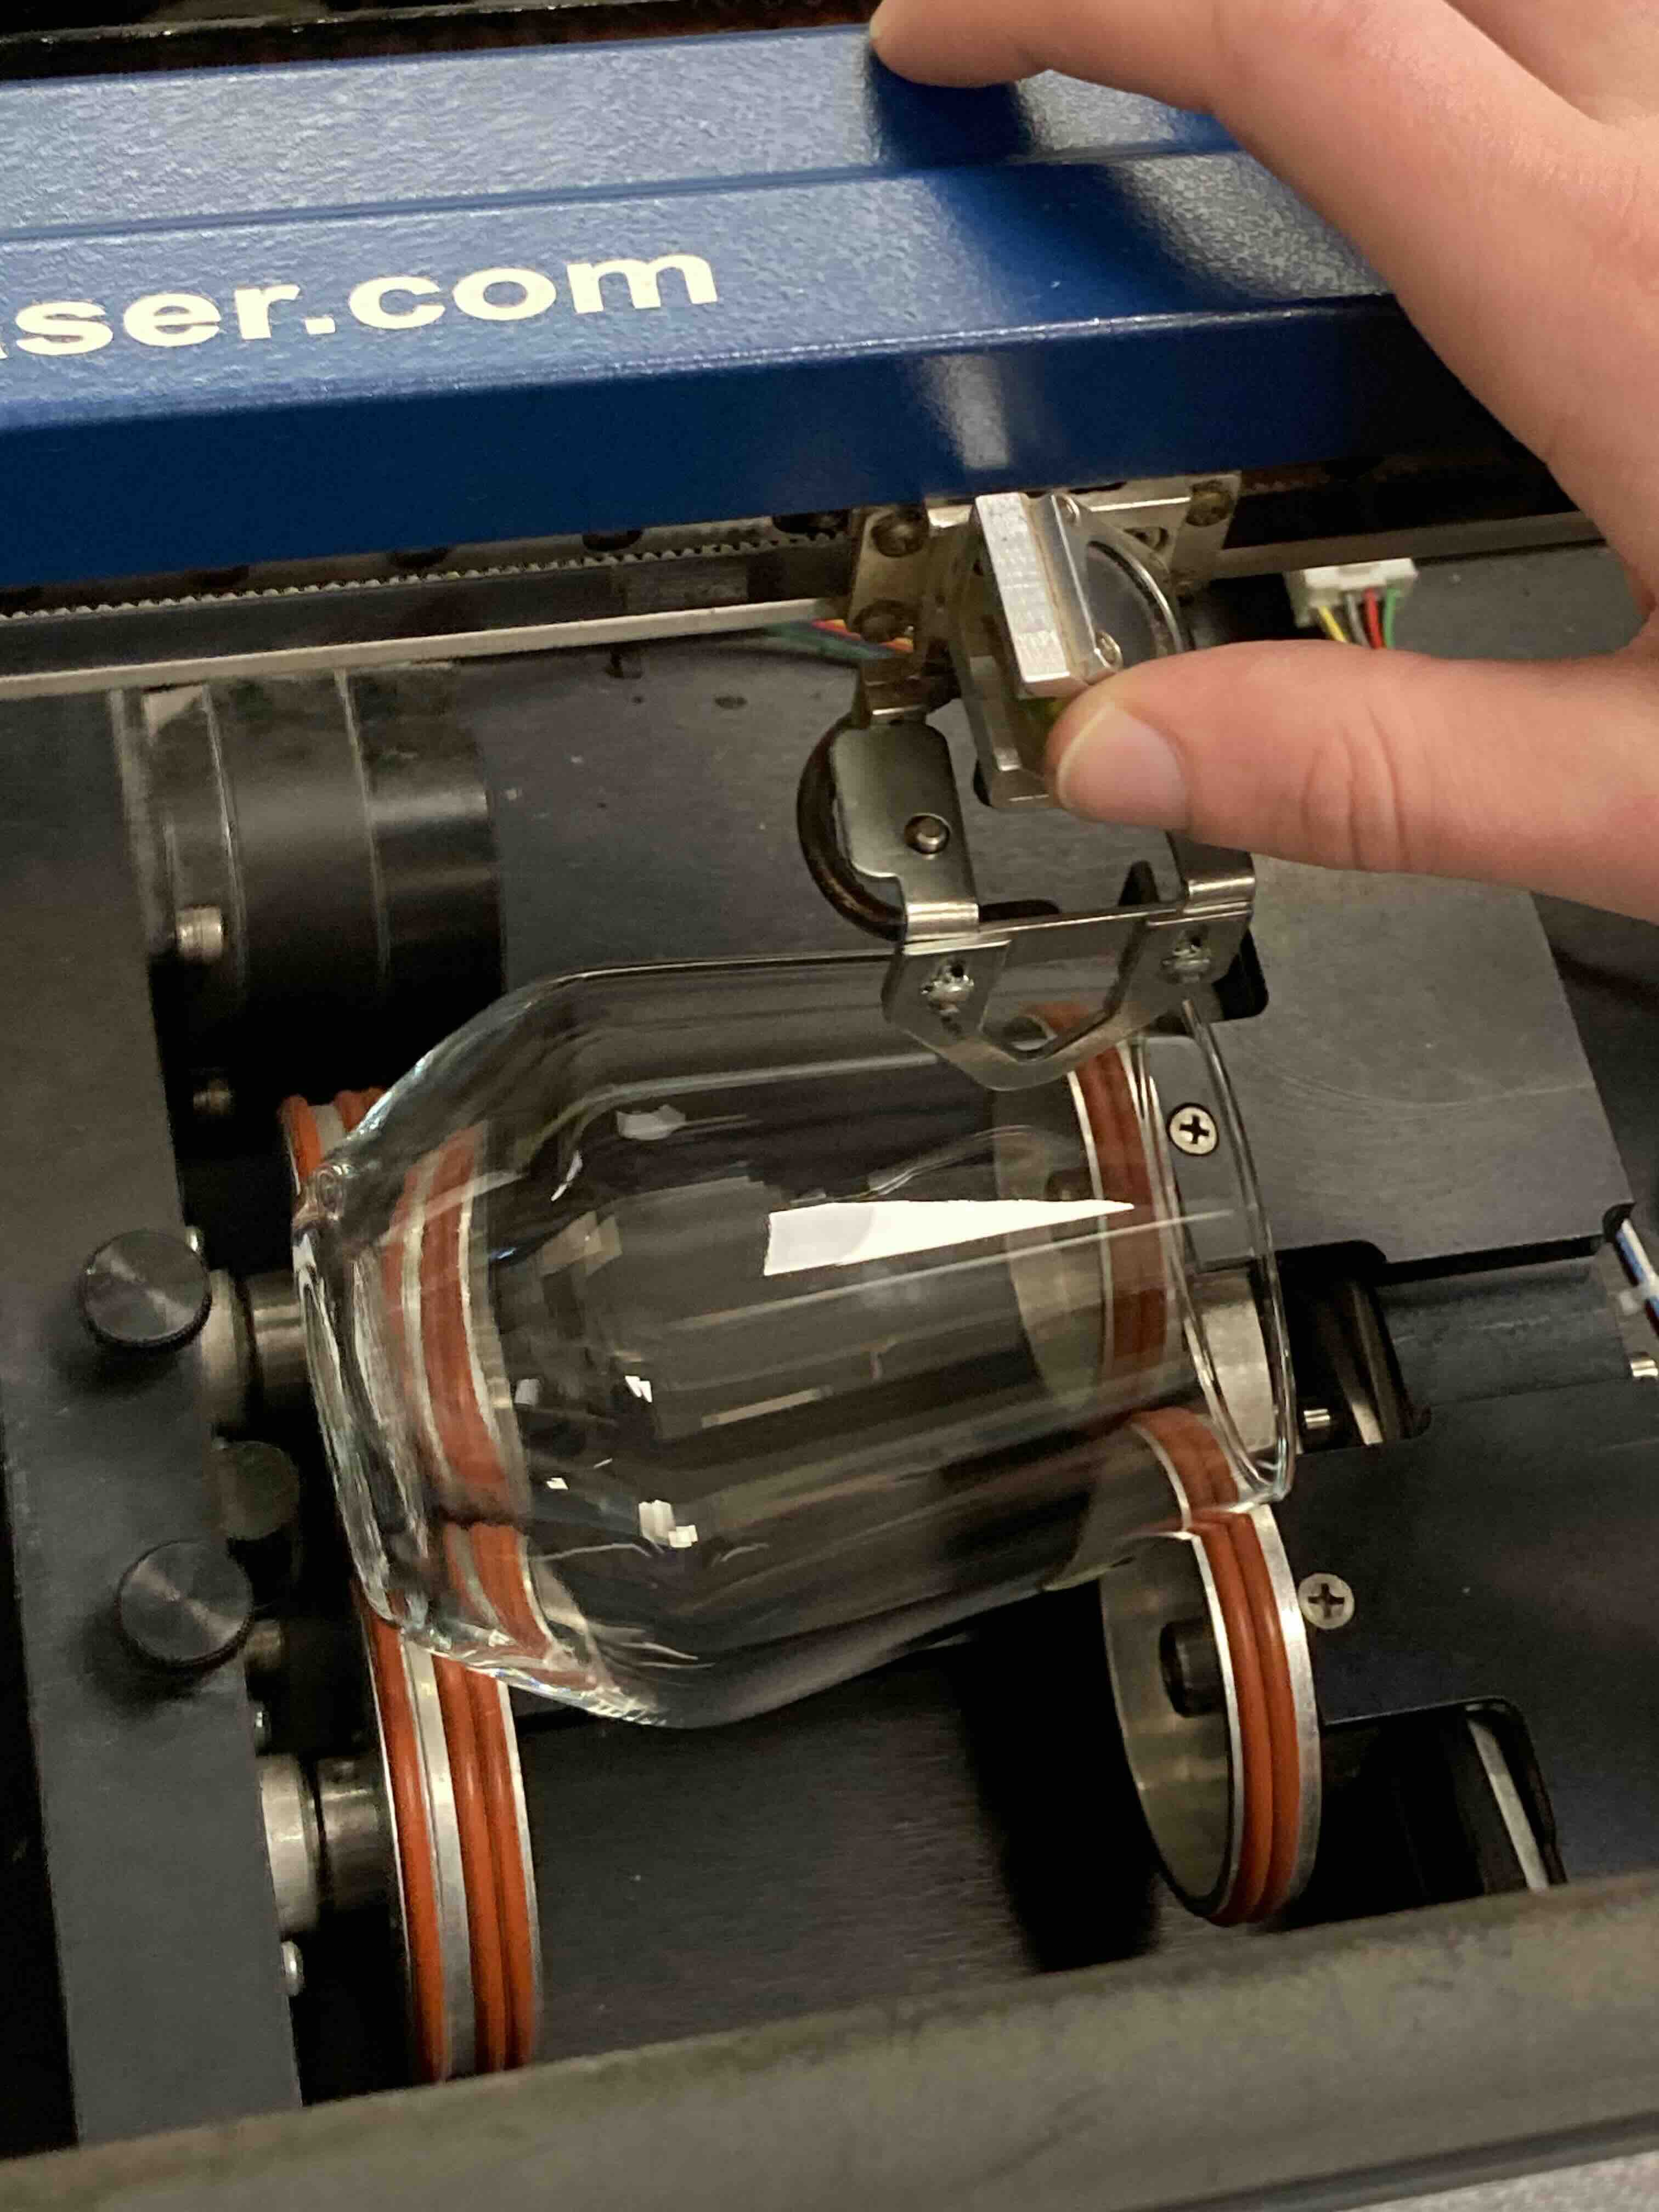
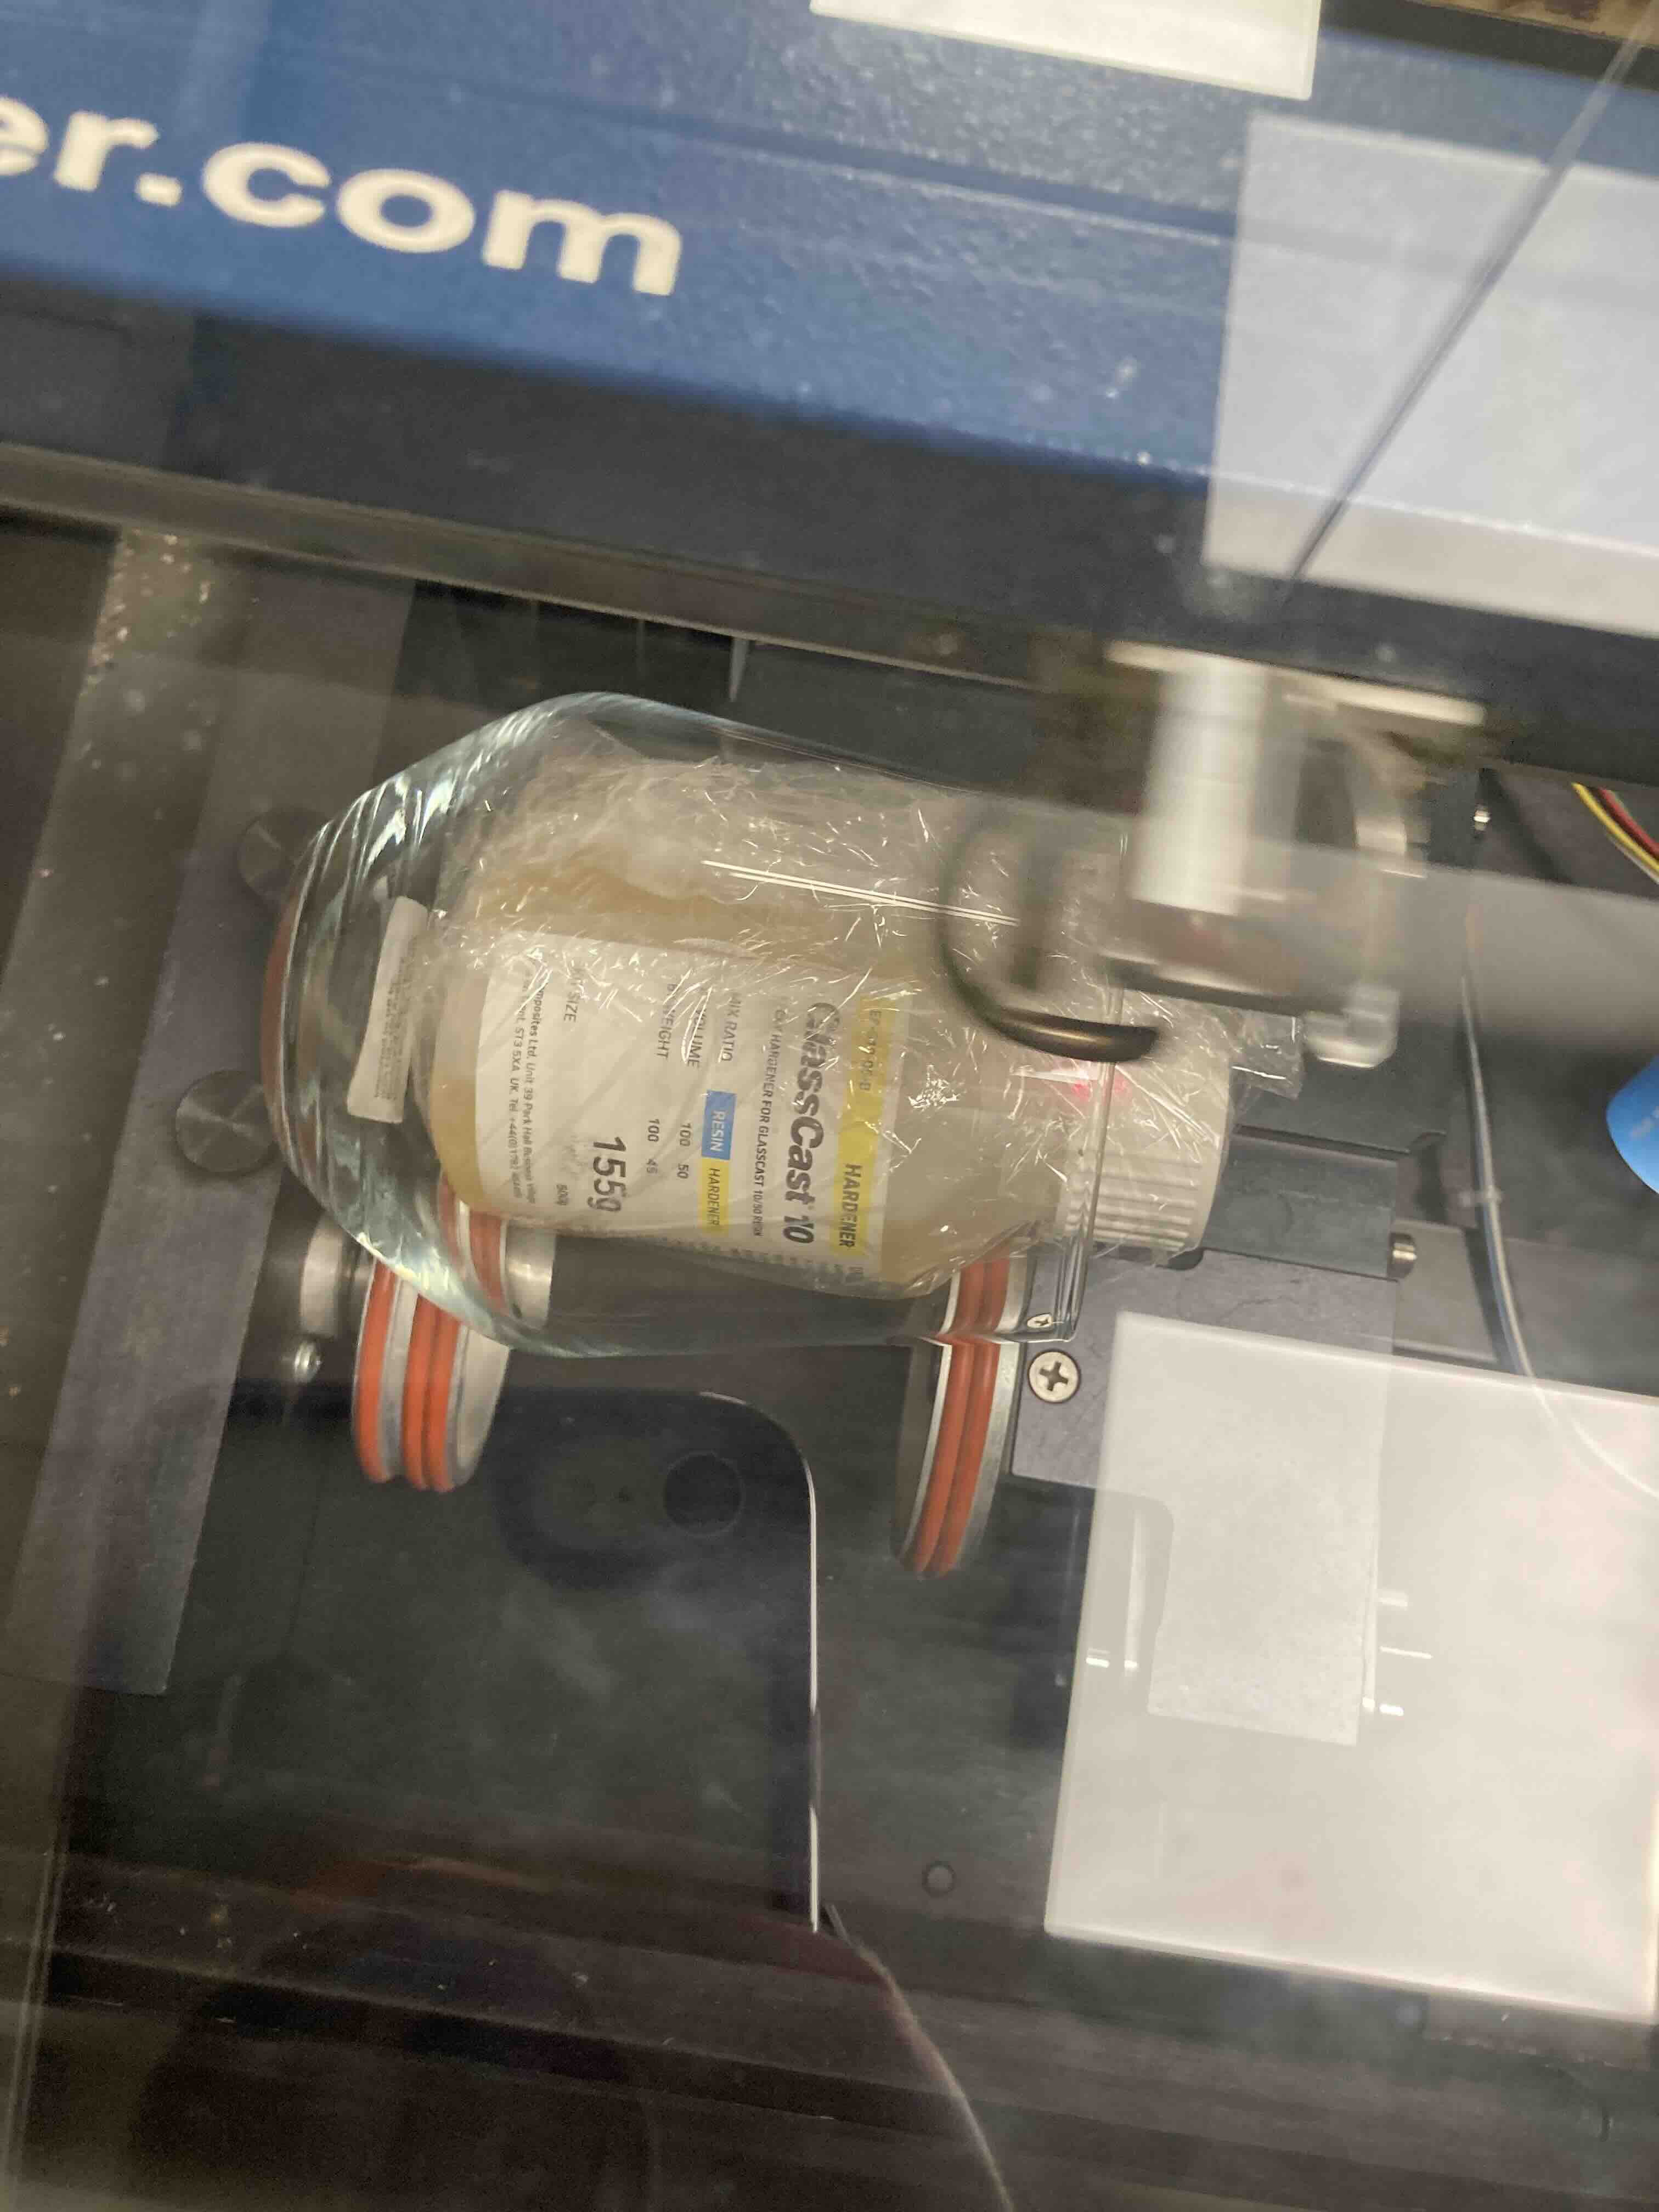
Place the glass roller.
Glass roller in place.
Make sure the laser is off before plugging in.
Lasercutter: leveling
How to level the glass. You have to have something that is solid over the glass so the laser makes contact Will just go through the glass.
Lasercutter: things that can go wrong.
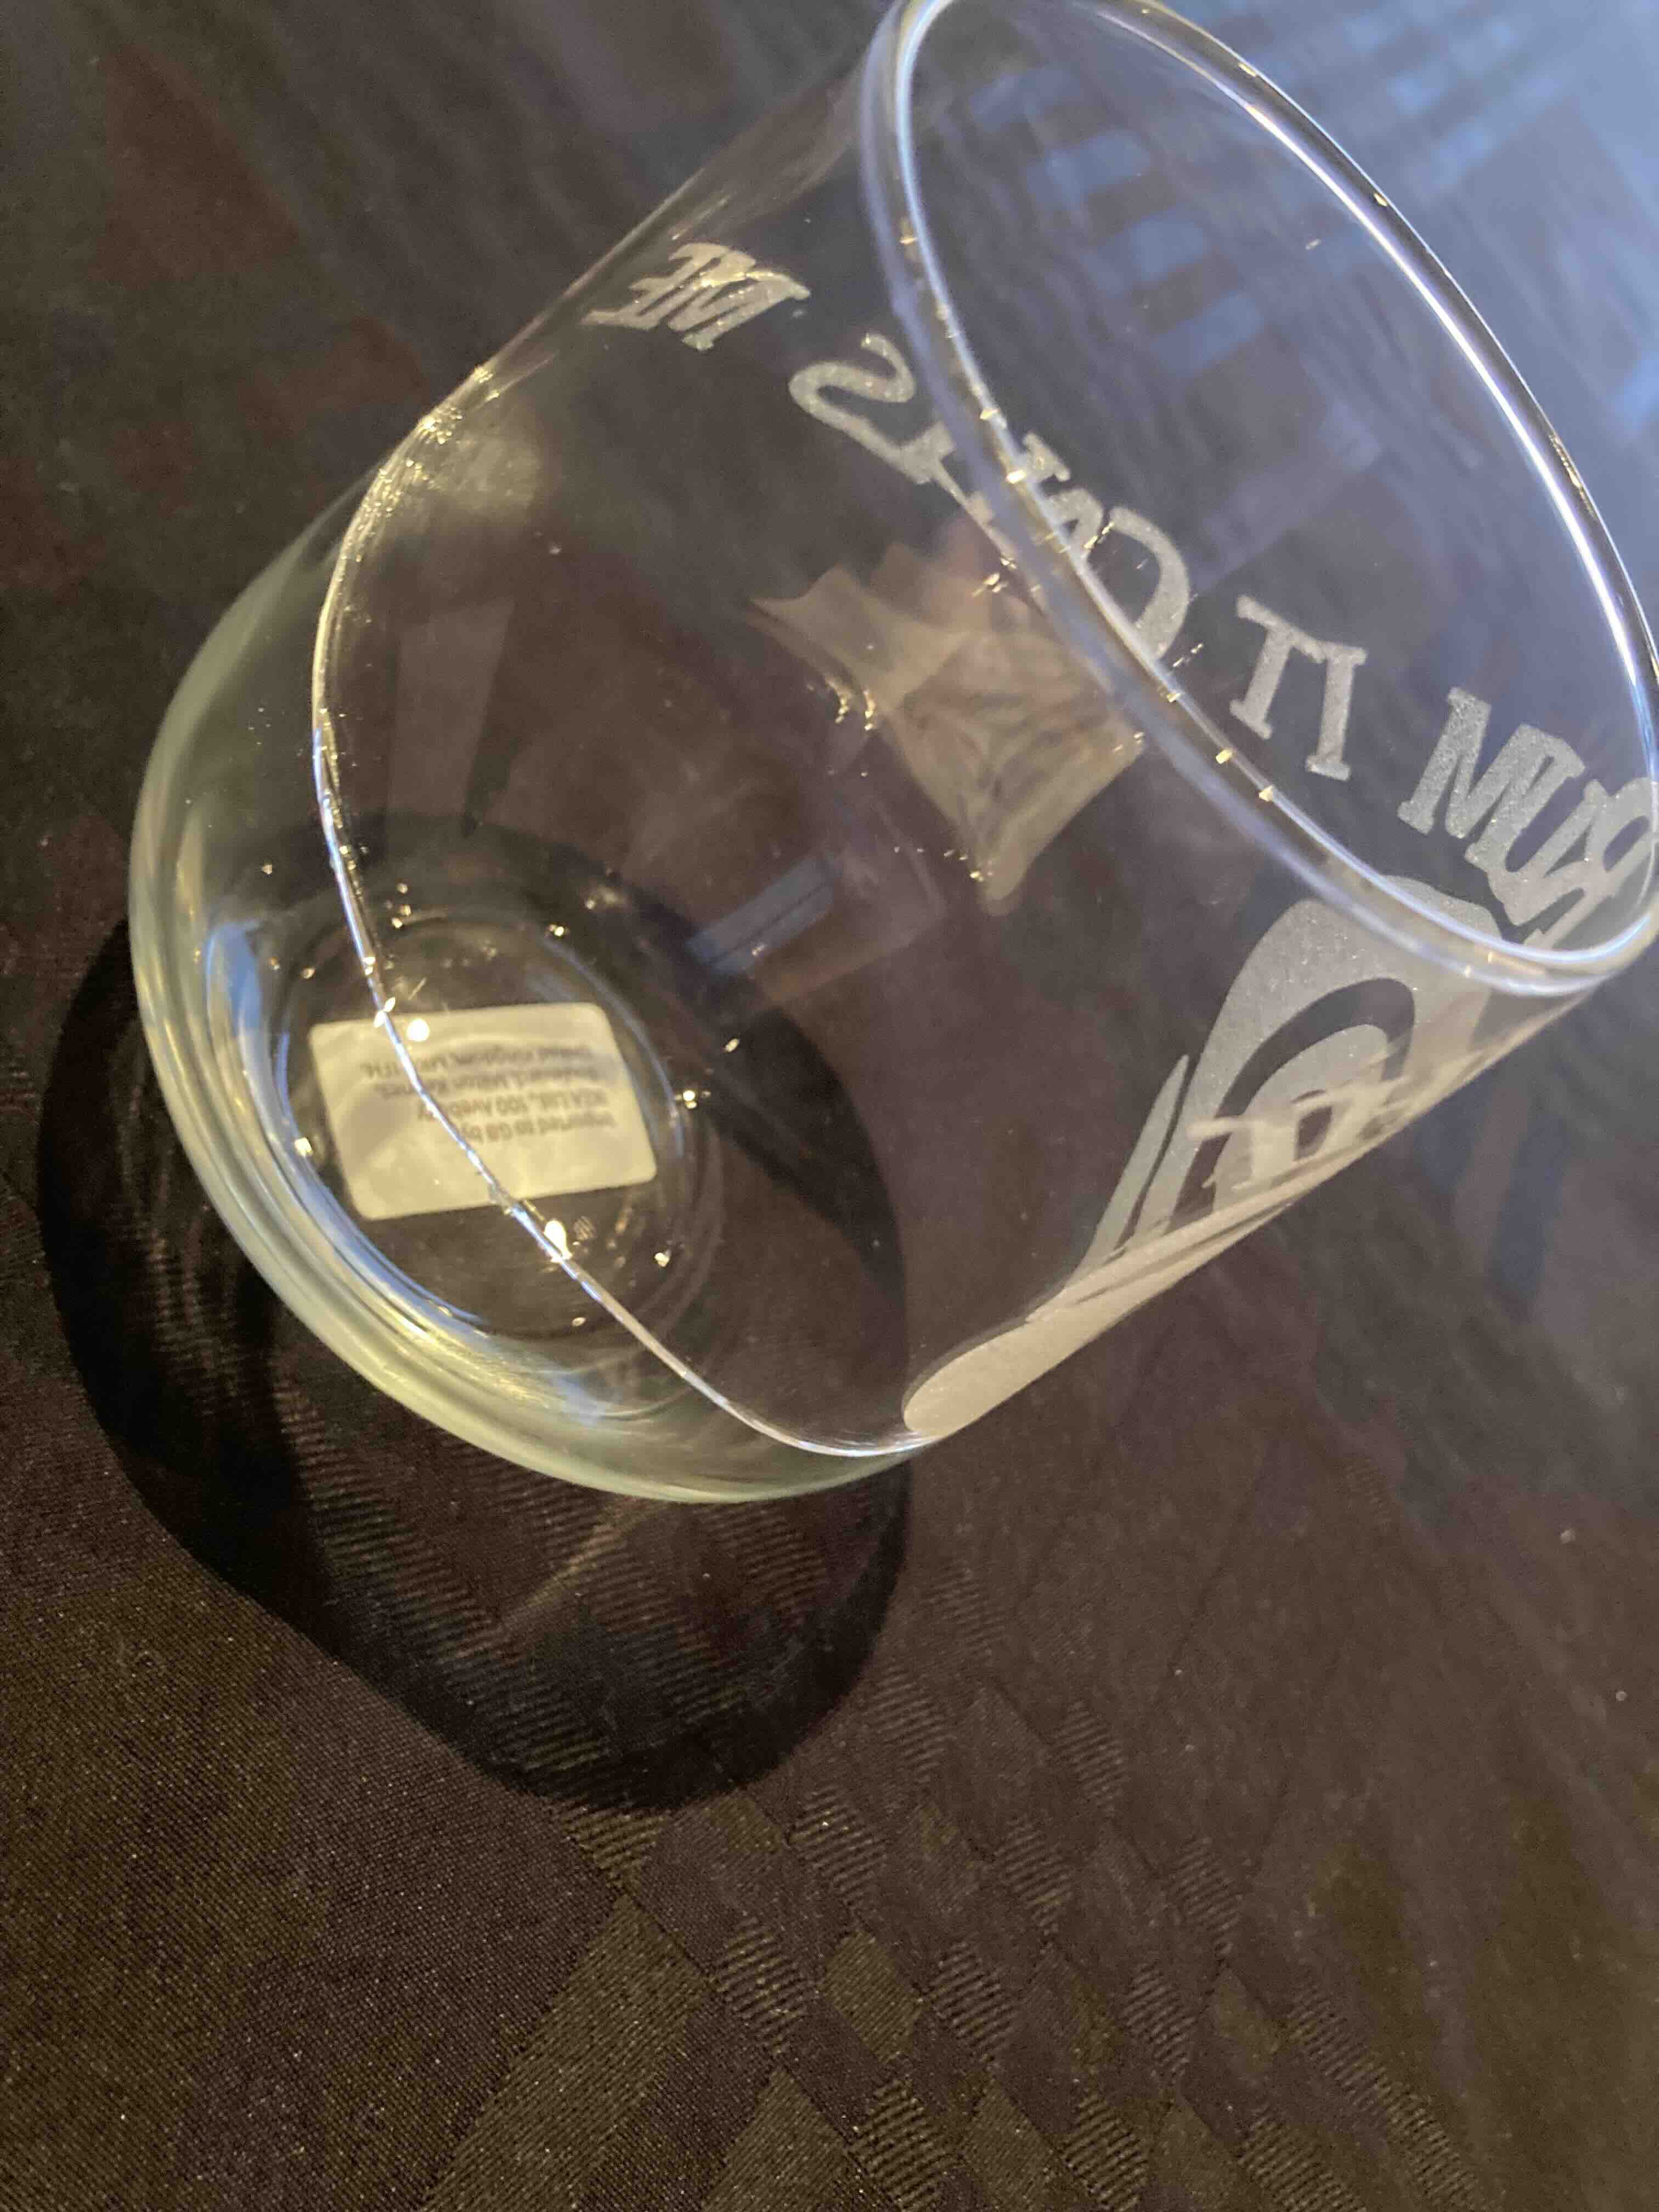
The file was inverted. It might slip..
Job type: Raster. Raster settings, Speed:25% Power:100%.
Lasercutter: breaking
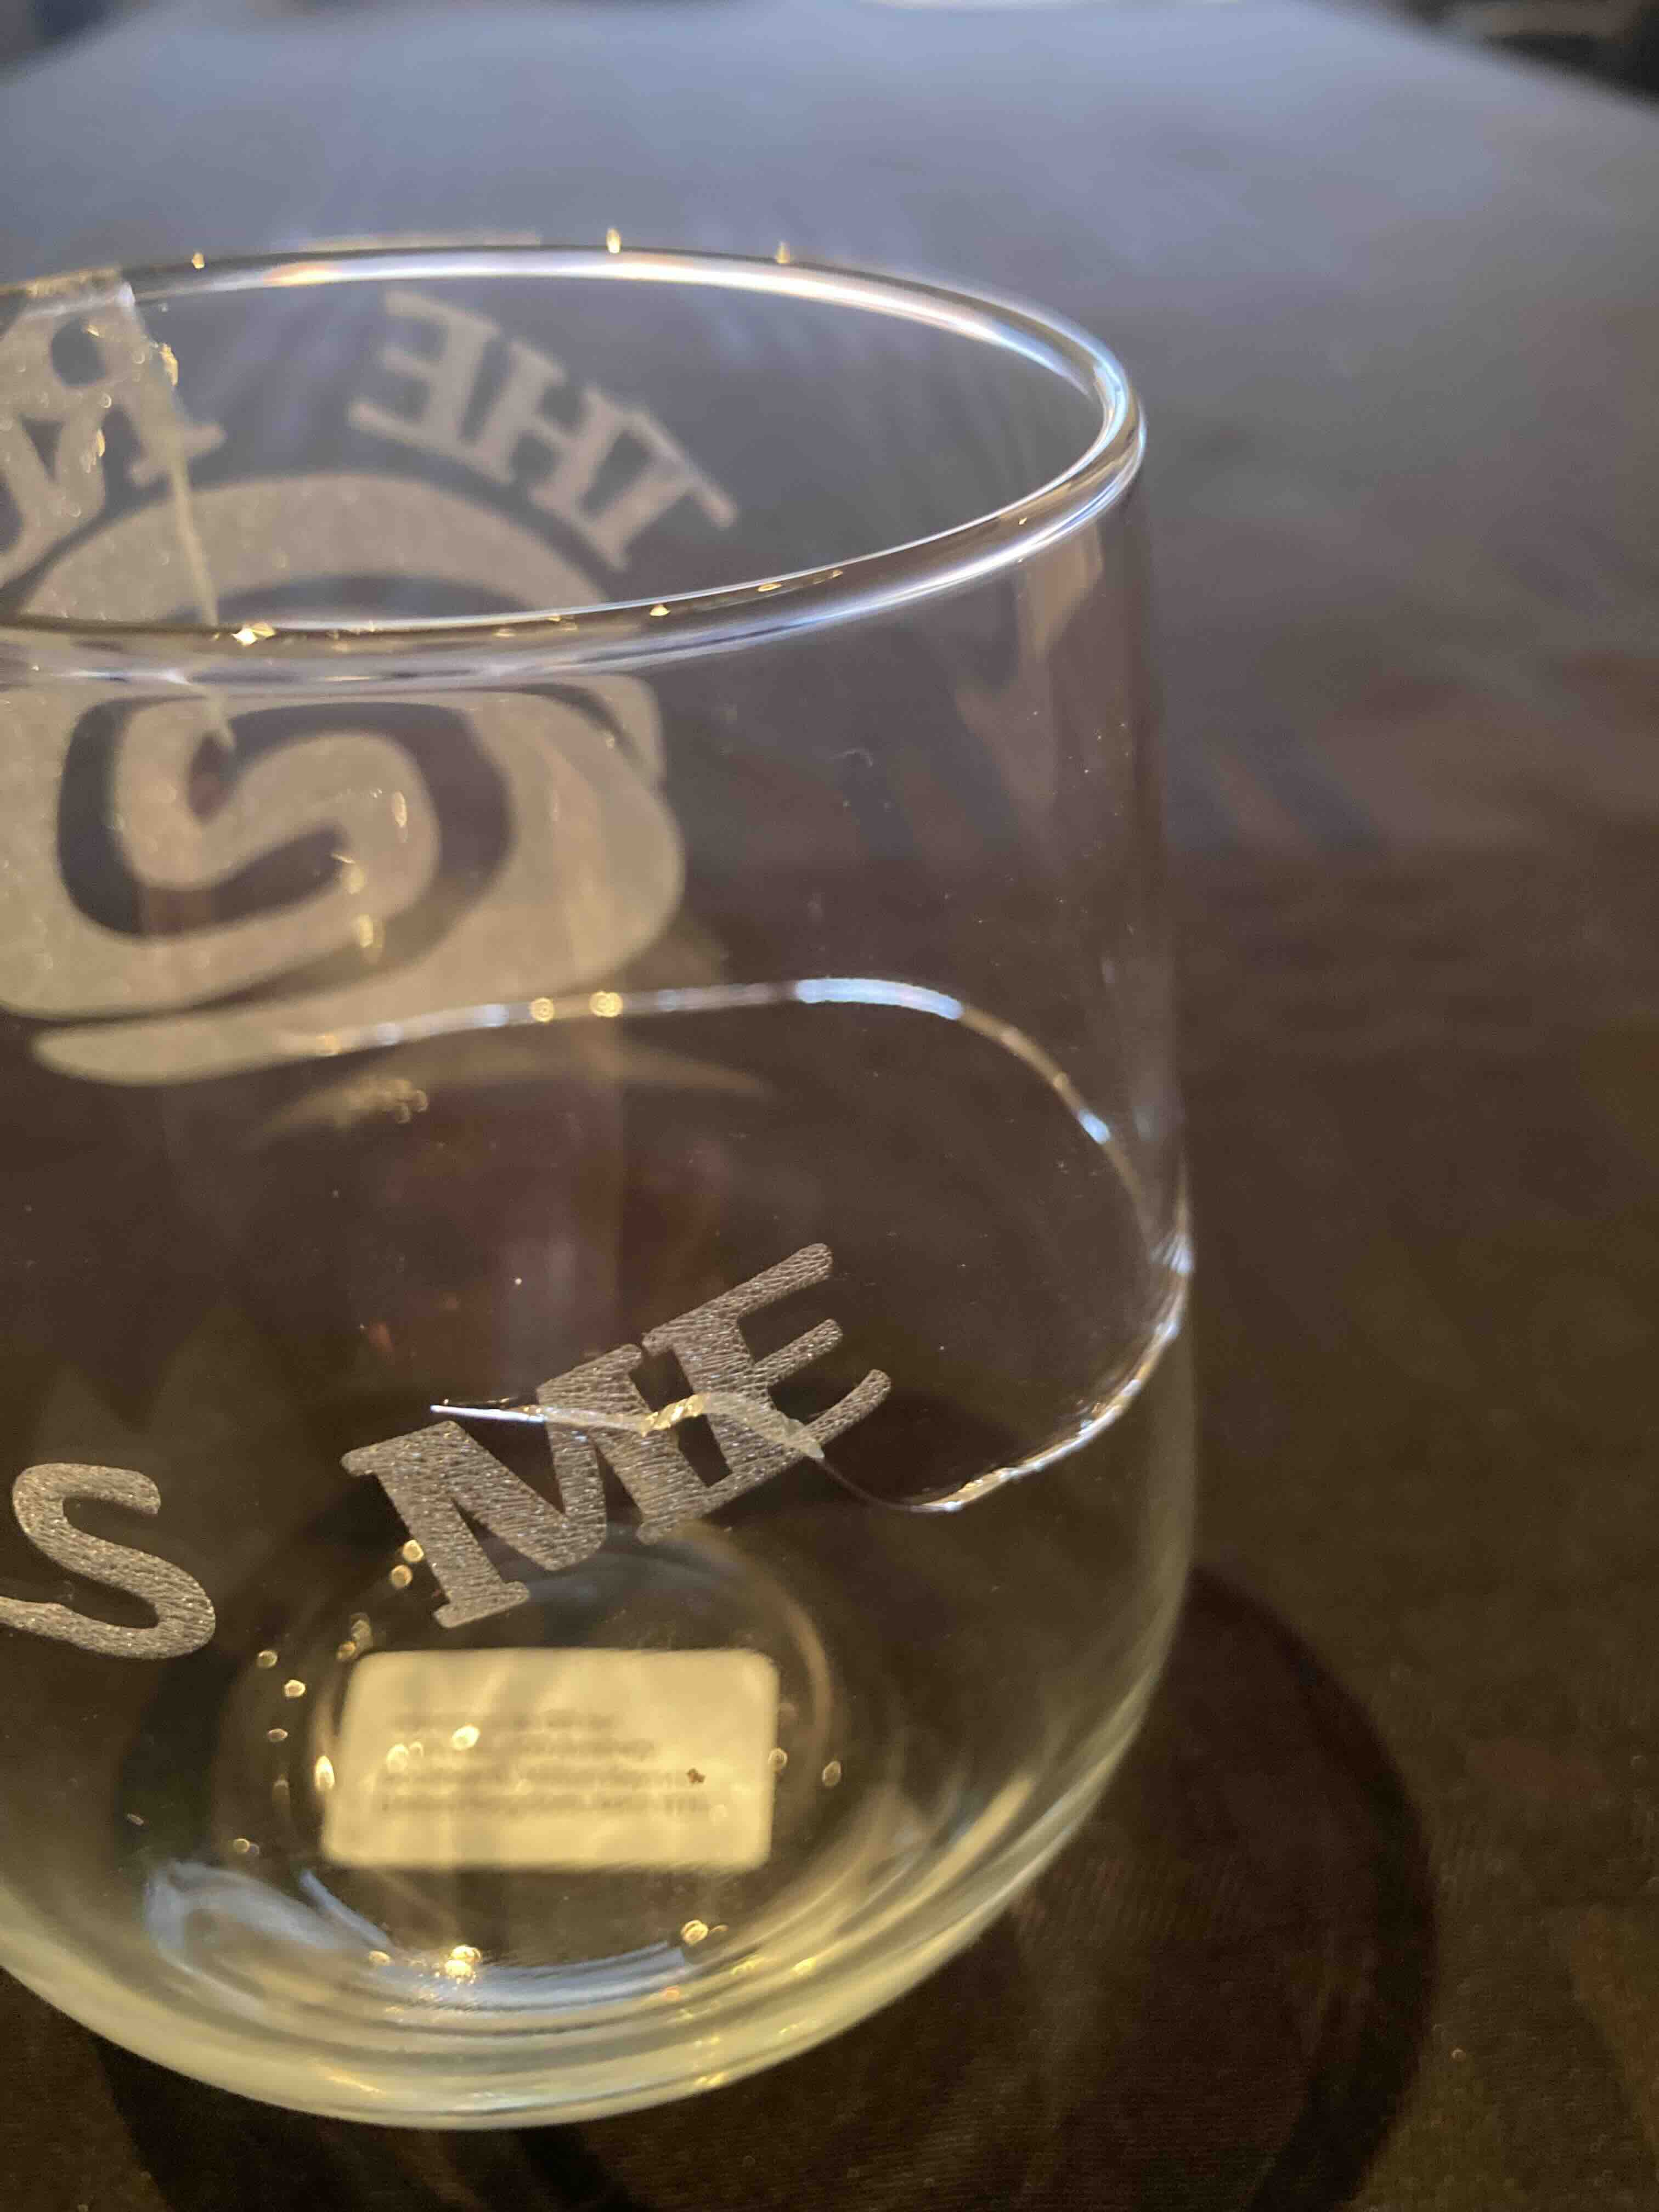
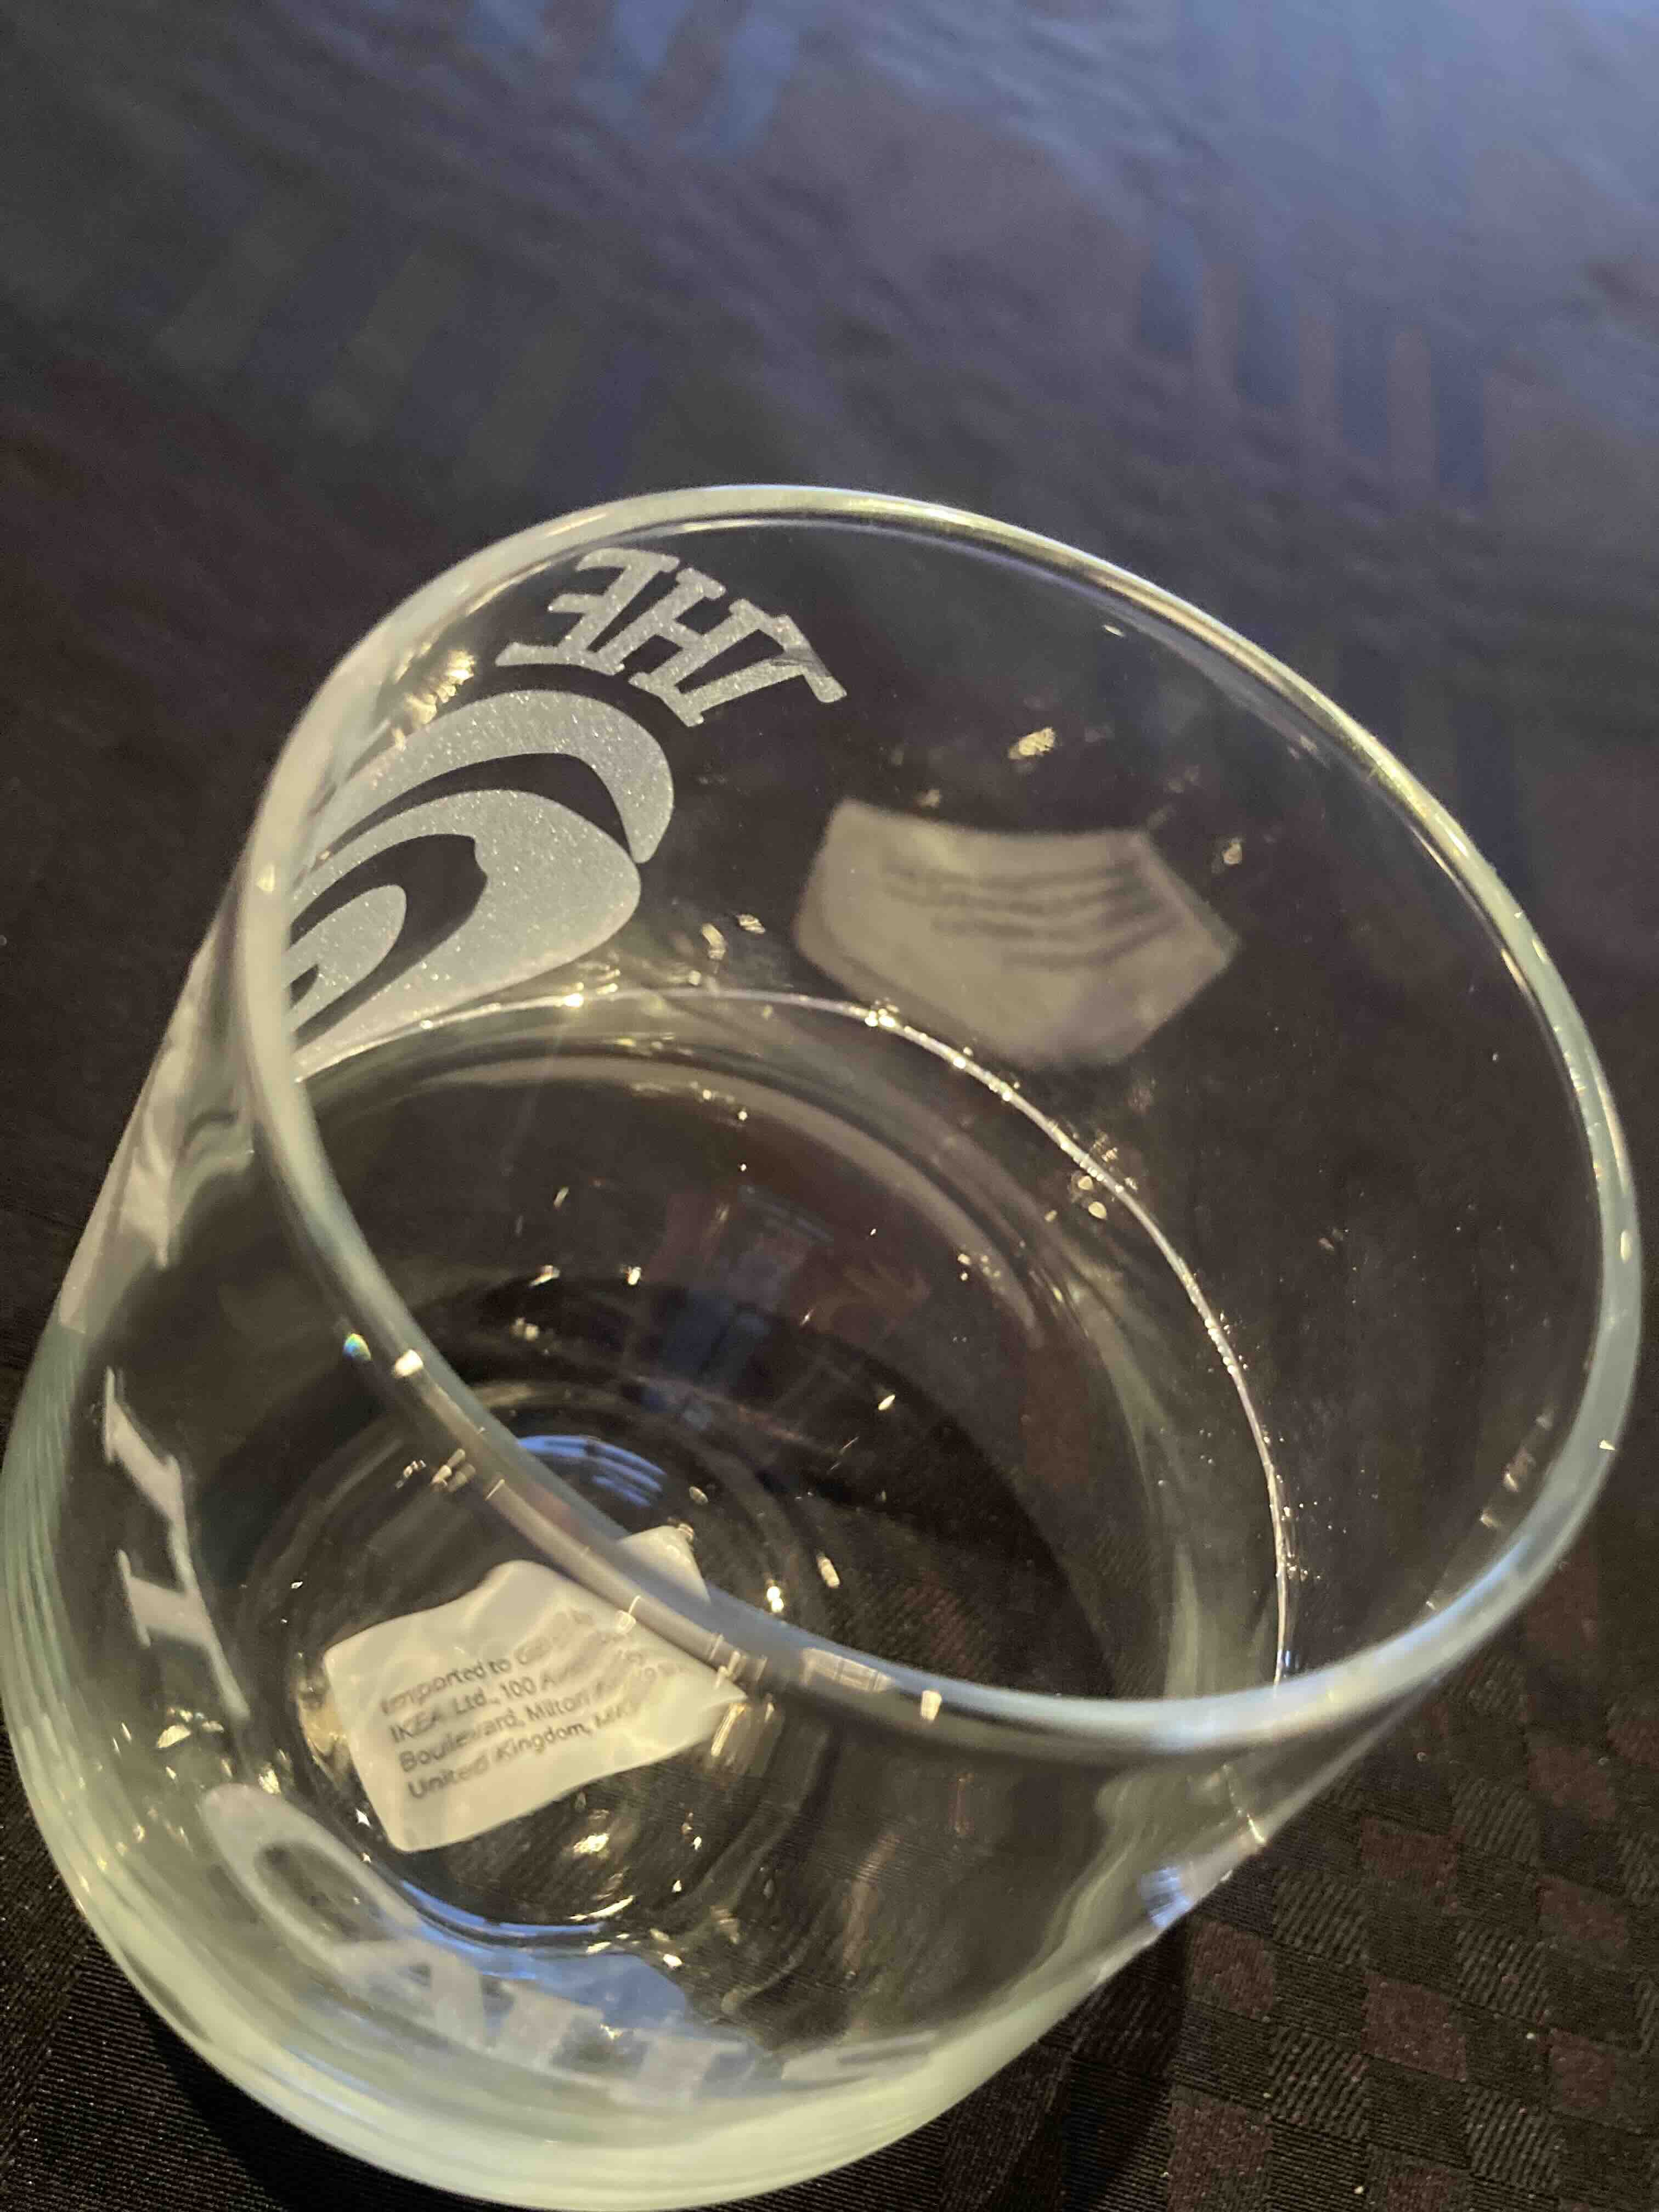
Edging to close to the brim of the glass.
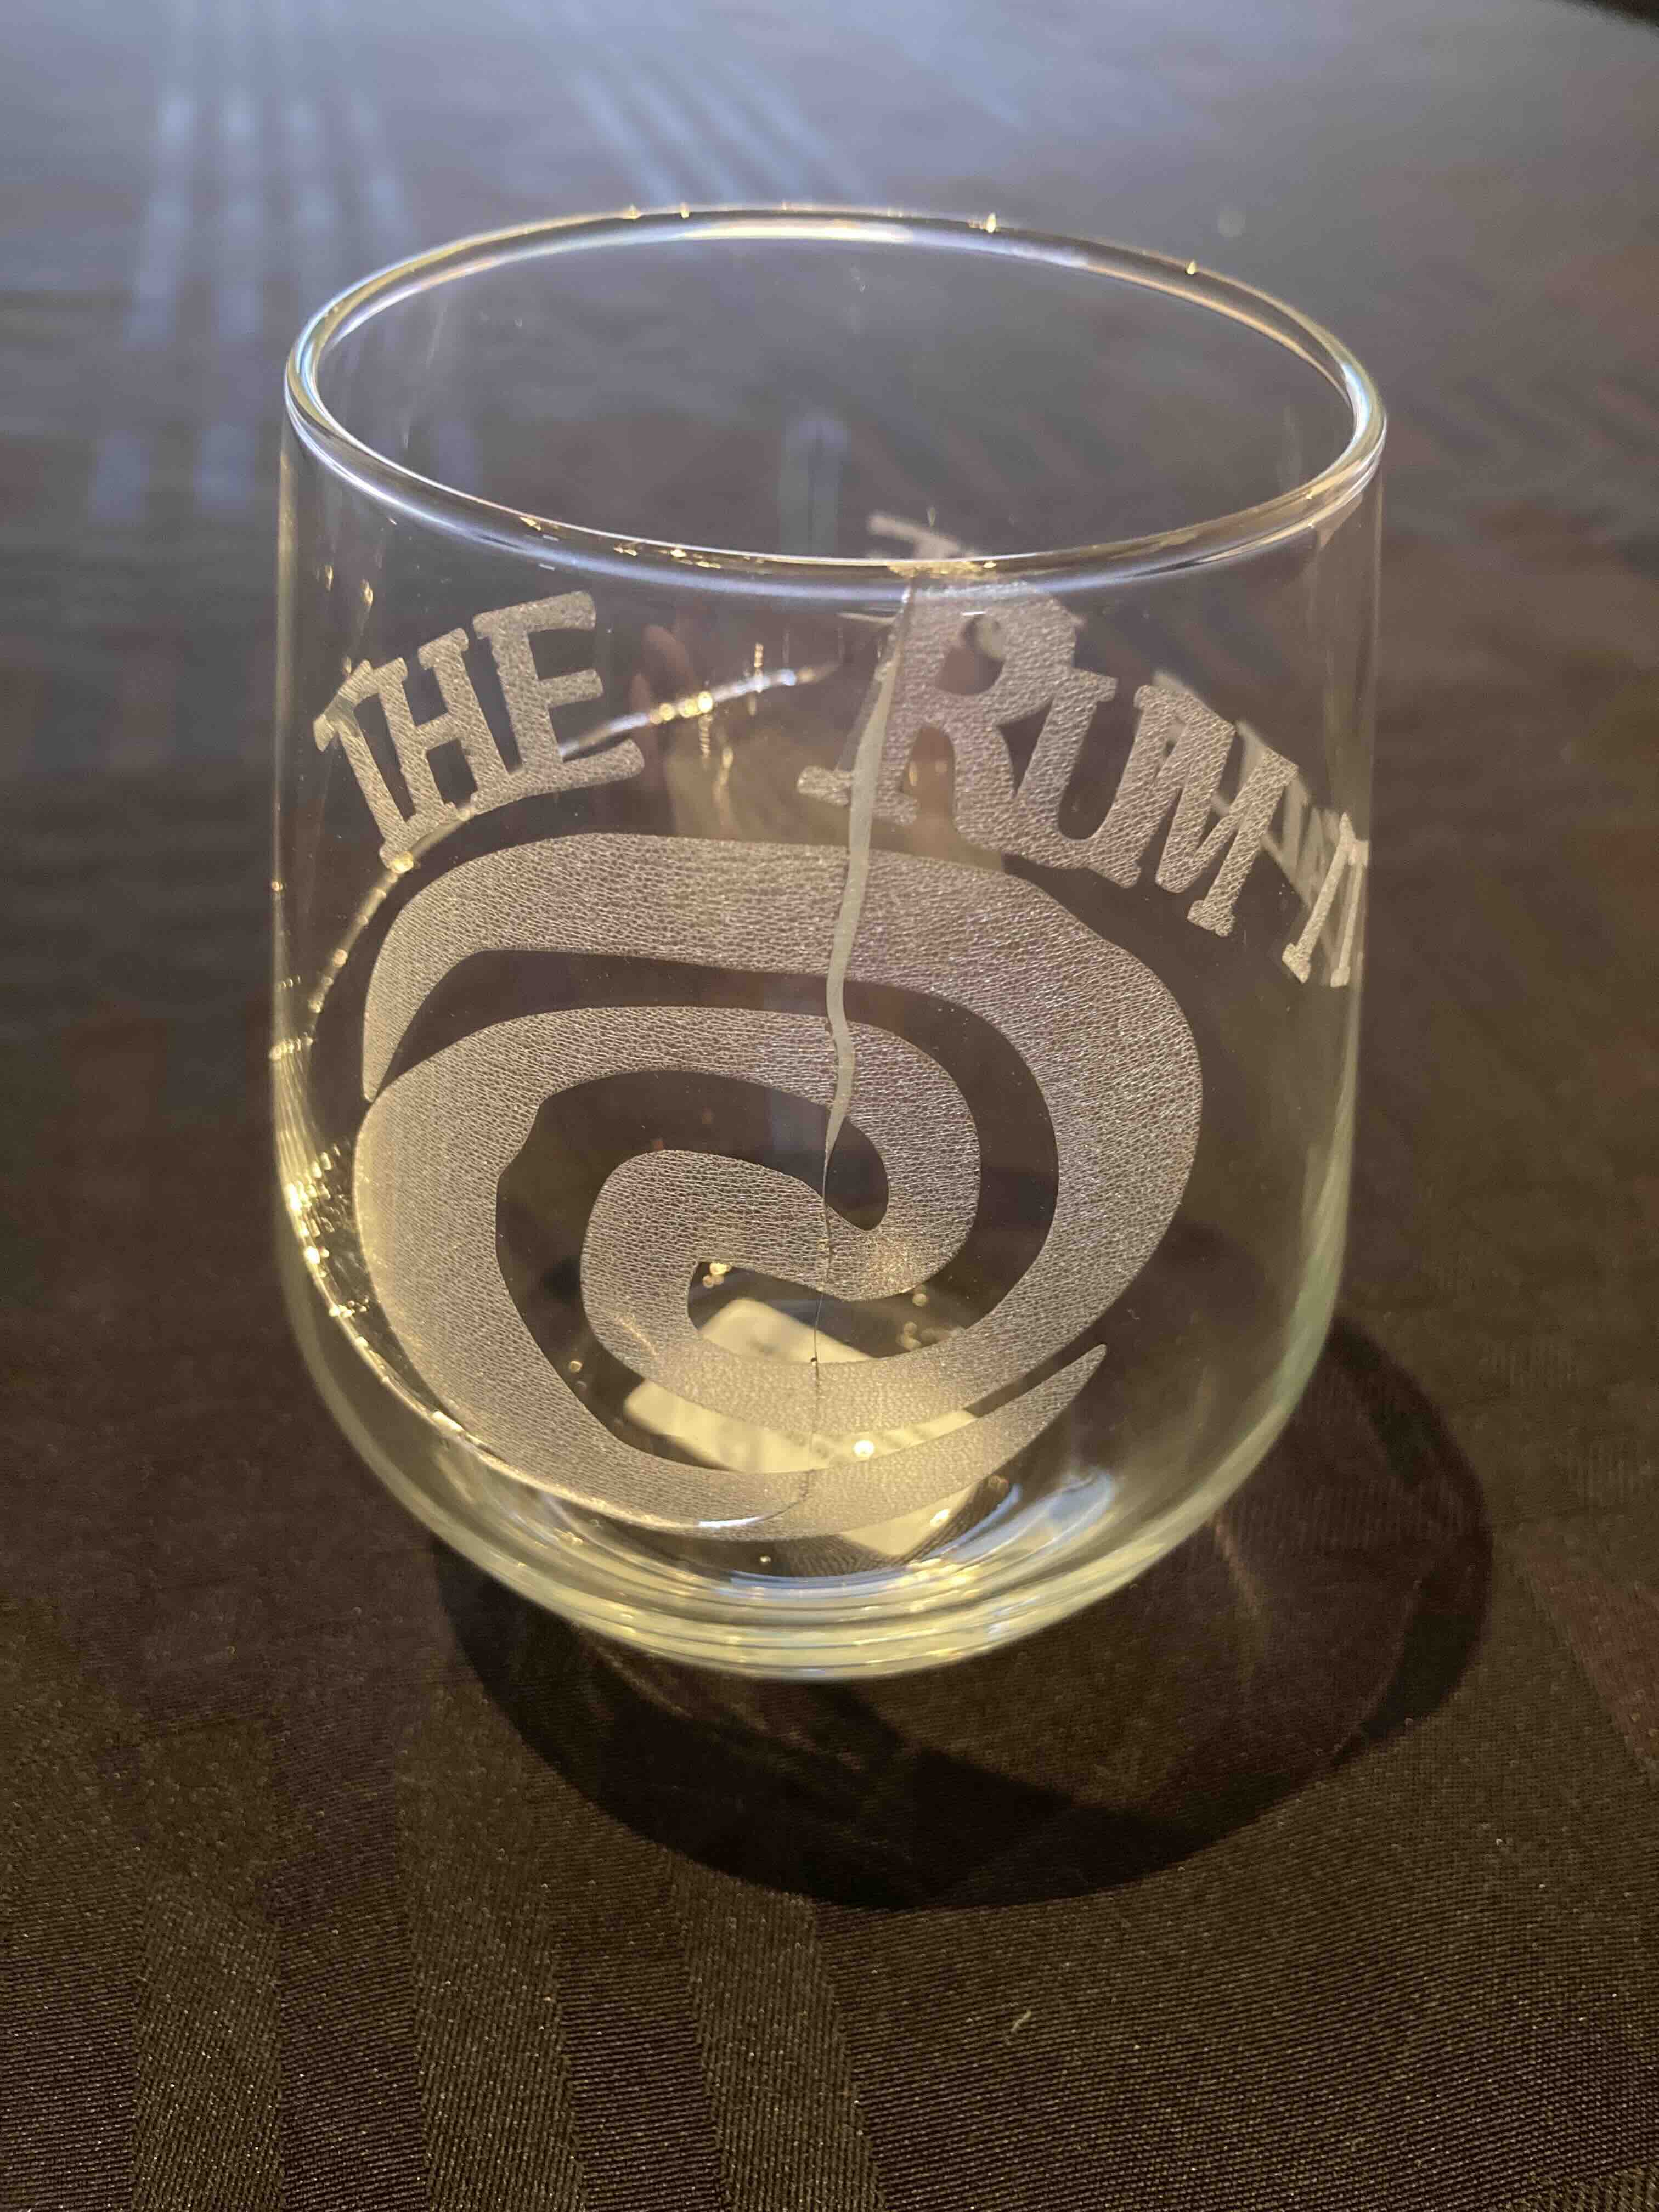
Wine Gless 1
Wine Gless 2
This was a really fun project to work on. I made all the rookie mistakes, one was upside down, one slipped in the lazer and on one the edging was a little too close the edge so it broke. After cleaning the glasses and making sure that they were the way I wanted I ended up making more of them and then added more for a friend. The process wasnt much different from other project using the lazer cutter. I picked one of the most difficult shape of glass to work with. It was stemless glass and curved on all angles. I had to secure it with weights so it would not move. I used a heavy bottle that fit inside the glass.