review the safety data sheets for each of your molding and casting materials,
then make and compare test casts with each of them
compare printing vs machining molds
design a mold around the process you'll be using,
produce it with a smooth surface finish,
and use it to cast parts
extra credit: use more then two mold parts
VCarve is a software designed for creating toolpaths for Computer Numerical Control (CNC) machines like ShopBot.VCarve streamlines the progress og designing and machining by generating precise toolpaths.In VCarve various paramaters can be adjusted to control the design.
Toolpath parameters:
Cut Depth, how deep the tool will cut into the material.
Tool selection, the type and size of the cutting tool (for excample: vbit, milling bit)
Pass depth, maximum depth of the tool per pass.
Step over, the distance between each pass, will affect the finished quality.
Feed rate, how fast the tool moves.
Plunge rate, how fast the tool moves vertically.
Spindle speed, the rotation speed.
Material paramaters:
Material thickness.
Material Size, length and width.
Material type: the properties of the material that can influence the cutting.
Design paramaters:
Vector shapes, the dimensions and properties of the 2D shapes used in the design.
Text, any text elements in the design.
Alignment, positioning and orientation of the design.
3D modeling Parameters:
Component properties, height, base height and tilt of components.
Combine models, decides how the components interact like add or subtract.
Preview and simulation Parameters:
Material apperance, set material for preview.
Toolpath simulation quality, the resolution and detail of the toolpath.
Machine setup parameters:
Home positiion, the starting point.
Safe Z height, sets the height that the tool move above the material to avoid collision.
Zero position, the reference point for the mashine either top or bottom.
Output paramaters:
File format, select the format compatable with you machine in my case ShopBot.
Post processor, the specific post processor to generate the machines G-code.
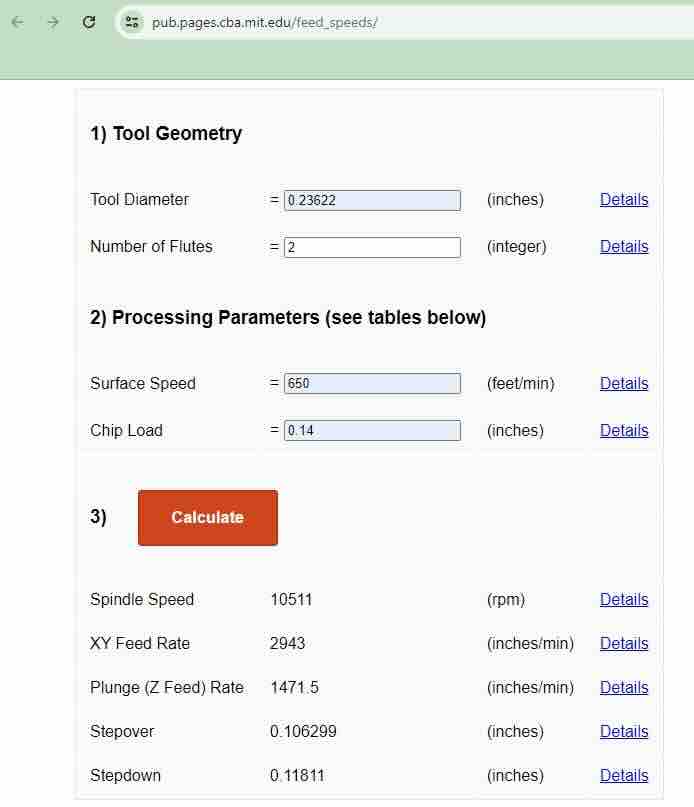
I used the Fab Lab Speed and Feeds Calculator to figure out the settings in VCarve.
V-Curve
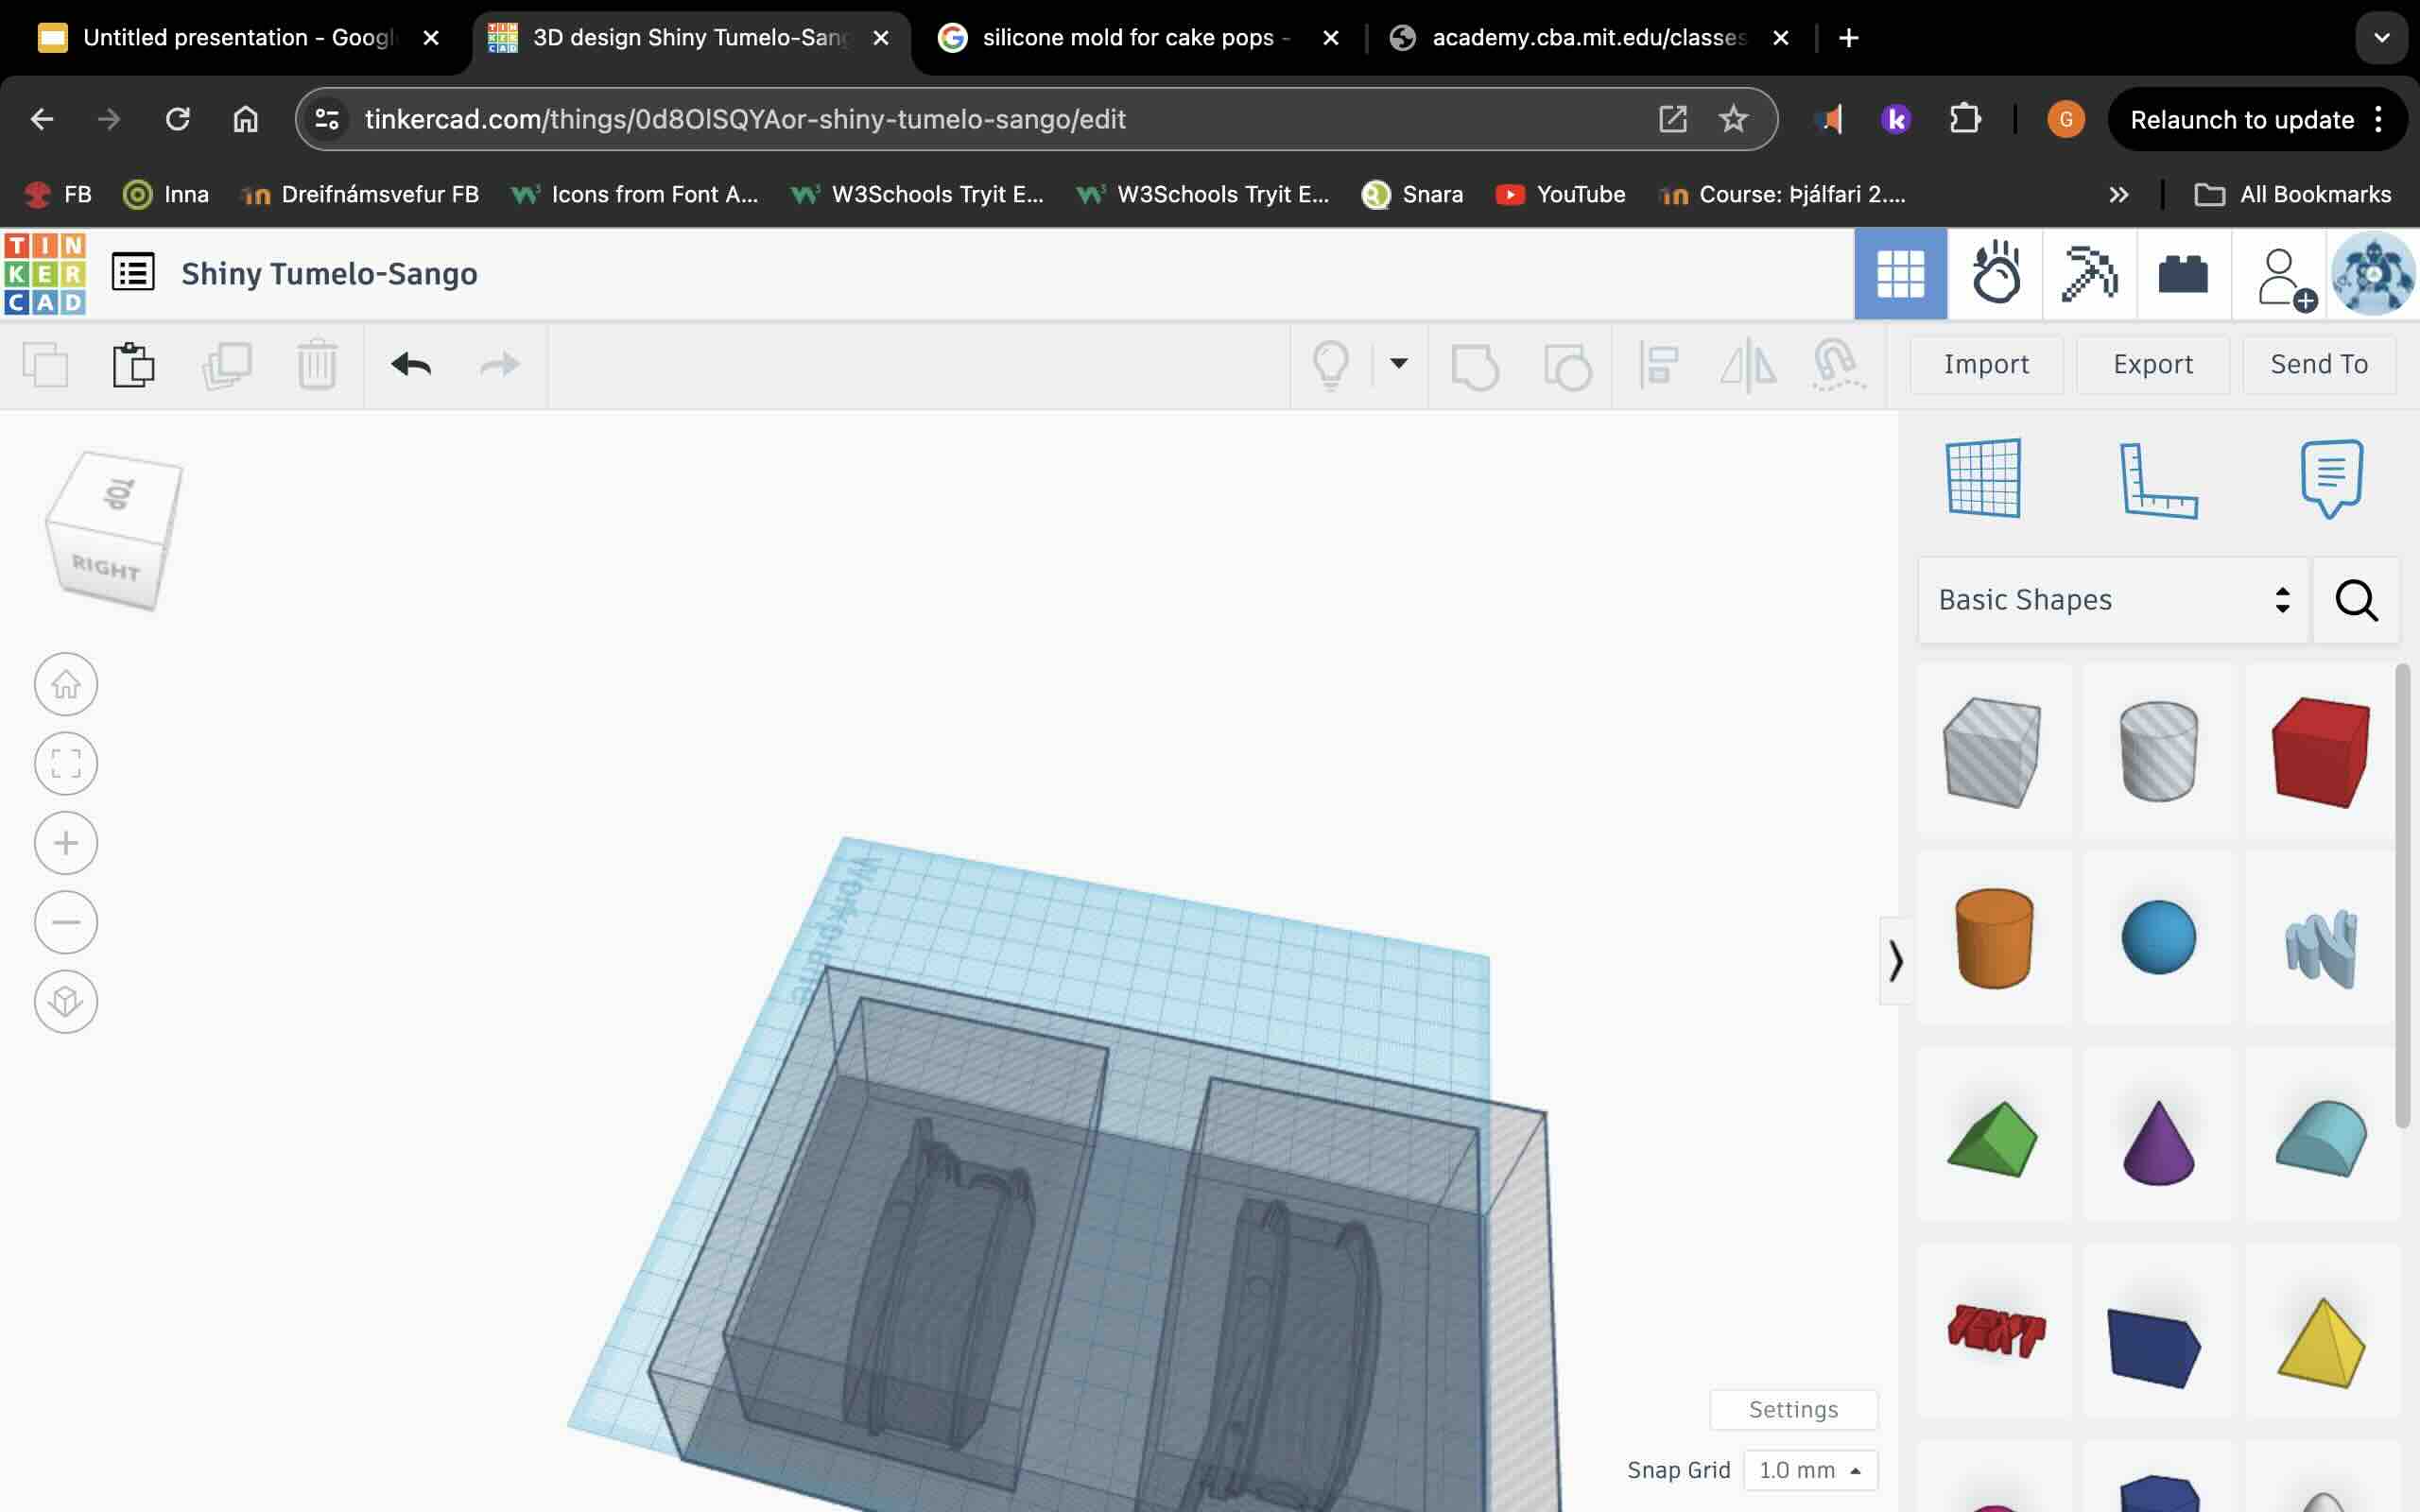
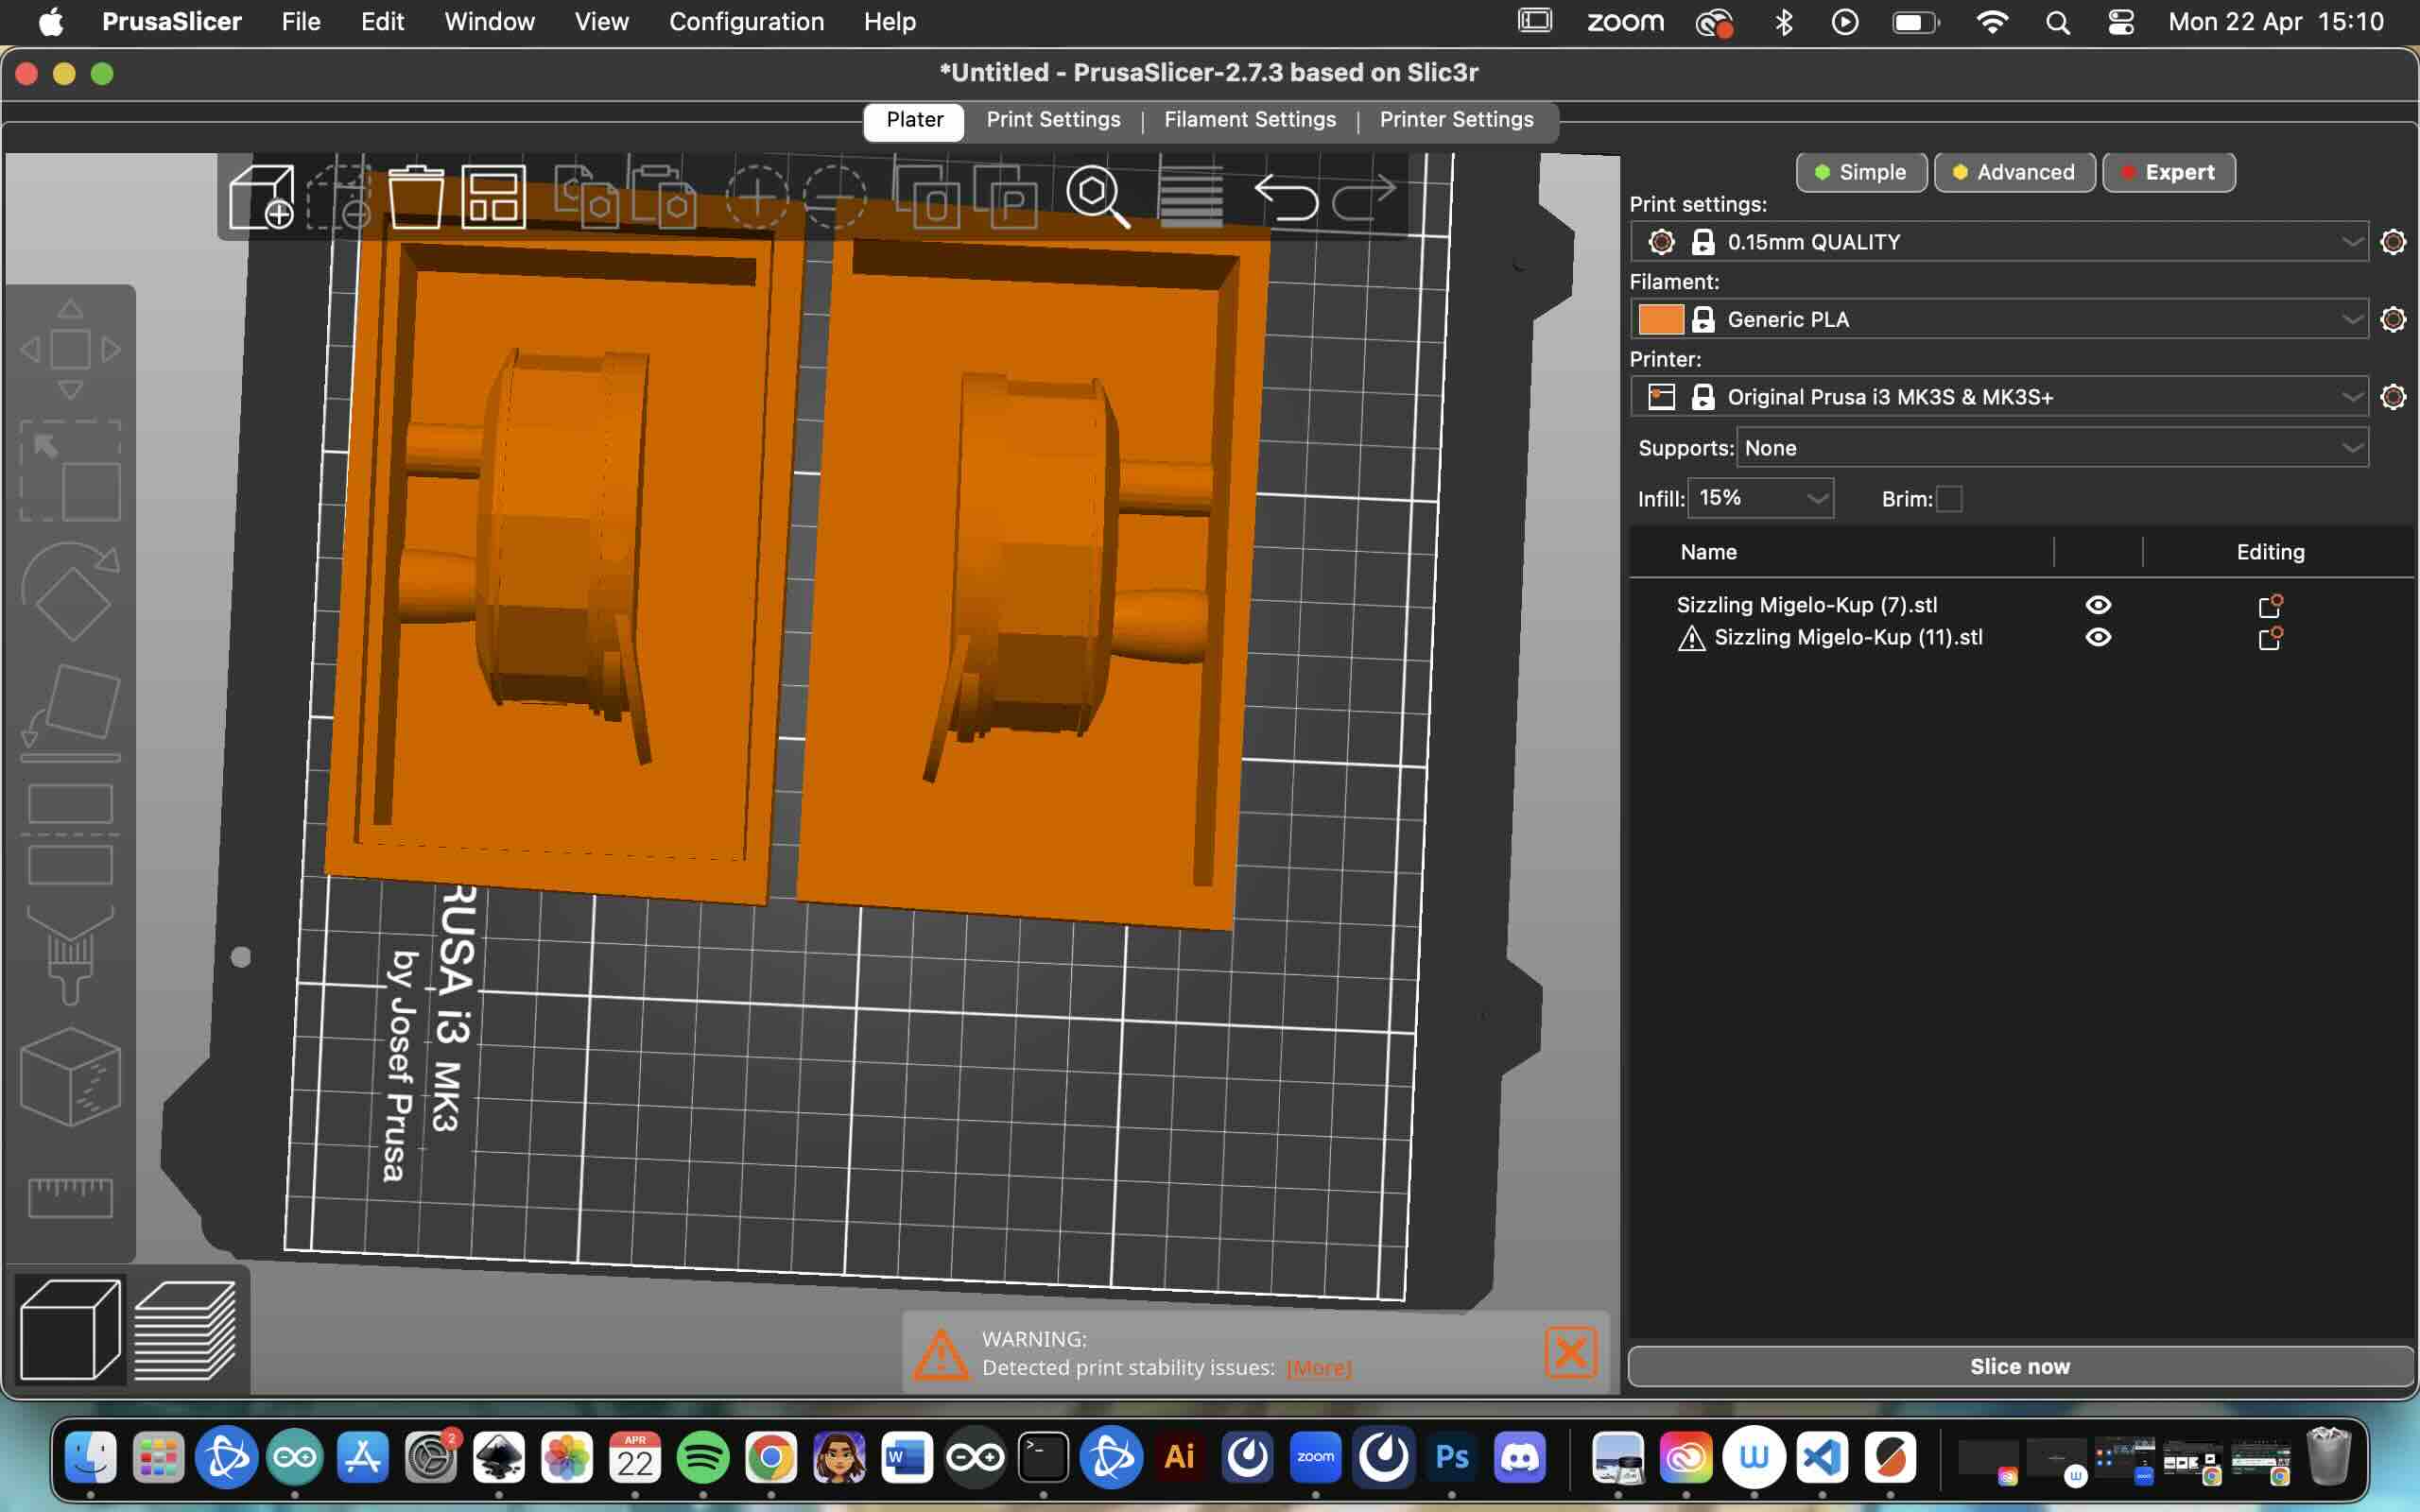
I imported the .stl into V-Carve and started working out the toolpaths. Everything was pretty self explanatory in the program. I started with arough toolpath using a 3mm endmill. For the second pass I made with a 1mm ball nose end mill. To figure out the right settings for each milling bit I used the Fab Lab Speed and Feeds Calculator. By using the calculator I was able to find out the Feed, Speed, rotation speed and more by adjusting the variables and then I inputed those variables into VCarve to set the milling tool paramaters. By adjusting the settings you get a shorter milling time.
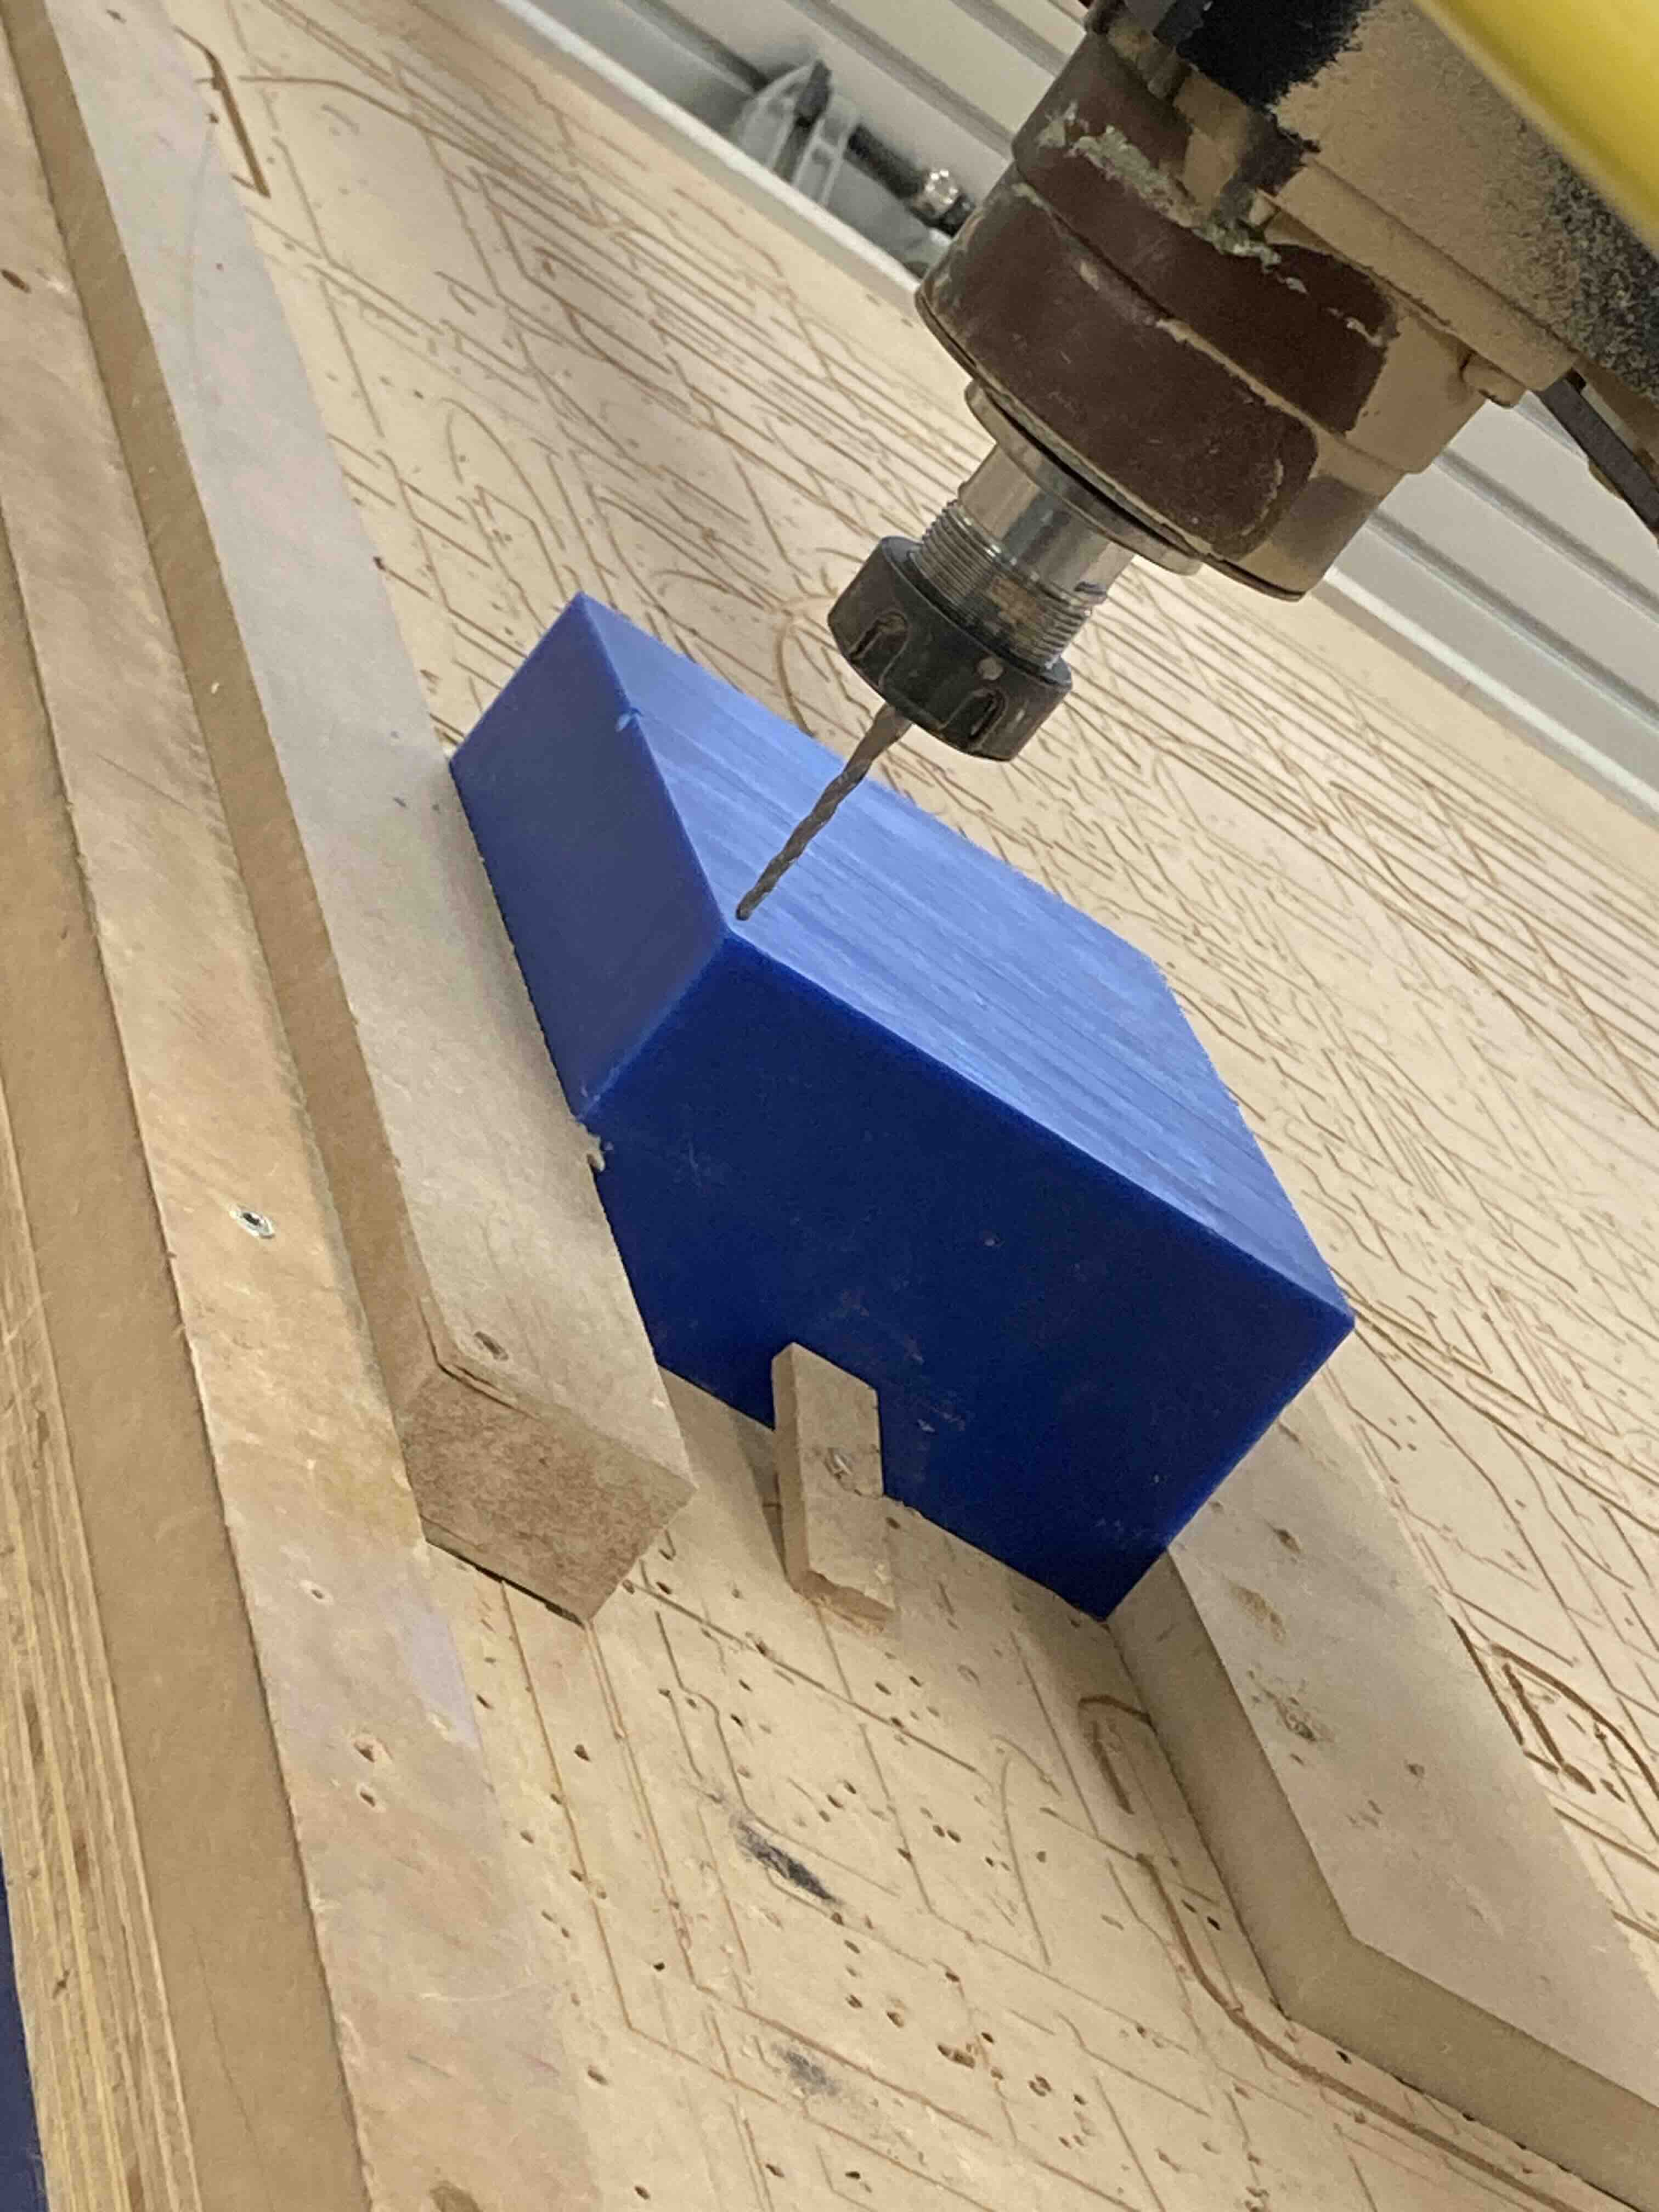
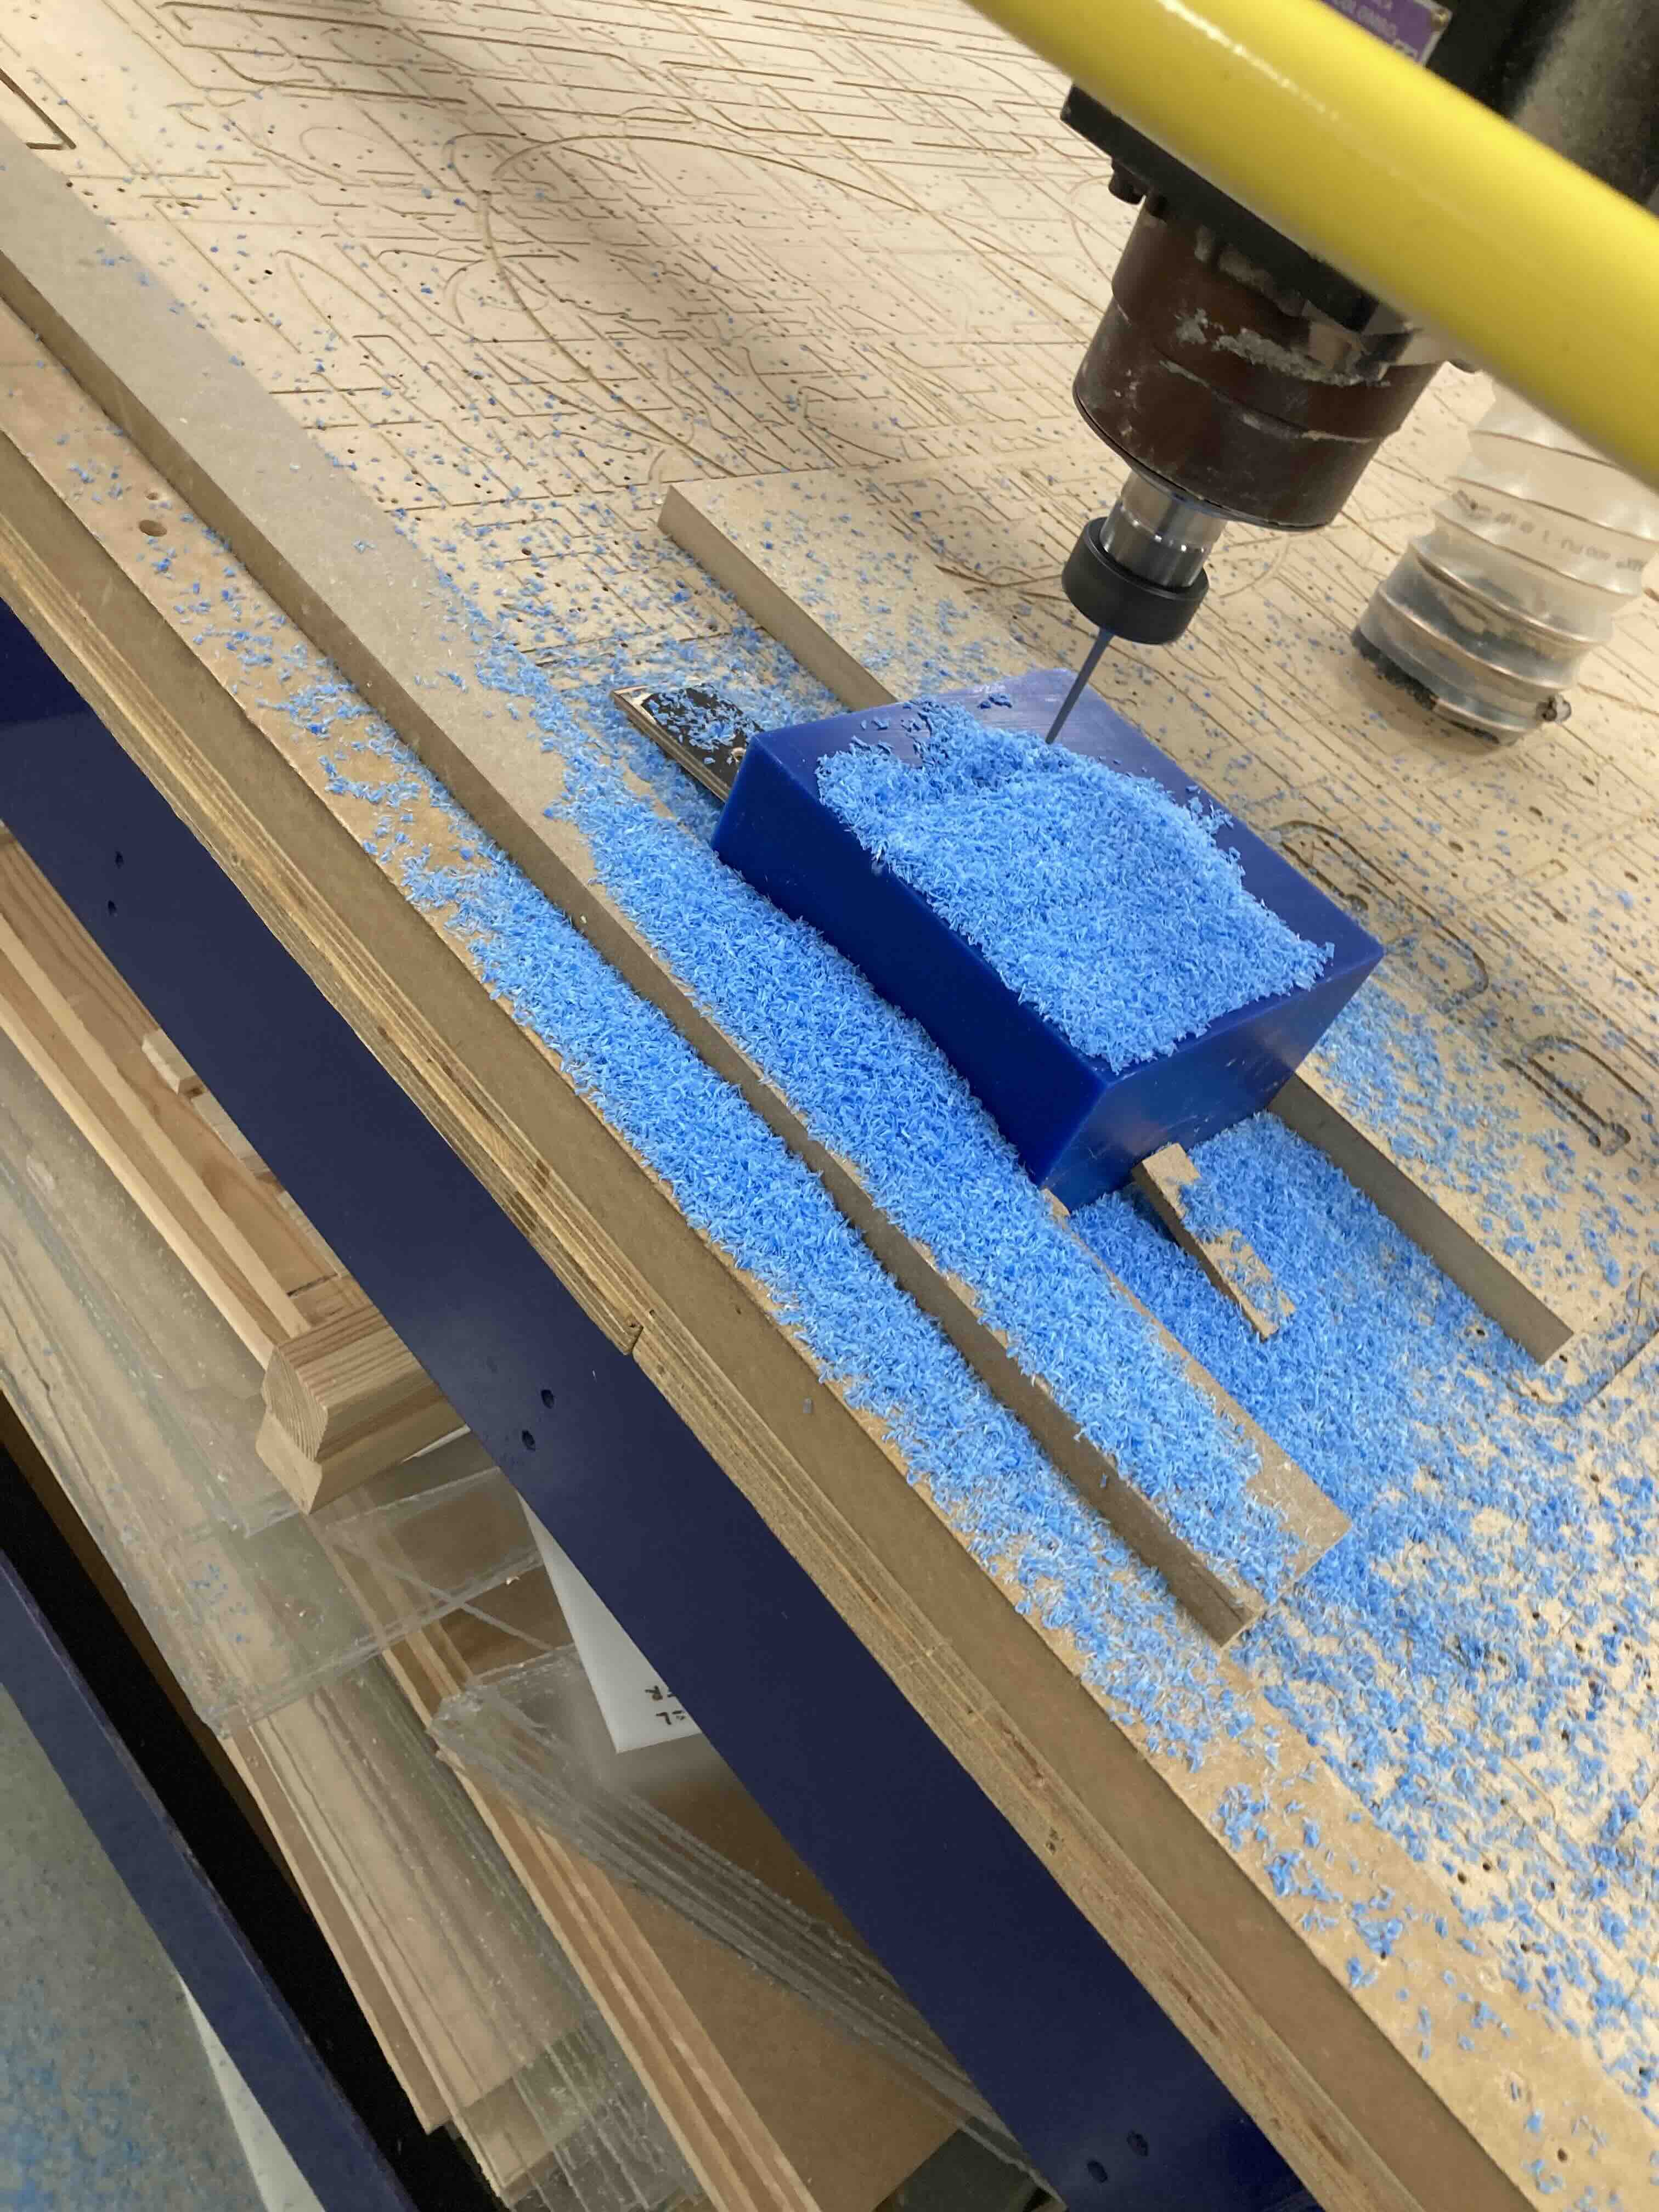
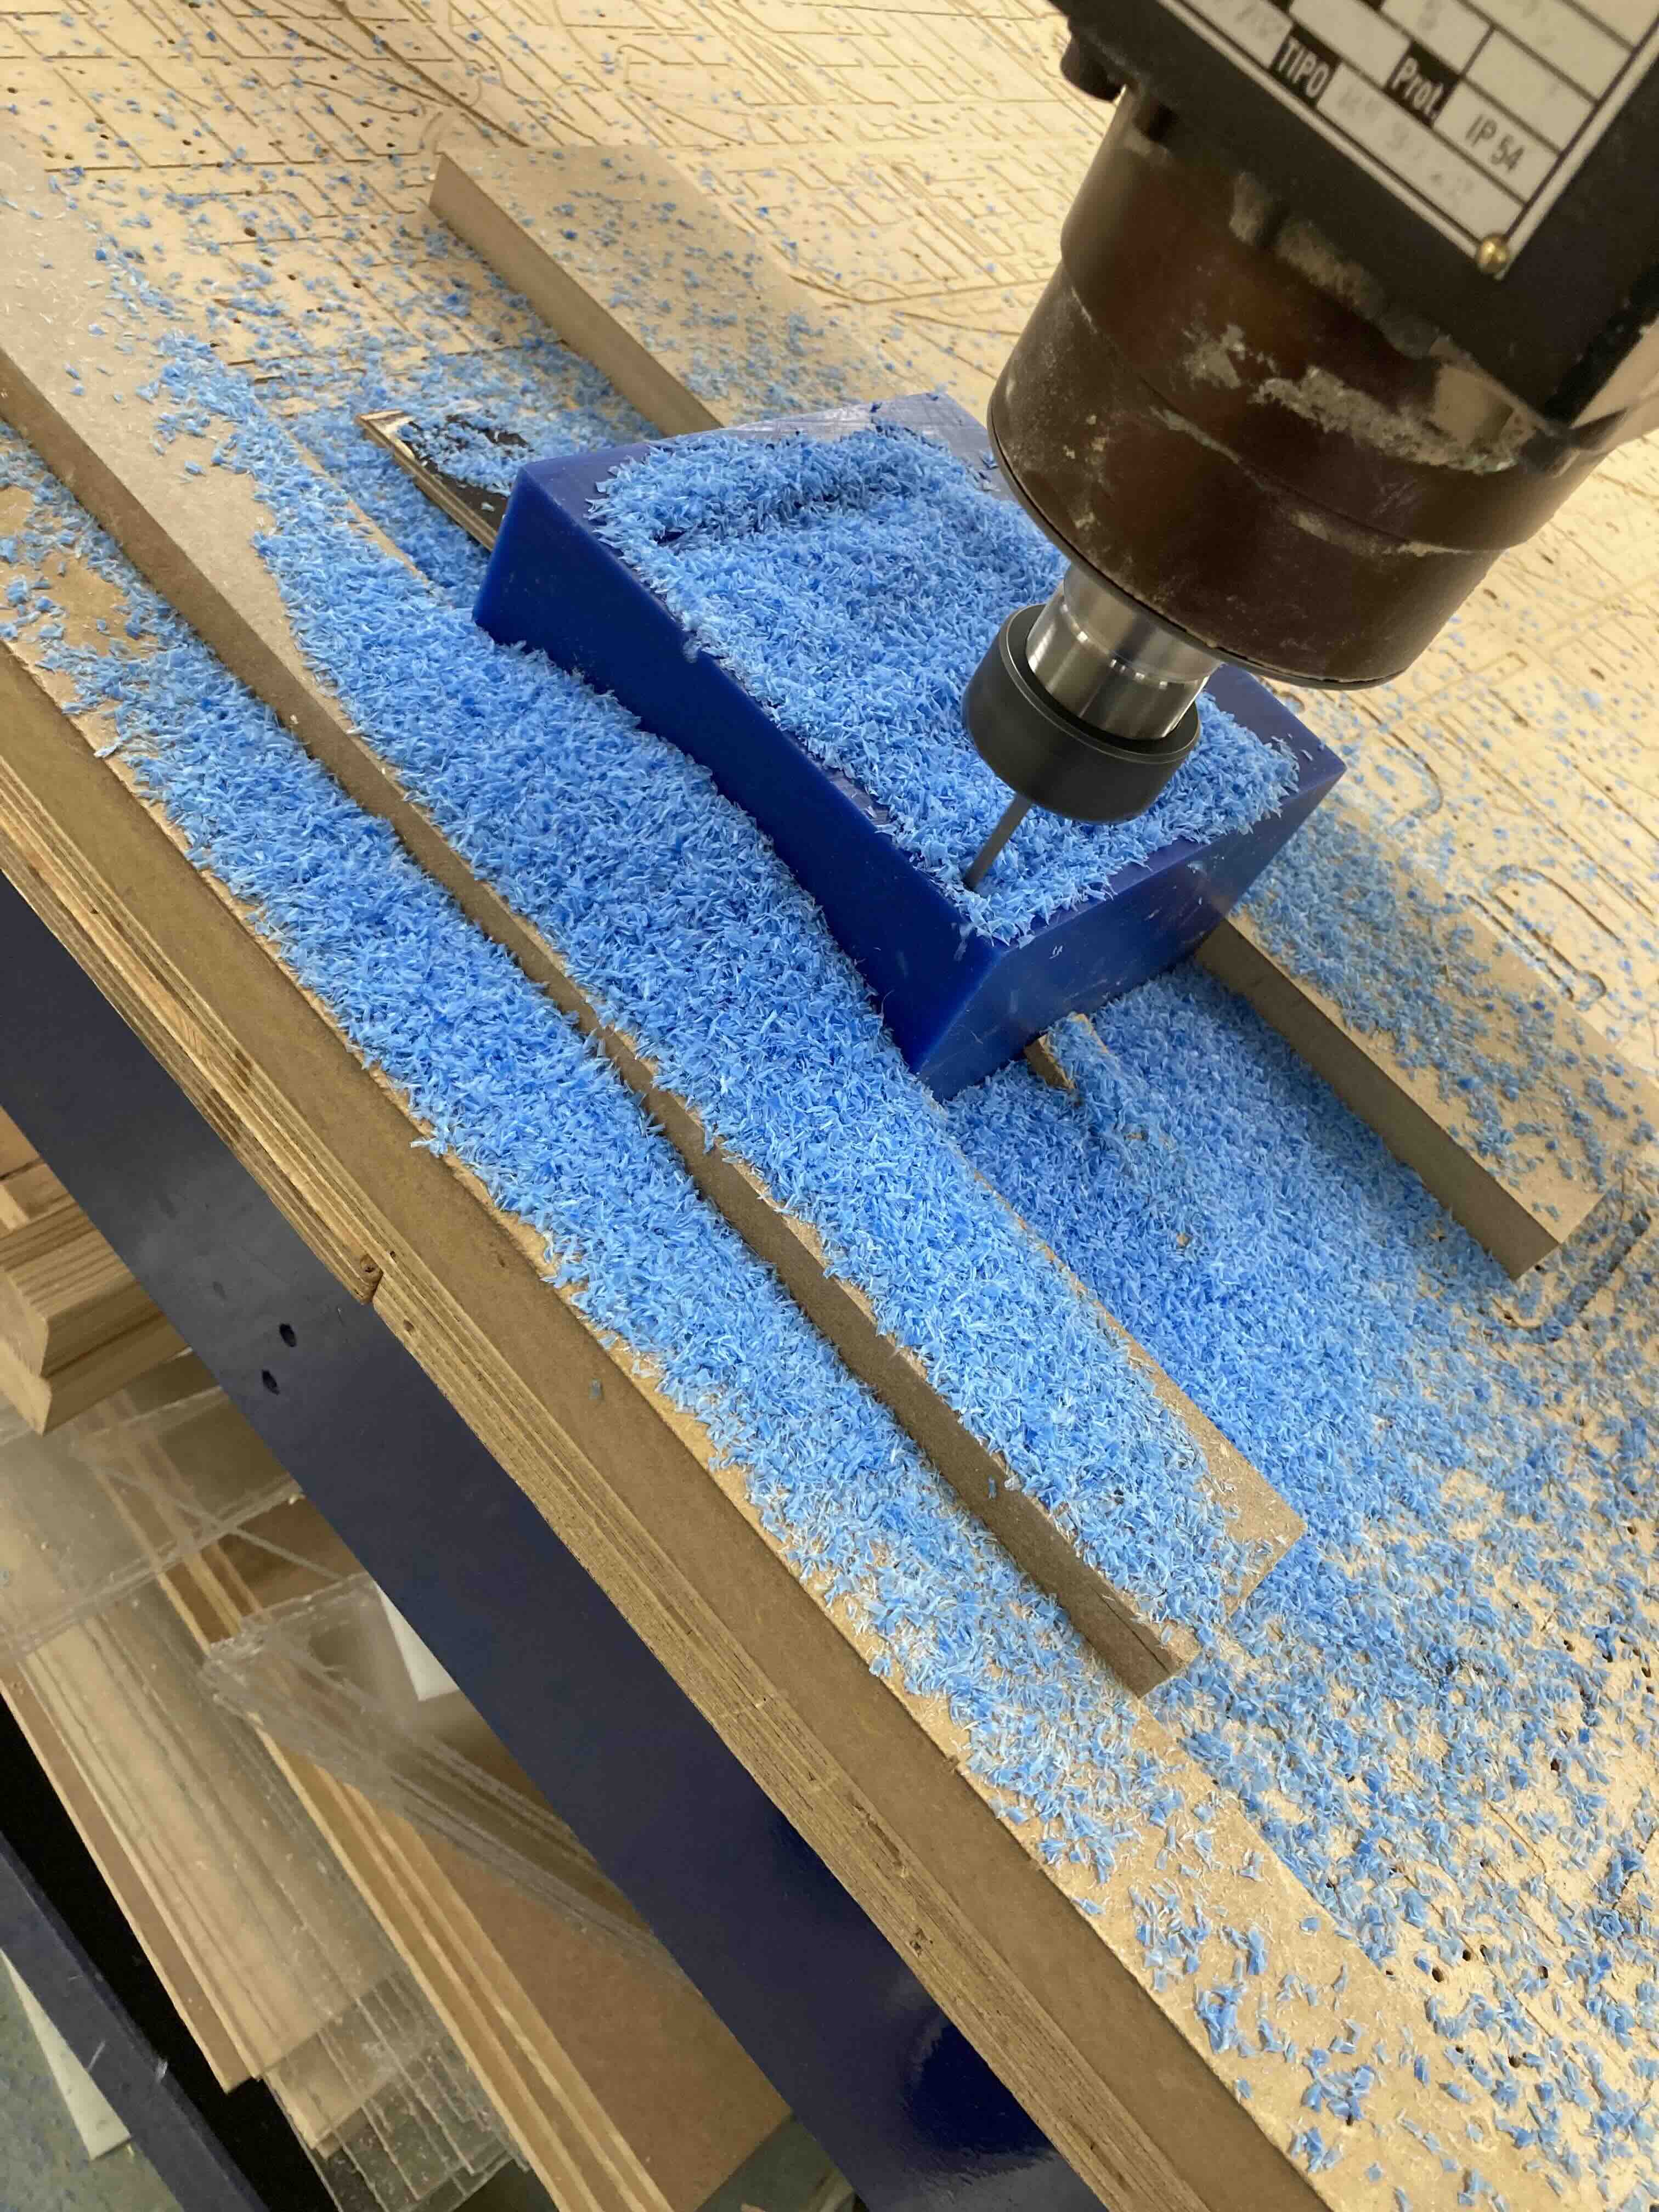
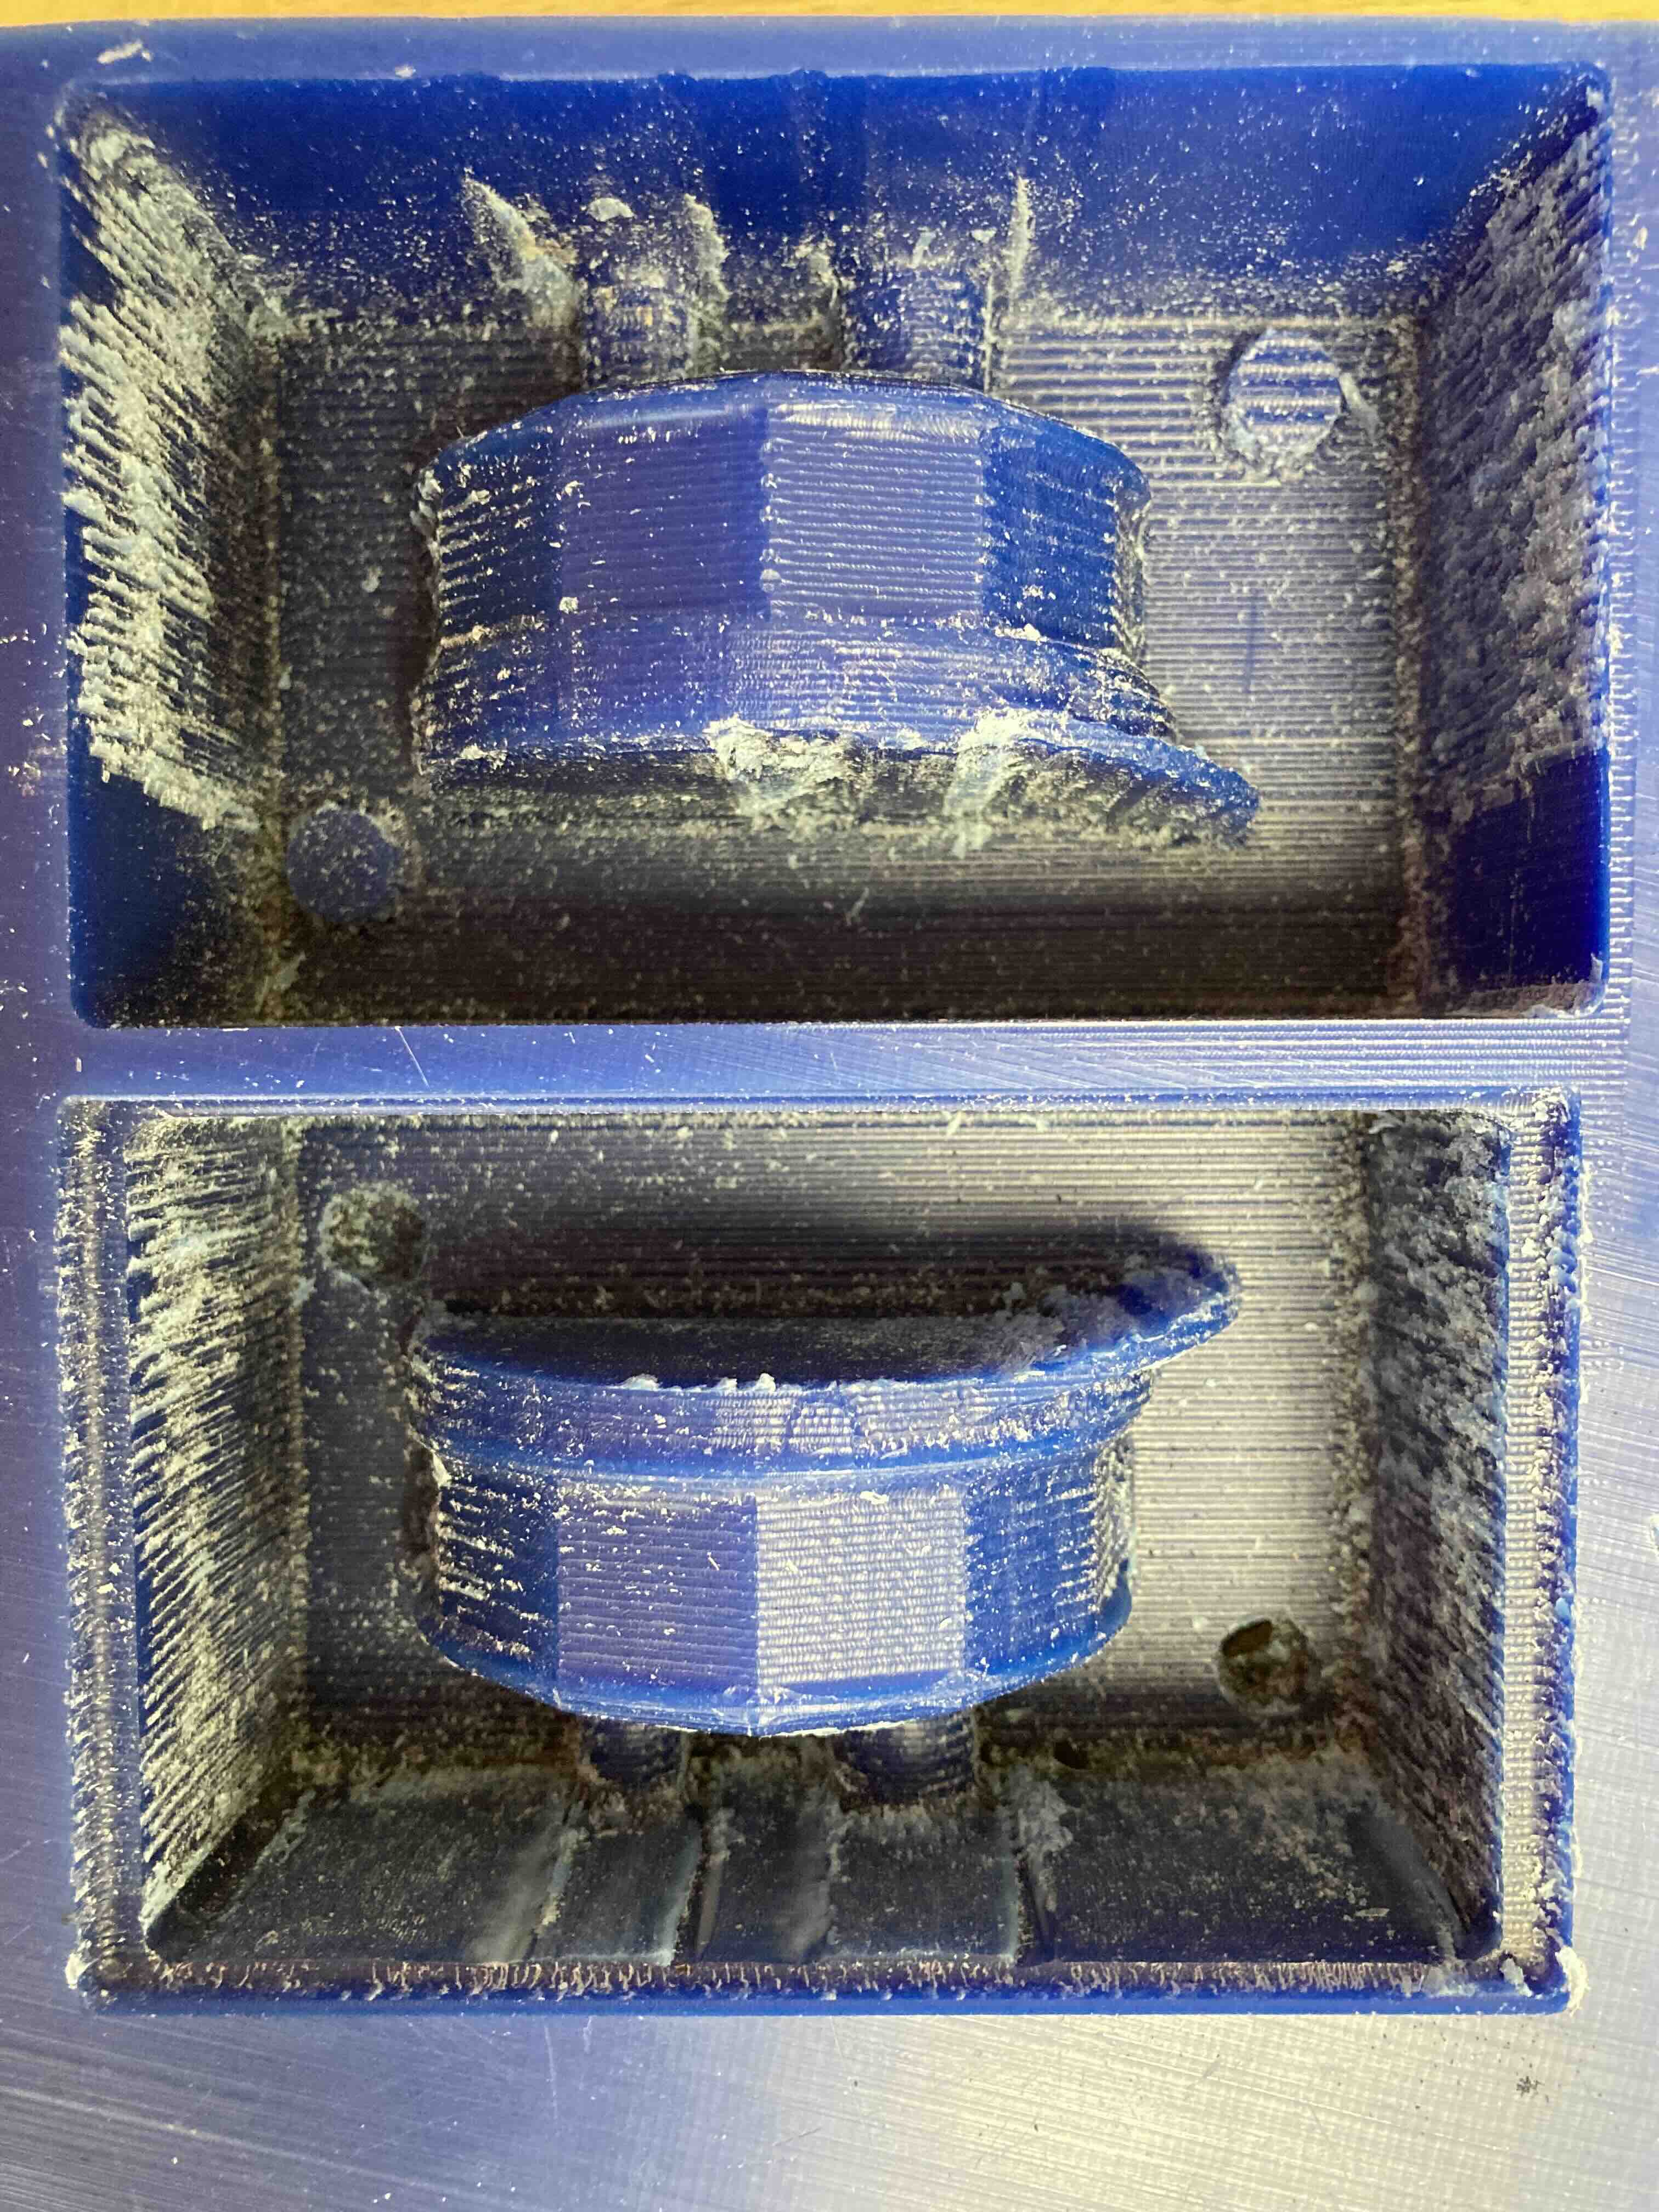
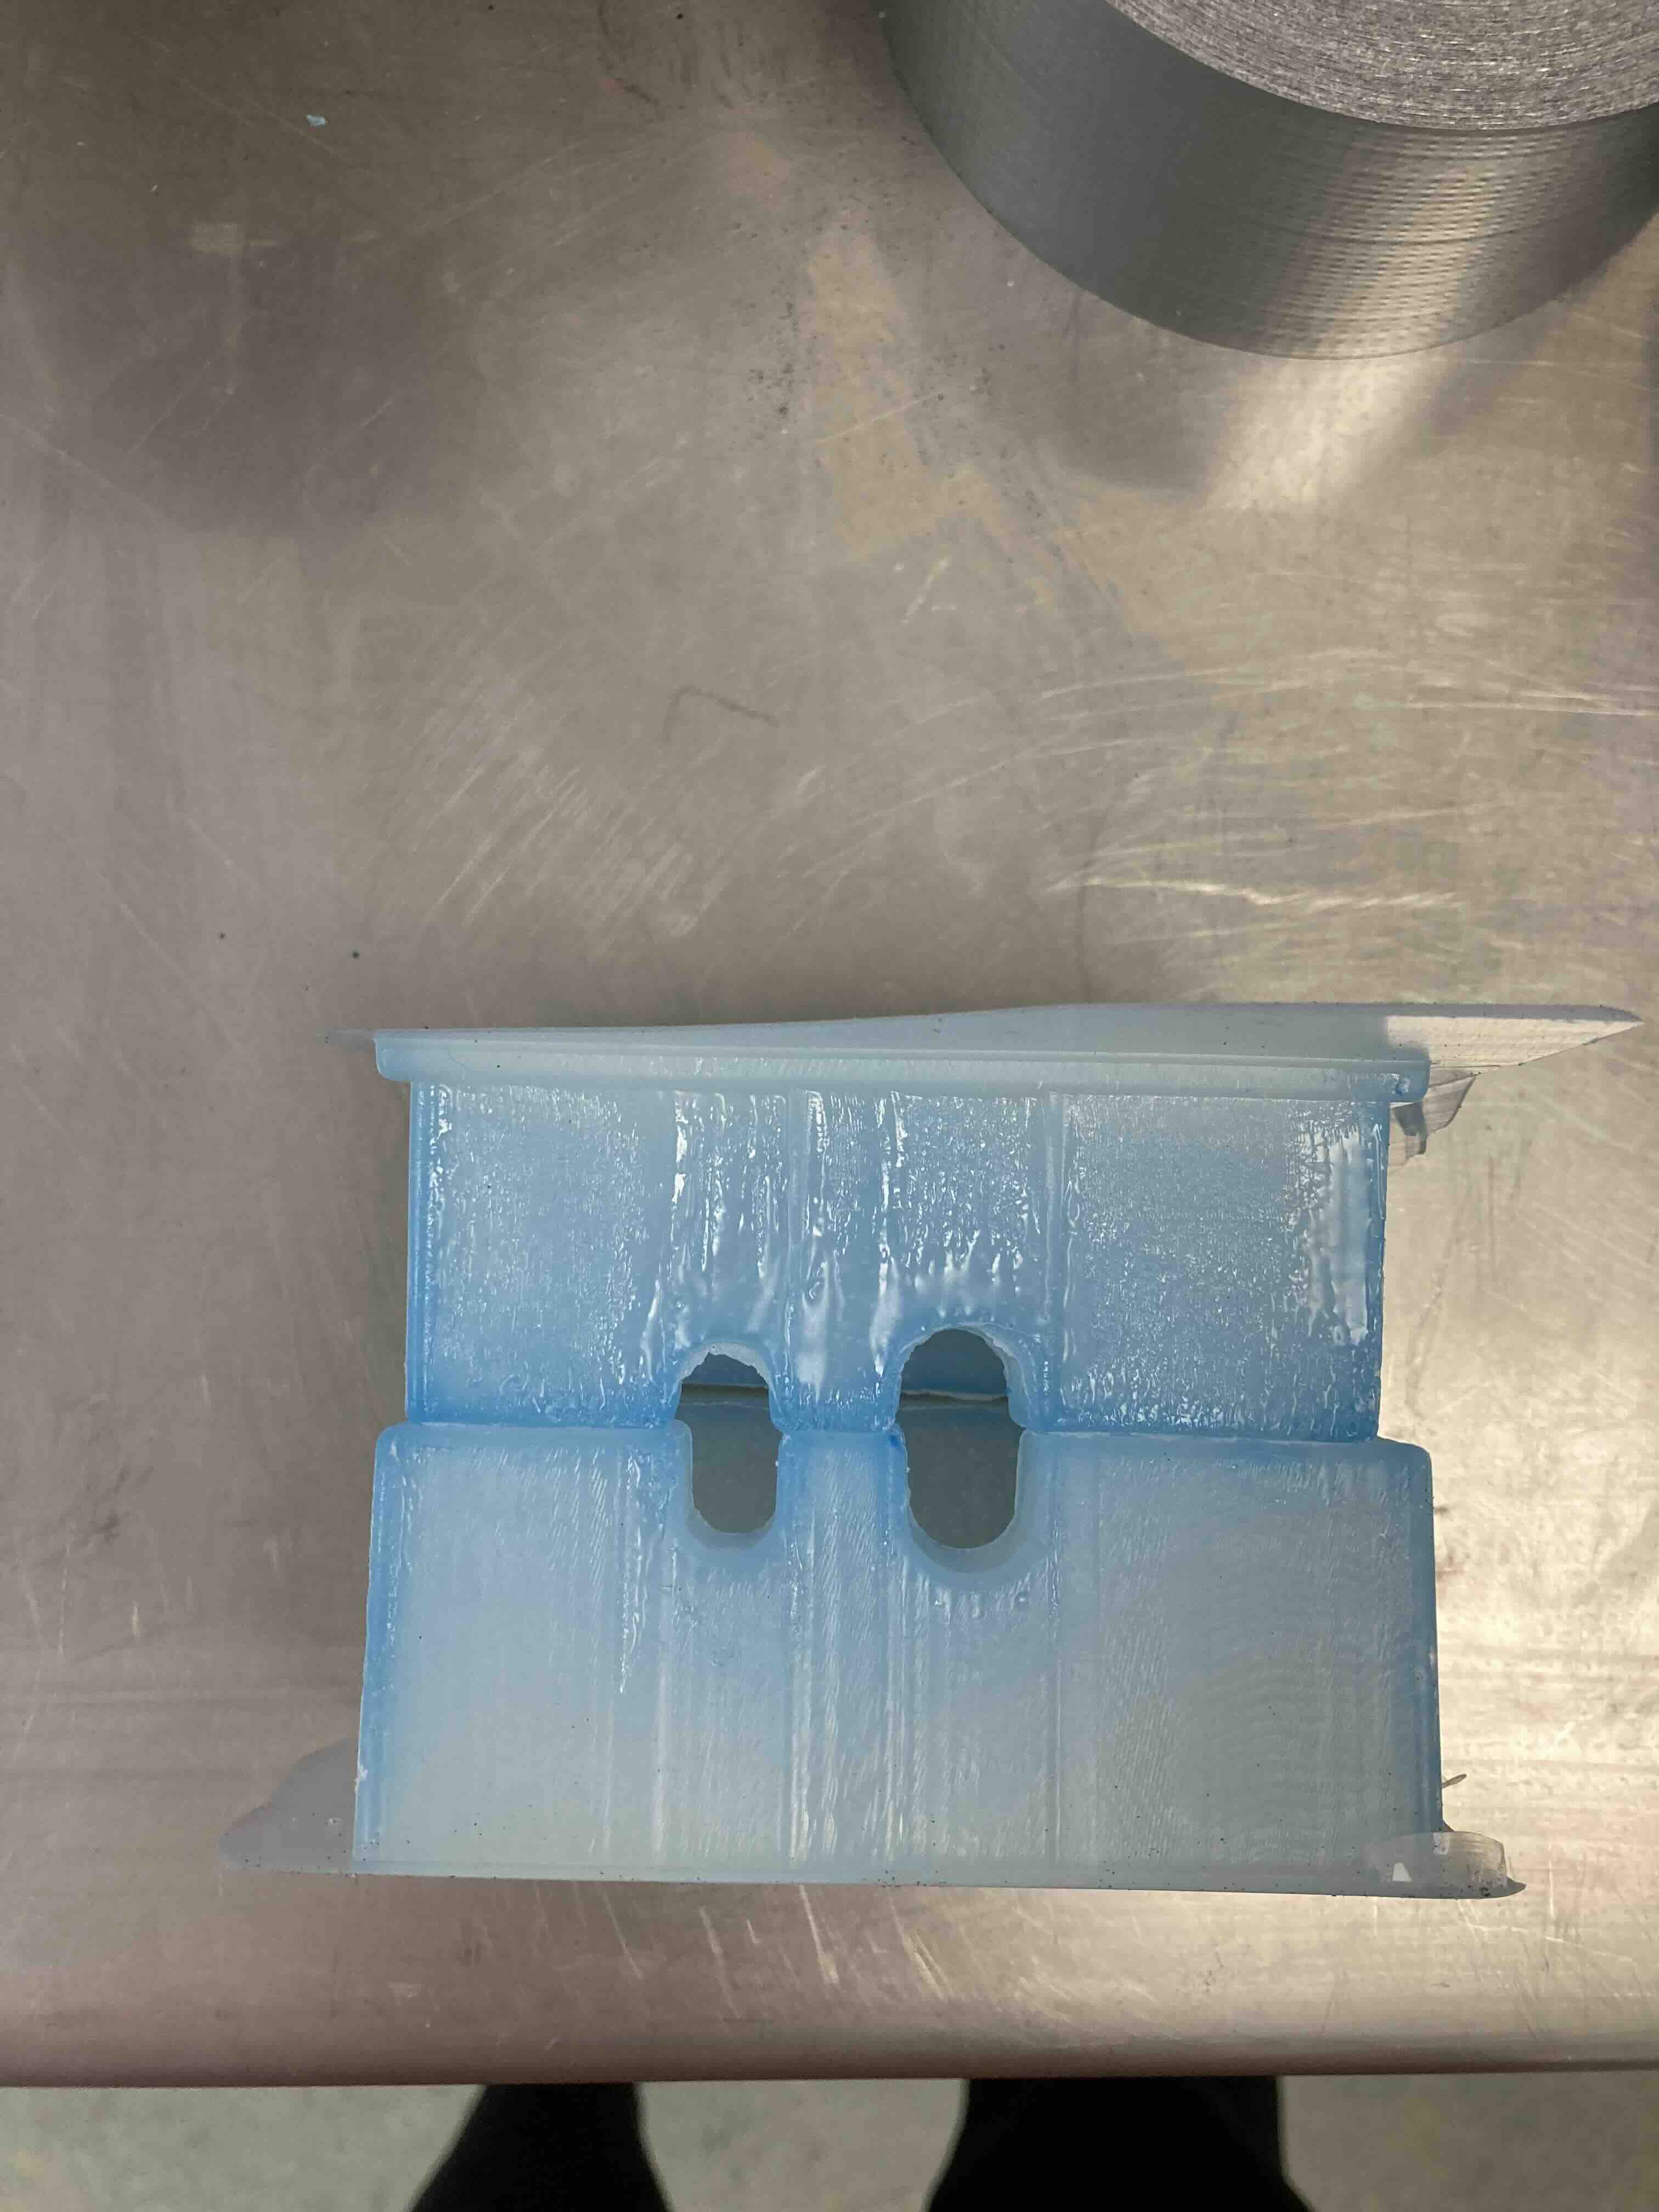
The milling of the wax cube.
Shopbot Milling: wax block
I made the Cam toolpath by using the VCarve. I fixed the wax block to the bed by clamping the wax between two pieces of wood. For the first rough pass I used a 3mm end mill. For the smooth pass I used a 1mm ball nose end mill. In VCarve I had to choose each layer and decide how far down I wanted them to drill.Then I view the toolpath and then I saved each toolpath individually and then milled the item.
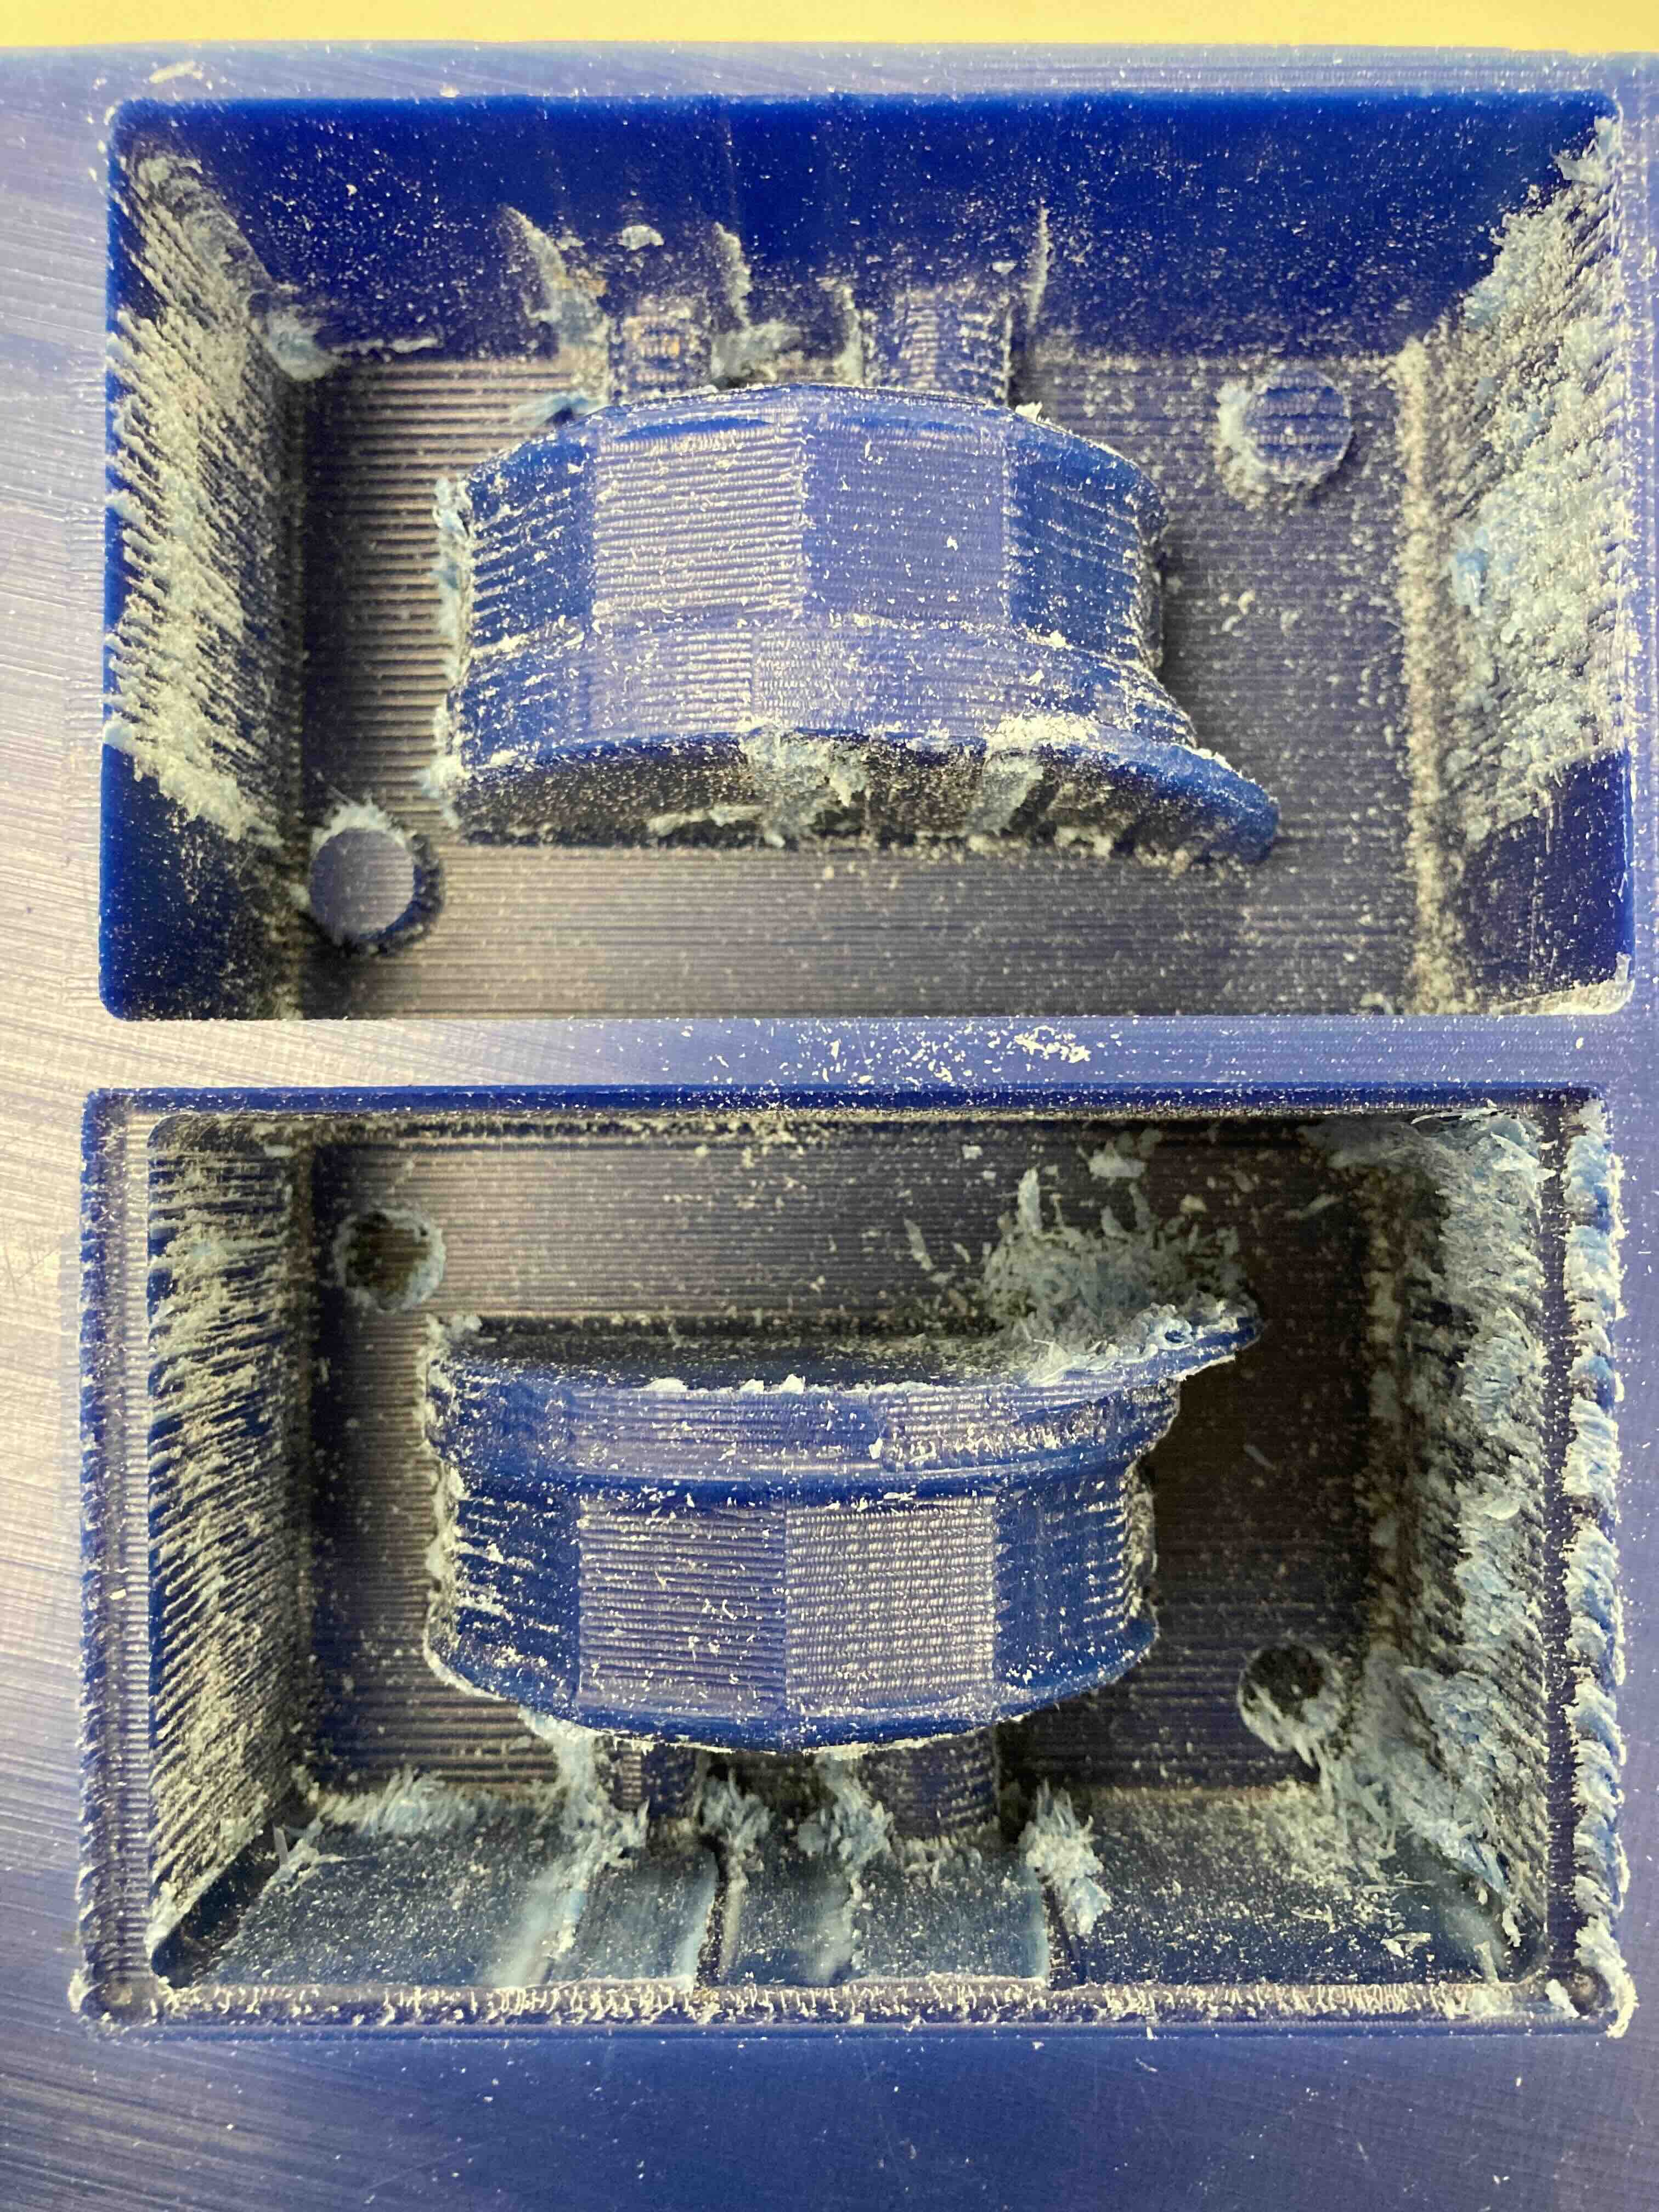
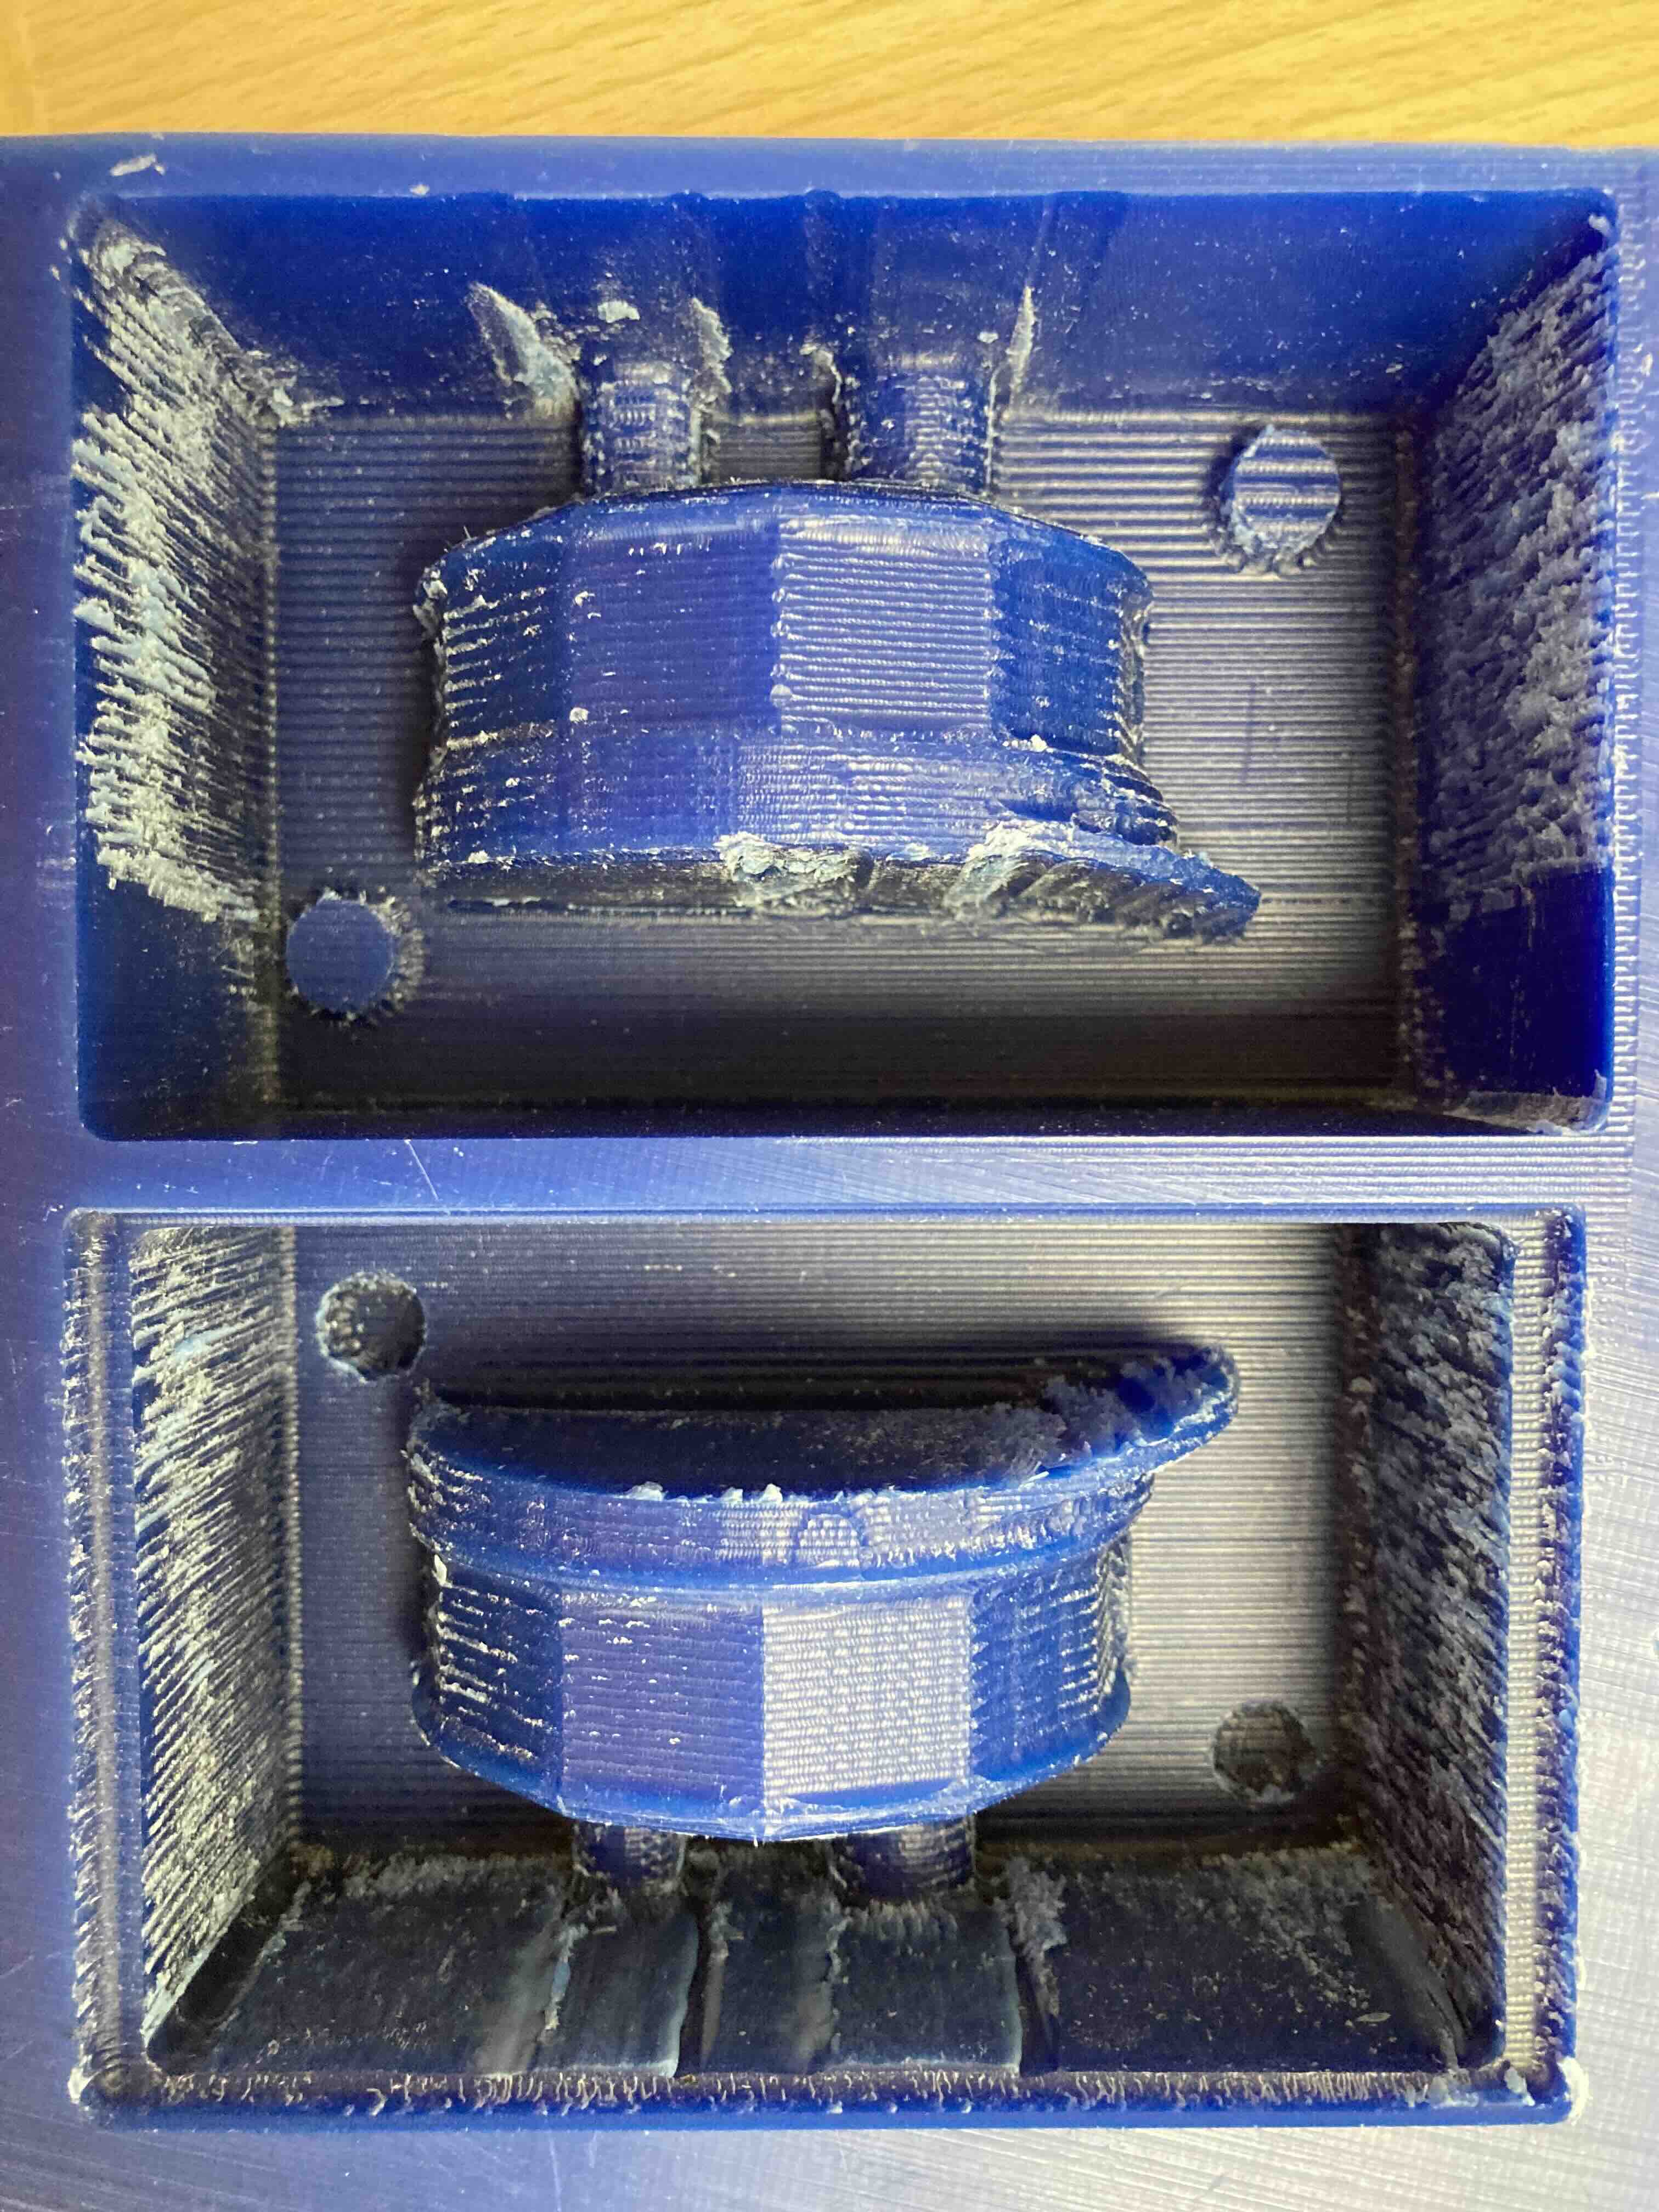
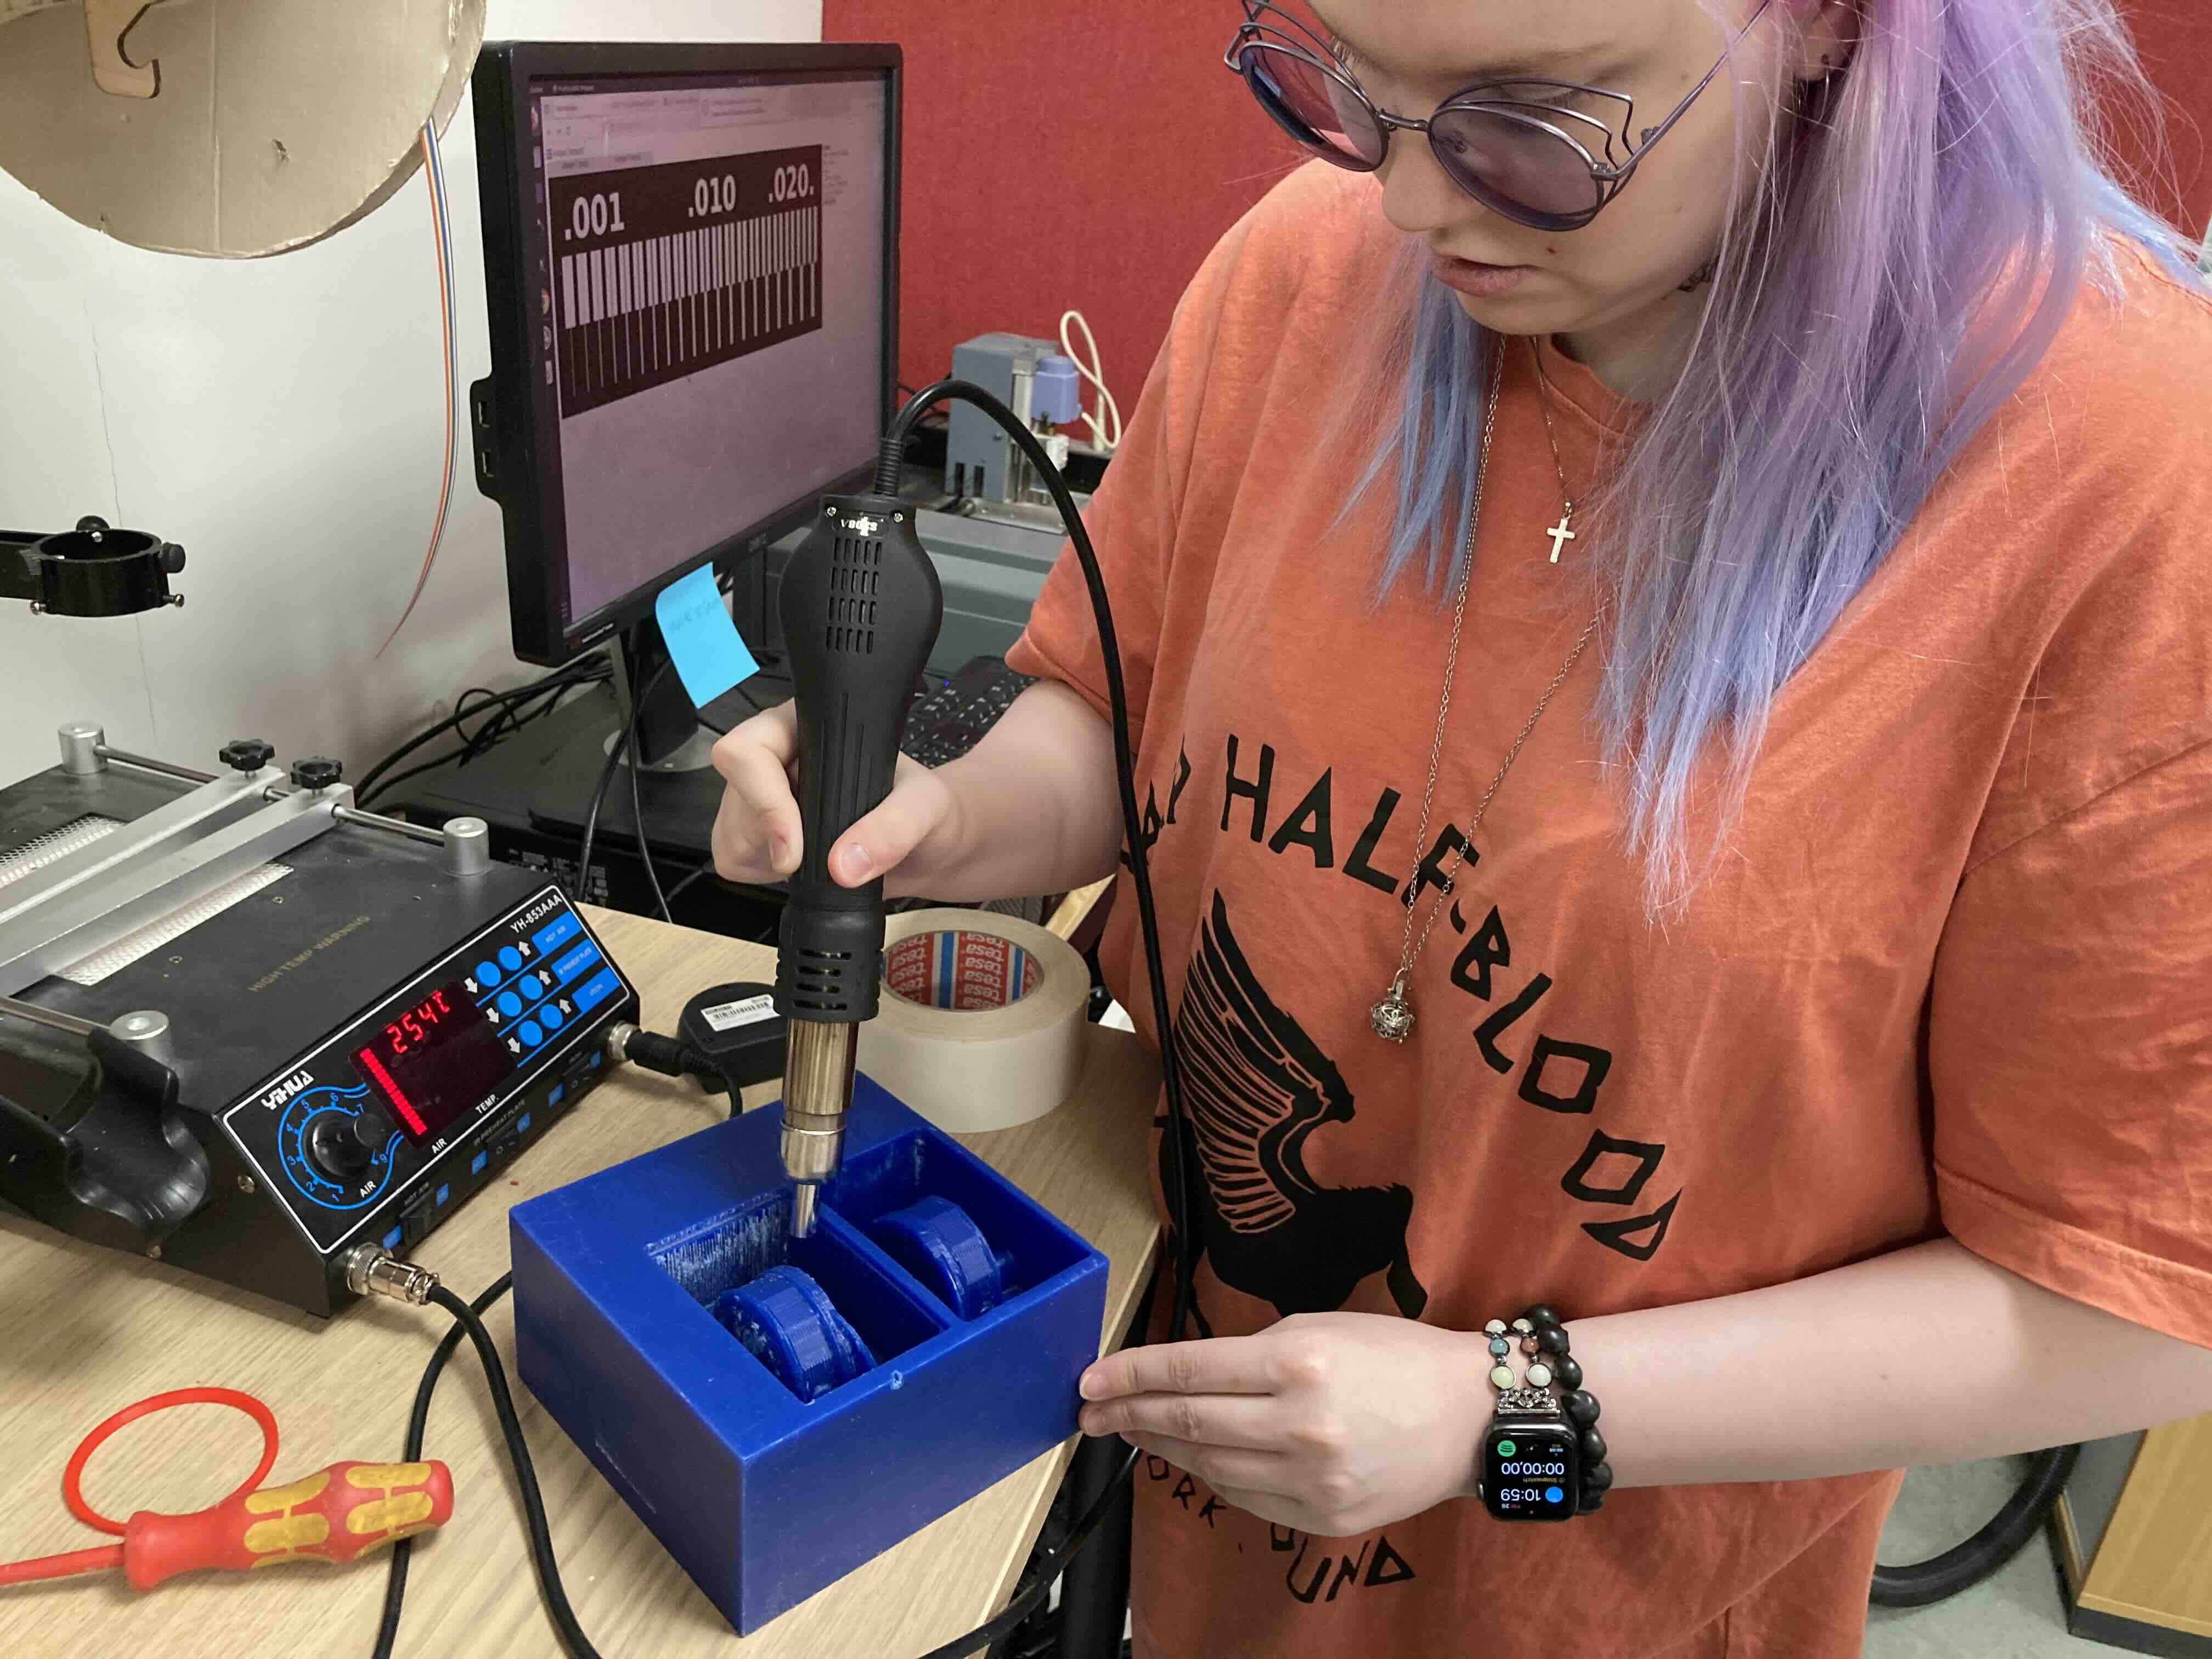
Described problems and how you fixed them. The edges were rough and I decided to use a heatgun to smooth them out.
Outcome.
Softening the edges with heat to make them smoother.
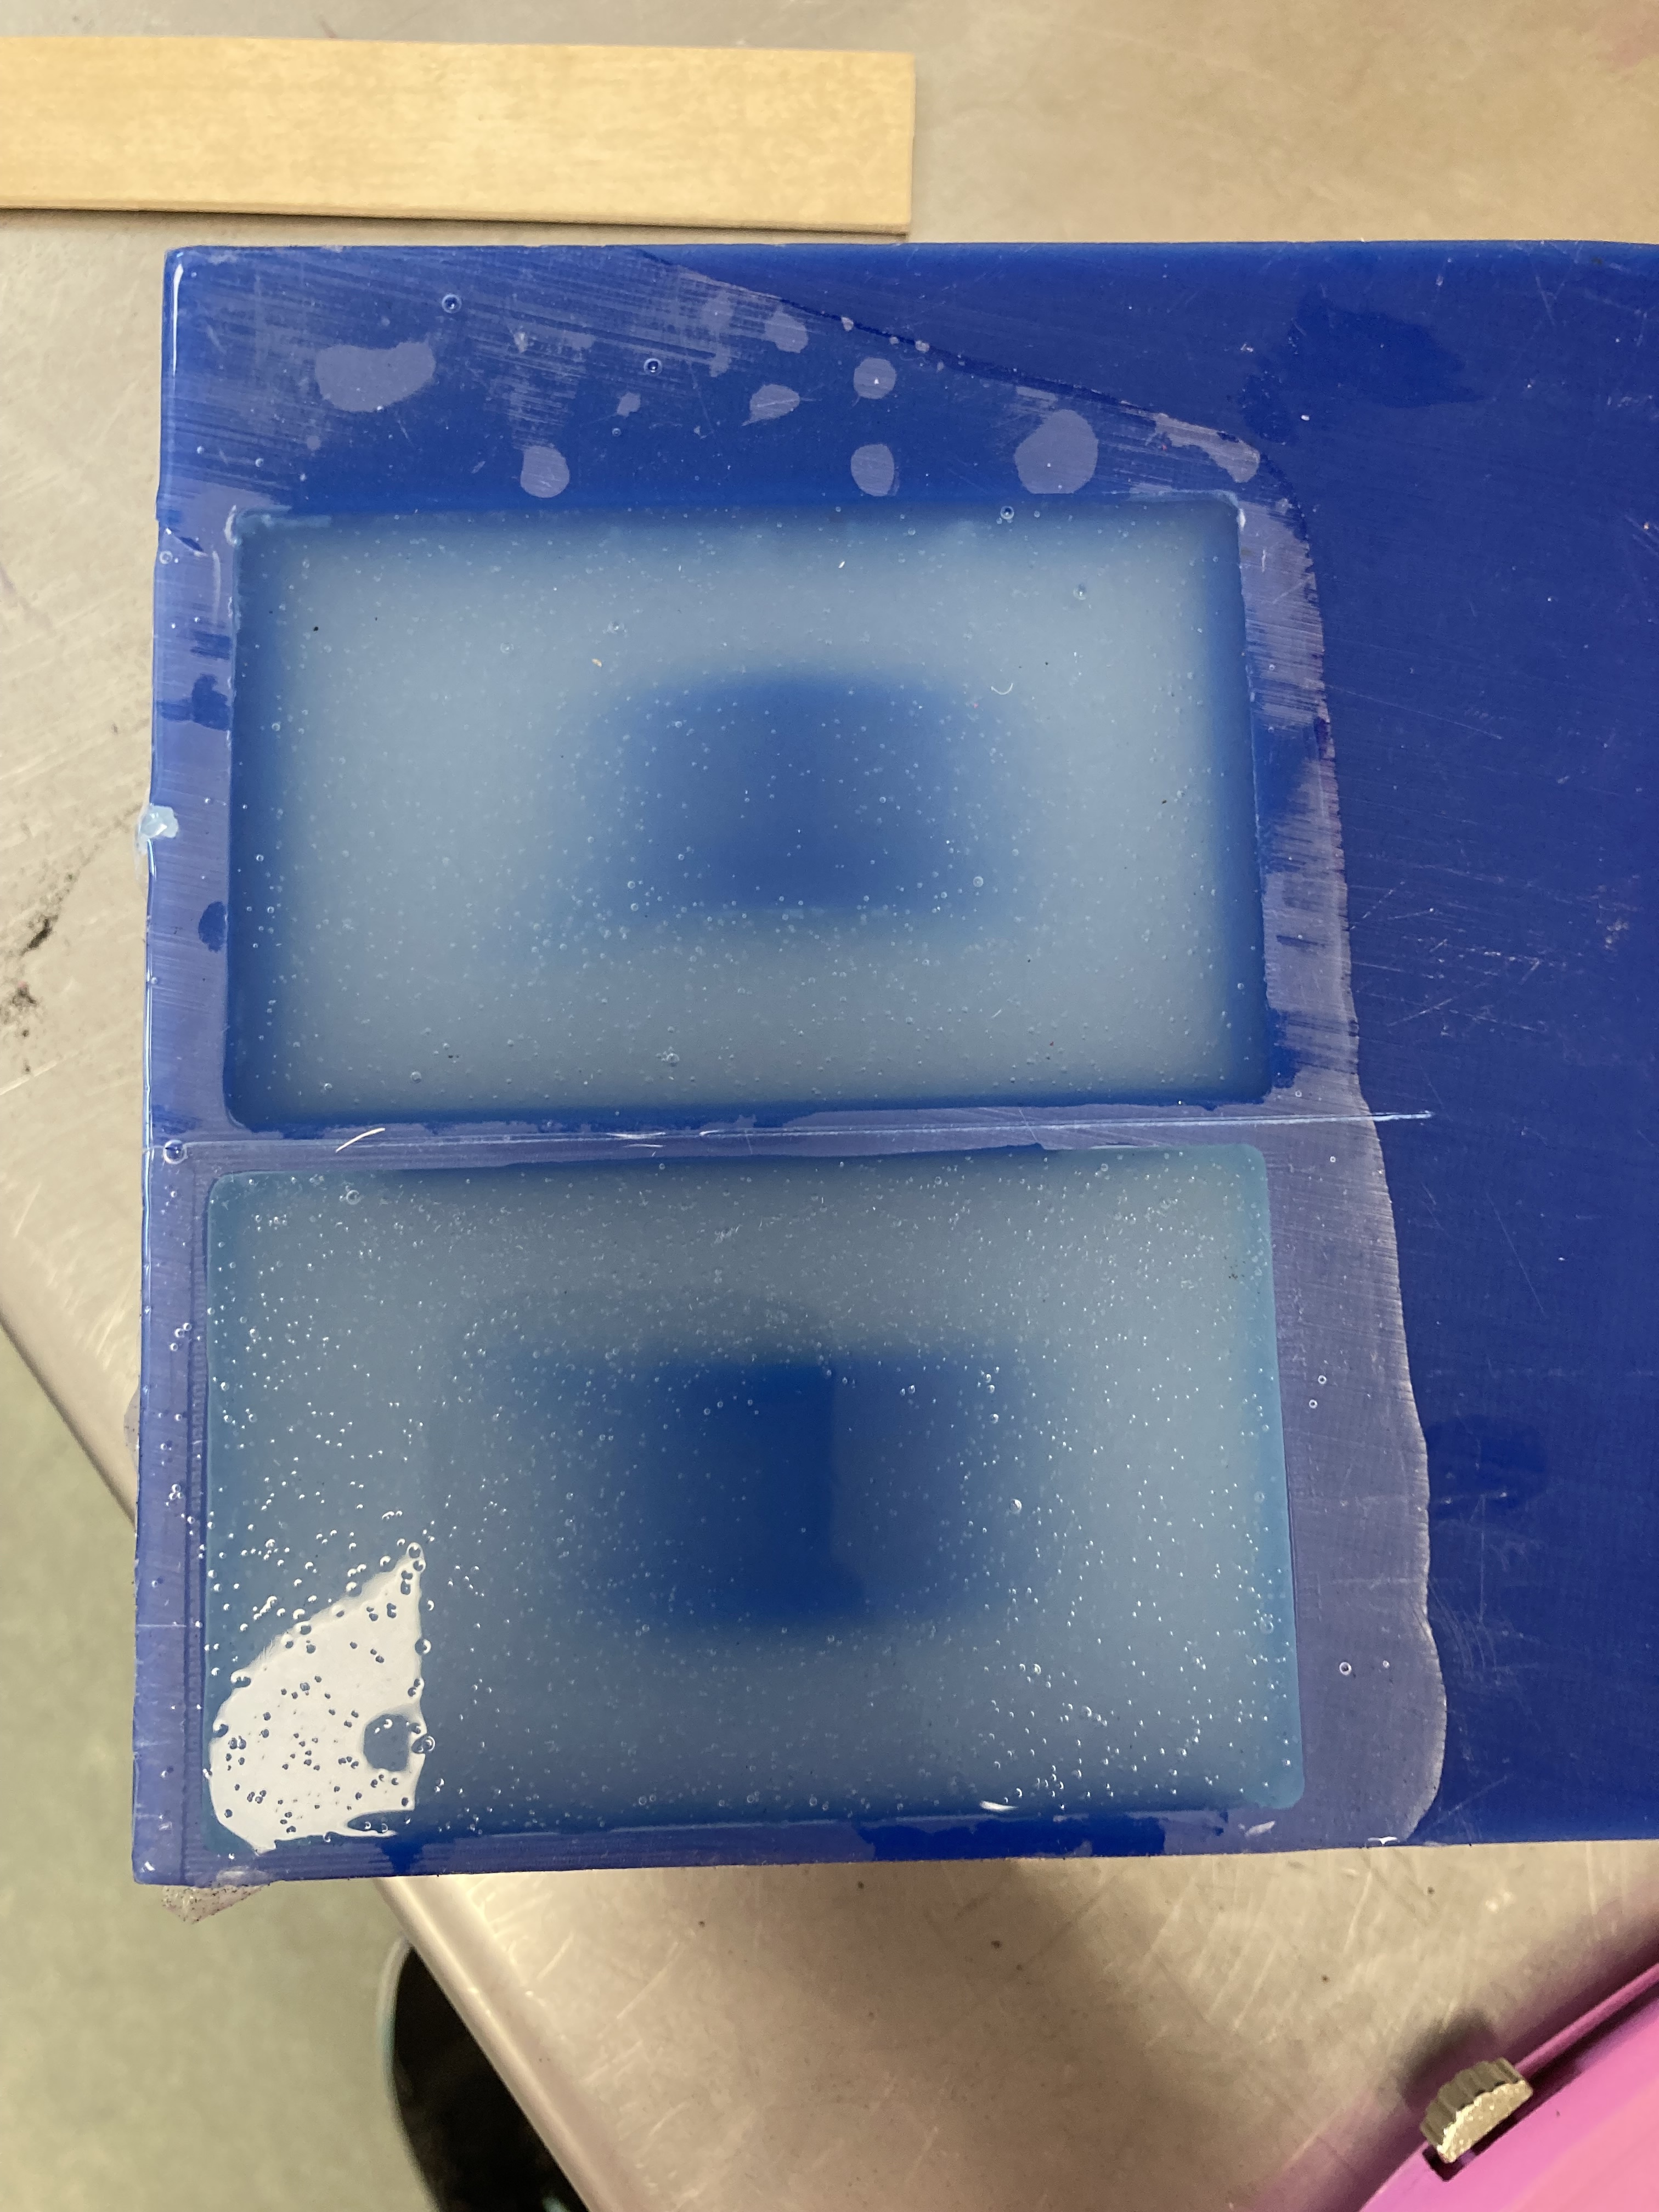
Silicon pouring
The silicone I used is from Zhermack industrial and product number is ZA13. ZA 13 MOULD WT 45 is a pourable addition curing, two component silicone that vulcanize at room
temperature. It presents the following special features: low viscosity, high mechanical resistance,
dimensional stability, precision in reproduction. See the Material Safety Data sheet here.
The silicon is blended slowly to make sure it forms correctly and has no bubbles. We left it in the wax mold over the weekend to firm.
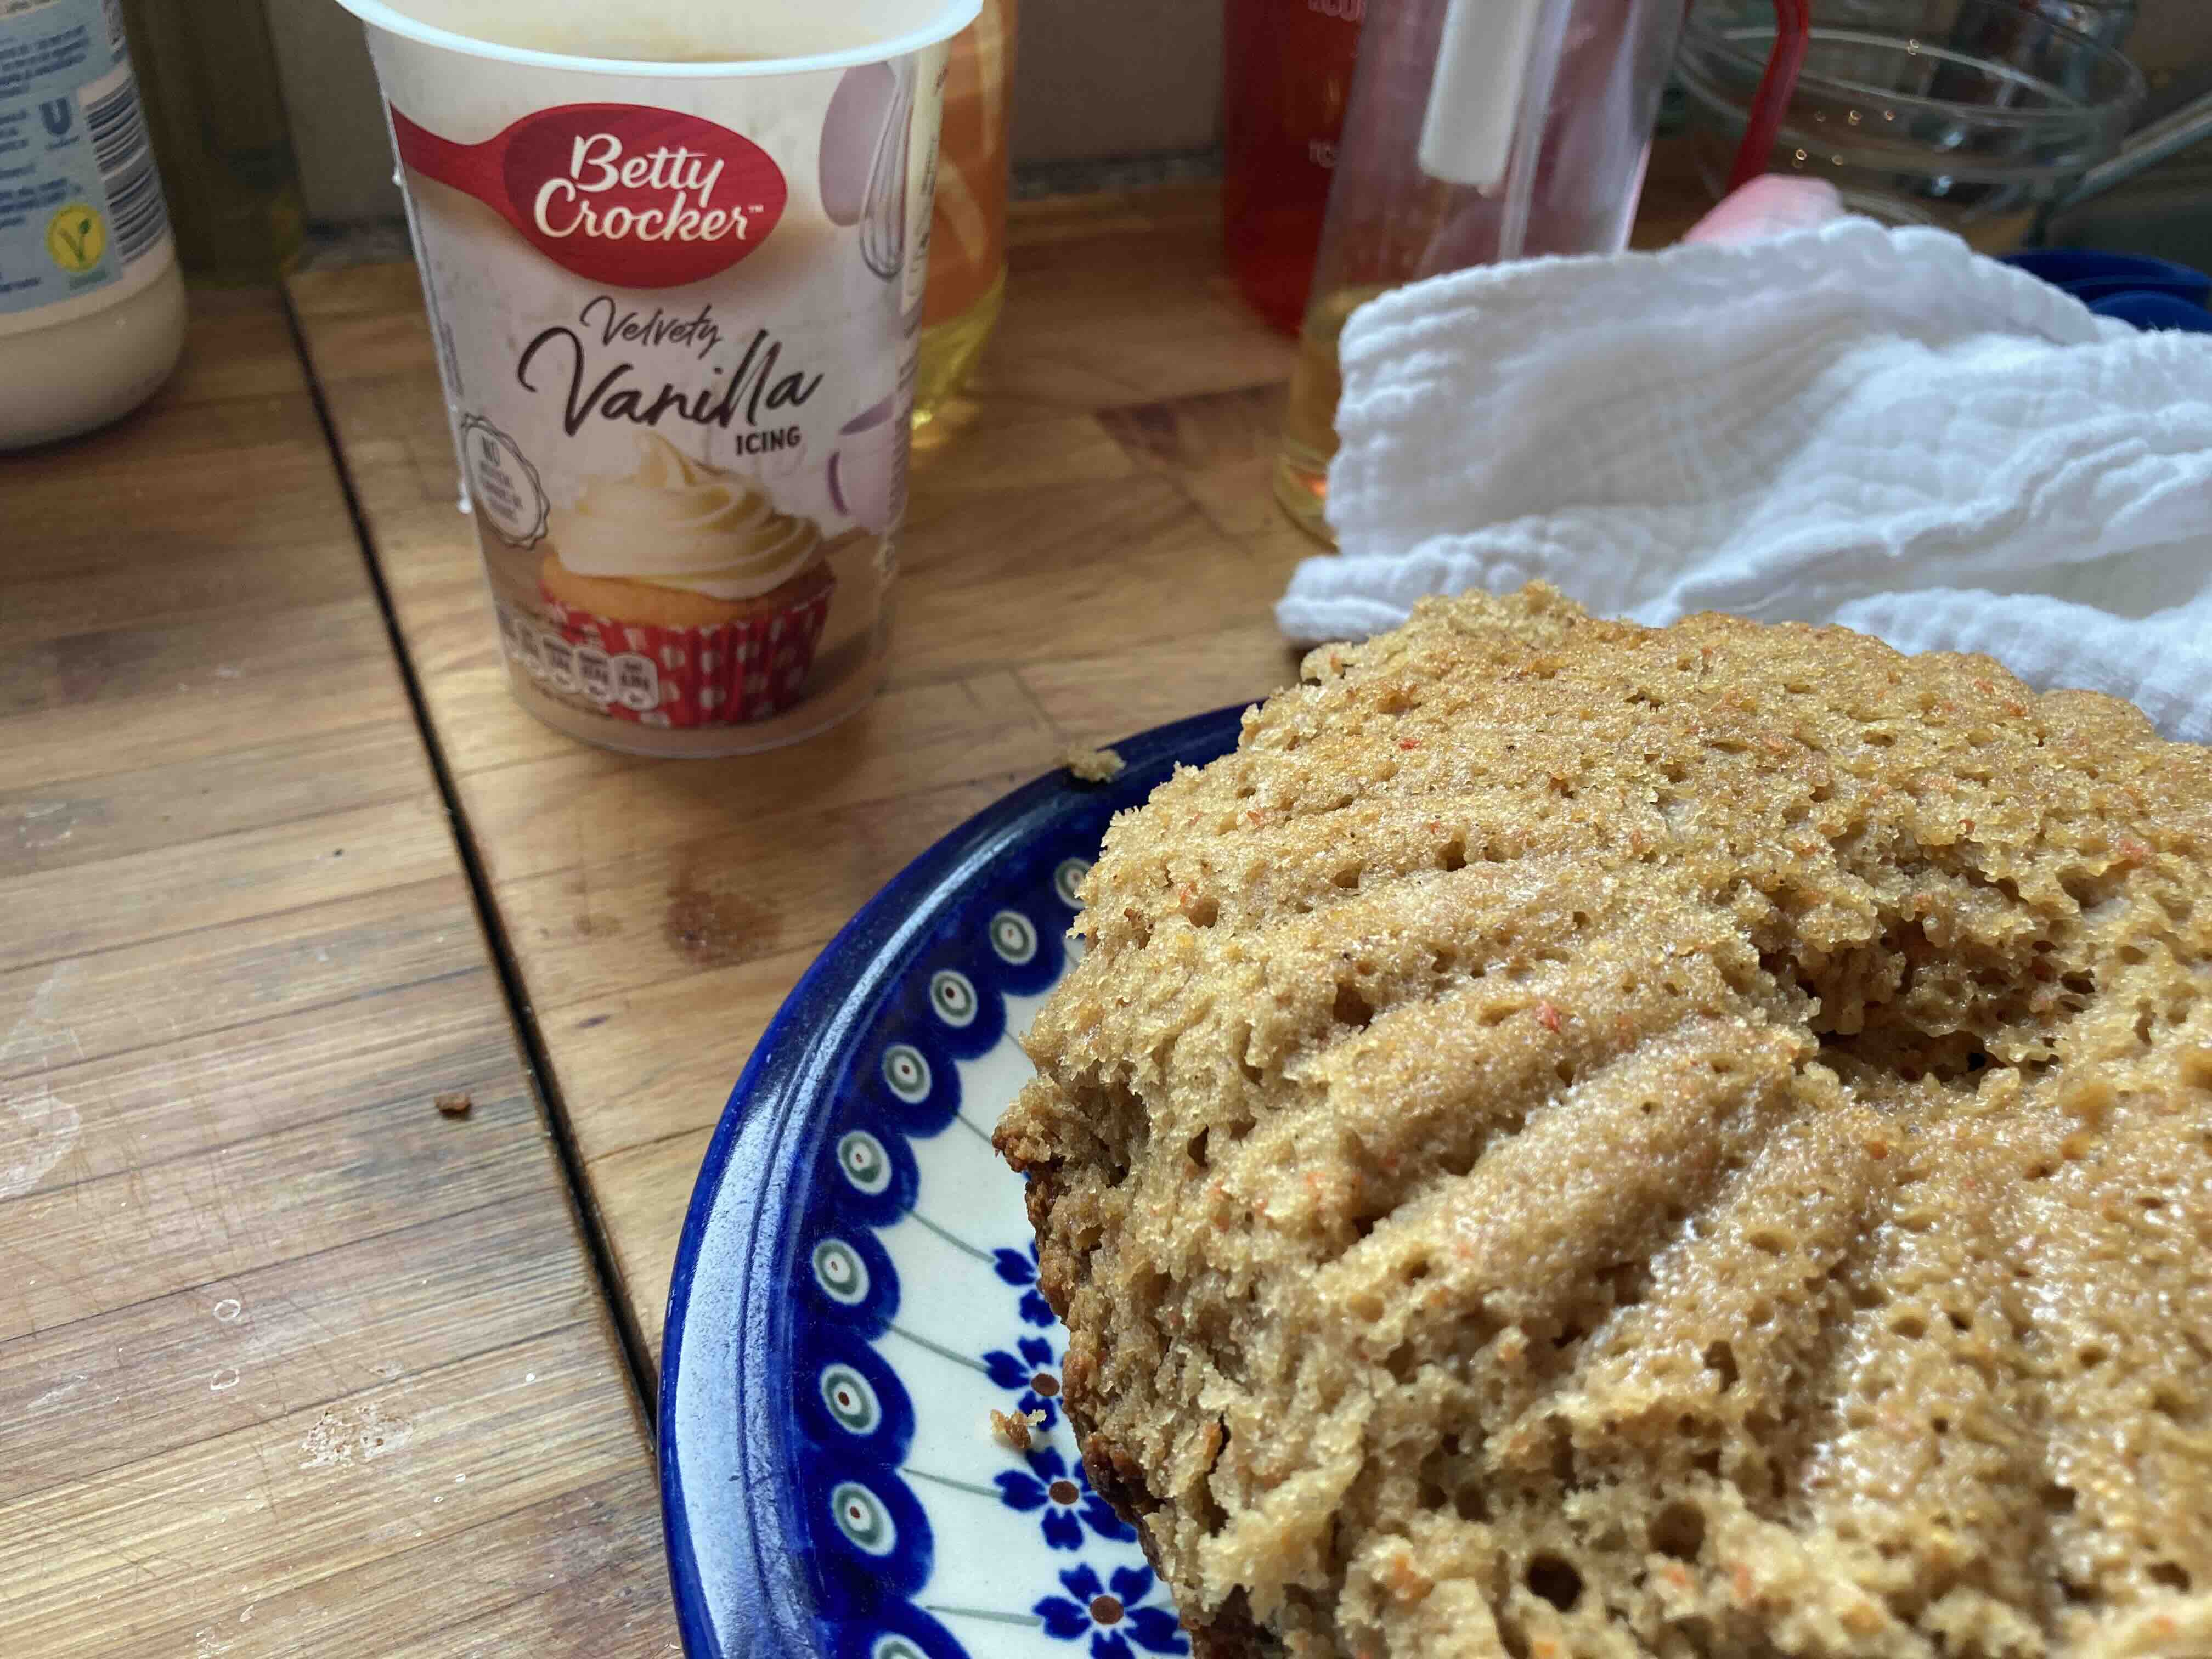
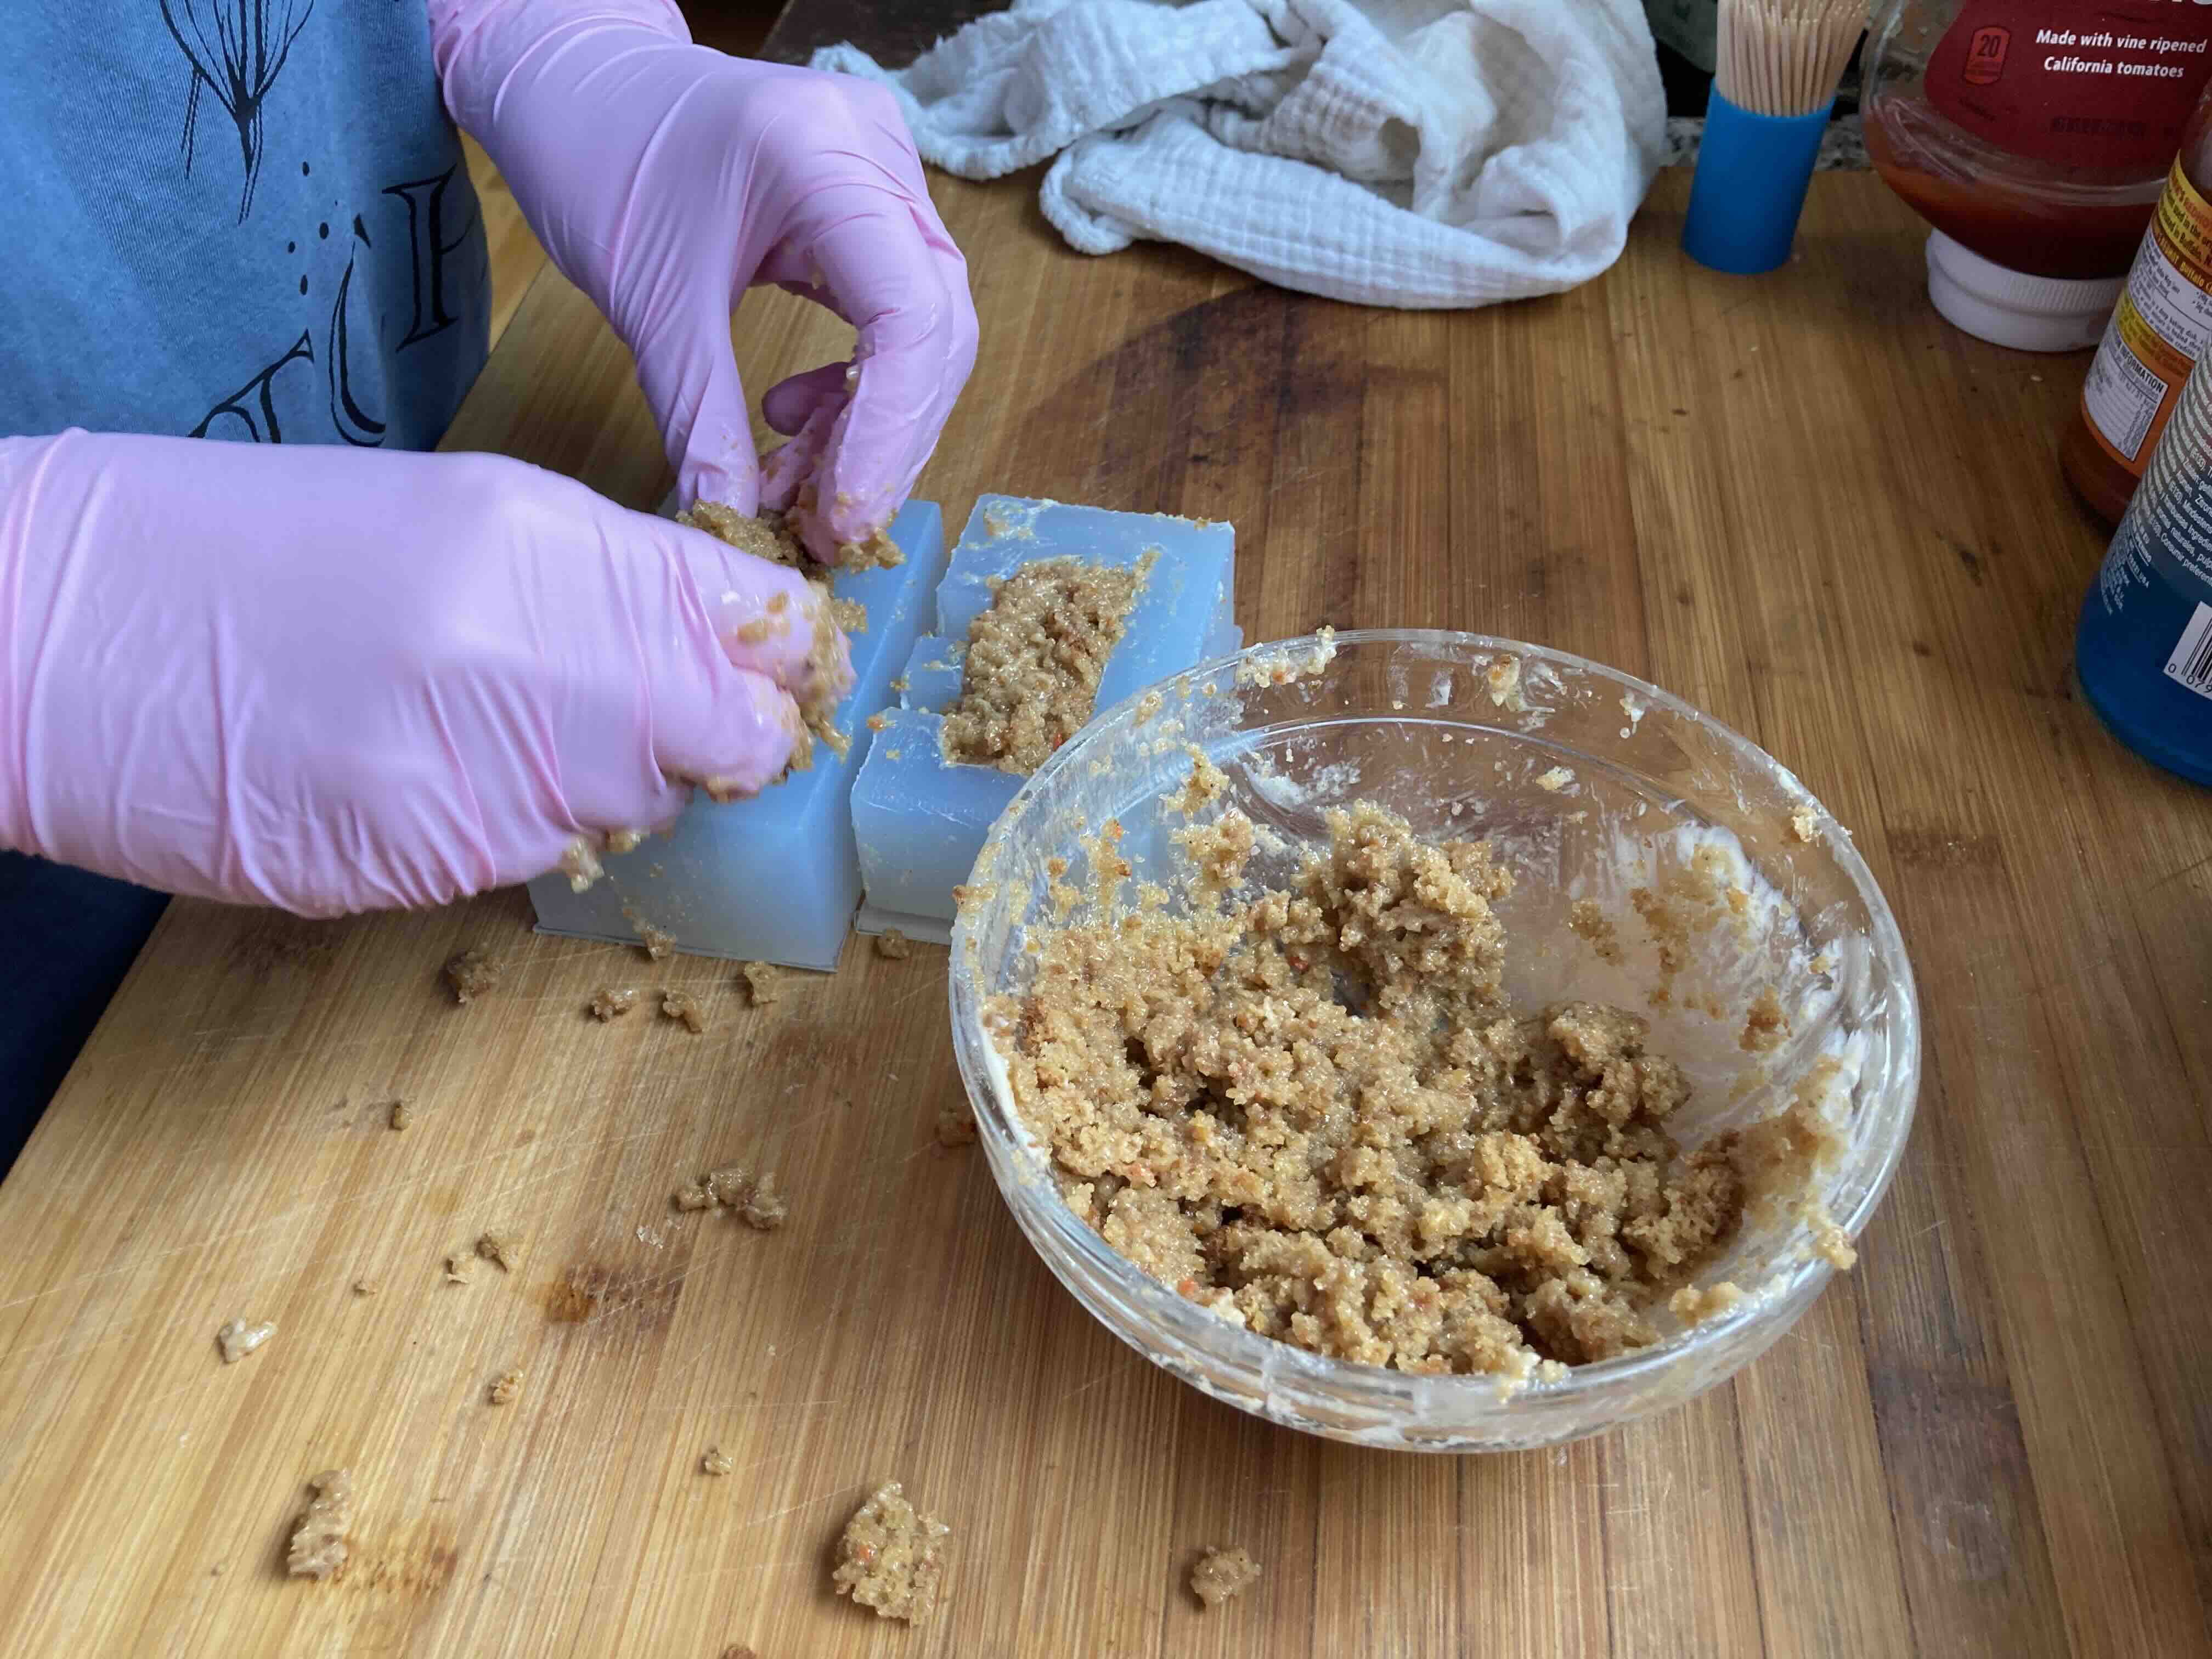
Cake and frosting
I used cake mix and premade frosting to make the cake pop batter
Stuffing the mold
I made sure the mold was filled on both sides.
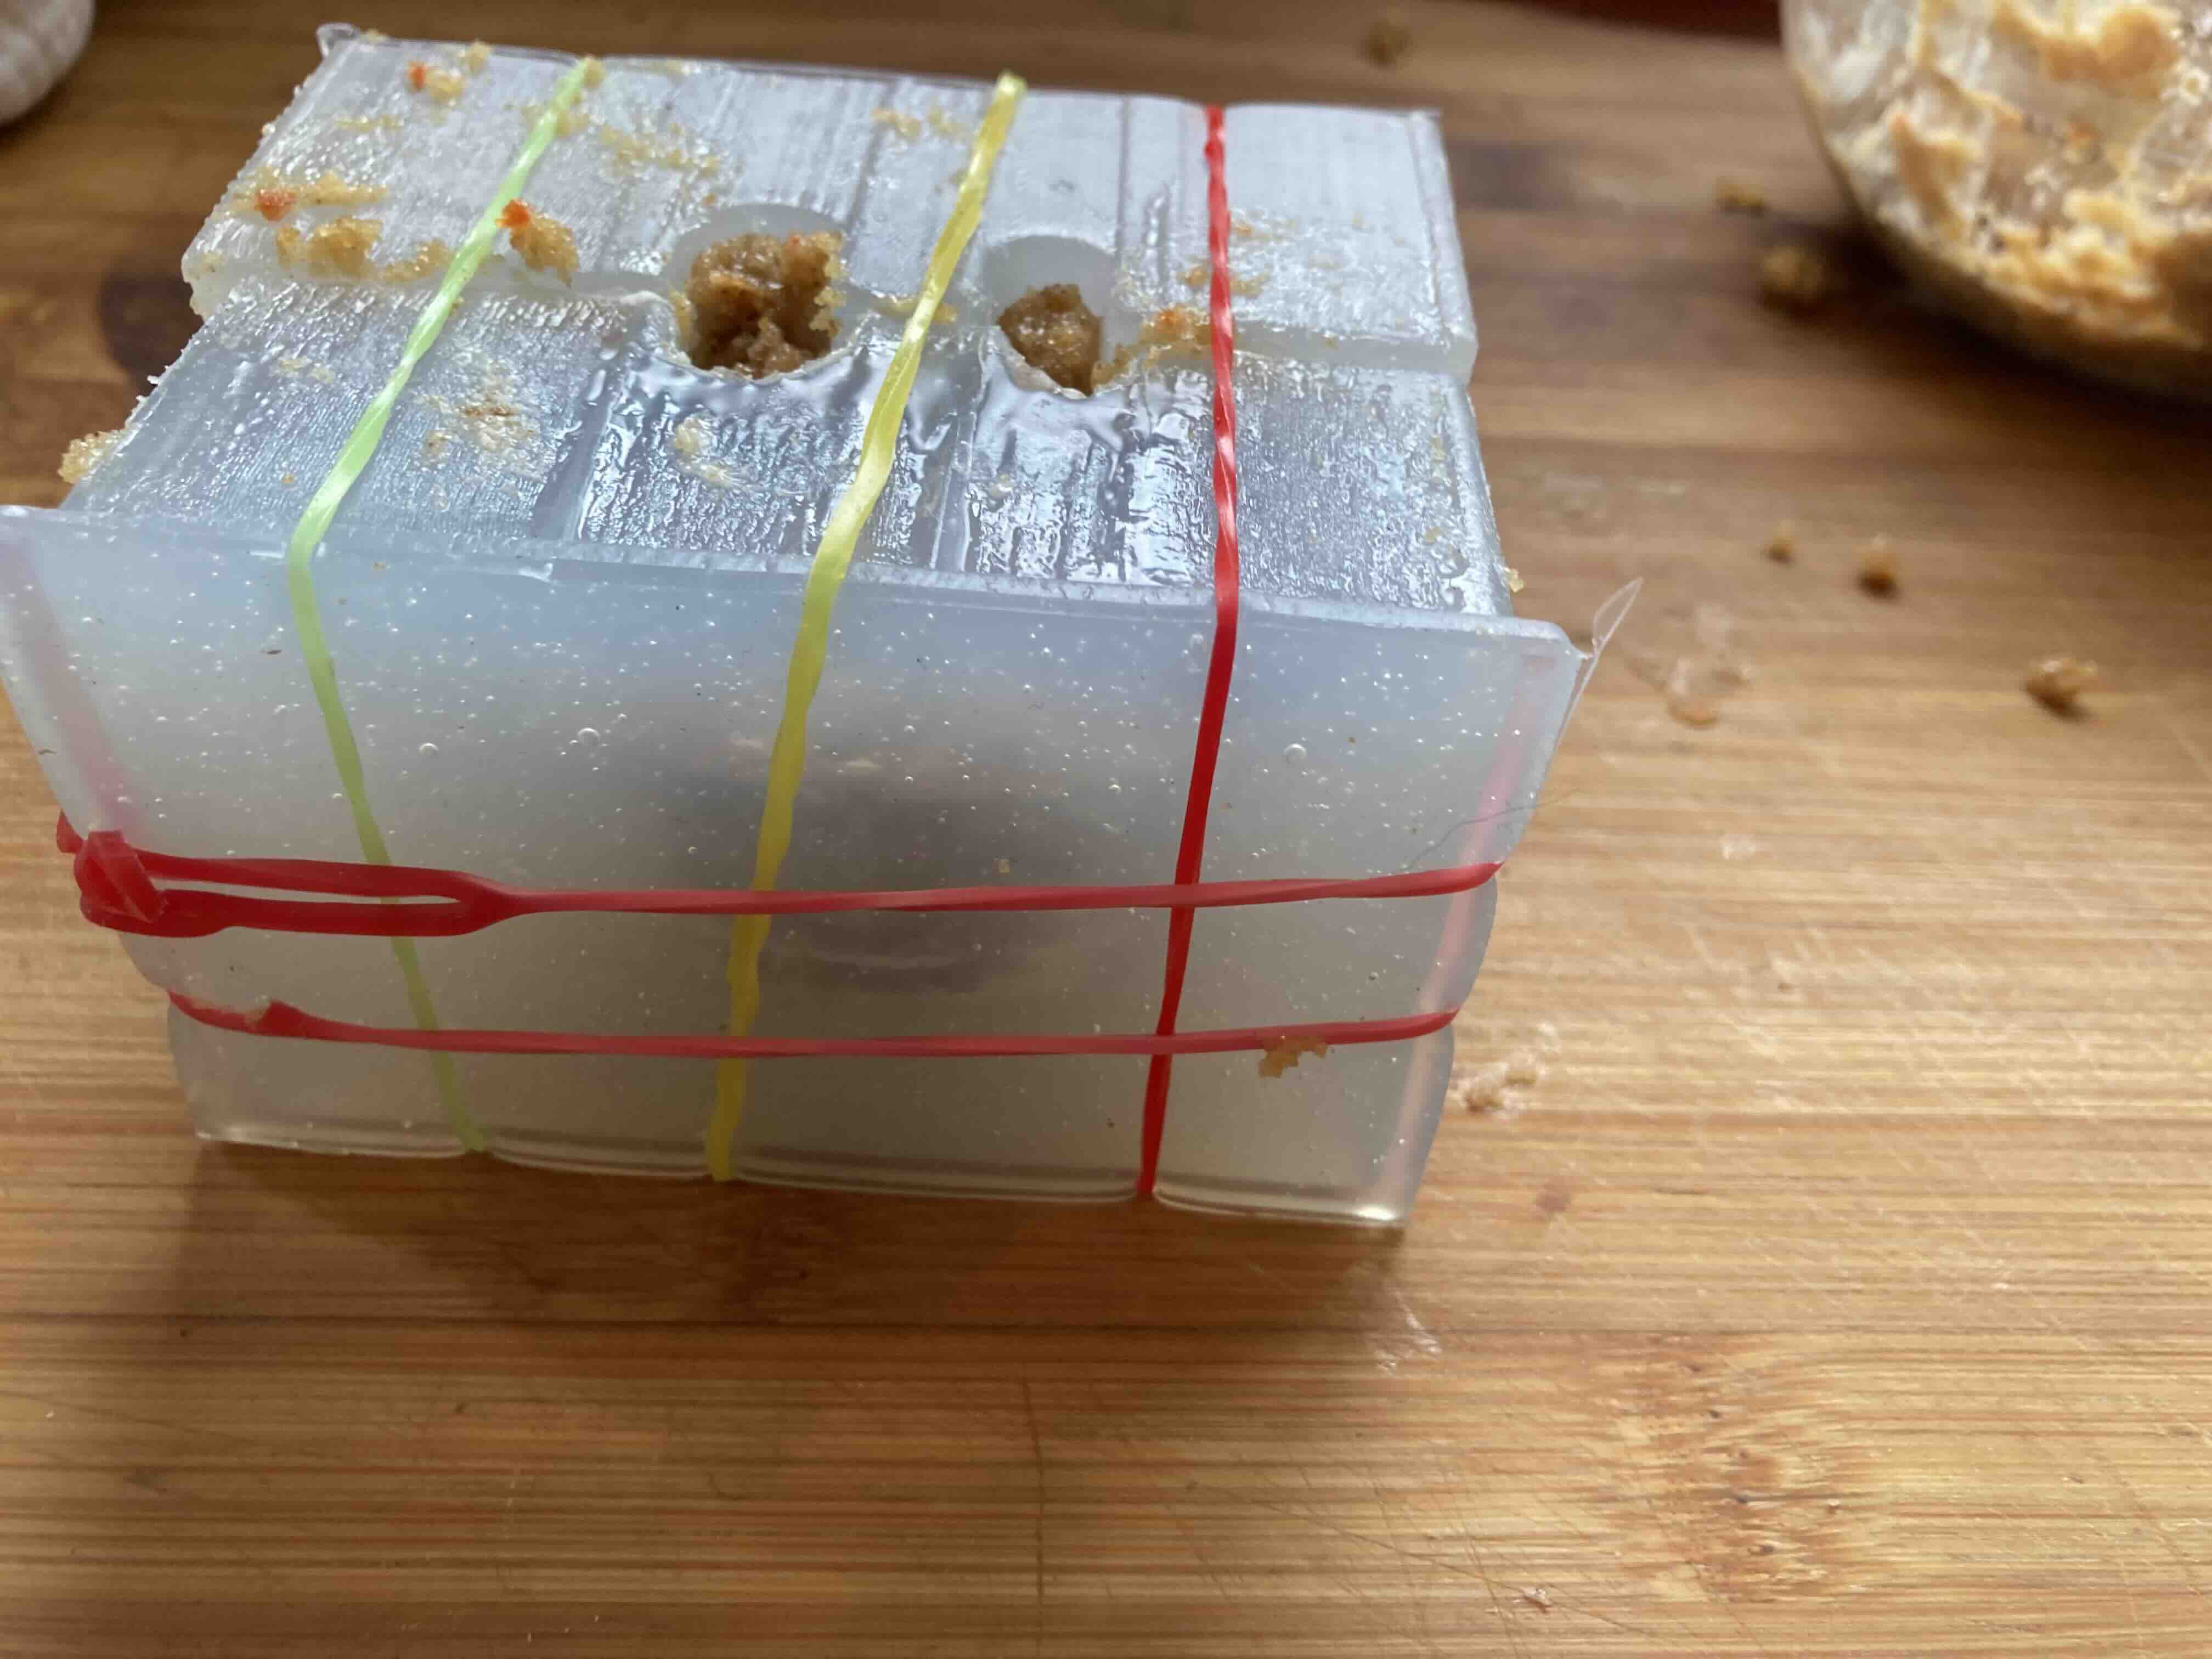
Ready to go
I tied it together with sillybands since they are silicone too.
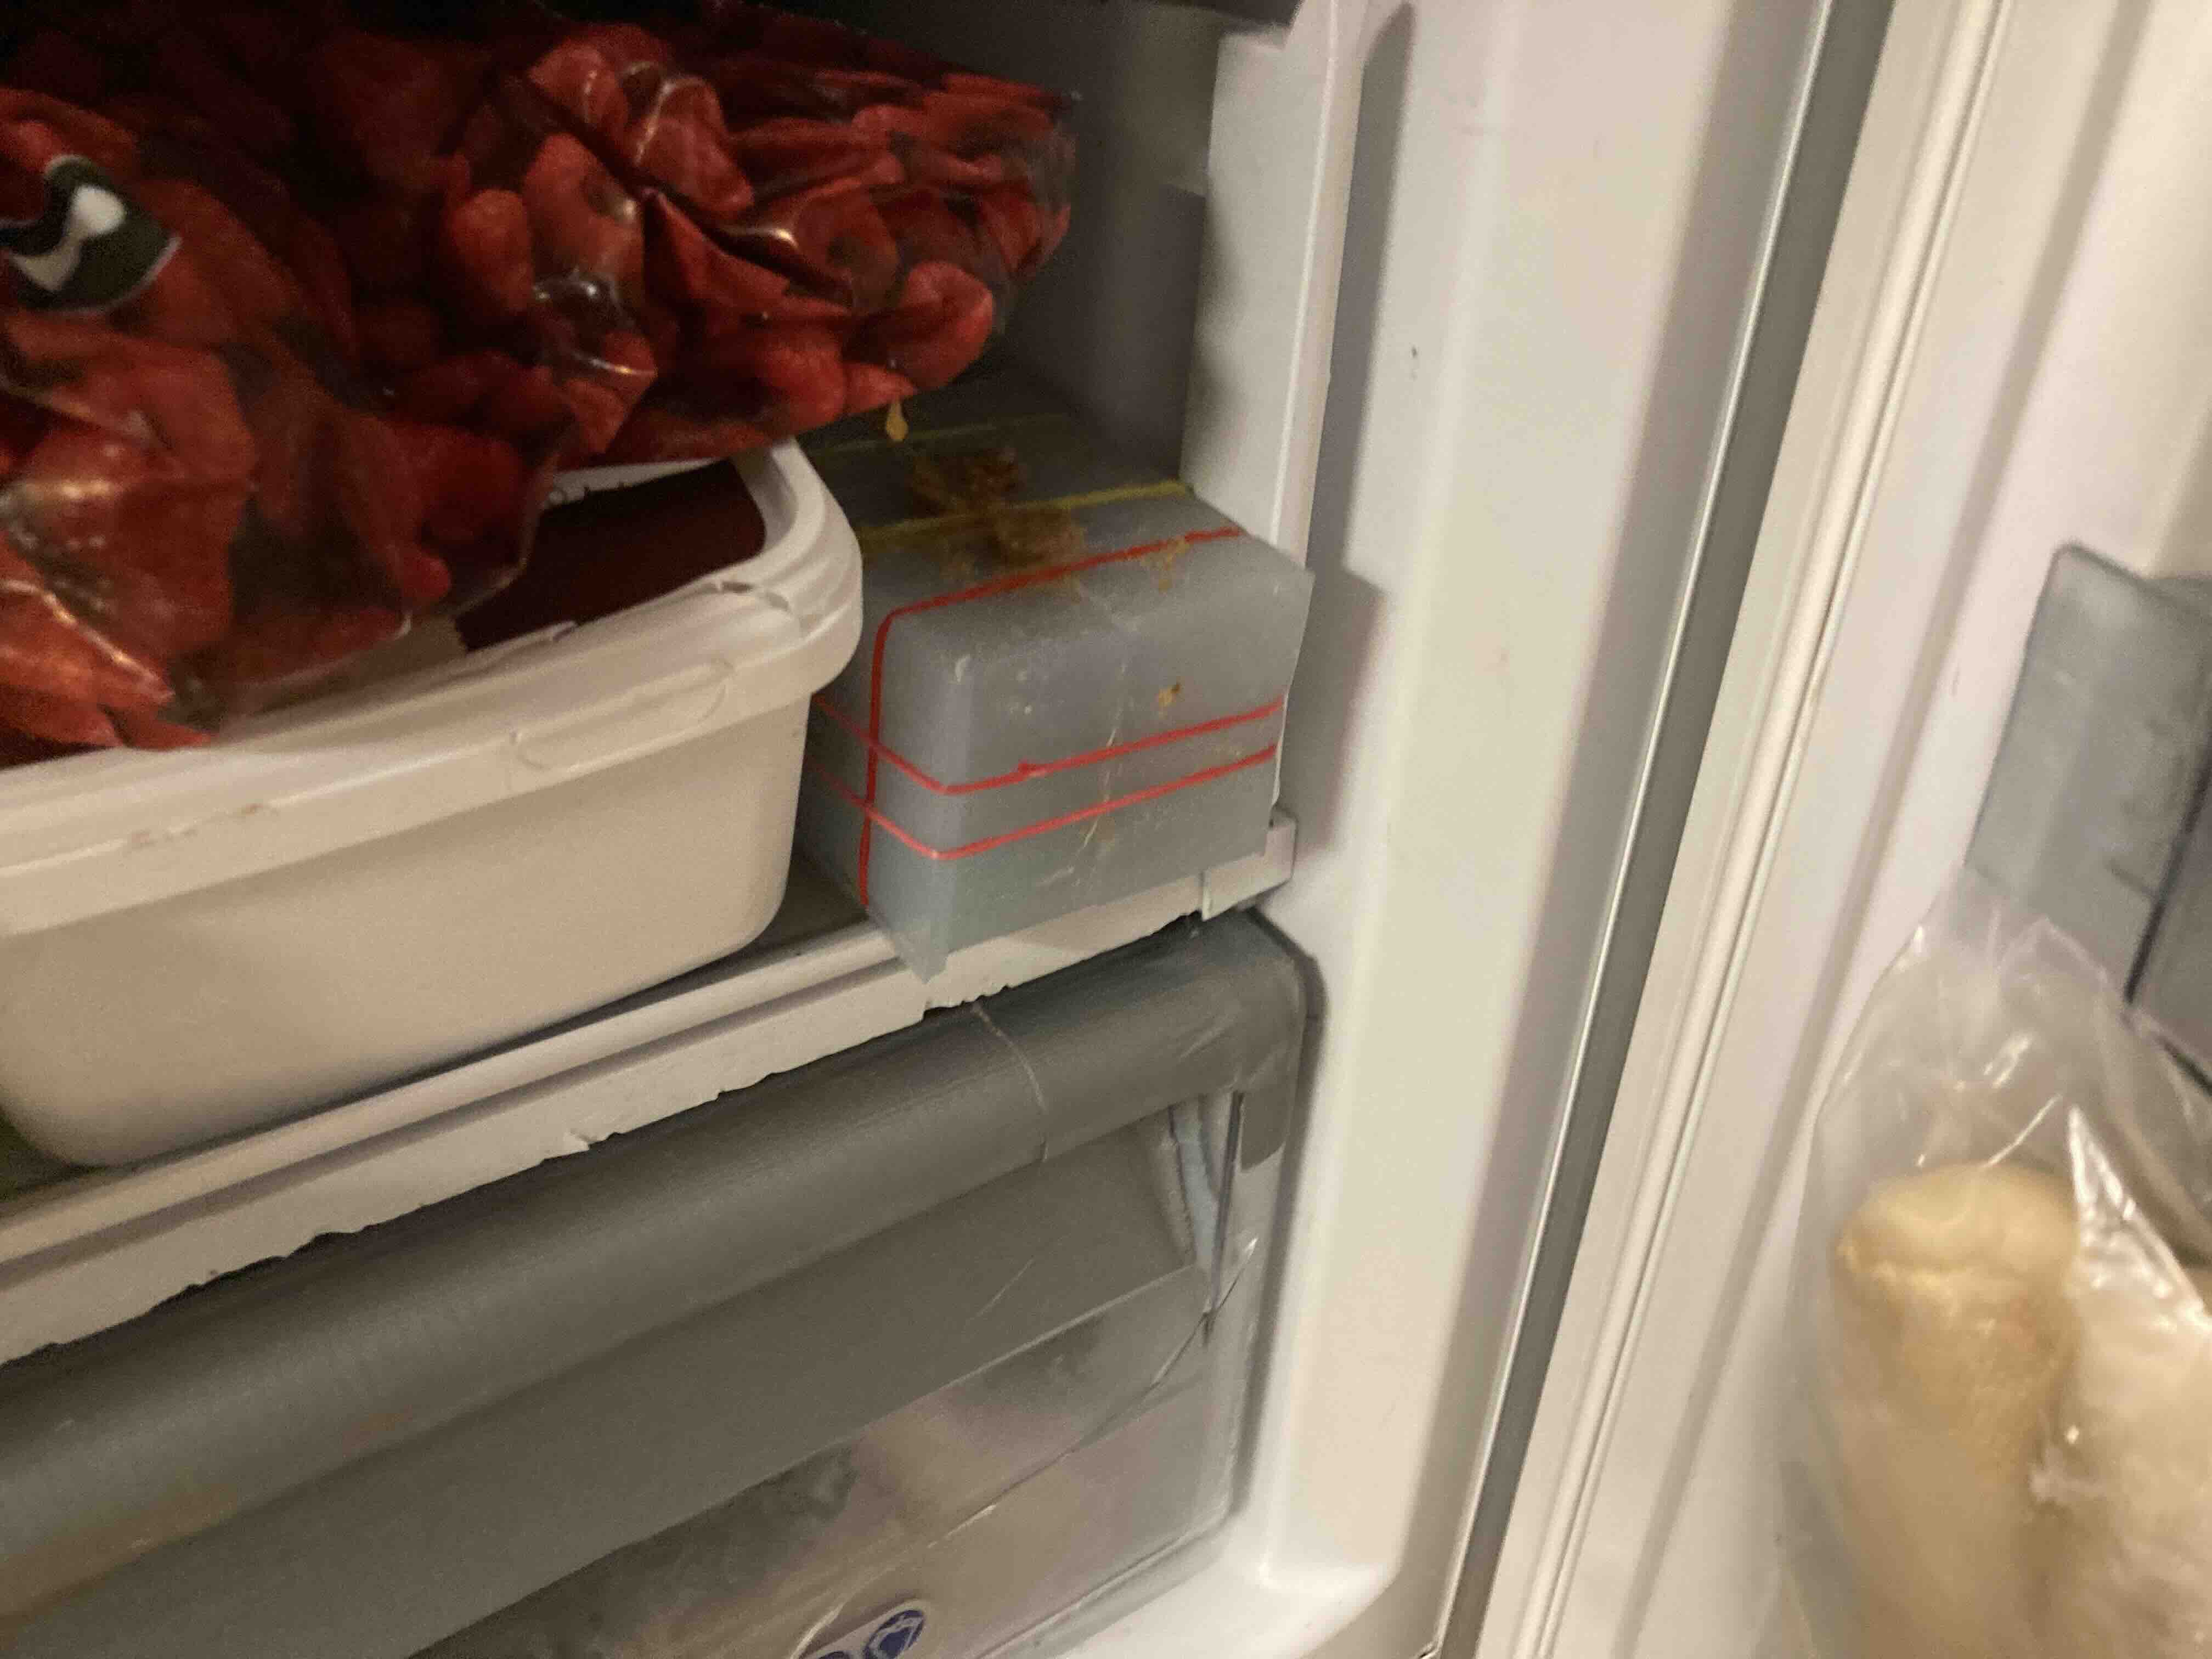
Cooling
Put it in the frezzer to set it faster. You can also put it overnight in the fridge.
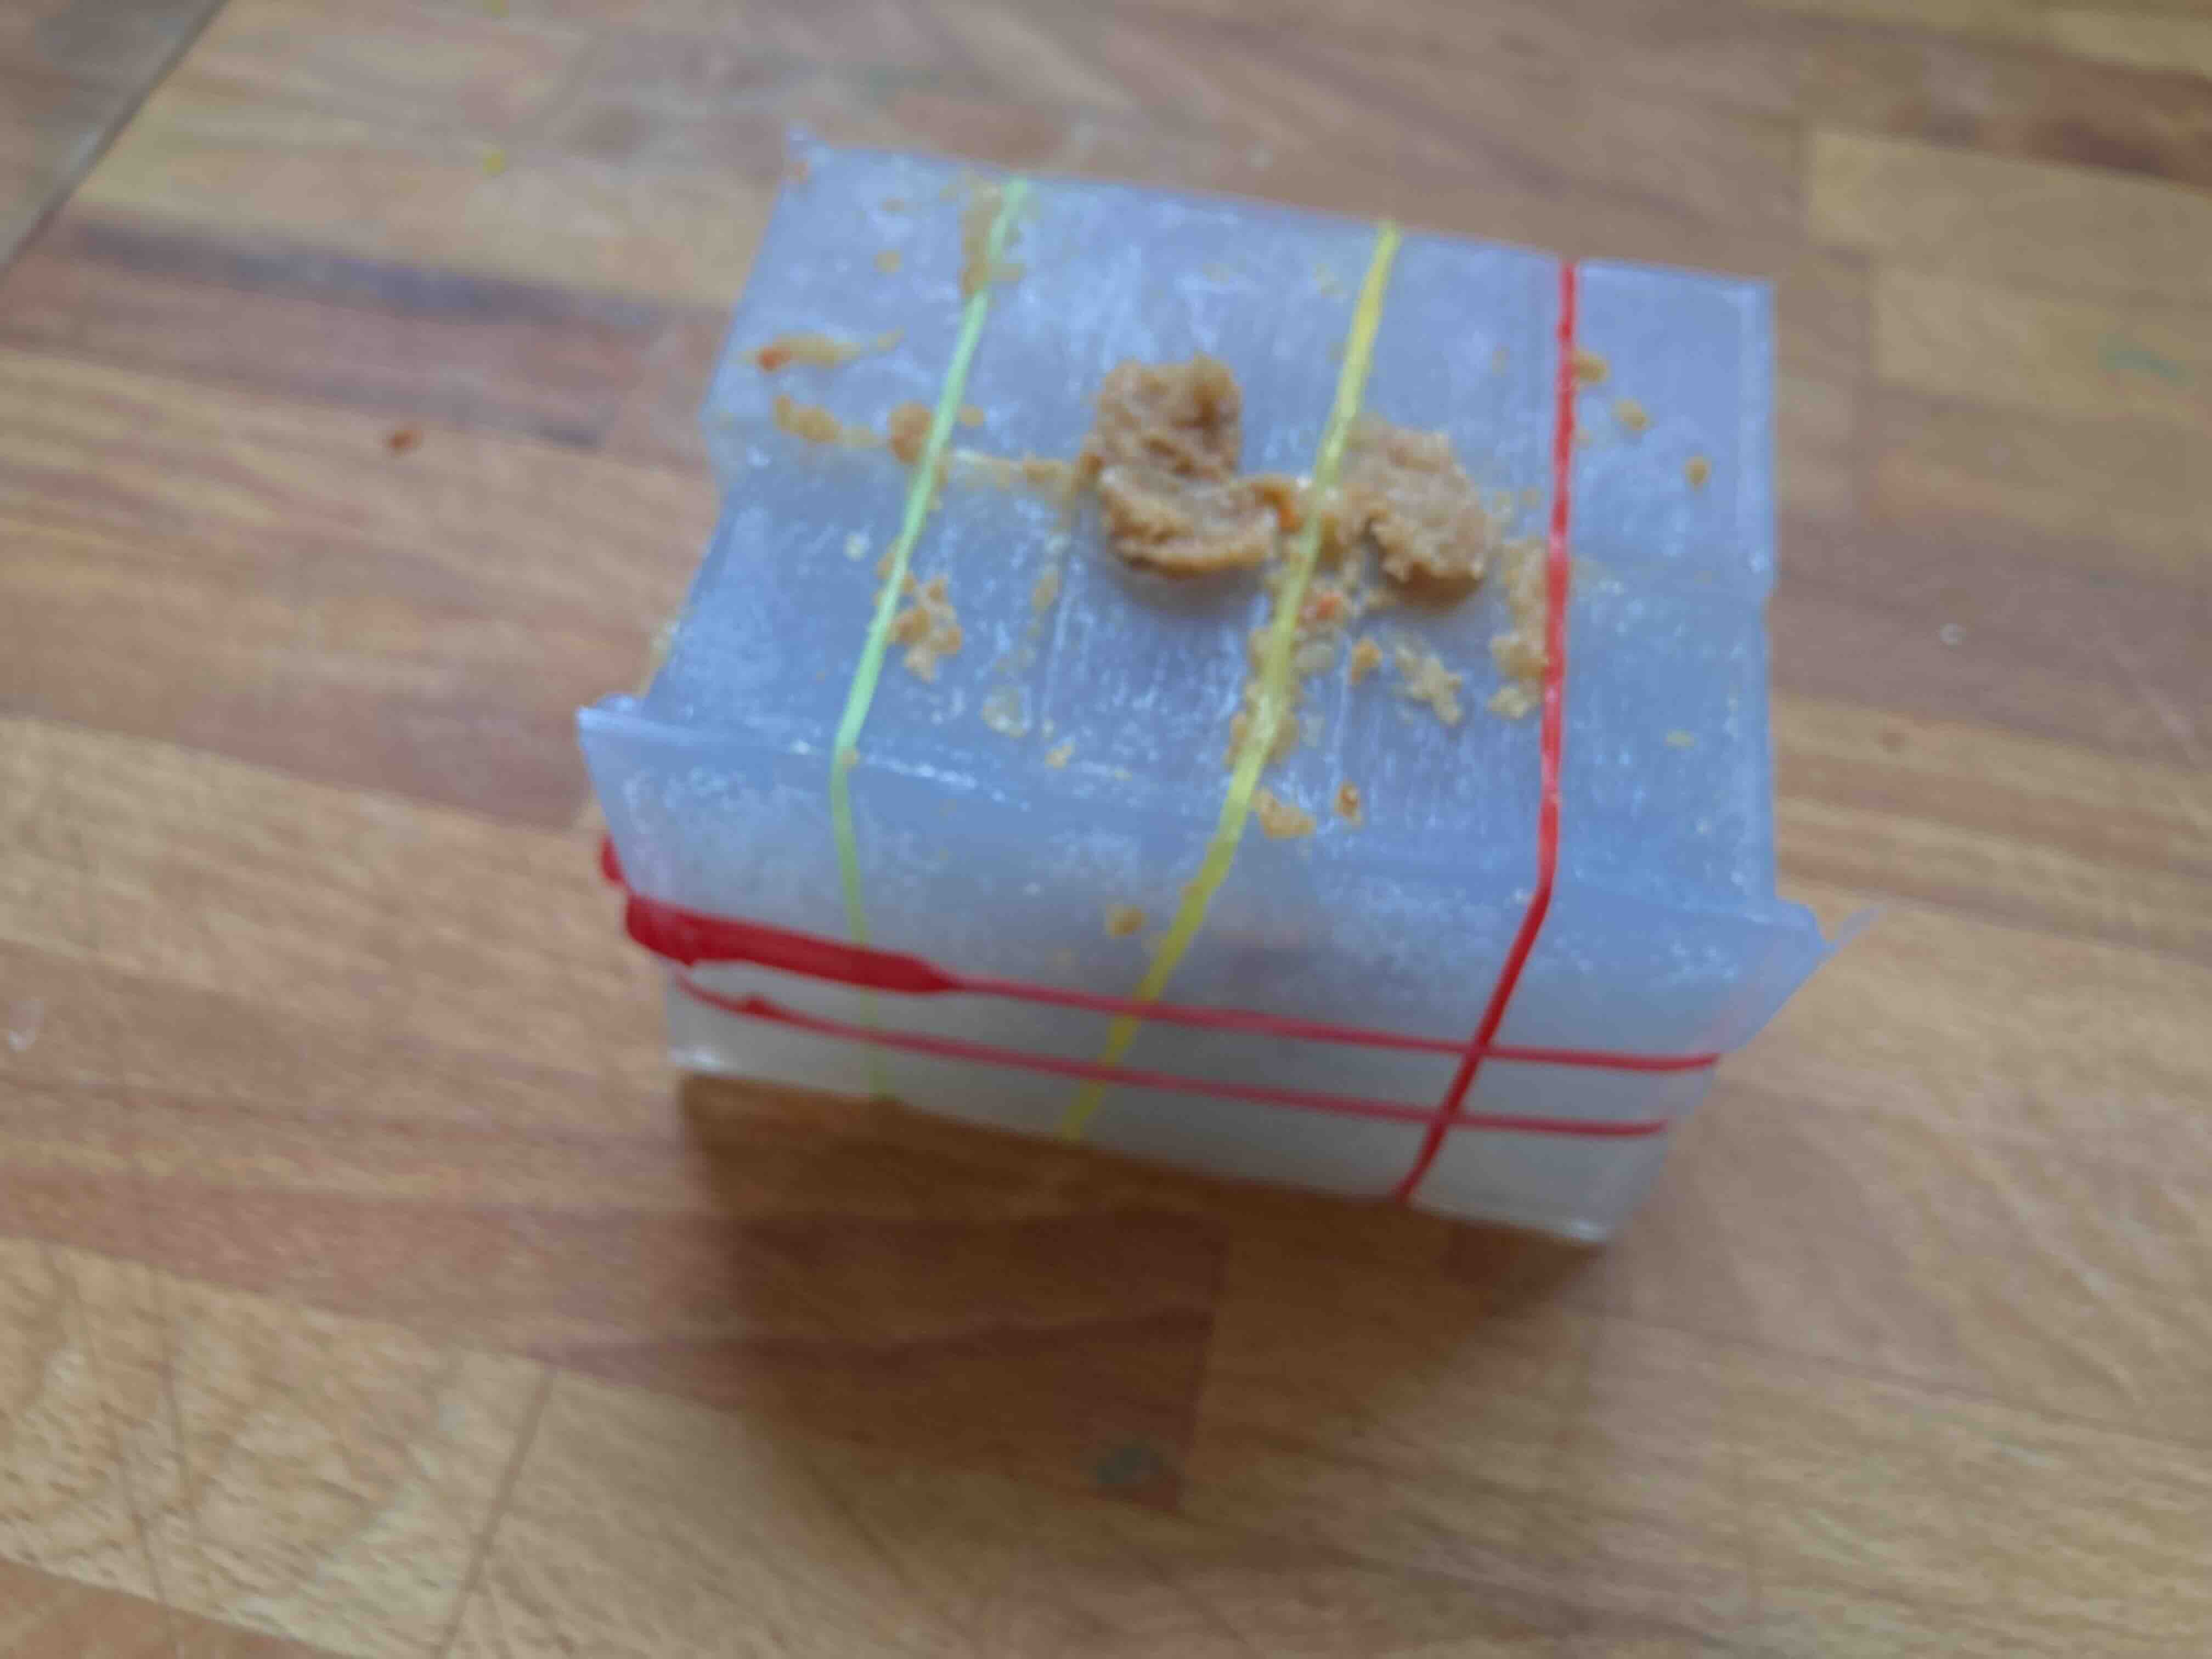
From the frezzer
I left it overnight in the frezzer and then it was ready to be taken out of the mold.
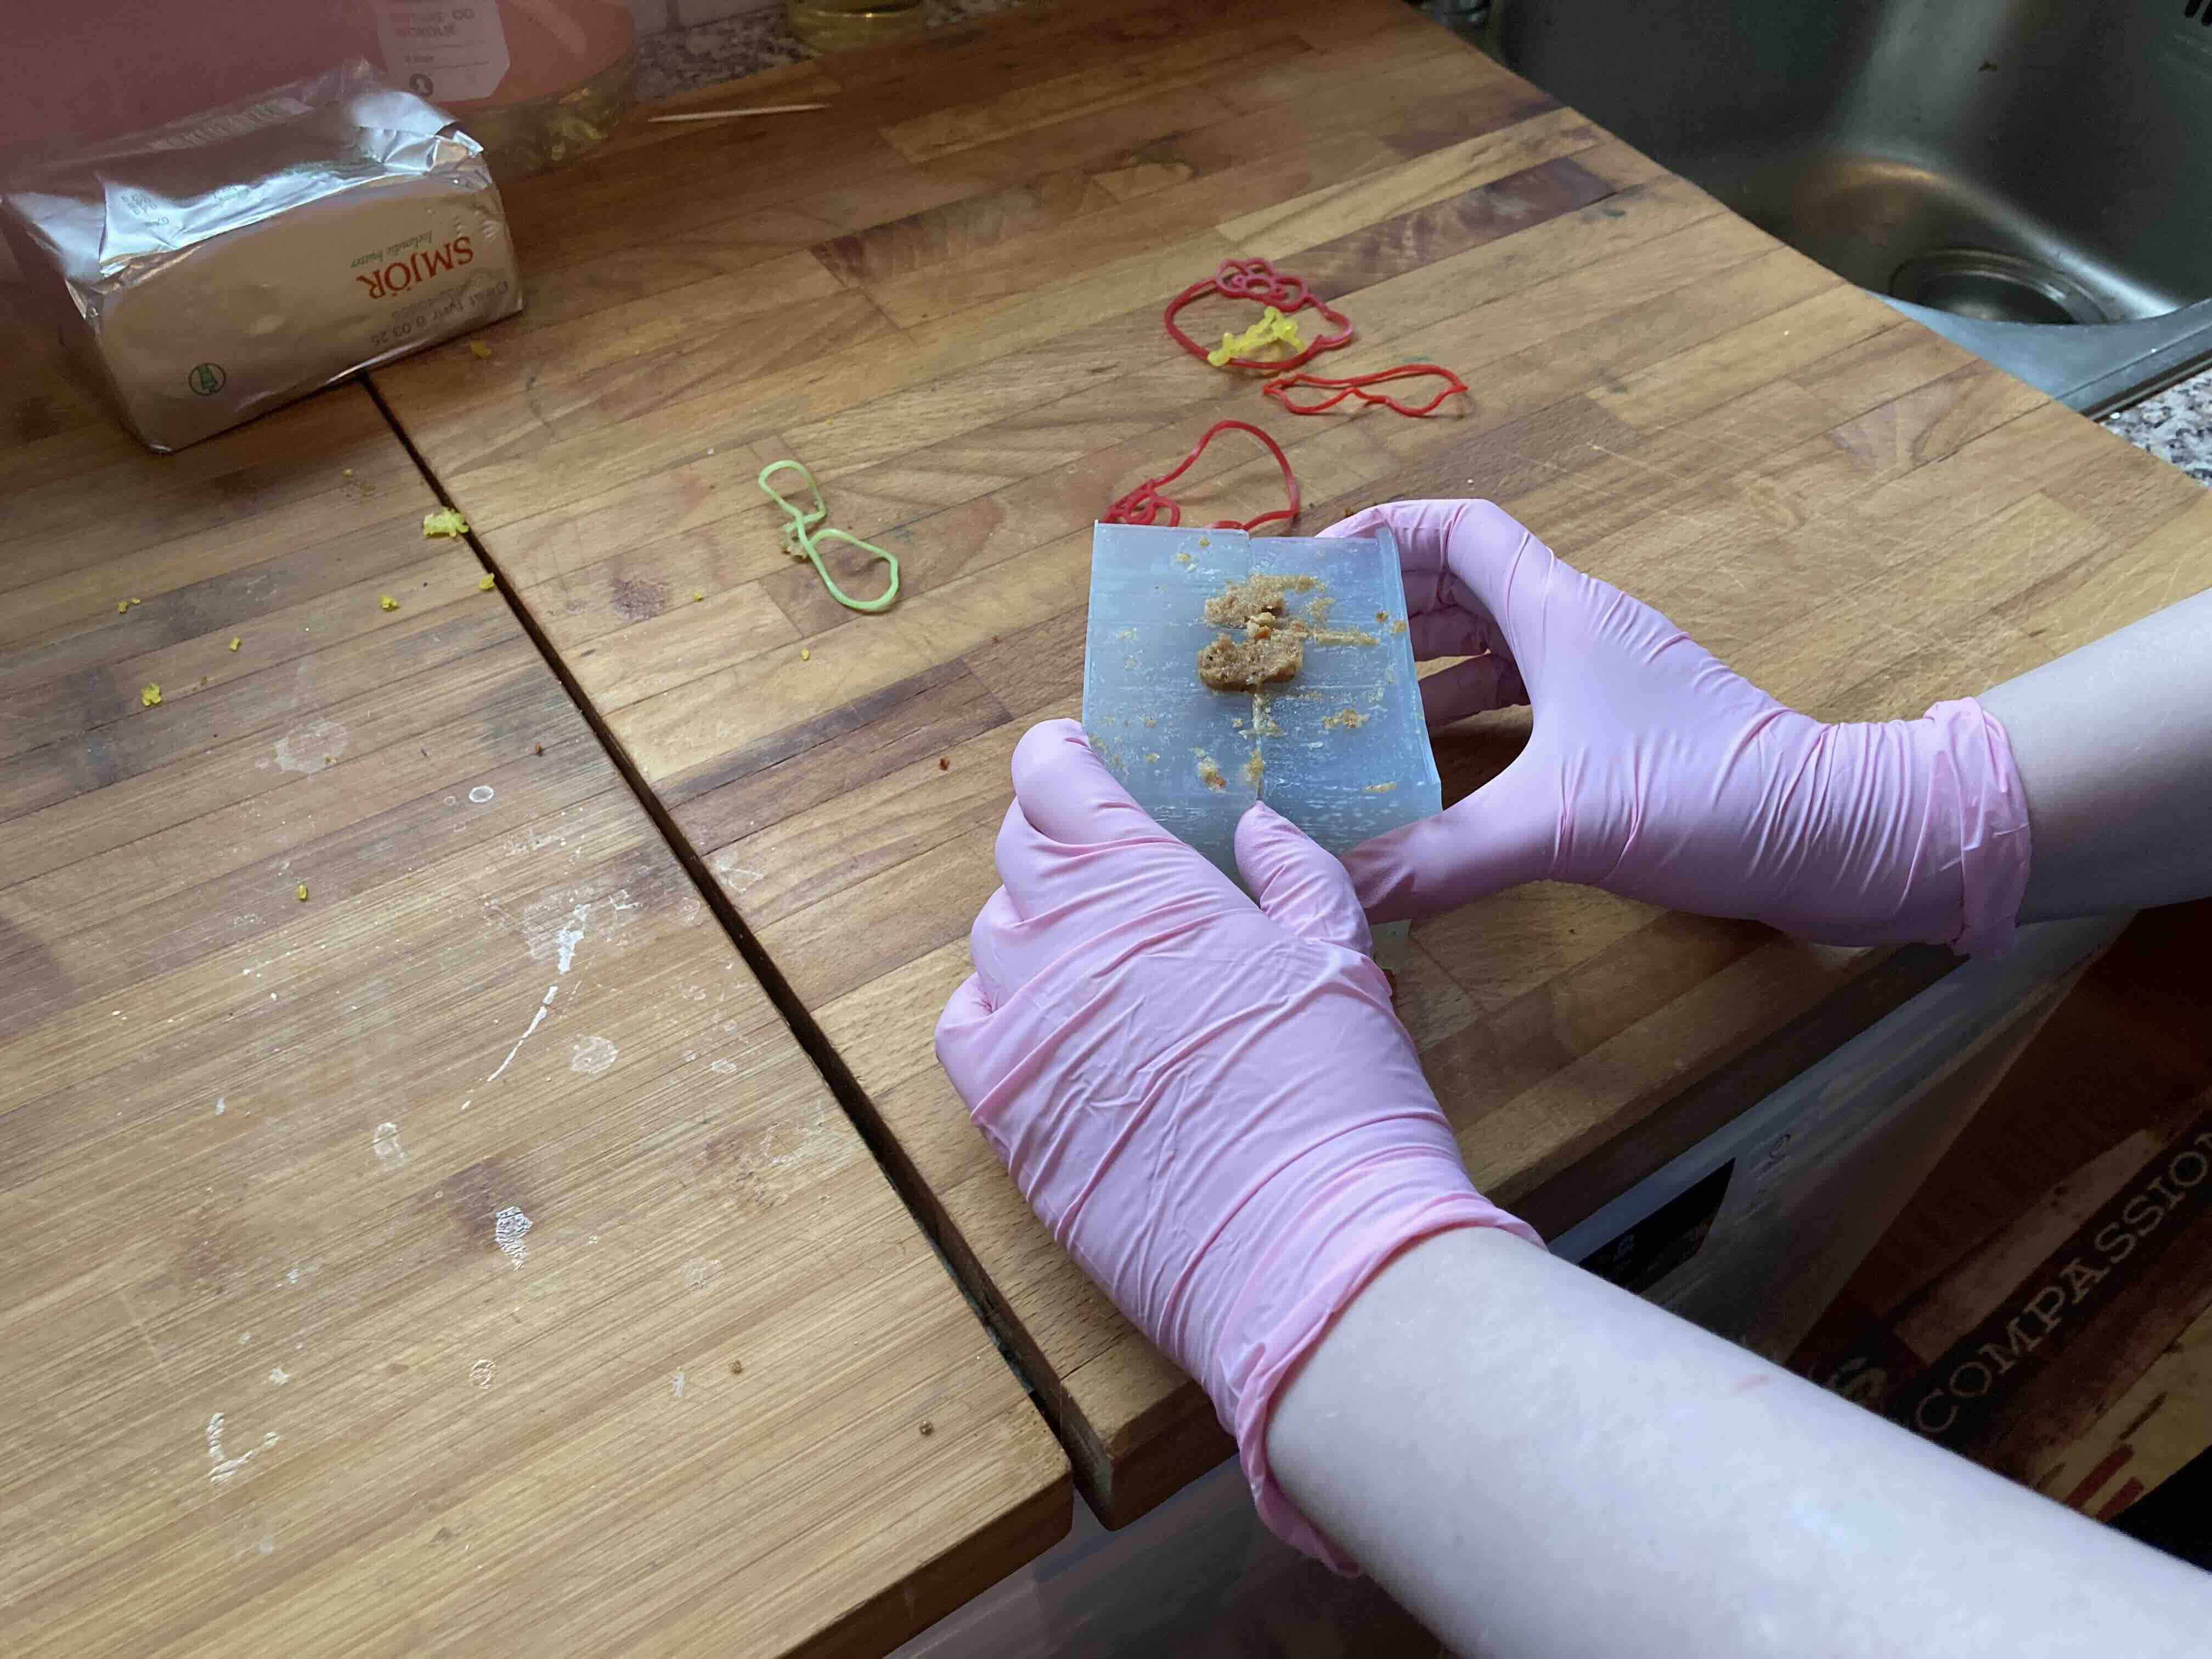
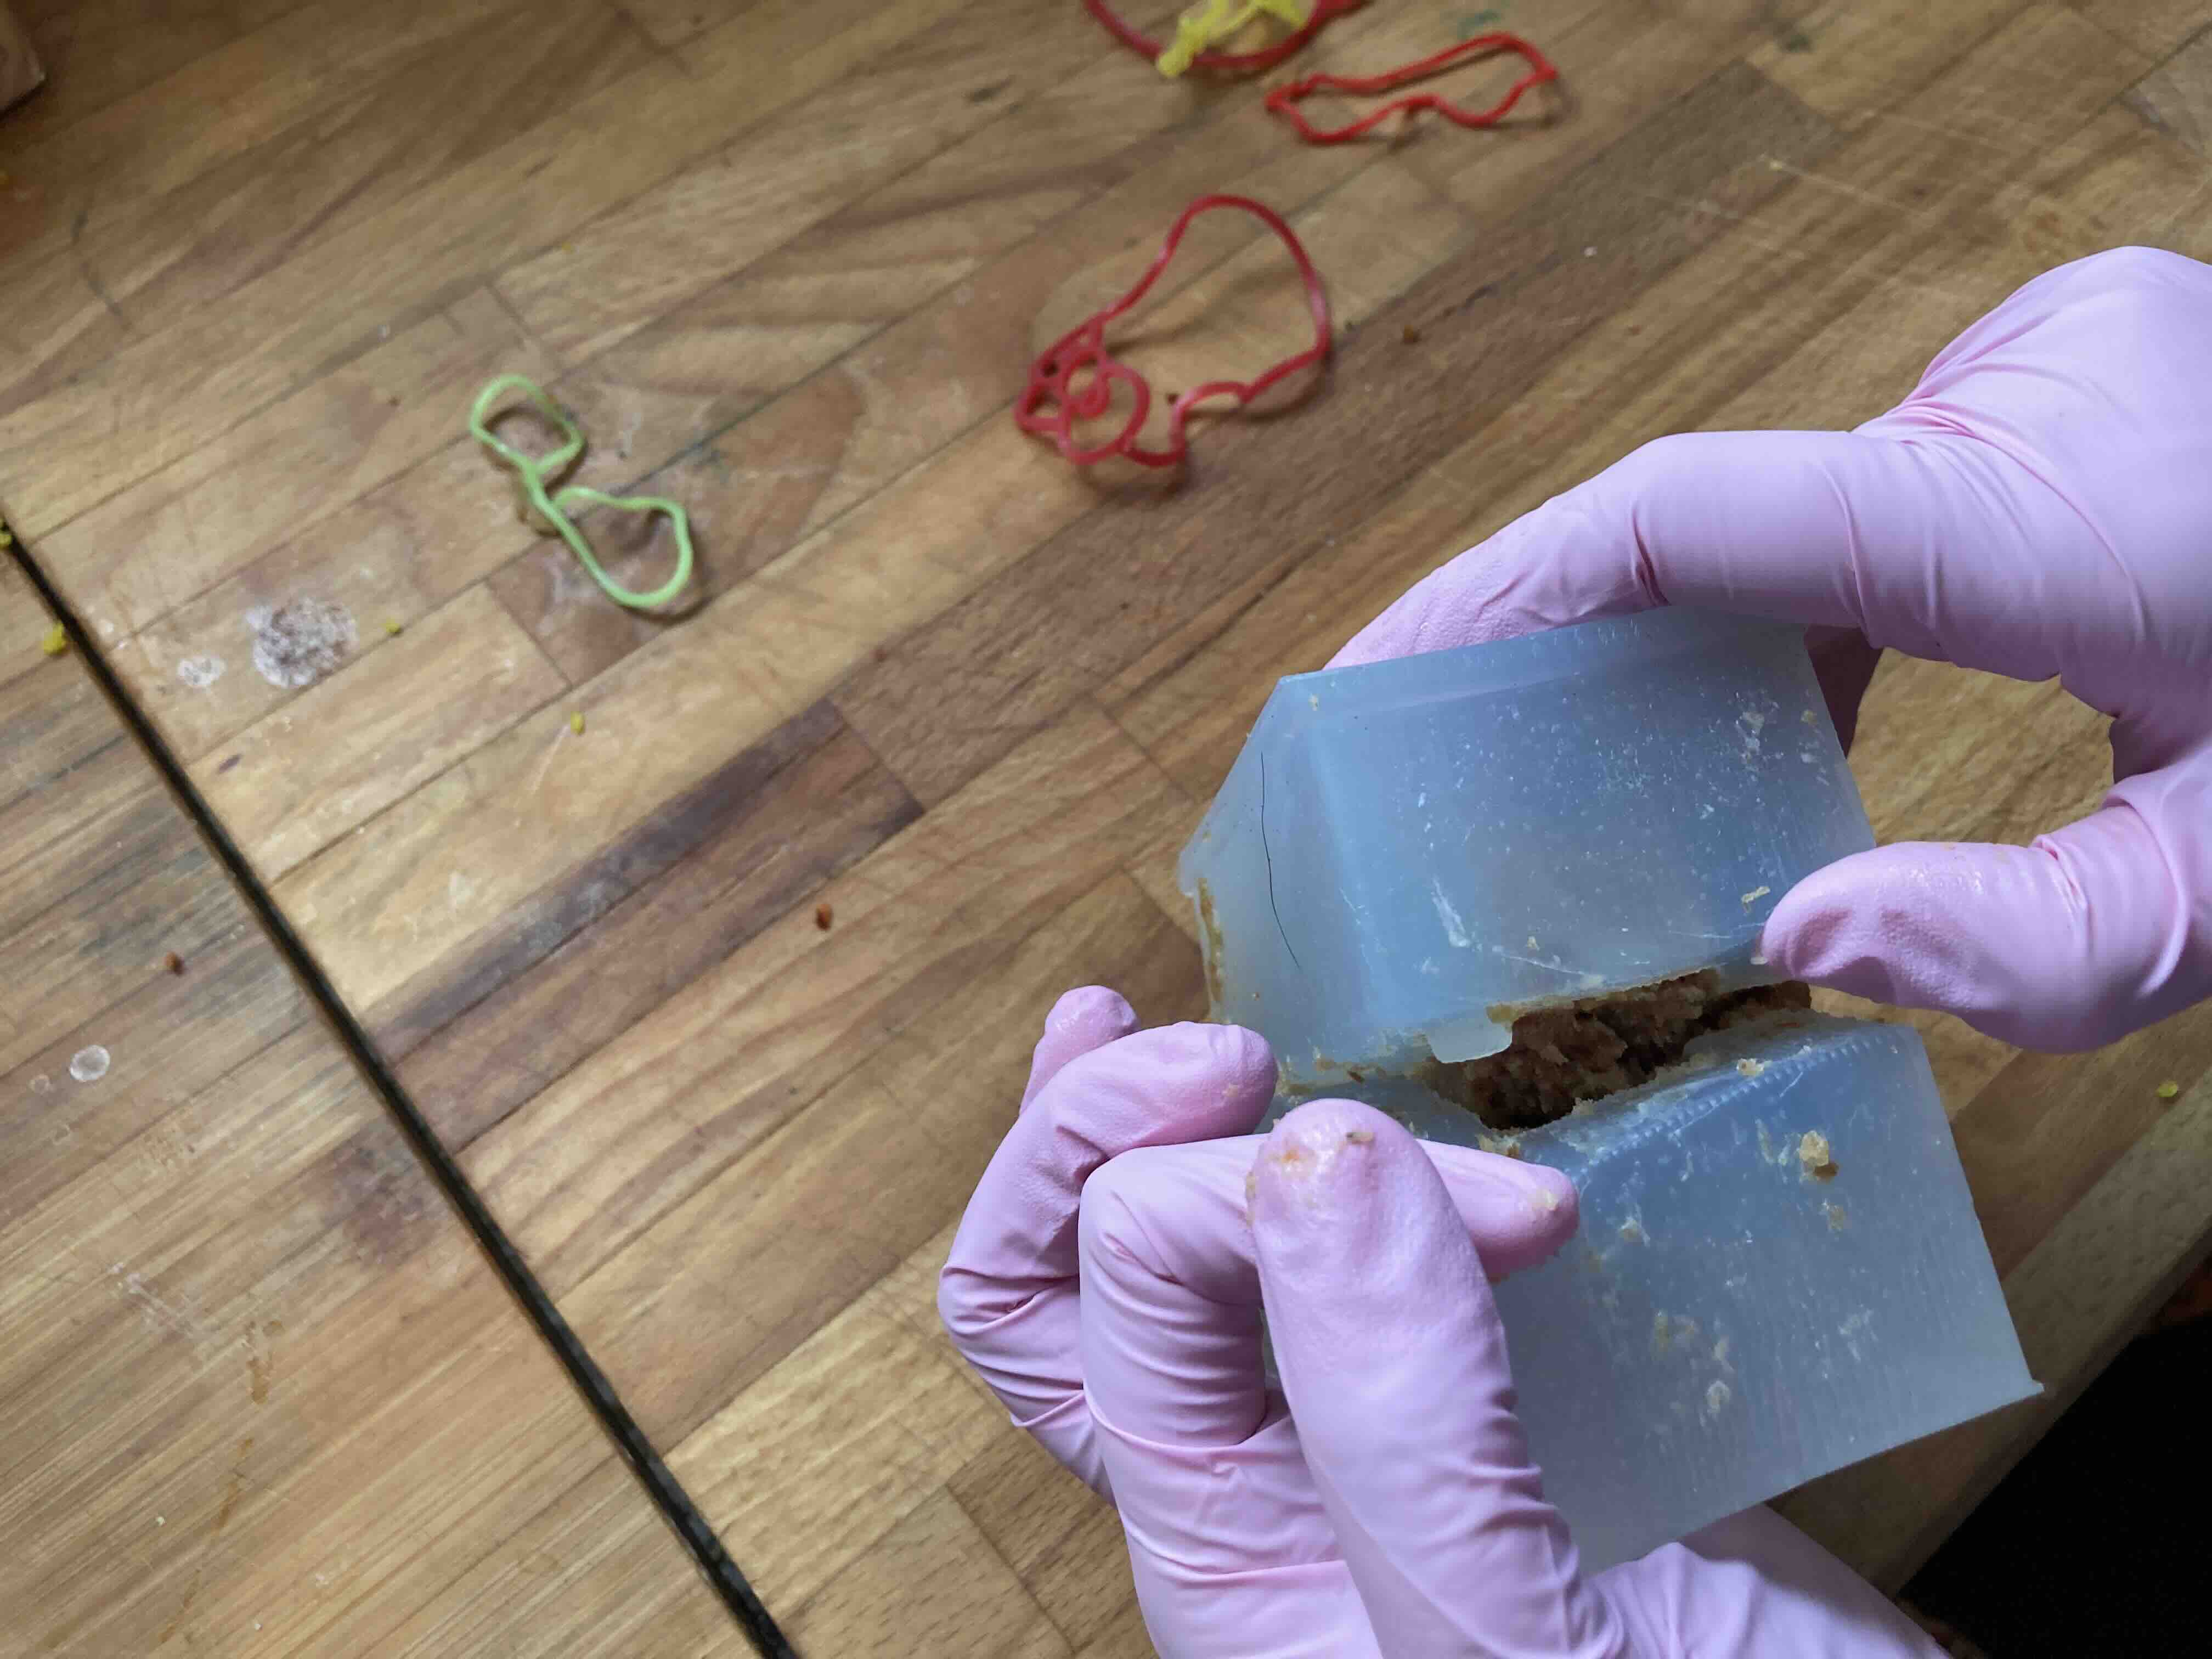
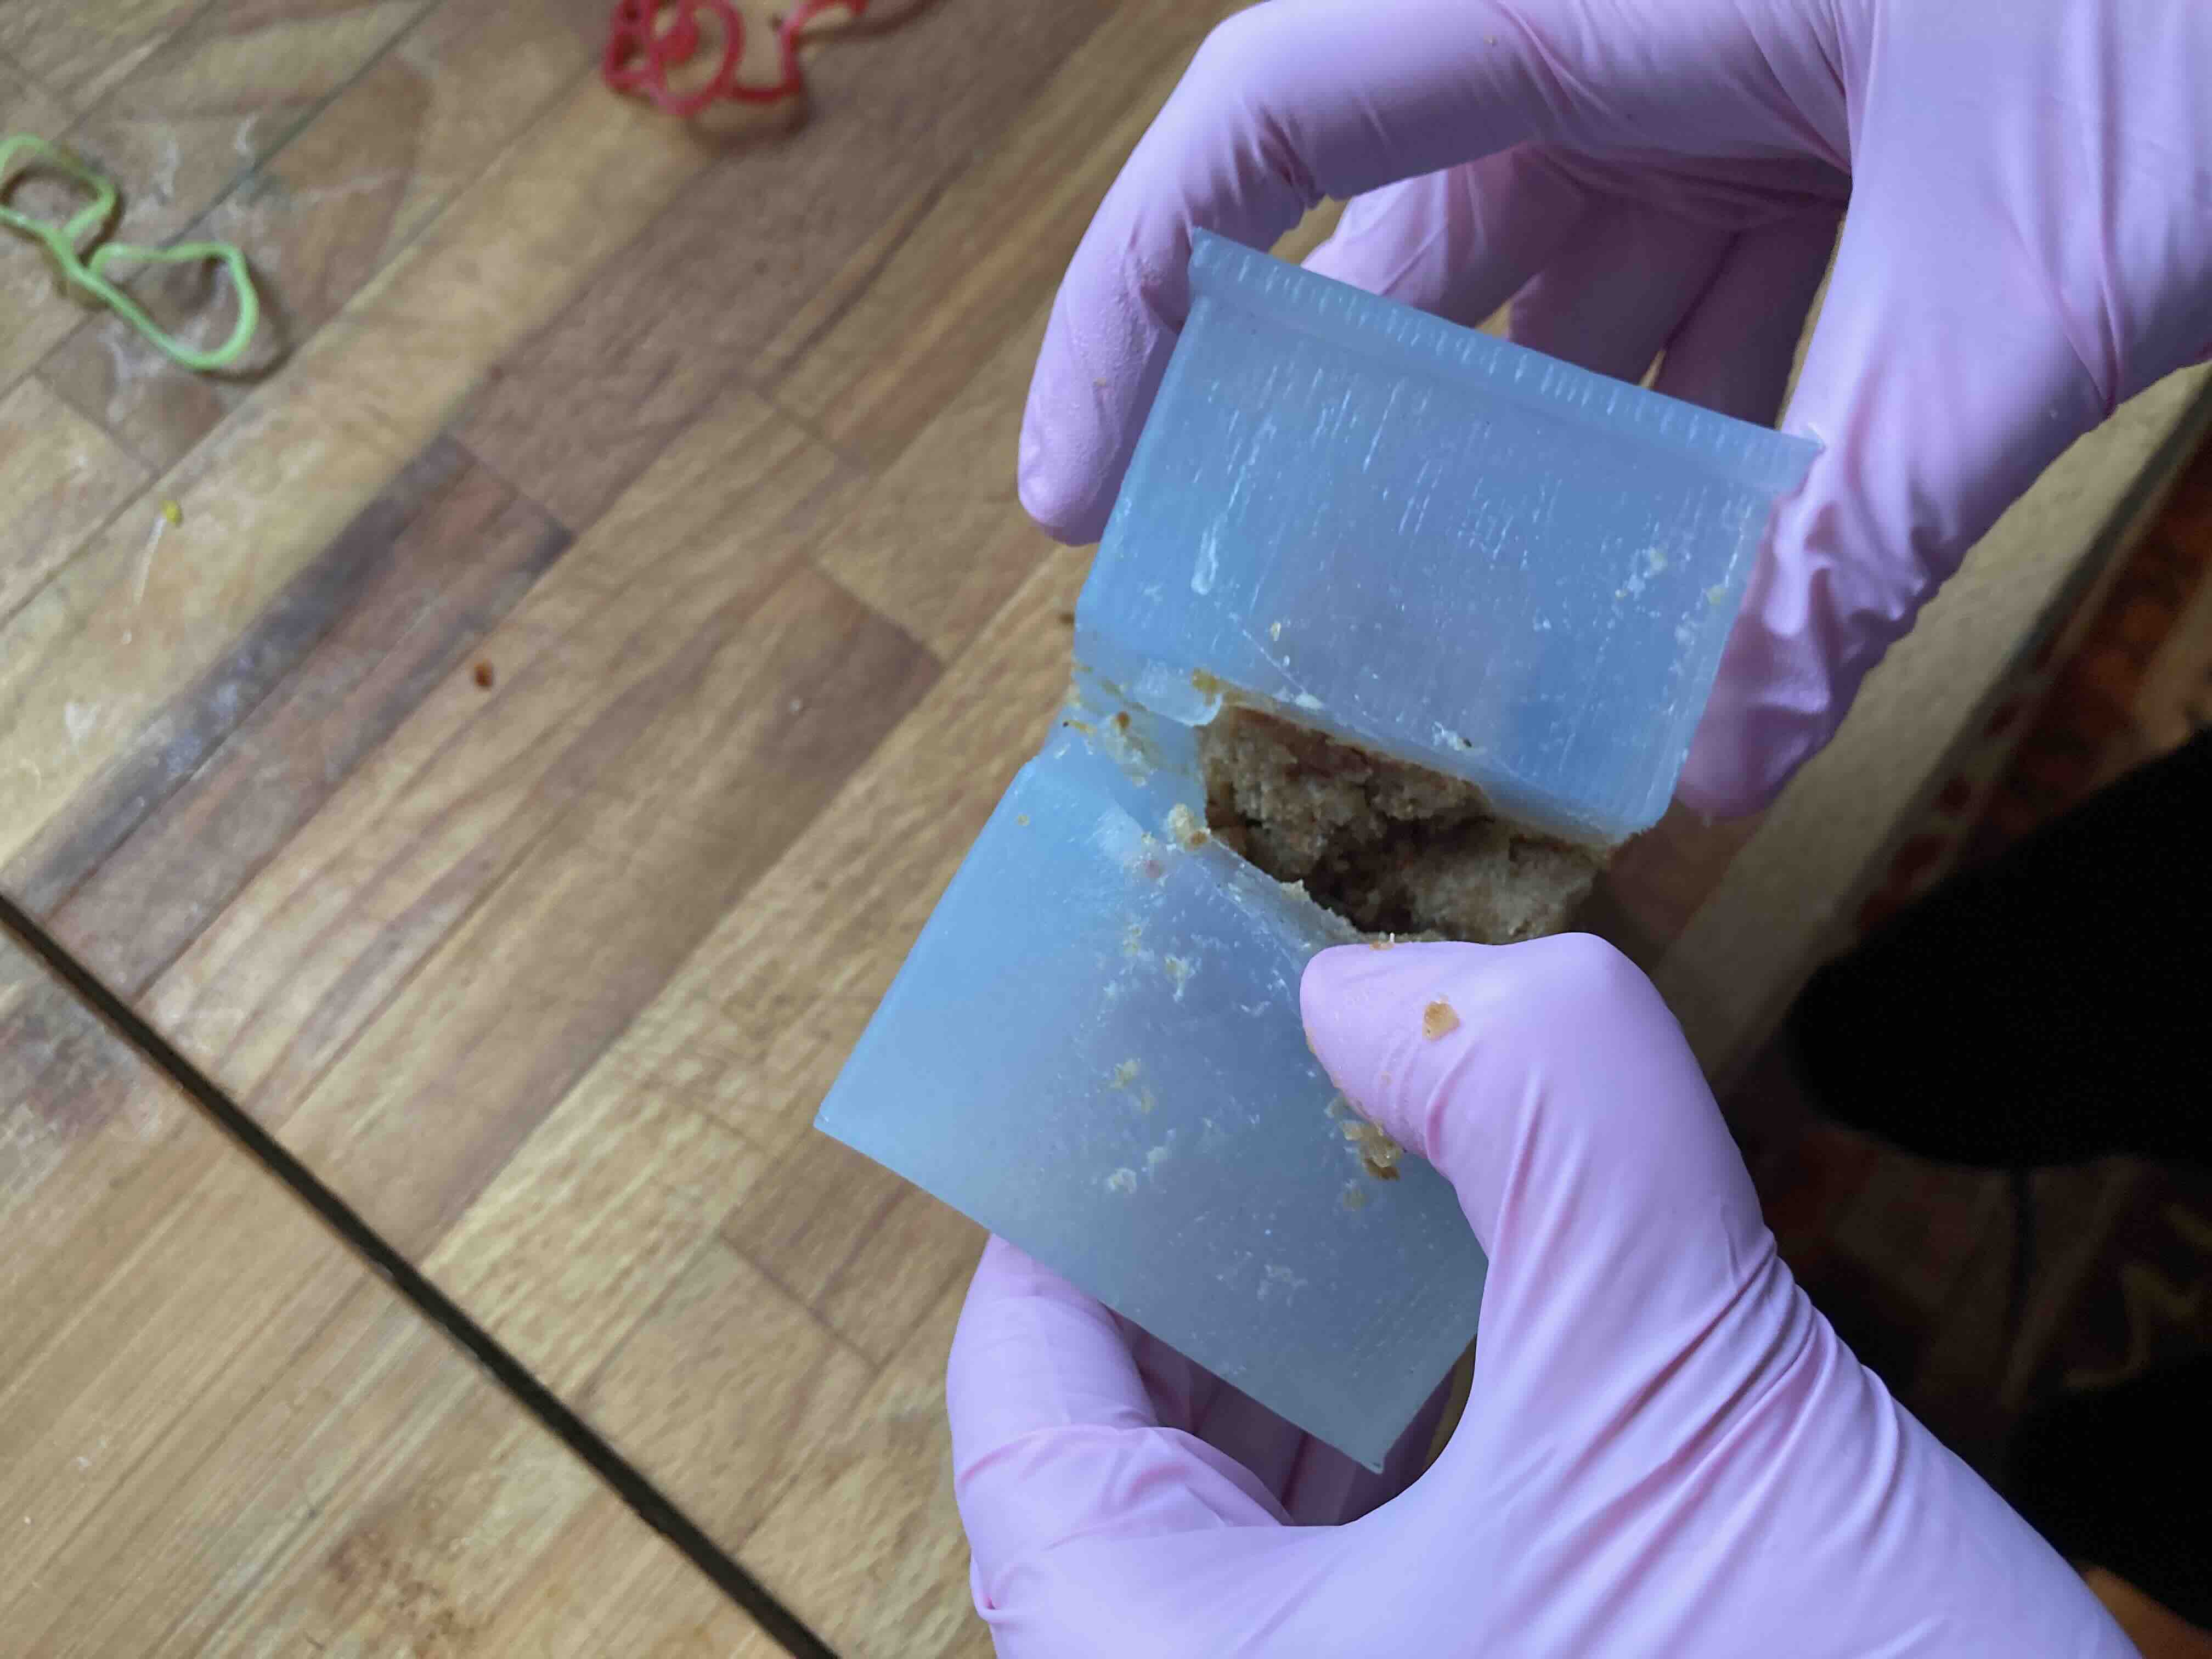
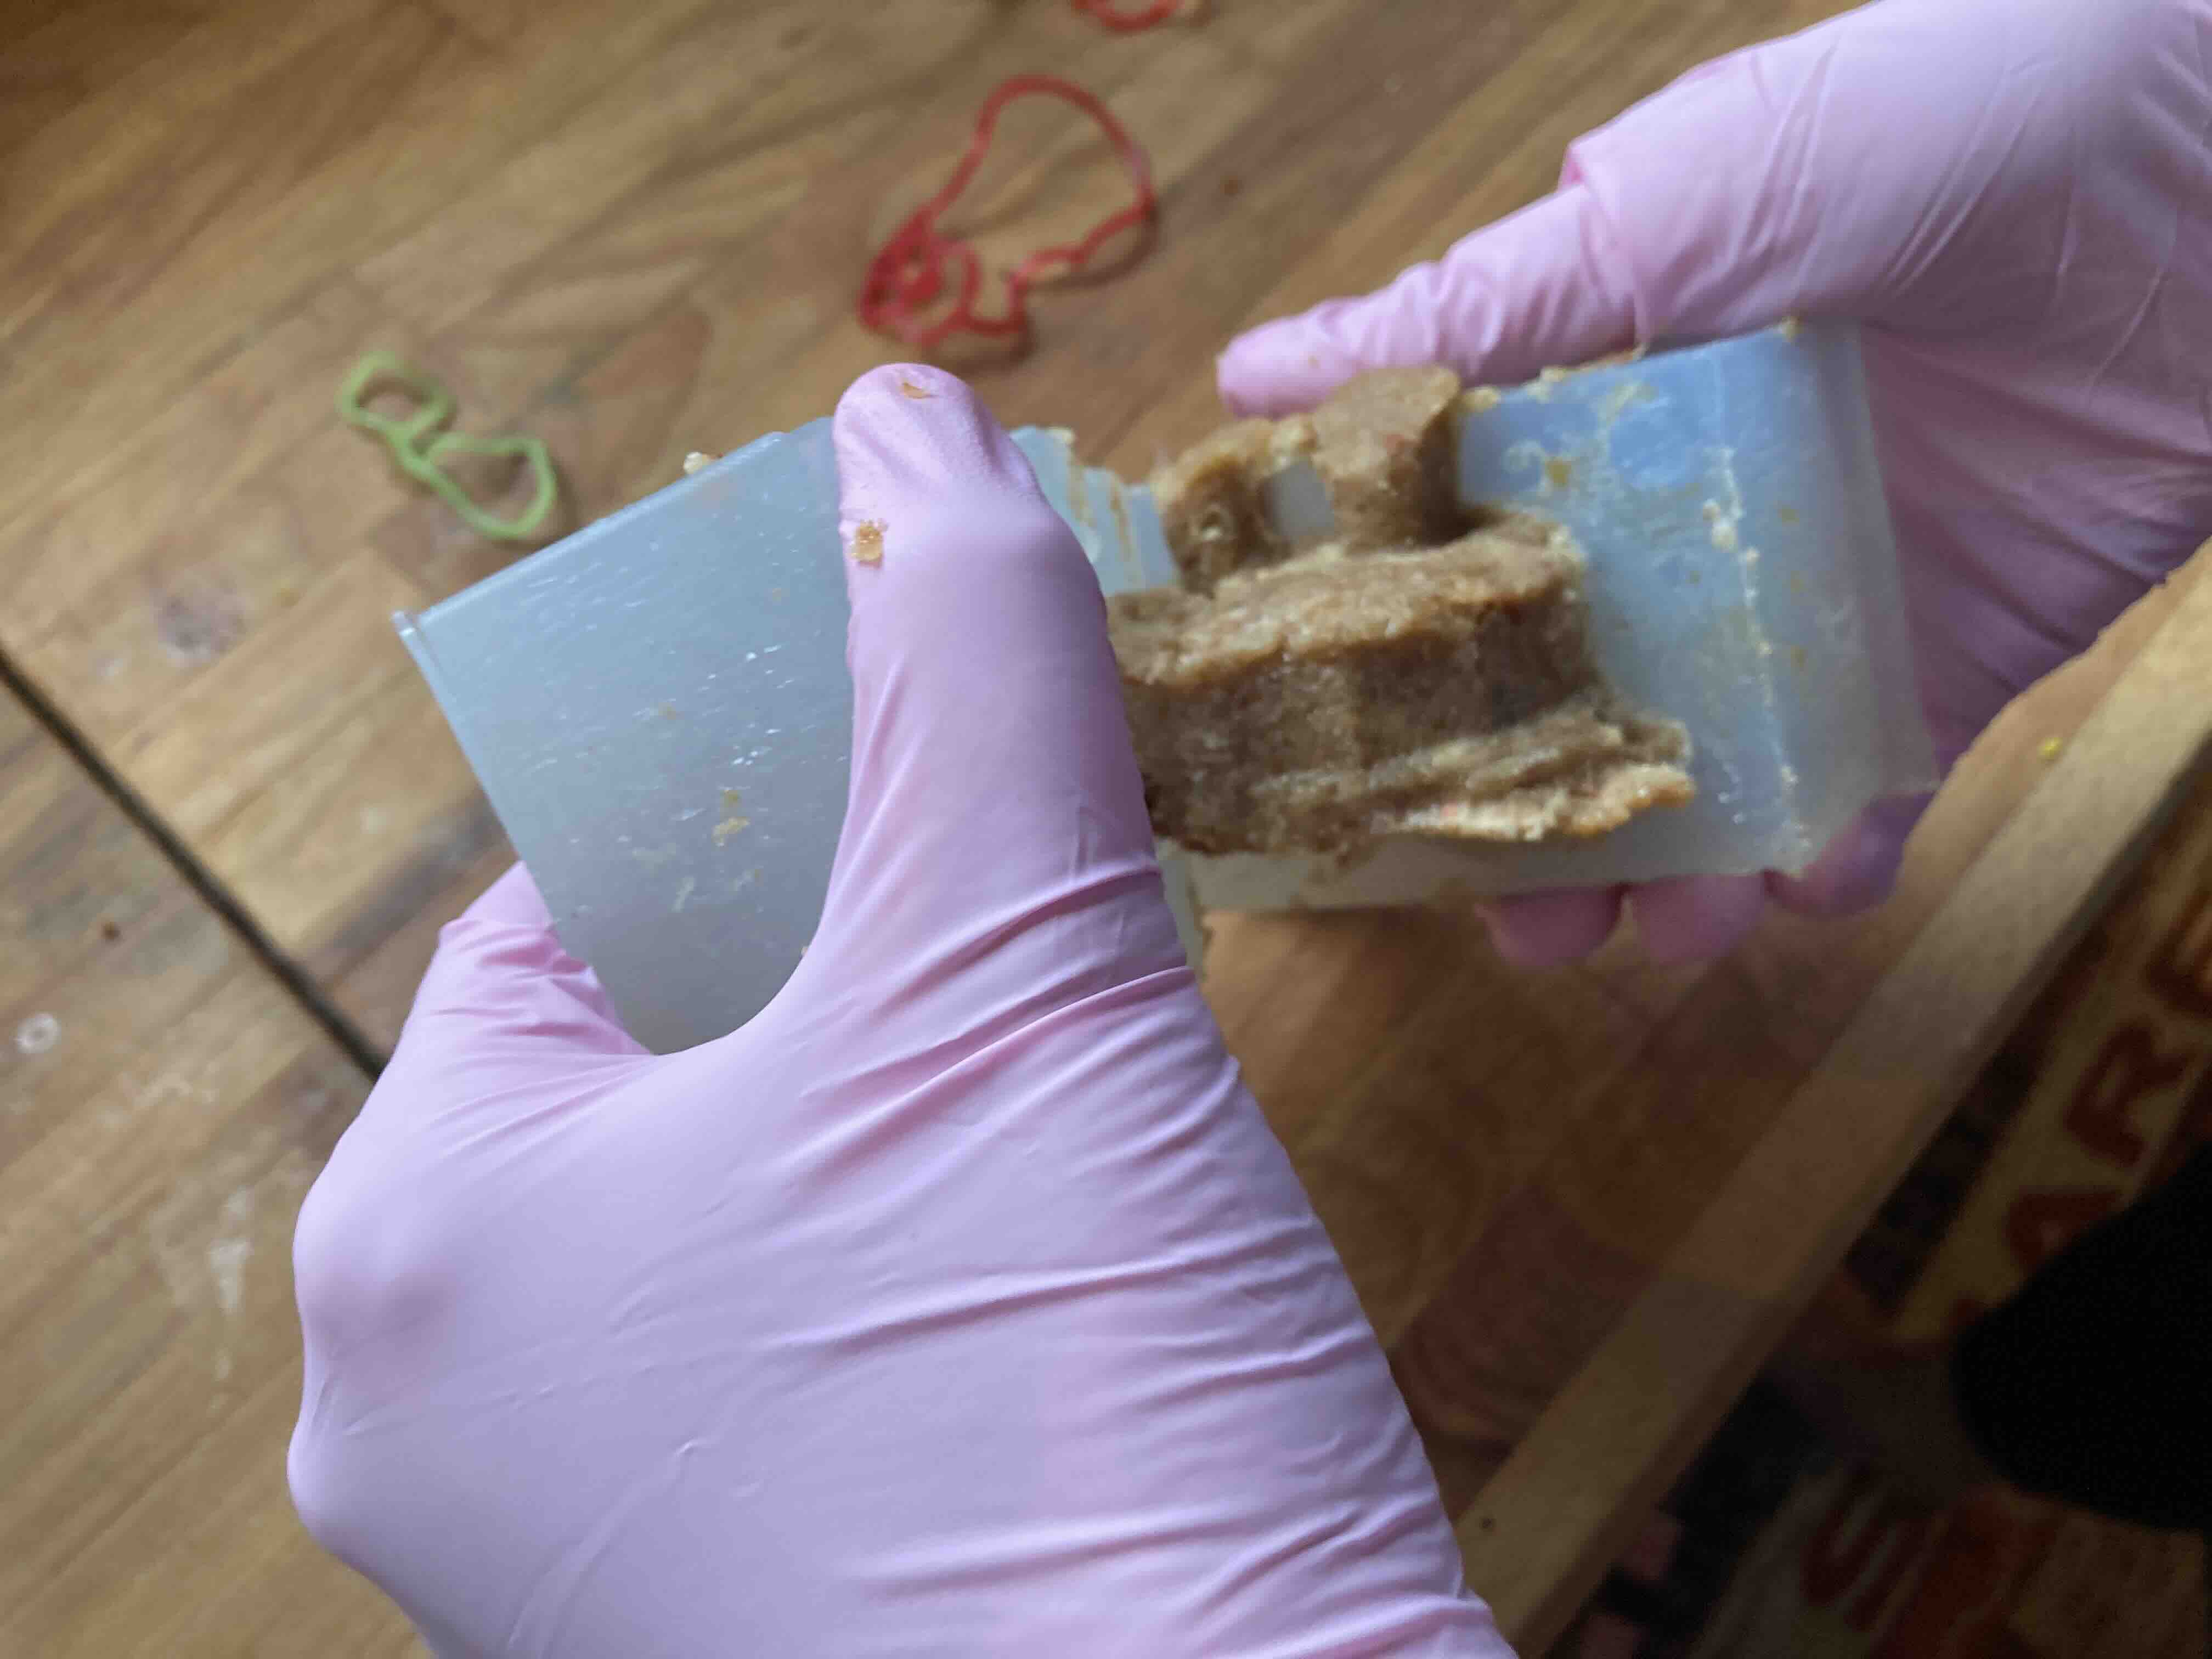
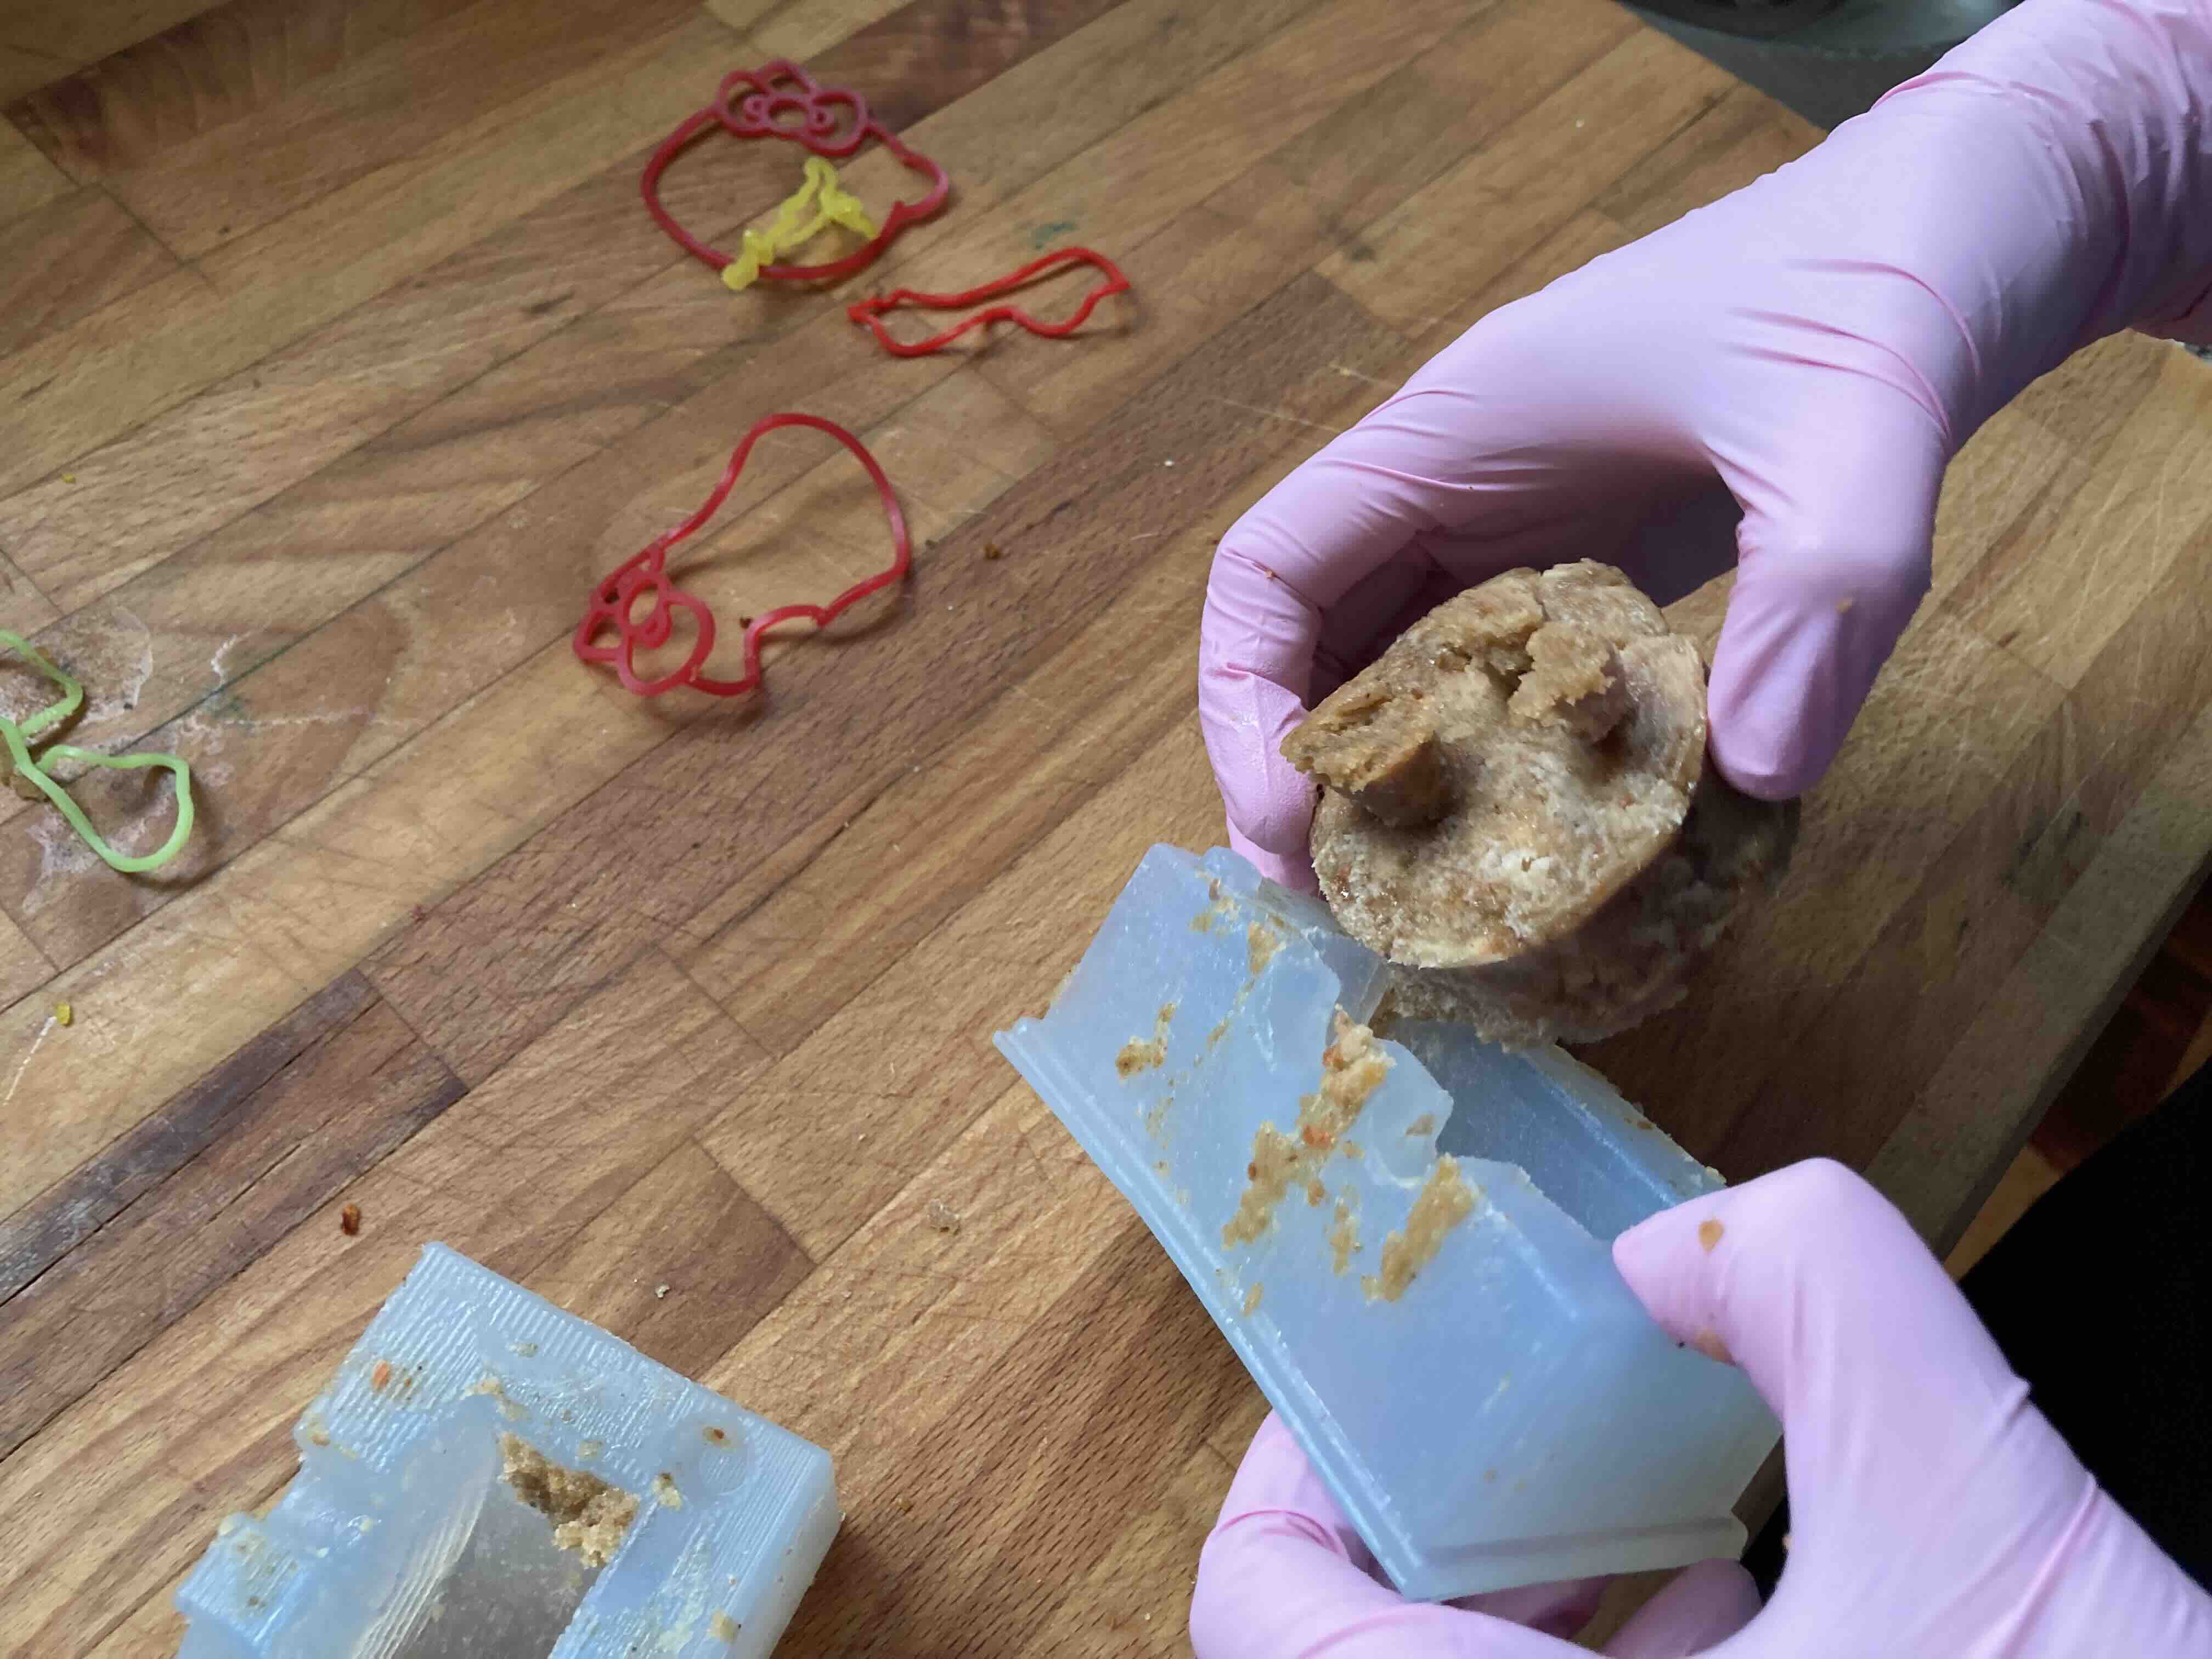
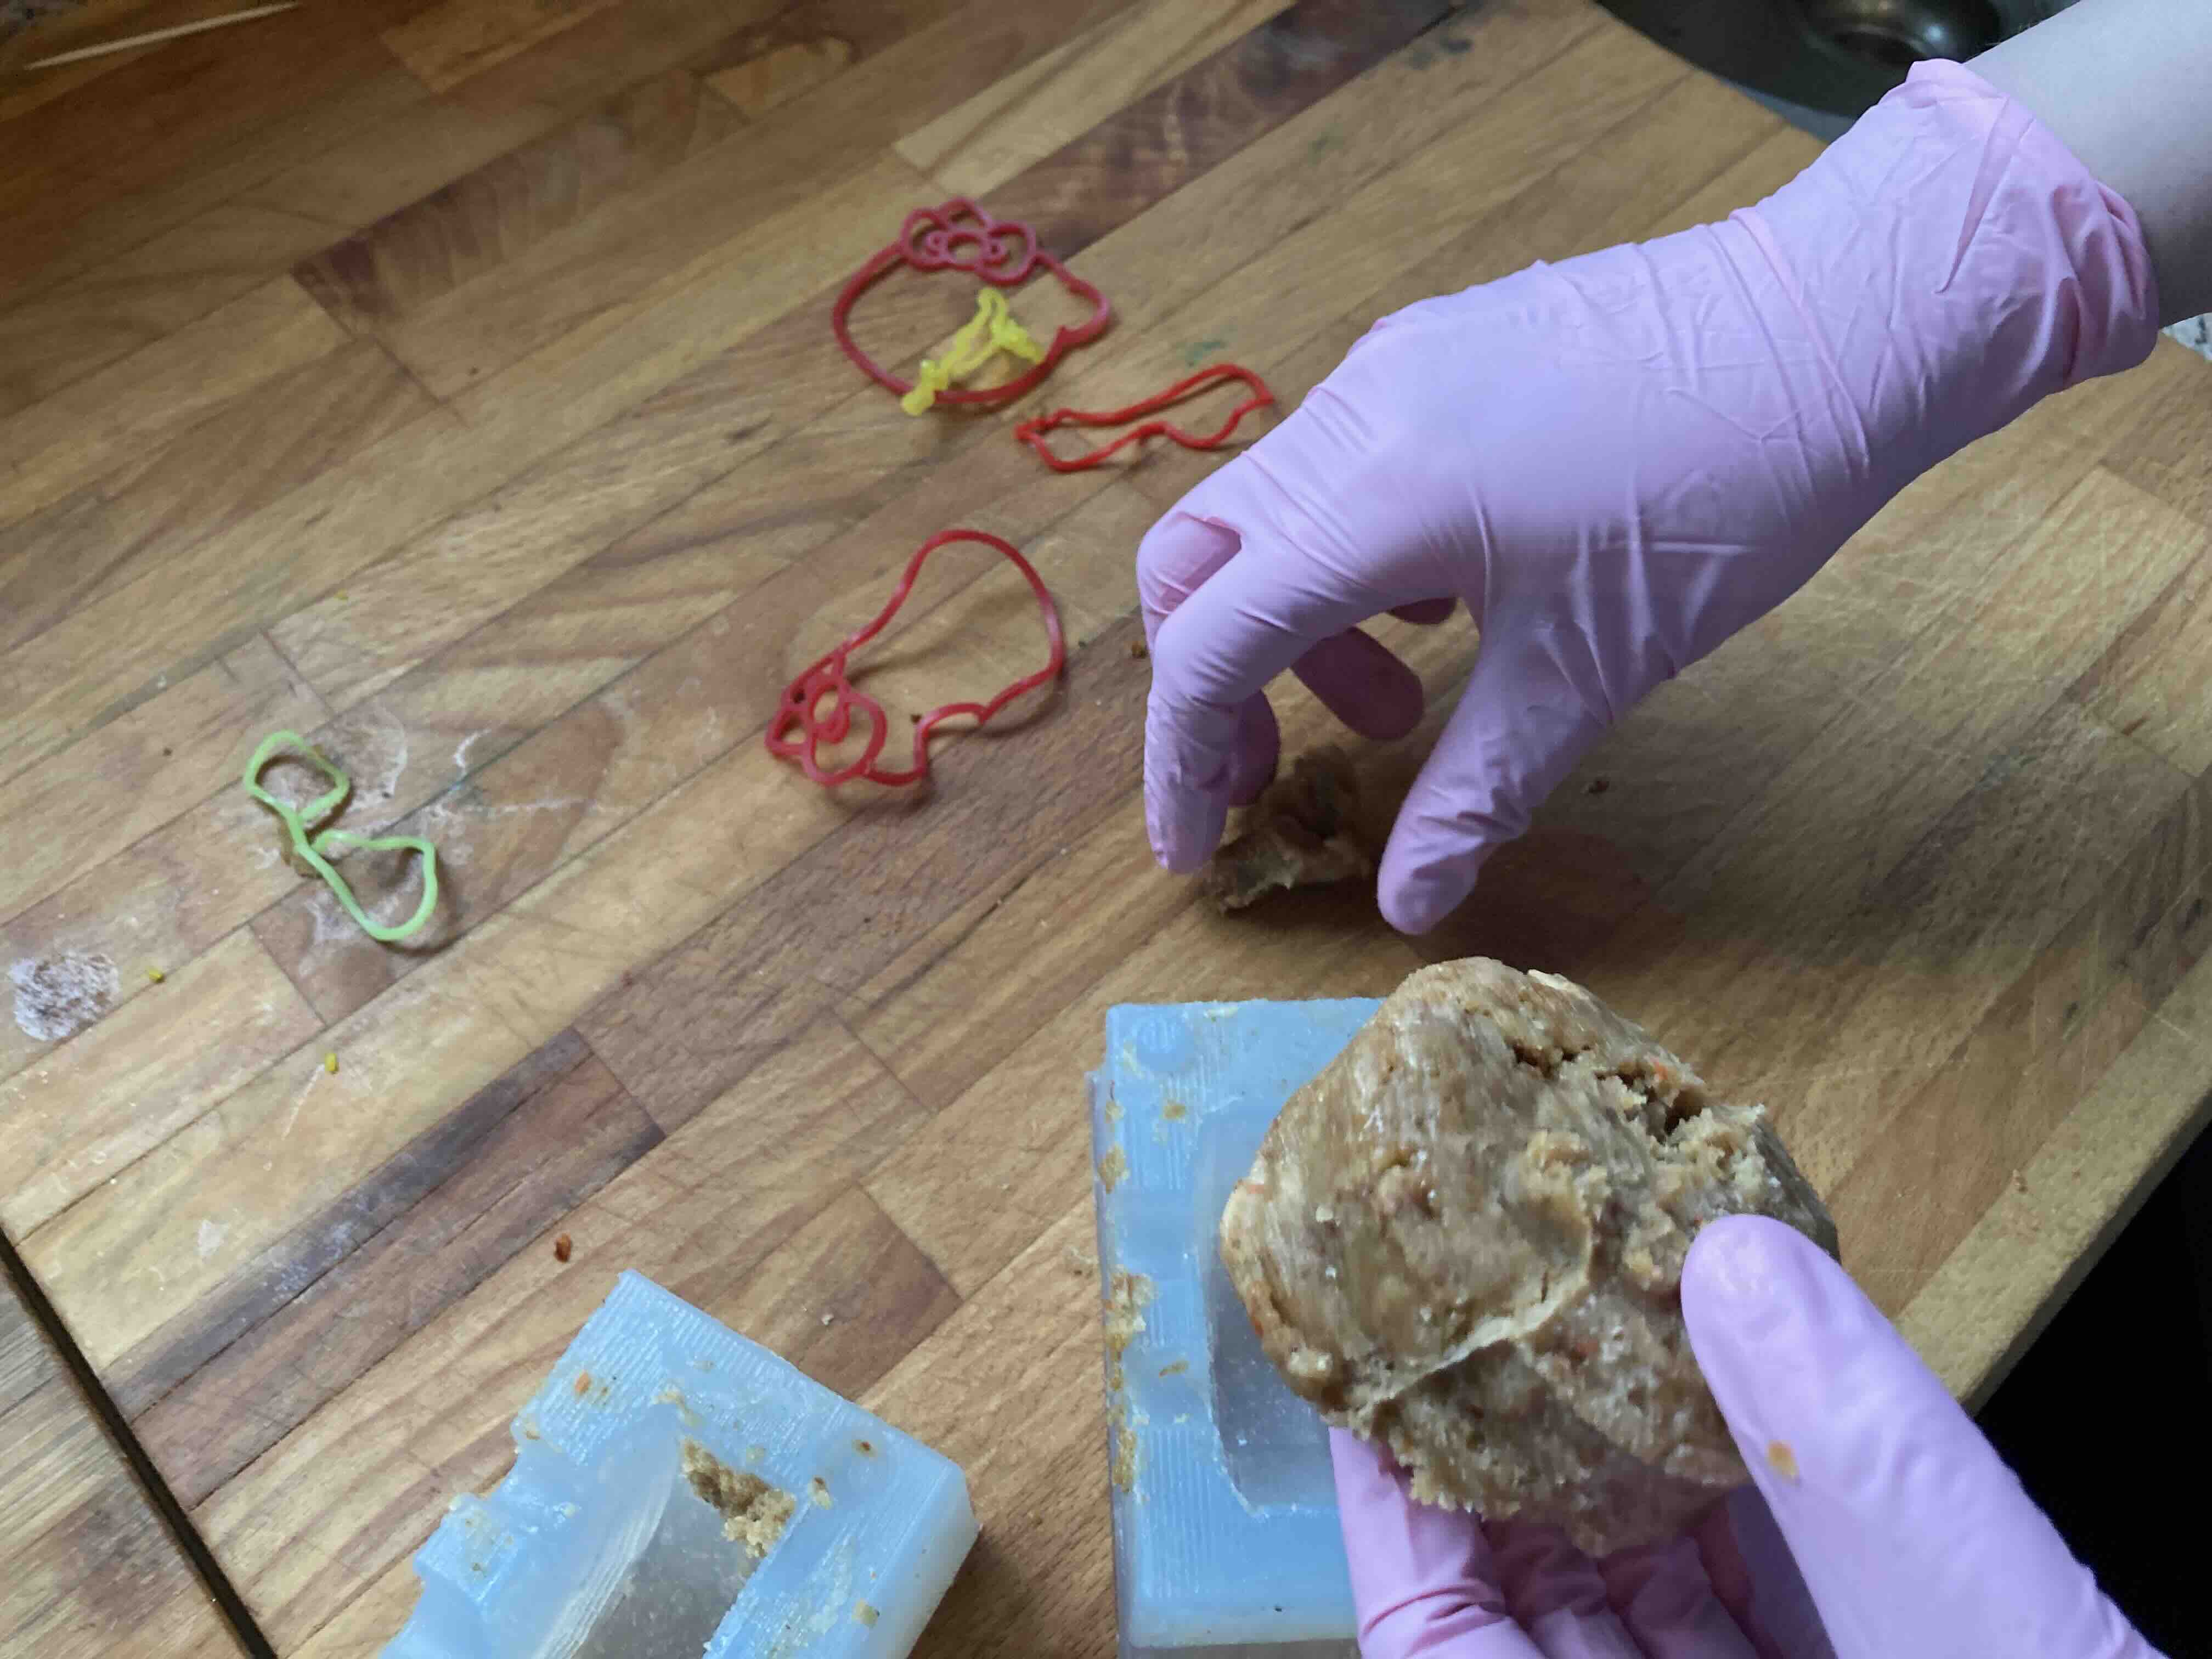
Taking it from the mold.
You have to be real careful when you take the cake pop out of the mold. If you try to do it too fast you will loose some of the curves.
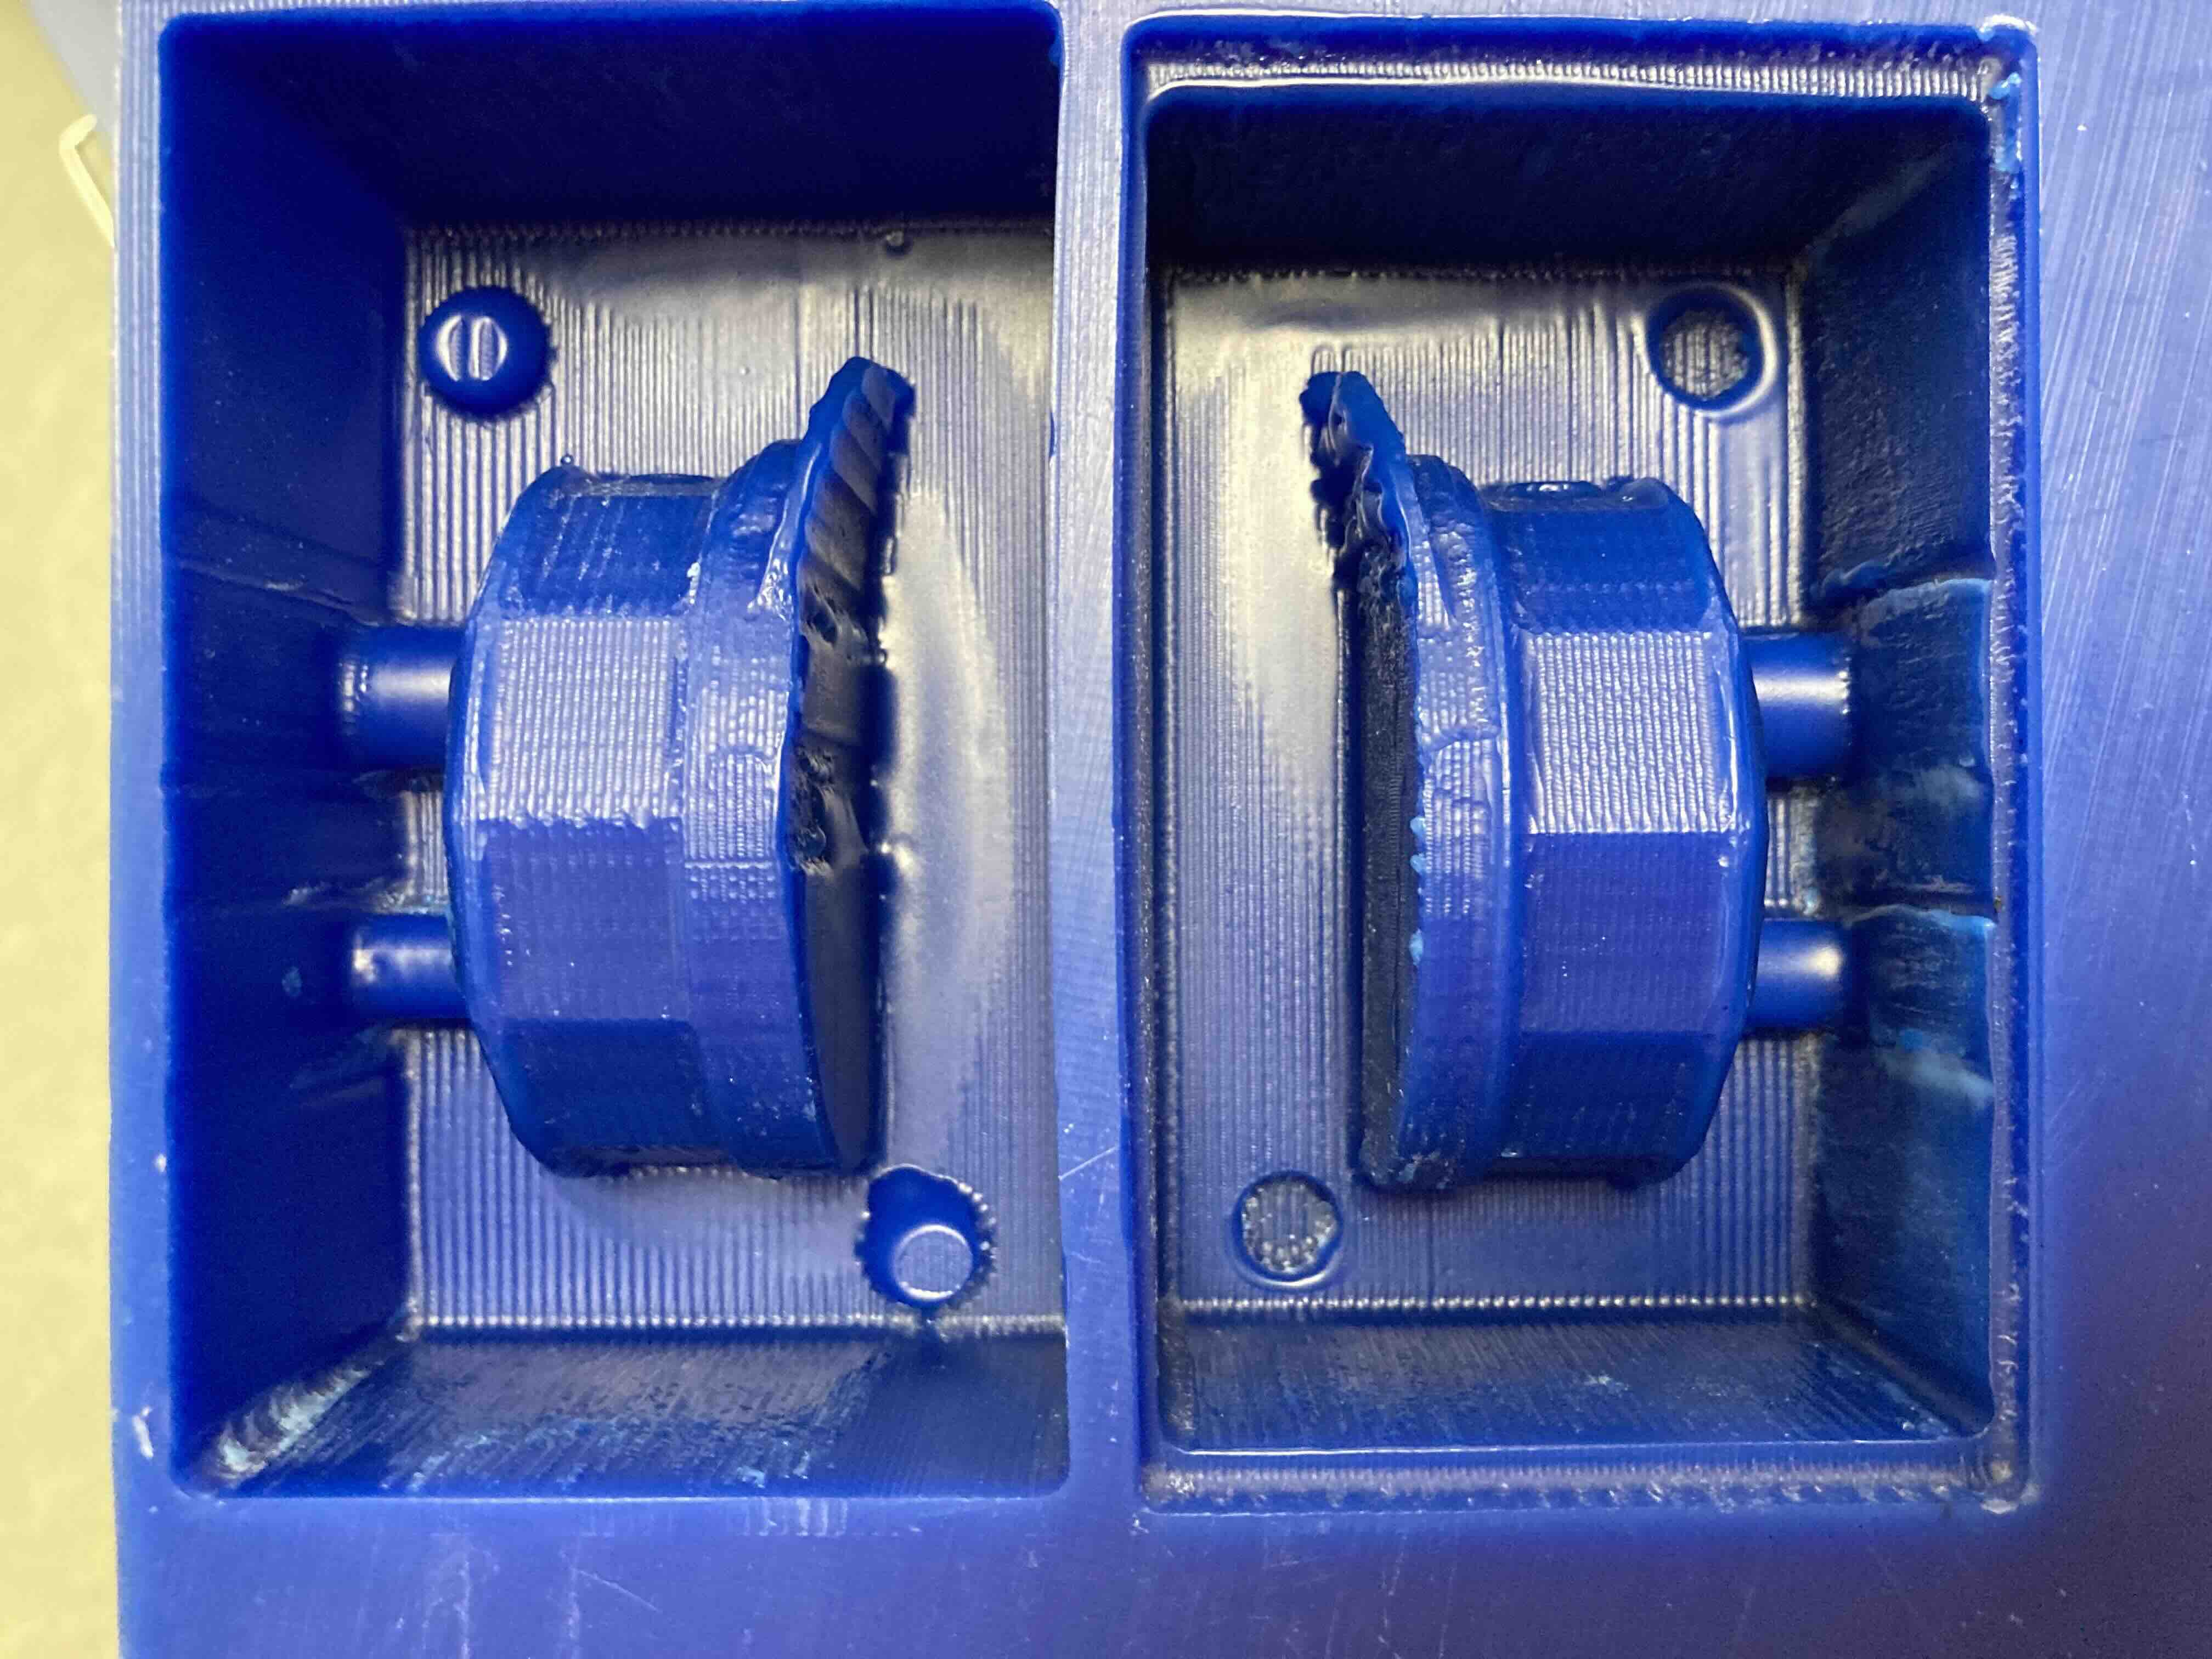
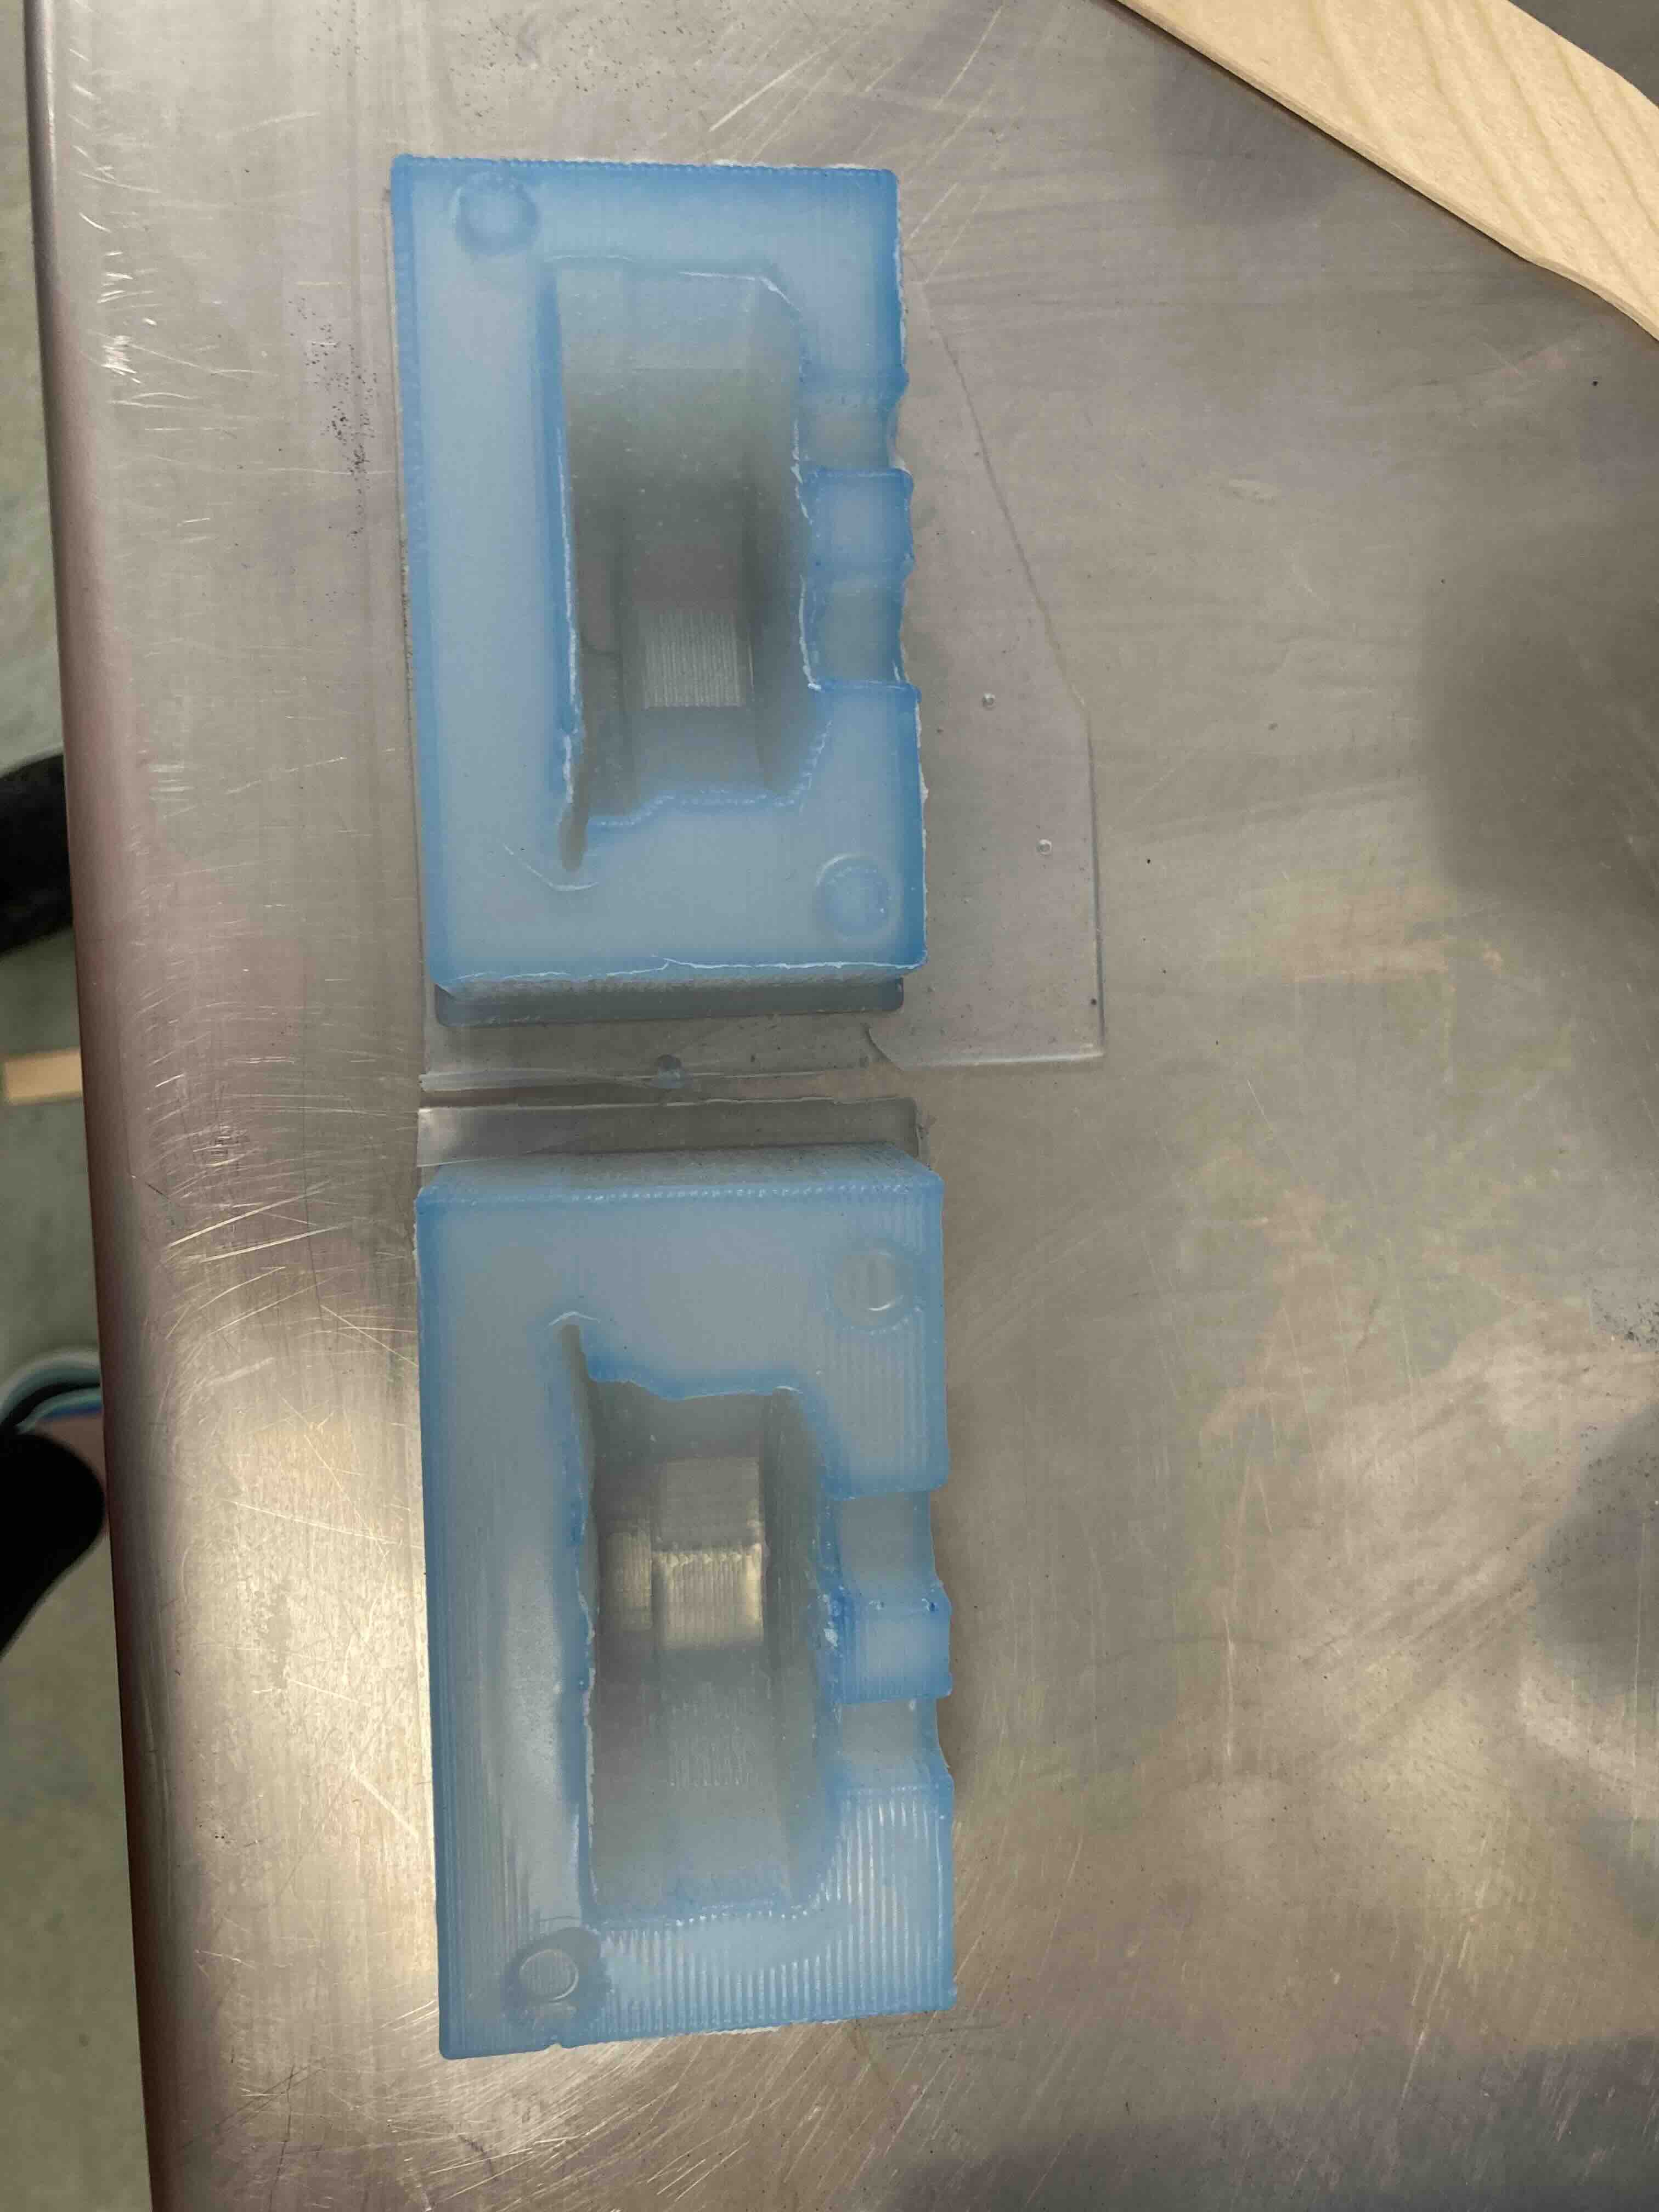
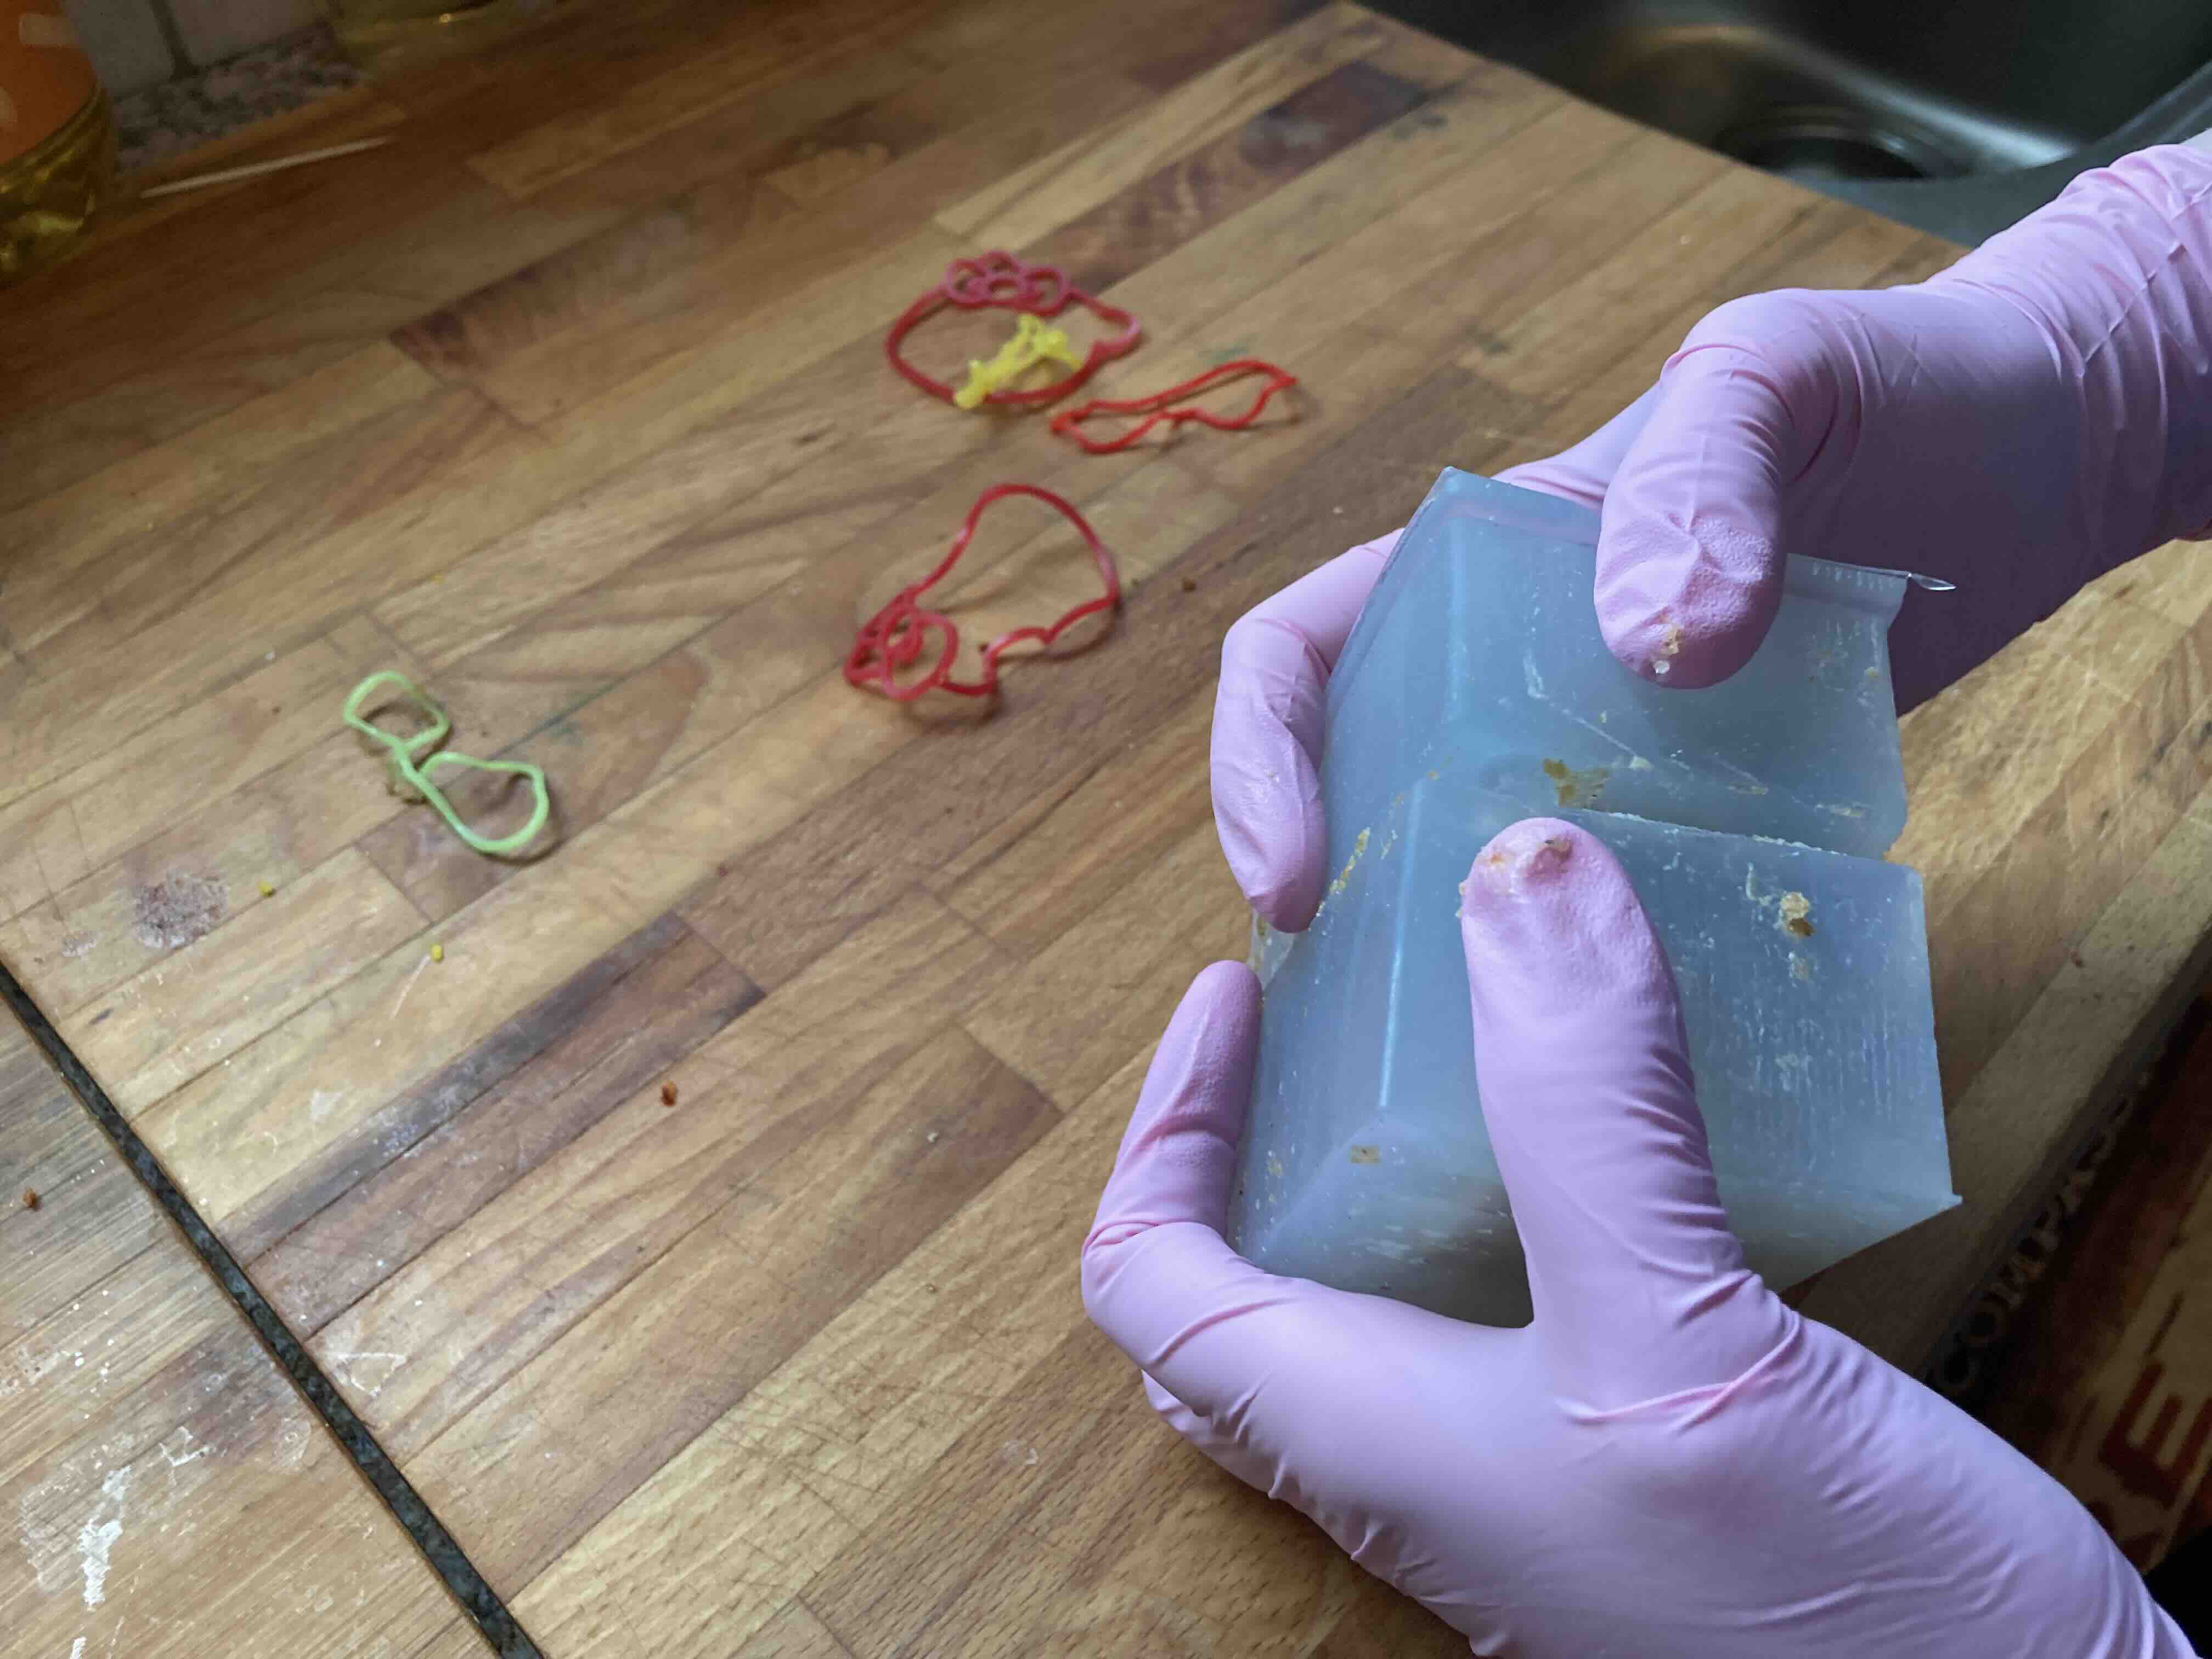
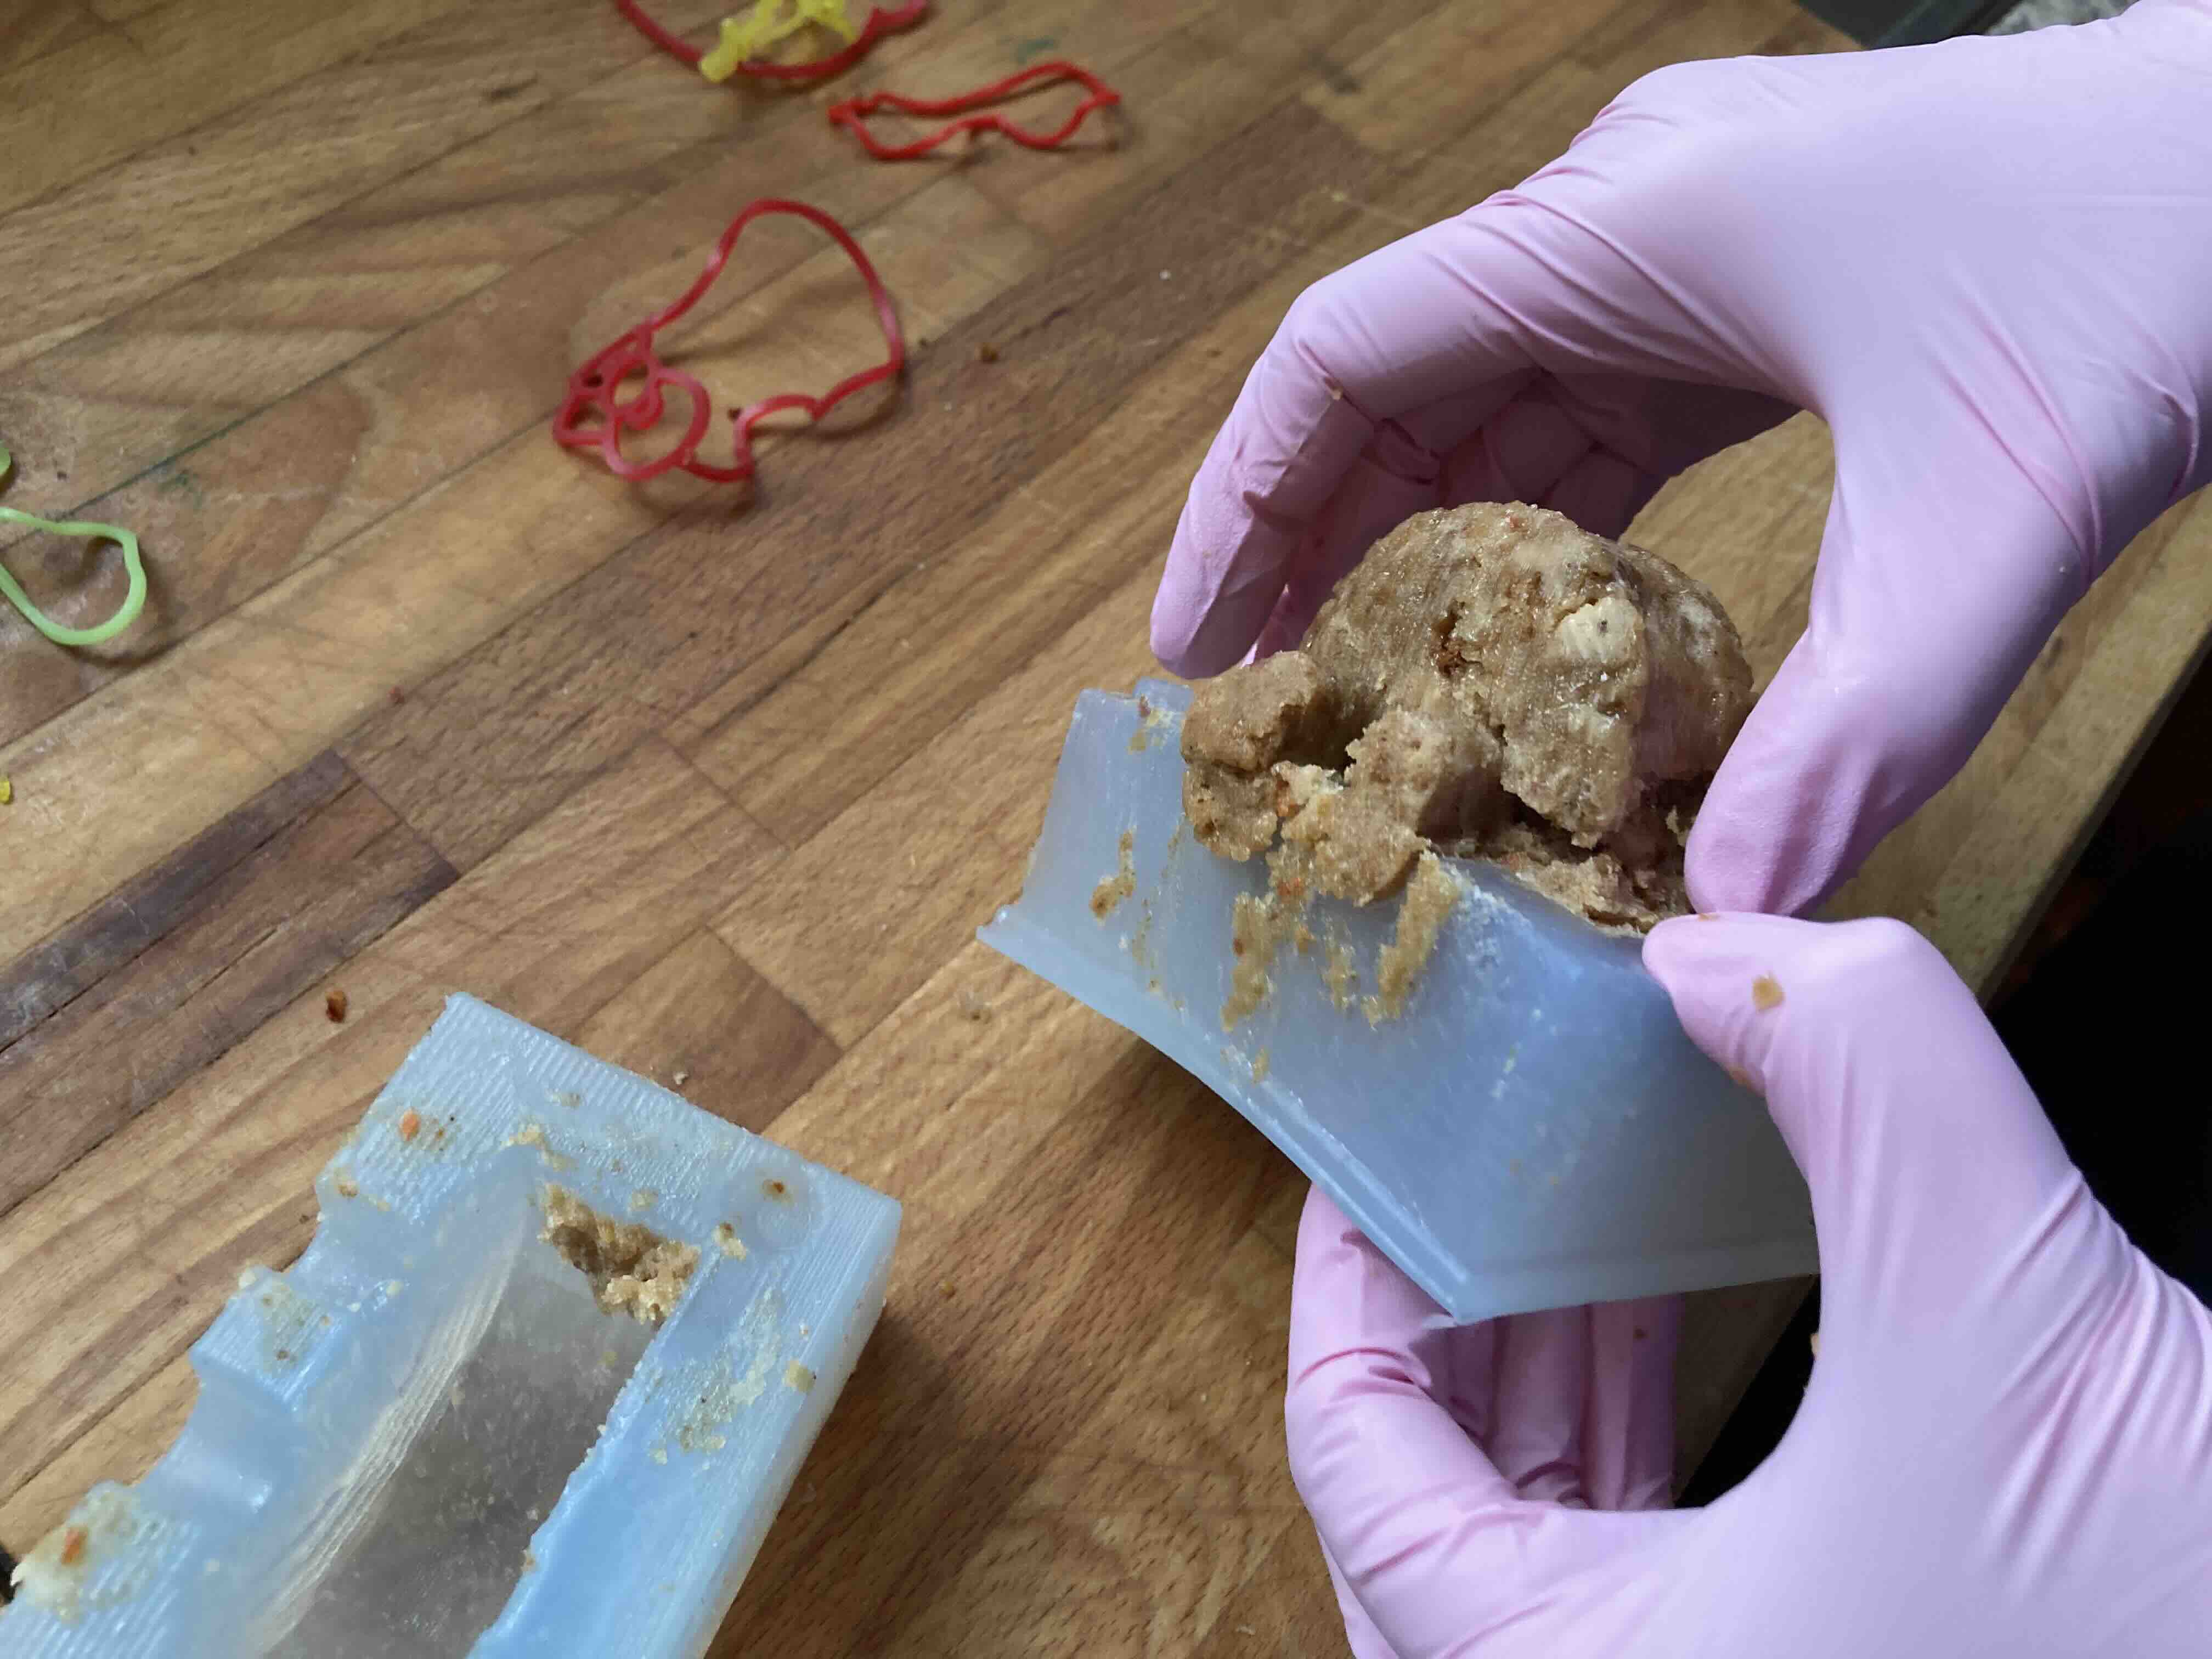
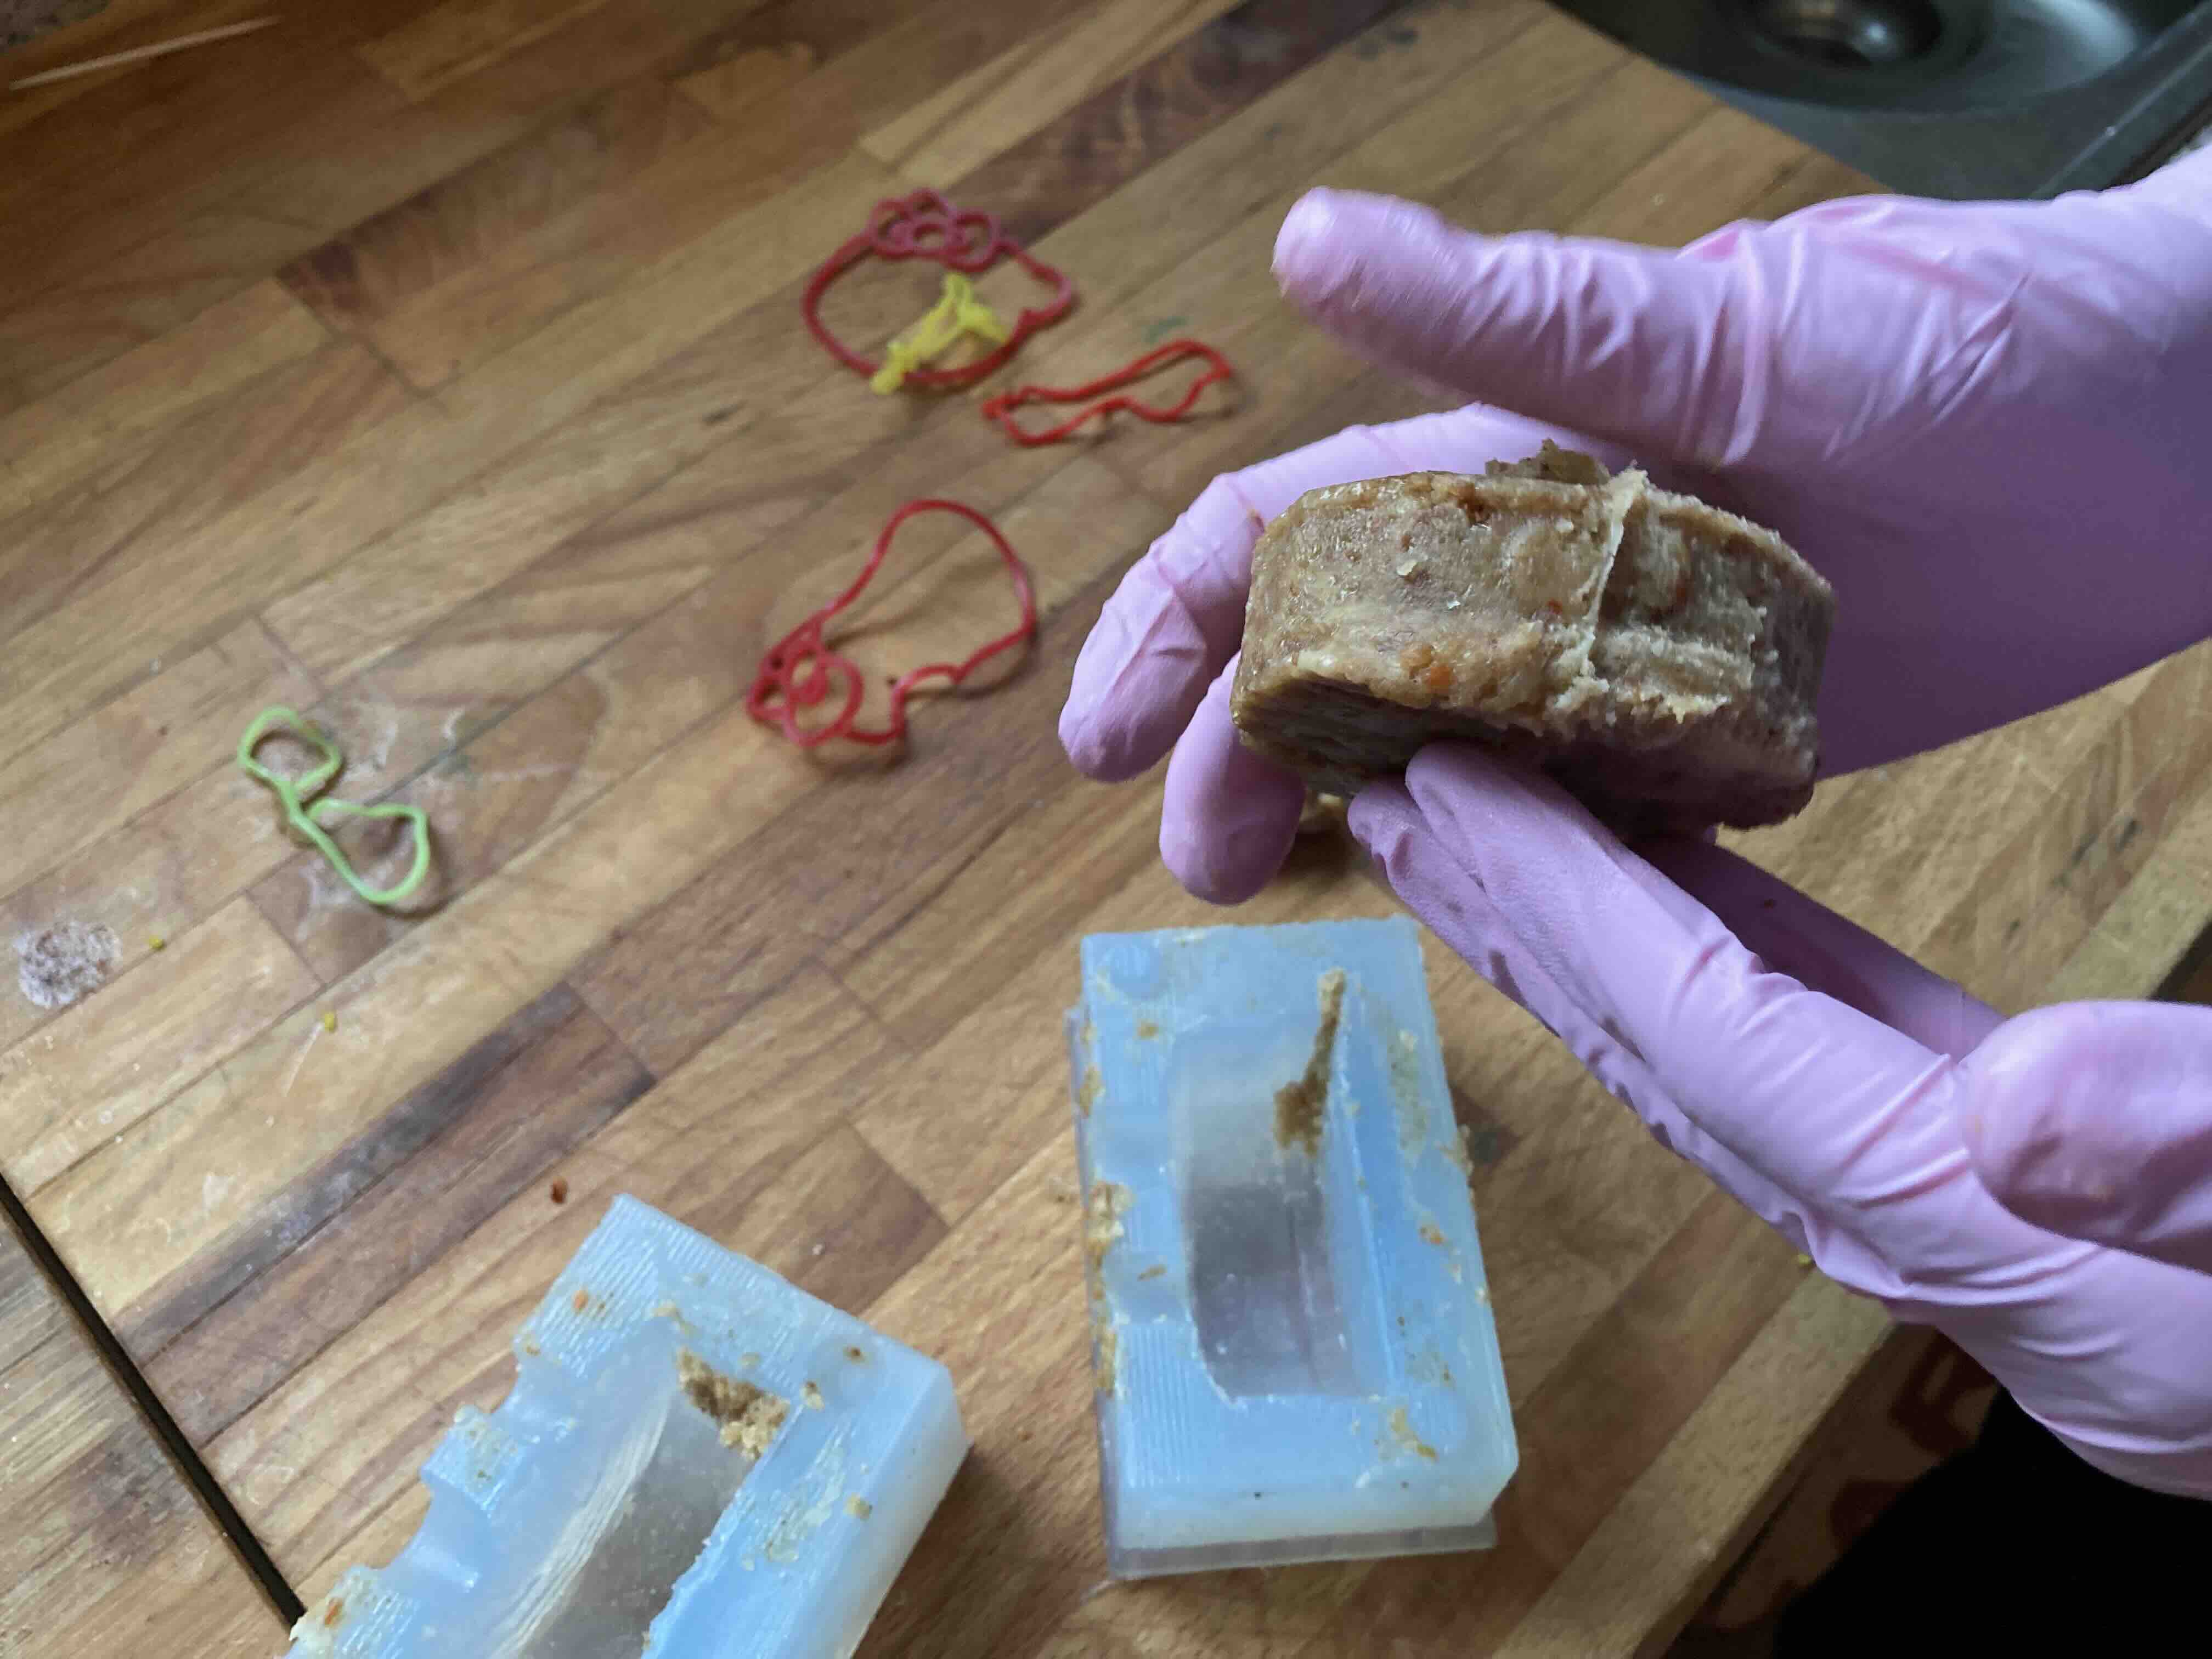
Mold
the mold after removal.
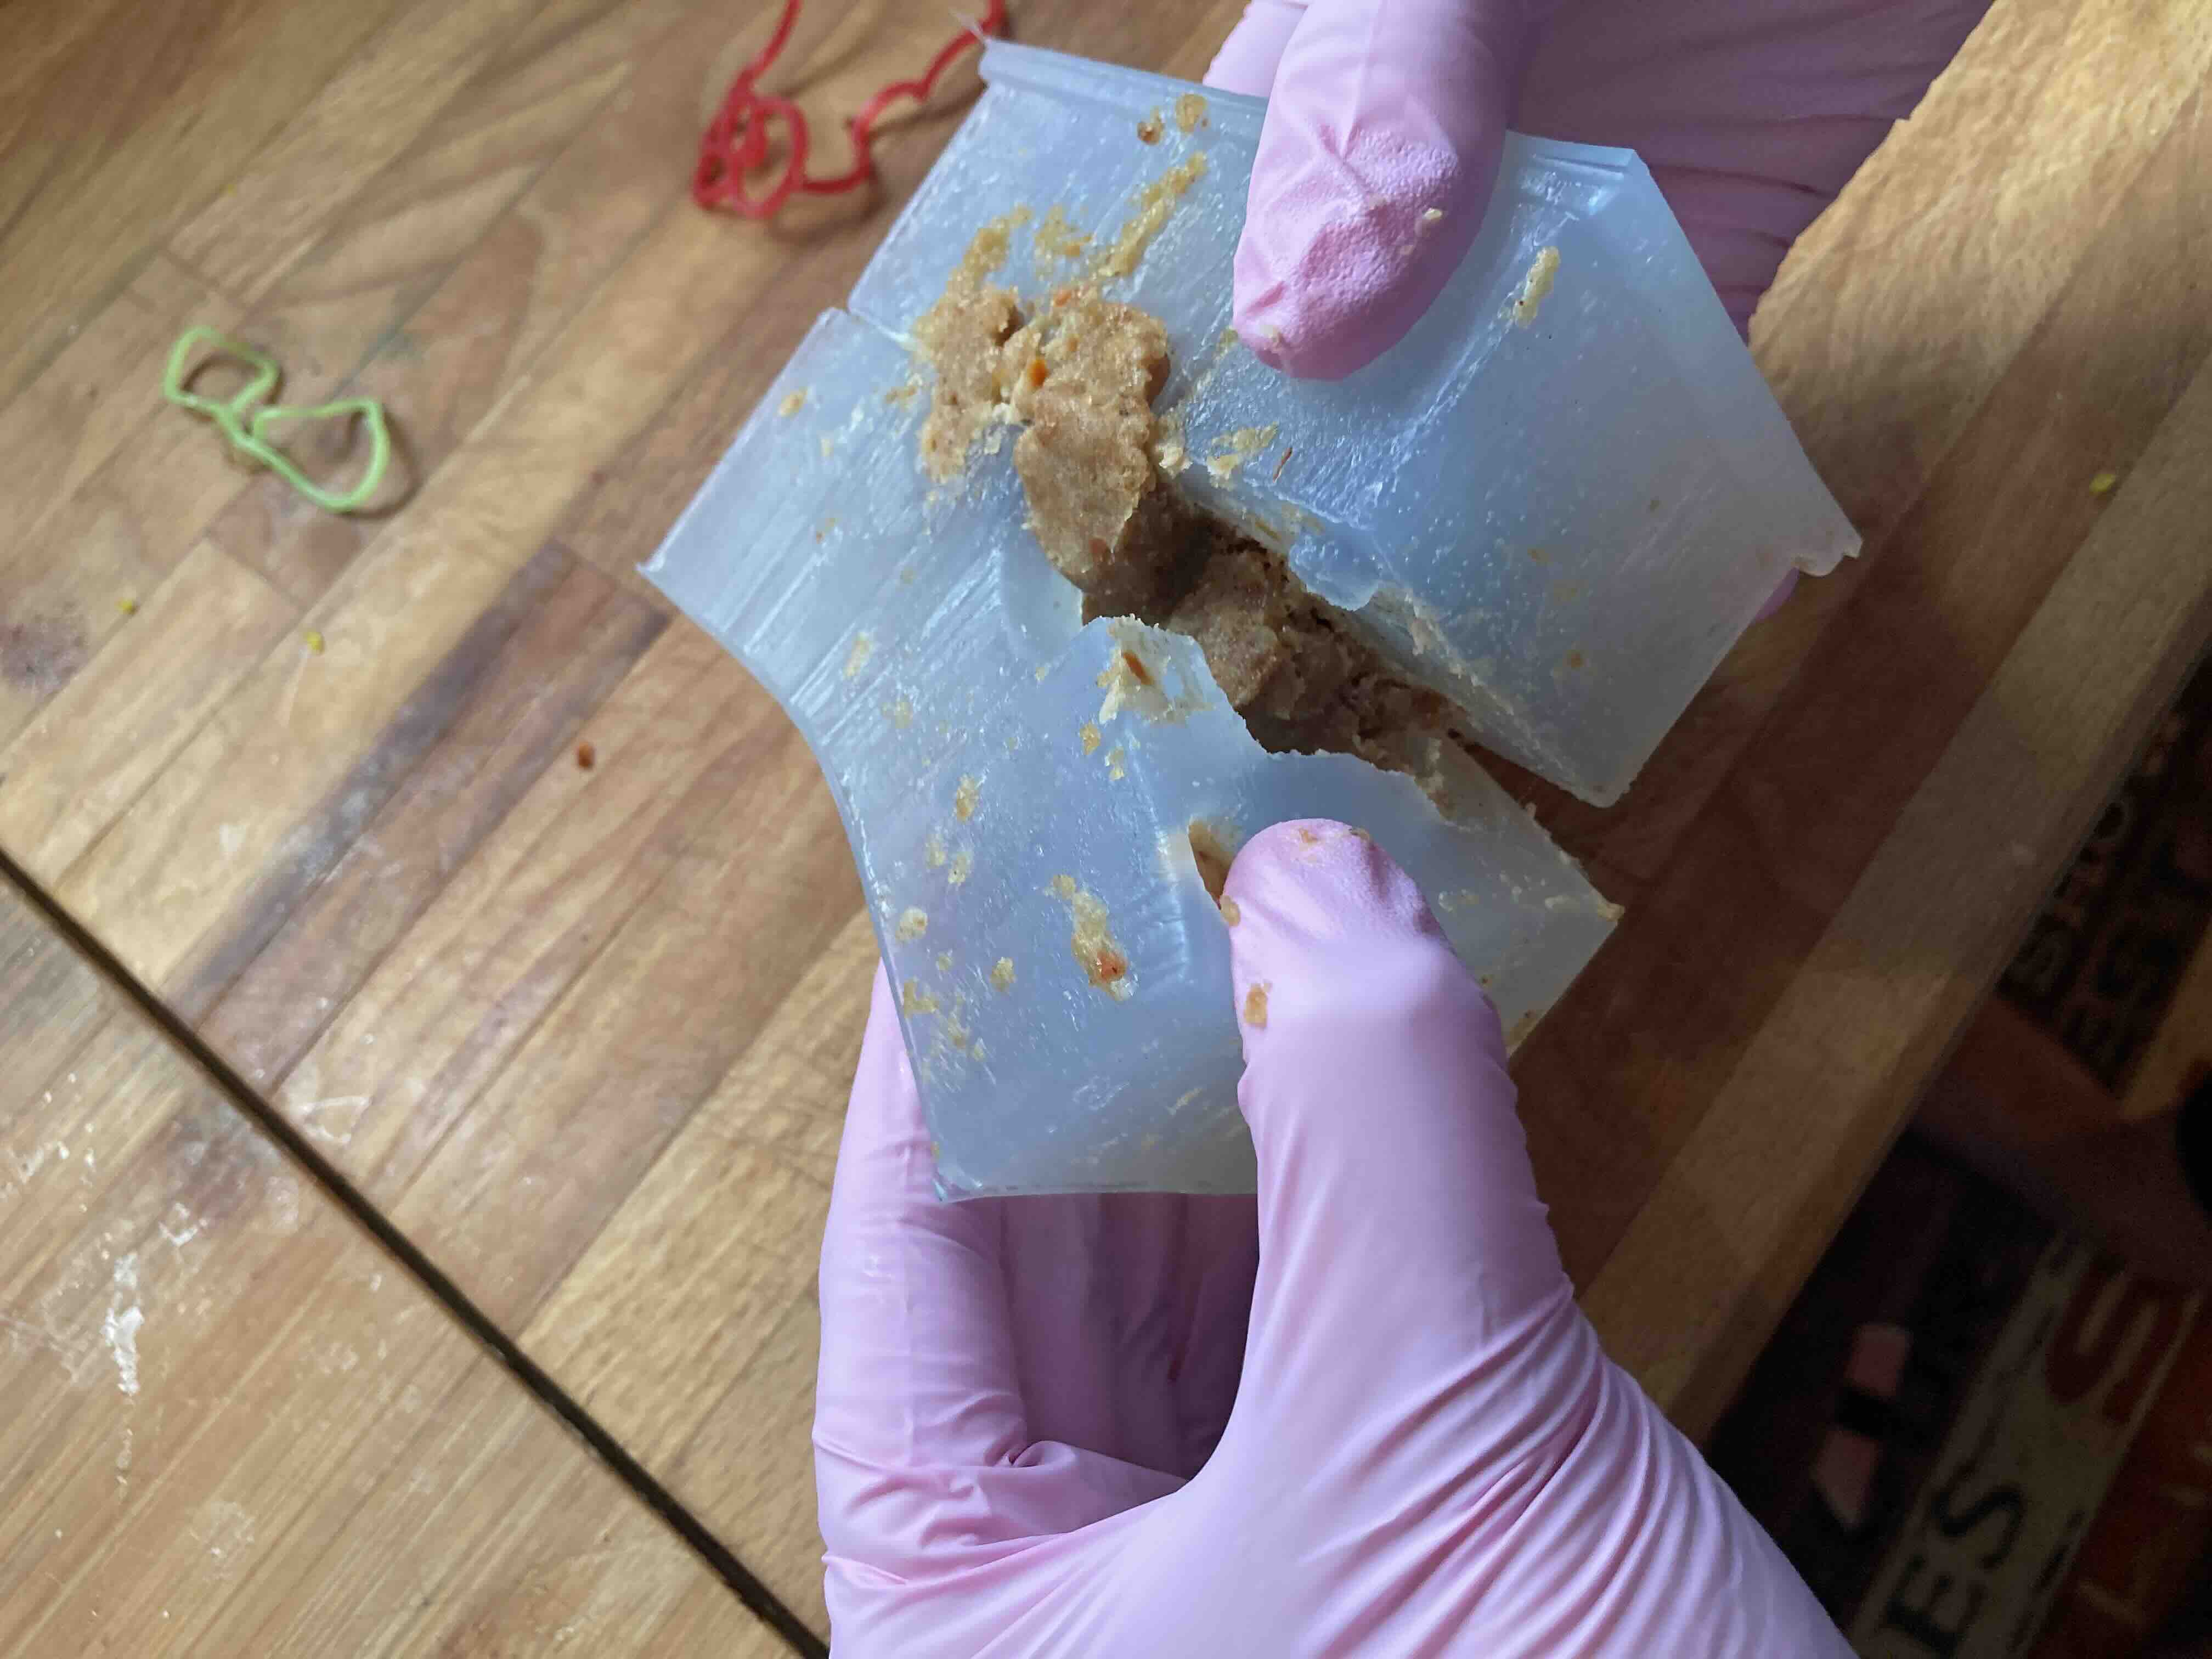
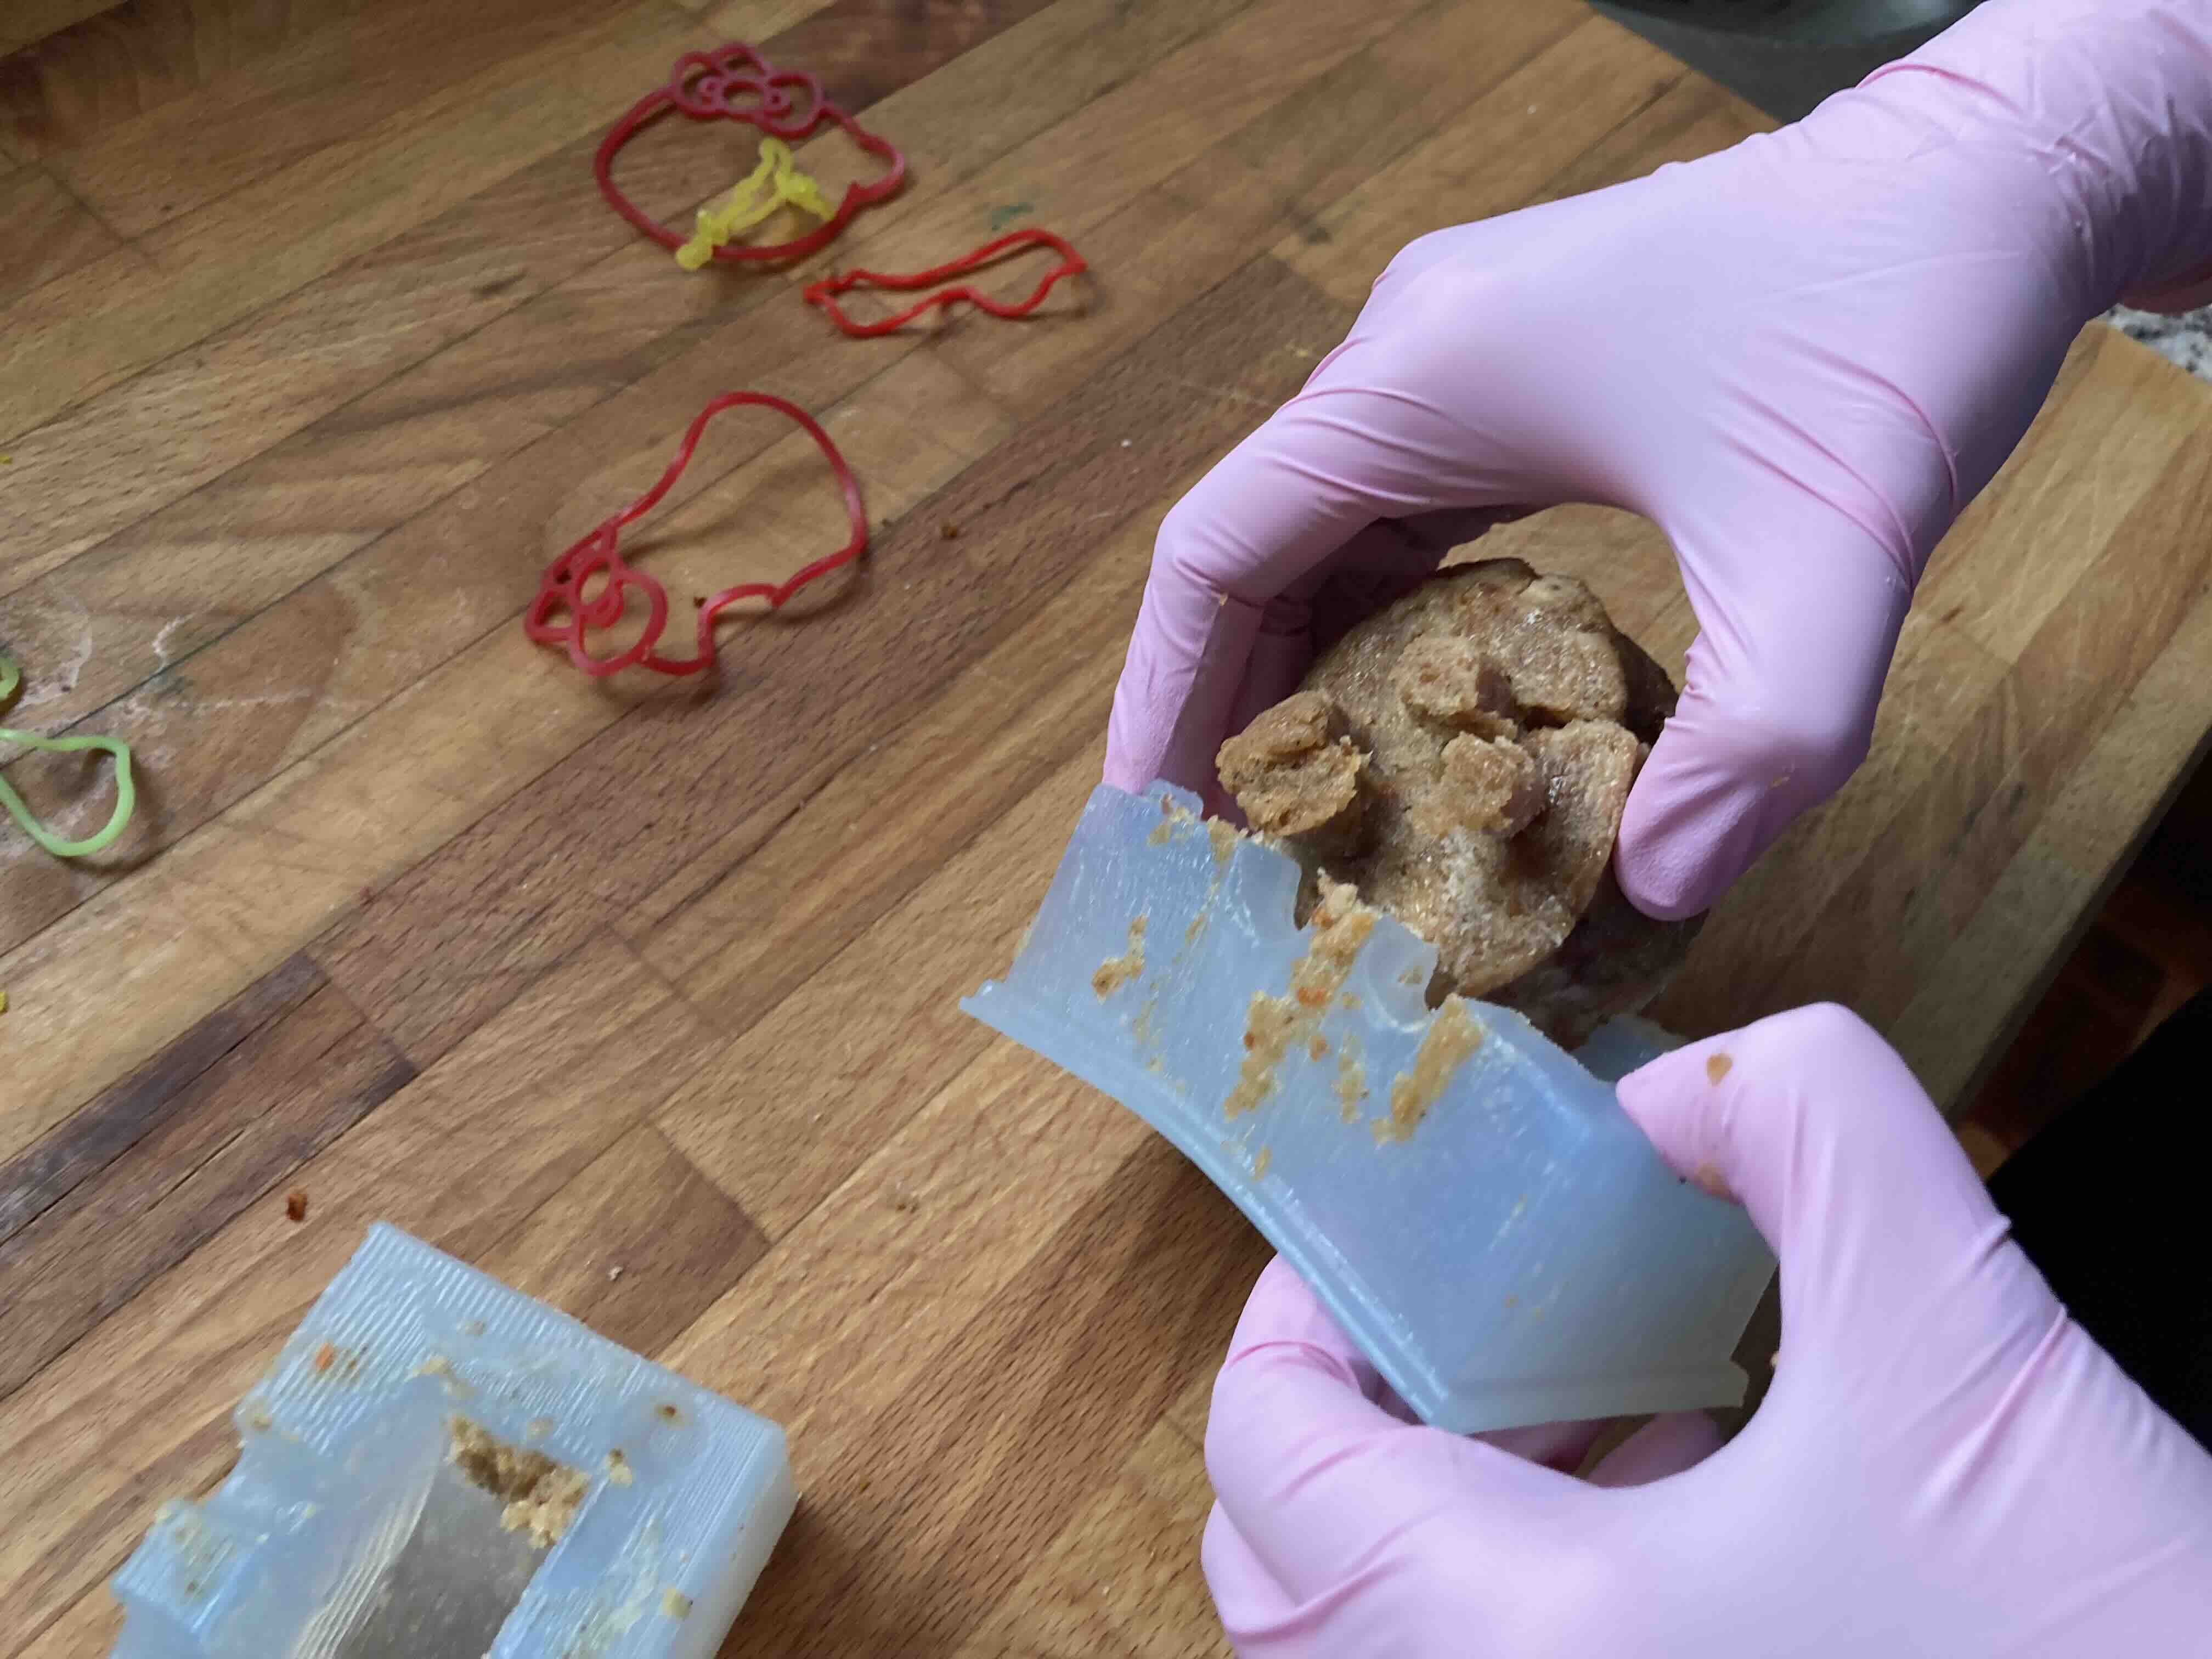
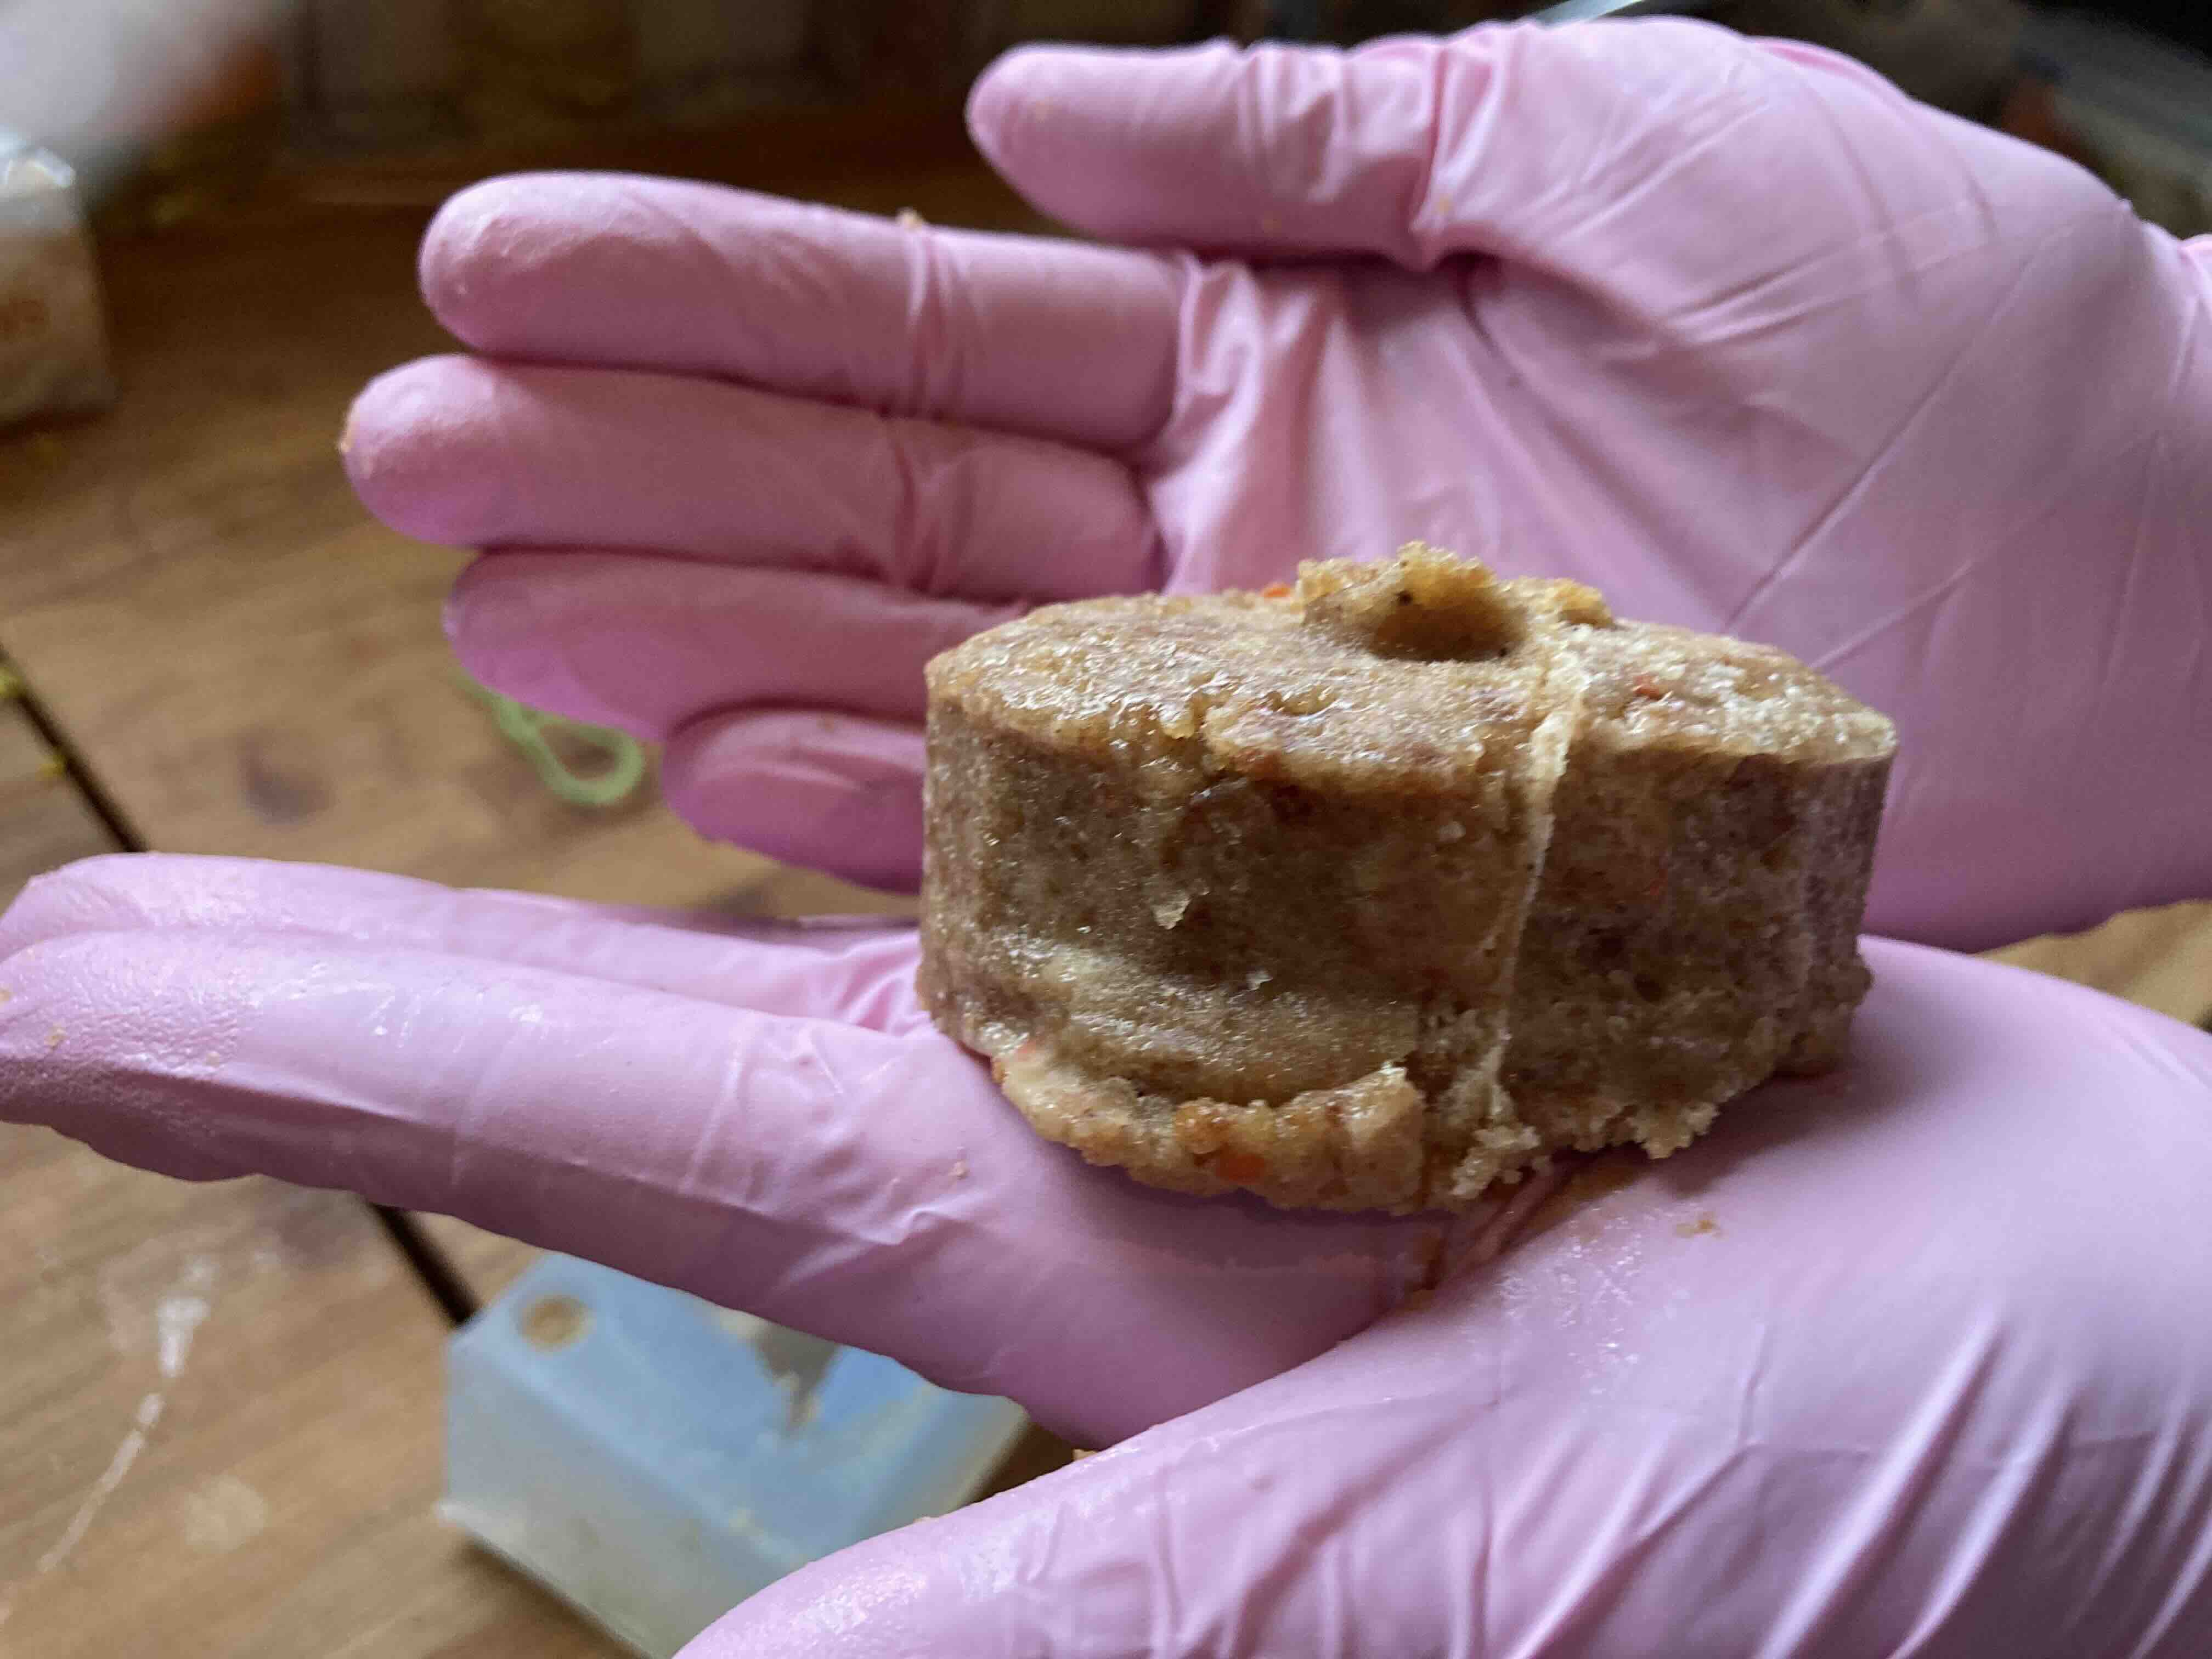
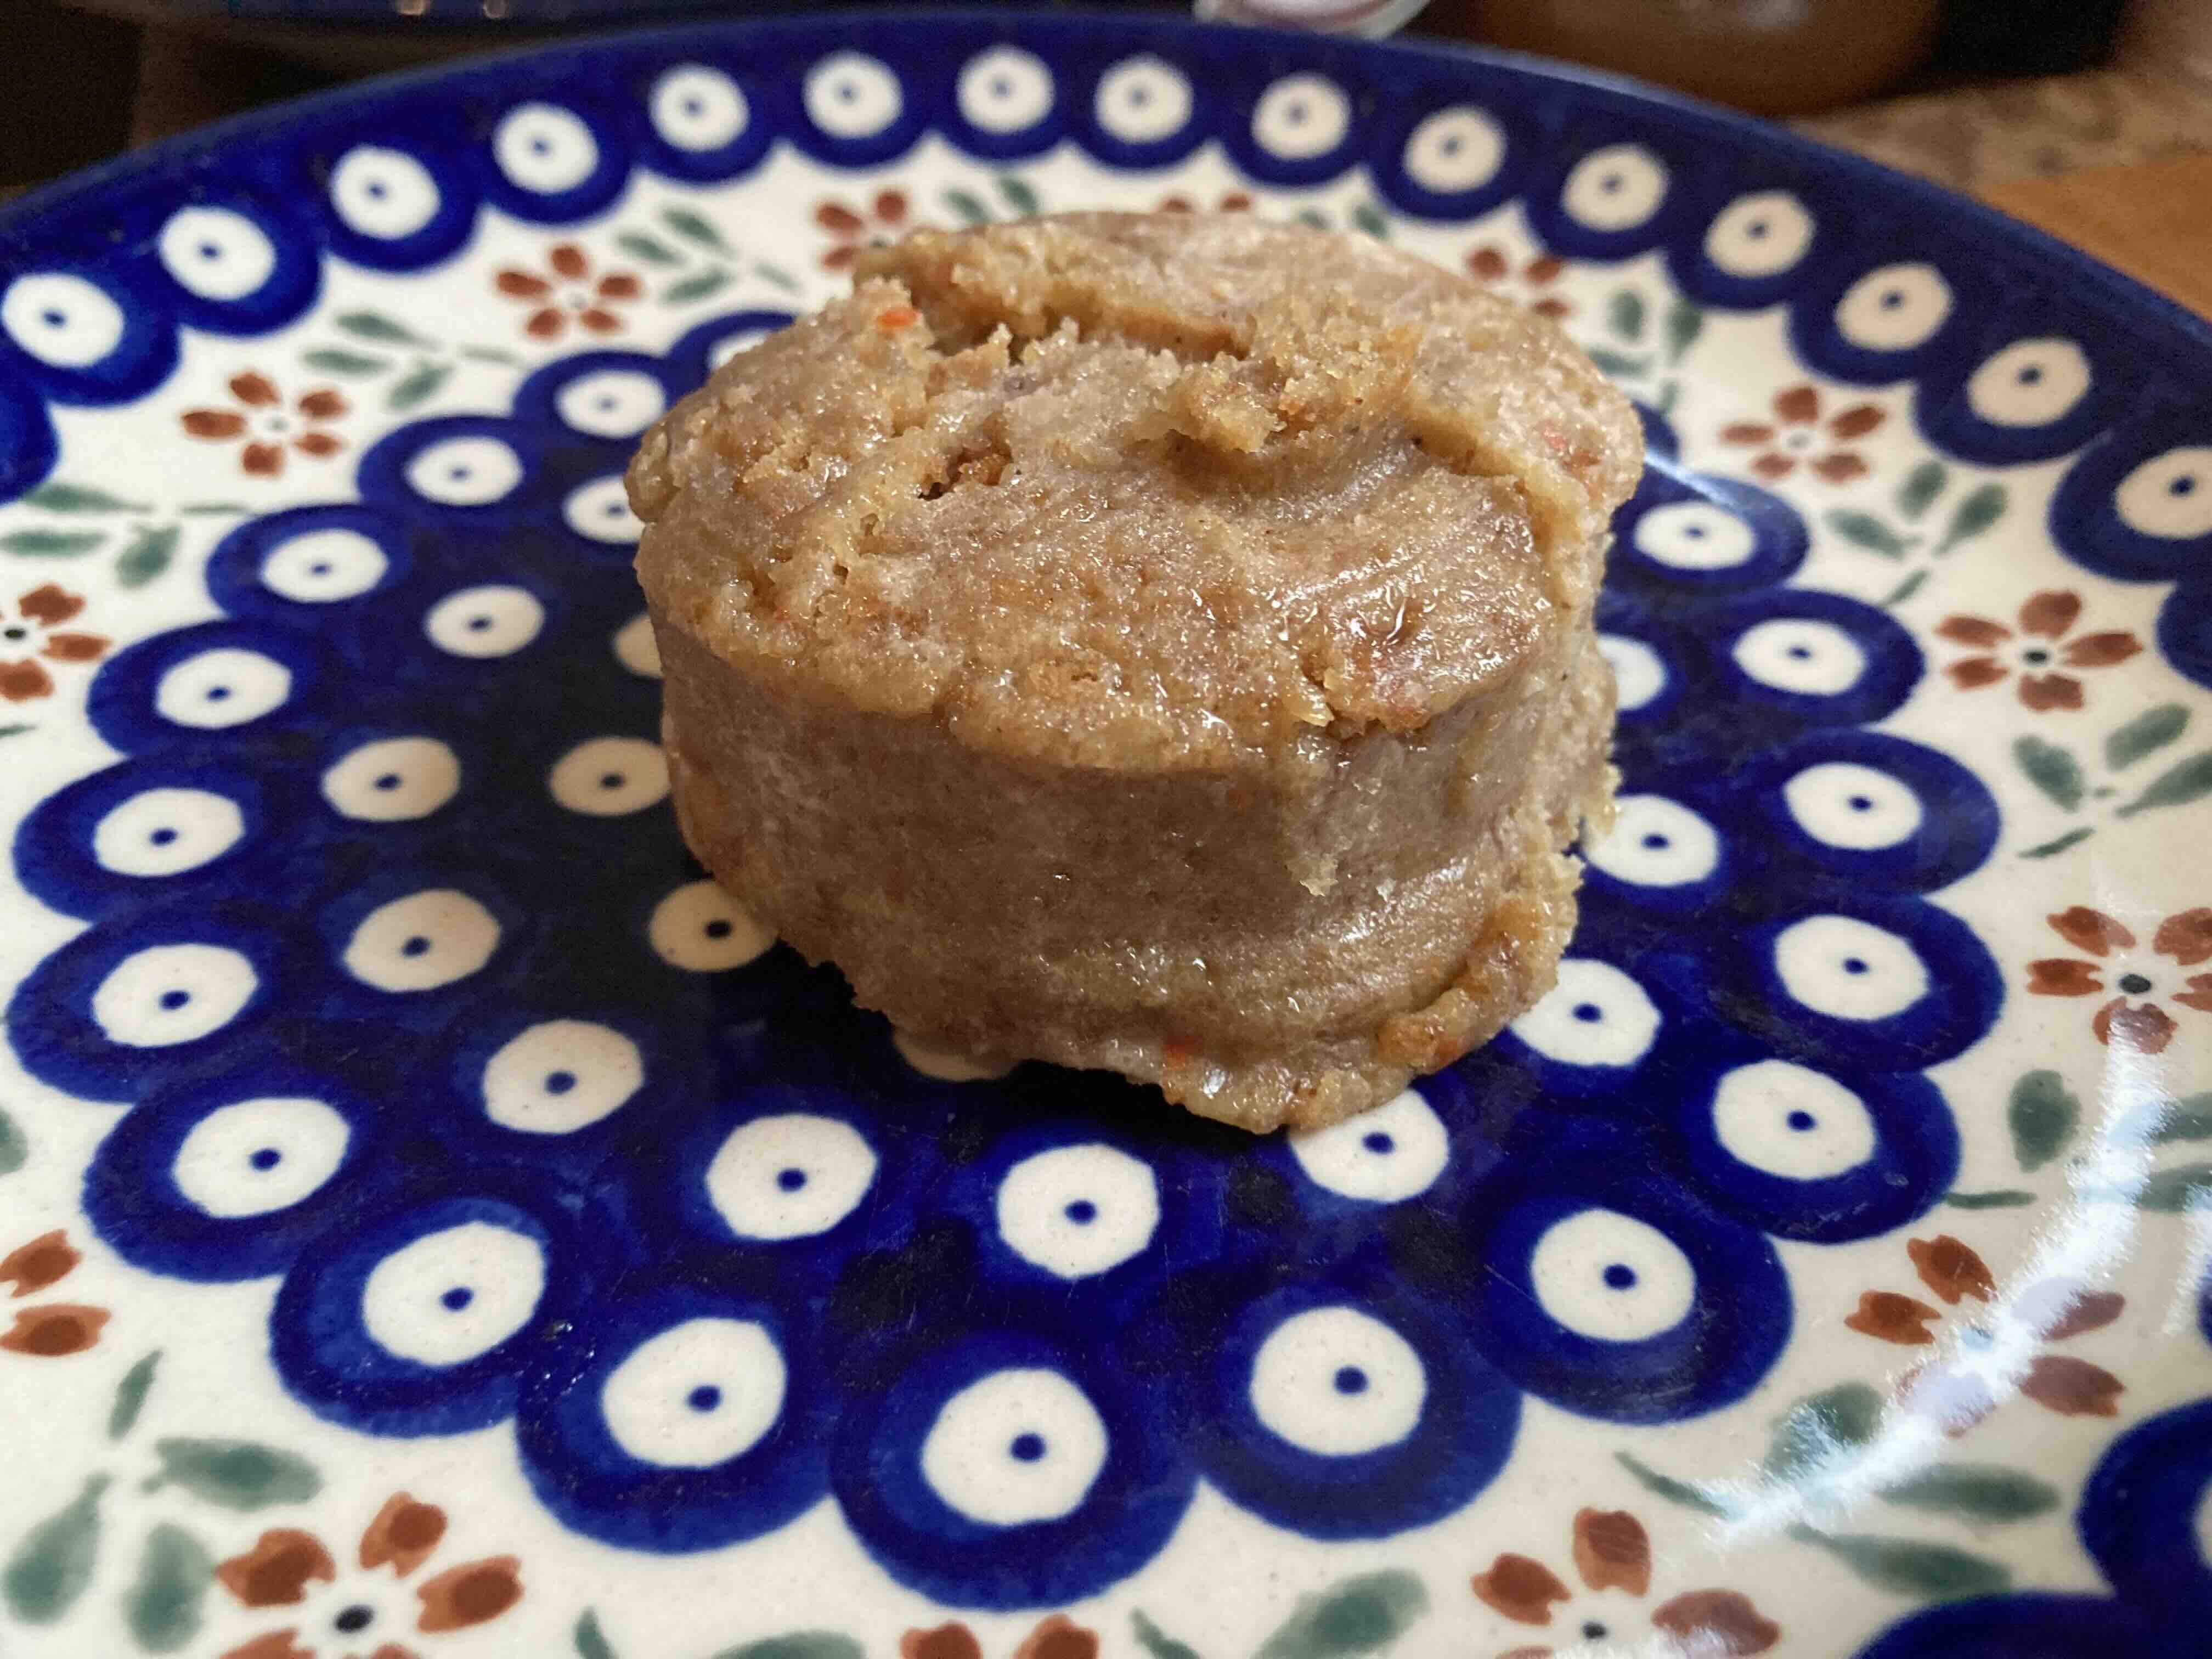
The cake pop
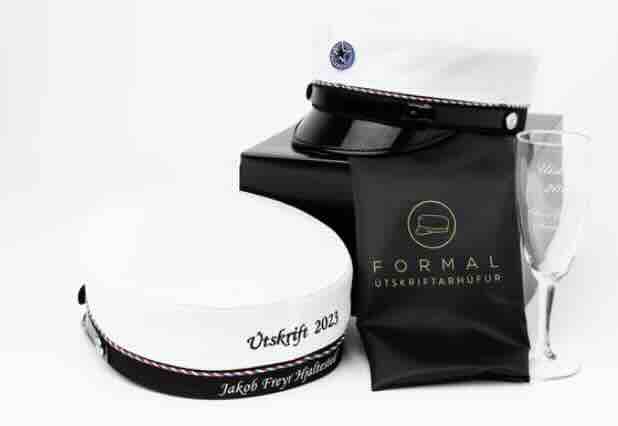
Casting result: The hat came out nicely and once I perfect the cake to iceing ratio it will be much better.
Summary
It took me a long time to figure out how to split the hat so it would leave the mold easily. I wanted it to have as few edges as possible. I wanted the edges to be clean so it would be useable as a cakepop mold. When we ran the mashine we forgot to put up the bag to gater the wax that was milled out. We fixed that halfway through. The layers were a little rough so I smoothed them out with heat. The silicone came out well. I had to mix it twice since I made too little in the first batch. Then when casting the first cakepop I was a little tired and burned the first cake. Next day I made it again and it was perfect. I will for my sisters graduation dip them in white chocolate to decorate them.