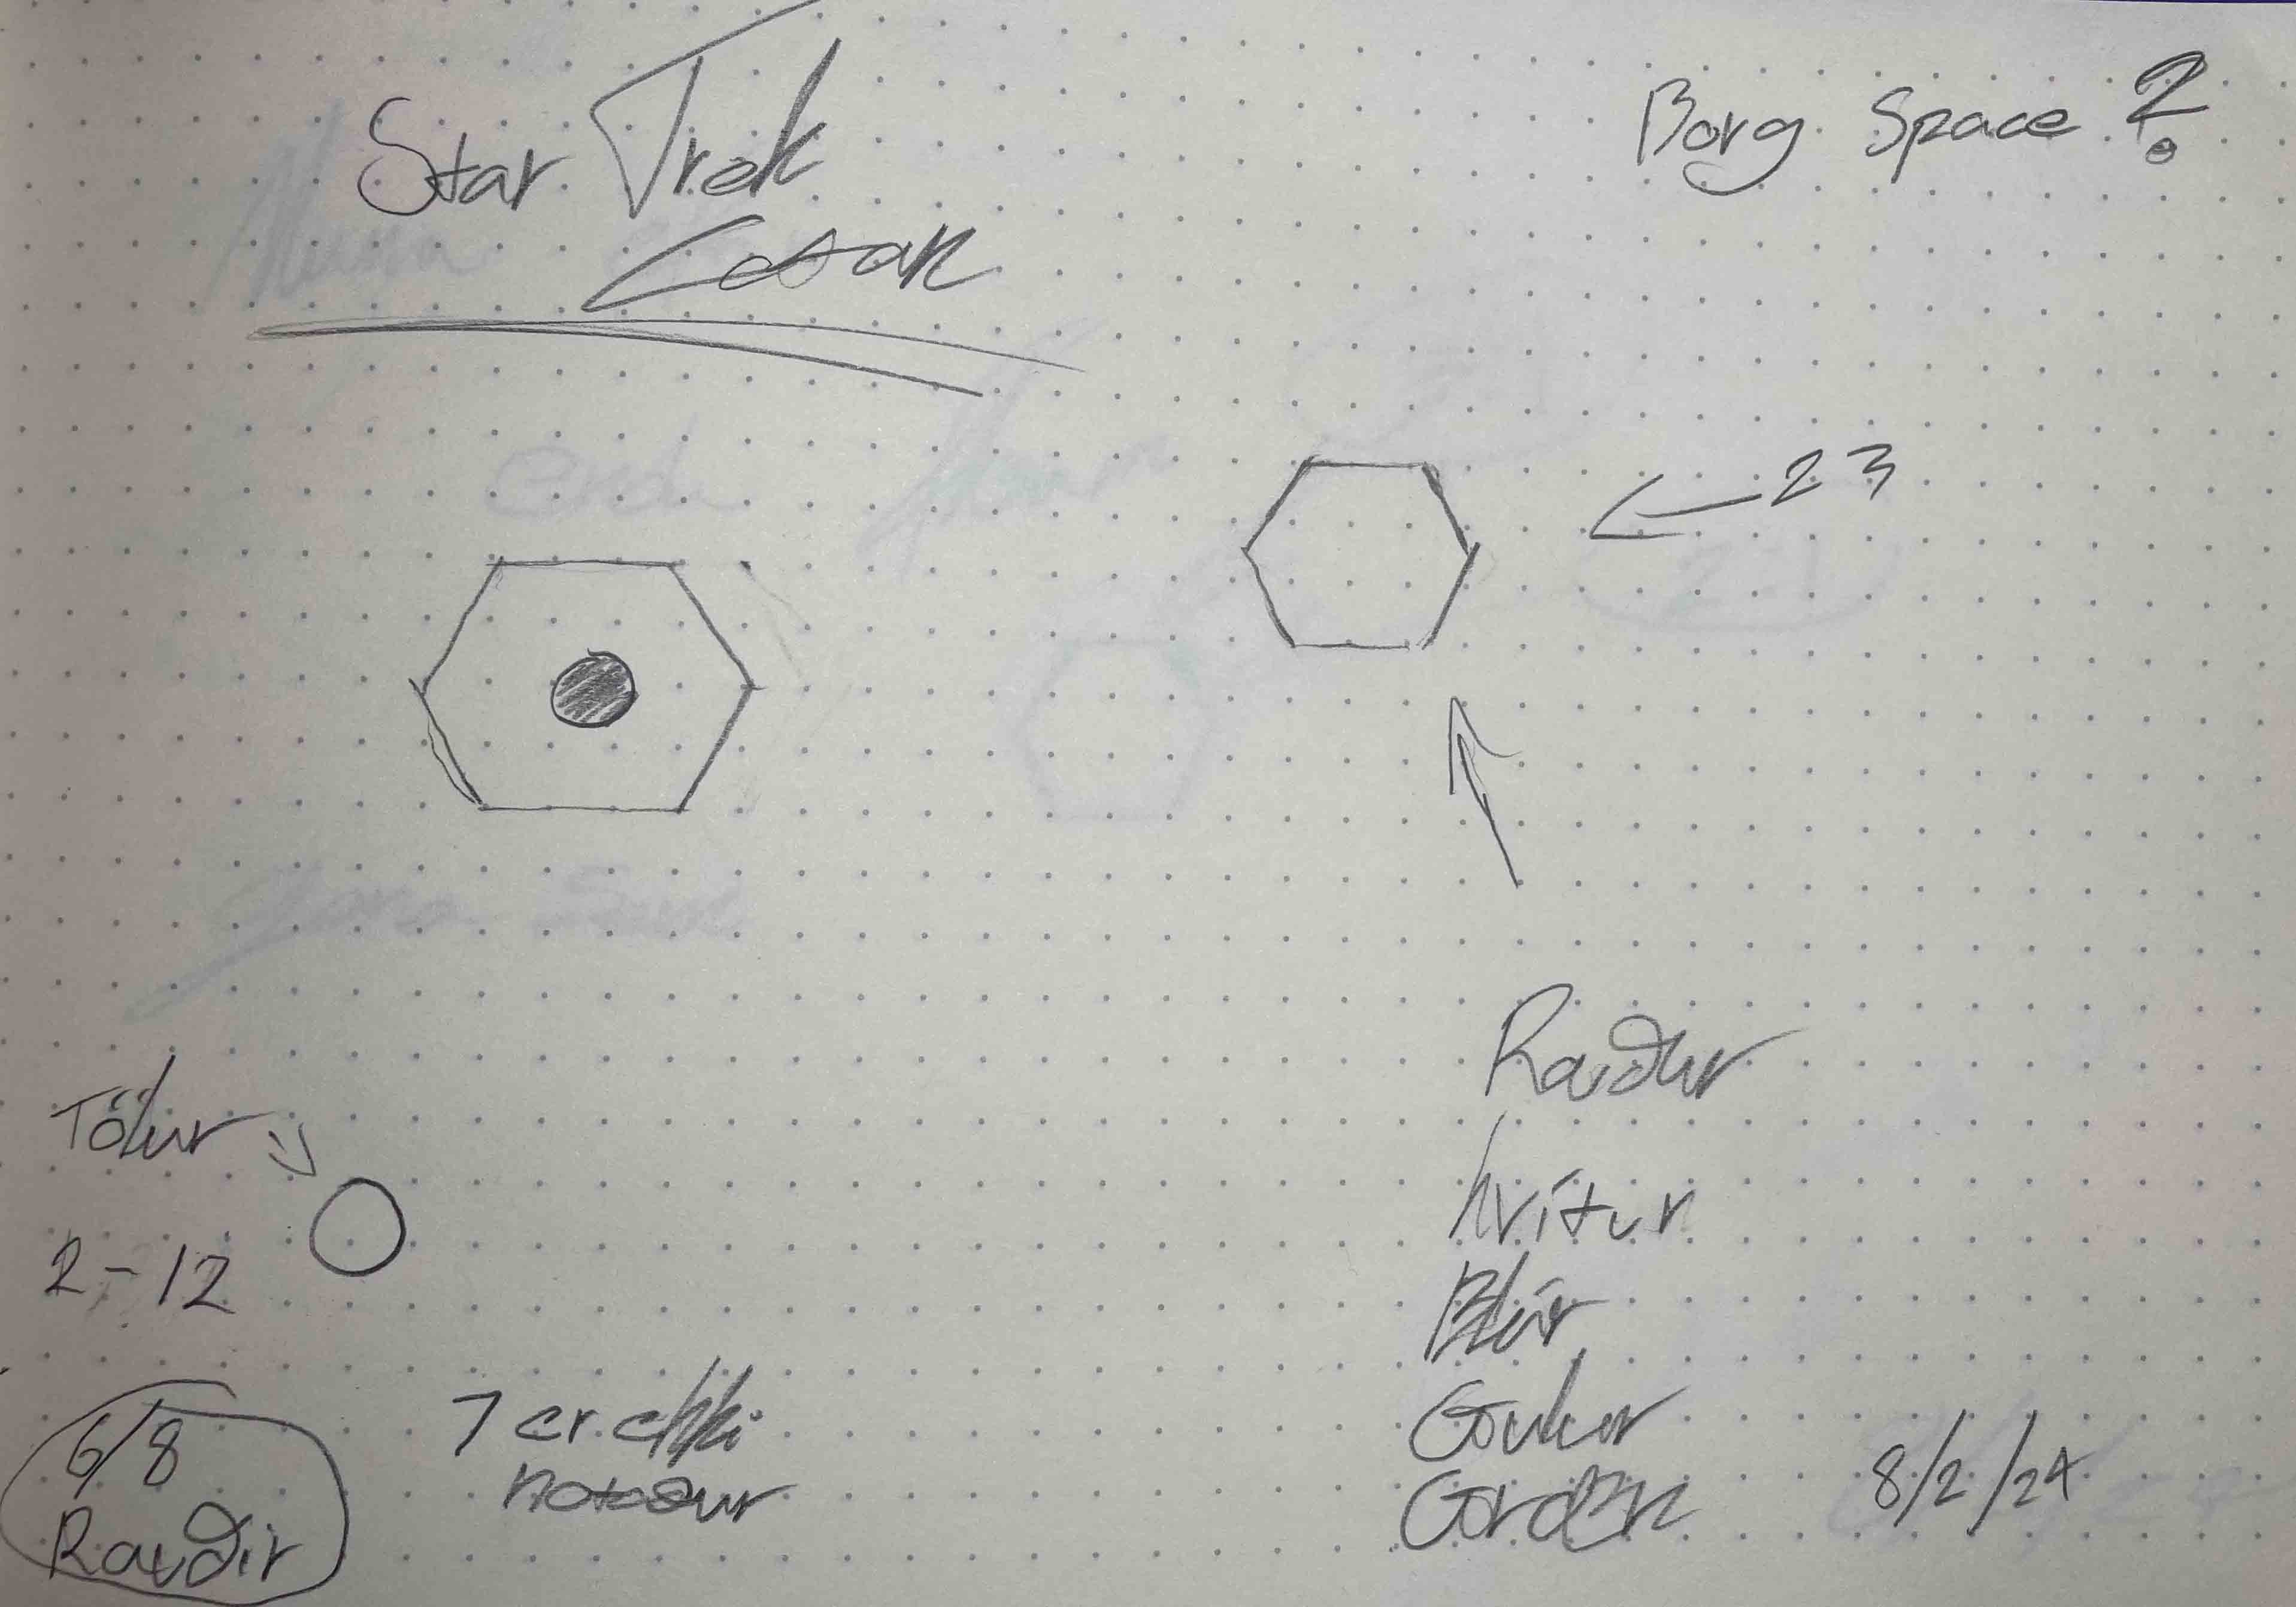
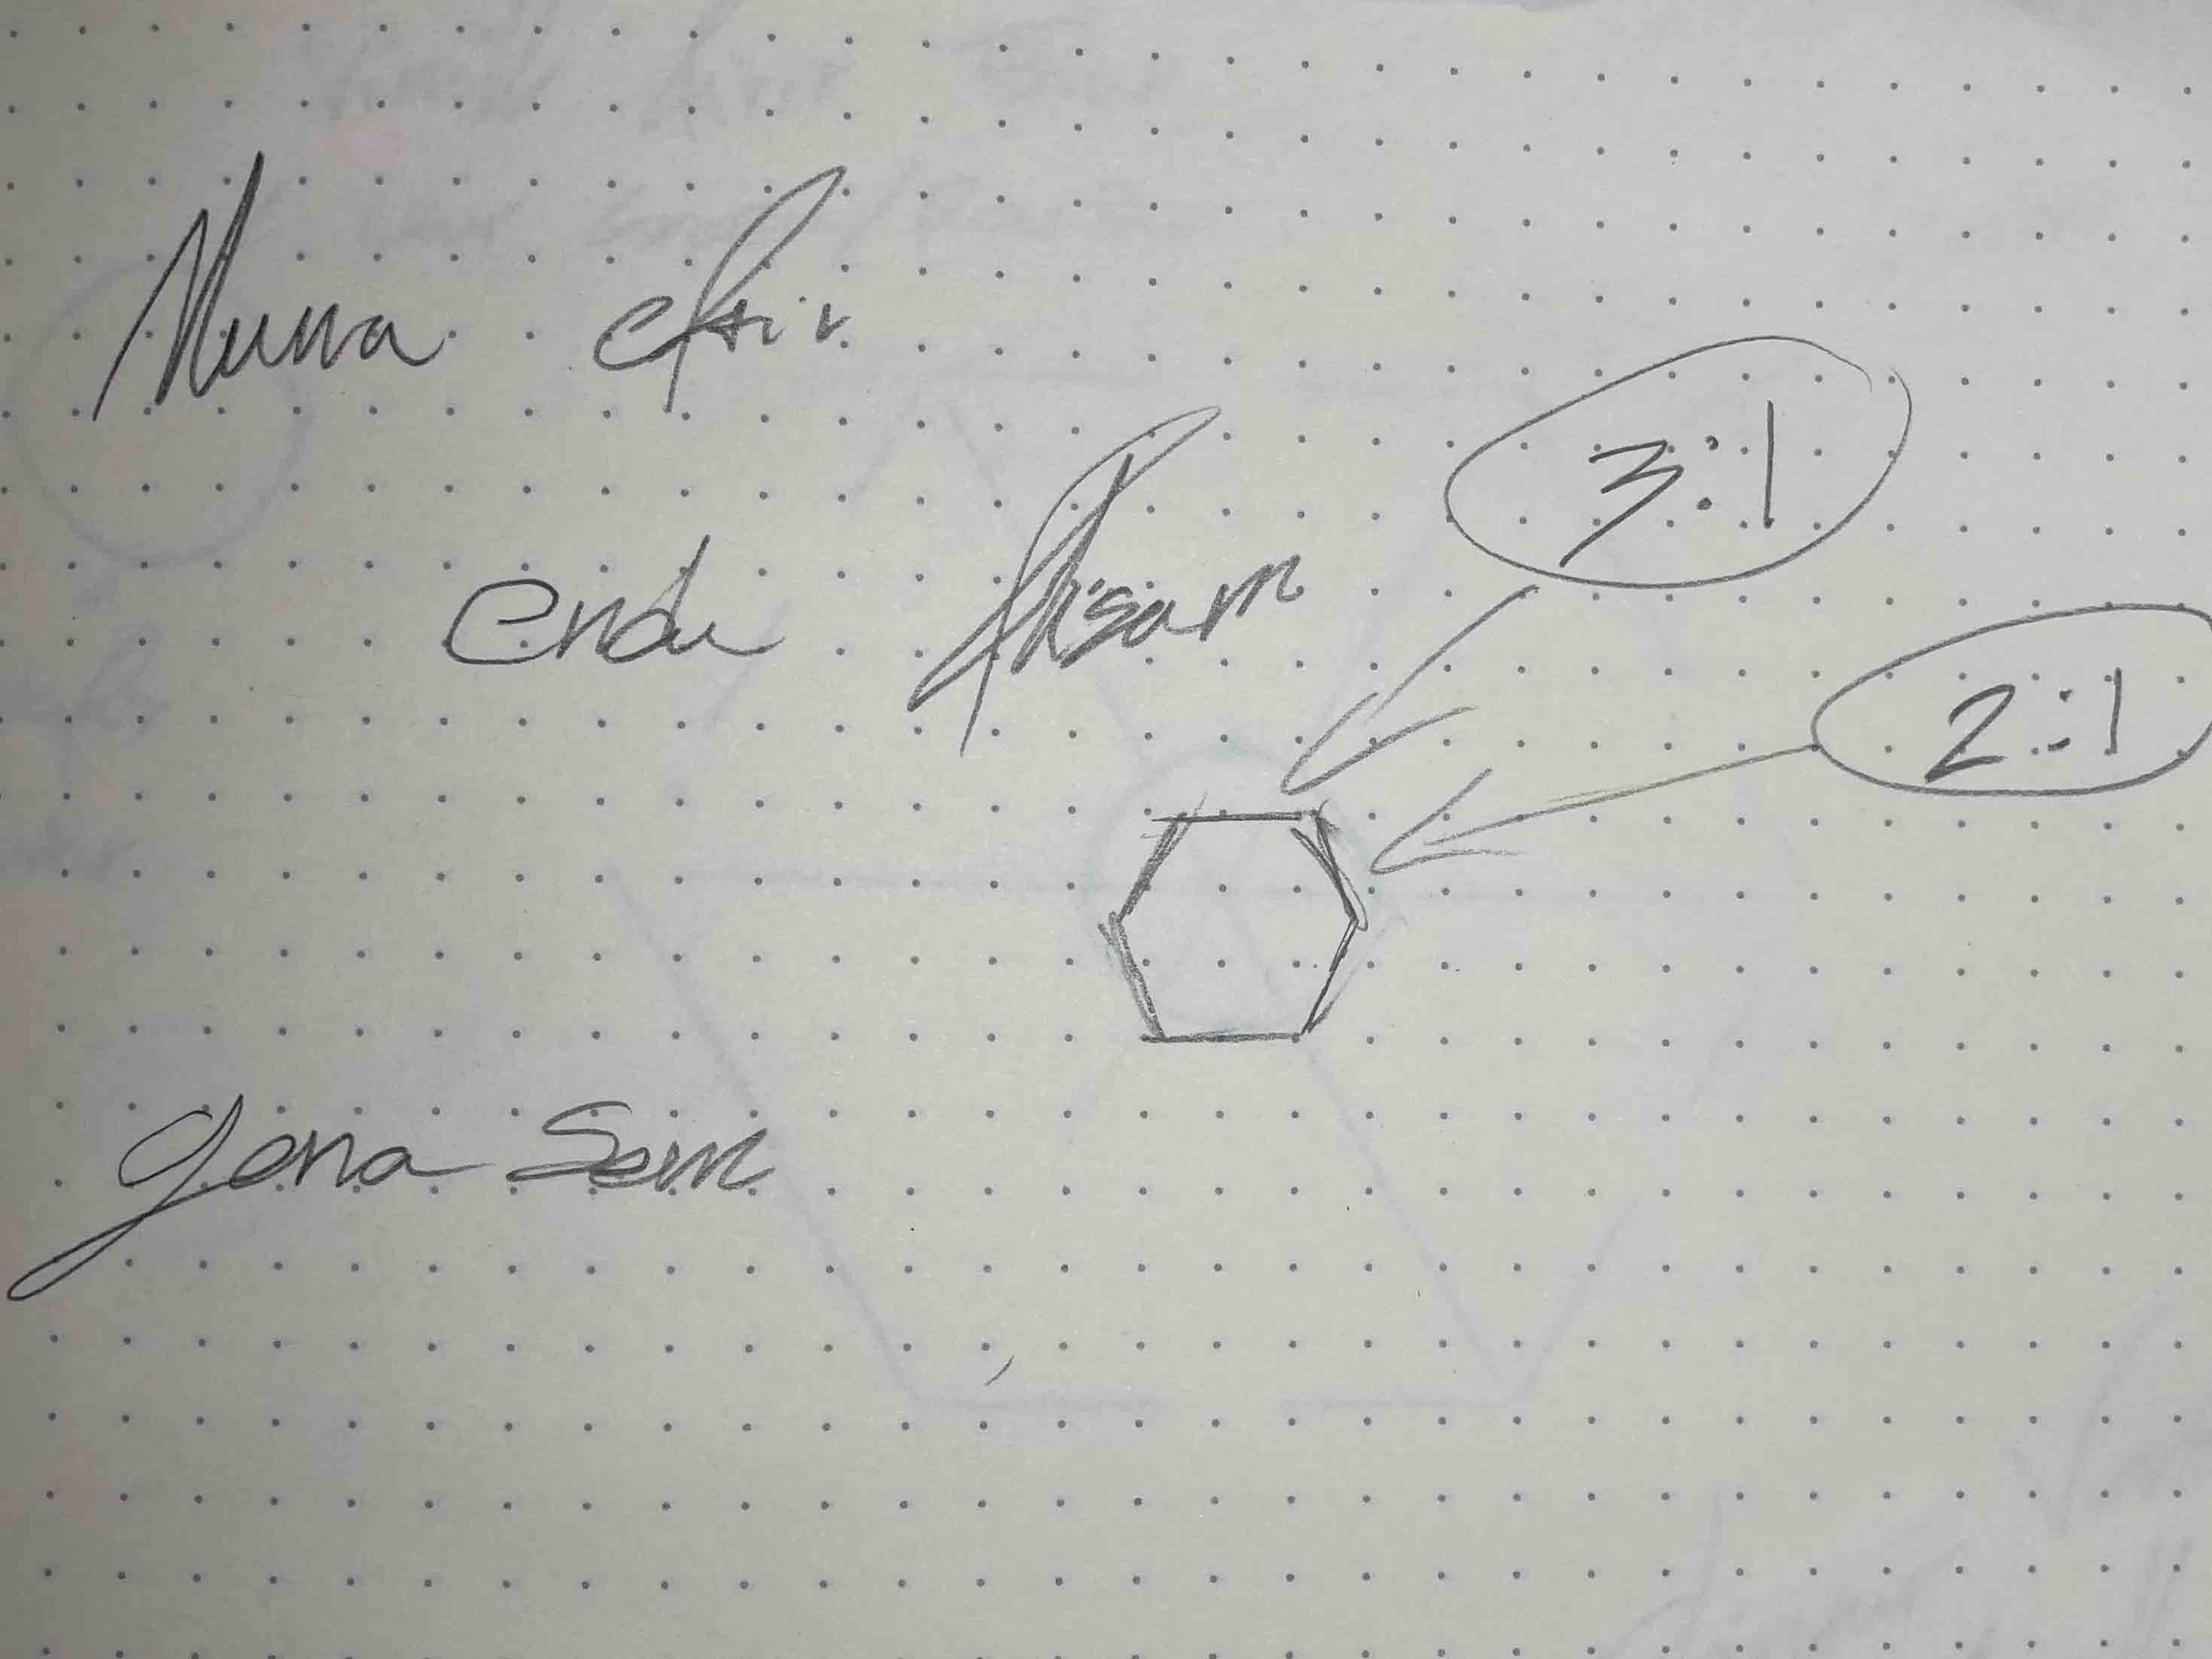
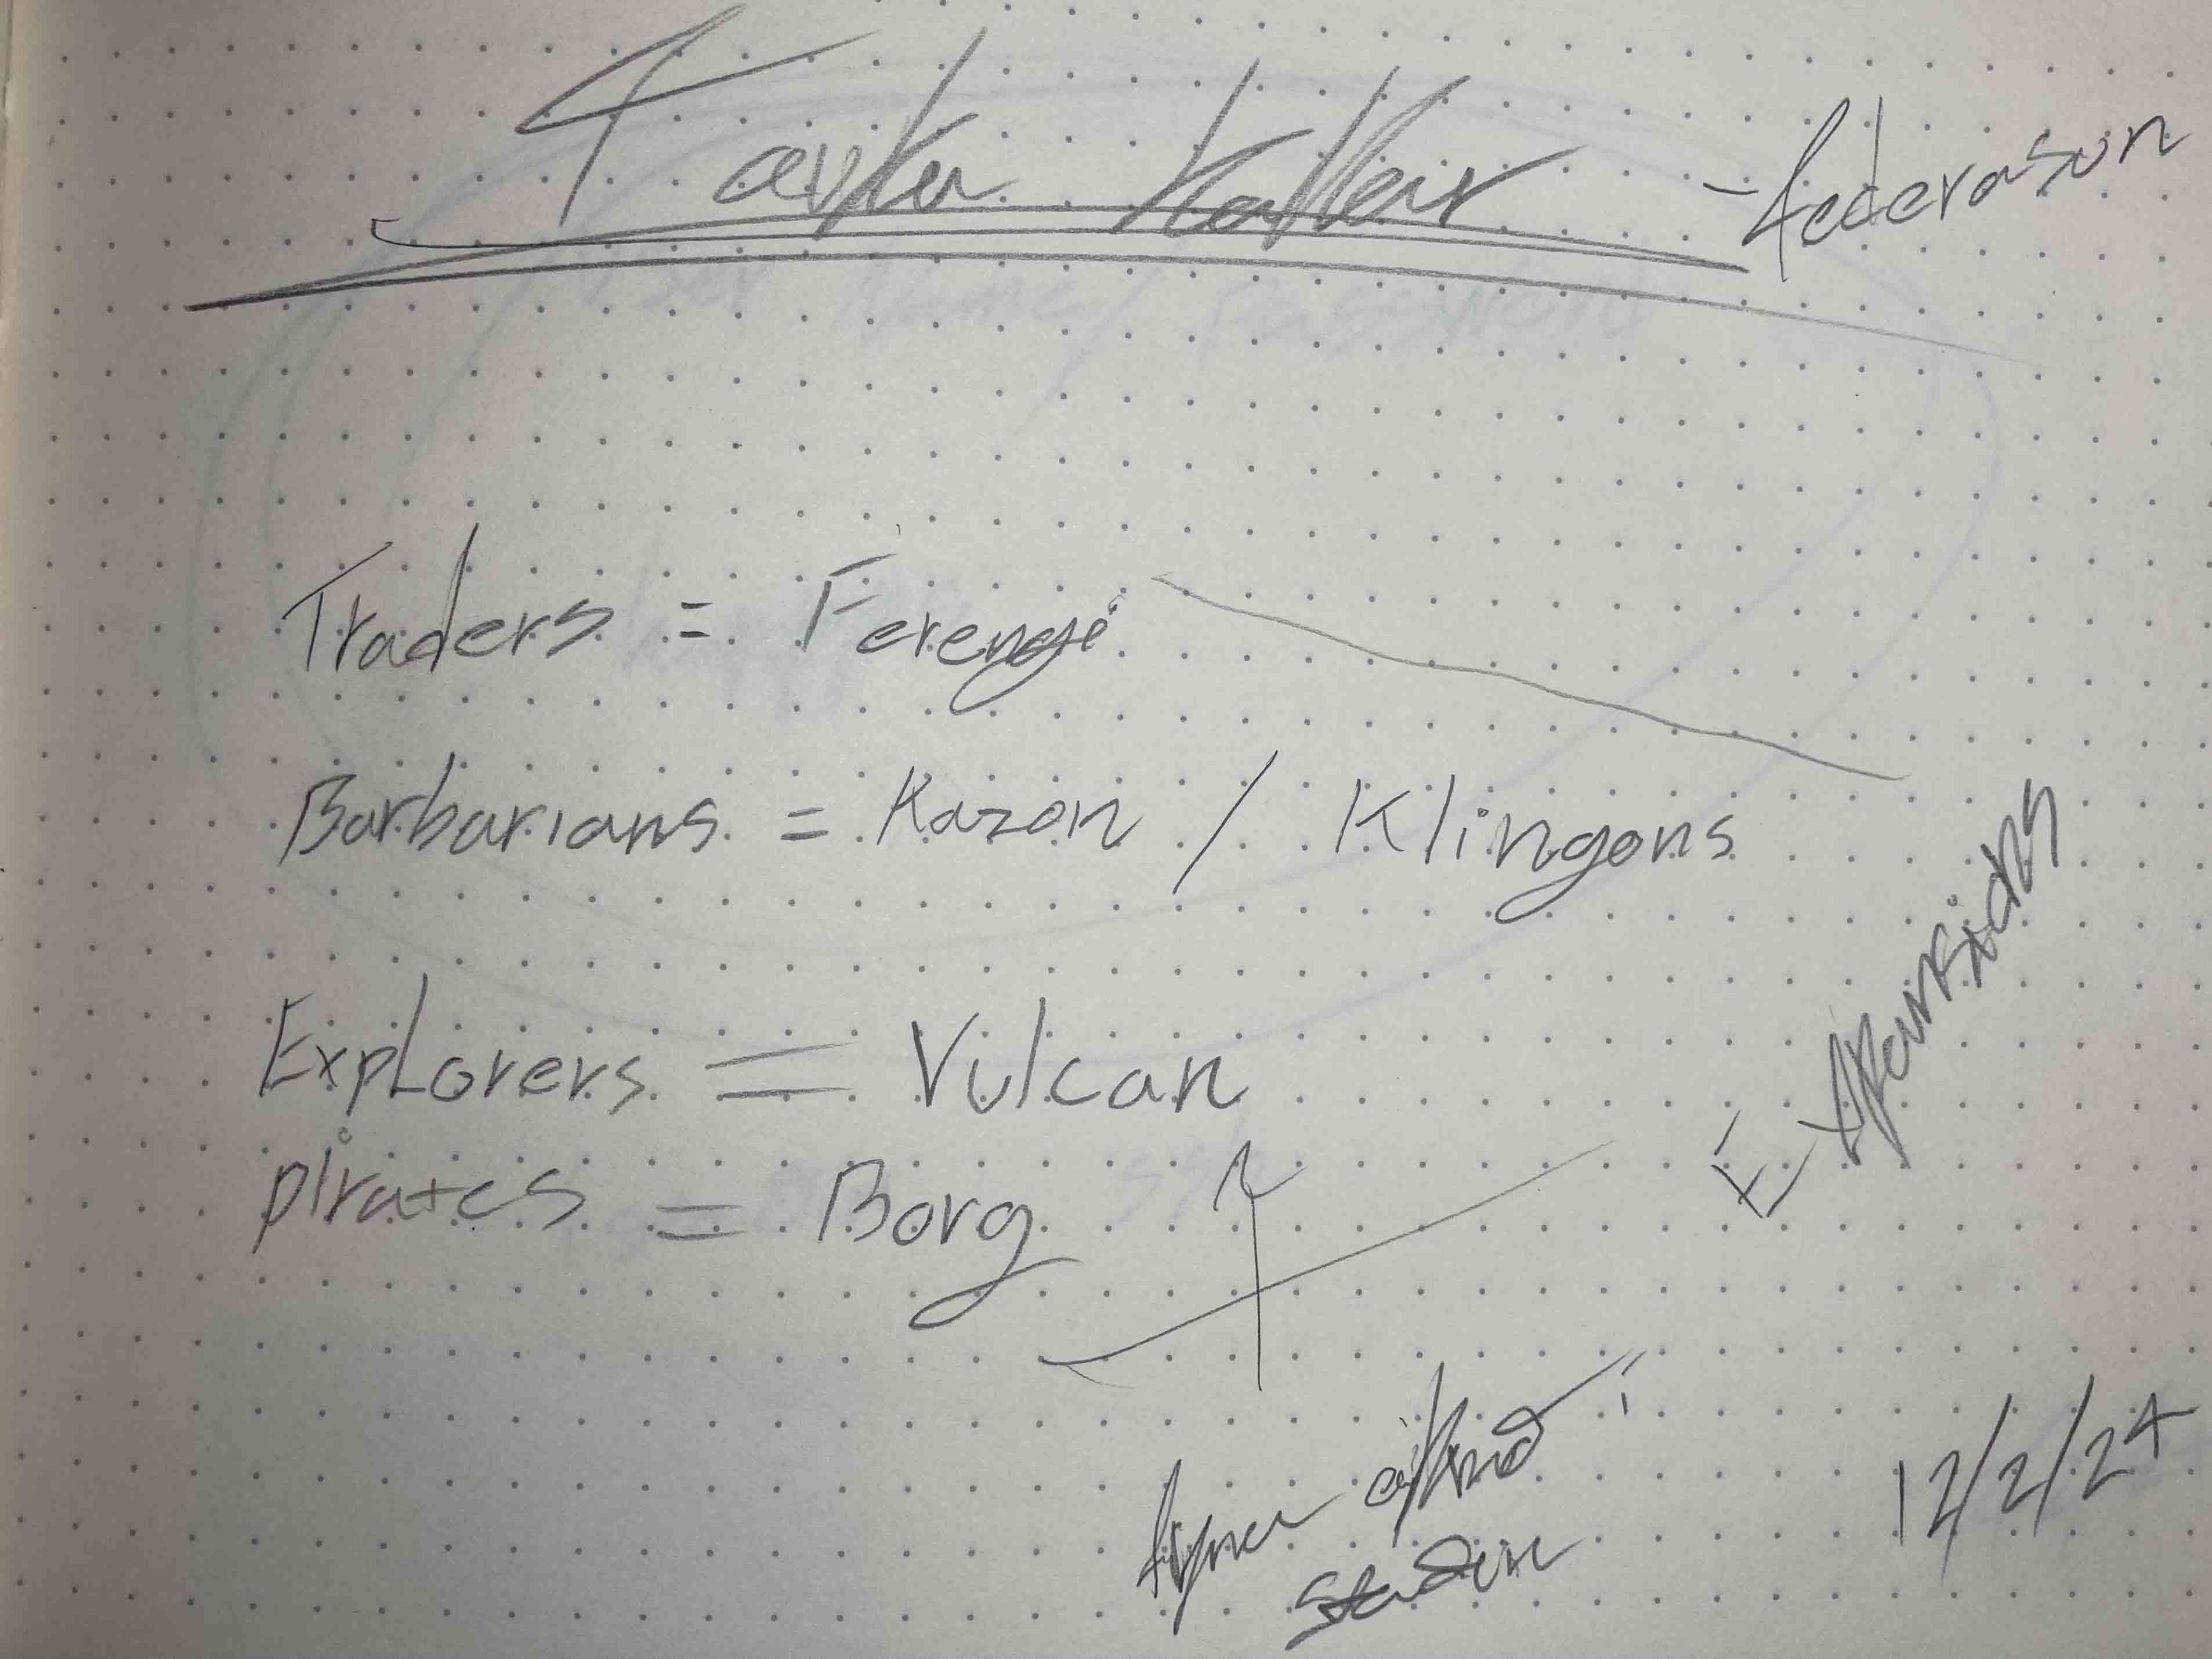
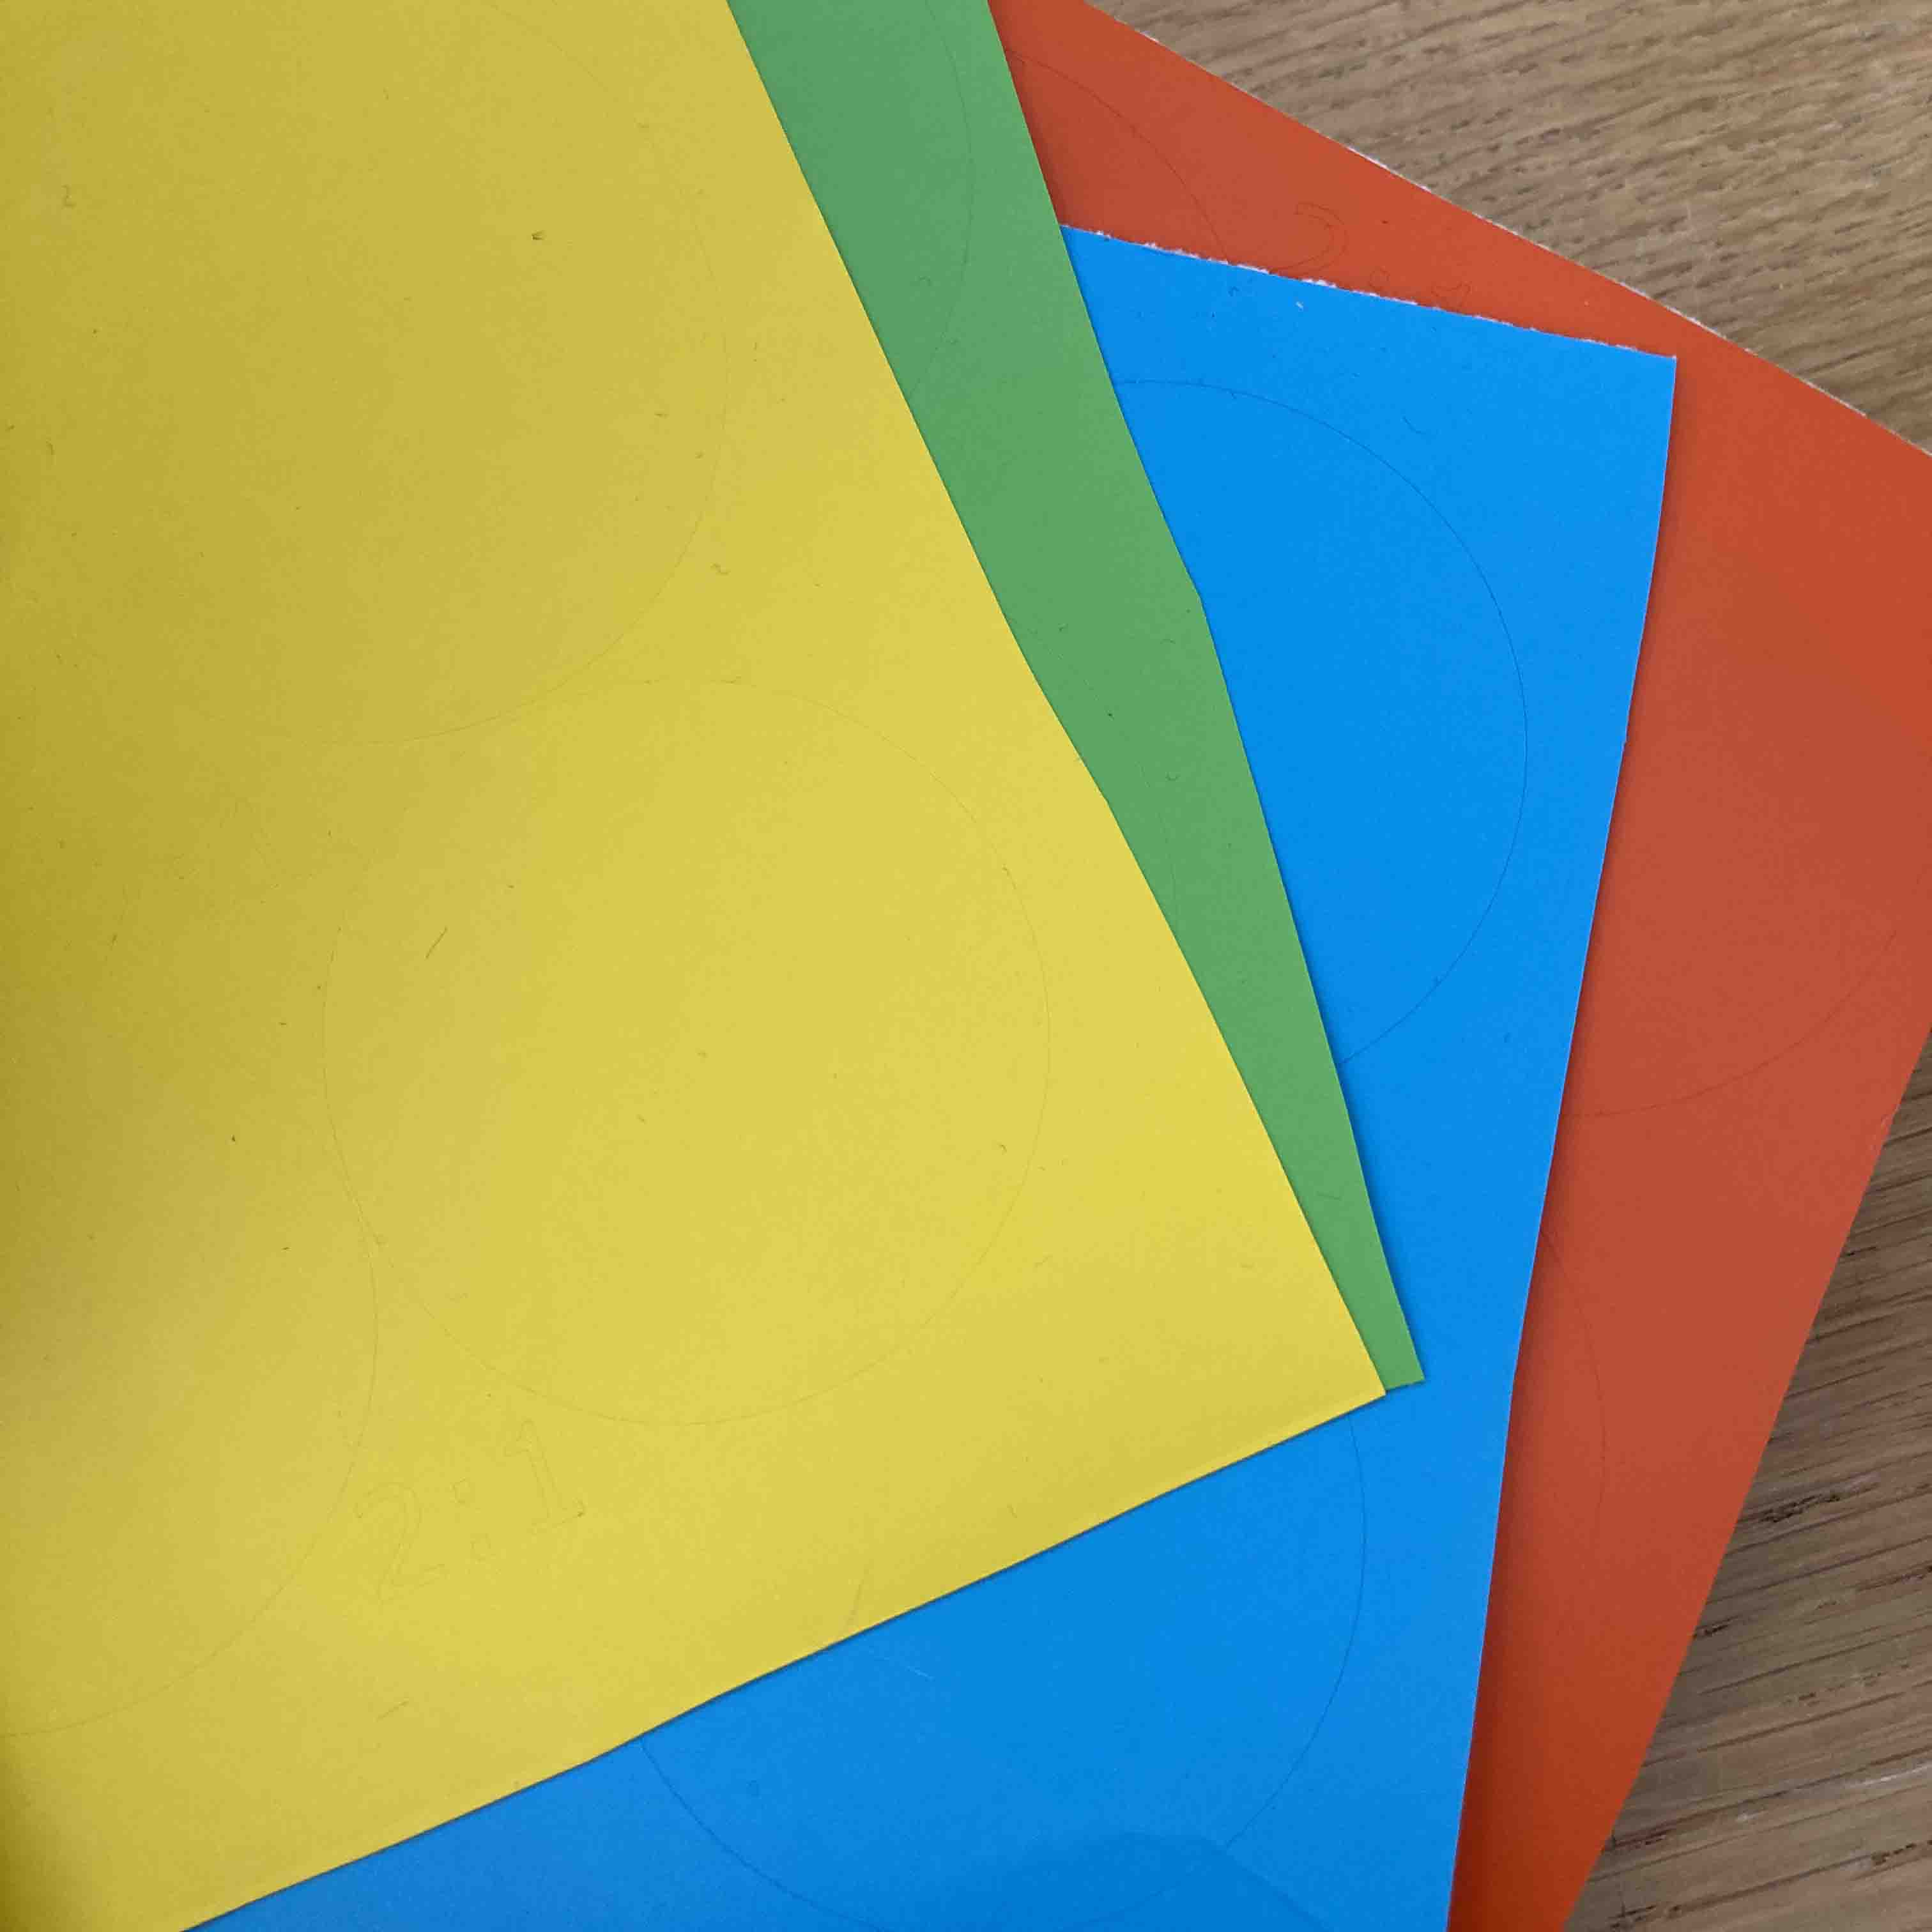
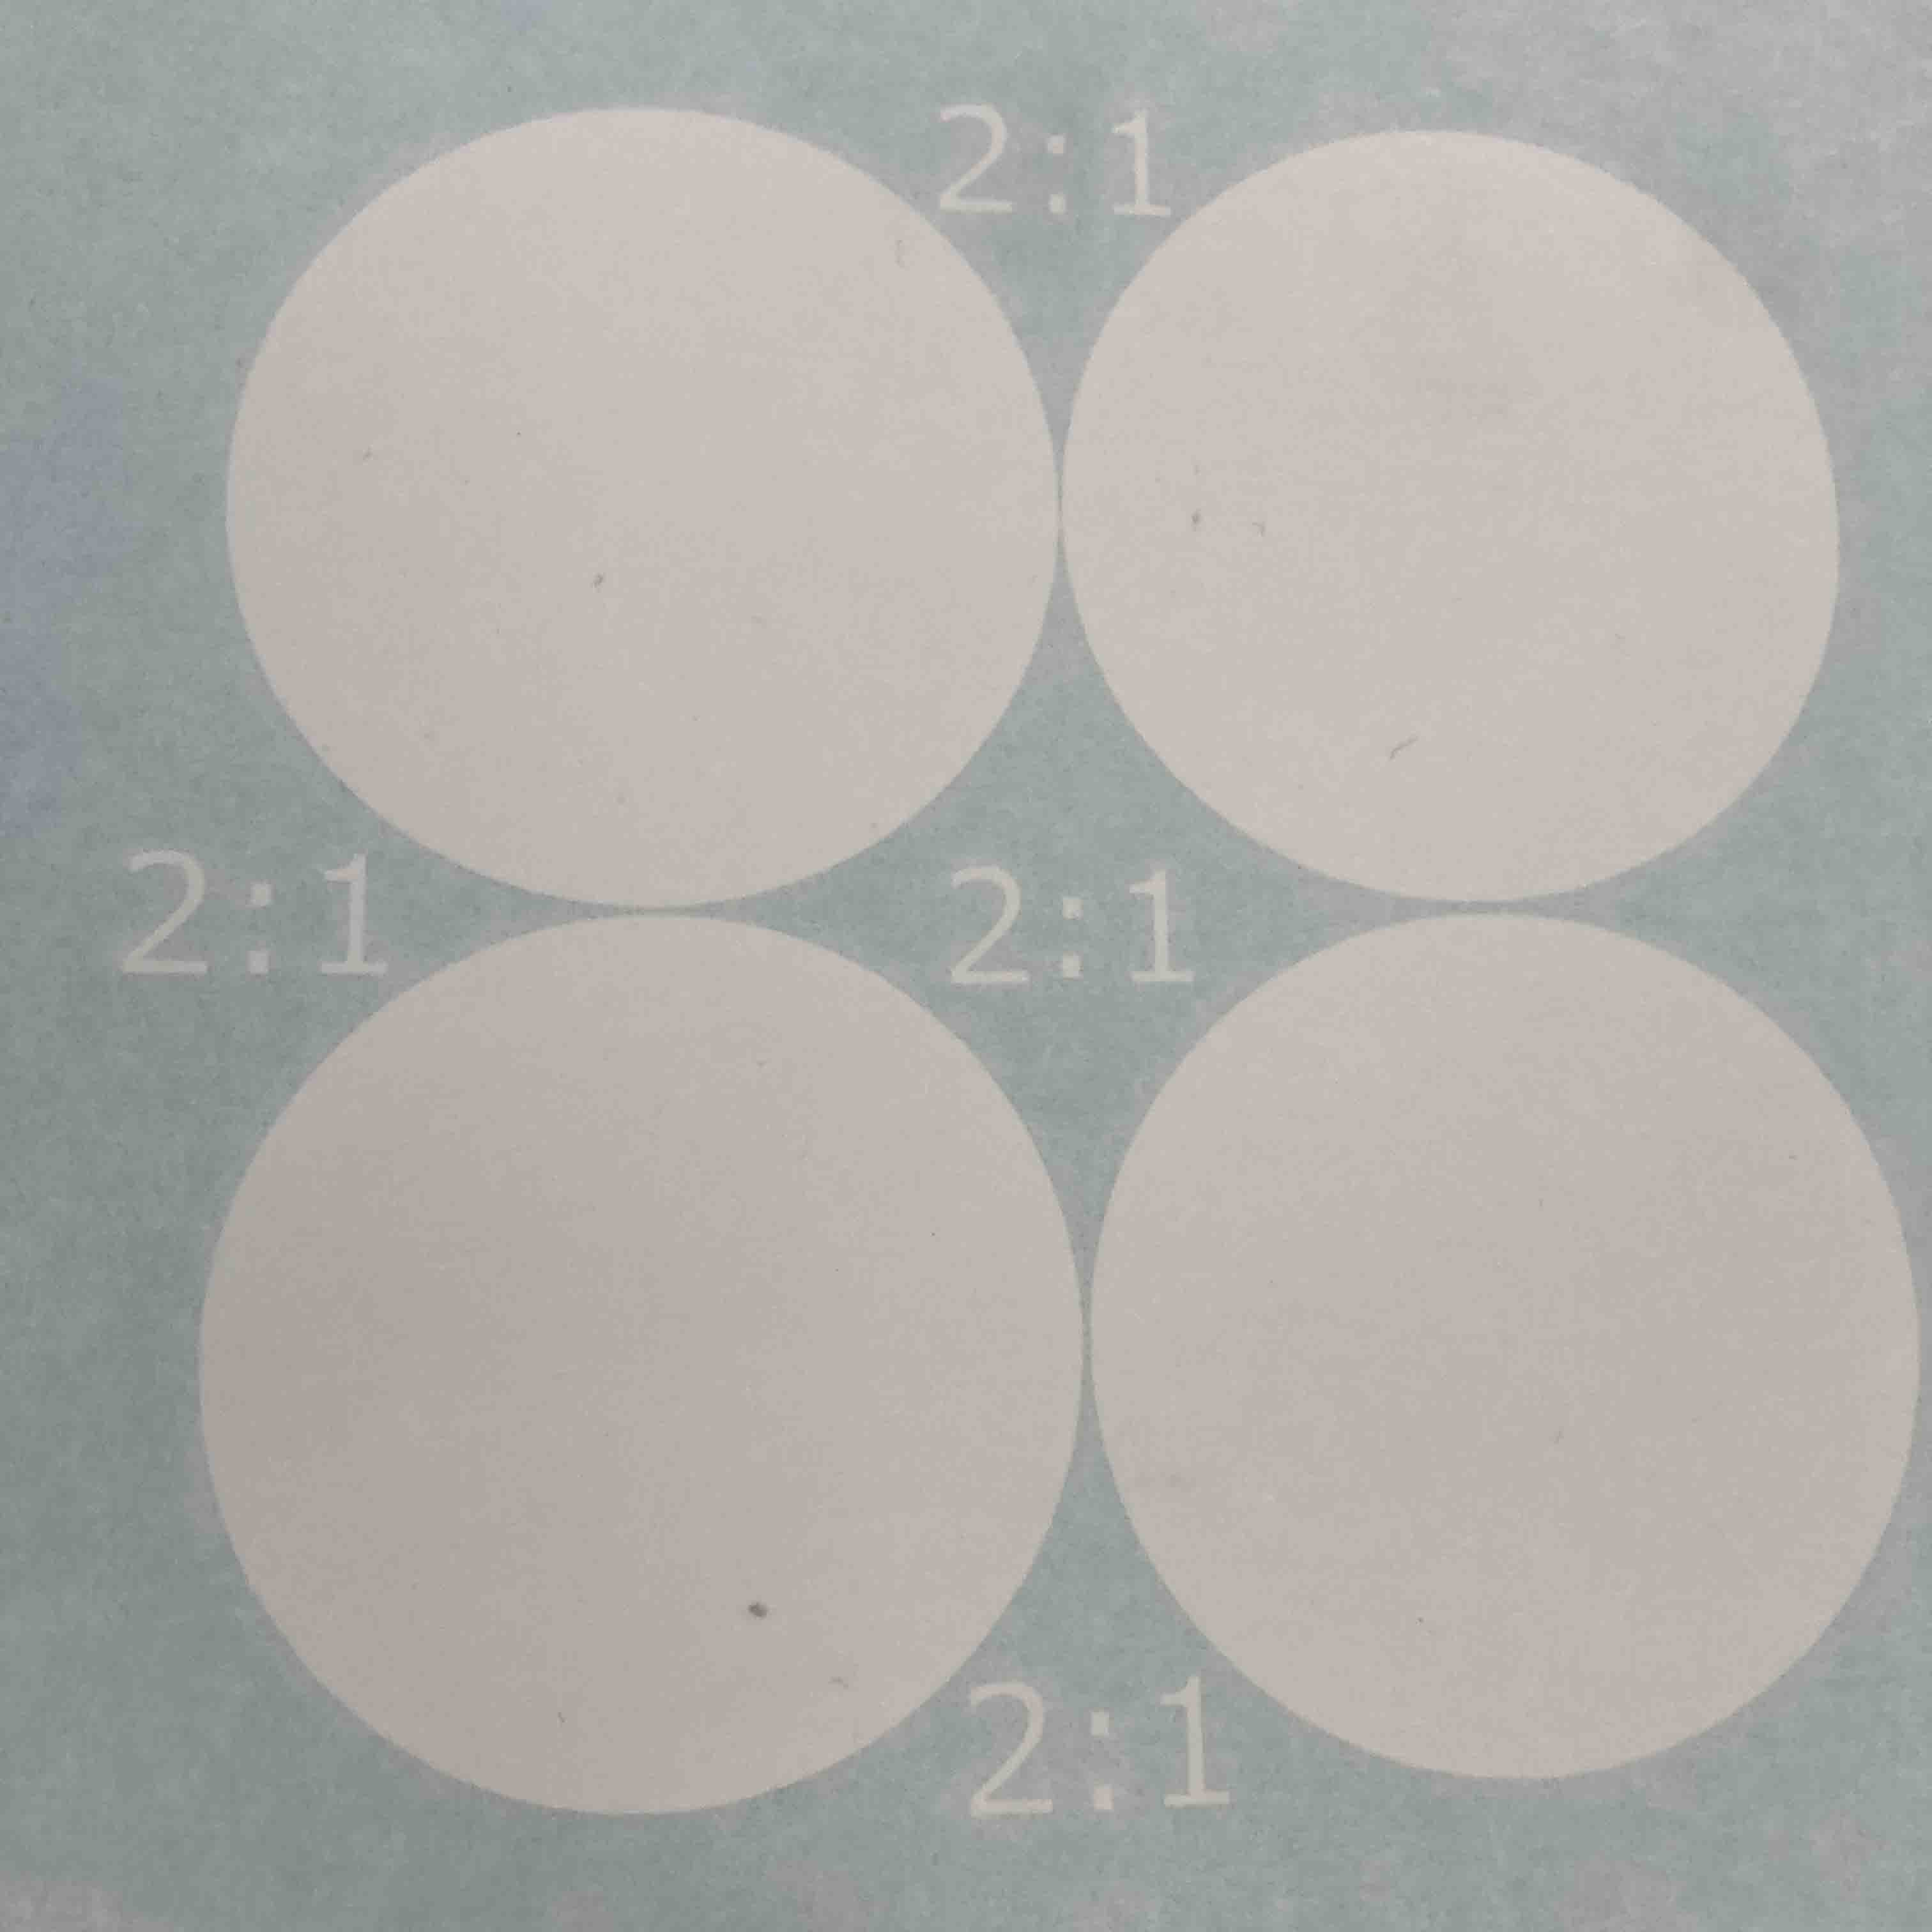
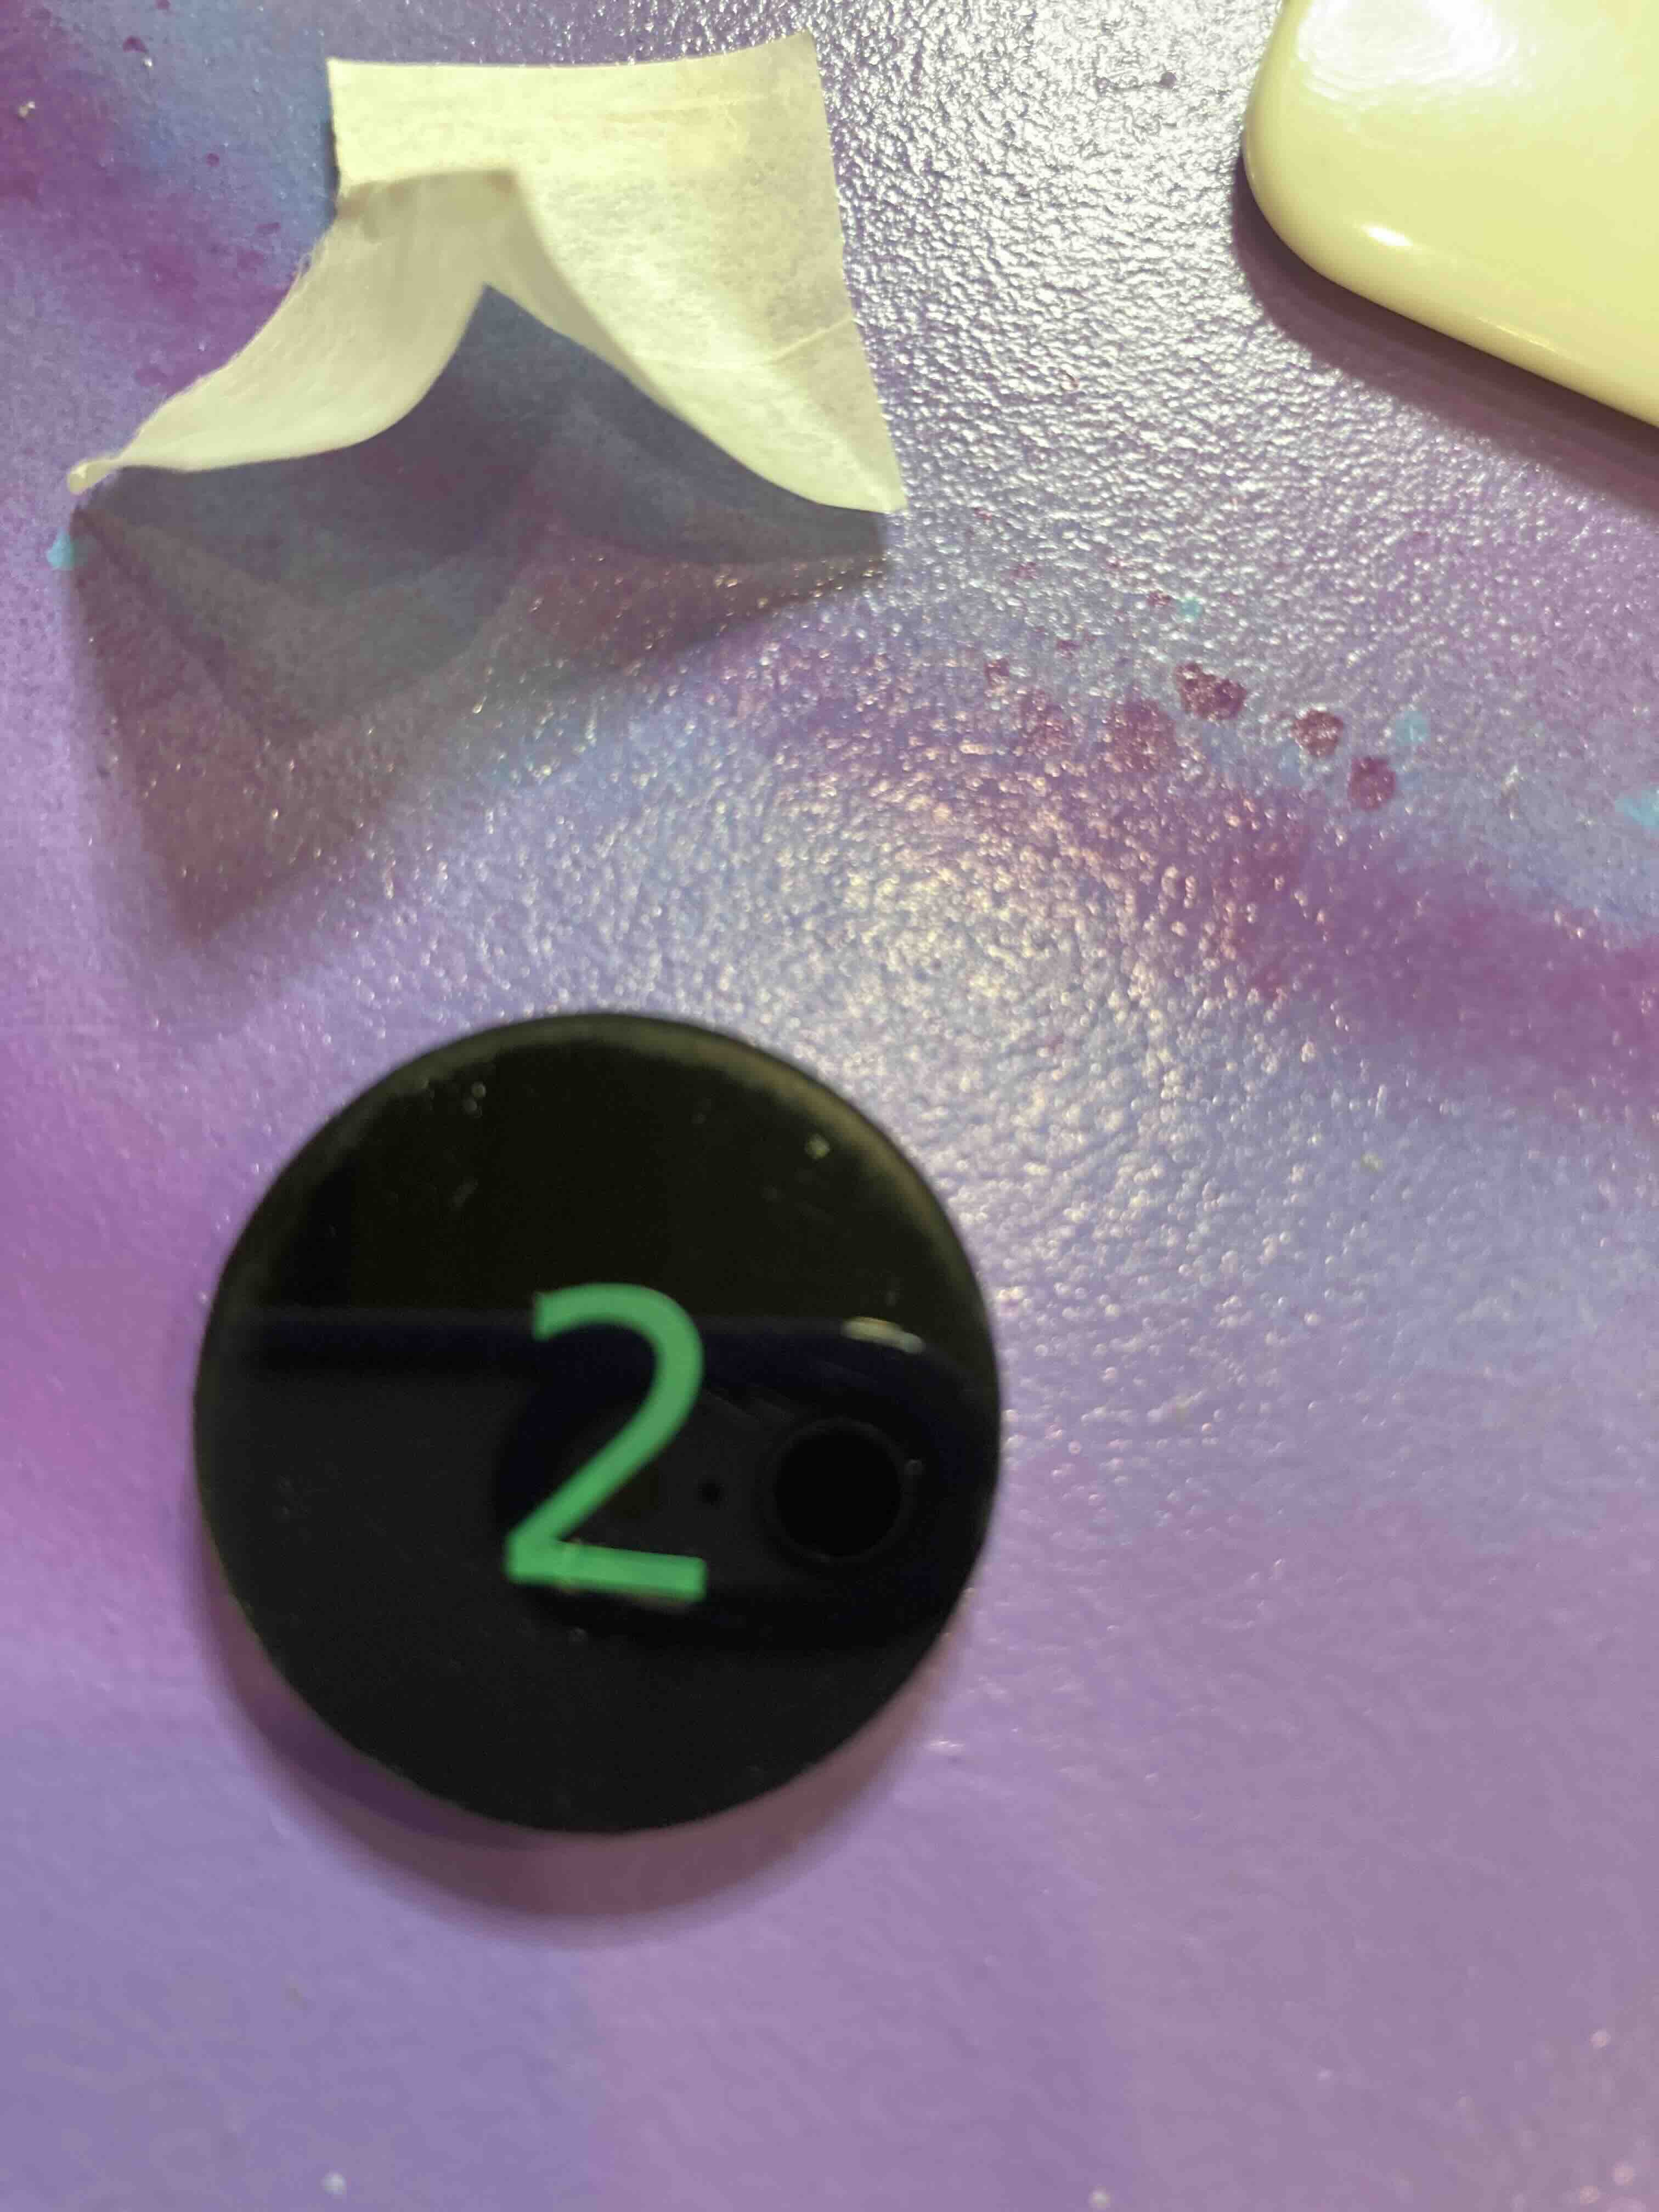
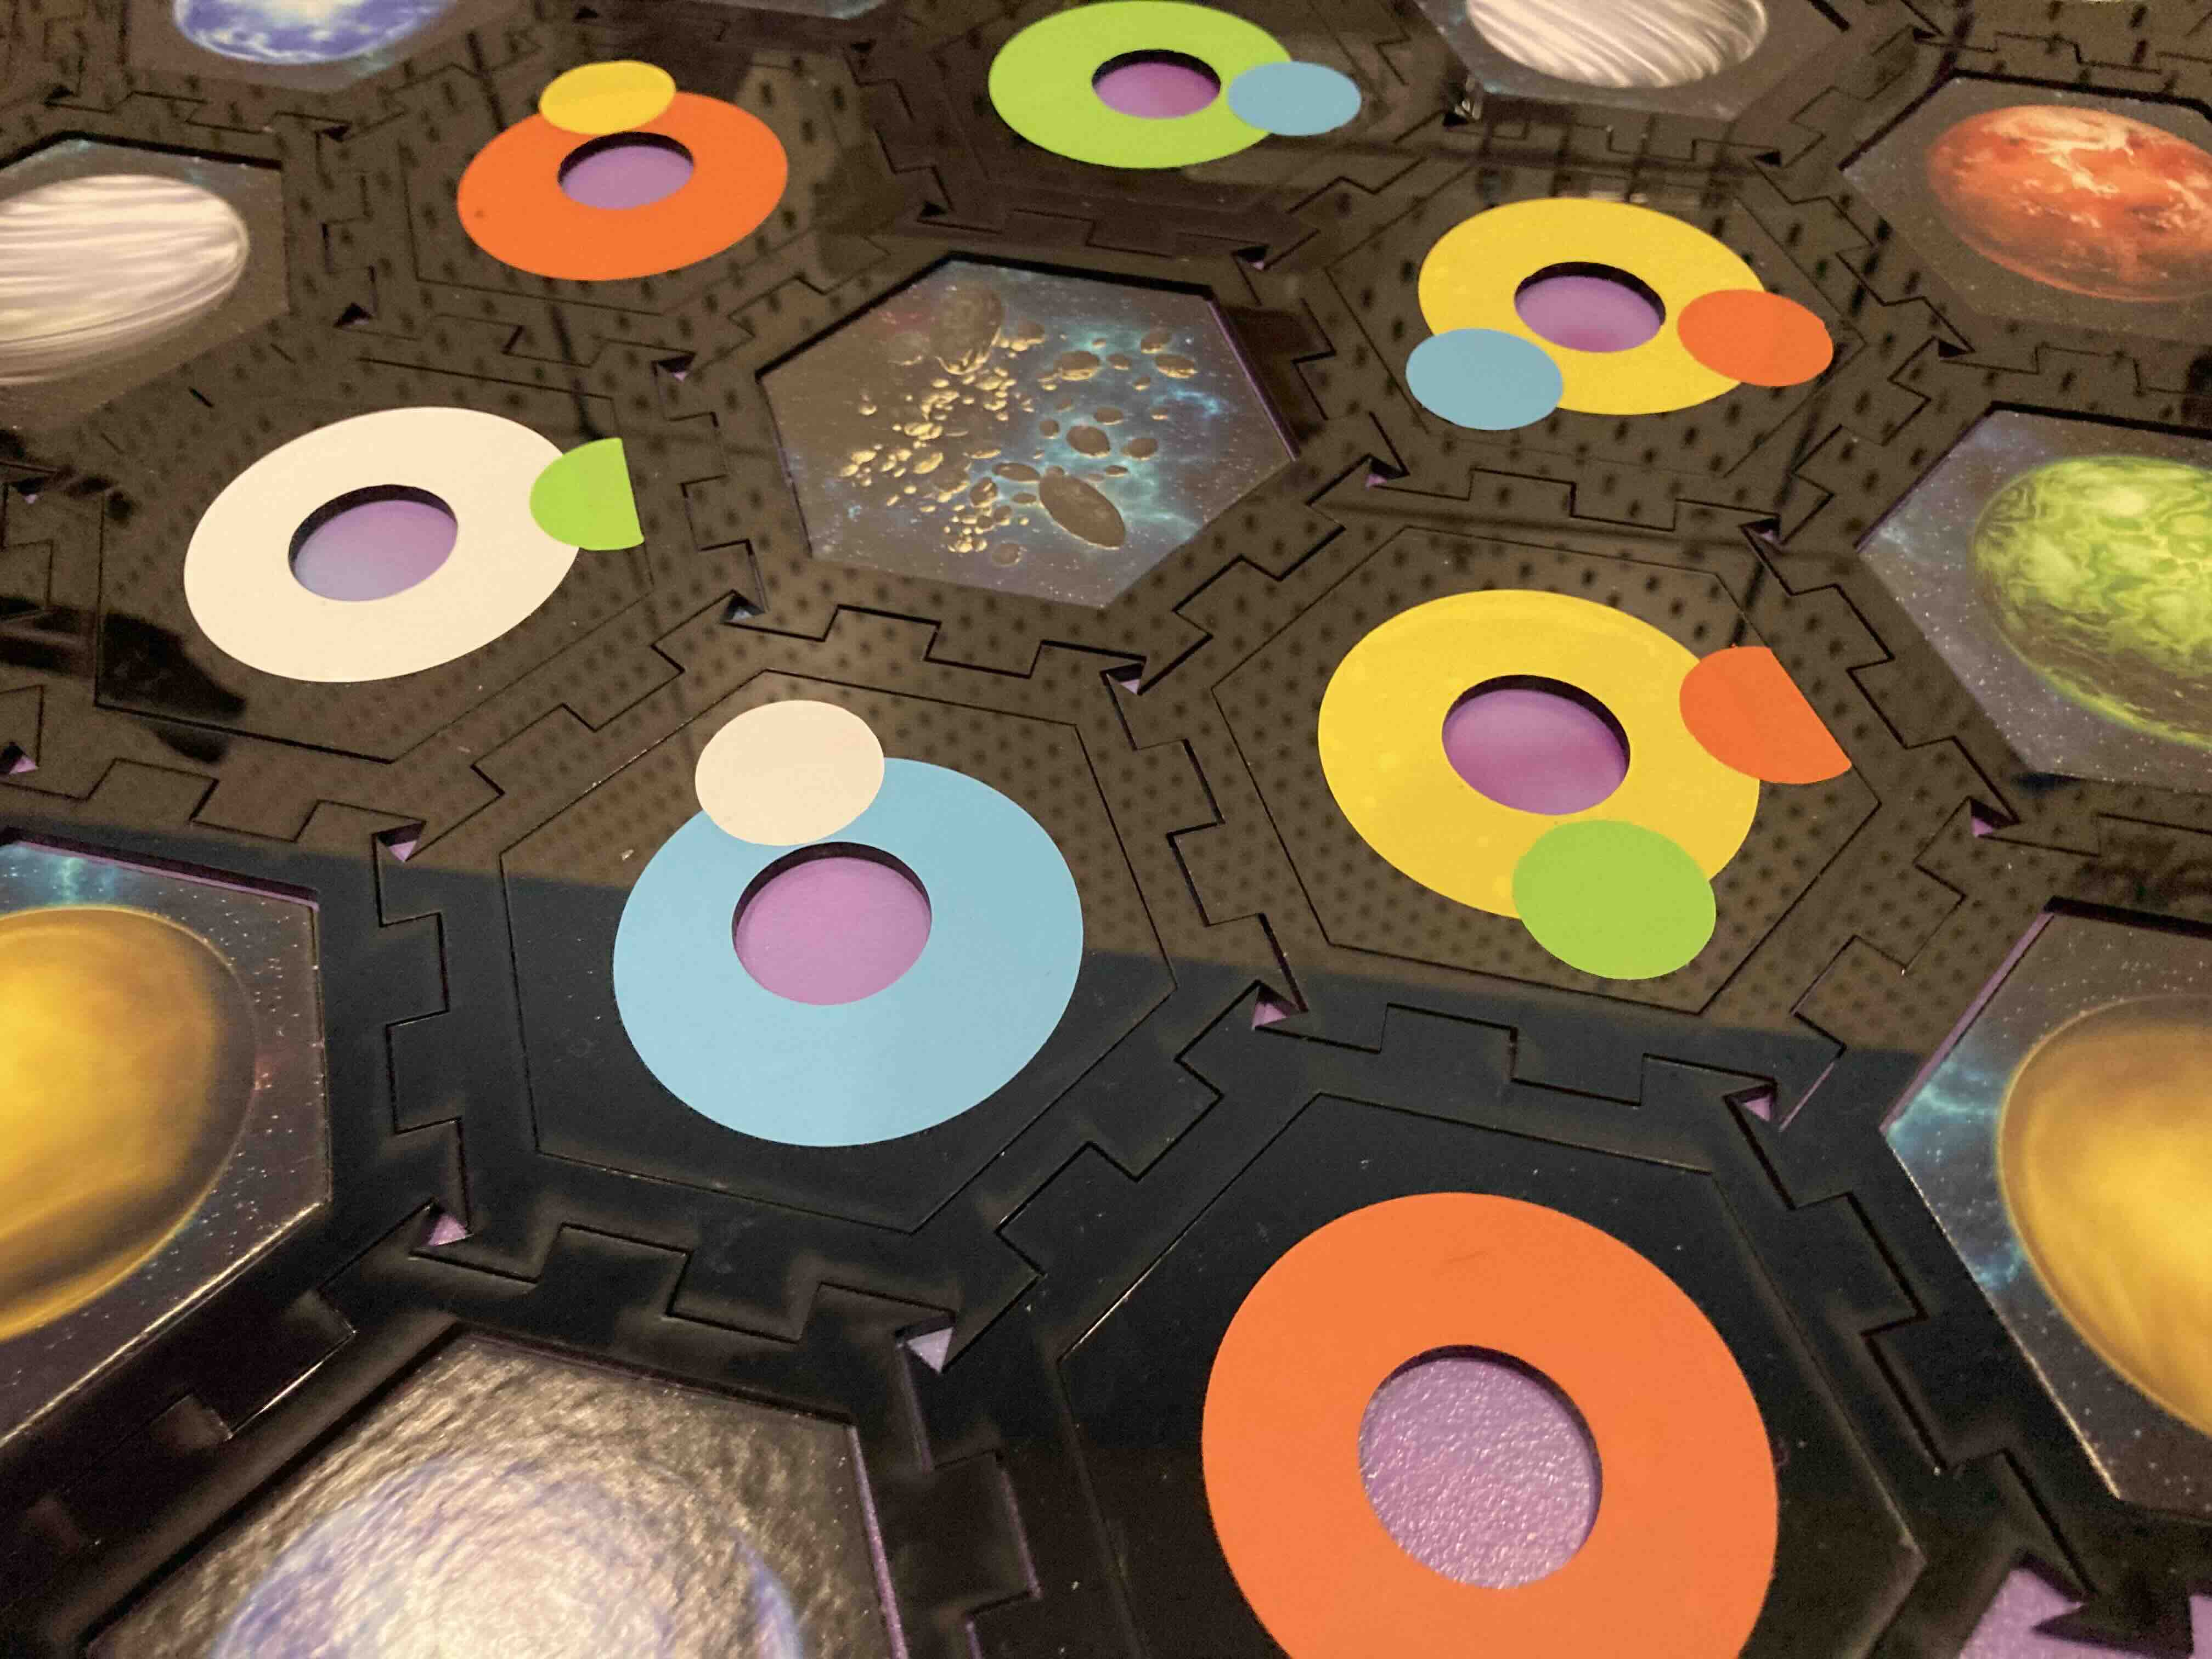
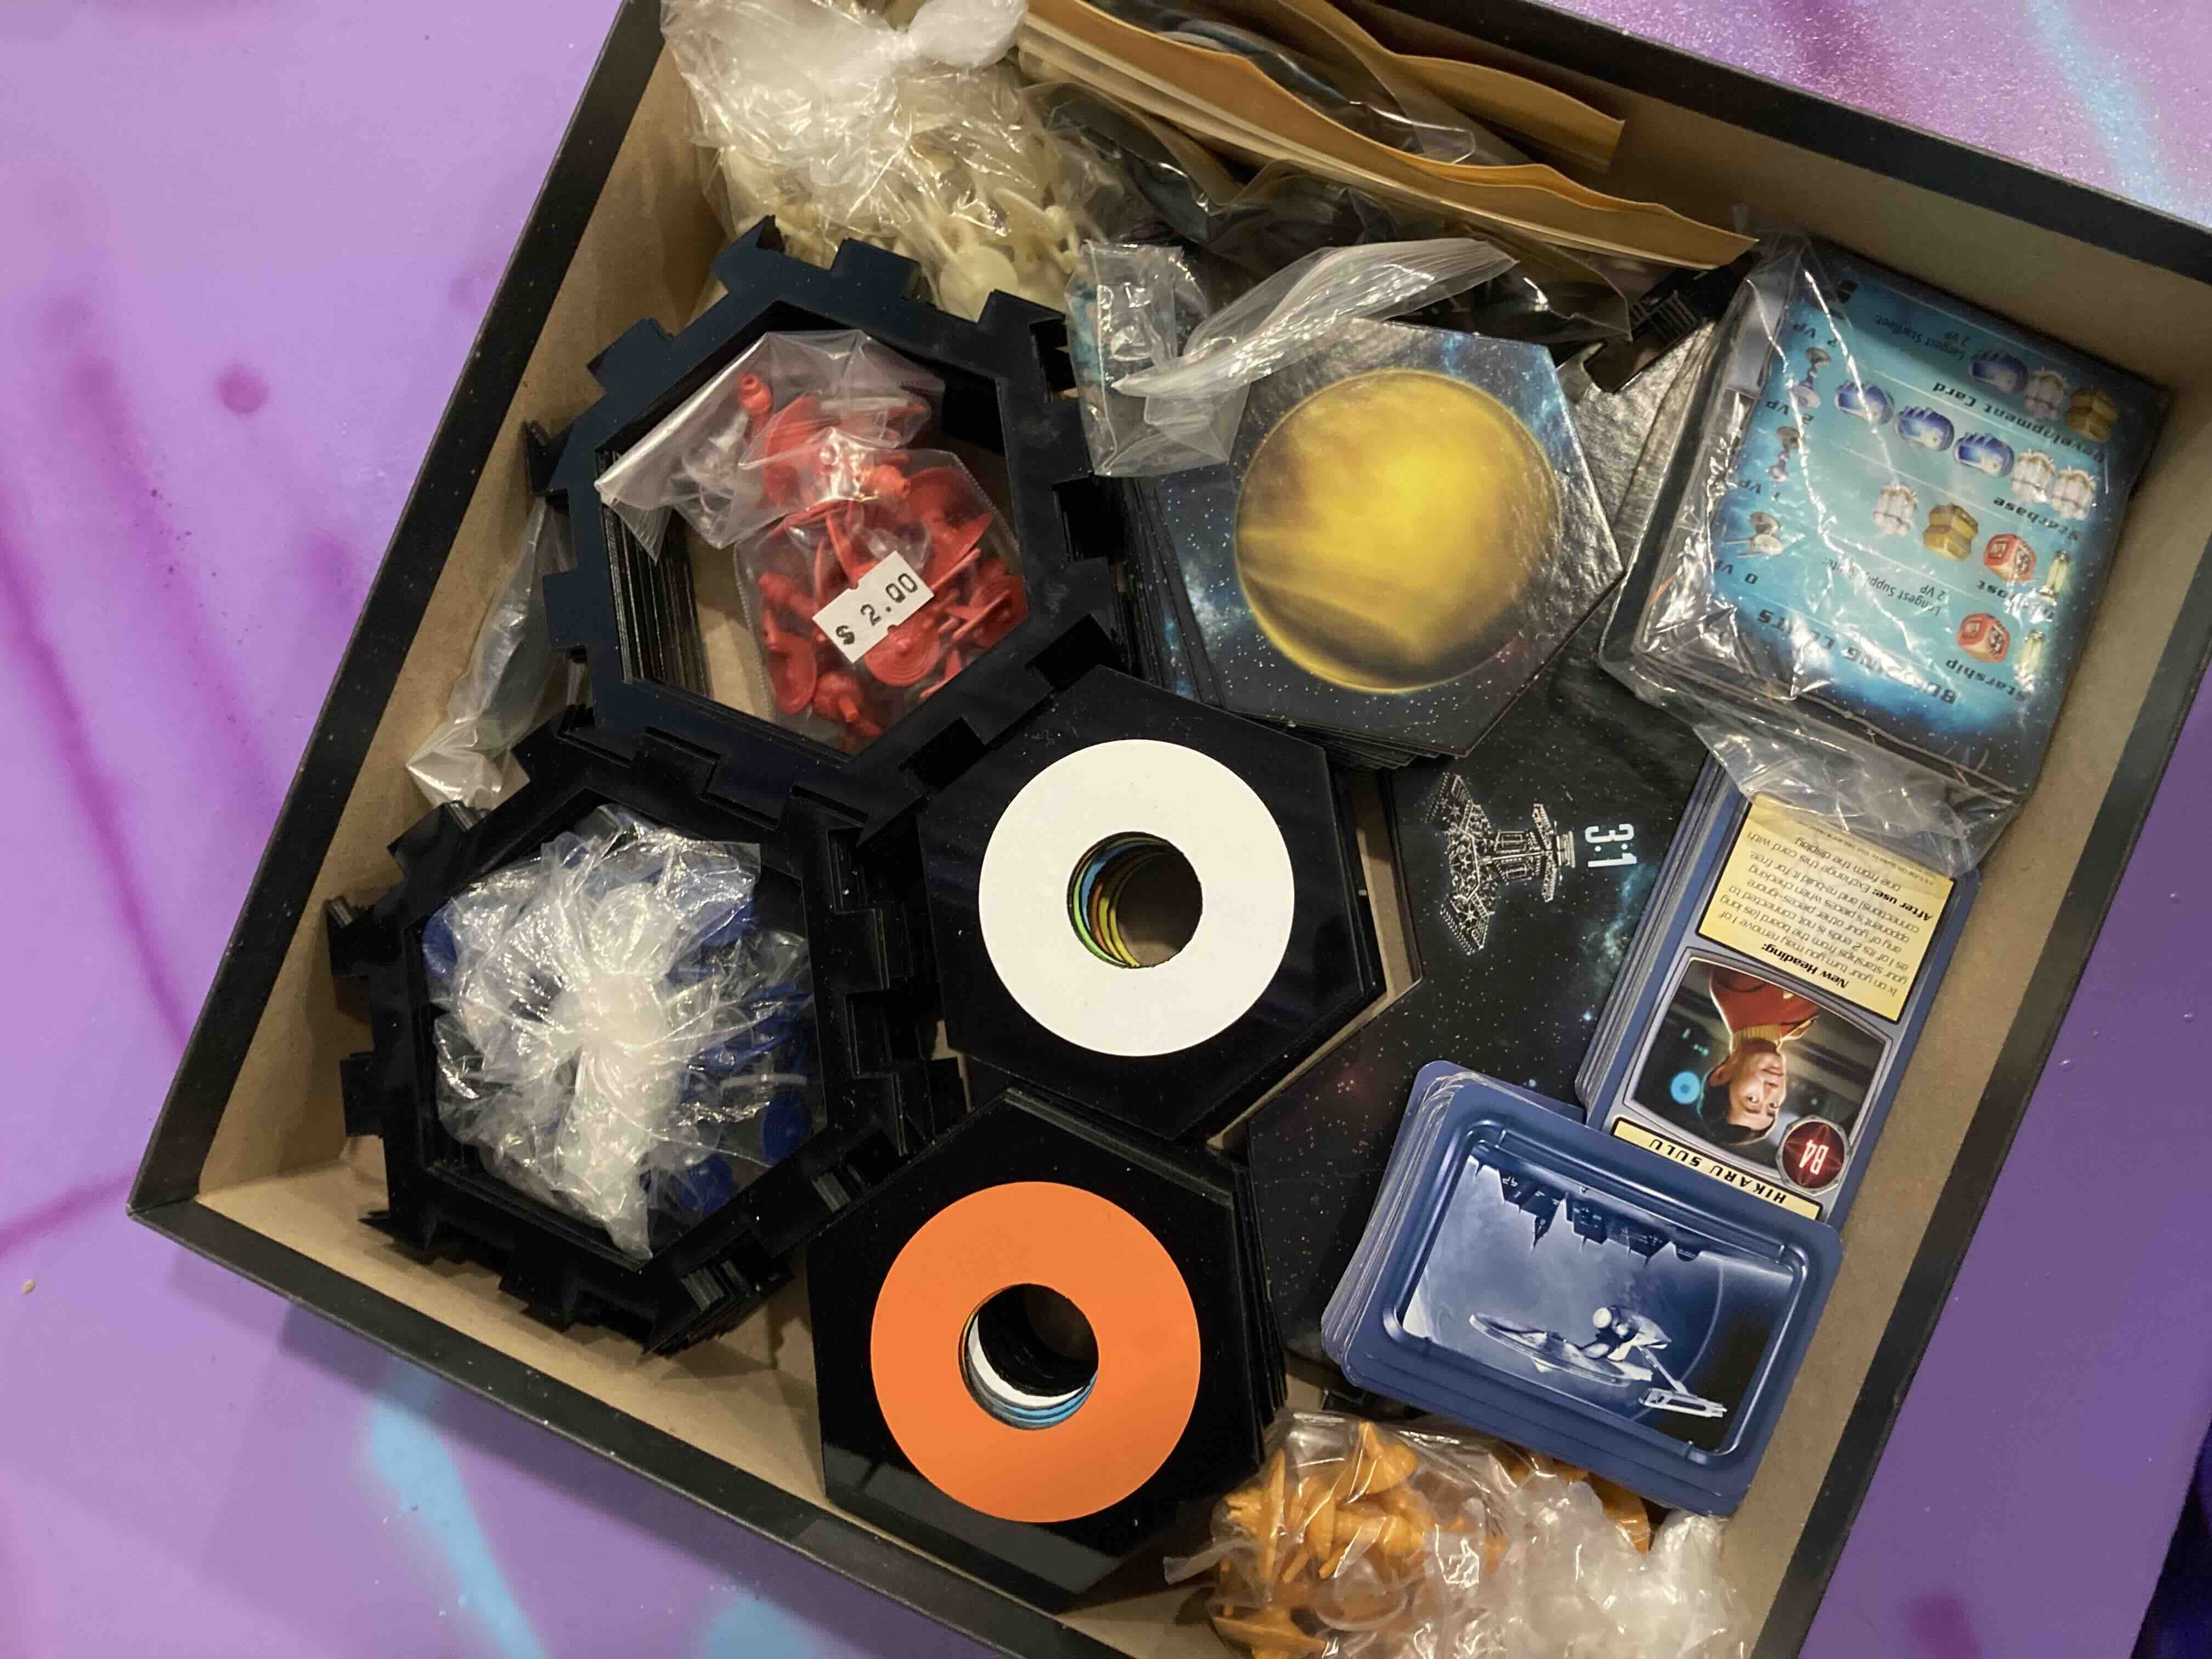
Designing the initial steps of the project. How big the pieces are and how many I needed. That includes the Plexiglass pieces and the vinil markings for the pieces.
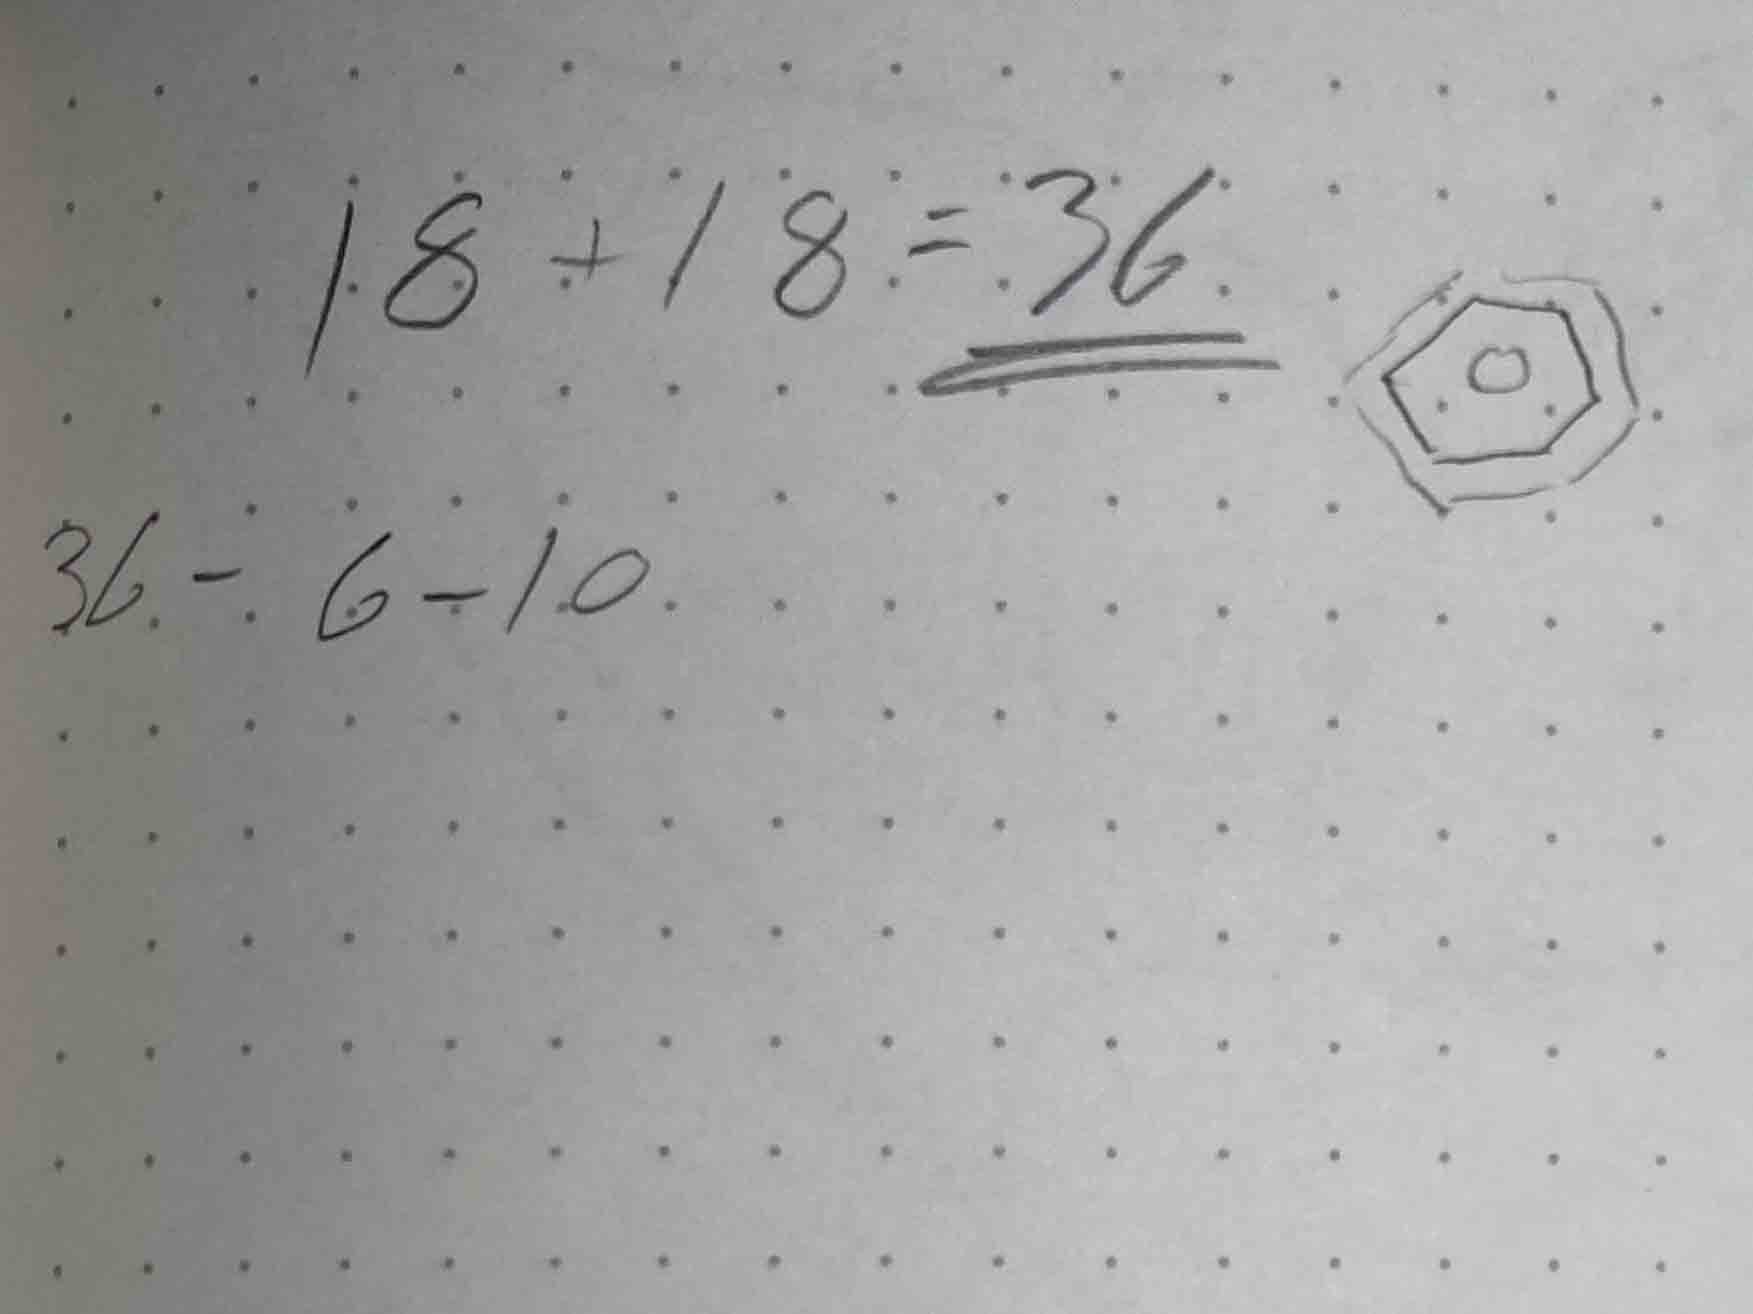
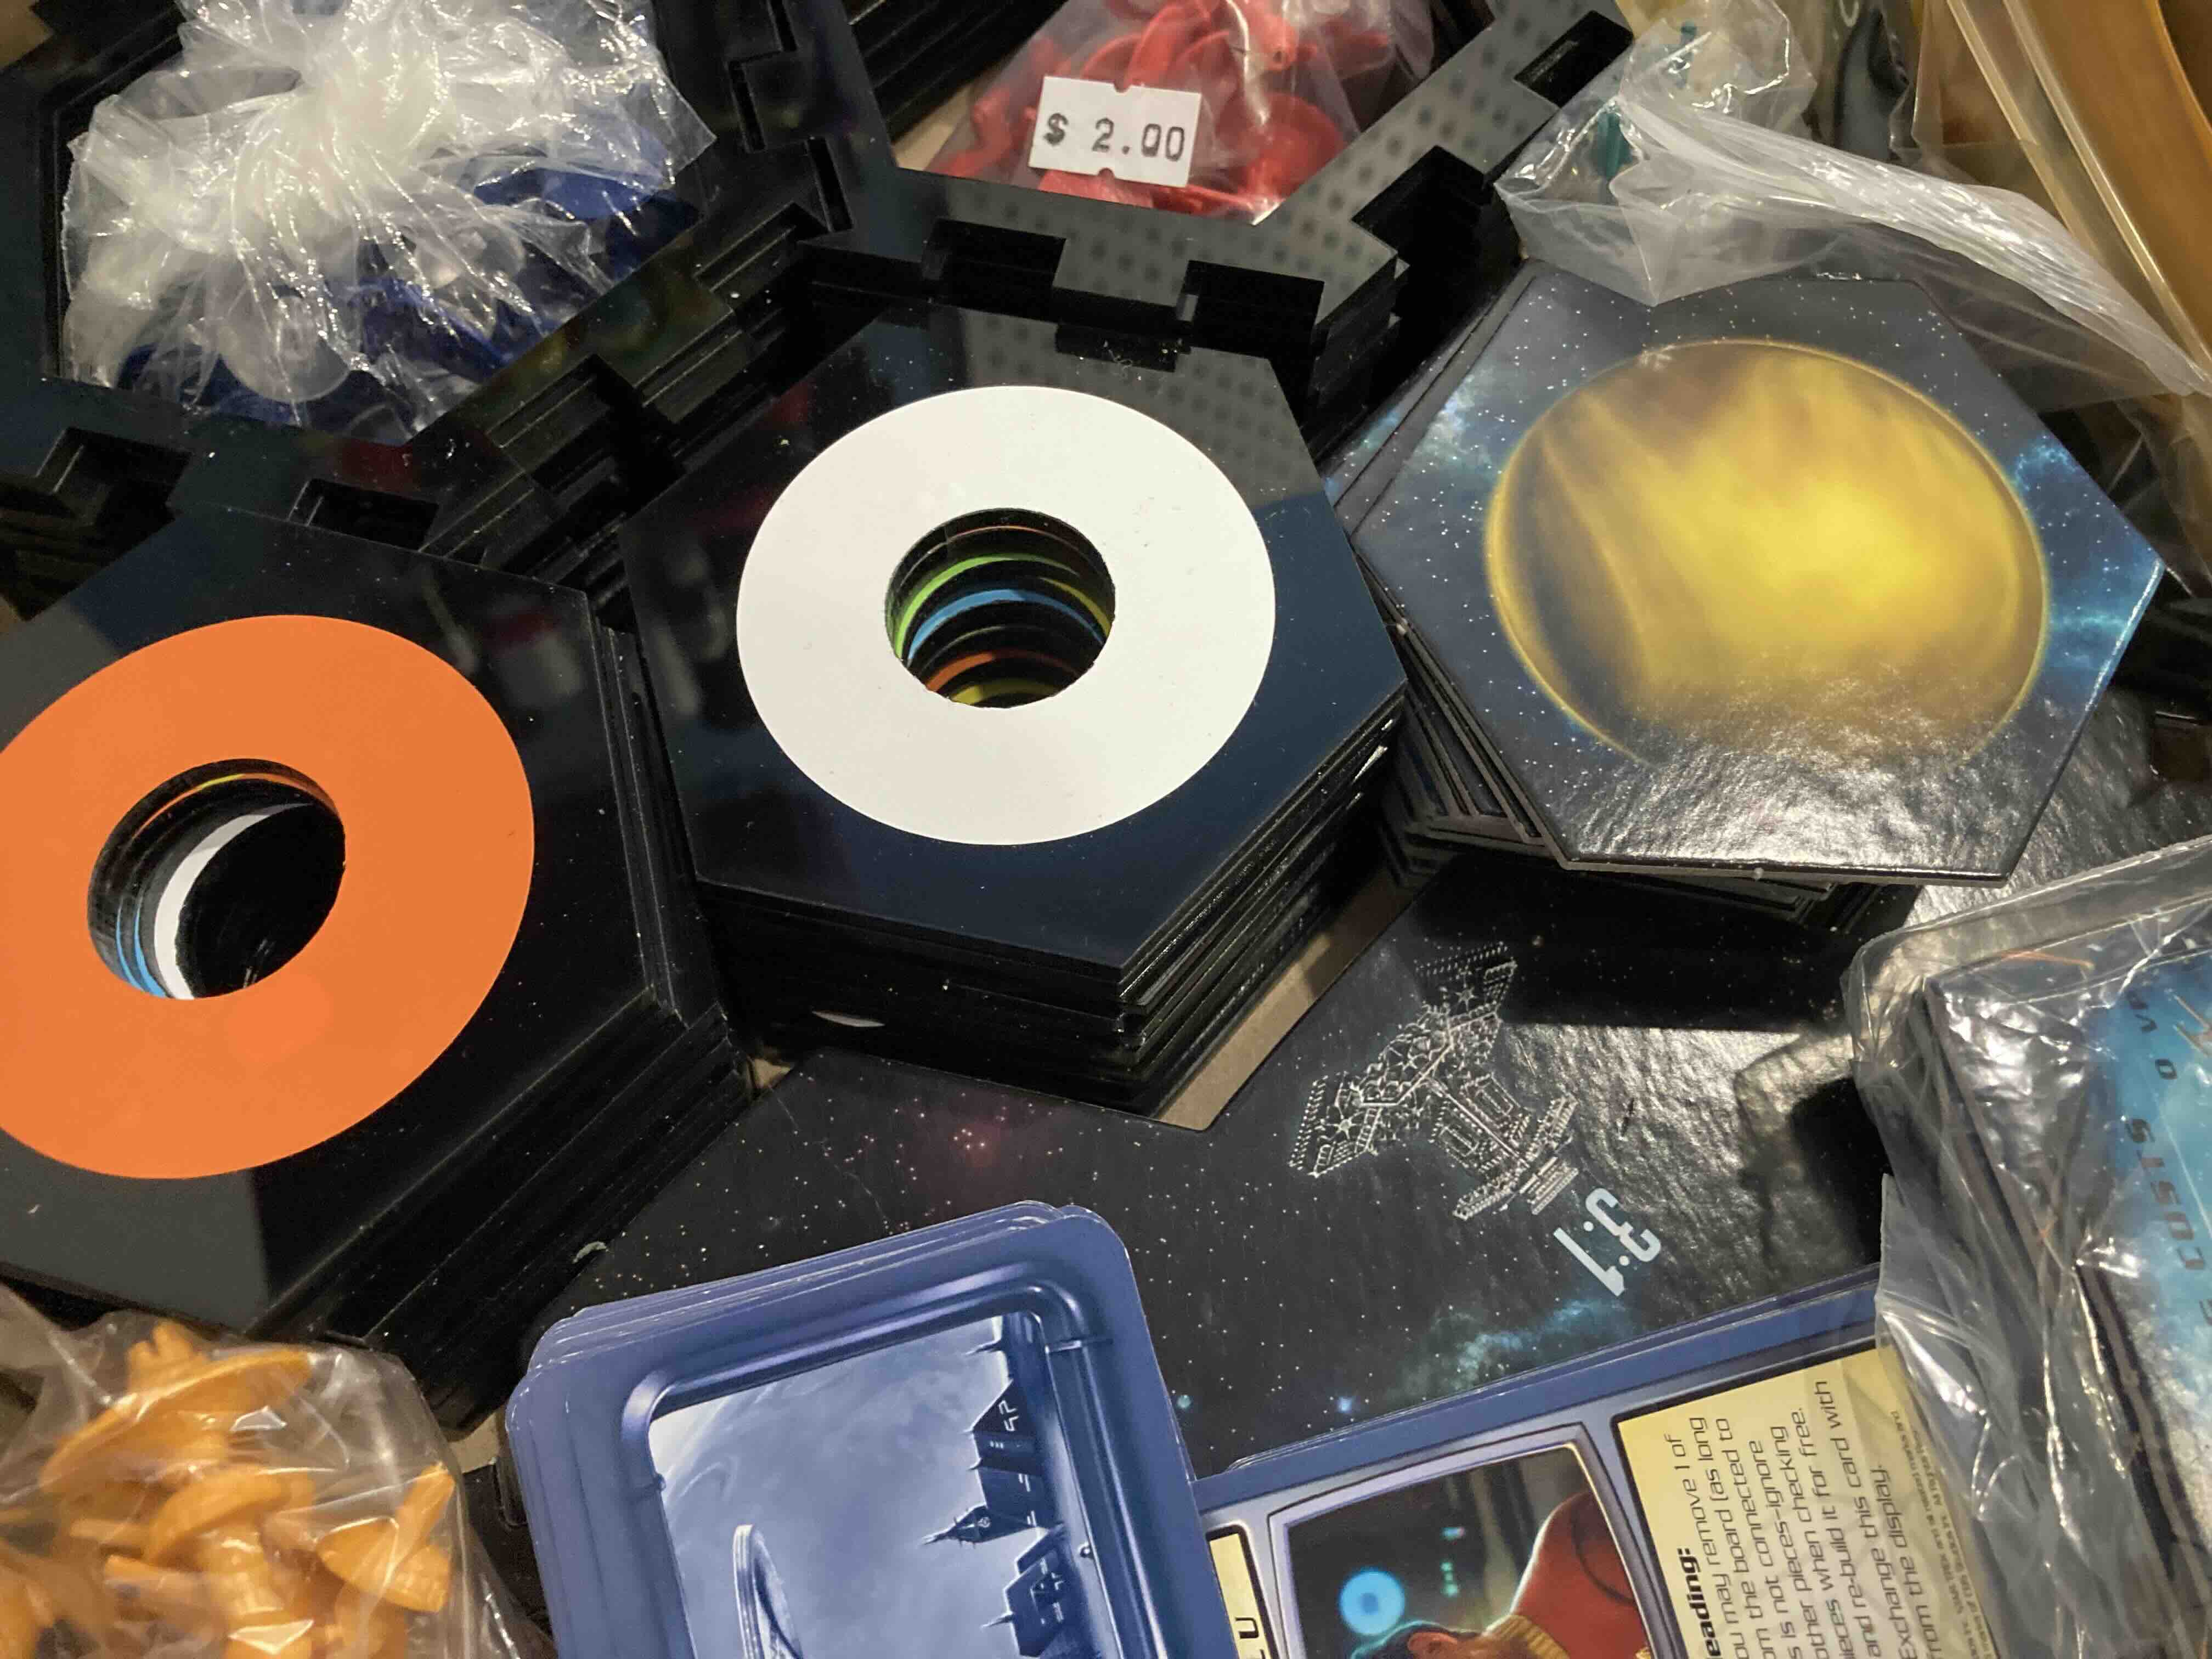
Pic one: An inventory of what was in the box and I wanted to add two to each color. 4 extra edge pieces.
Pic two: Gamepieces that I want to 3D print at a later date.
Pic three: calculating the amount of tiles in the cirlce.
VinylCutter: Catan
Idea
One of my family friends has a Catan board game. It‘s the Star Trek version and it doesn‘t really have an expansion so I decided to make one. In that version, the tiles have planets, so I decided to make vinyl stickers for the planets and and stickers for the numbers number tiles.
Vinyl sticker numbers: Inkscape
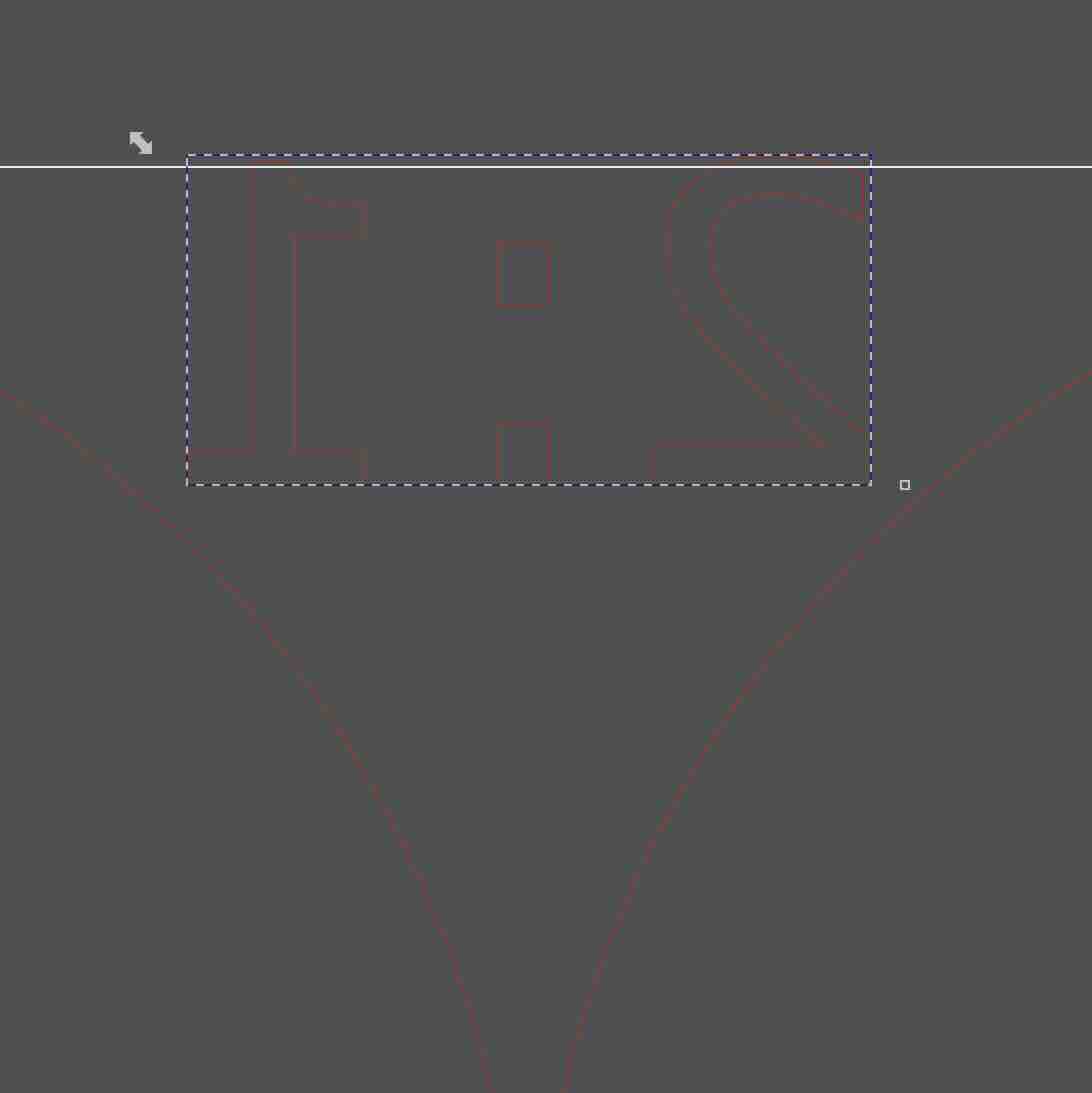
I opened Inkscape and press on text and Font to create the vinyl stickers numbers (2,3,4,5,6,8,9,10,11,12)(2:1)(3:1). Then I press on that circle to create a form to see how large the numbers should be. I made the circle that will be used for the planet (I accidentally Flip horizontally the numbers as if I was gonna put them for a textile vinyl). I made sure that Fill and stroke, I made sure the Fill was off and Stroke was RGB, R was set to 255 G, was set to 0, B was set to 0. And Stroke style set to width 0,02 mm. I saved image as PDF.
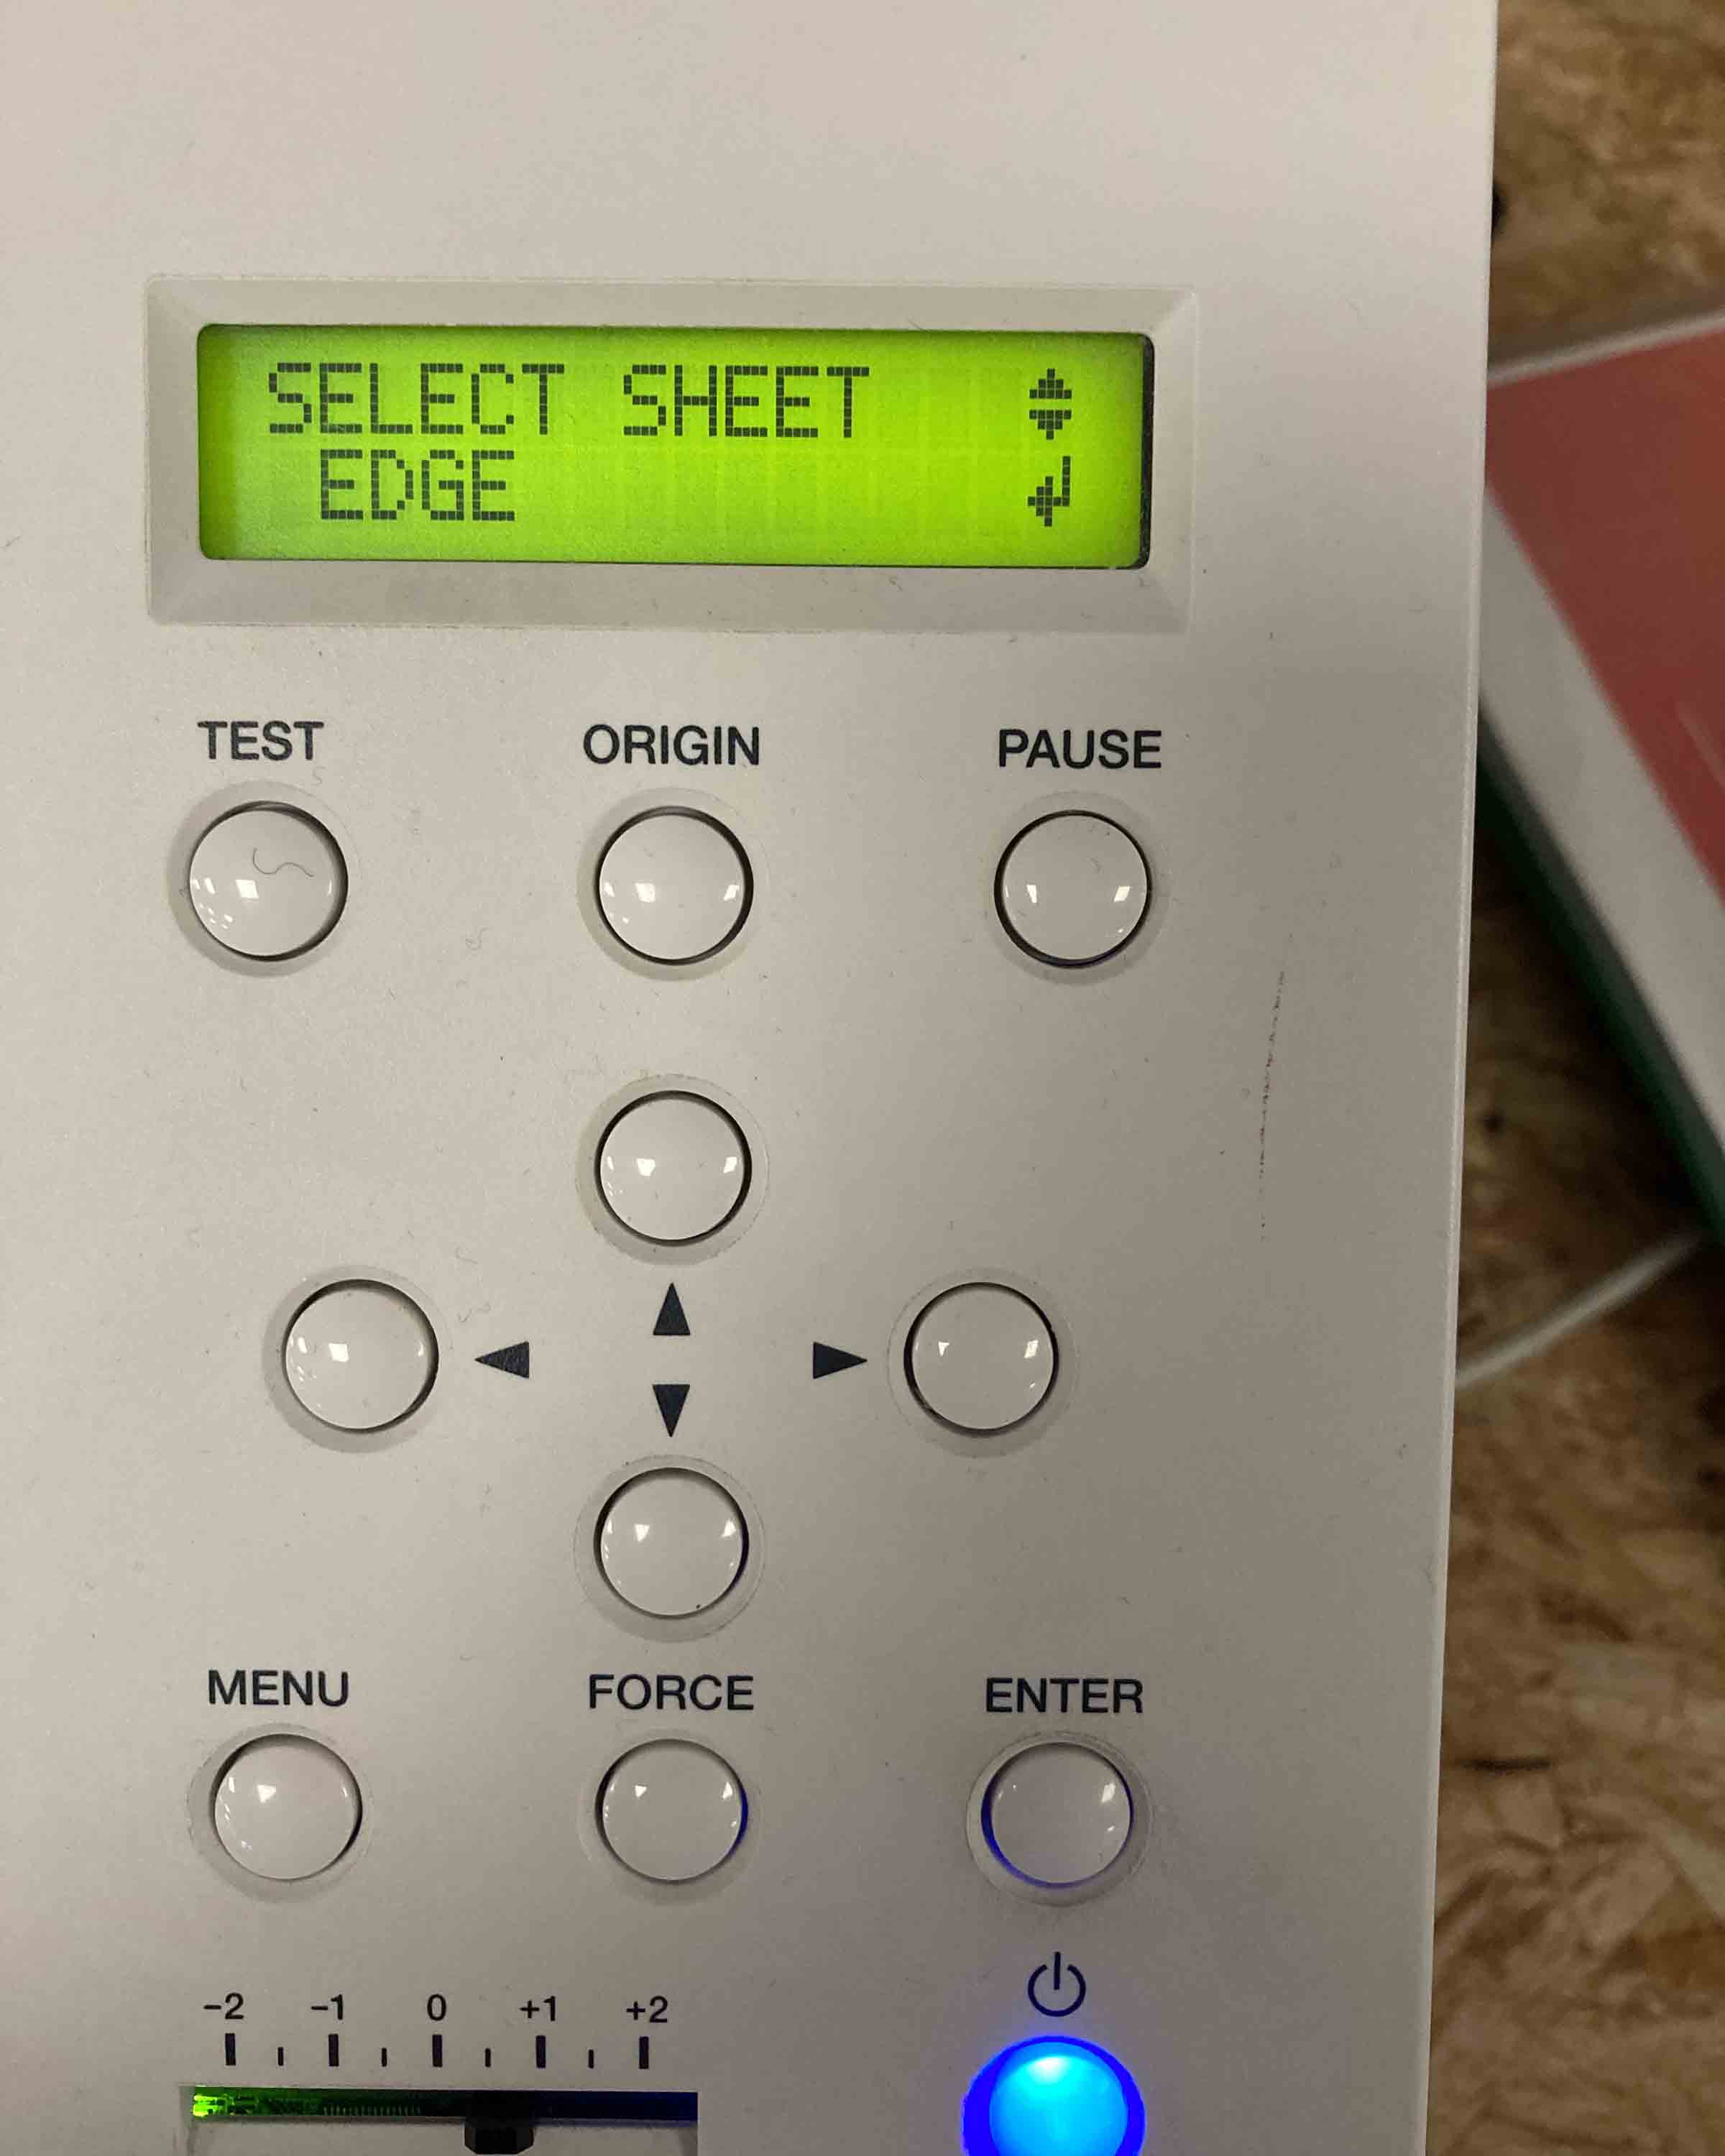
I desided since the vinyl pieces were rather small to use scraps. If you do that you have to measure the size of the pices and set the Roland piece to be able to put in the size of the vinyl scrap you are using. I you are using vinyl from a roll you have to select edge.

Vinylcutter: Stickers
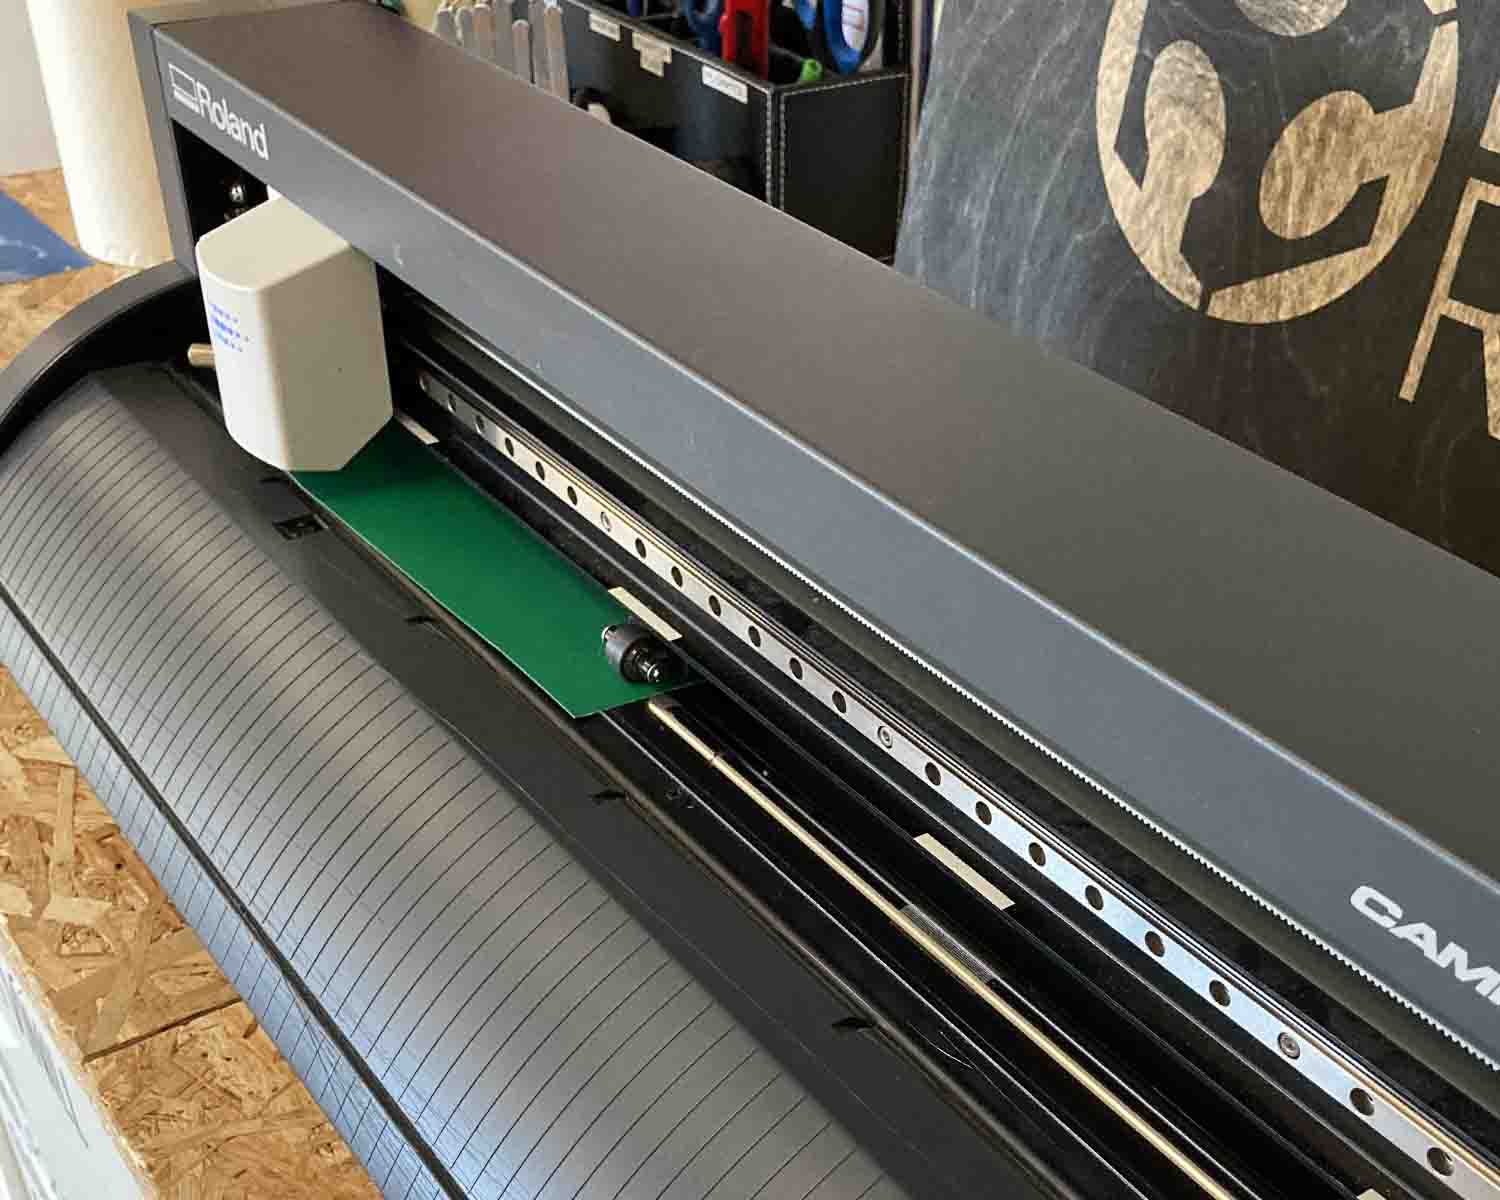
Then I open the file in the computer attached to the vinylcutter. I got the vinyl from scraps in bin, put in the machine set the machine on piece to get the measurements open the file in the computer press get measurements from machine and press print. And the vinylcutter was done printing. (I managed to find colours that fit with the board game and the exhaust bin)(the only colours I didn‘t find in the access bin yellow light, green, light, blue and orange).
I desided since the vinyl pieces were rather small to use scraps. If you do that you have to measure the size of the pices and set the Roland piece to be able to put in the size of the vinyl scrap you are using. I you are using vinyl from a roll you have to select edge.
Job type:edge (for vinyl roll)
Job type:piece (for scraps).
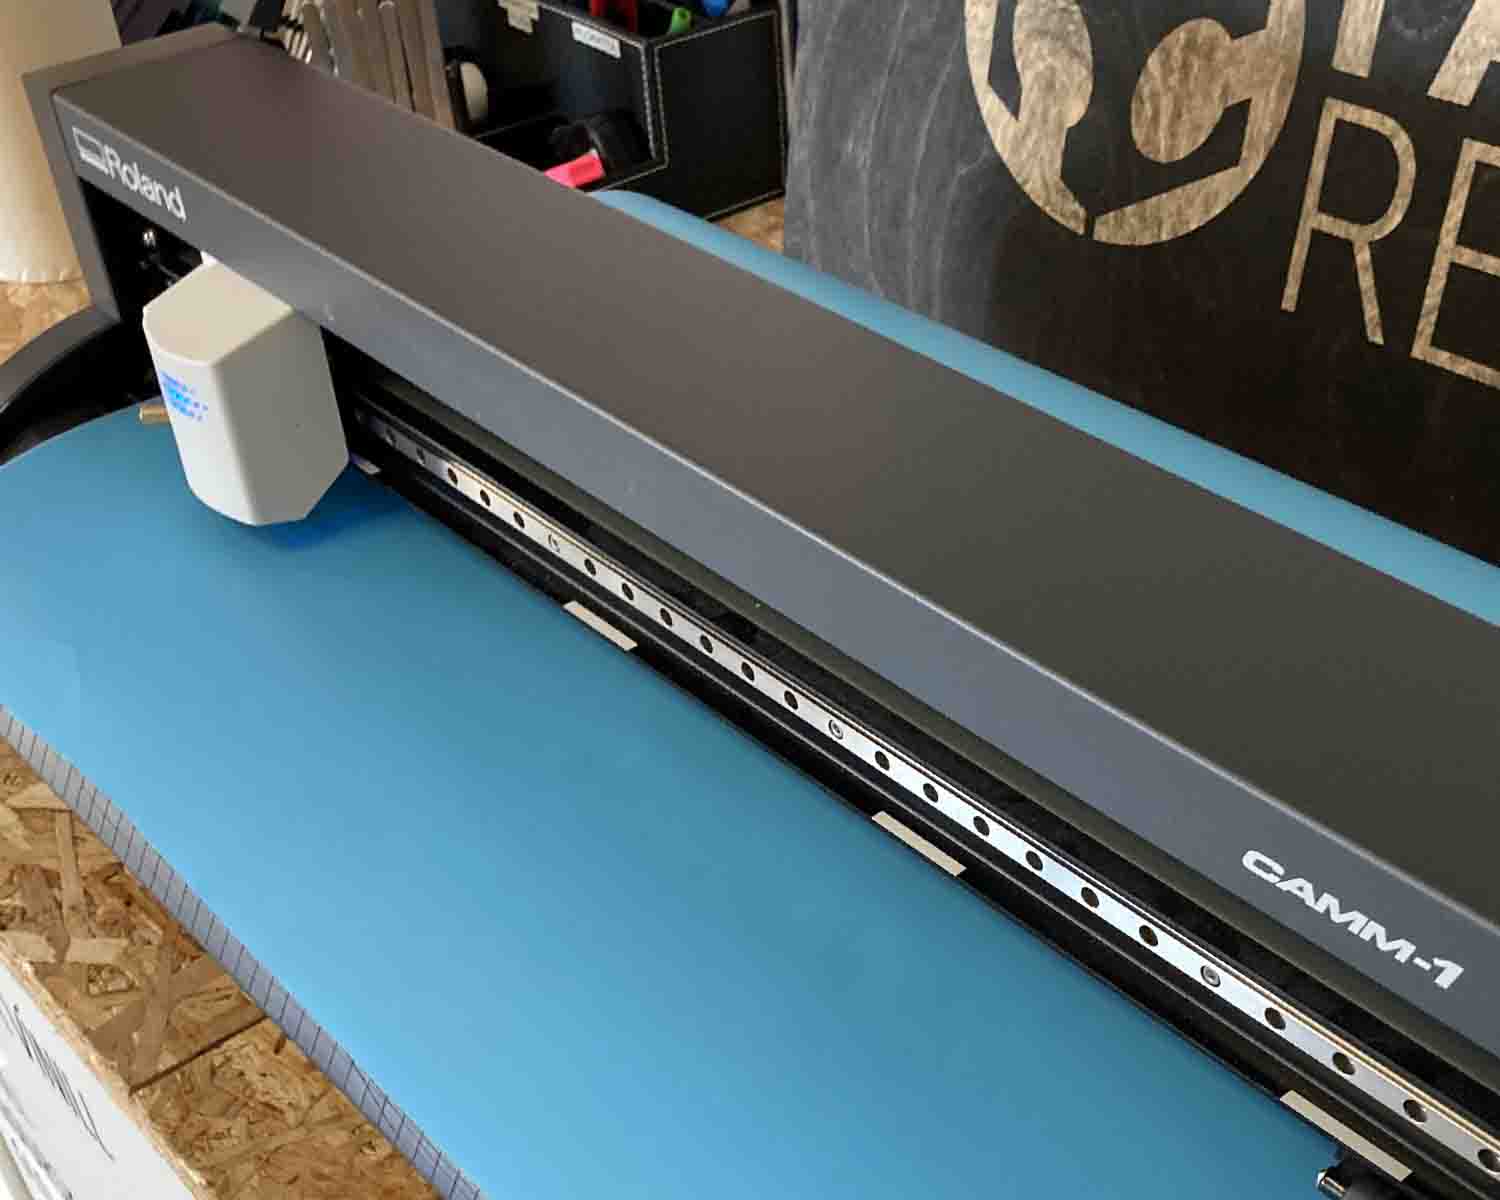
I used a 45 degree knife. The 45 degree blade is a multi-purpose blade that can be used for most media. The Rolland site states that the speed of the Roland GS-24 is 30cm/sec. The site says that the pen force or cutting force for vinyl is 30-100 grams of force (gf) what should my cutter settings be. When cutting vinyl the setting (pen force) should be 0. Settings +1 and +2 are for thicher material. and -1 and -2 for thinner material. Holding down the test button will let you test the cut. Guide Cutting a basic sticker.
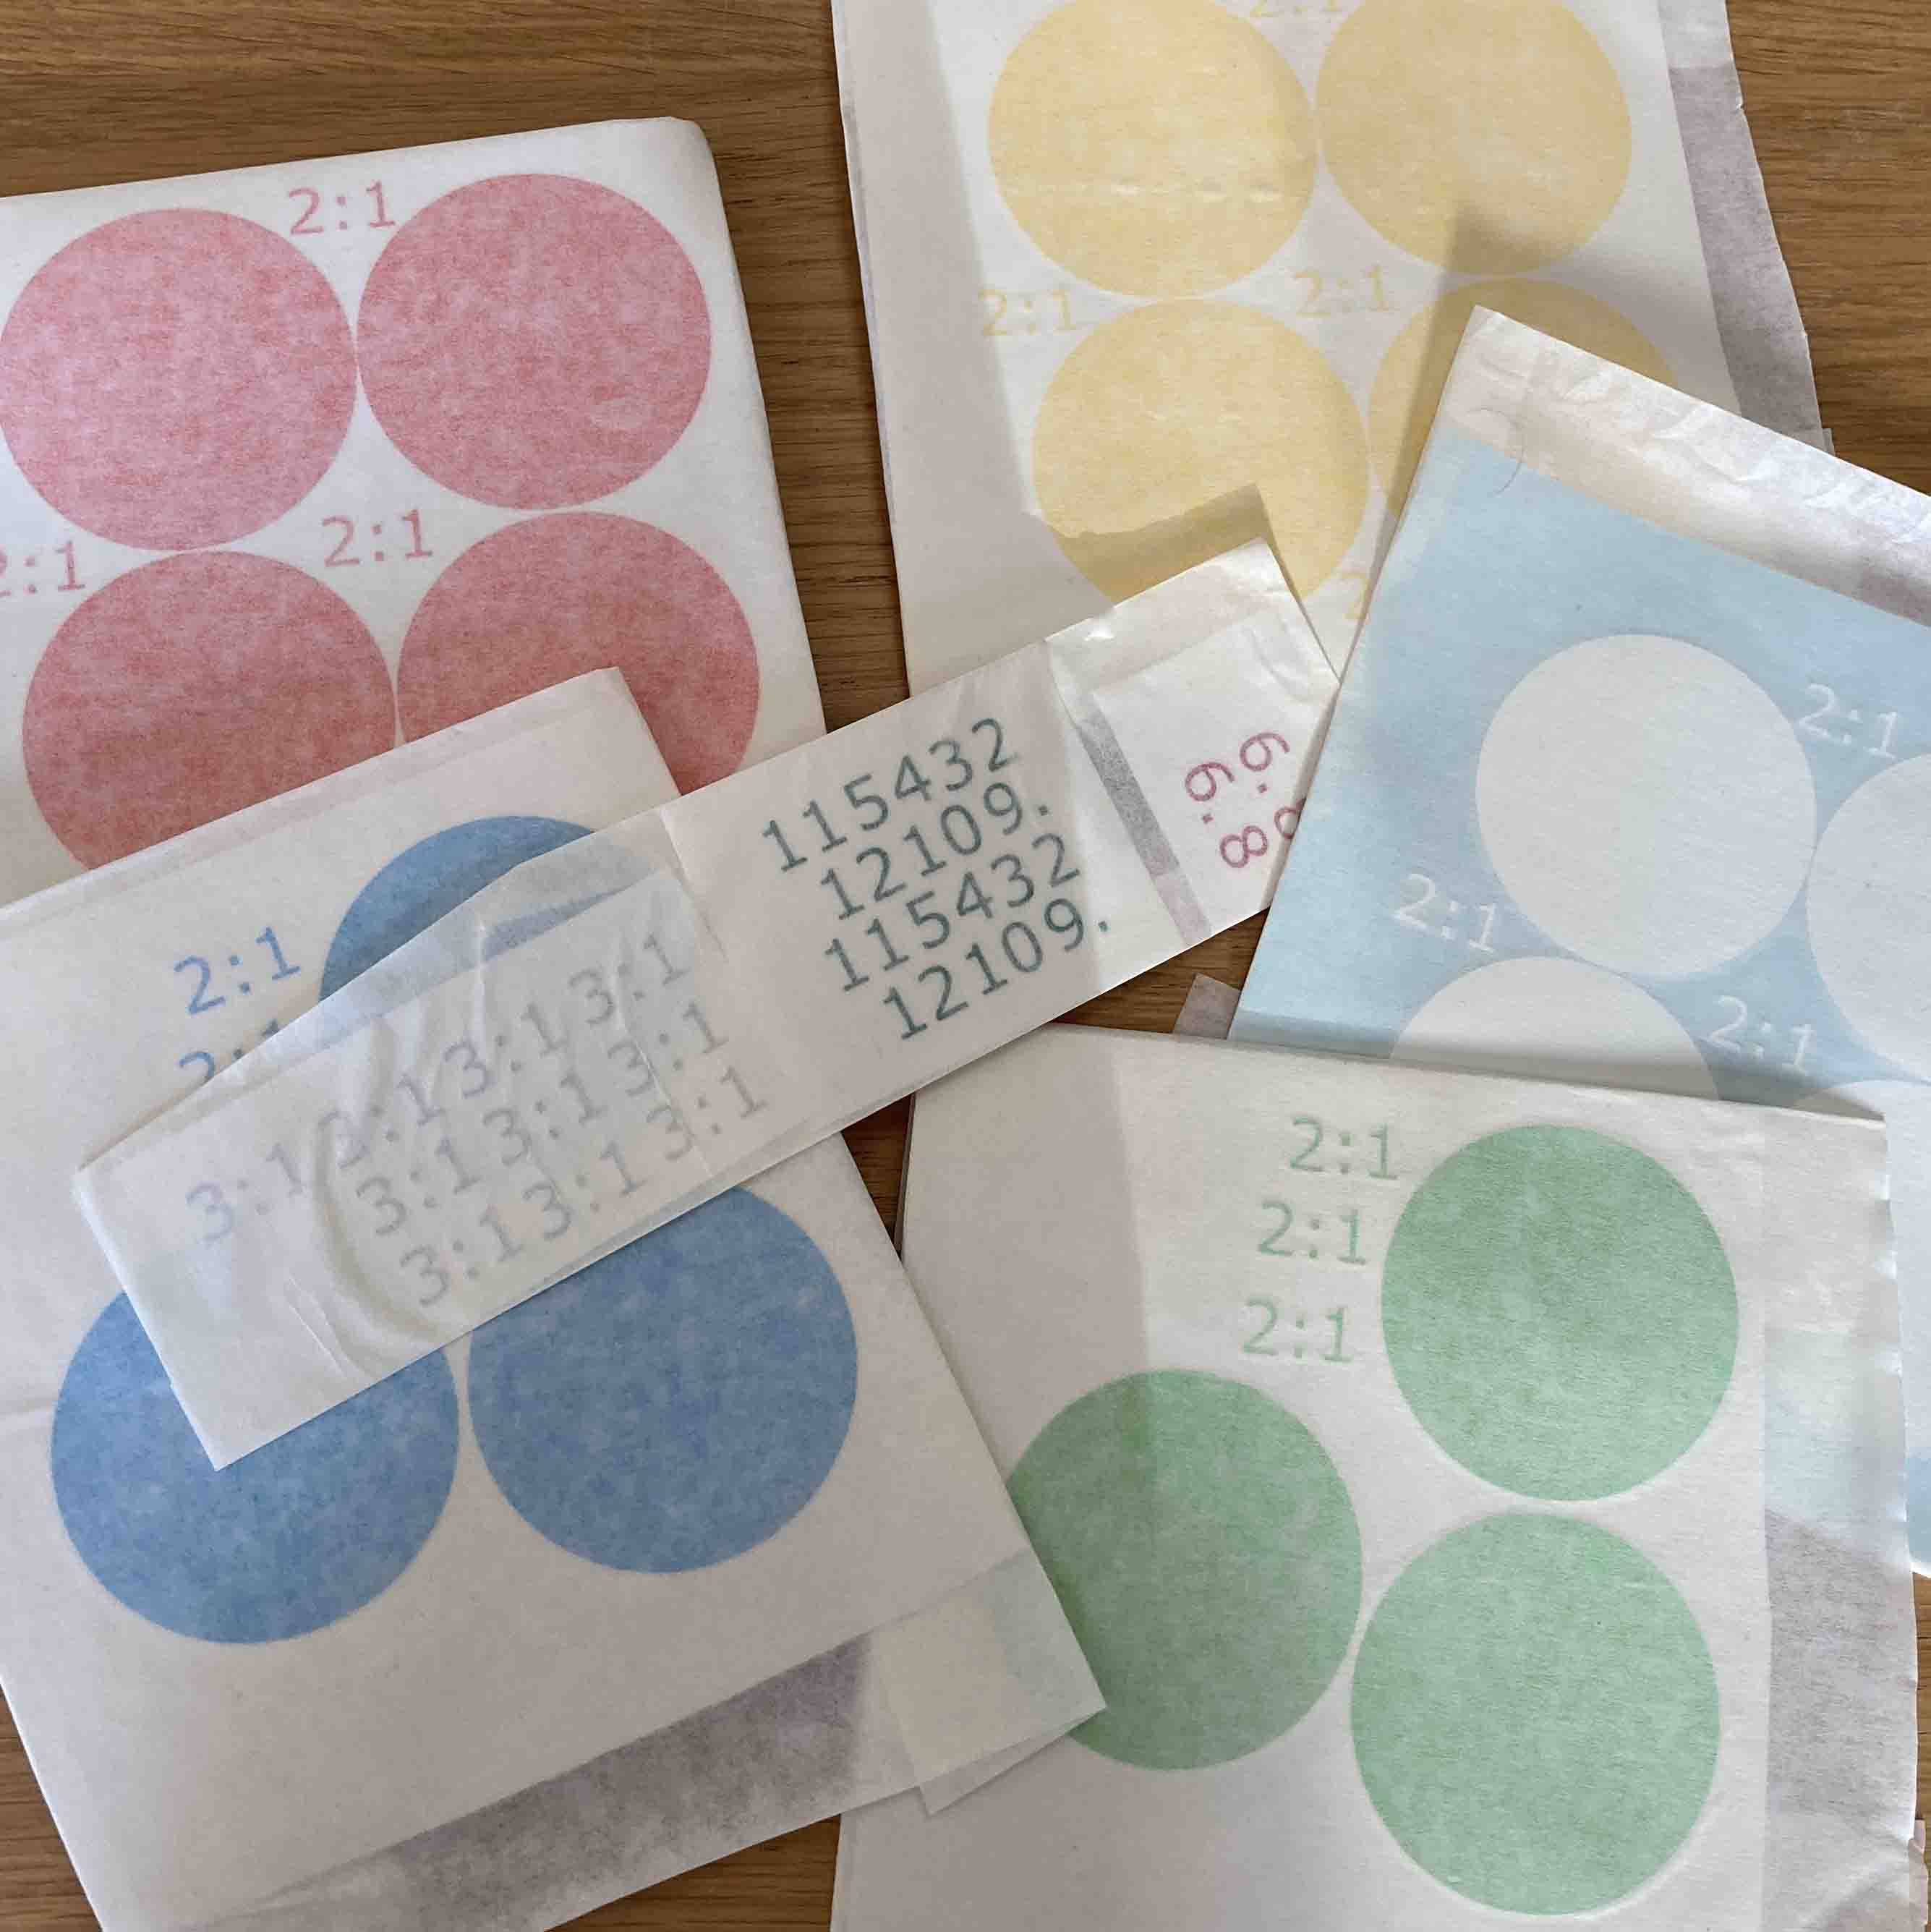
I plucked all the excess vinyl of the backing with tweezers. I put painting tape over the top and squeegeed it down so I could use the stickers for later.
4 Planets/2:1
3 planets/2:1
6./8
3:1
2-5/9.-12
LaserCutter: Catan
Inkscape: hexagon
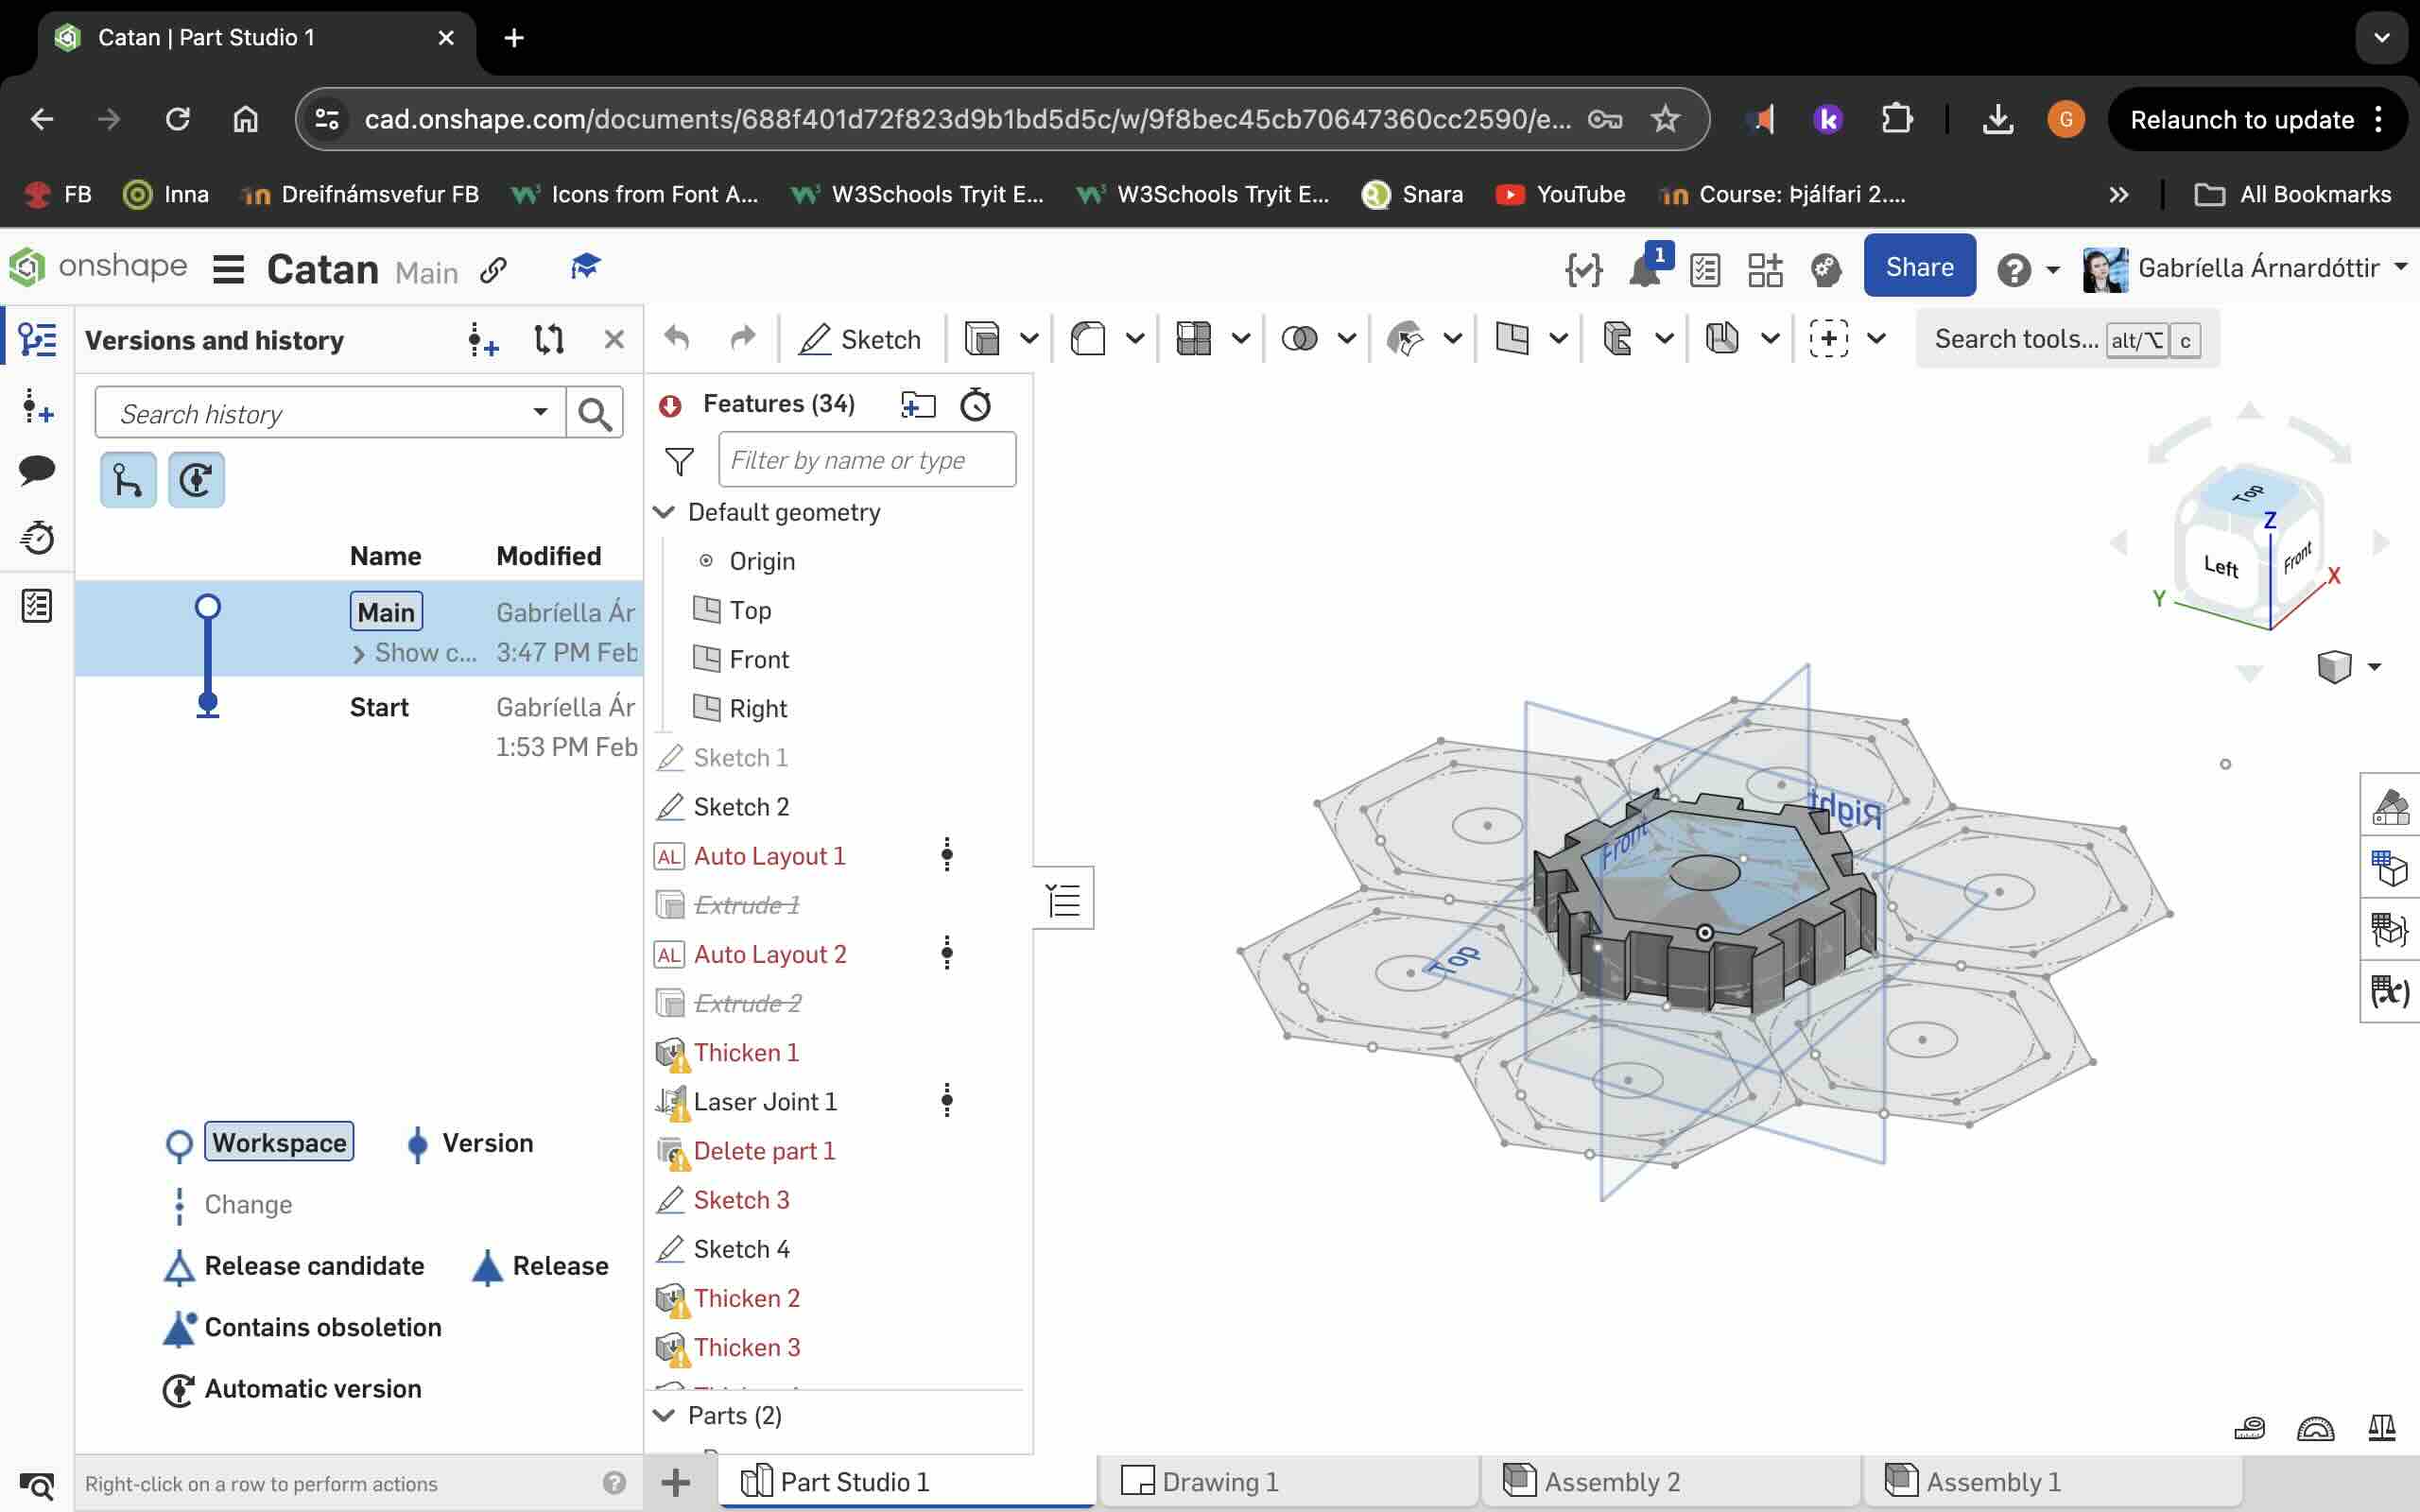
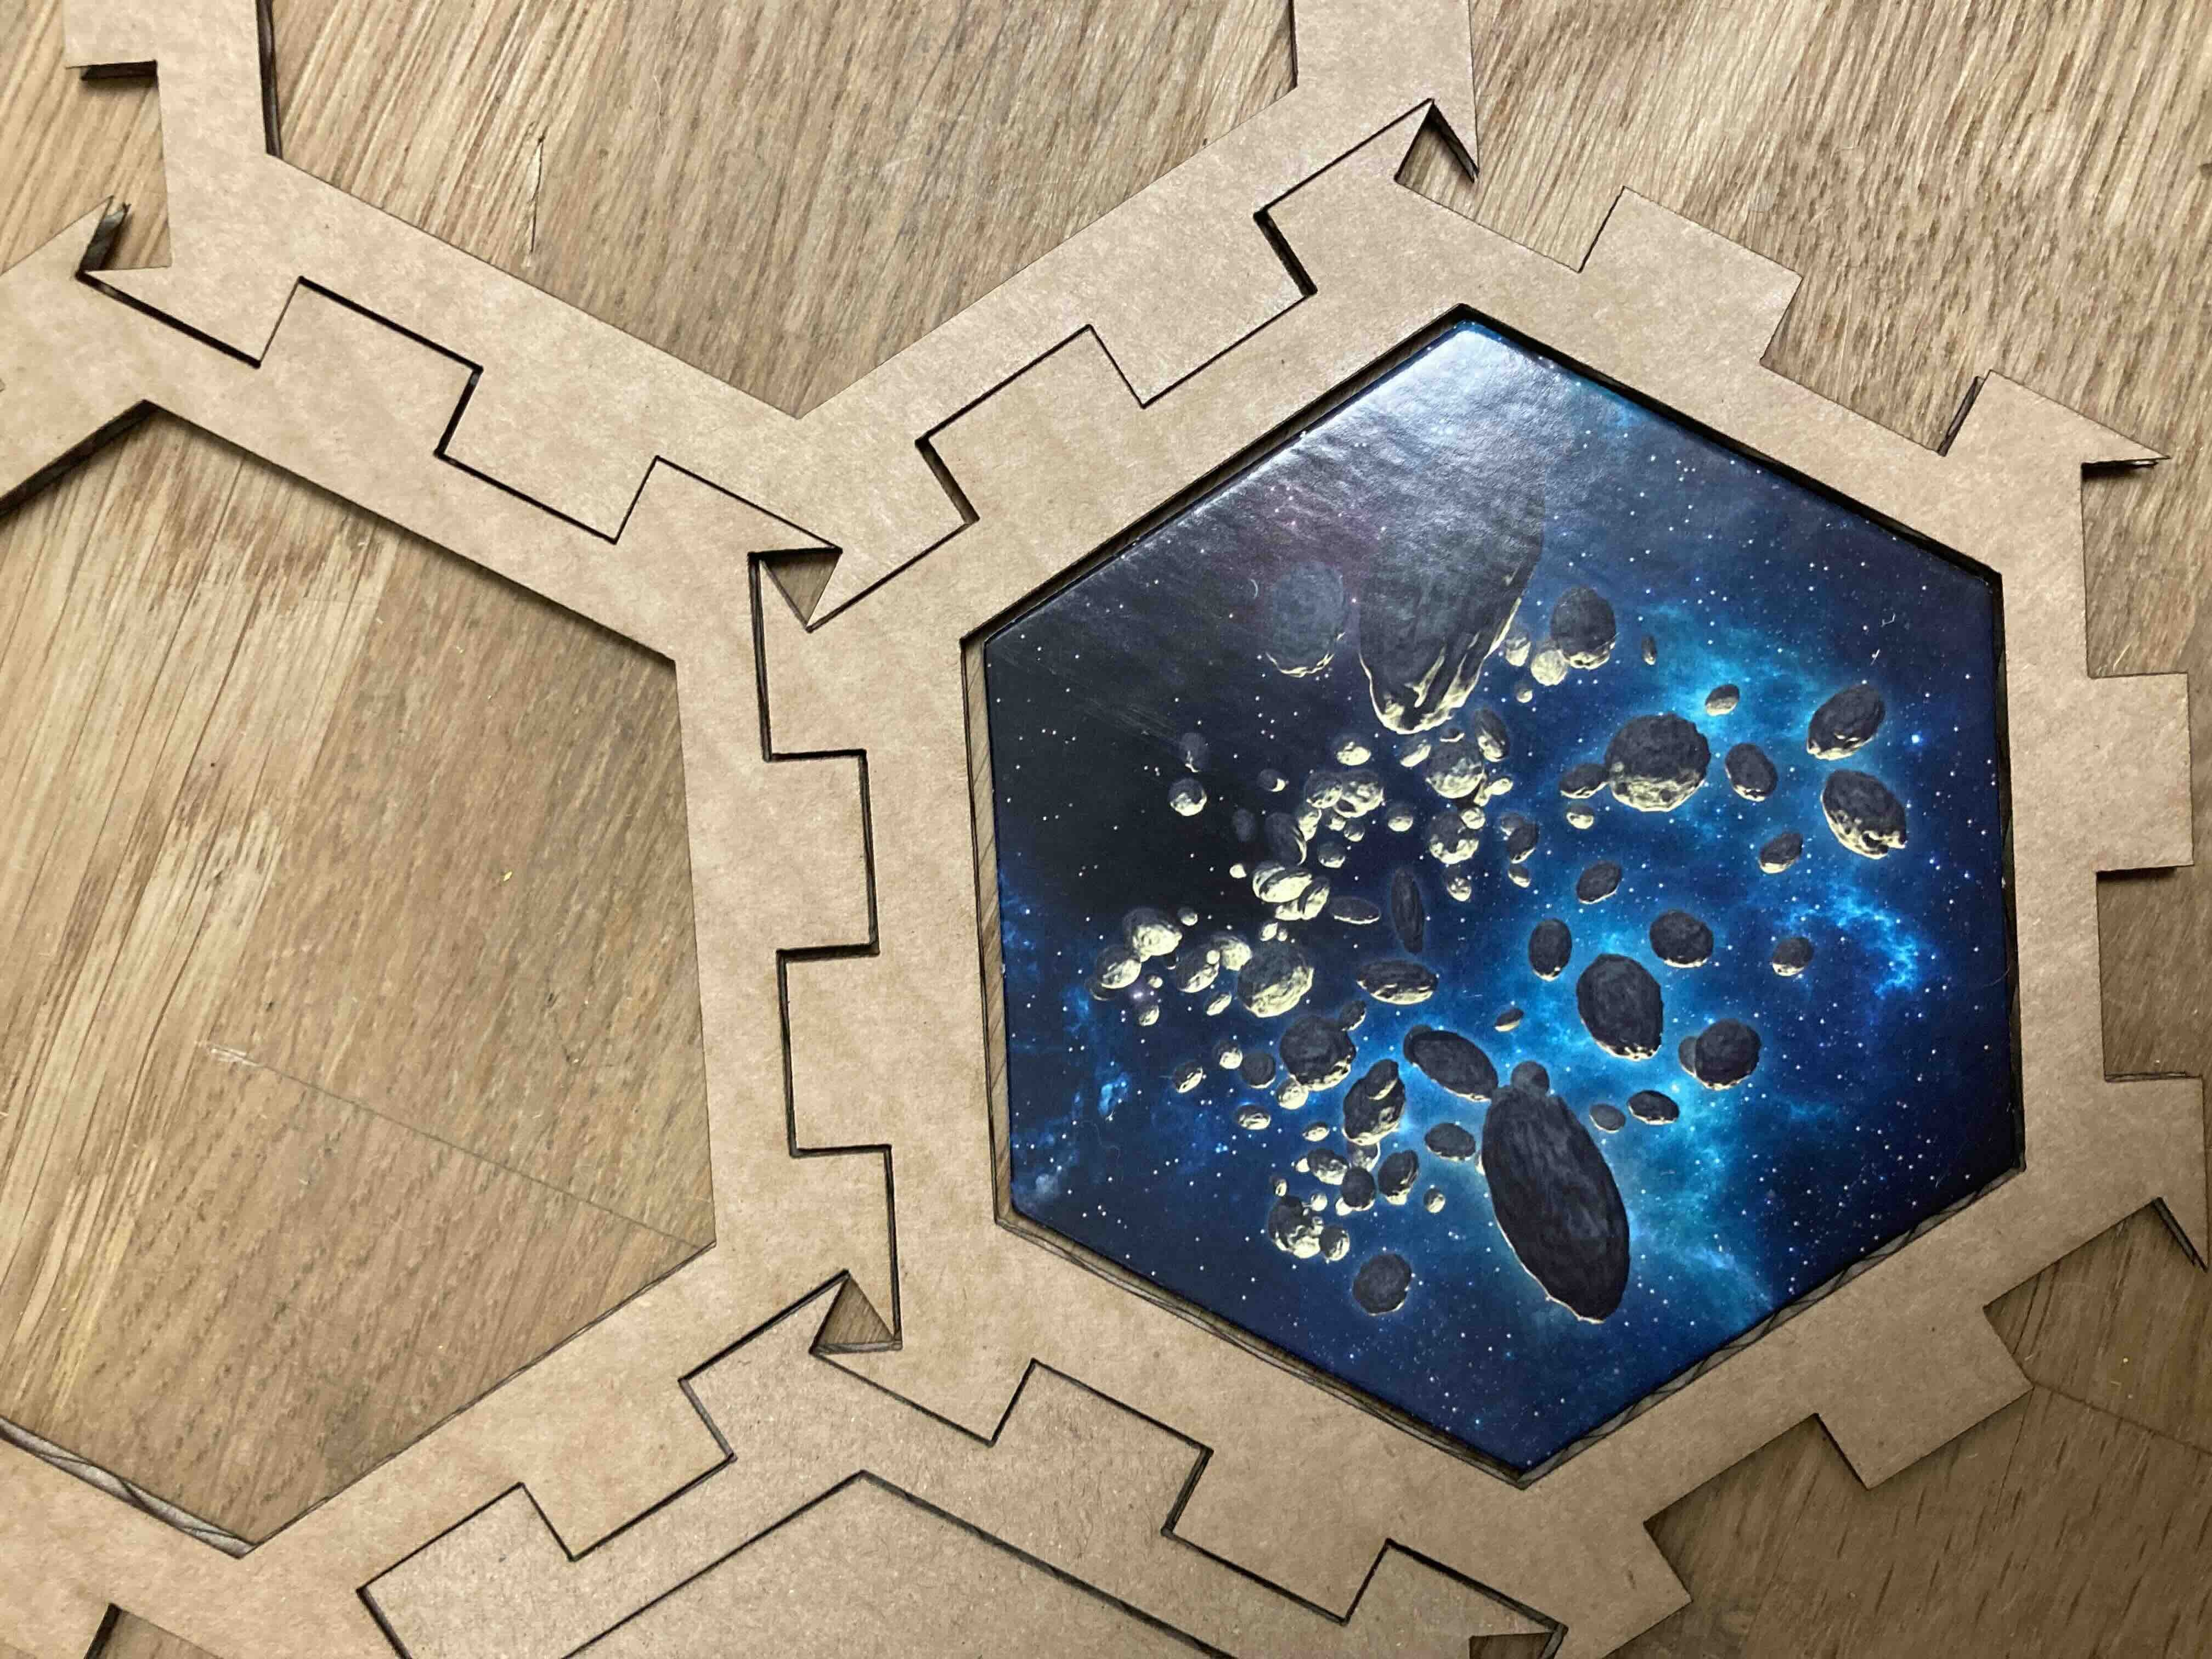
I started by using Inkscape to create a basic hexagon. After that, I created the tiles 9 cm, border tiles 1.5 cm and then a circle tile 2.5 cm. The border joint piece was created by using premade version.
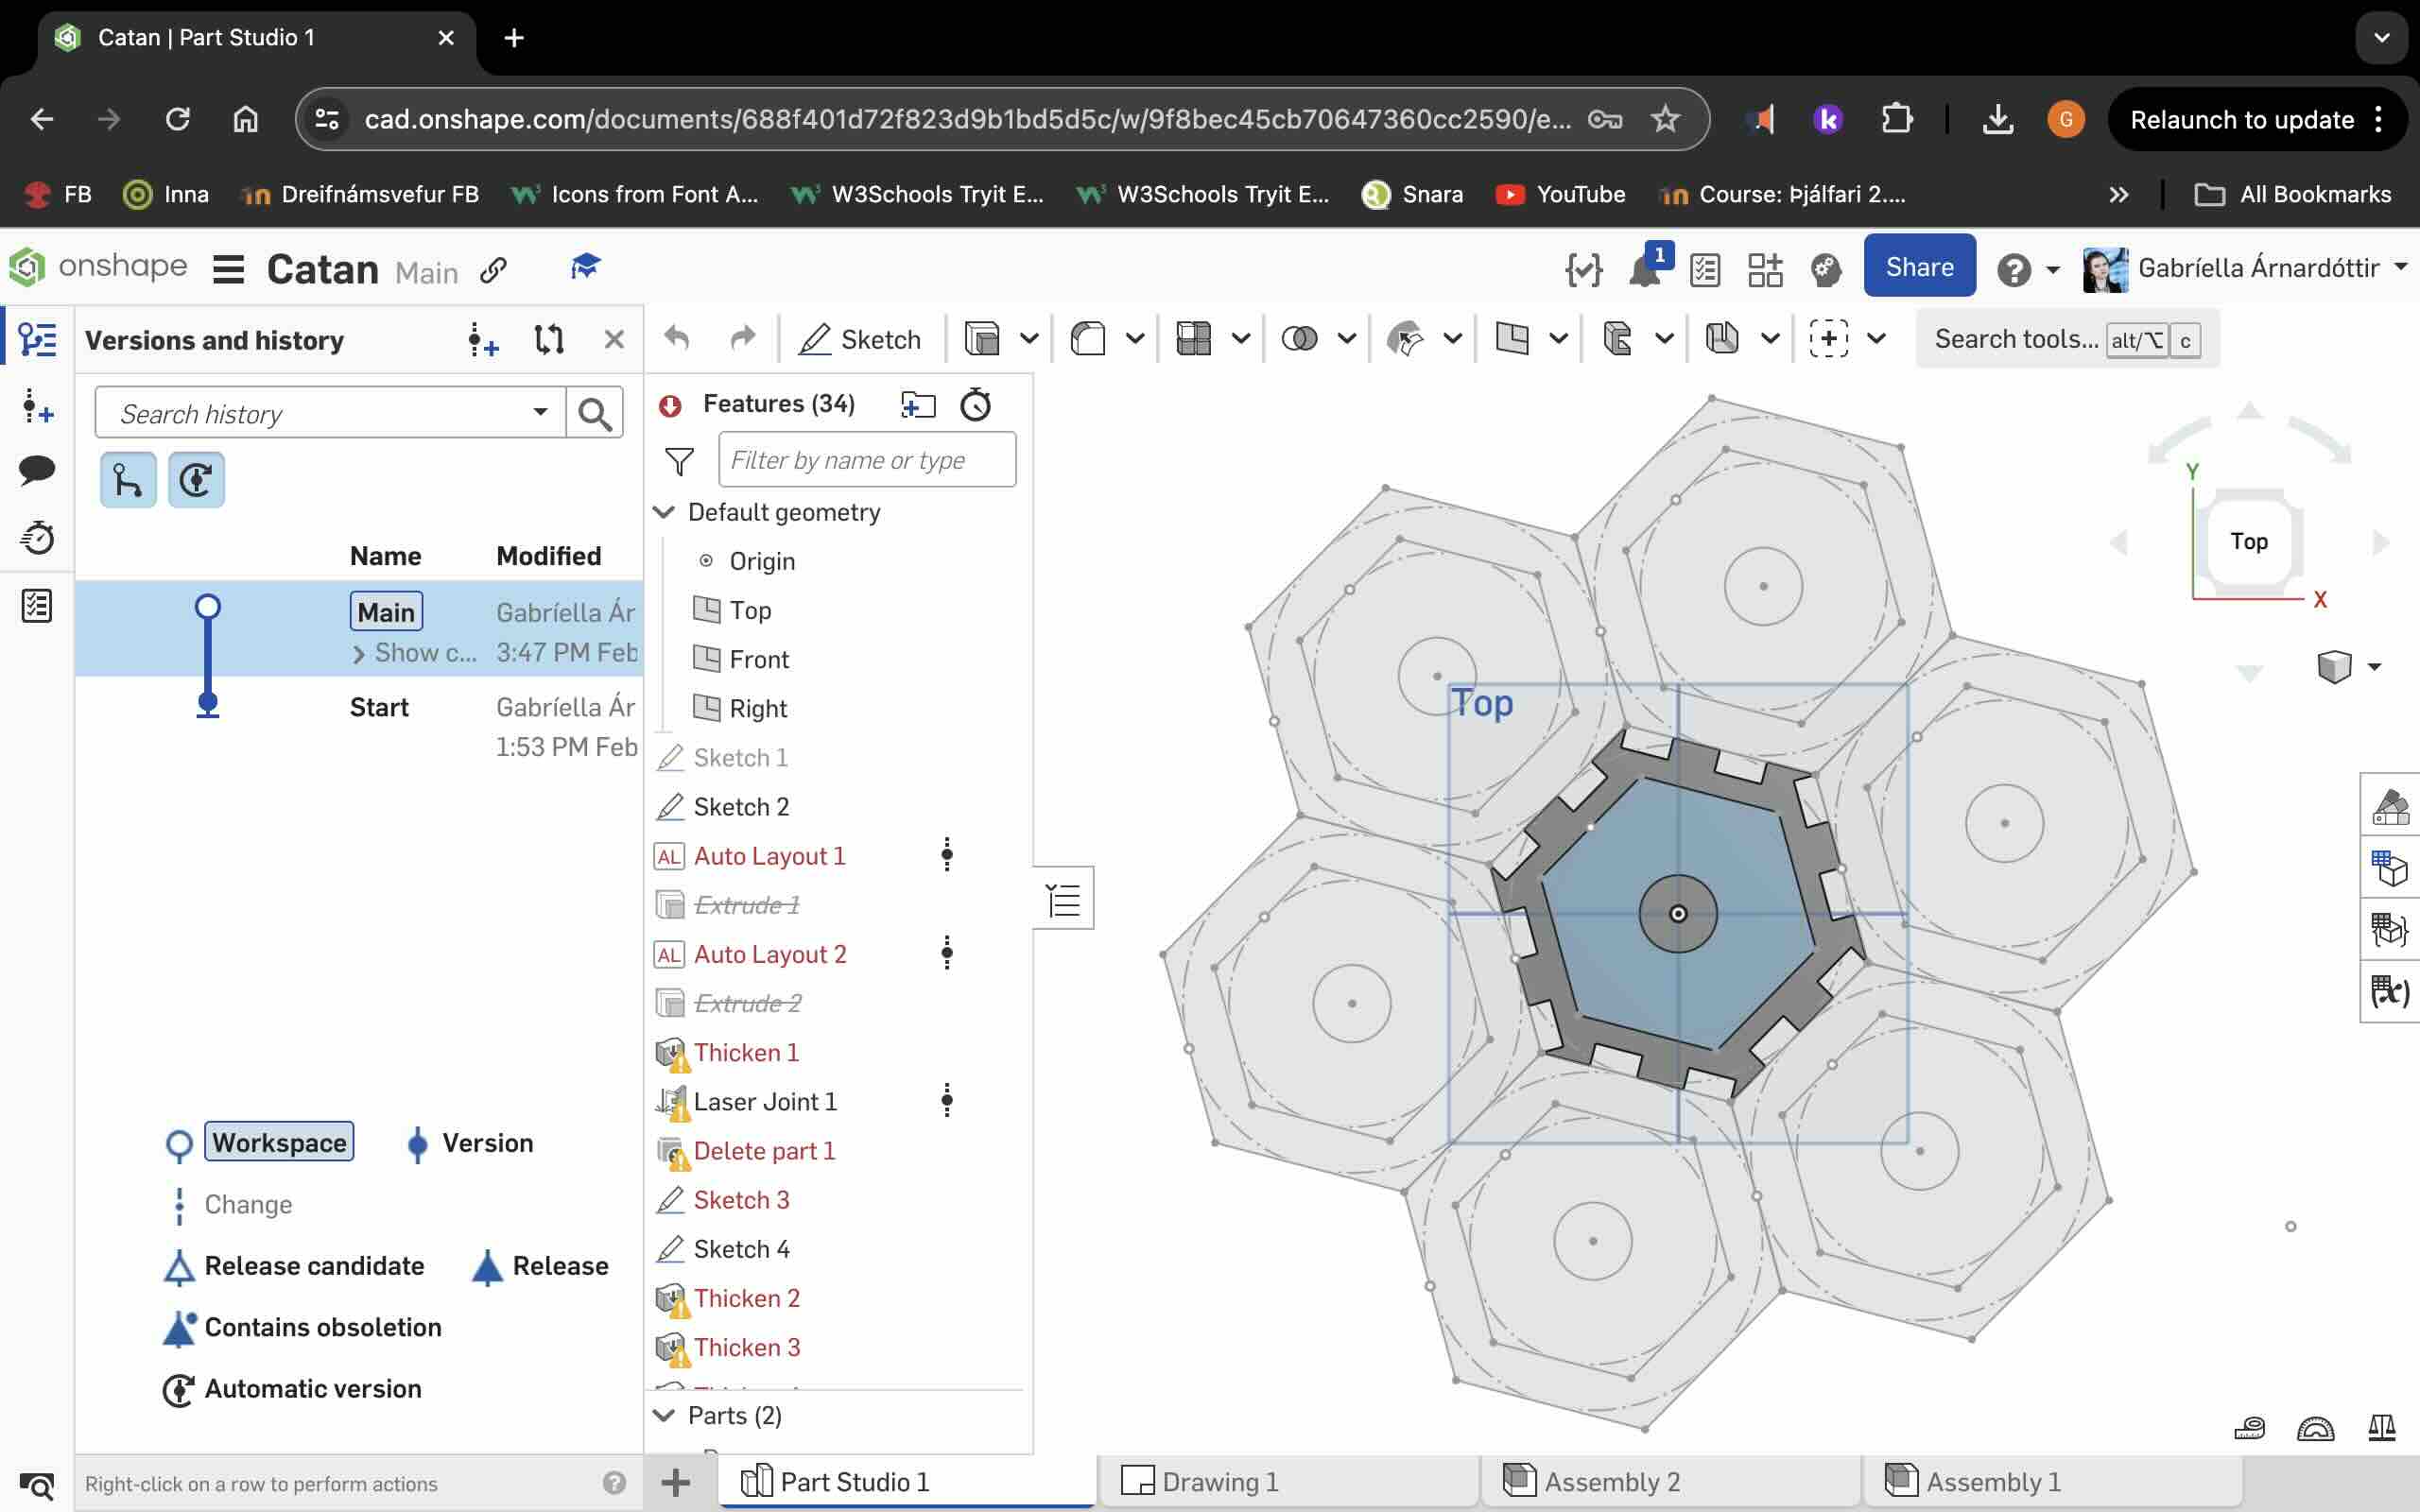
When I arrived at Fab lab Reykjavík to cut out the piece instructor told me I was use the wrong program to create the piece, so I decided to learn new program called Onshape.
Onshape: hexagon
In Onshape, I figured out how to import the file from Inkscape as a image so I could work with the pattern I had started with I cut out a test piece out of cardboard, but the showing were irregular so they didn’t fit together on all sites so I Decided to make a new piece.
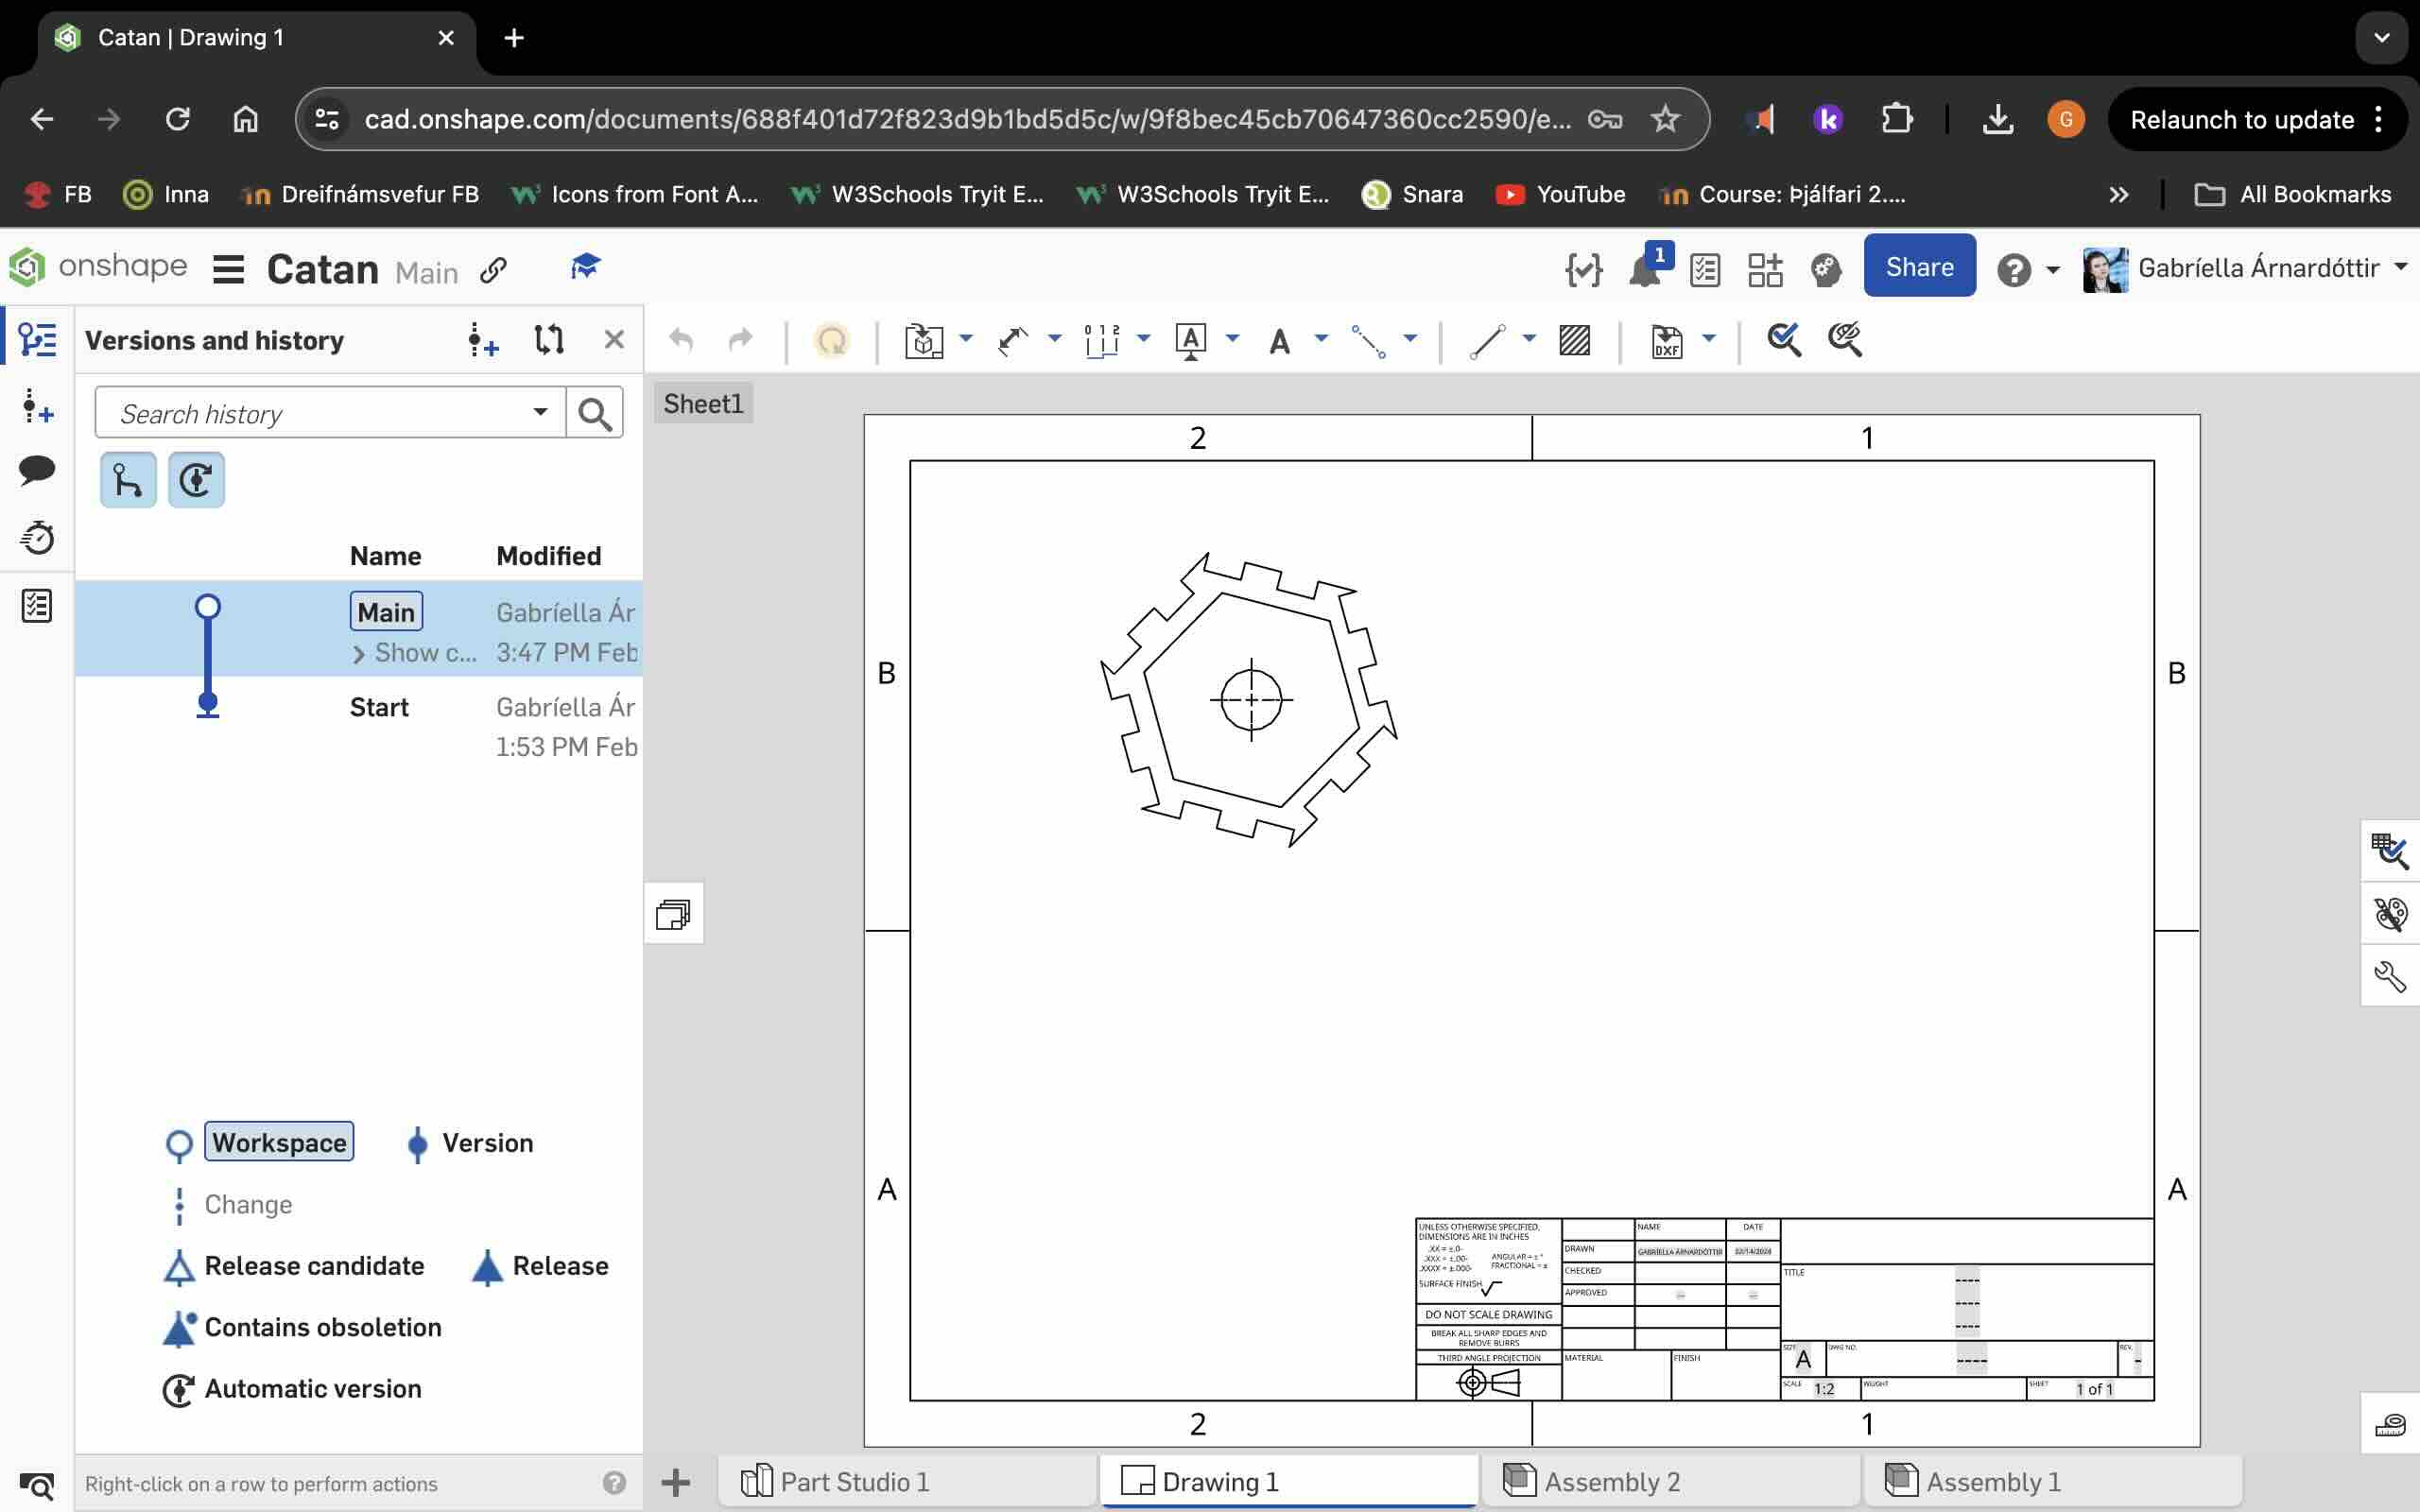
I started from scratch this time and Onshape by using the basic hexagon pattern and adding the pieces I needed as i did that in Inkscape. I tried a bunch of different ways to try to make a joint on the hexagon but it wouldn’t let me do the shortcut way. After a day and a half I figured I should just input it that it’s themselves one by one while I was creating the joints. I found a mirror button that allows me to mirror. I’m 6 ways that helped when I when I was sure that measurements were right, I turned the file into a drawing, then exported as a PDF, so.
Parametric design in OnShape
Parametric design makes it easy to change variables to define and control the dimensions and properties of the model. These variables/parameters can includedimensions, constraints and relationships between different parts of the model. By adusting the variable you can modify the design with out having to update/modify each individual element. This is very useful when working with multible pieces. Using parametric design allows for a more fluid and flexible design process, it makes it easier to create complex models. In OnShape this is done by using varibles, equations and features that reference these parameters.
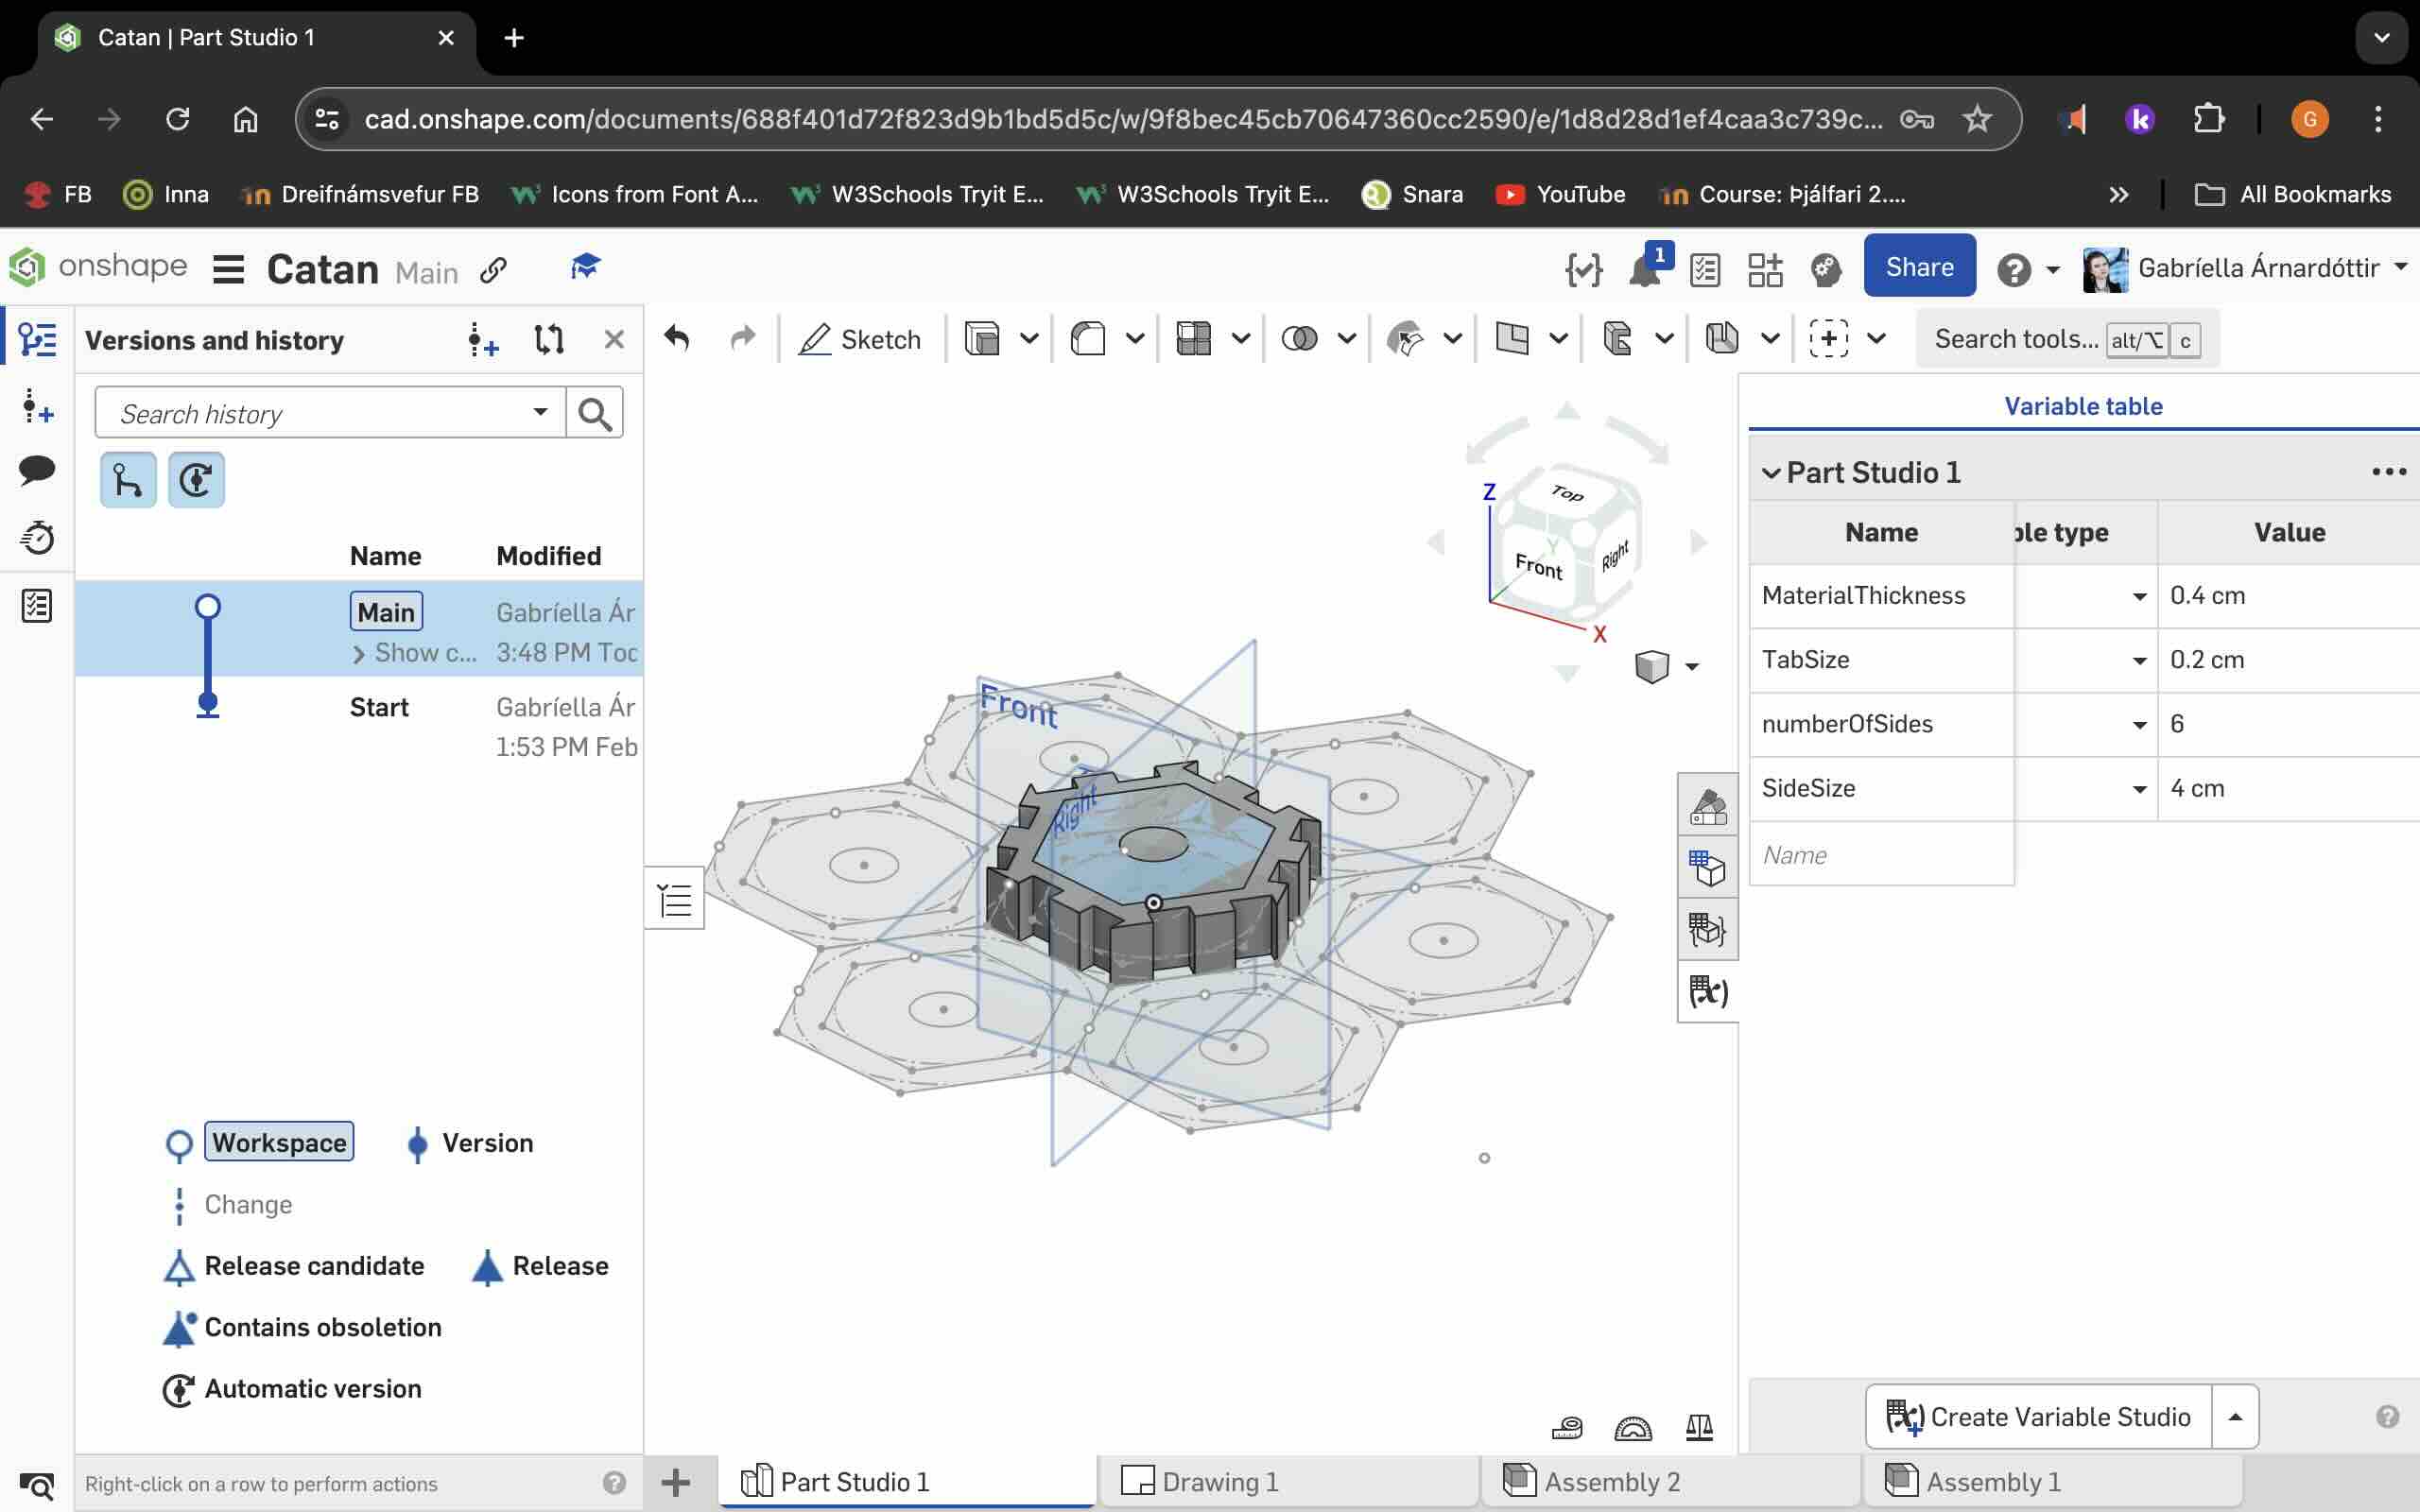
link to Onshape file
Onshape
Inkscape: toolpath
I opened Inkscape want to file pressed import pressed.I made sure that Fill and stroke, I made sure the Fill was off and Stroke was RGB, R was set to 255 G, was set to 0, B was set to 0. And Stroke style set to width 0,02 mm. I saved image as PDF.
Lasercutter: cardboard
I opened the file and the computer attached to lasercutter to be cut out. That’s where I figure out while I was cutting it out in cardboard somewhere along the way it changed the measurements.
cardboard (2mm).
Job type: Vector. Vector setting, Speed:10% Power:100% Freq:500 Hz
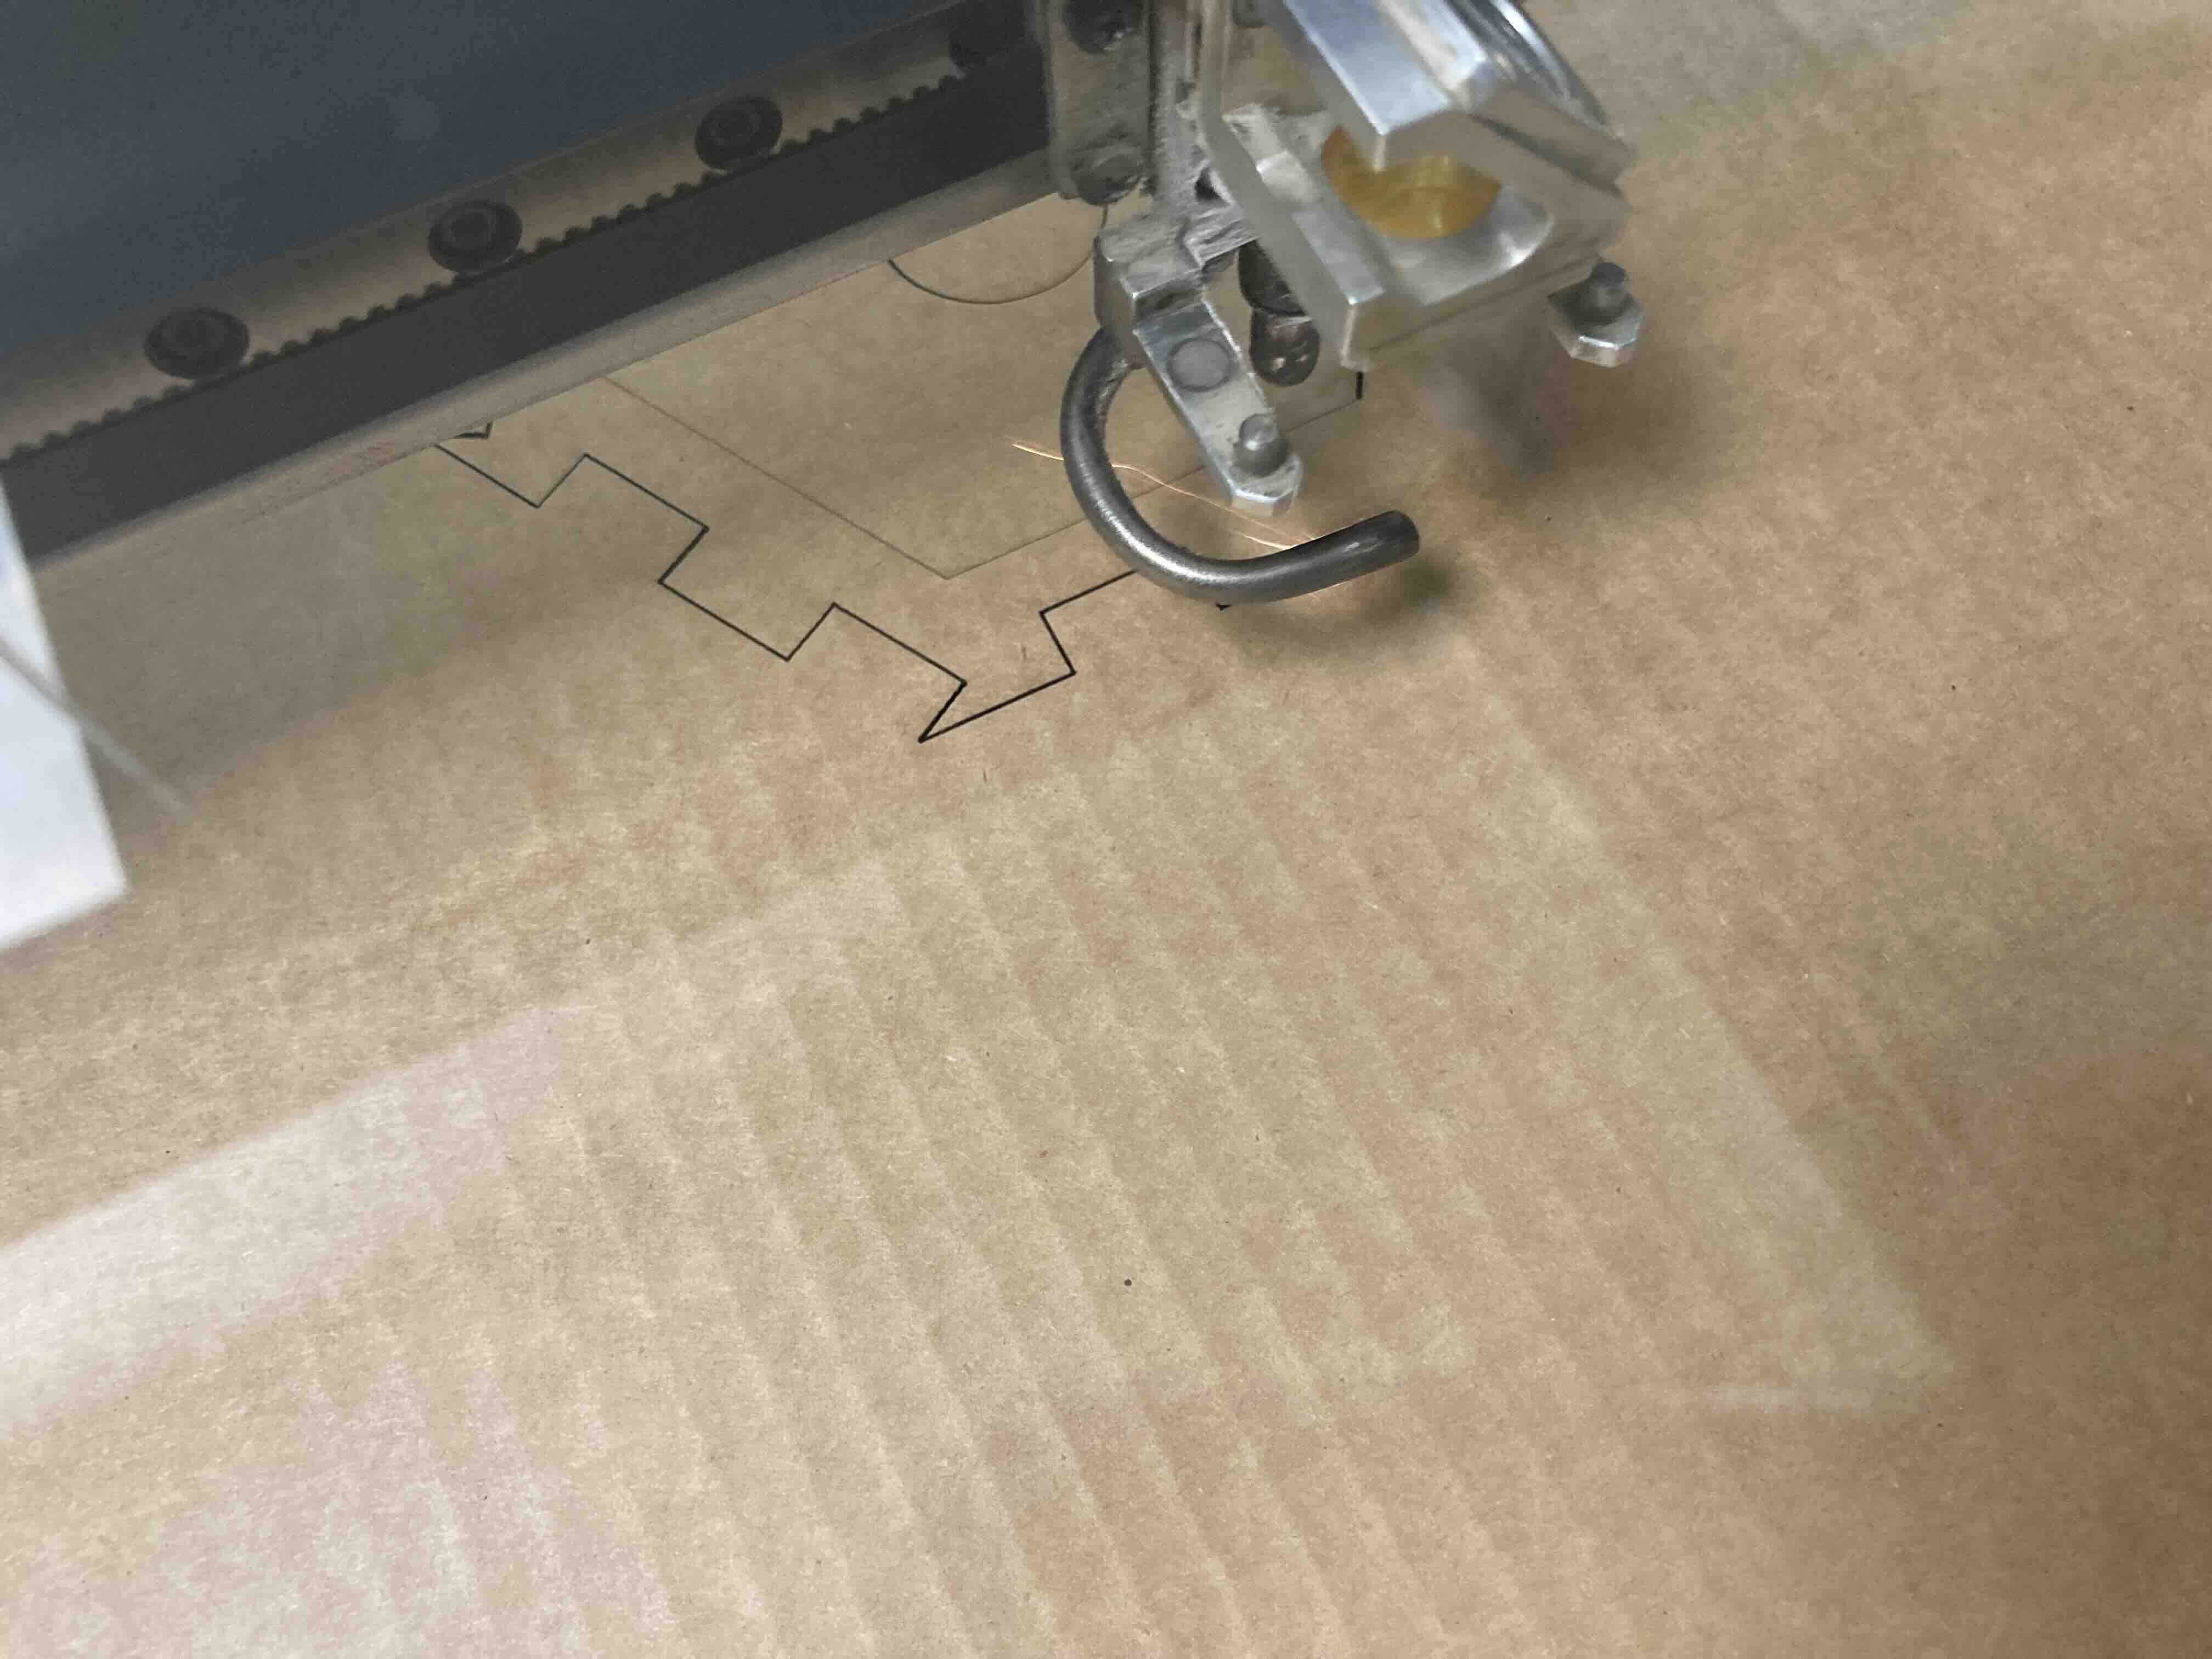
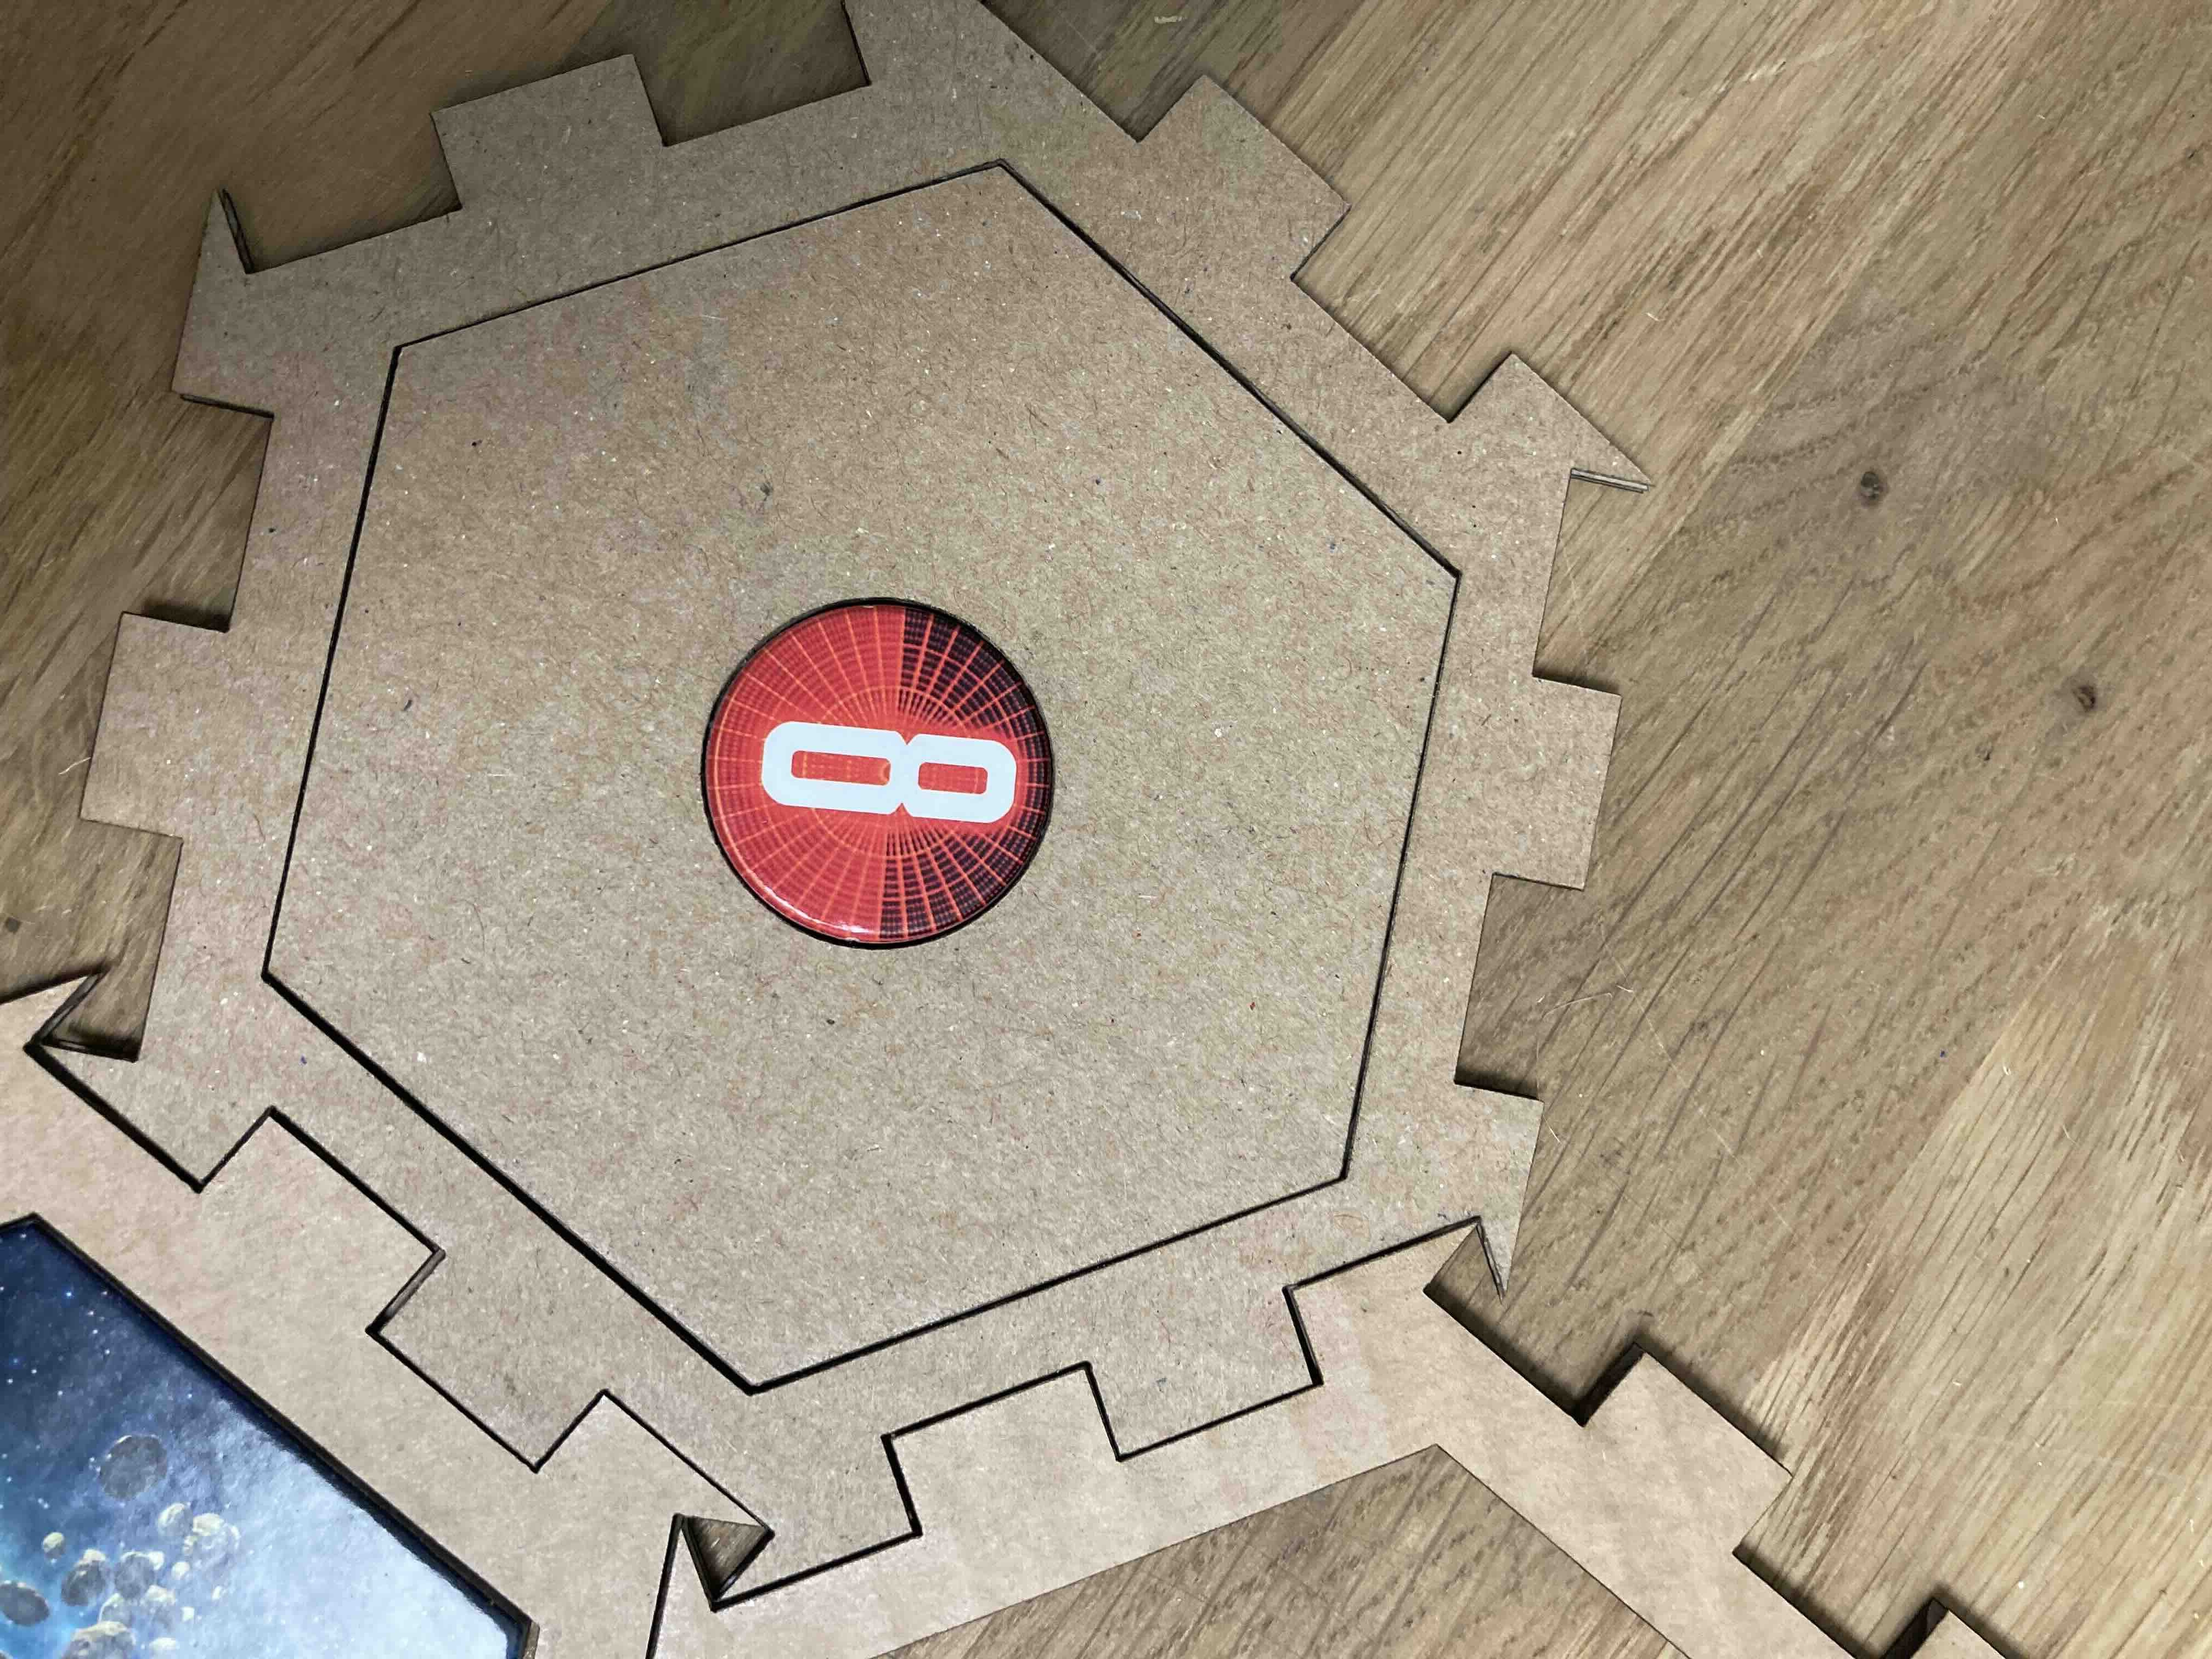
Then I opened it in Inkscape to change the measurements so it would fit the orginal tiles of the board game and try to cut it out again. The hexagon tiles from the board worked, but the circle tiles didn’t fit so I opened it and Inkscape again to fix the circle tiles, so it wouldn’t be a snuck, and cut it for the fourth time that was the perfect fit for the board game.
Lasercutter: plexi
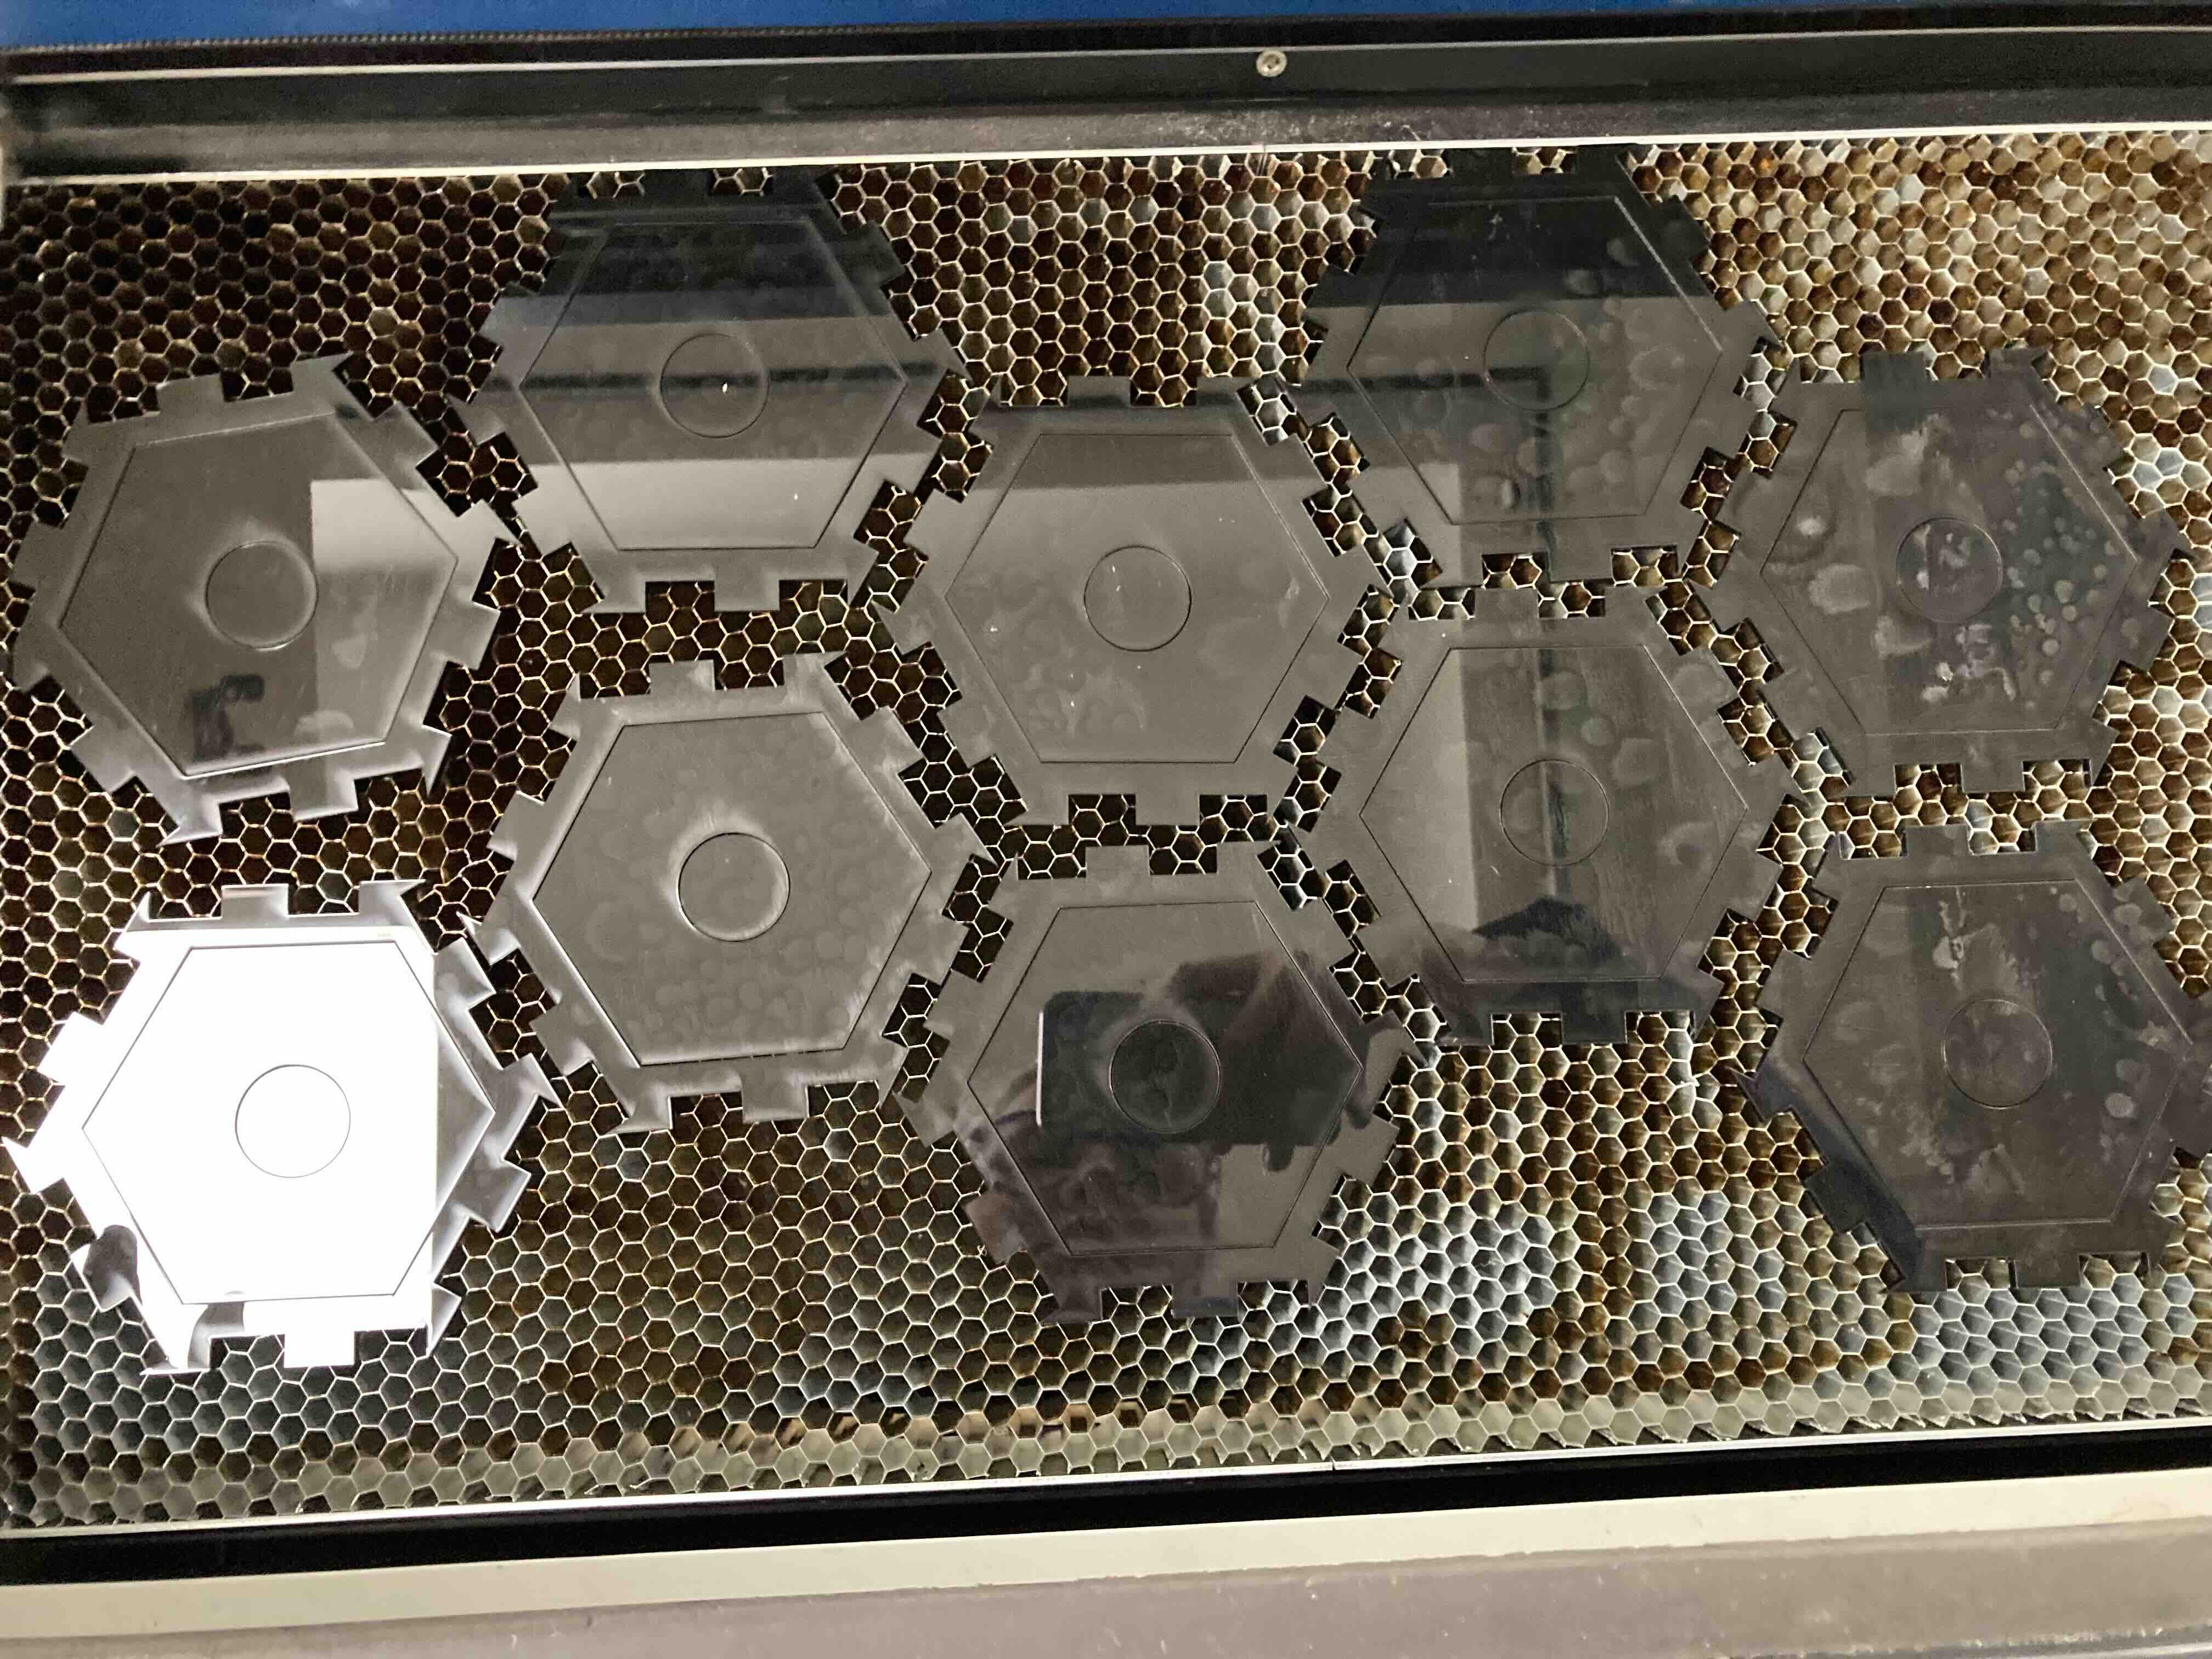
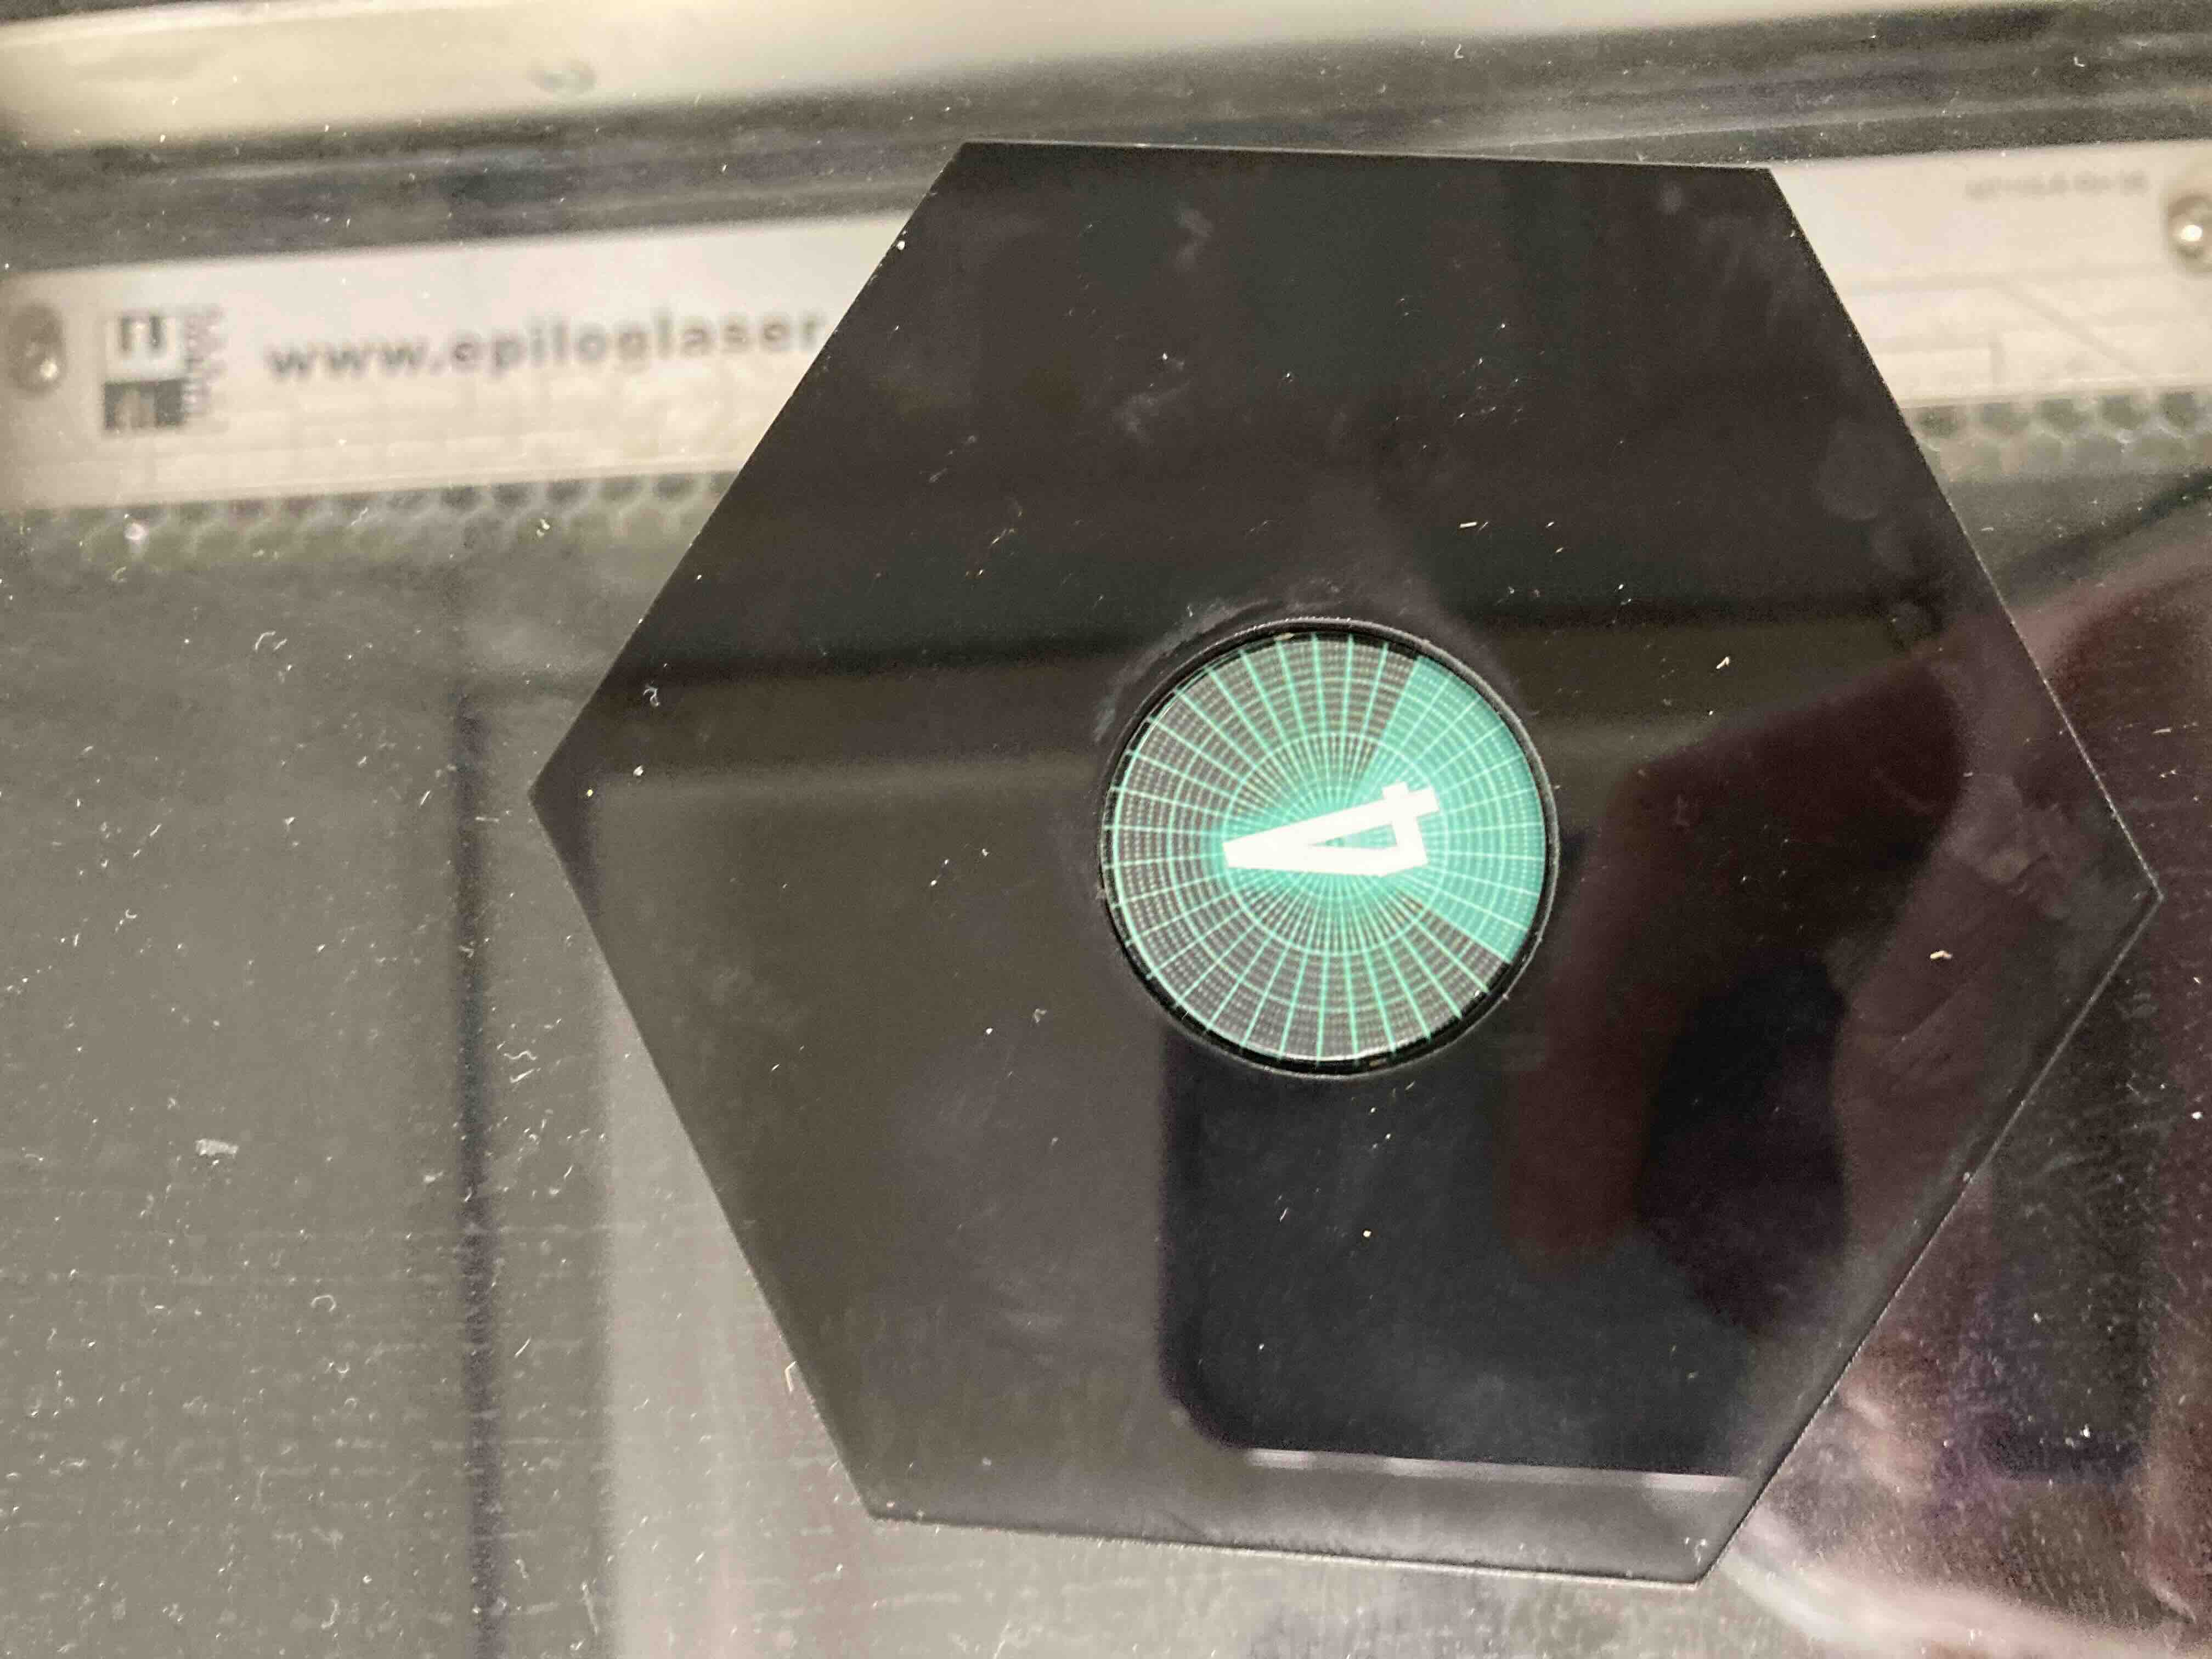
Then I decided to cut it out in a plexi glass black to mimic the fact I was galaxy that need to paint and it has the fact if someone spills on the tiles they won’t get ruined.
Plexy (3mm).
Job type: Vector. Vector setting, Speed:11% Power:100% Freq:500 Hz
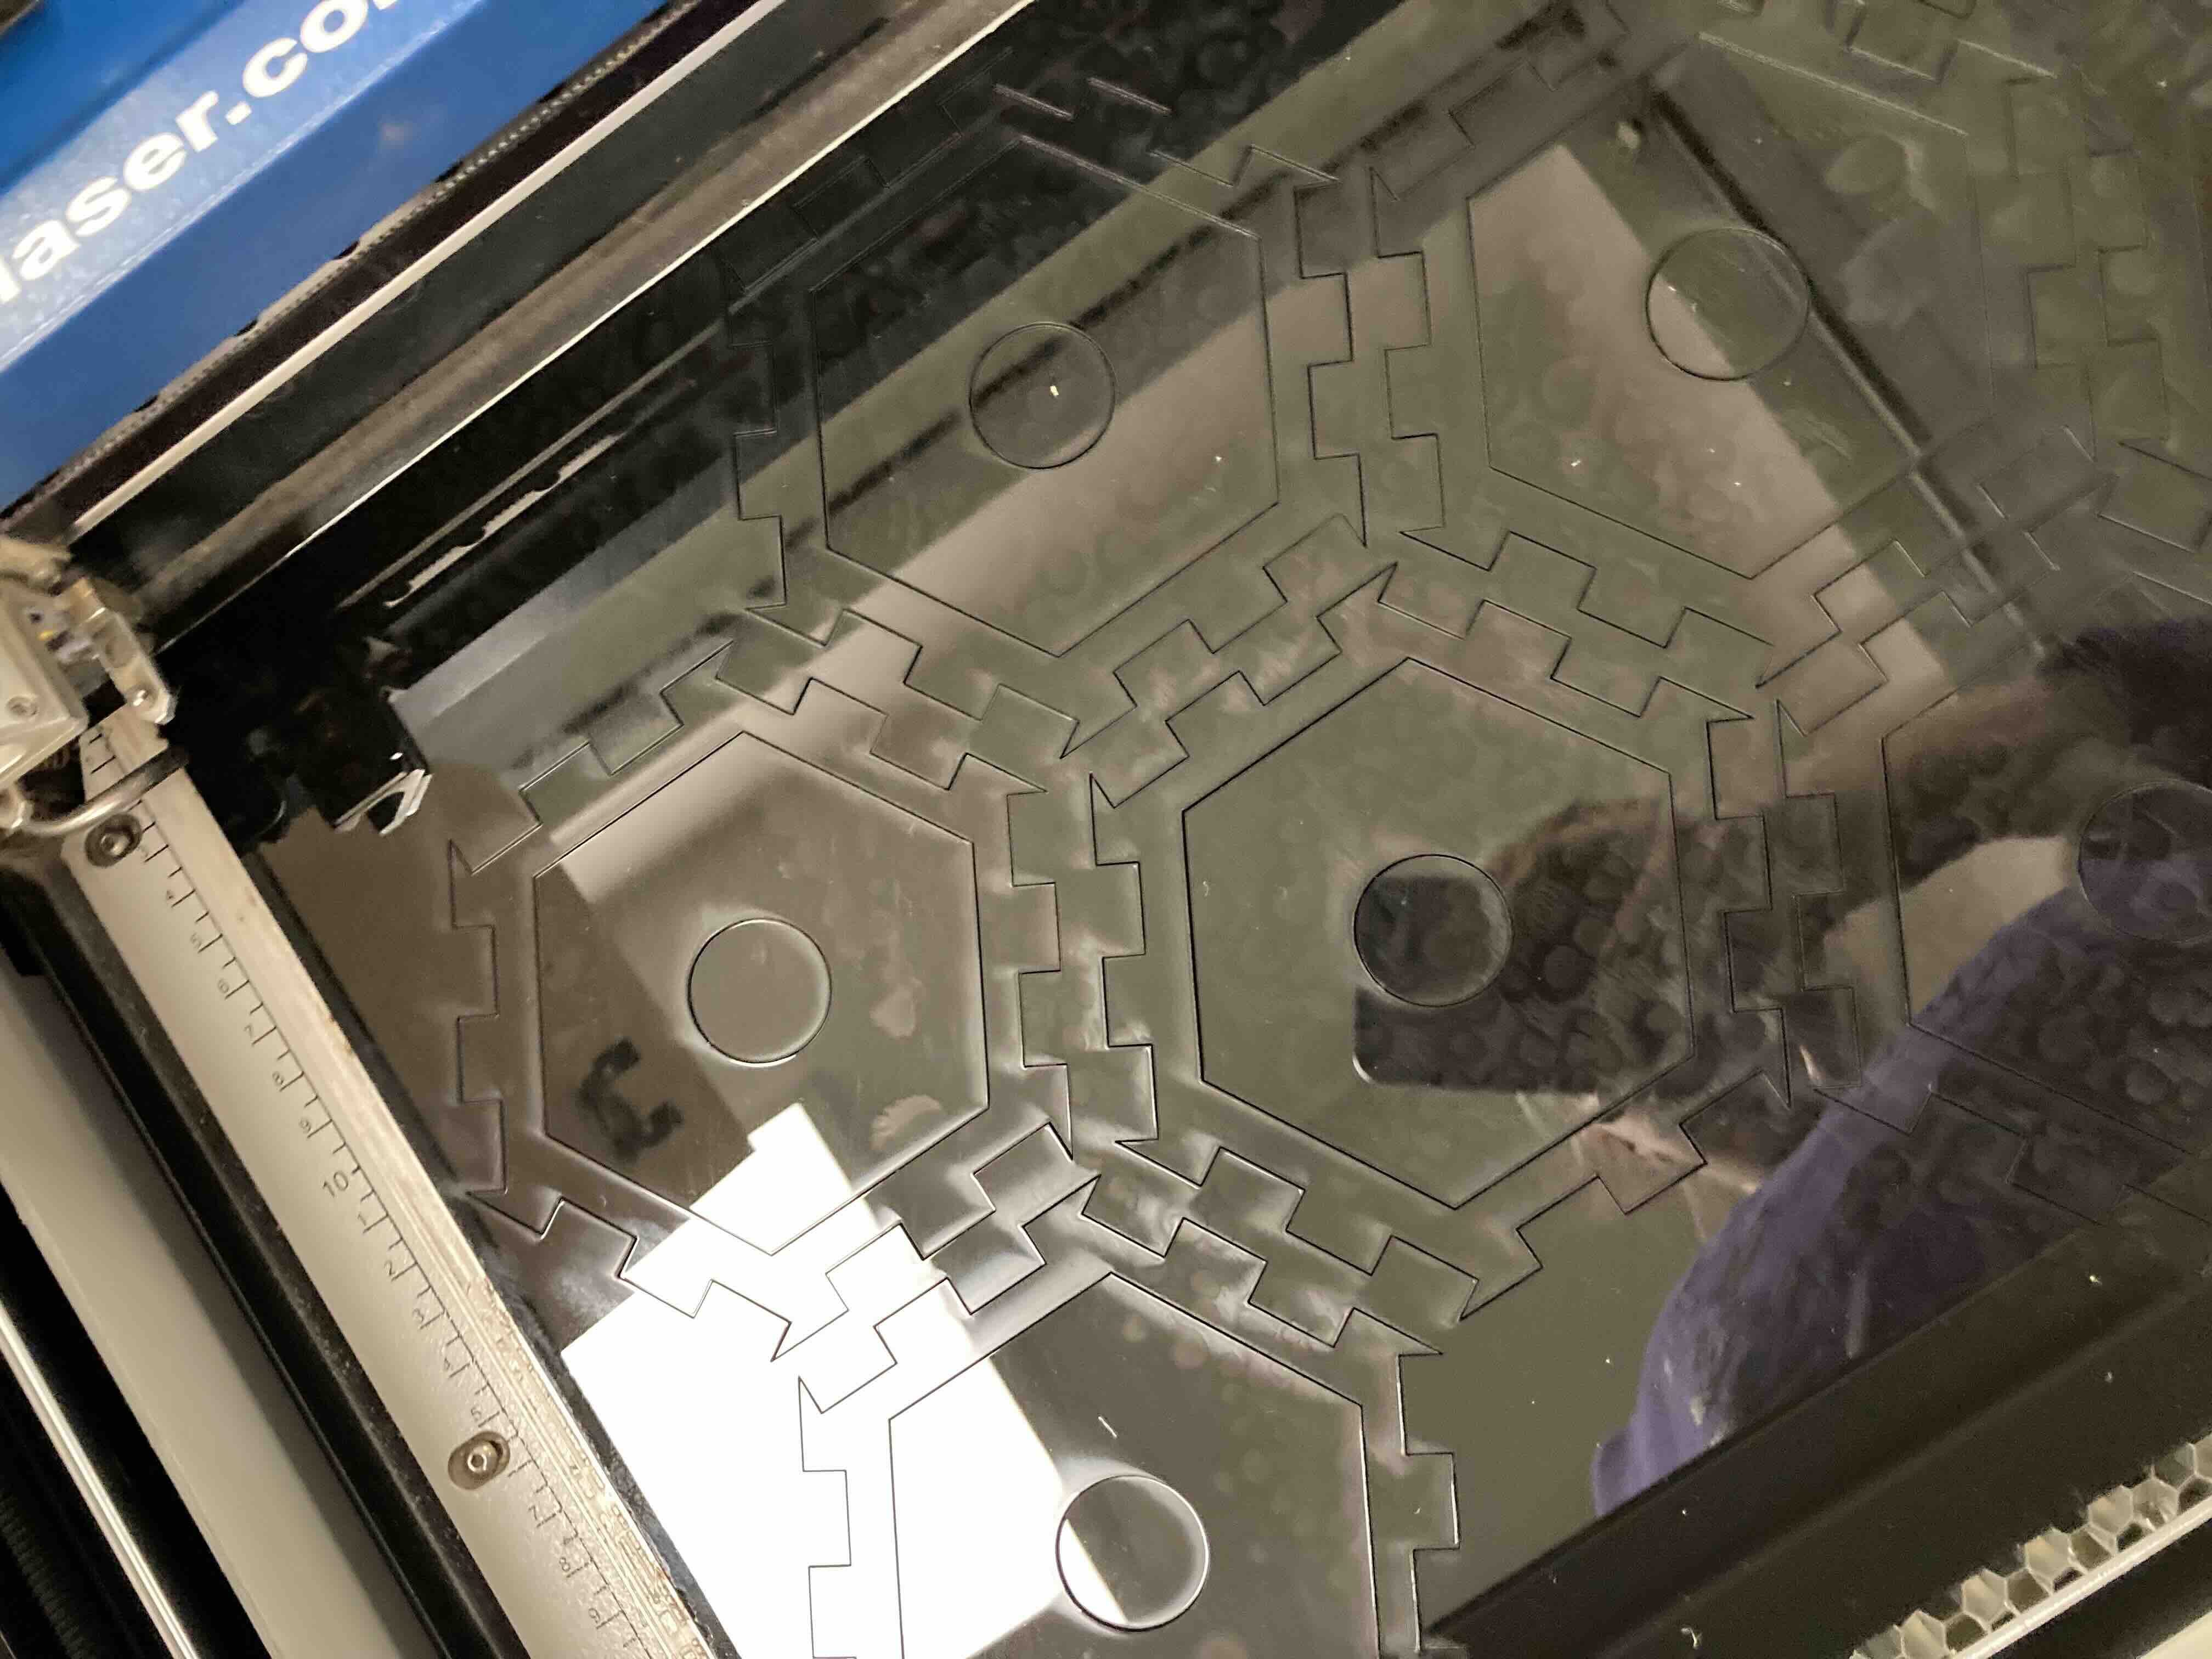
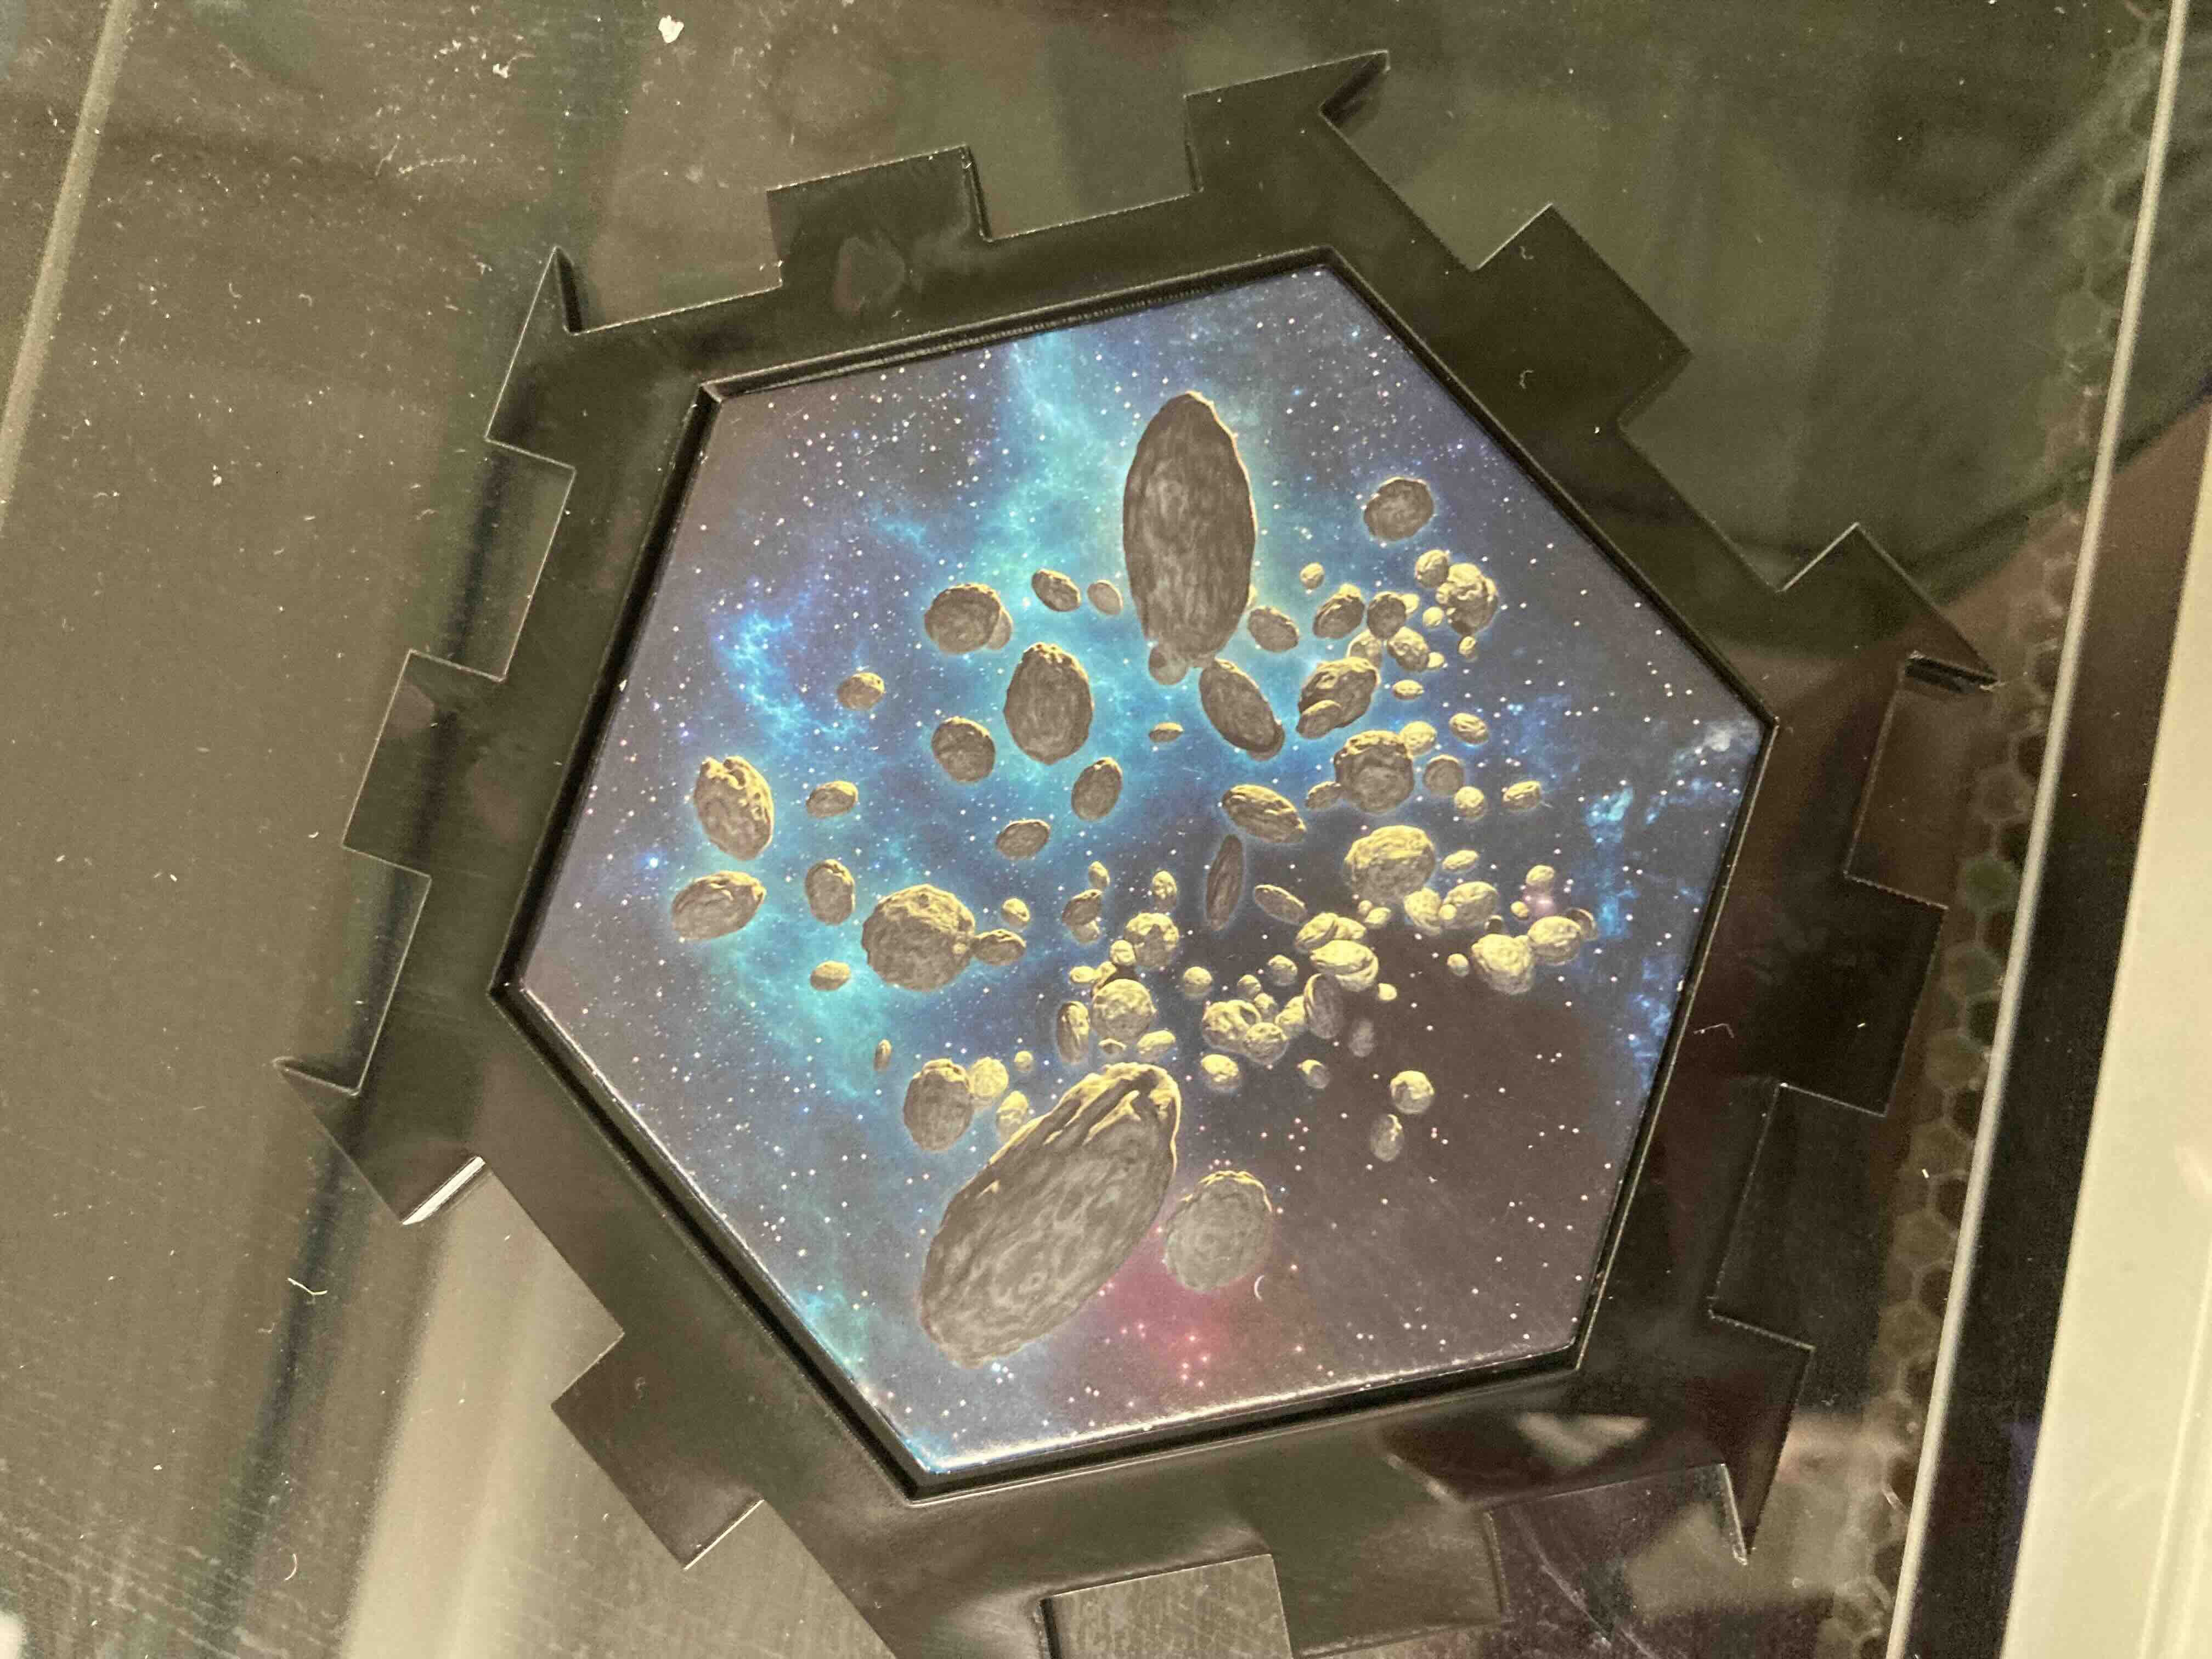
one tile
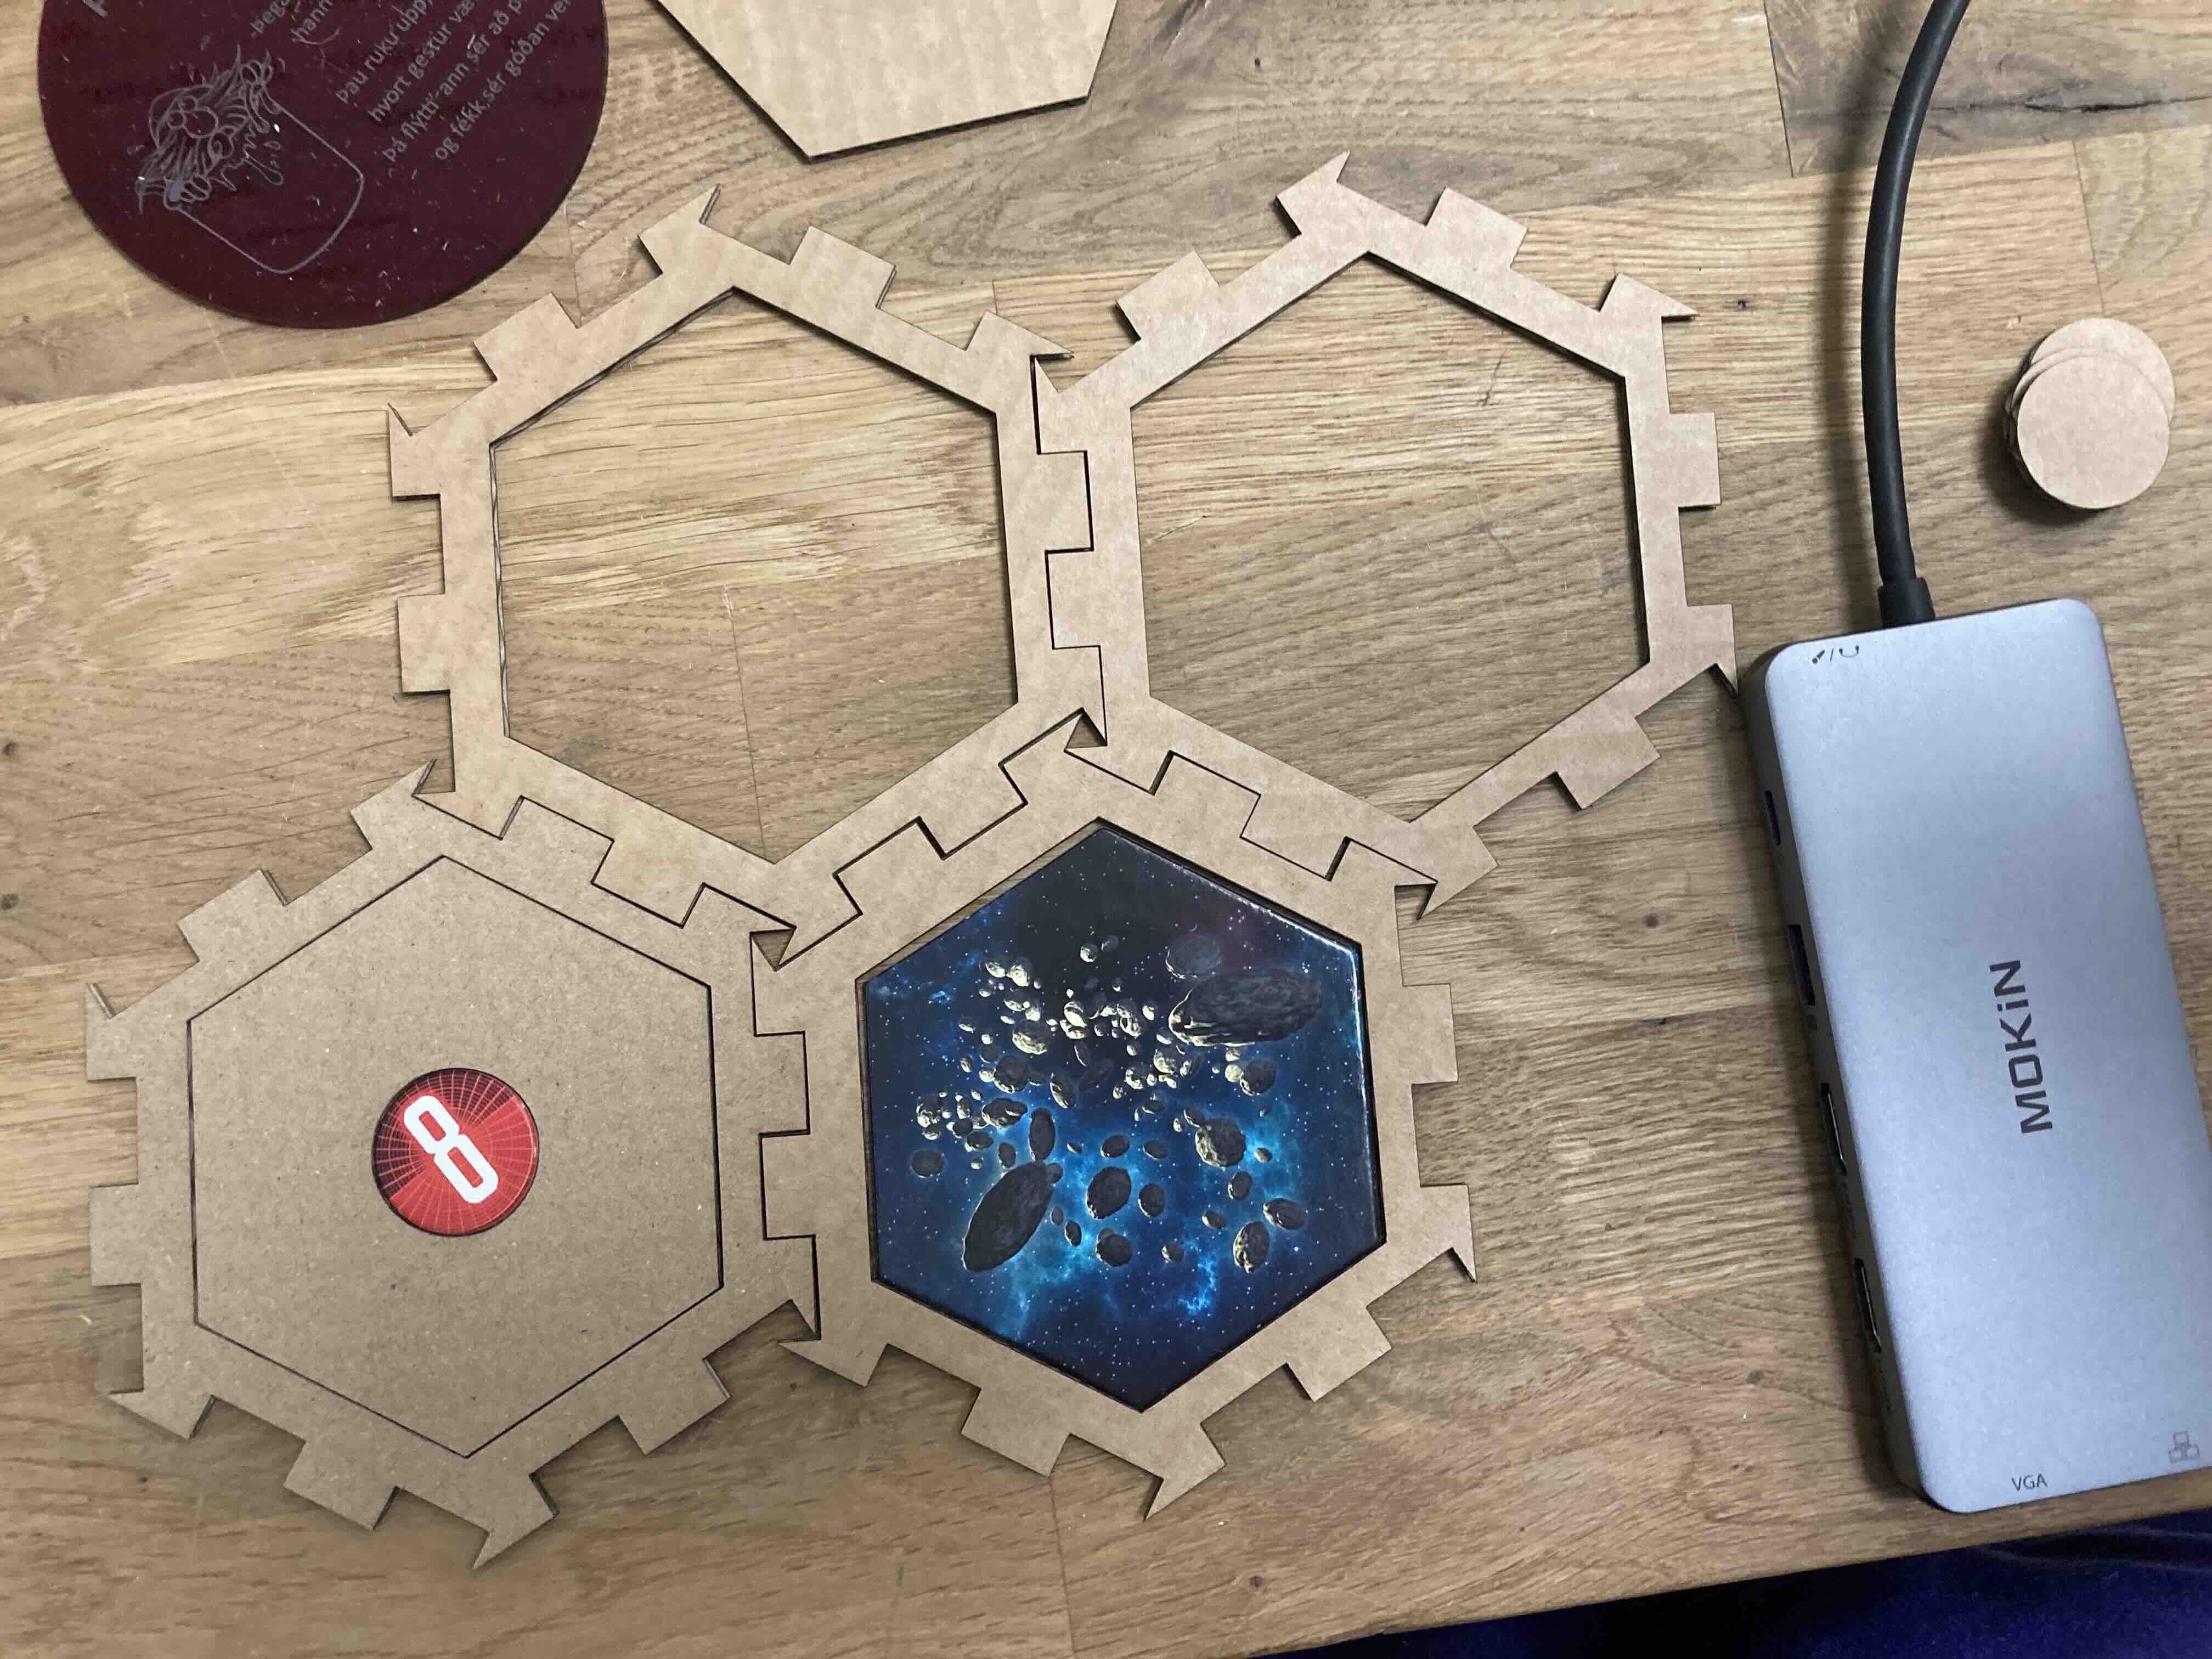
multiple tiles
Assembled
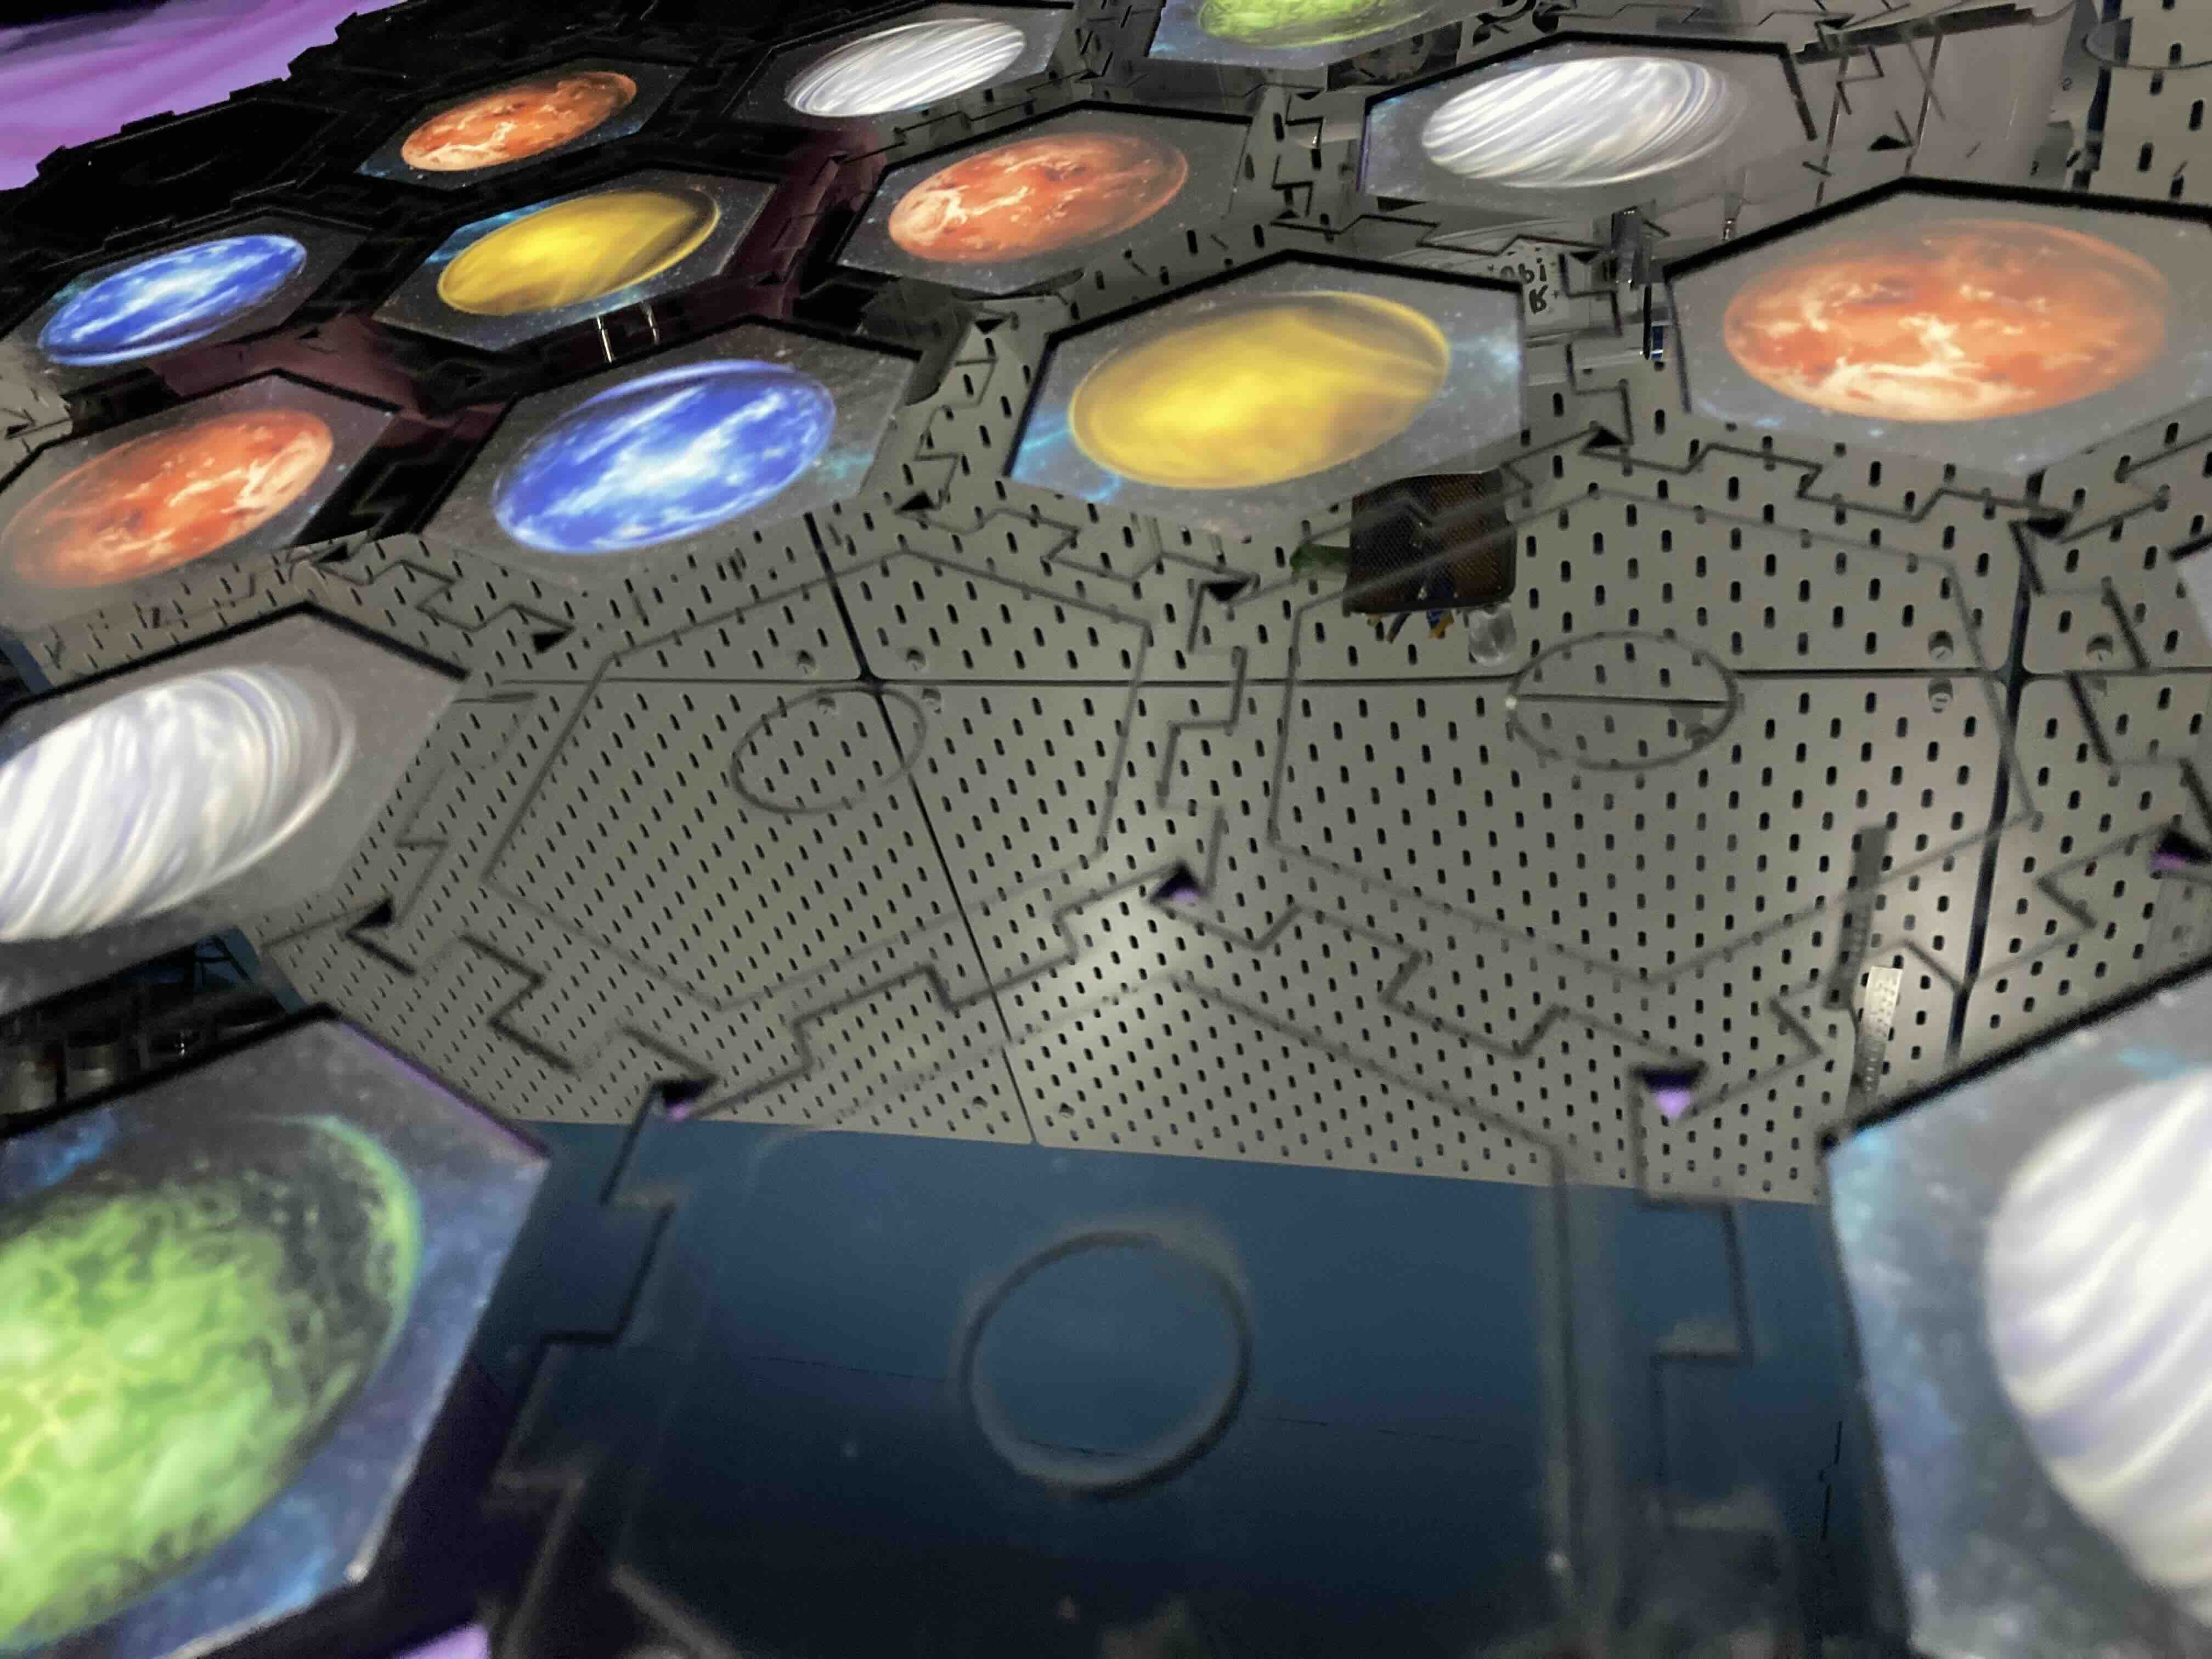
Pictures of the gameboard assembled mixing together the old and new tiles. The boarder we made around the tiles (both old and new) really helped with the stability of the gameboard.
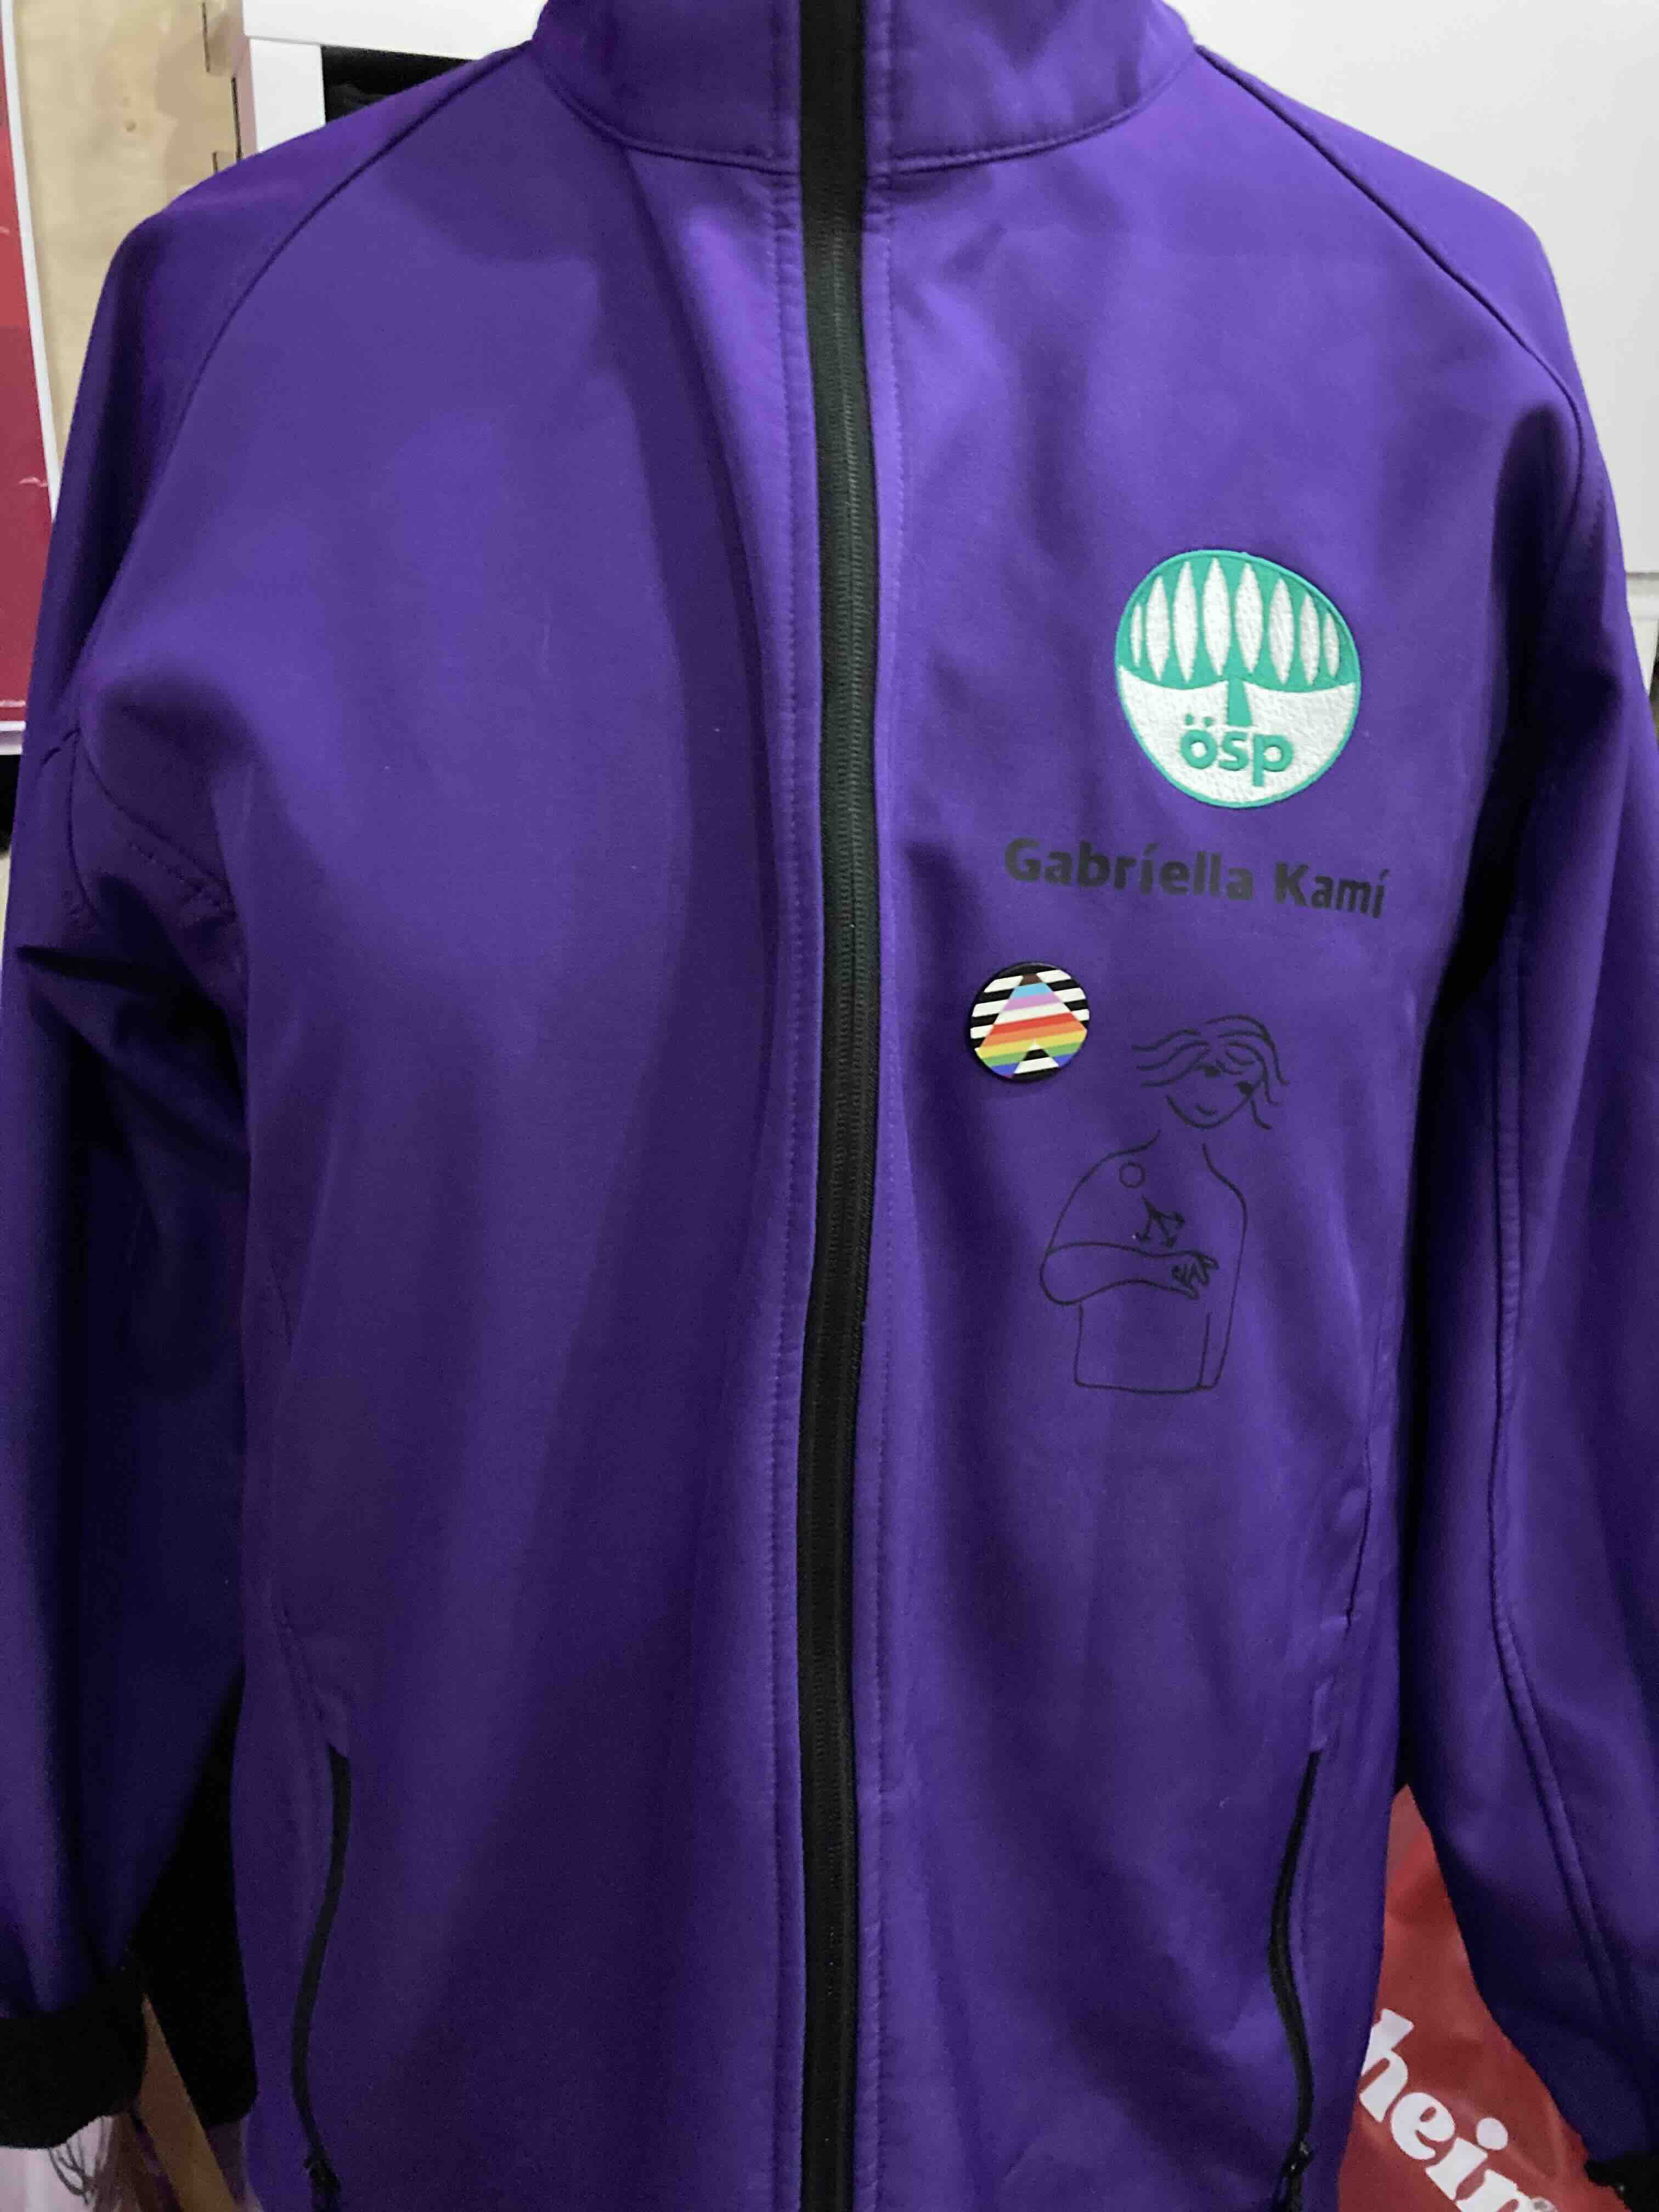
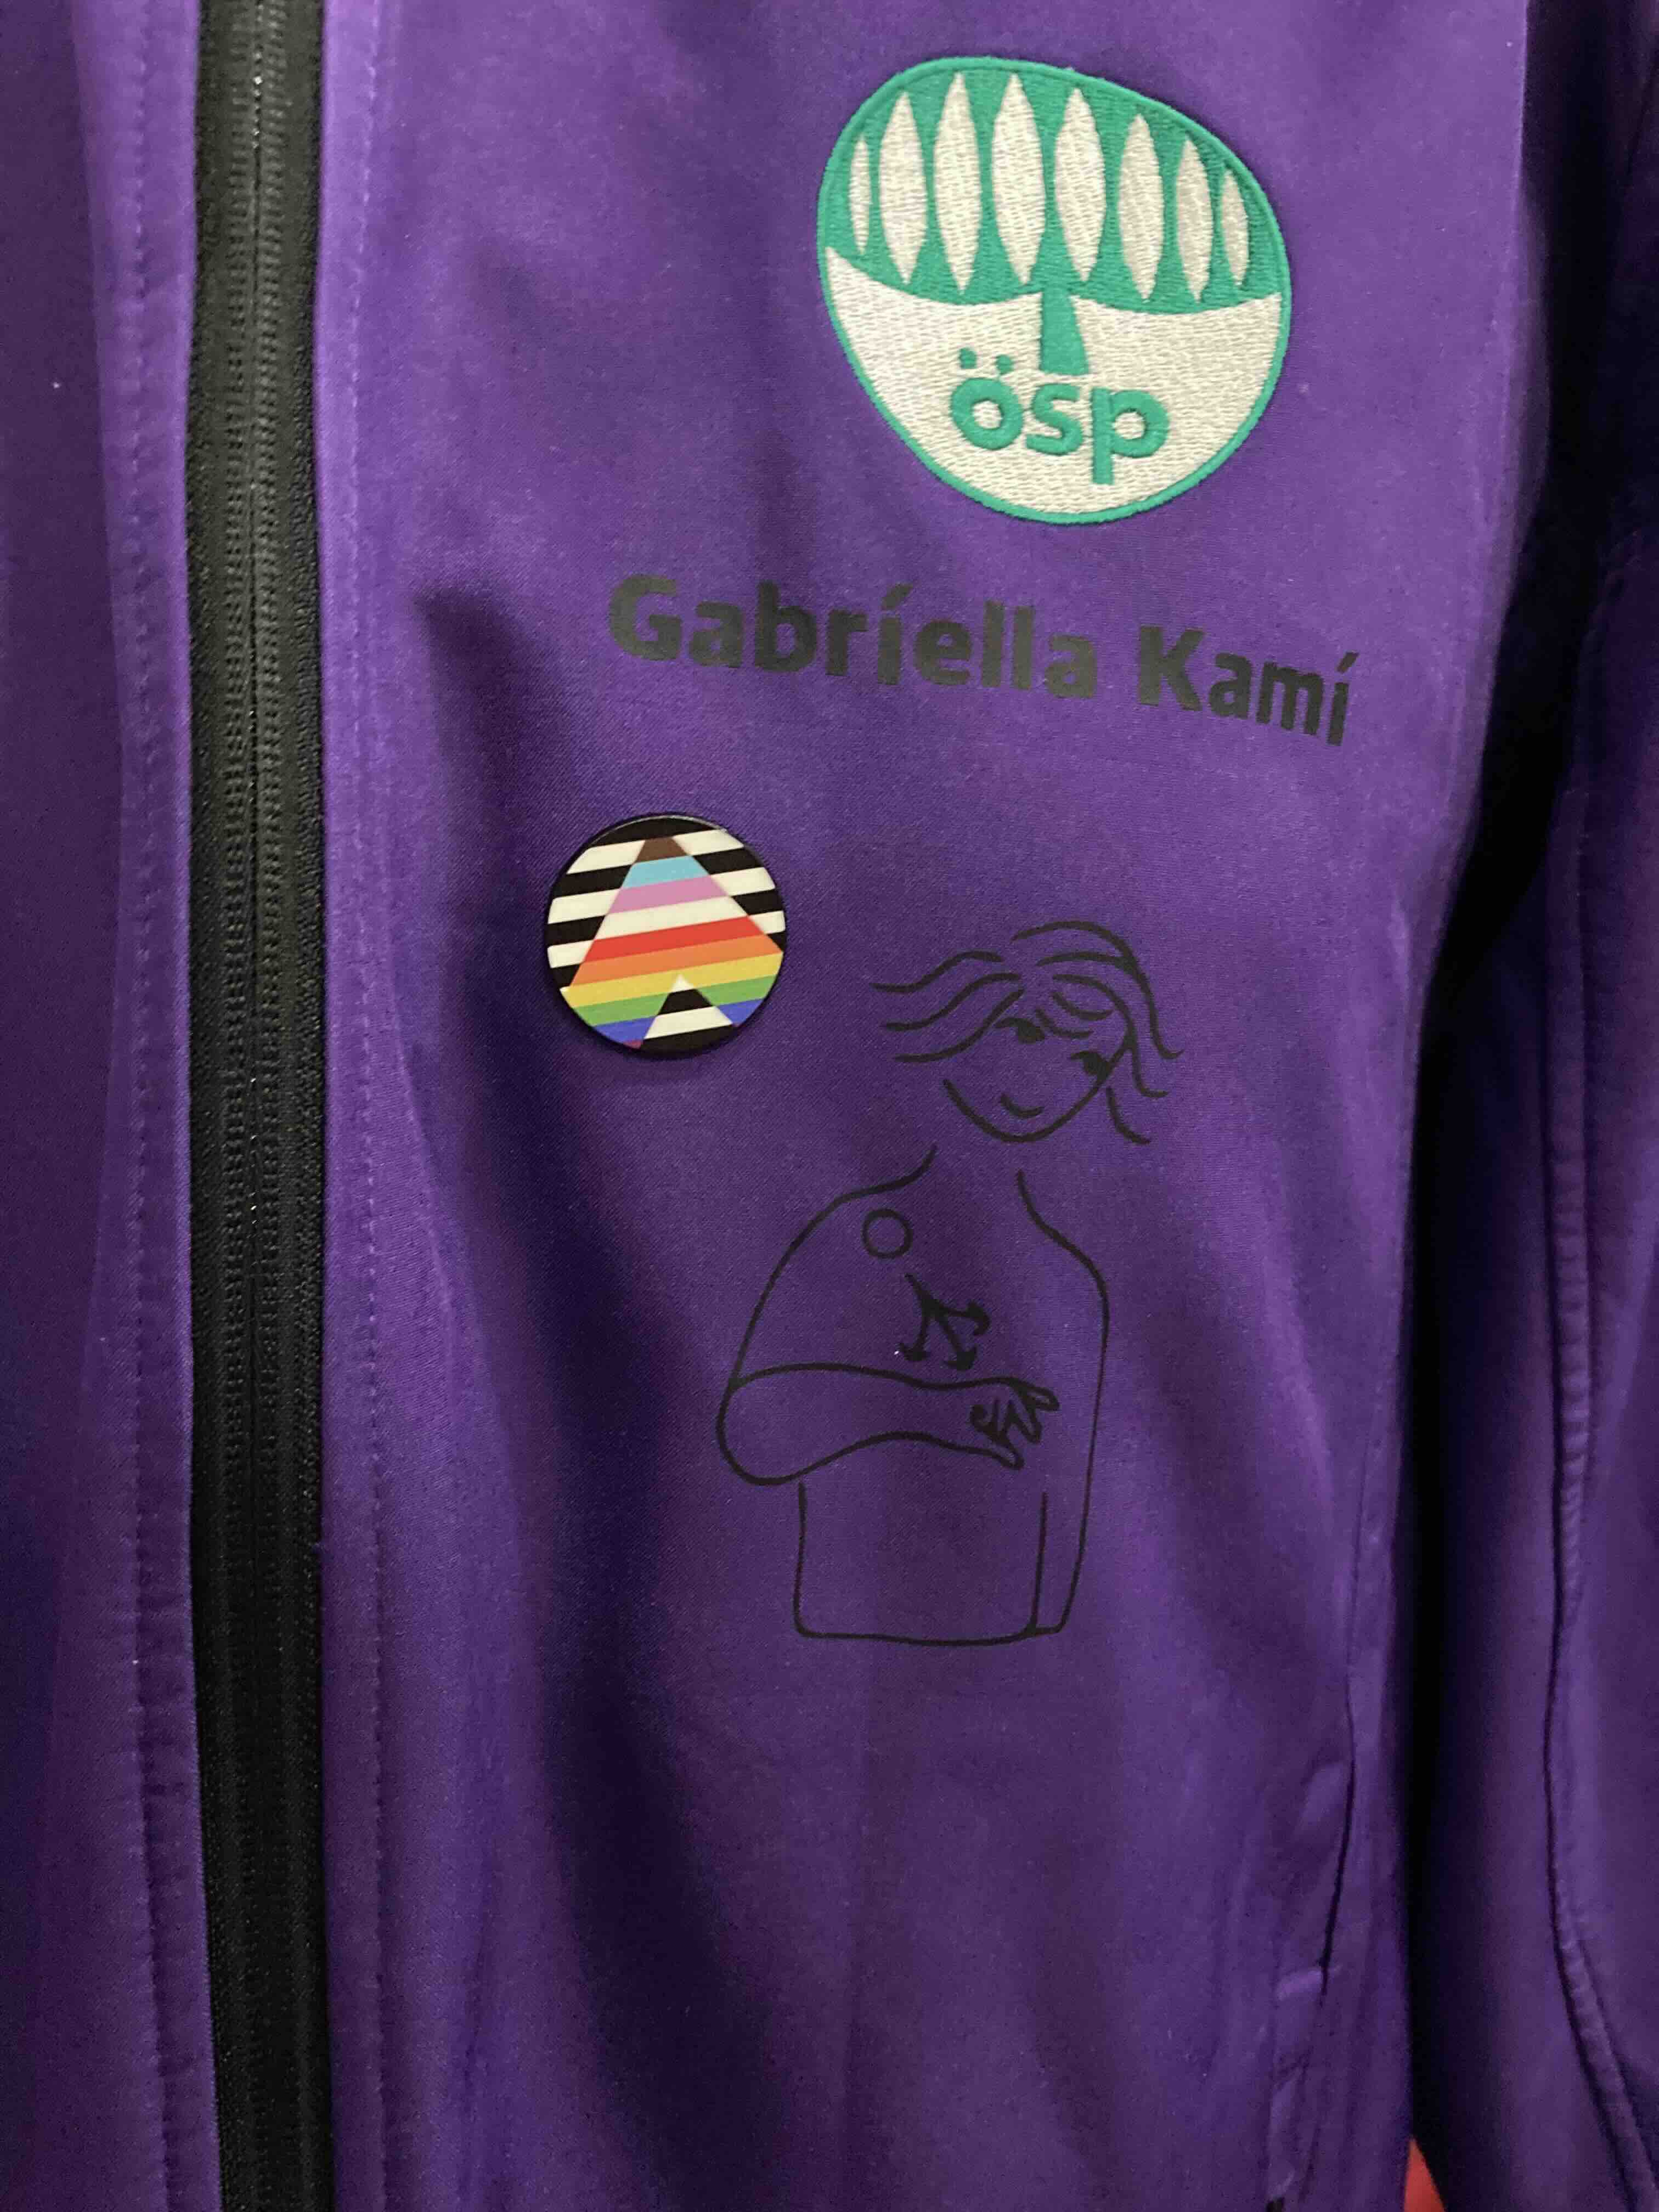
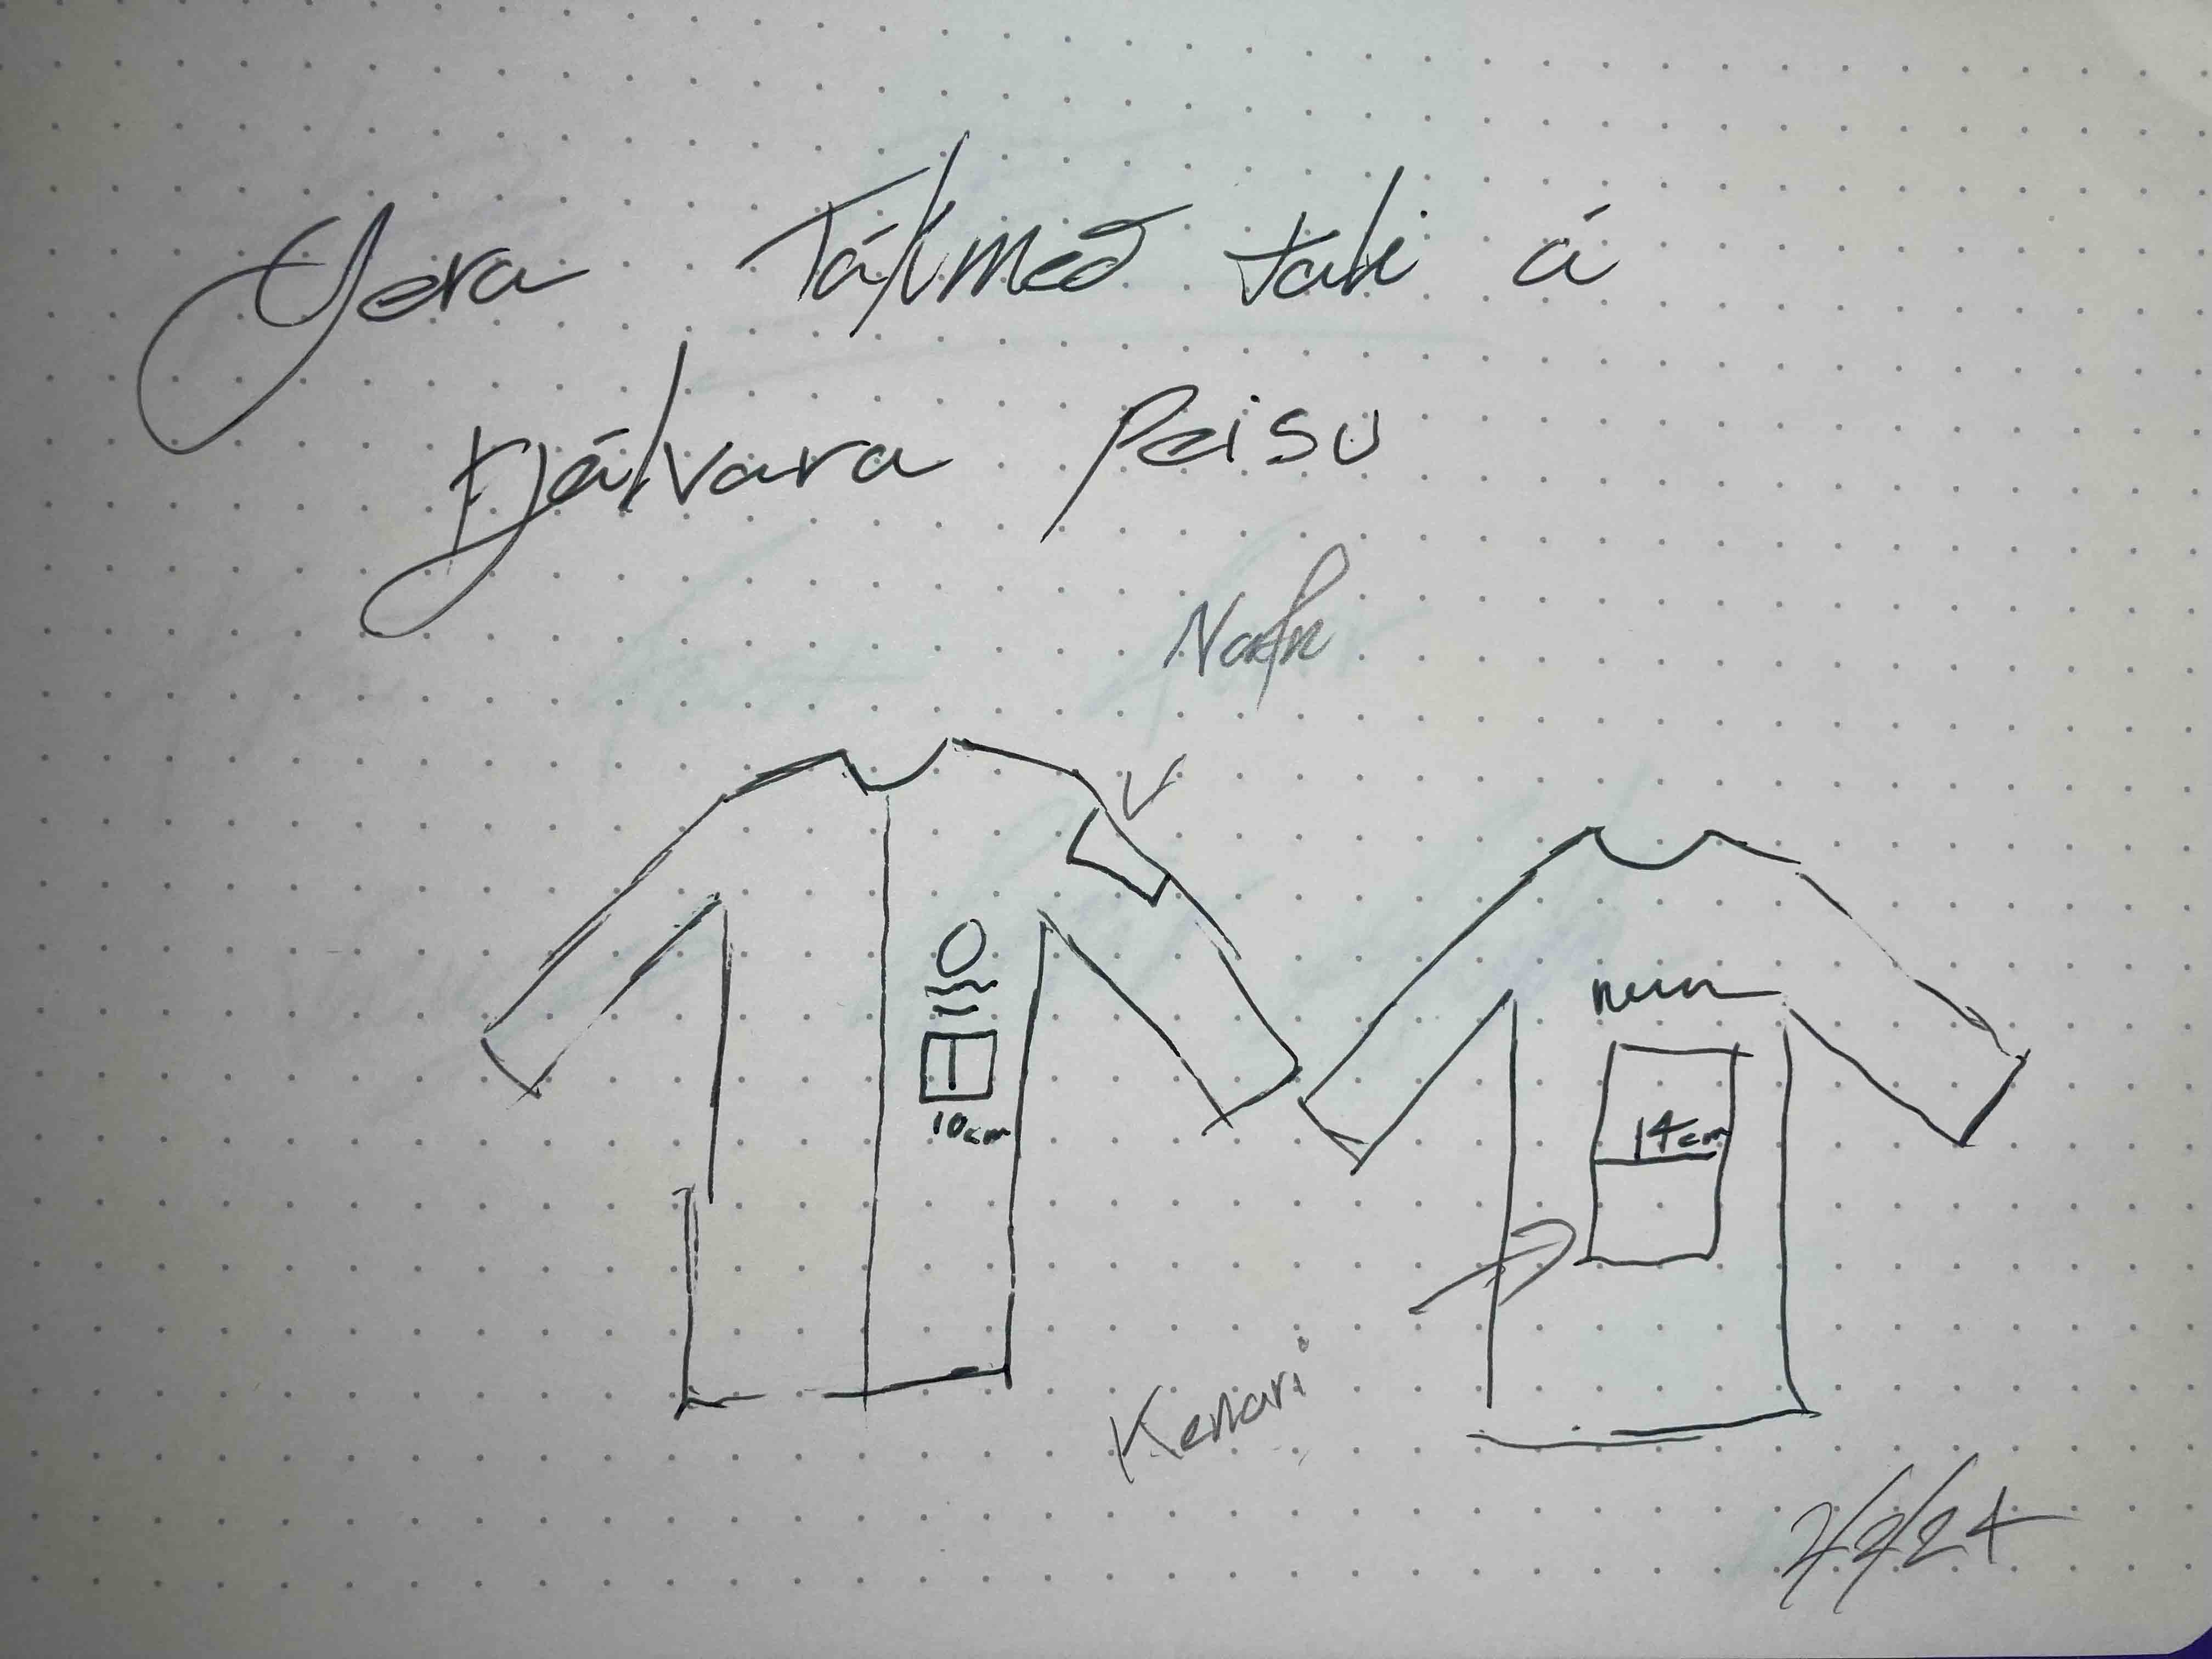
Sketches showing the placement and measurement of the vinyl on the coach jacket.
VinylCutter: Coaches Sweater
idea
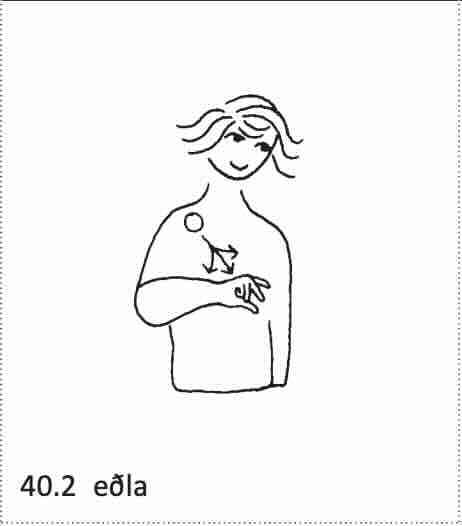
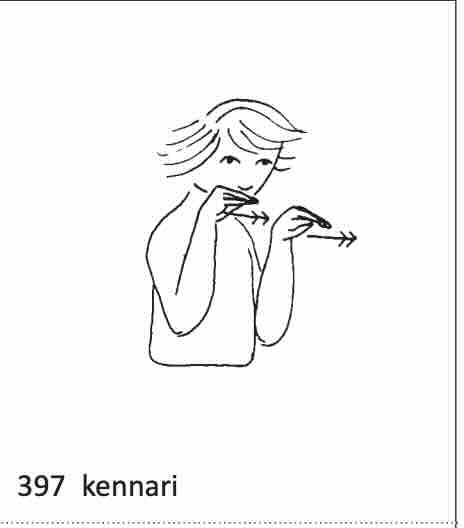
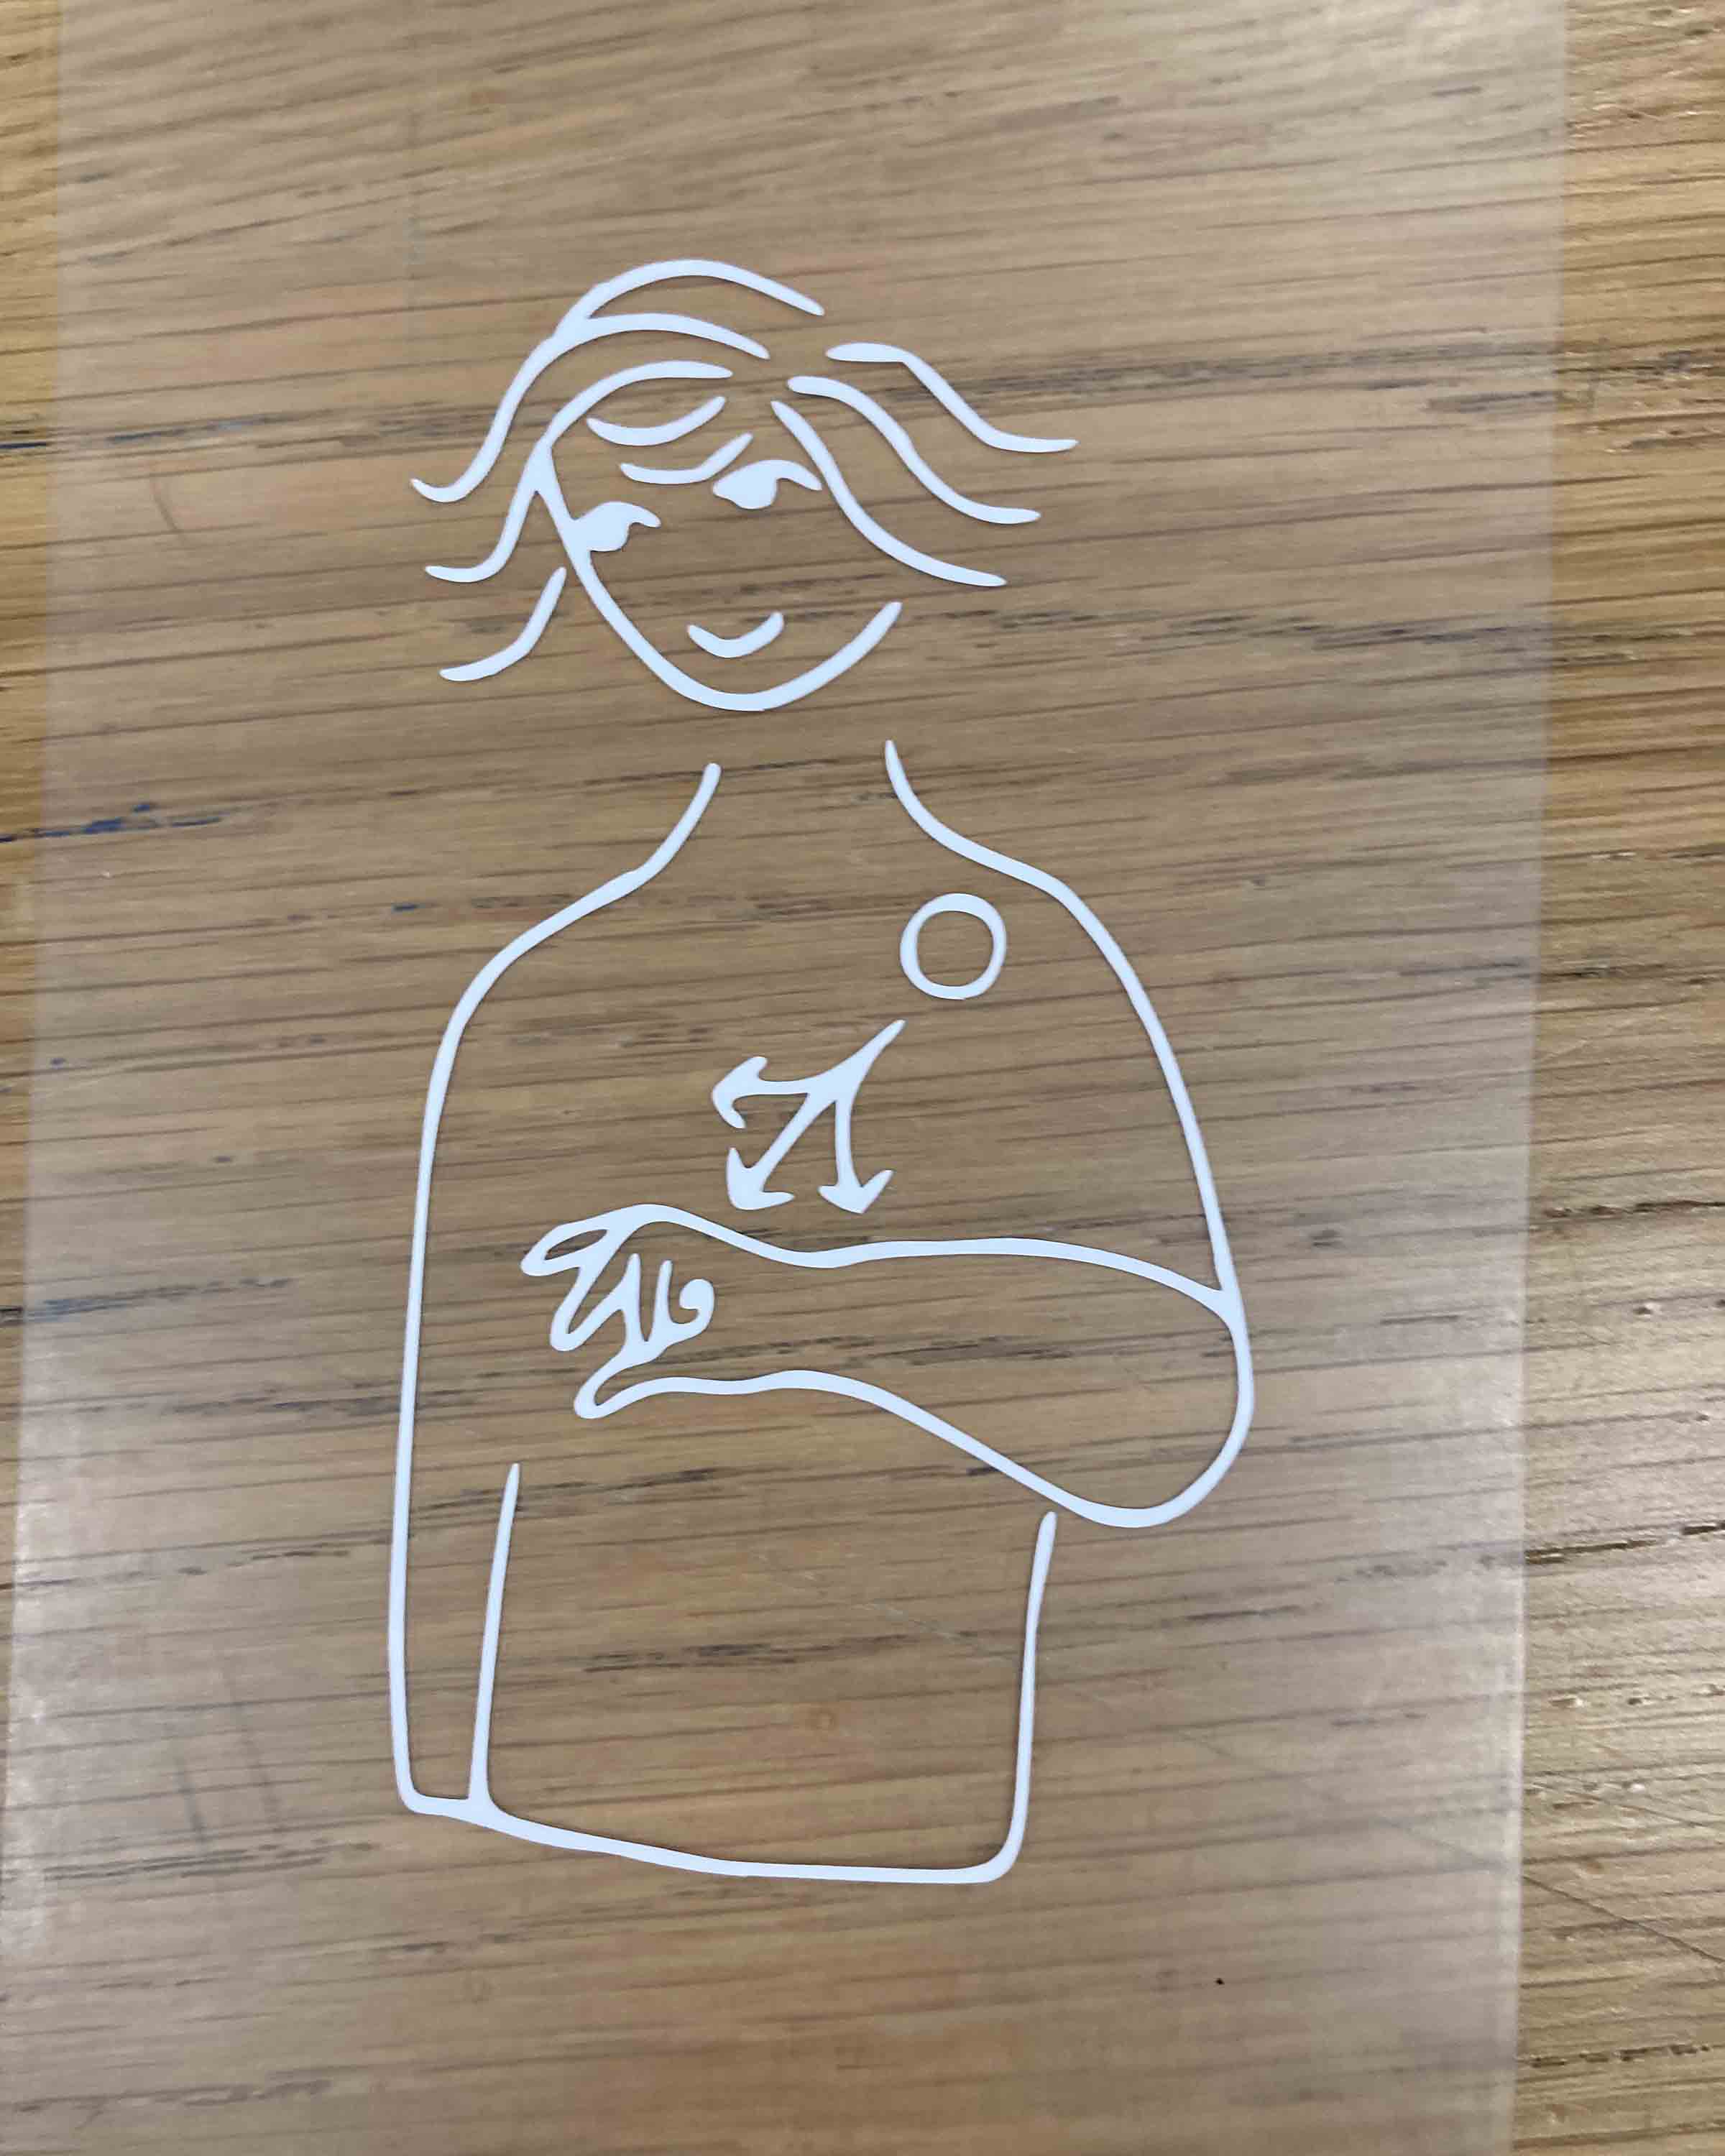
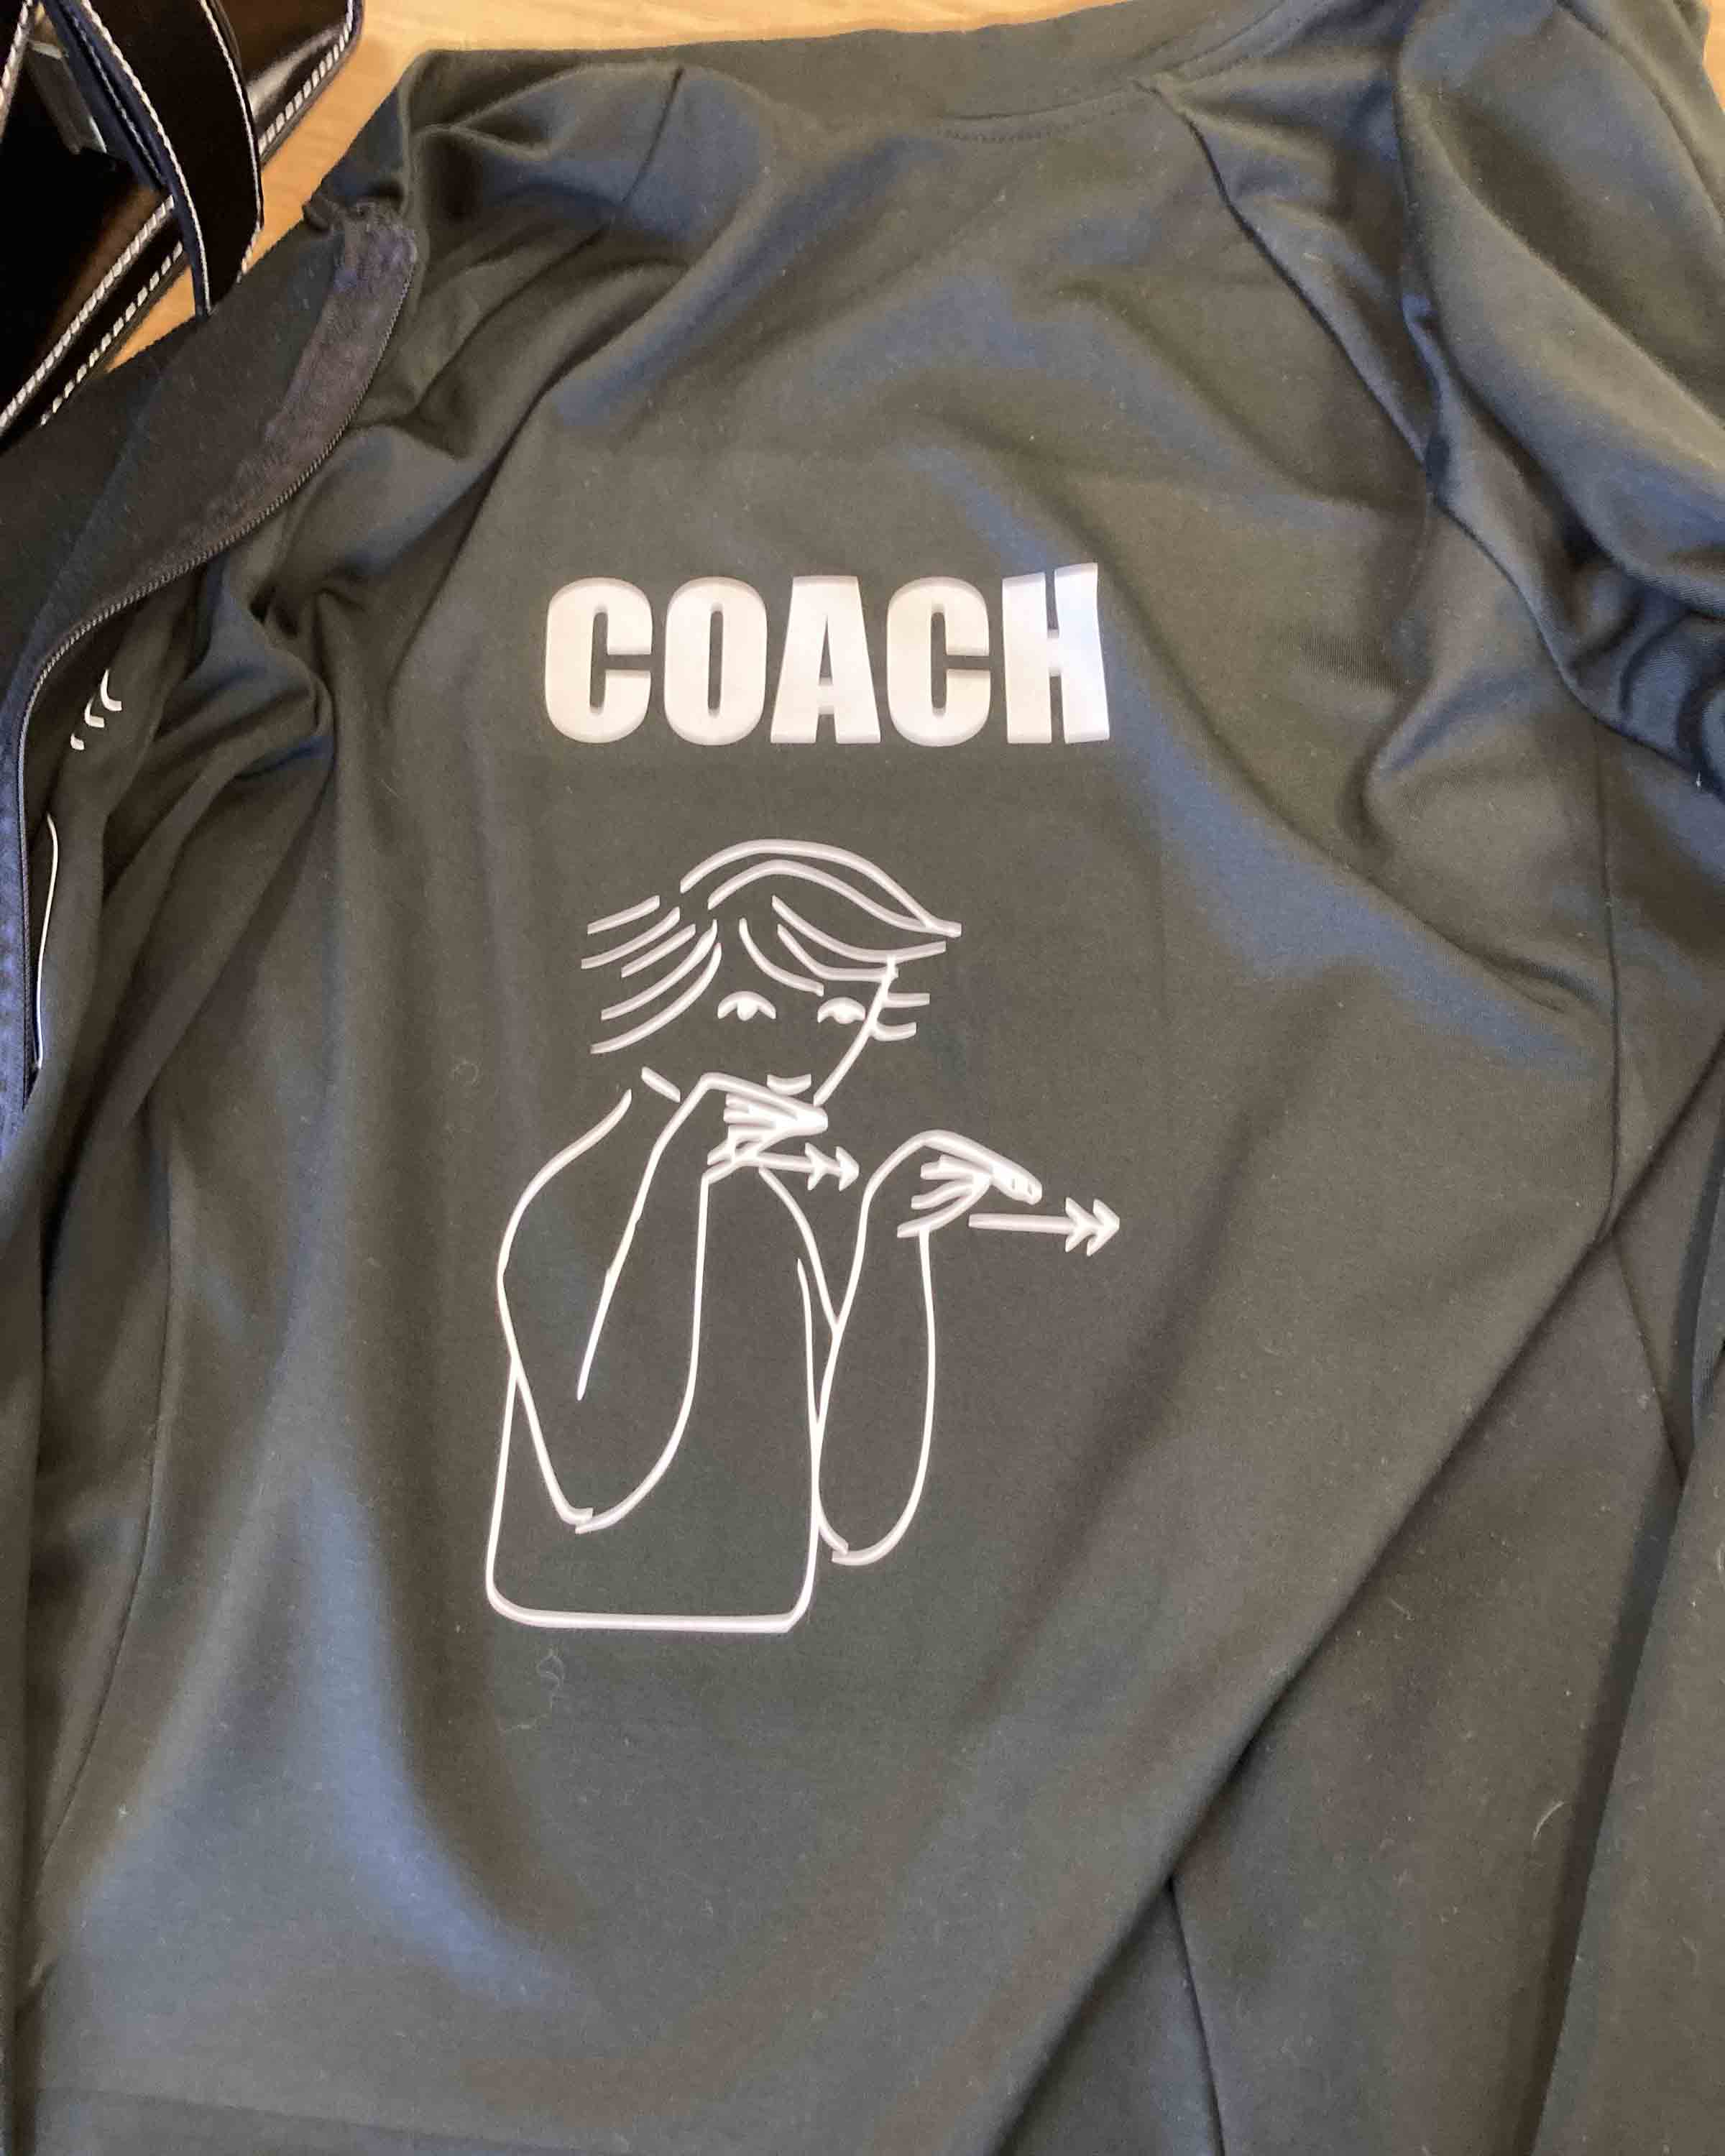
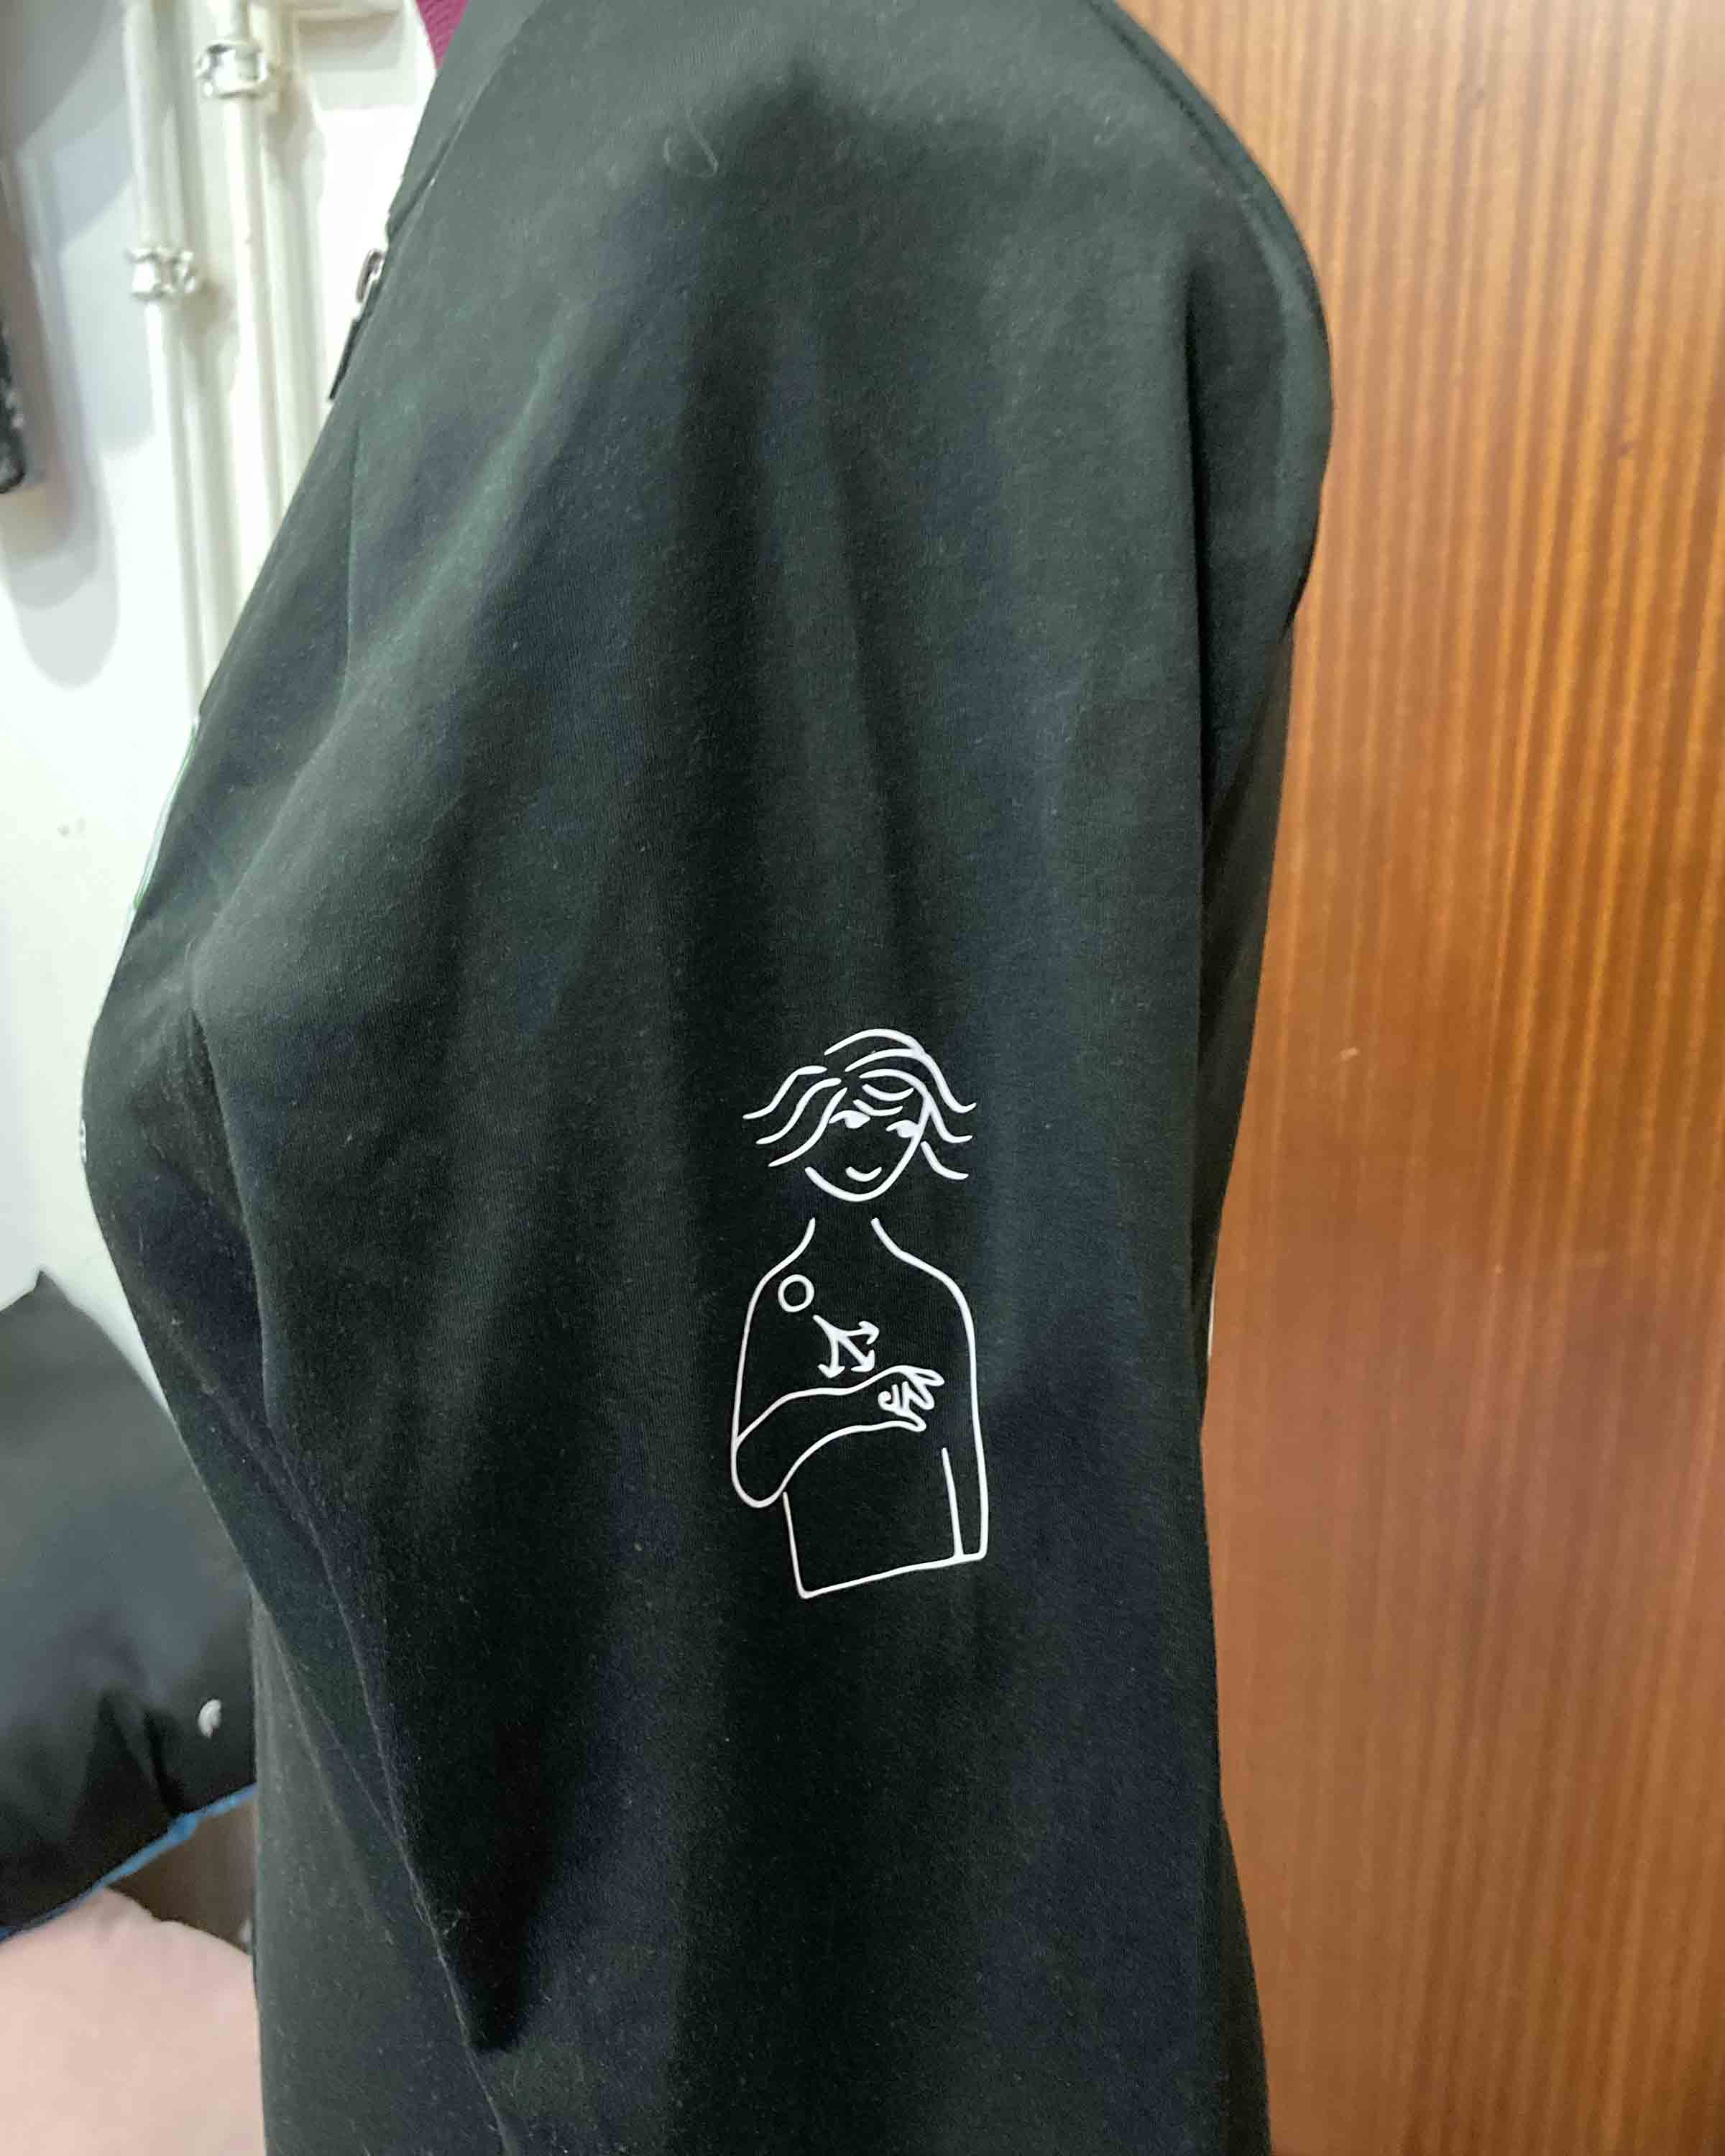
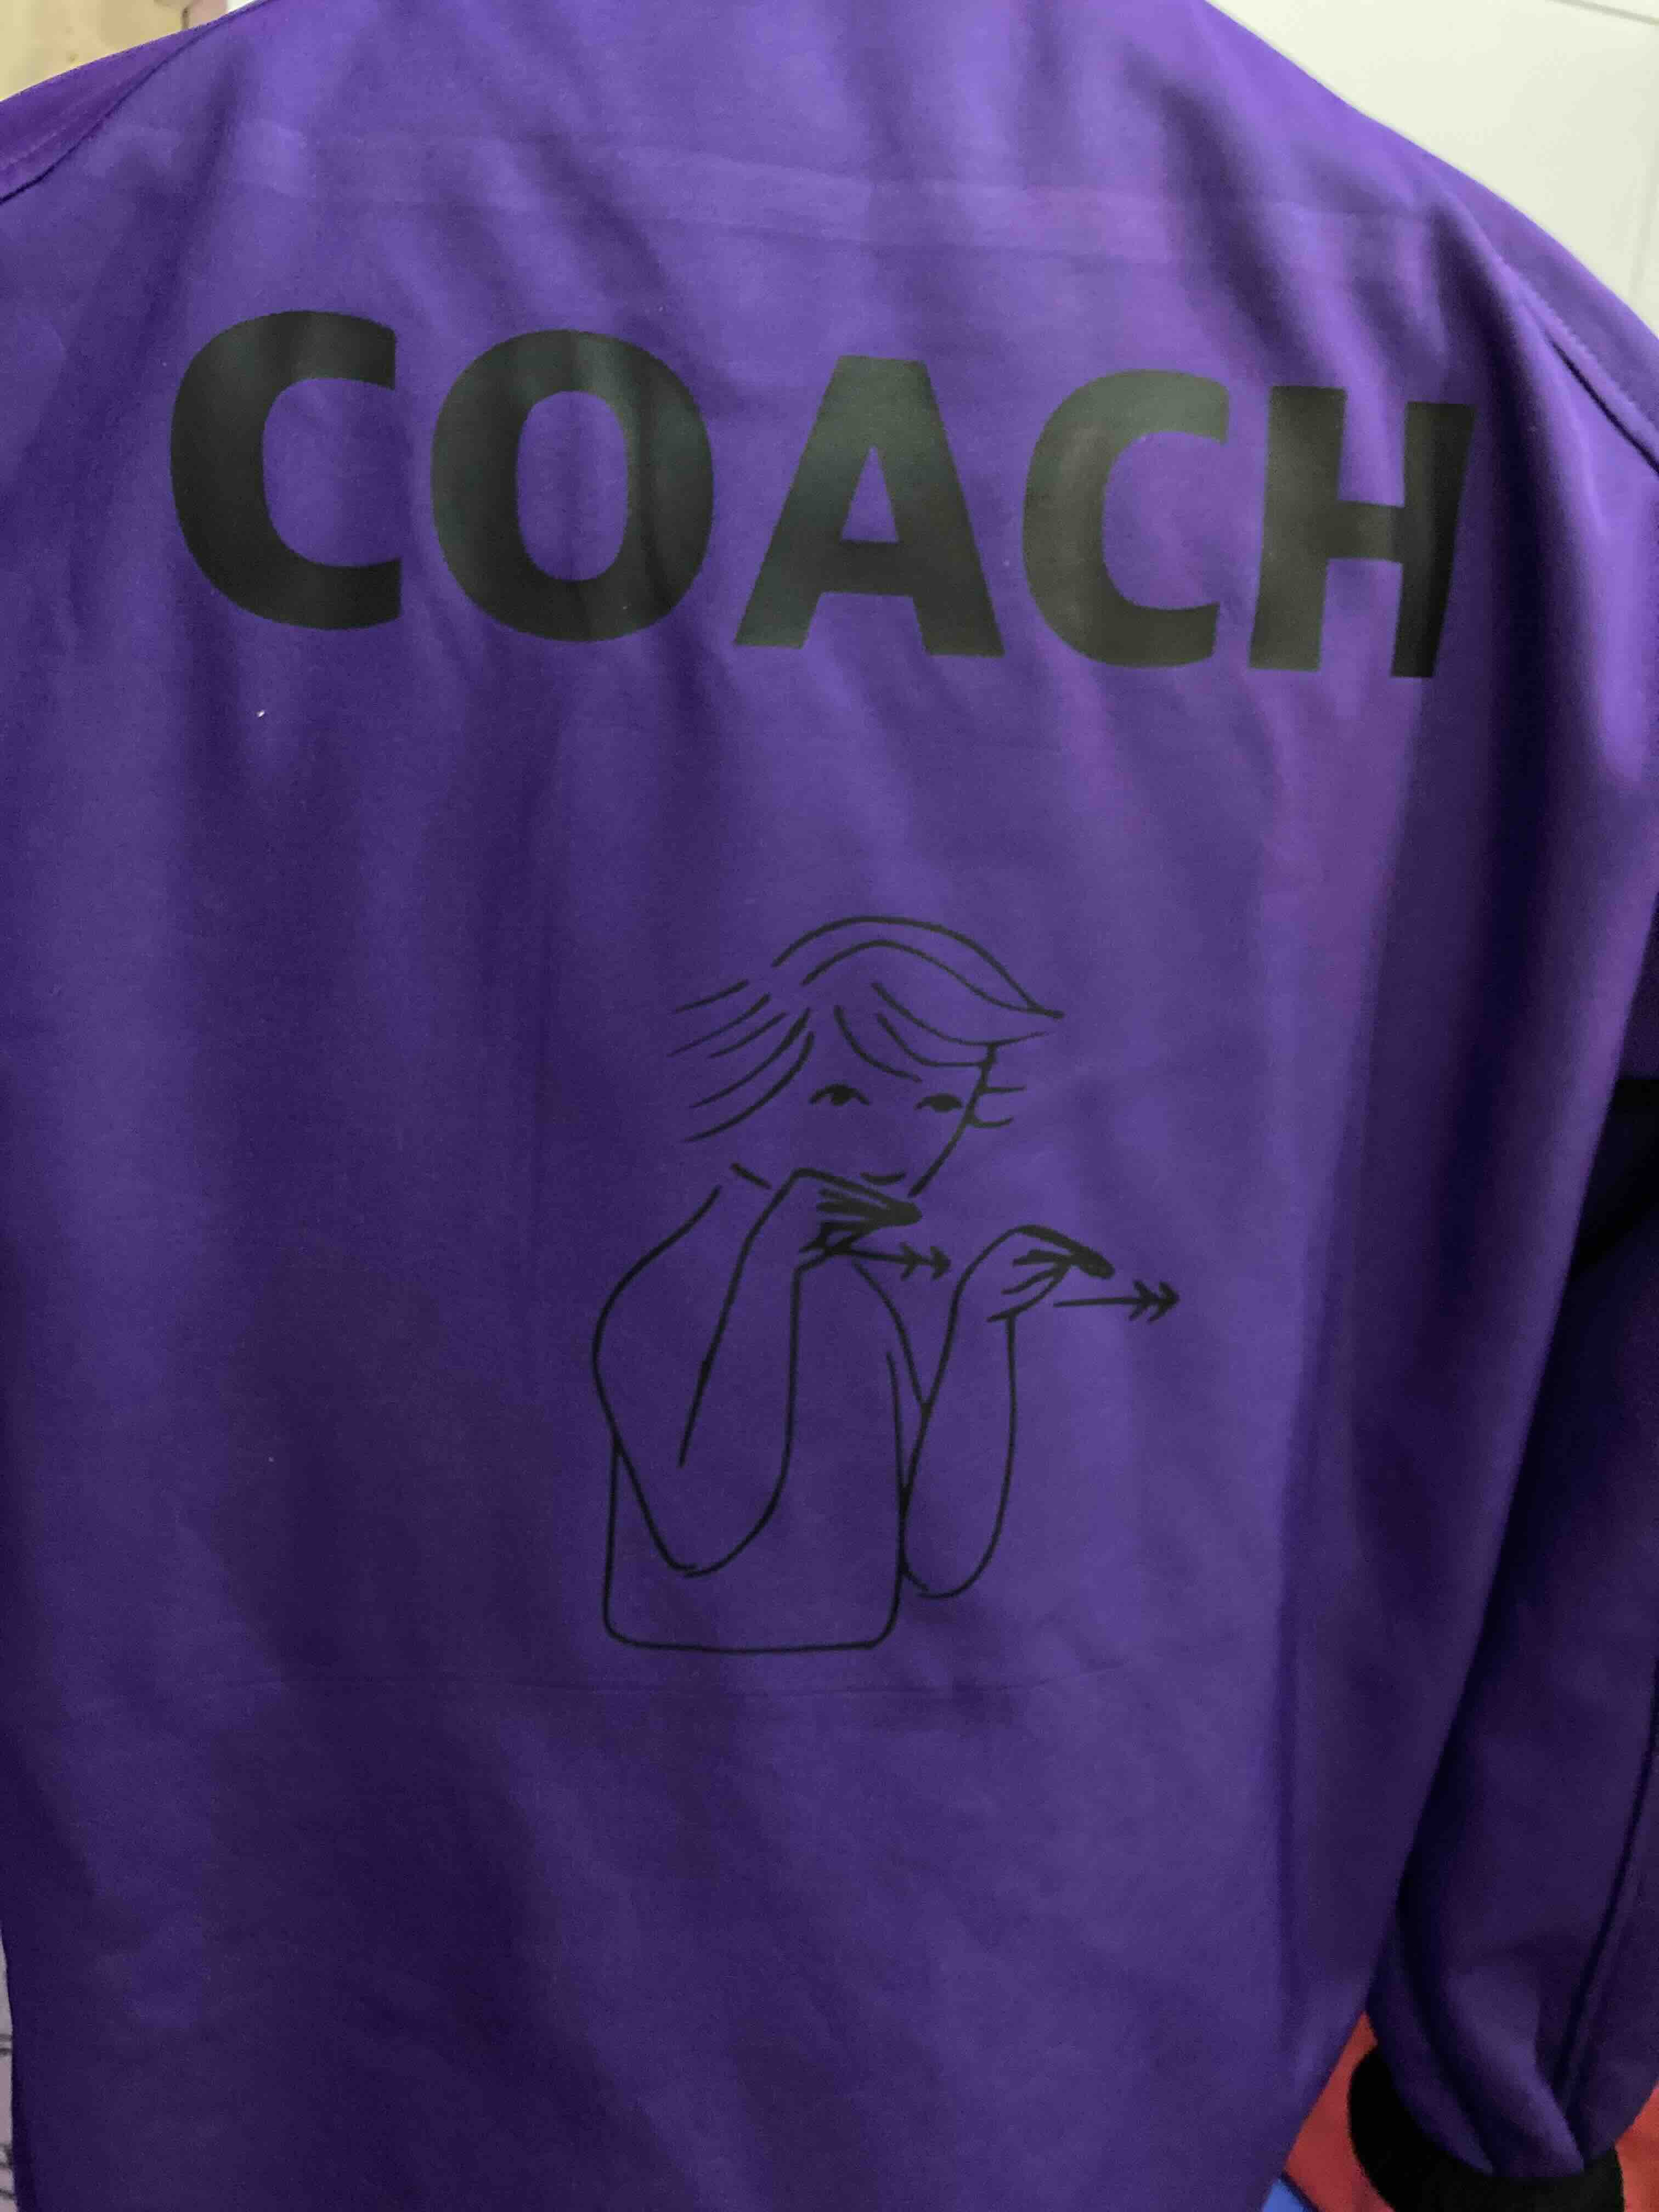
I coach kids from the age 6 to 10 in my the league. We mainly use pictures to teach. so I thought of using the Ták með tali. (TMT has simplified version of ASL) four the kids to recognise the word coach and my name Because it‘s used frequently in kindergartens and some schools.
I screenshot the image for lizard and teacher(I need to screenshot it because it wouldn‘t let me download the image).
Inkscape
I opened Inkscape want to file pressed import pressed Trace Bitmap and cleaned up the image Flip horizontally. Make sure that the image with the executors on the coach a sweater. I made sure that Fill and stroke, I made sure the Fill was off and Stroke was RGB, R was set to 255 G, was set to 0, B was set to 0. And Stroke style set to width 0,02 mm. I saved image as PDF.

Vinylcutter: textile
Then I open the file in the computer attached to the vinylcutter. I got the texile vinyl from the extra in bin, put in the machine set the machine on peace to get the measurements open the file in the computer press get measurements from machine and press print. And the vinylcutter was done printing.
I desided since the vinyl pieces were rather small to use scraps. If you do that you have to measure the size of the pices and set the Roland piece to be able to put in the size of the vinyl scrap you are using. I you are using vinyl from a roll you have to select edge.
Job type:edge (for vinyl roll)
Job type:piece (for scraps).
Heatpress
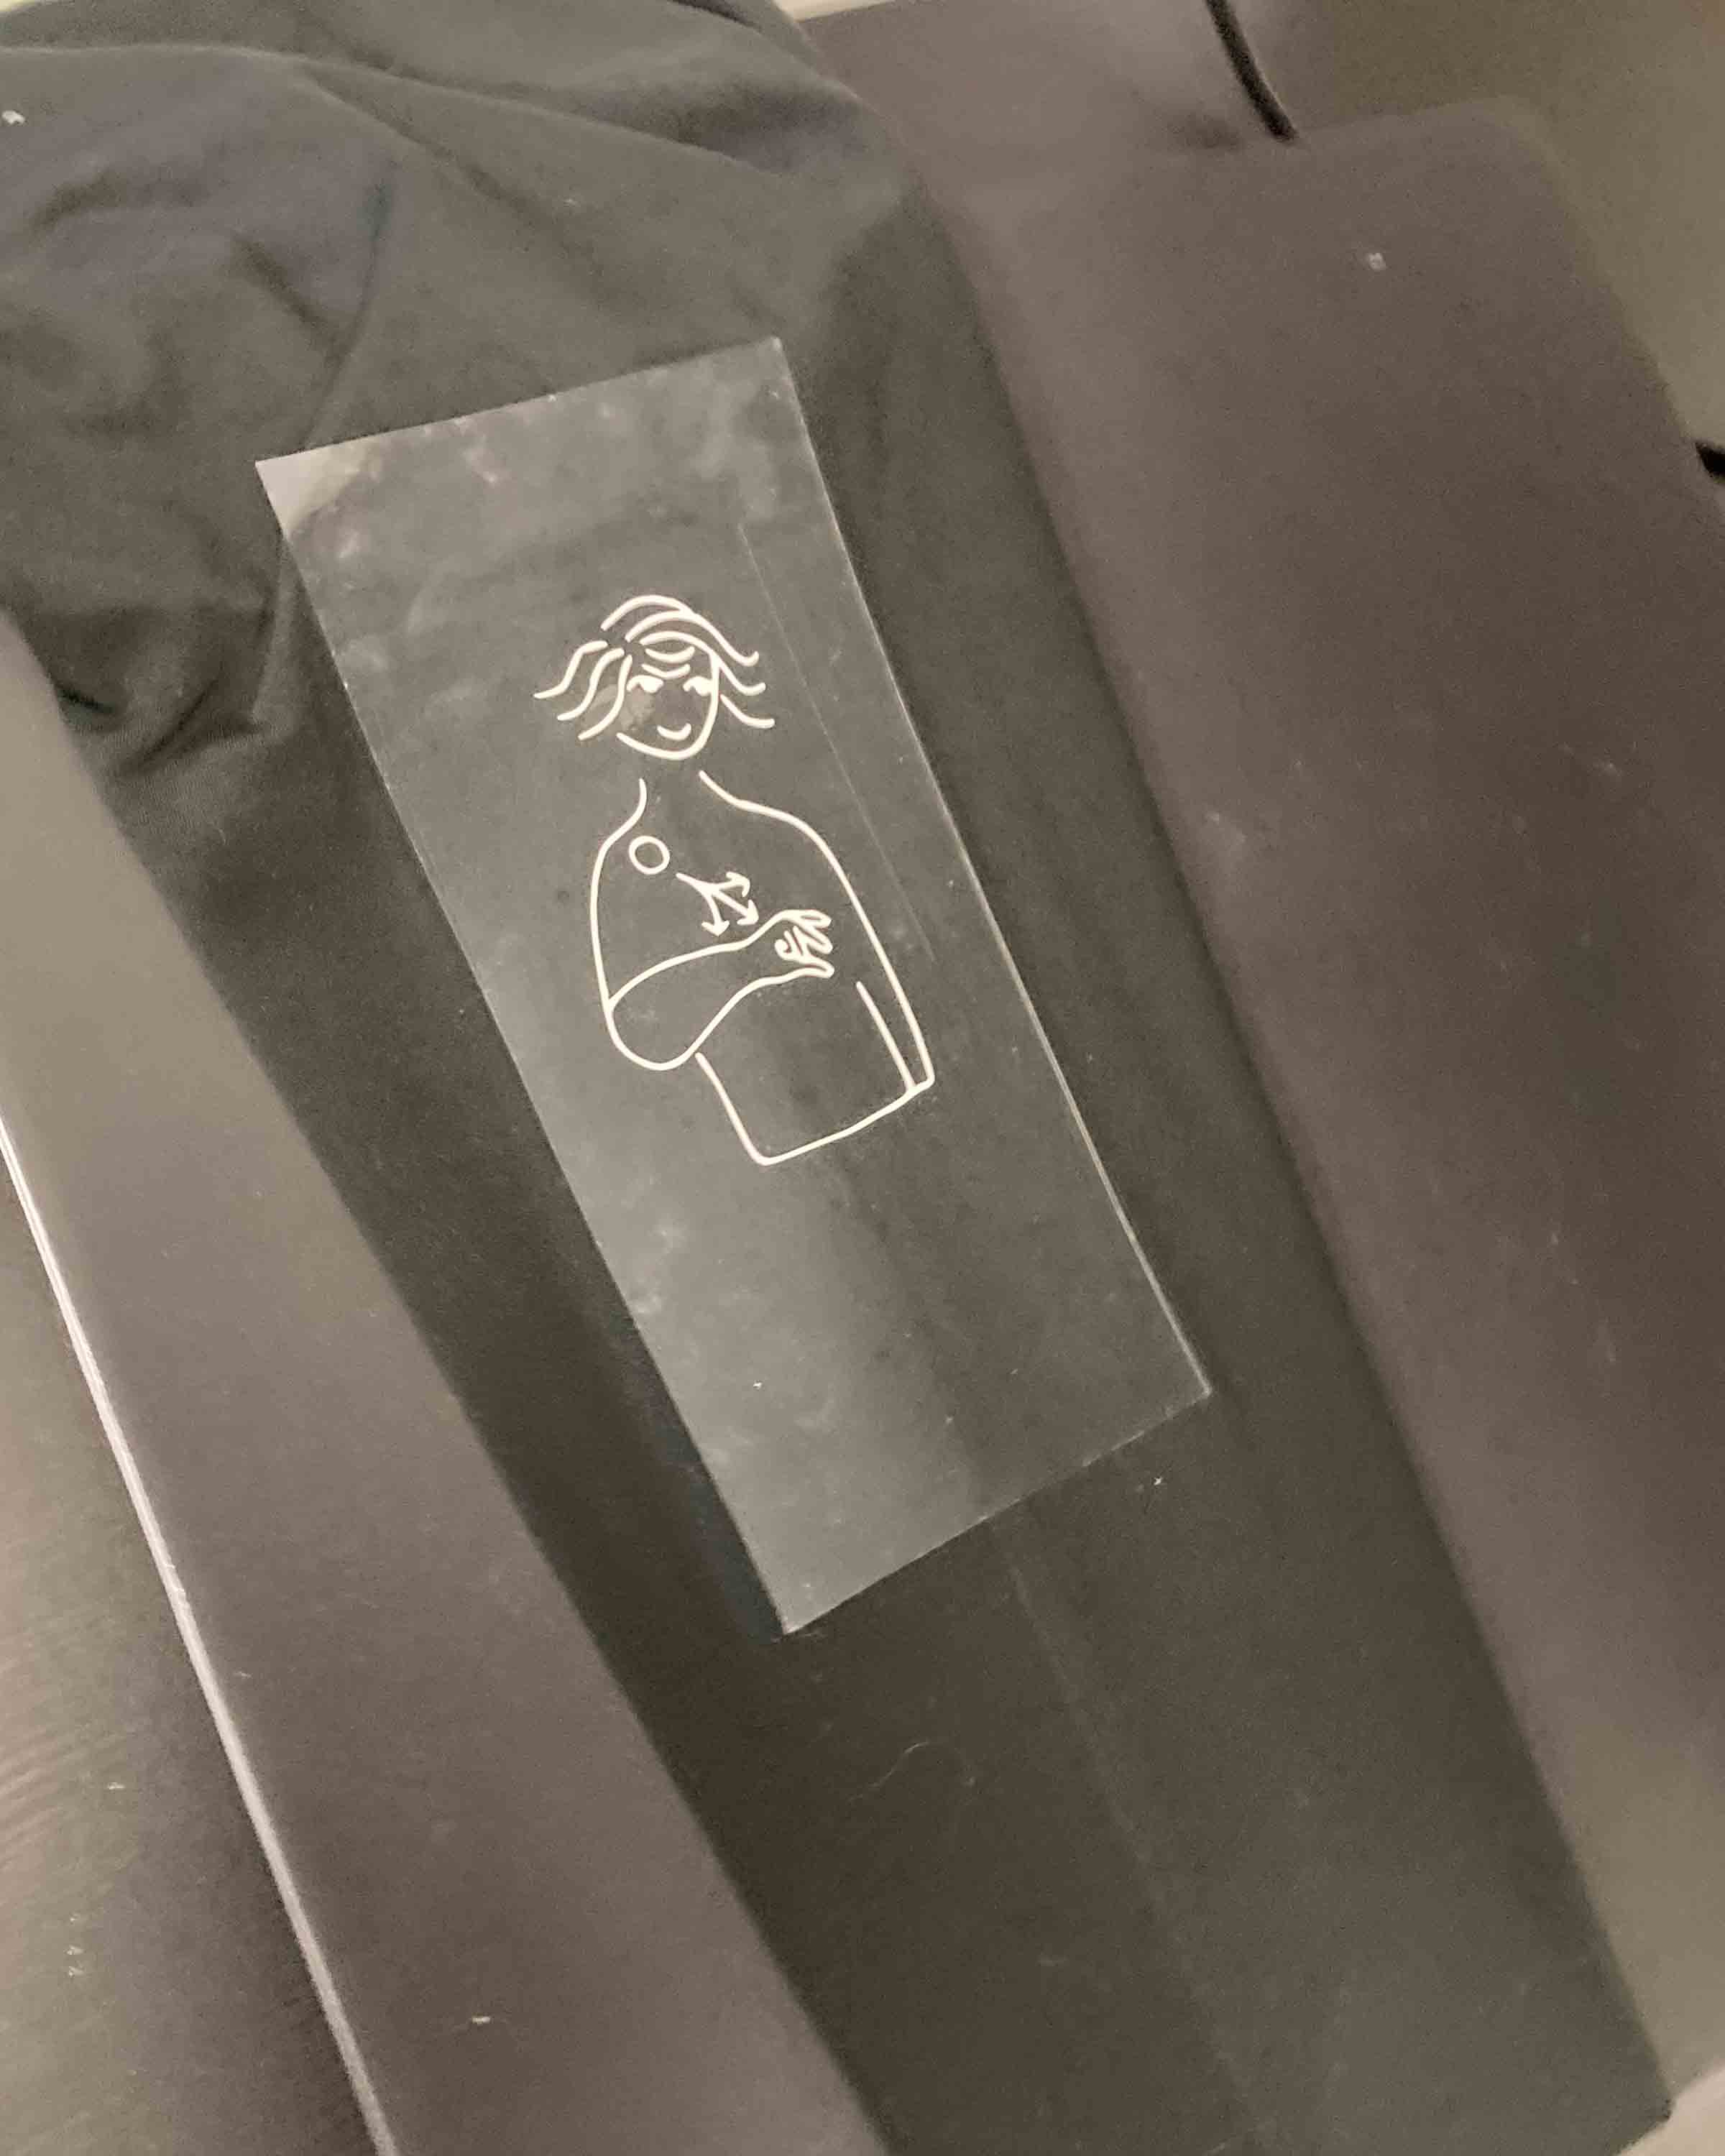
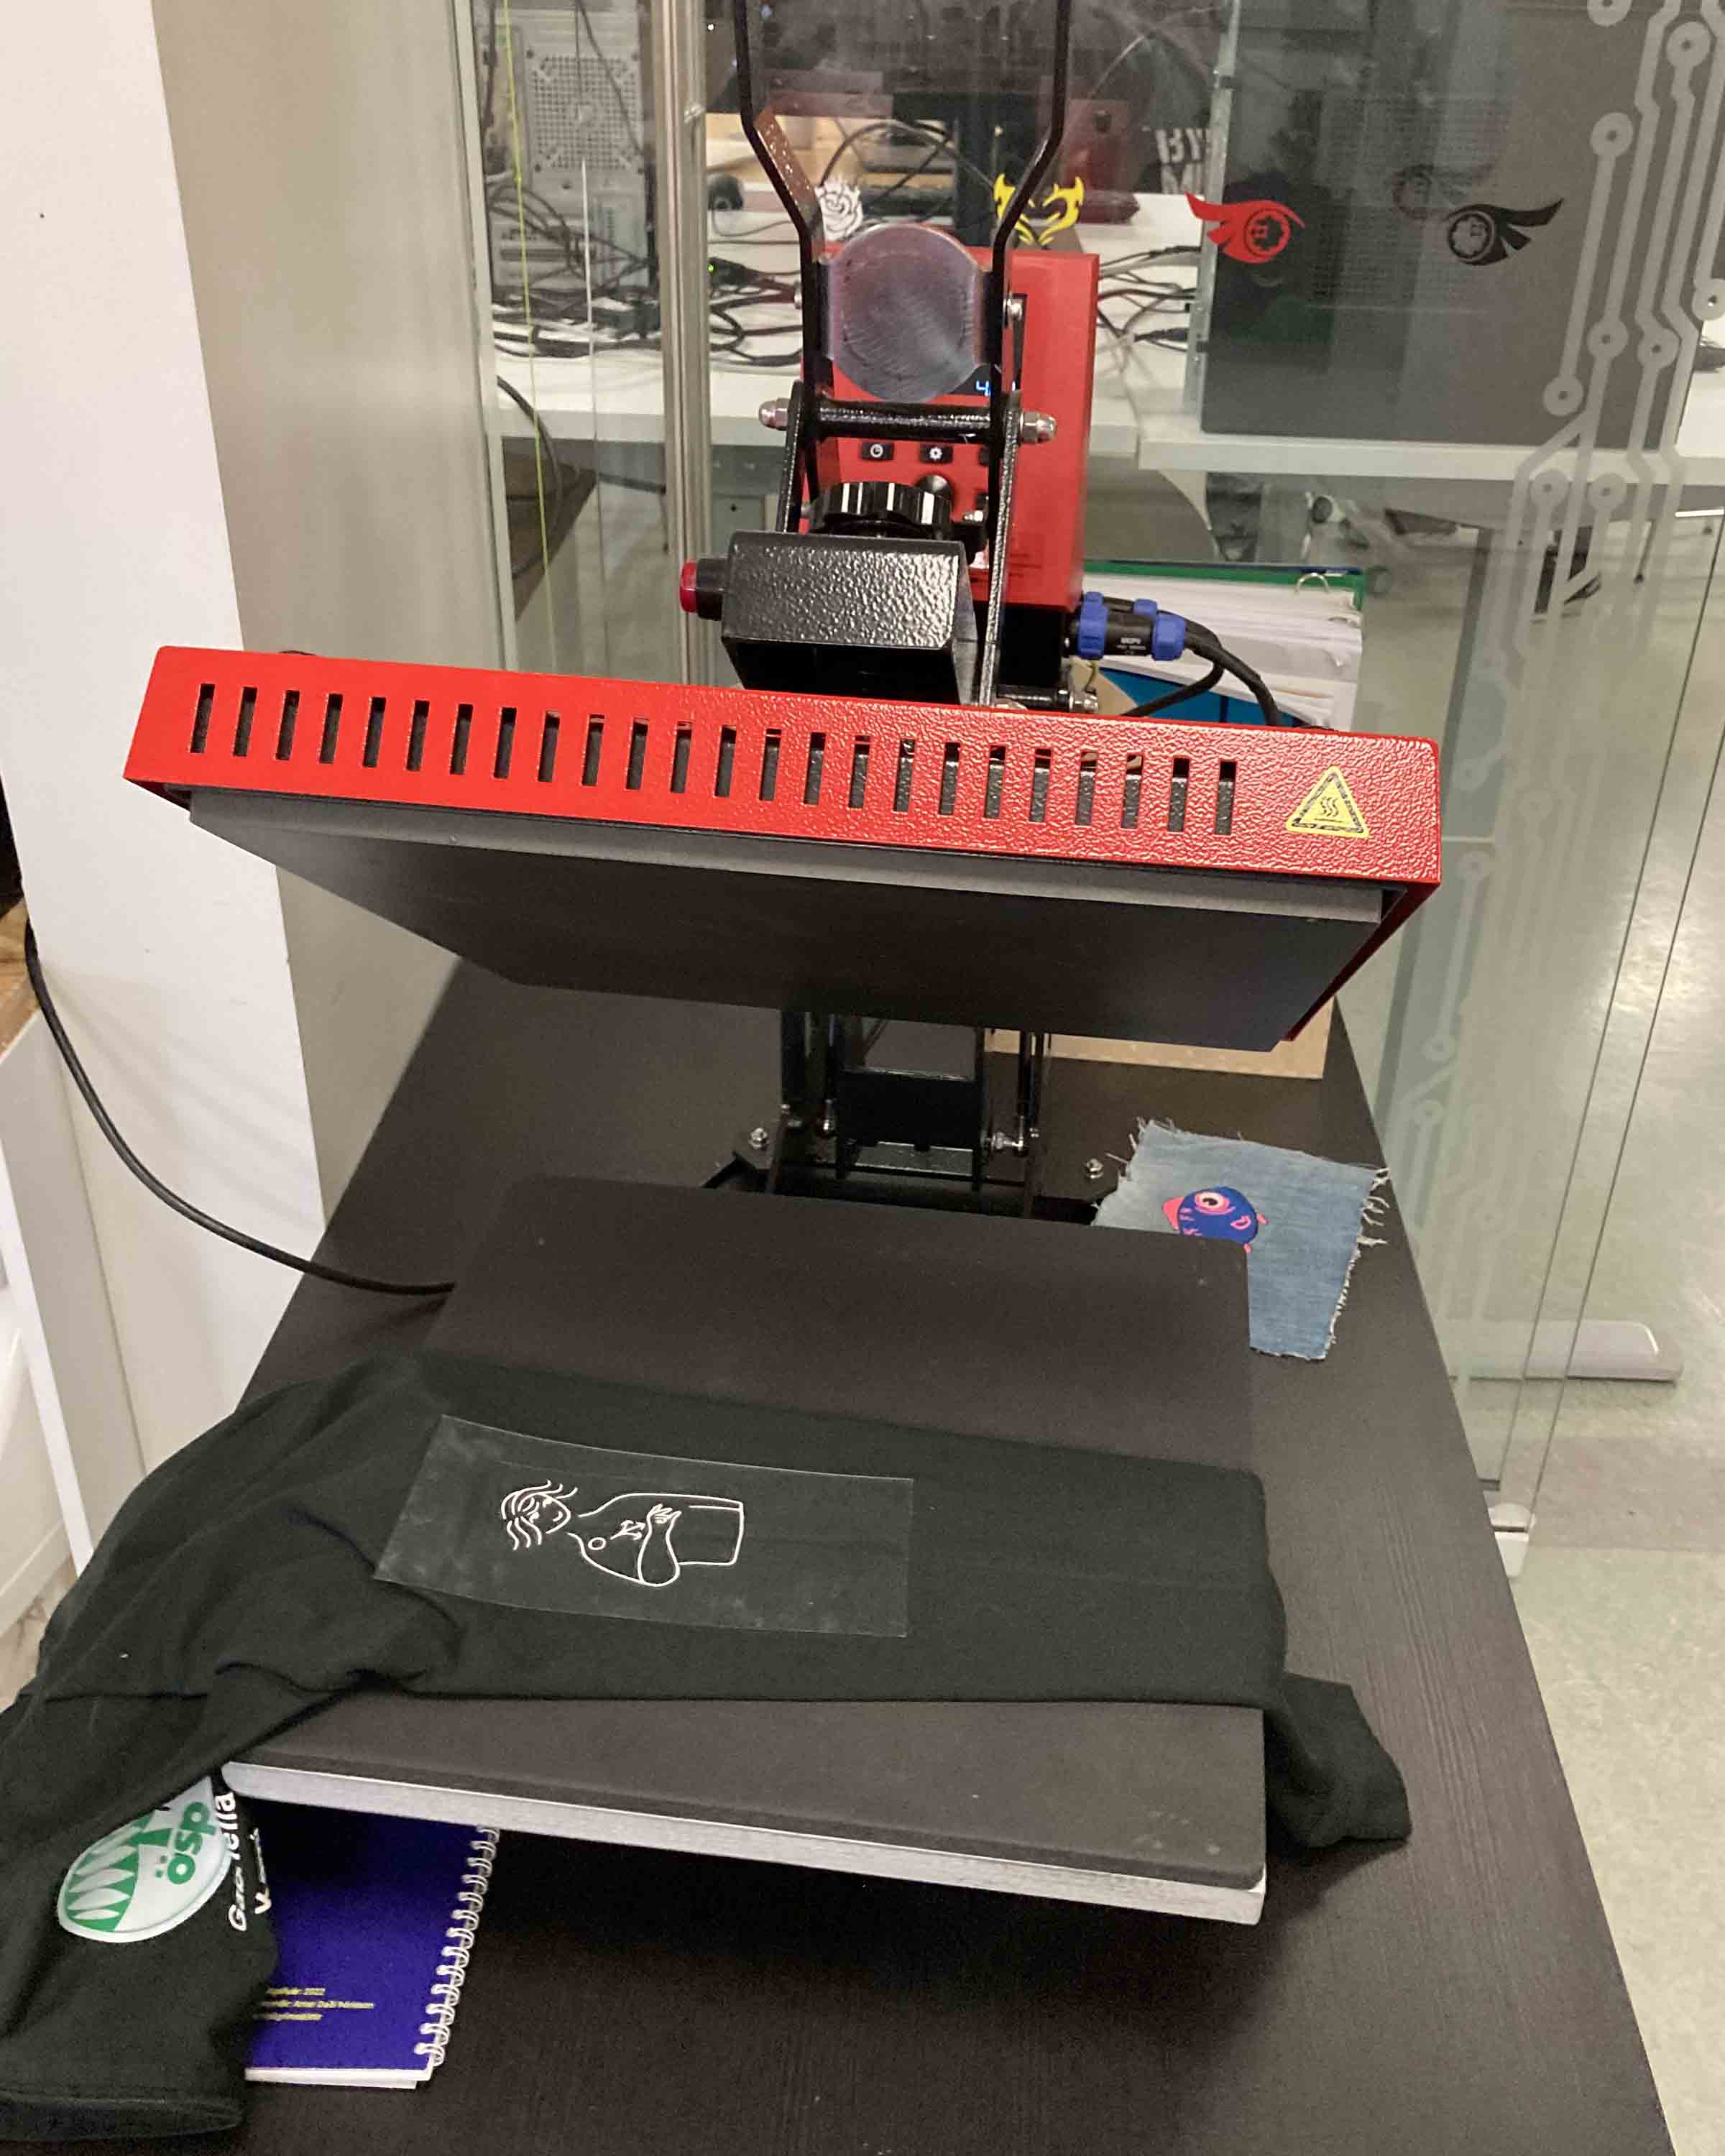
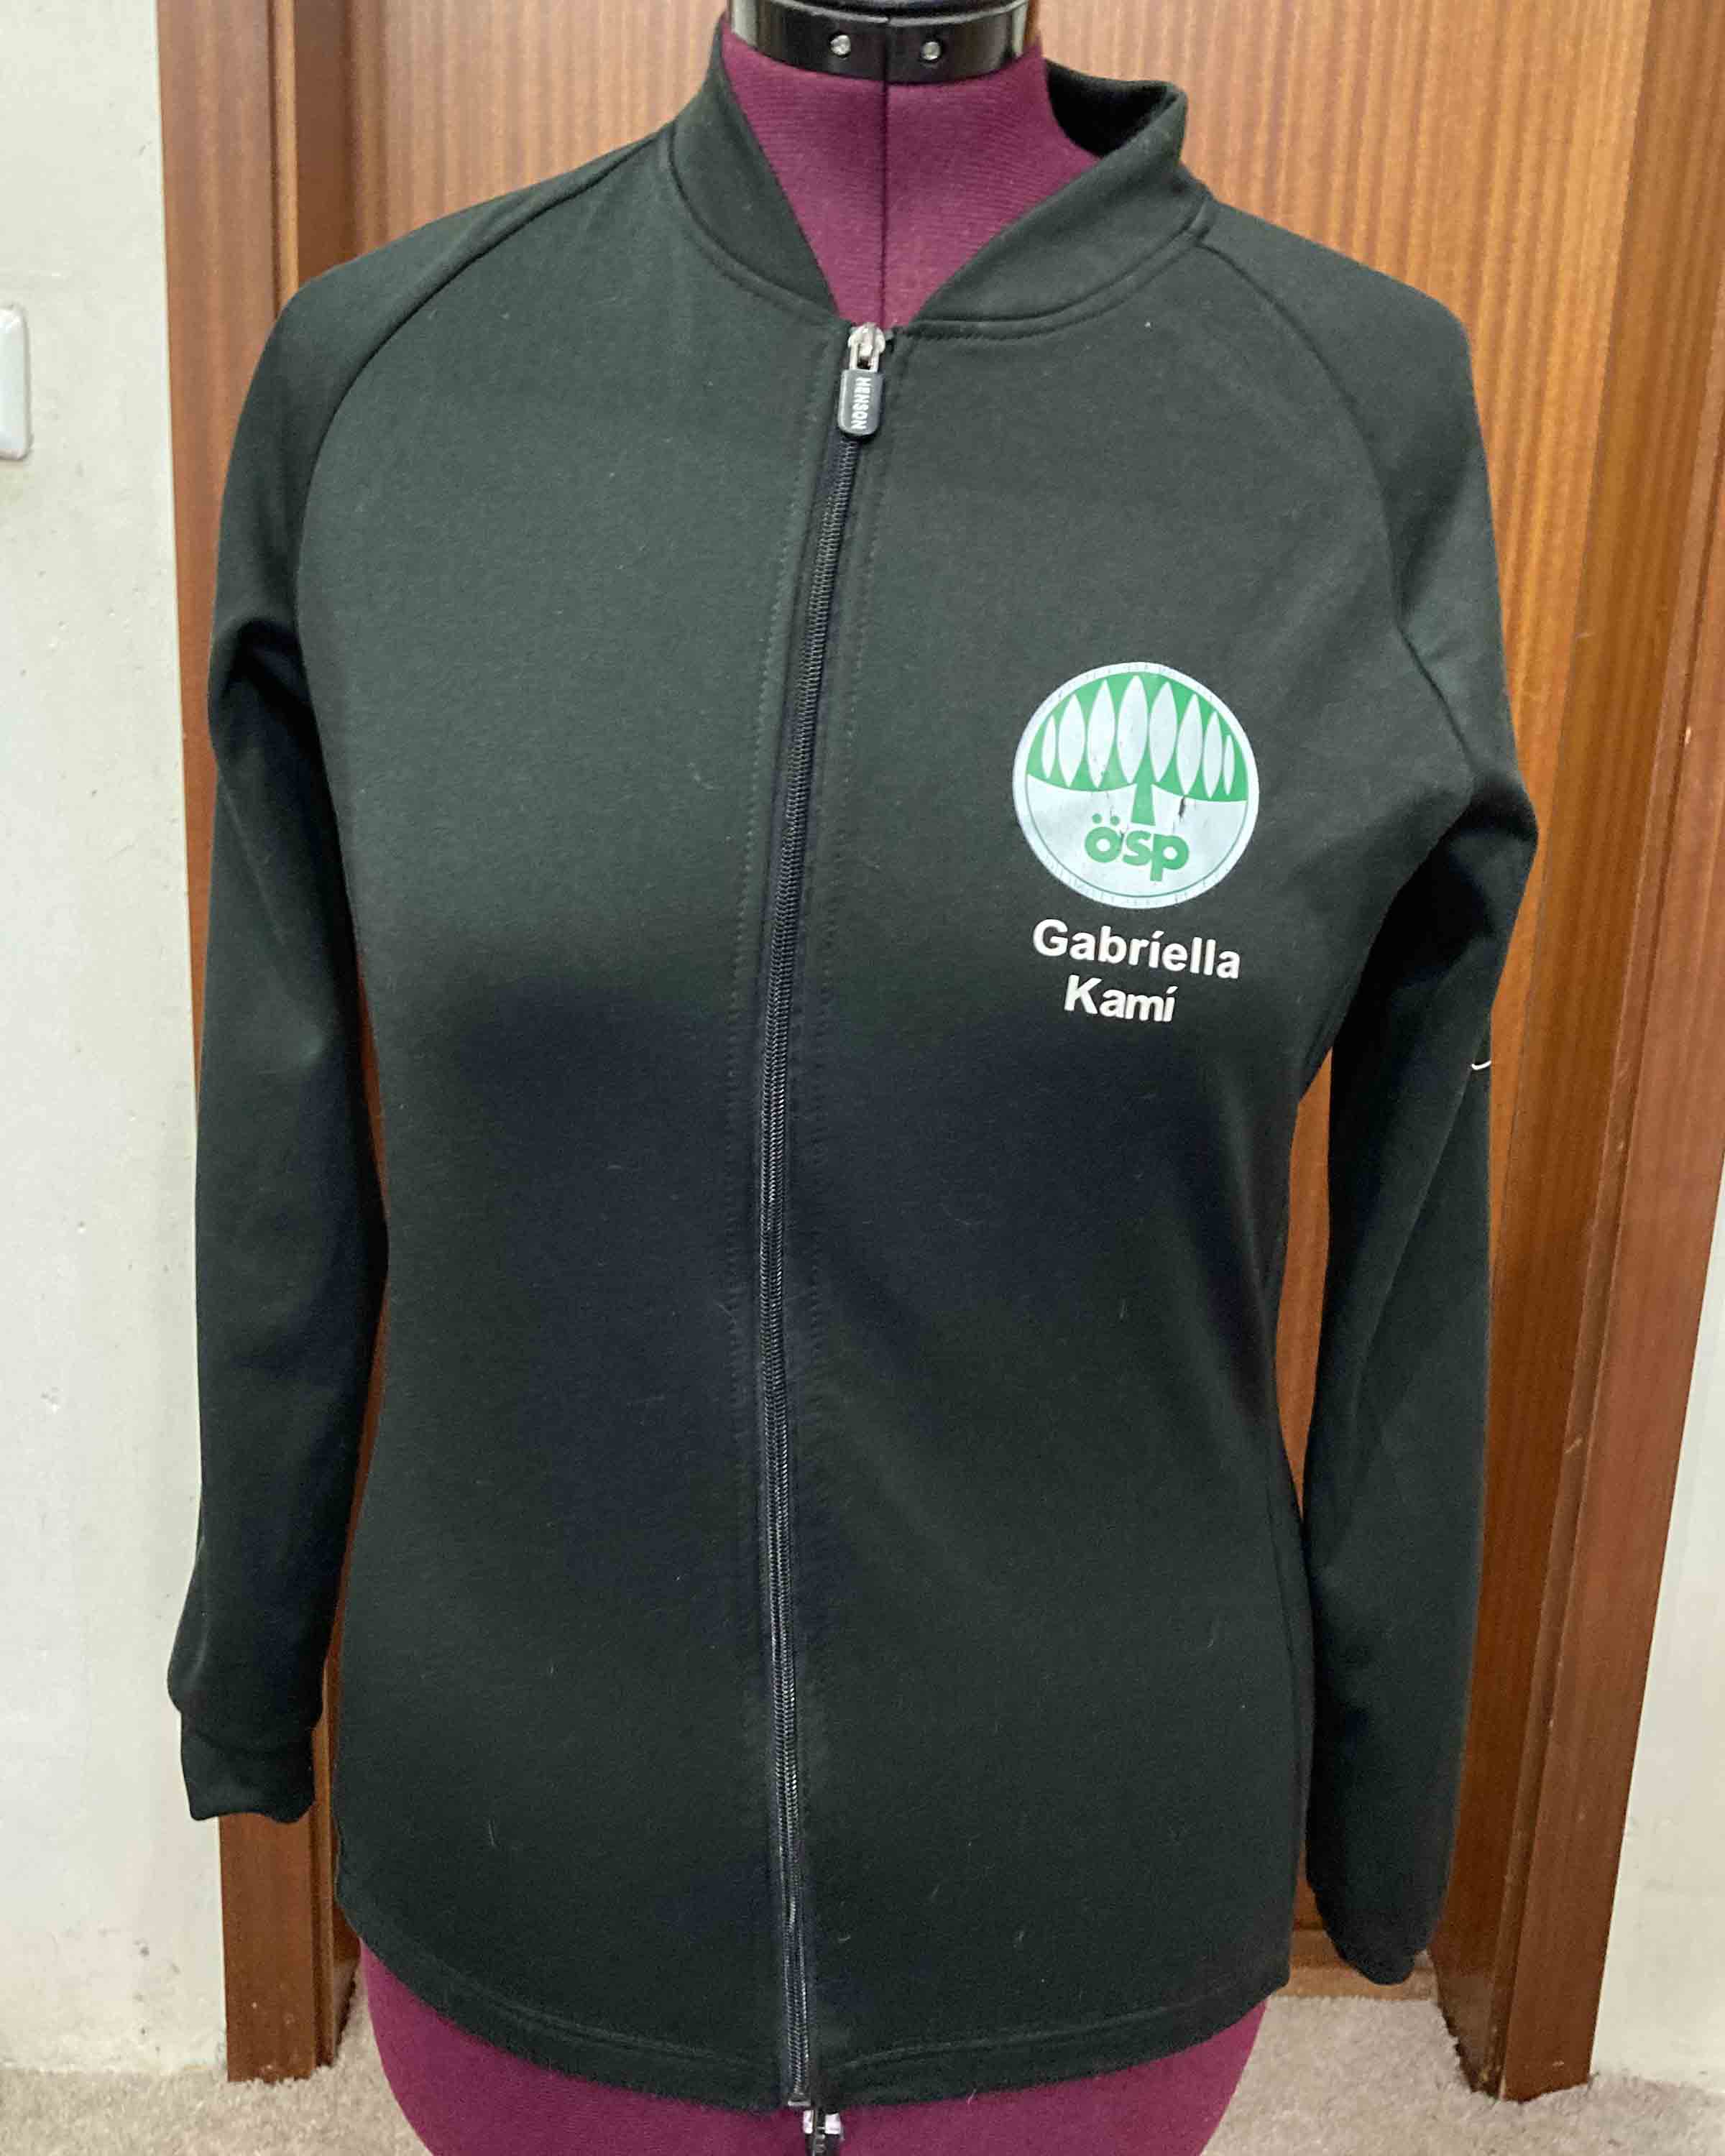
I took off the access material put the sticker on my coaches sweater, one on the back underneath the coach lettering put in the and put it in the heatpress and the other one on my right shoulder and put in the heatpress.
Edla
Kenari
Coach jacket that I added on at a later week.
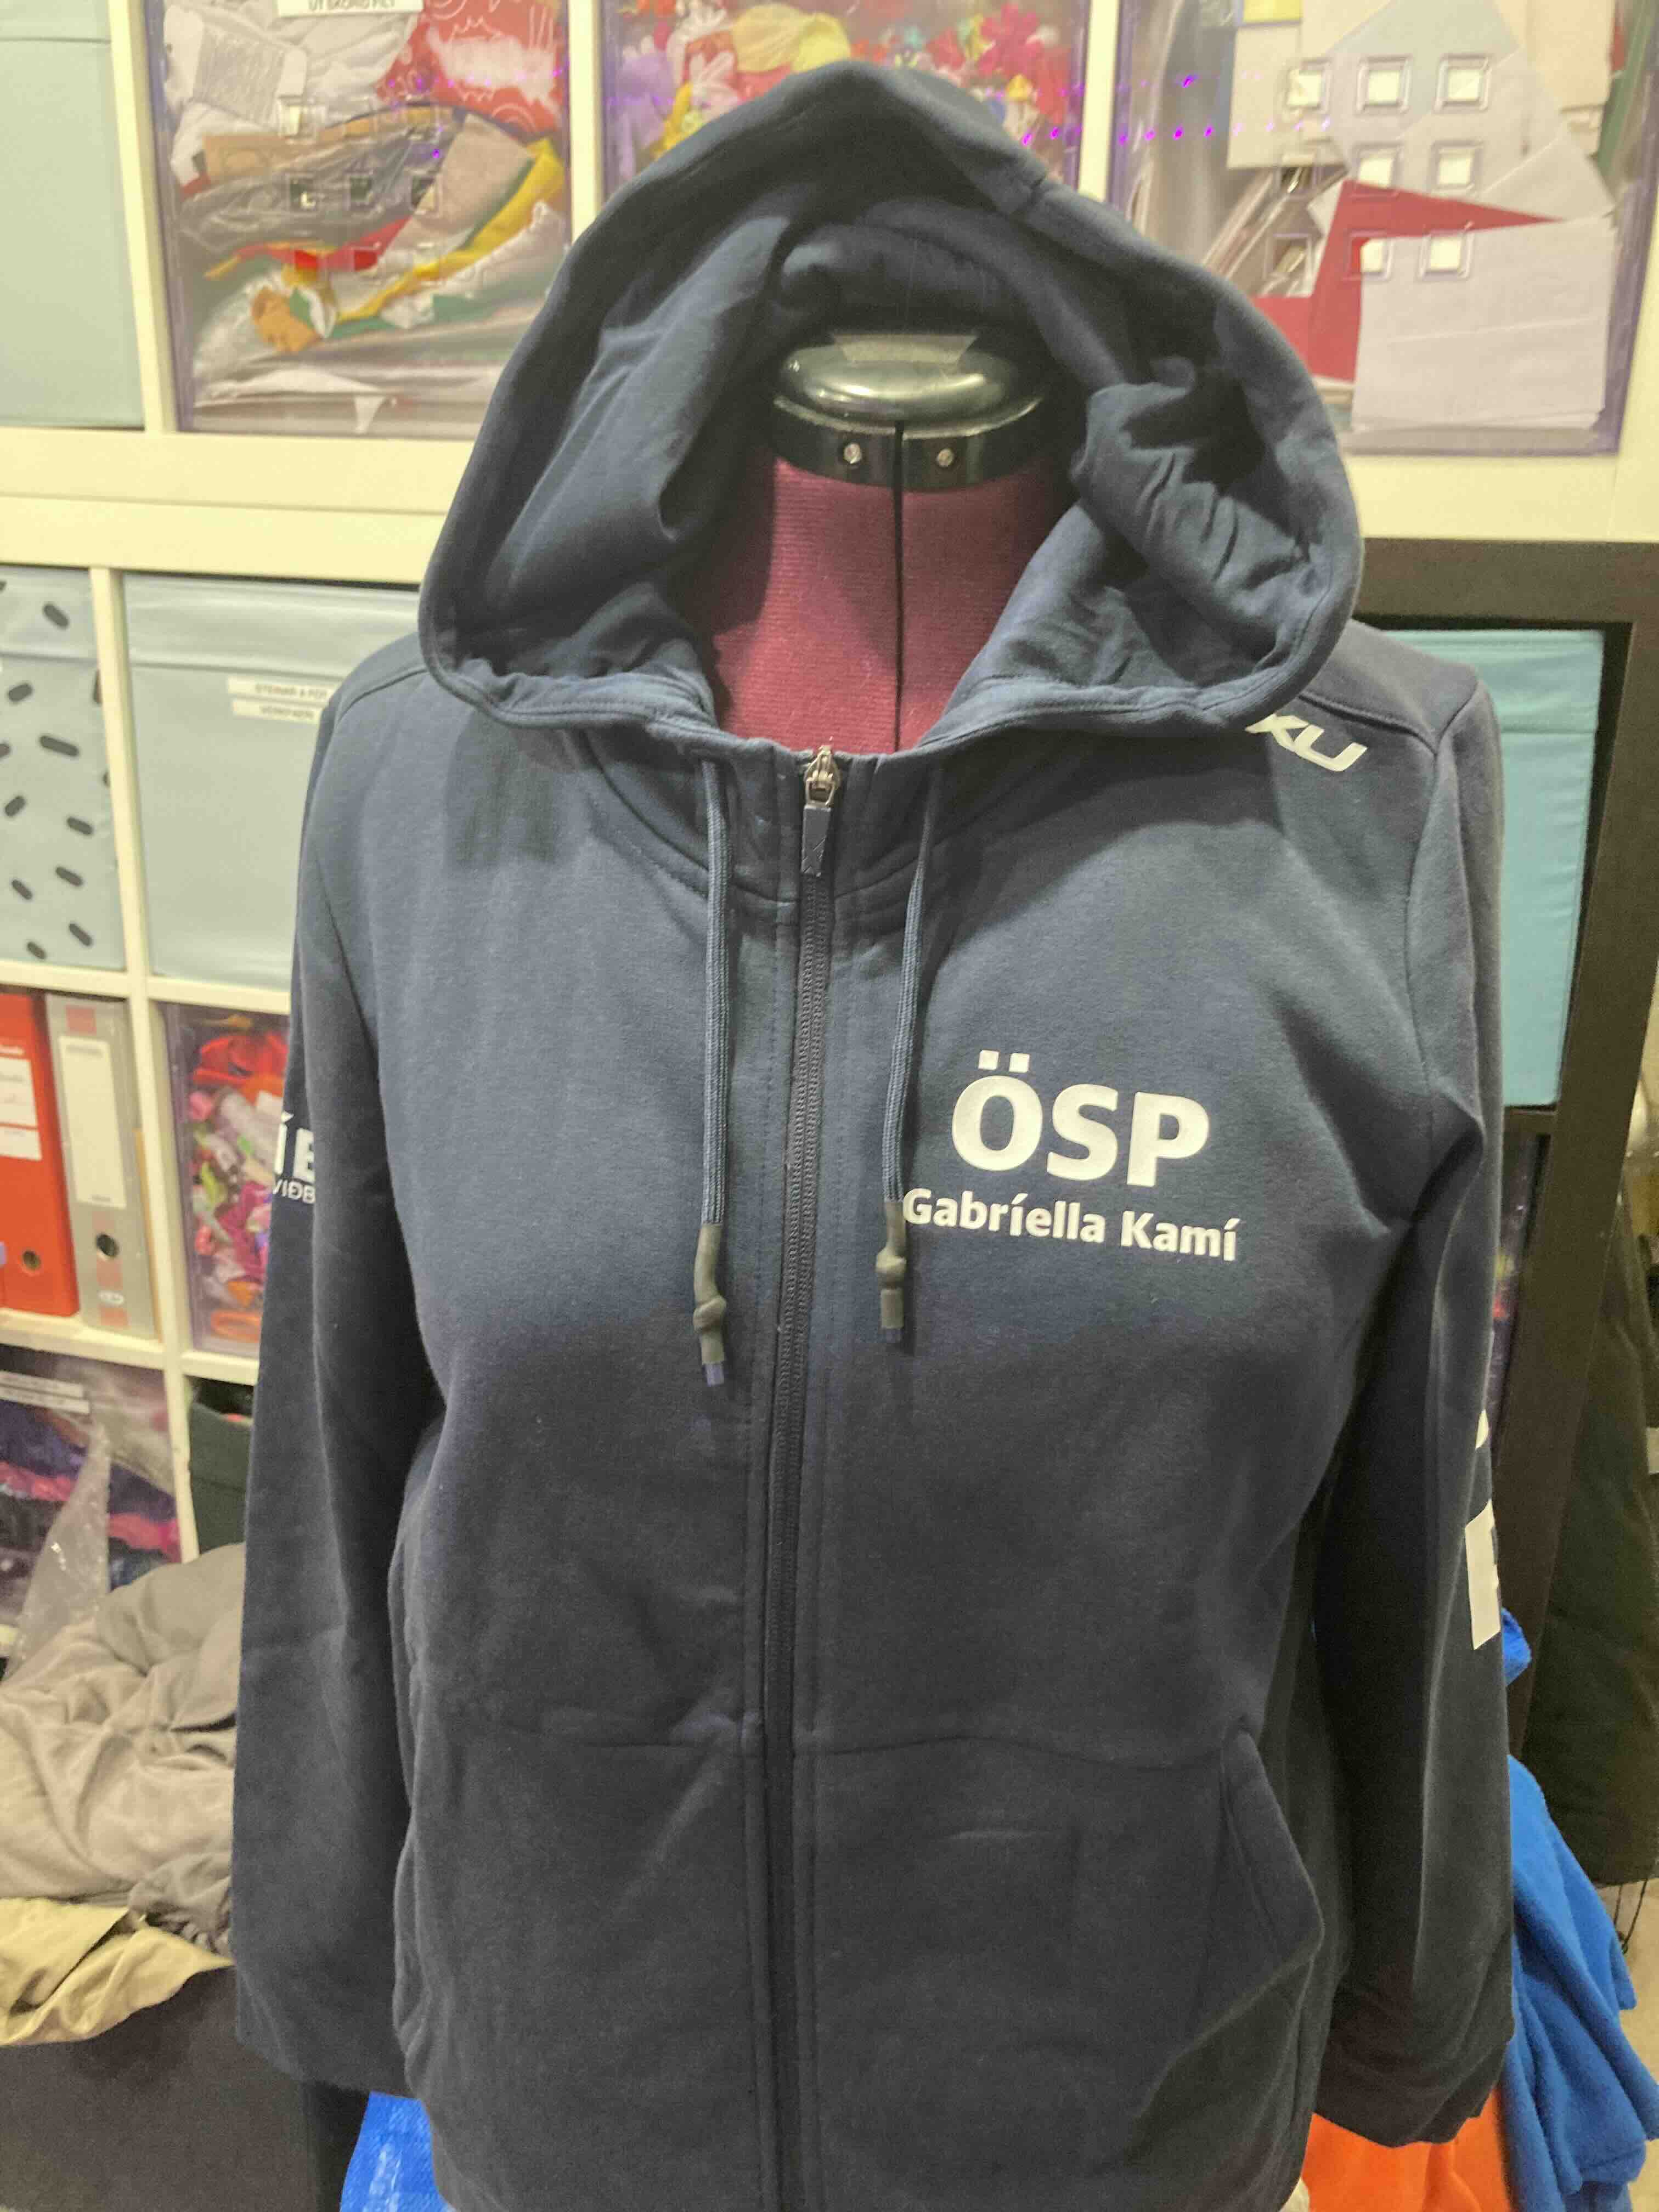
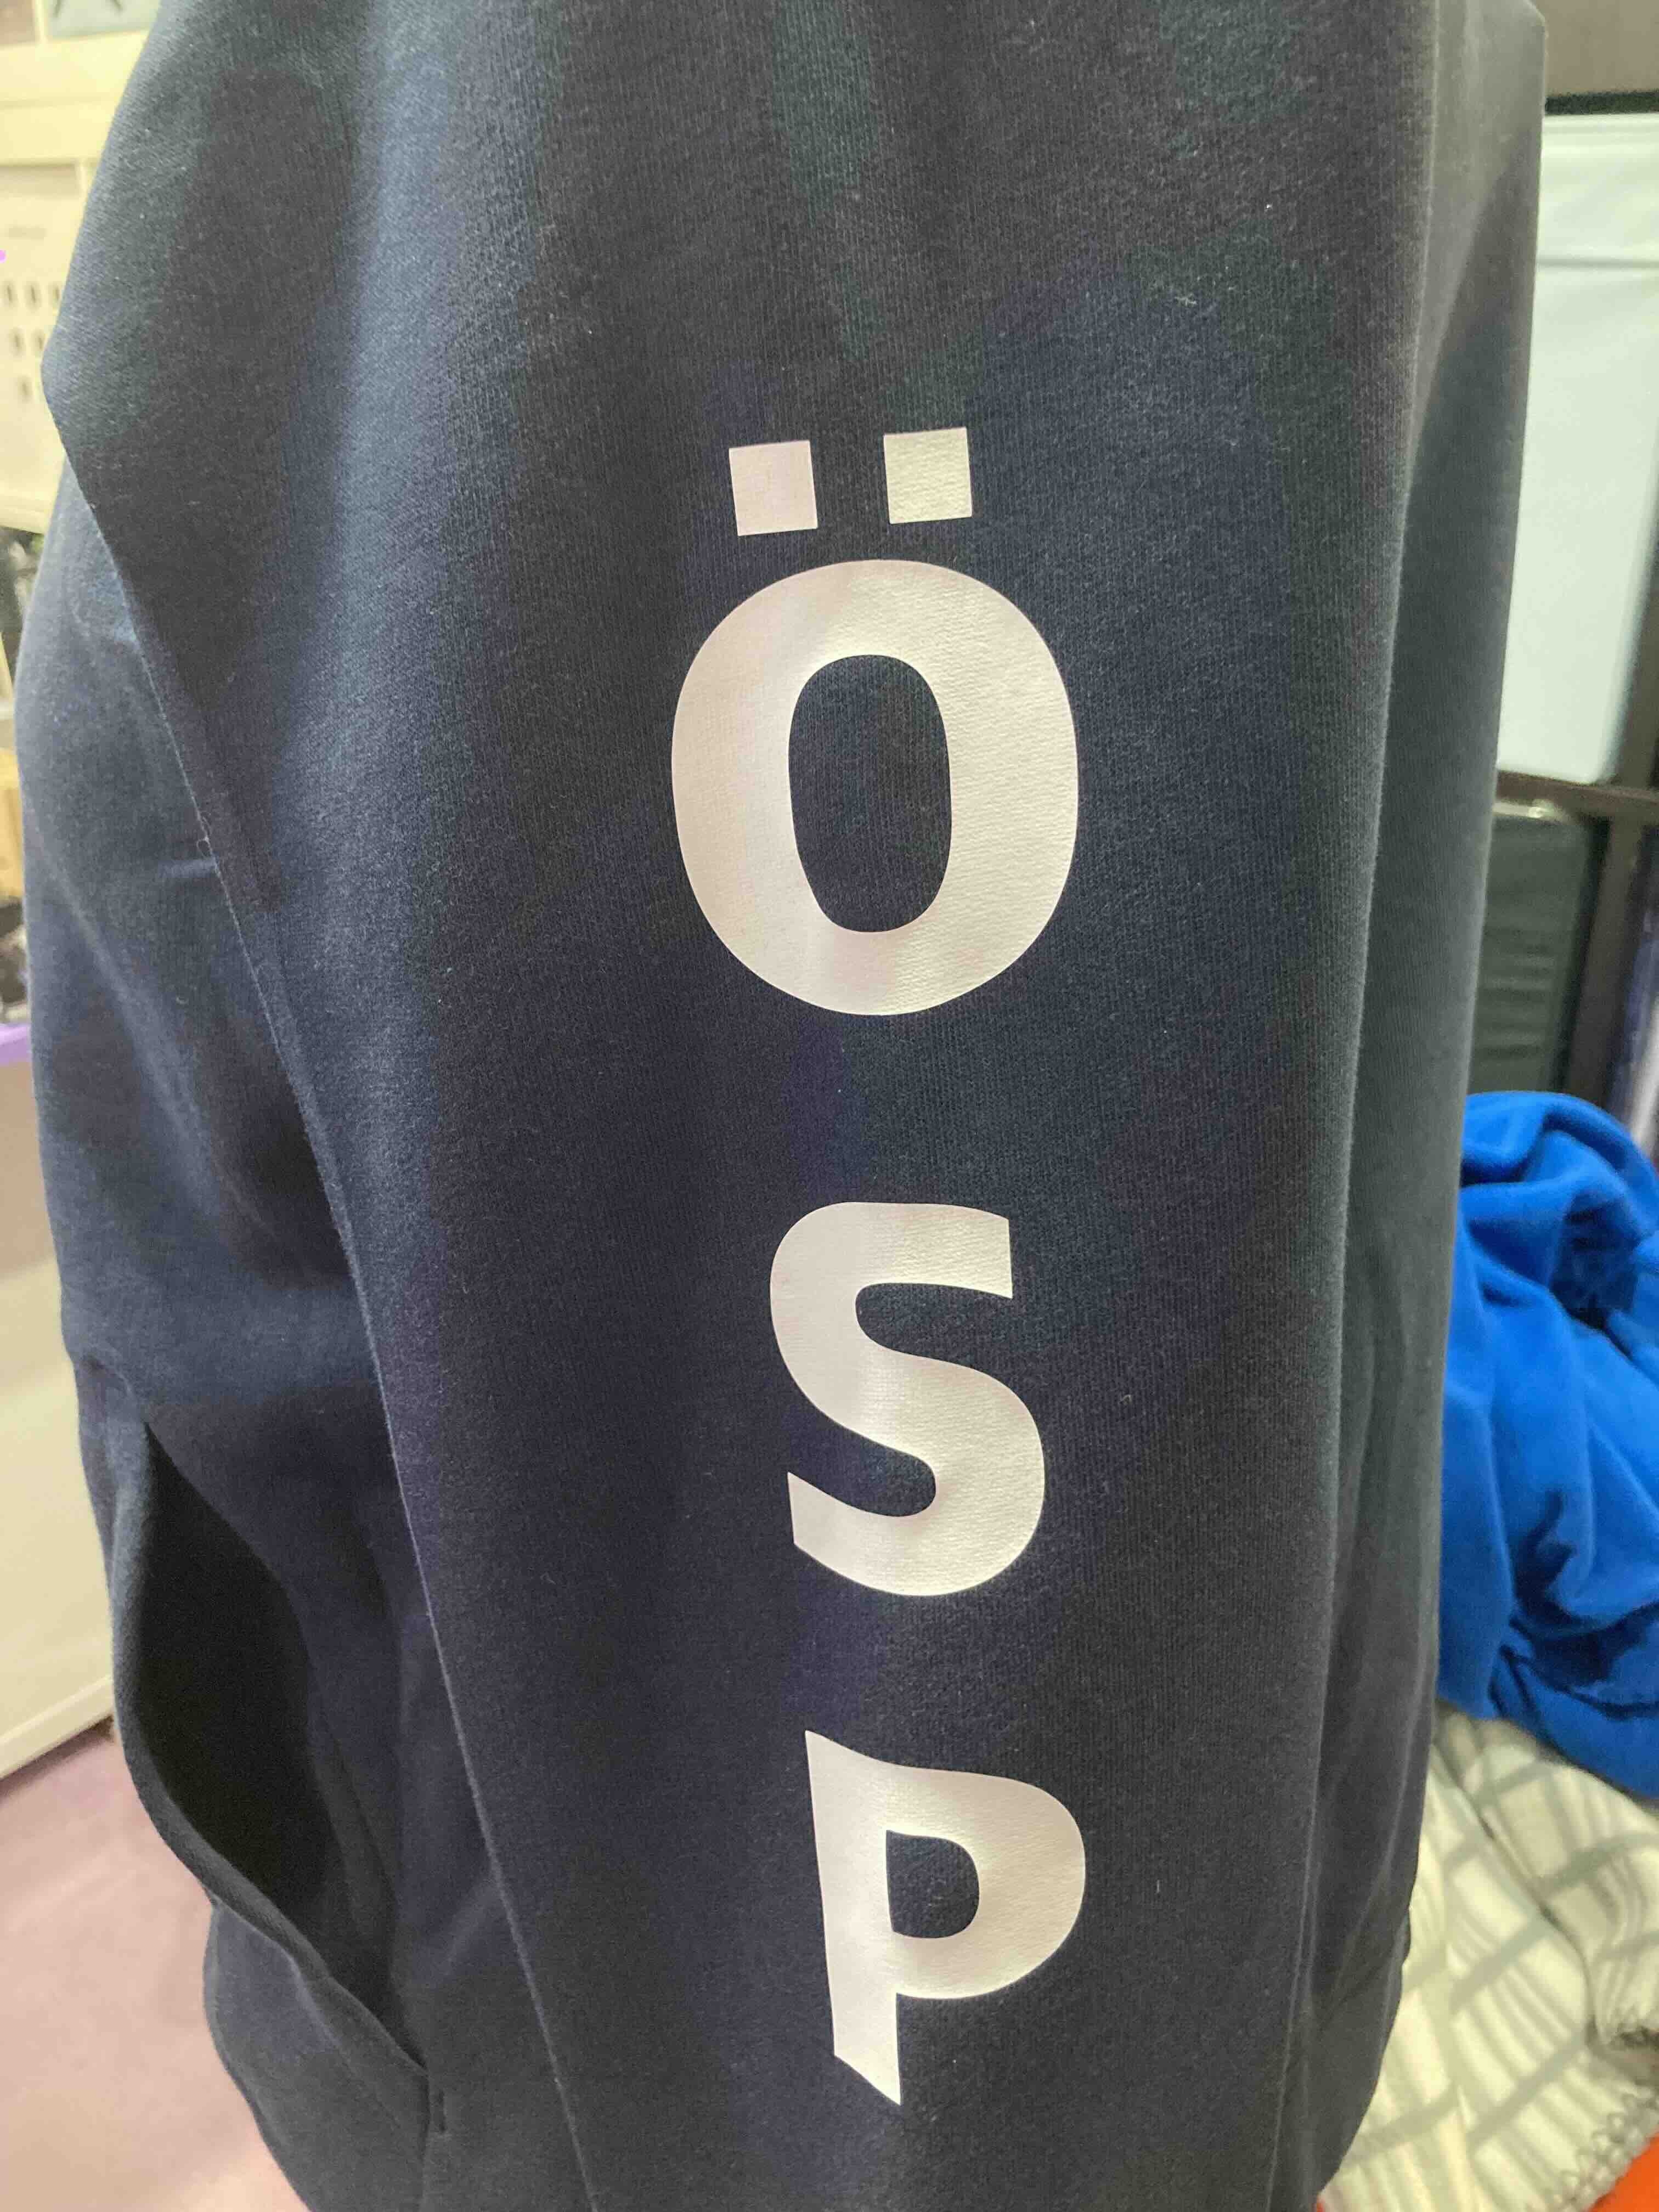
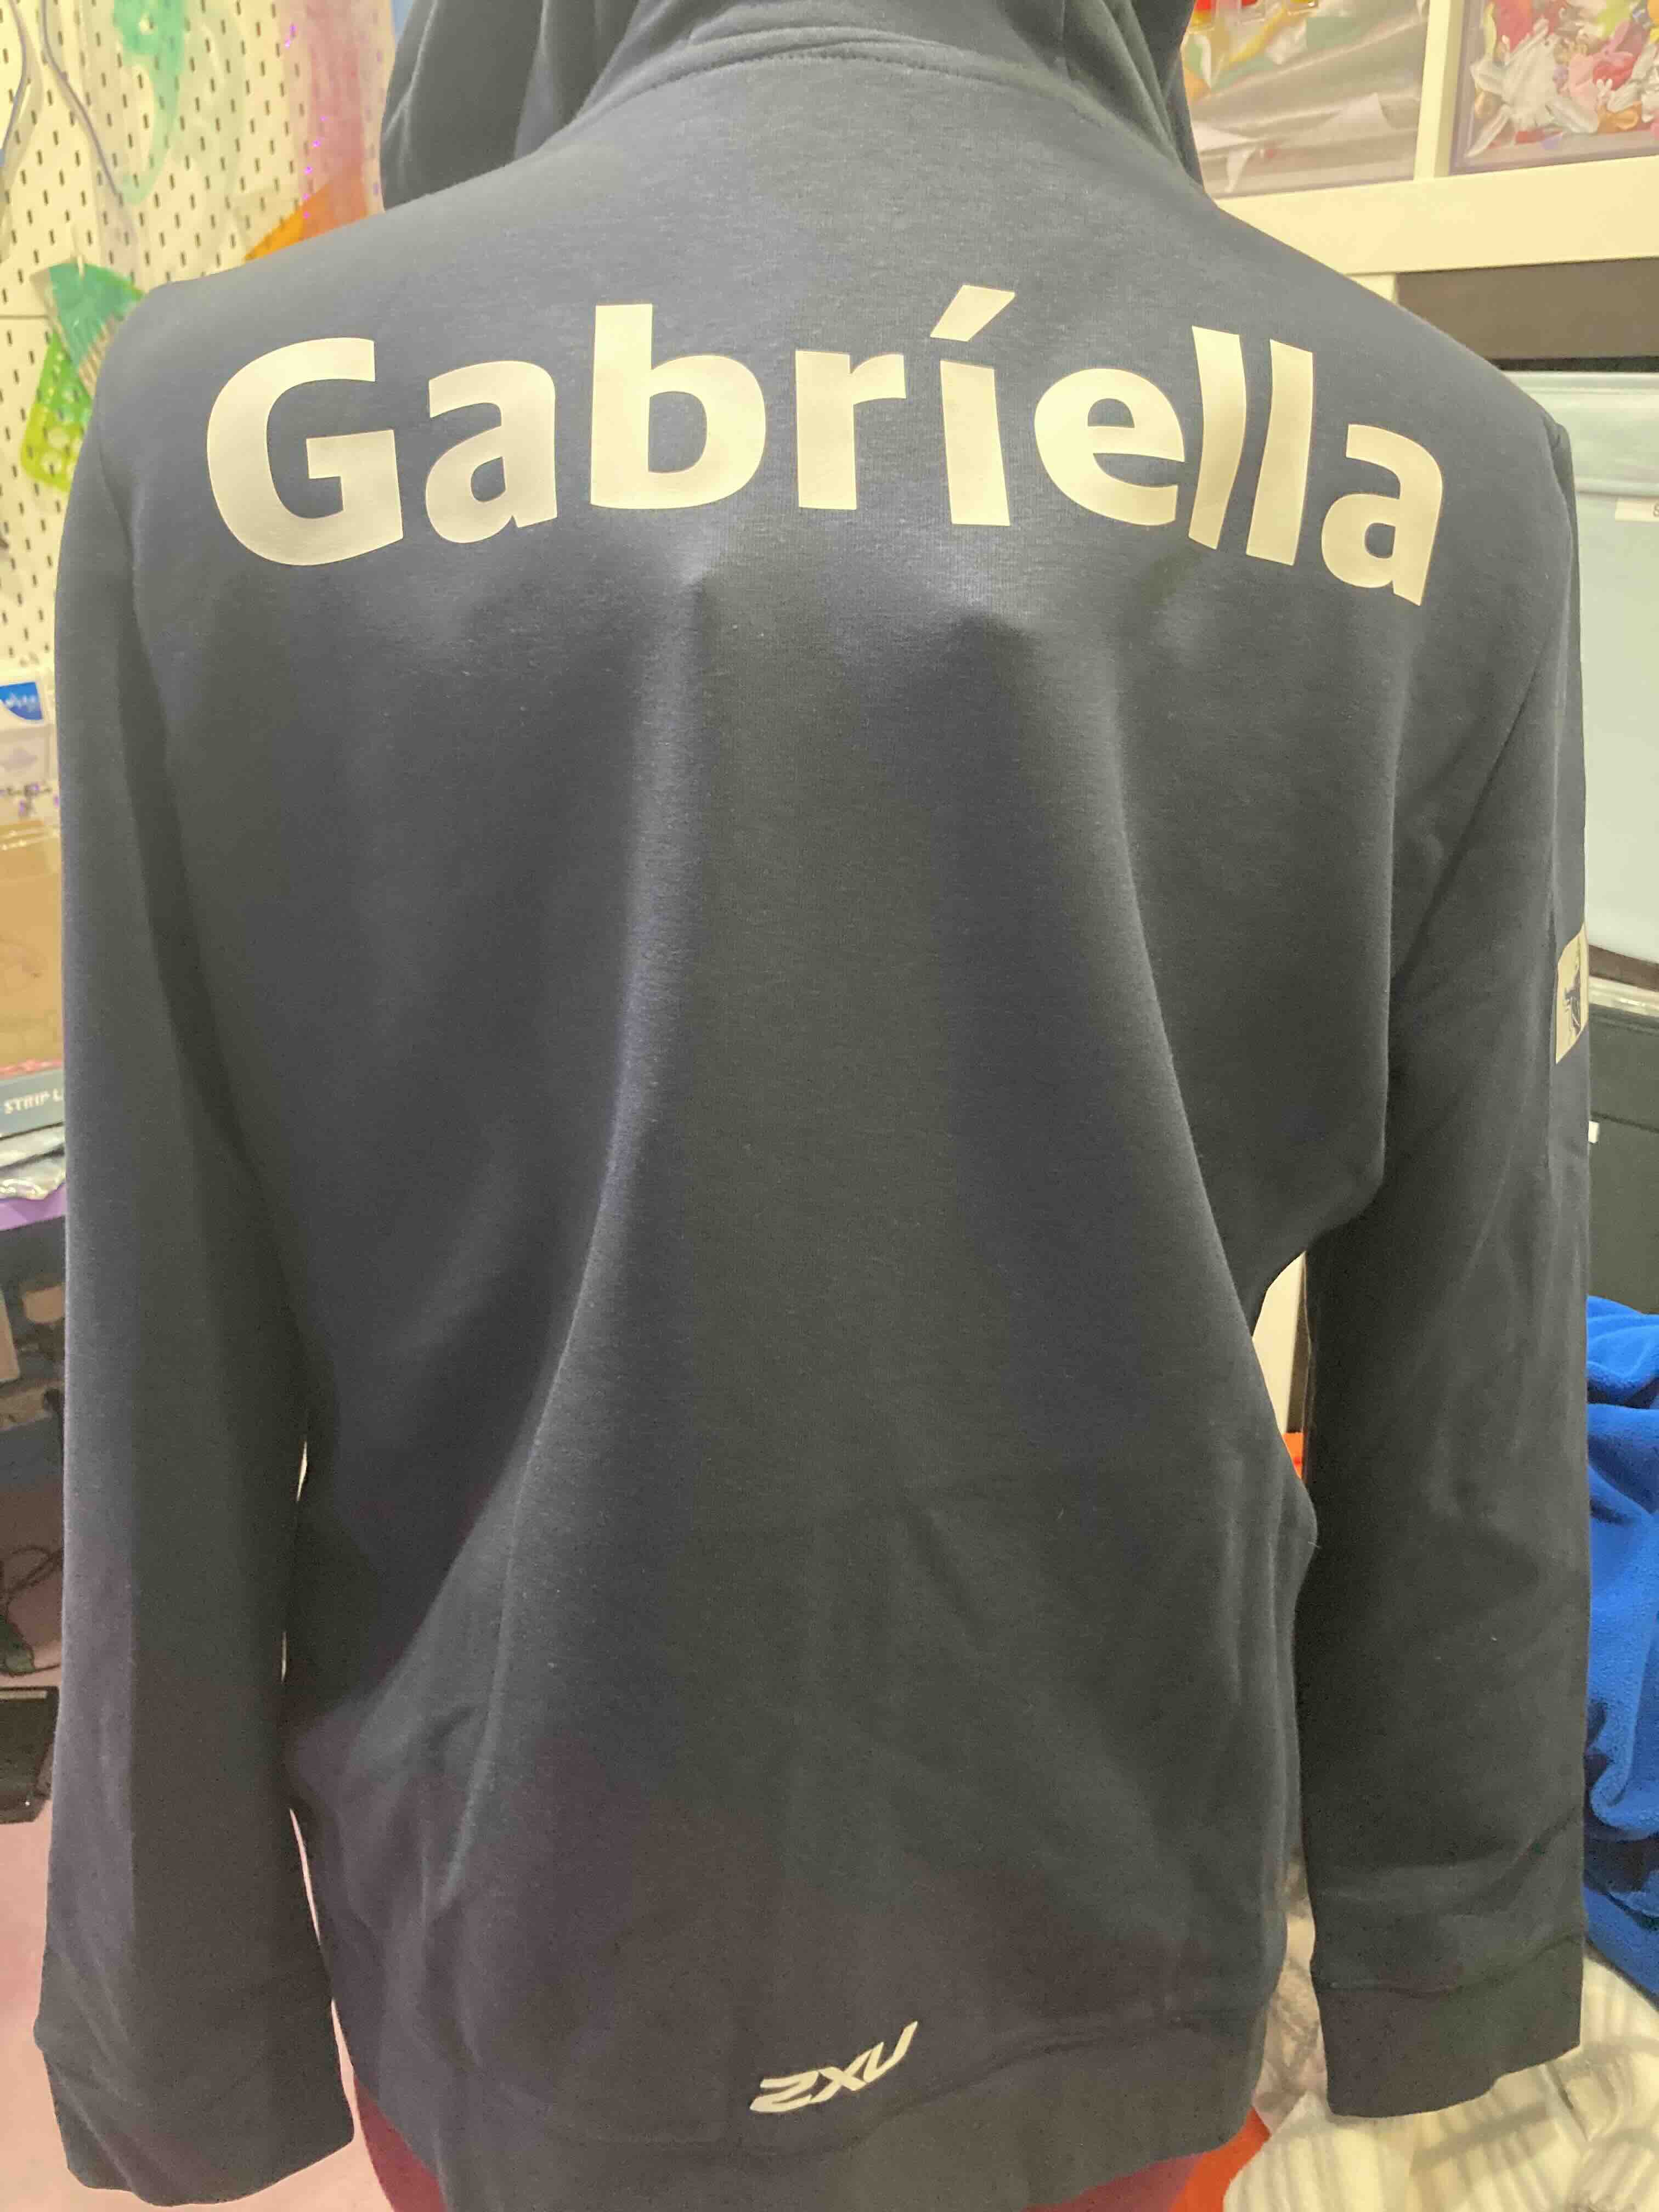
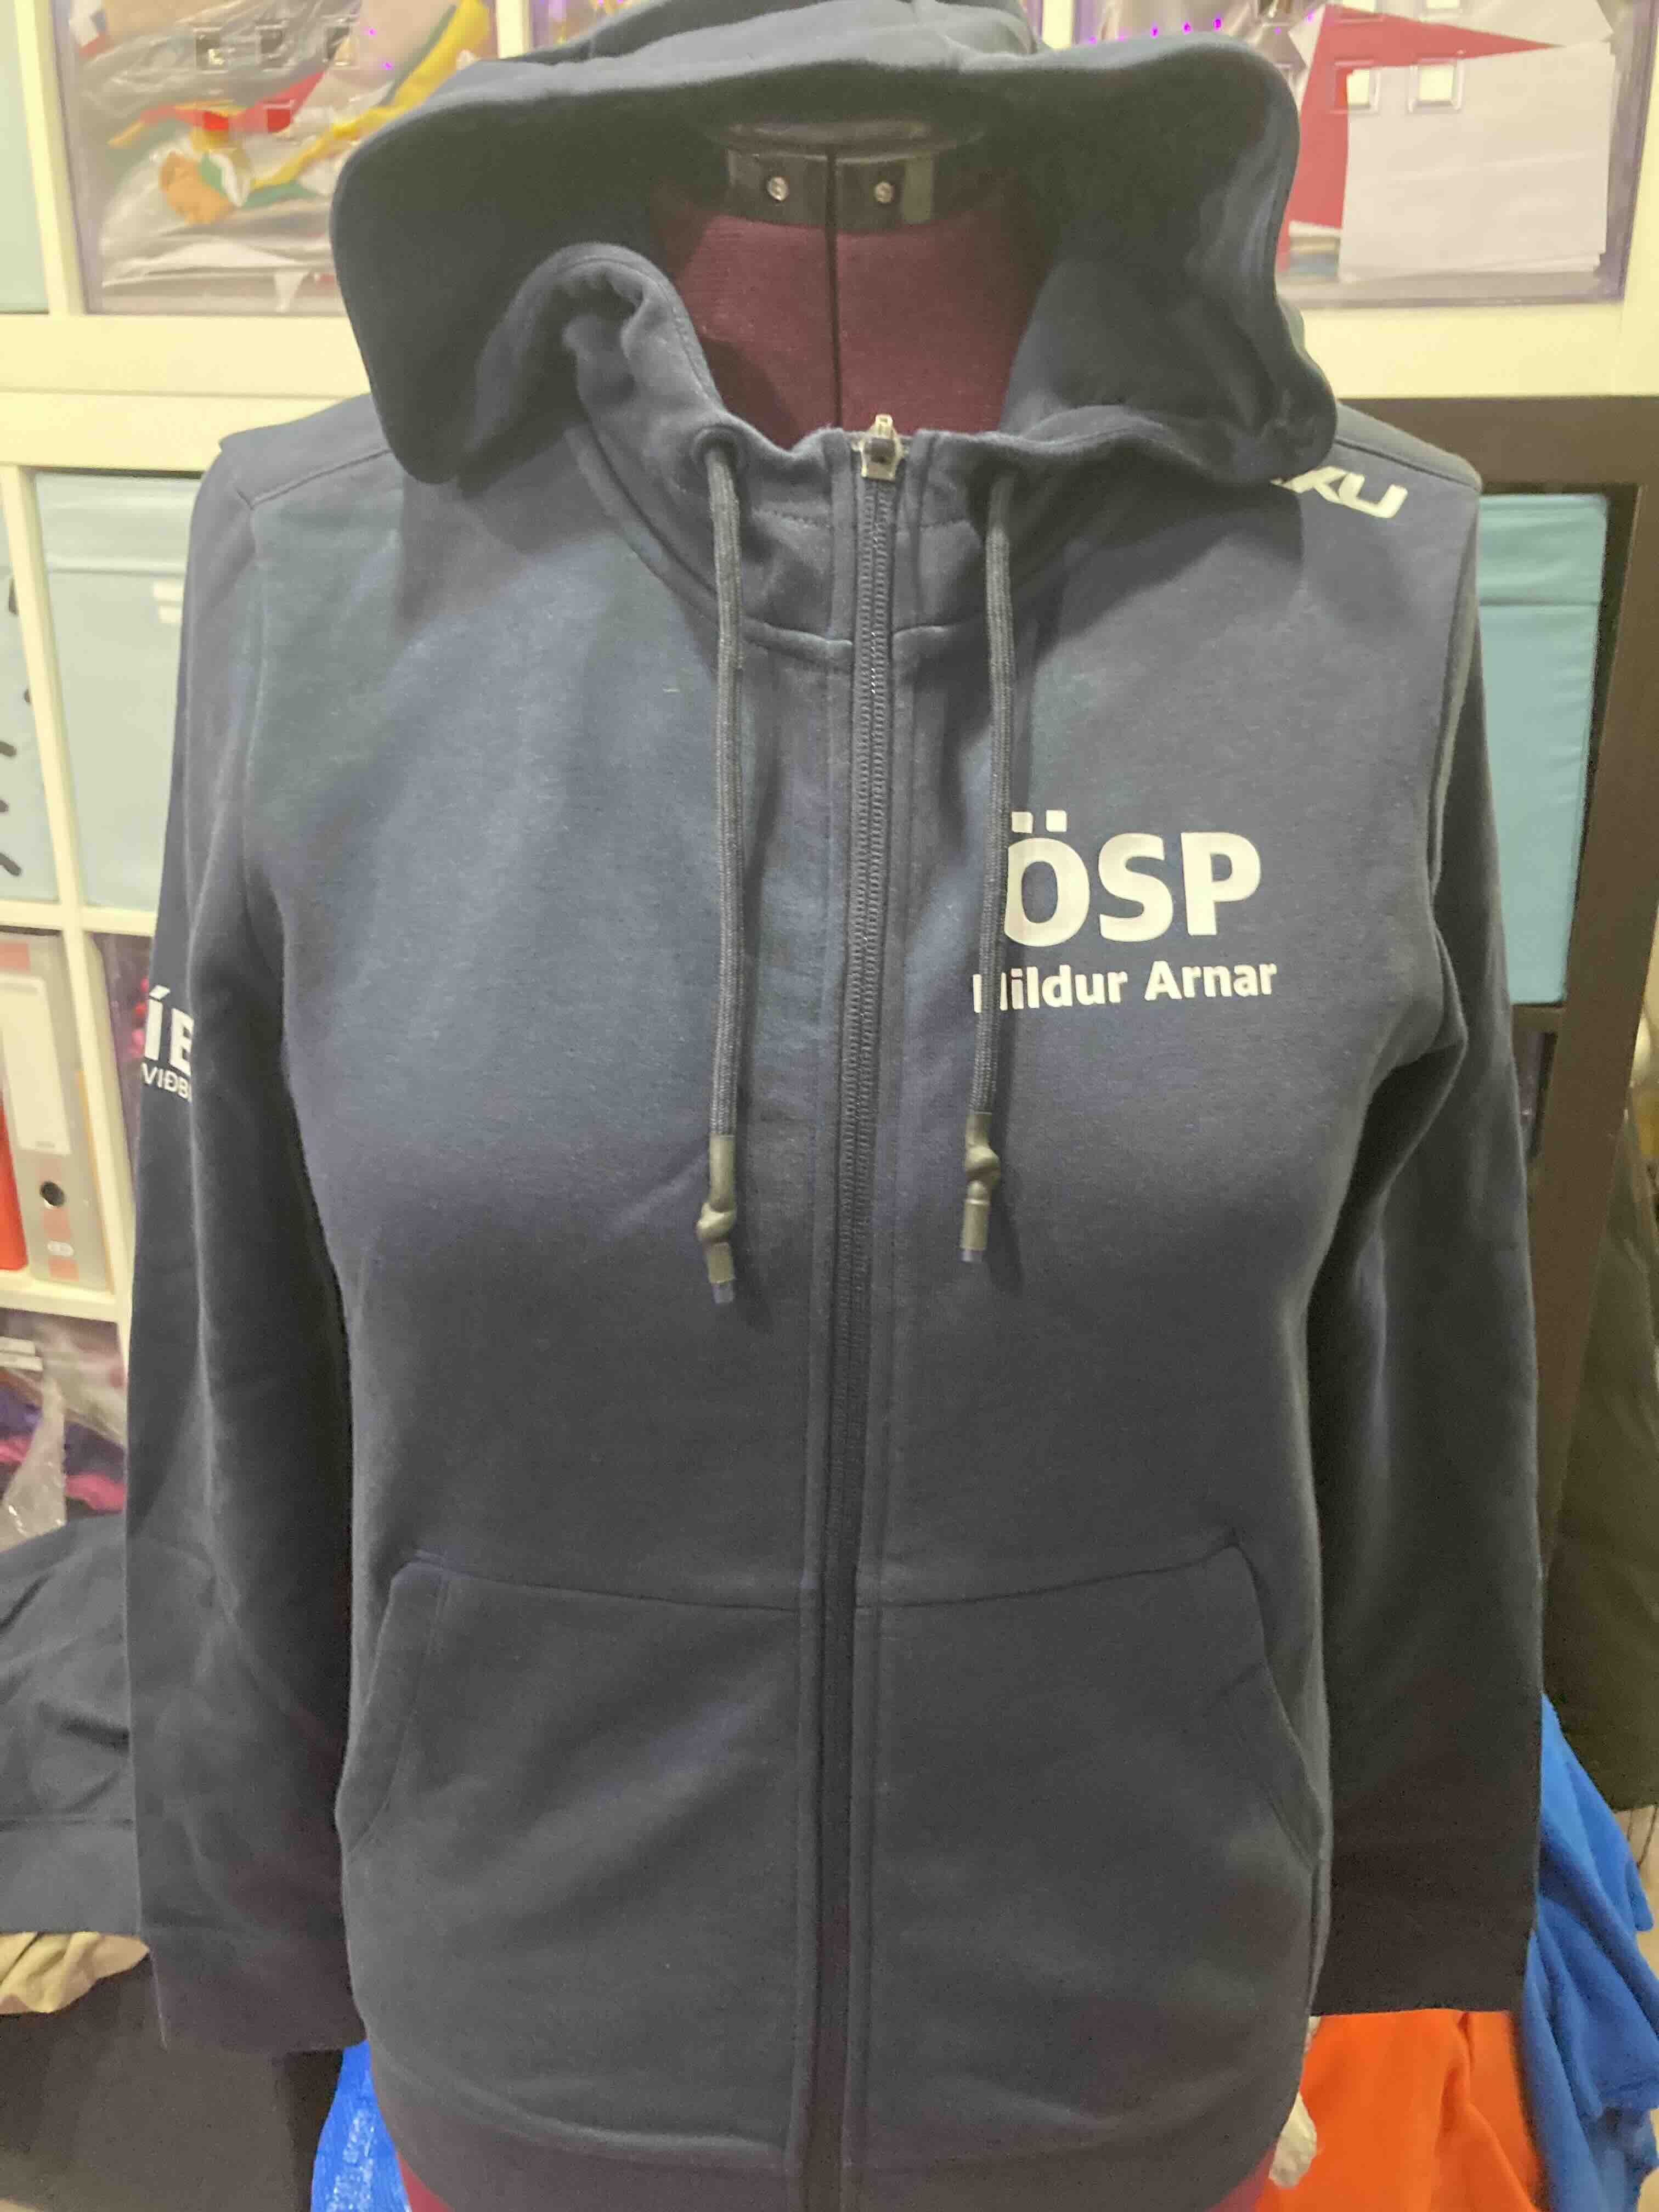
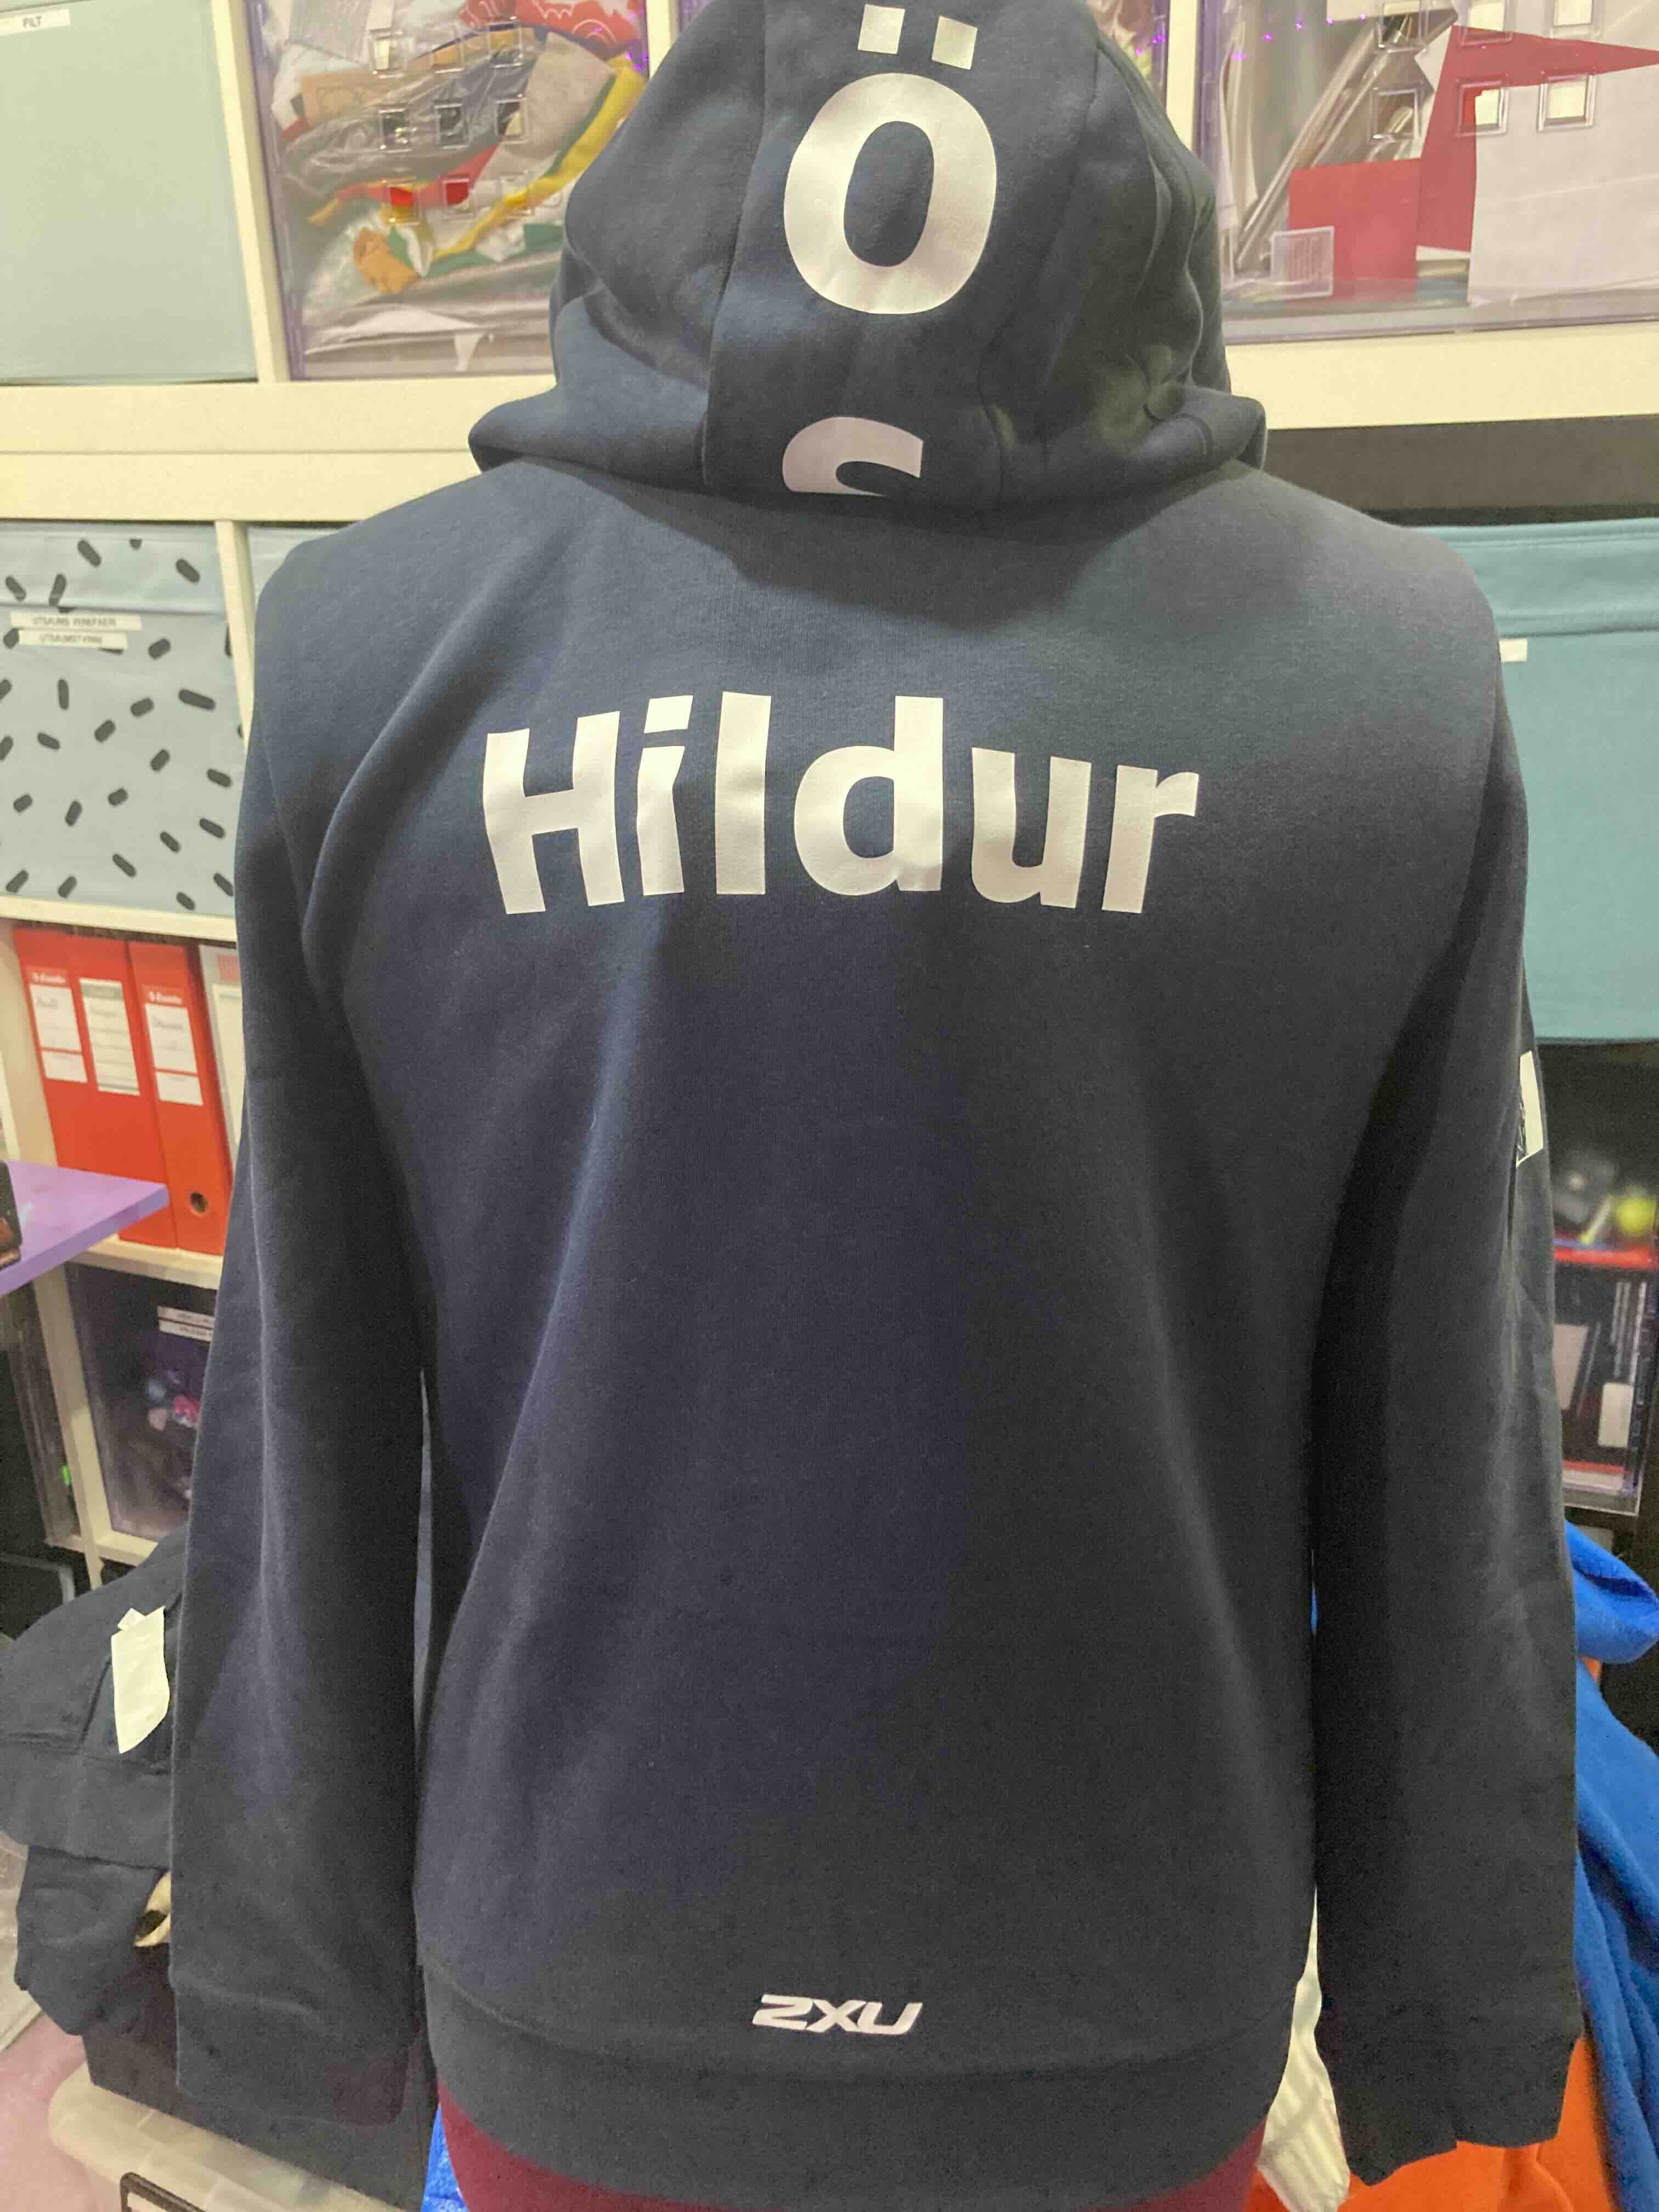
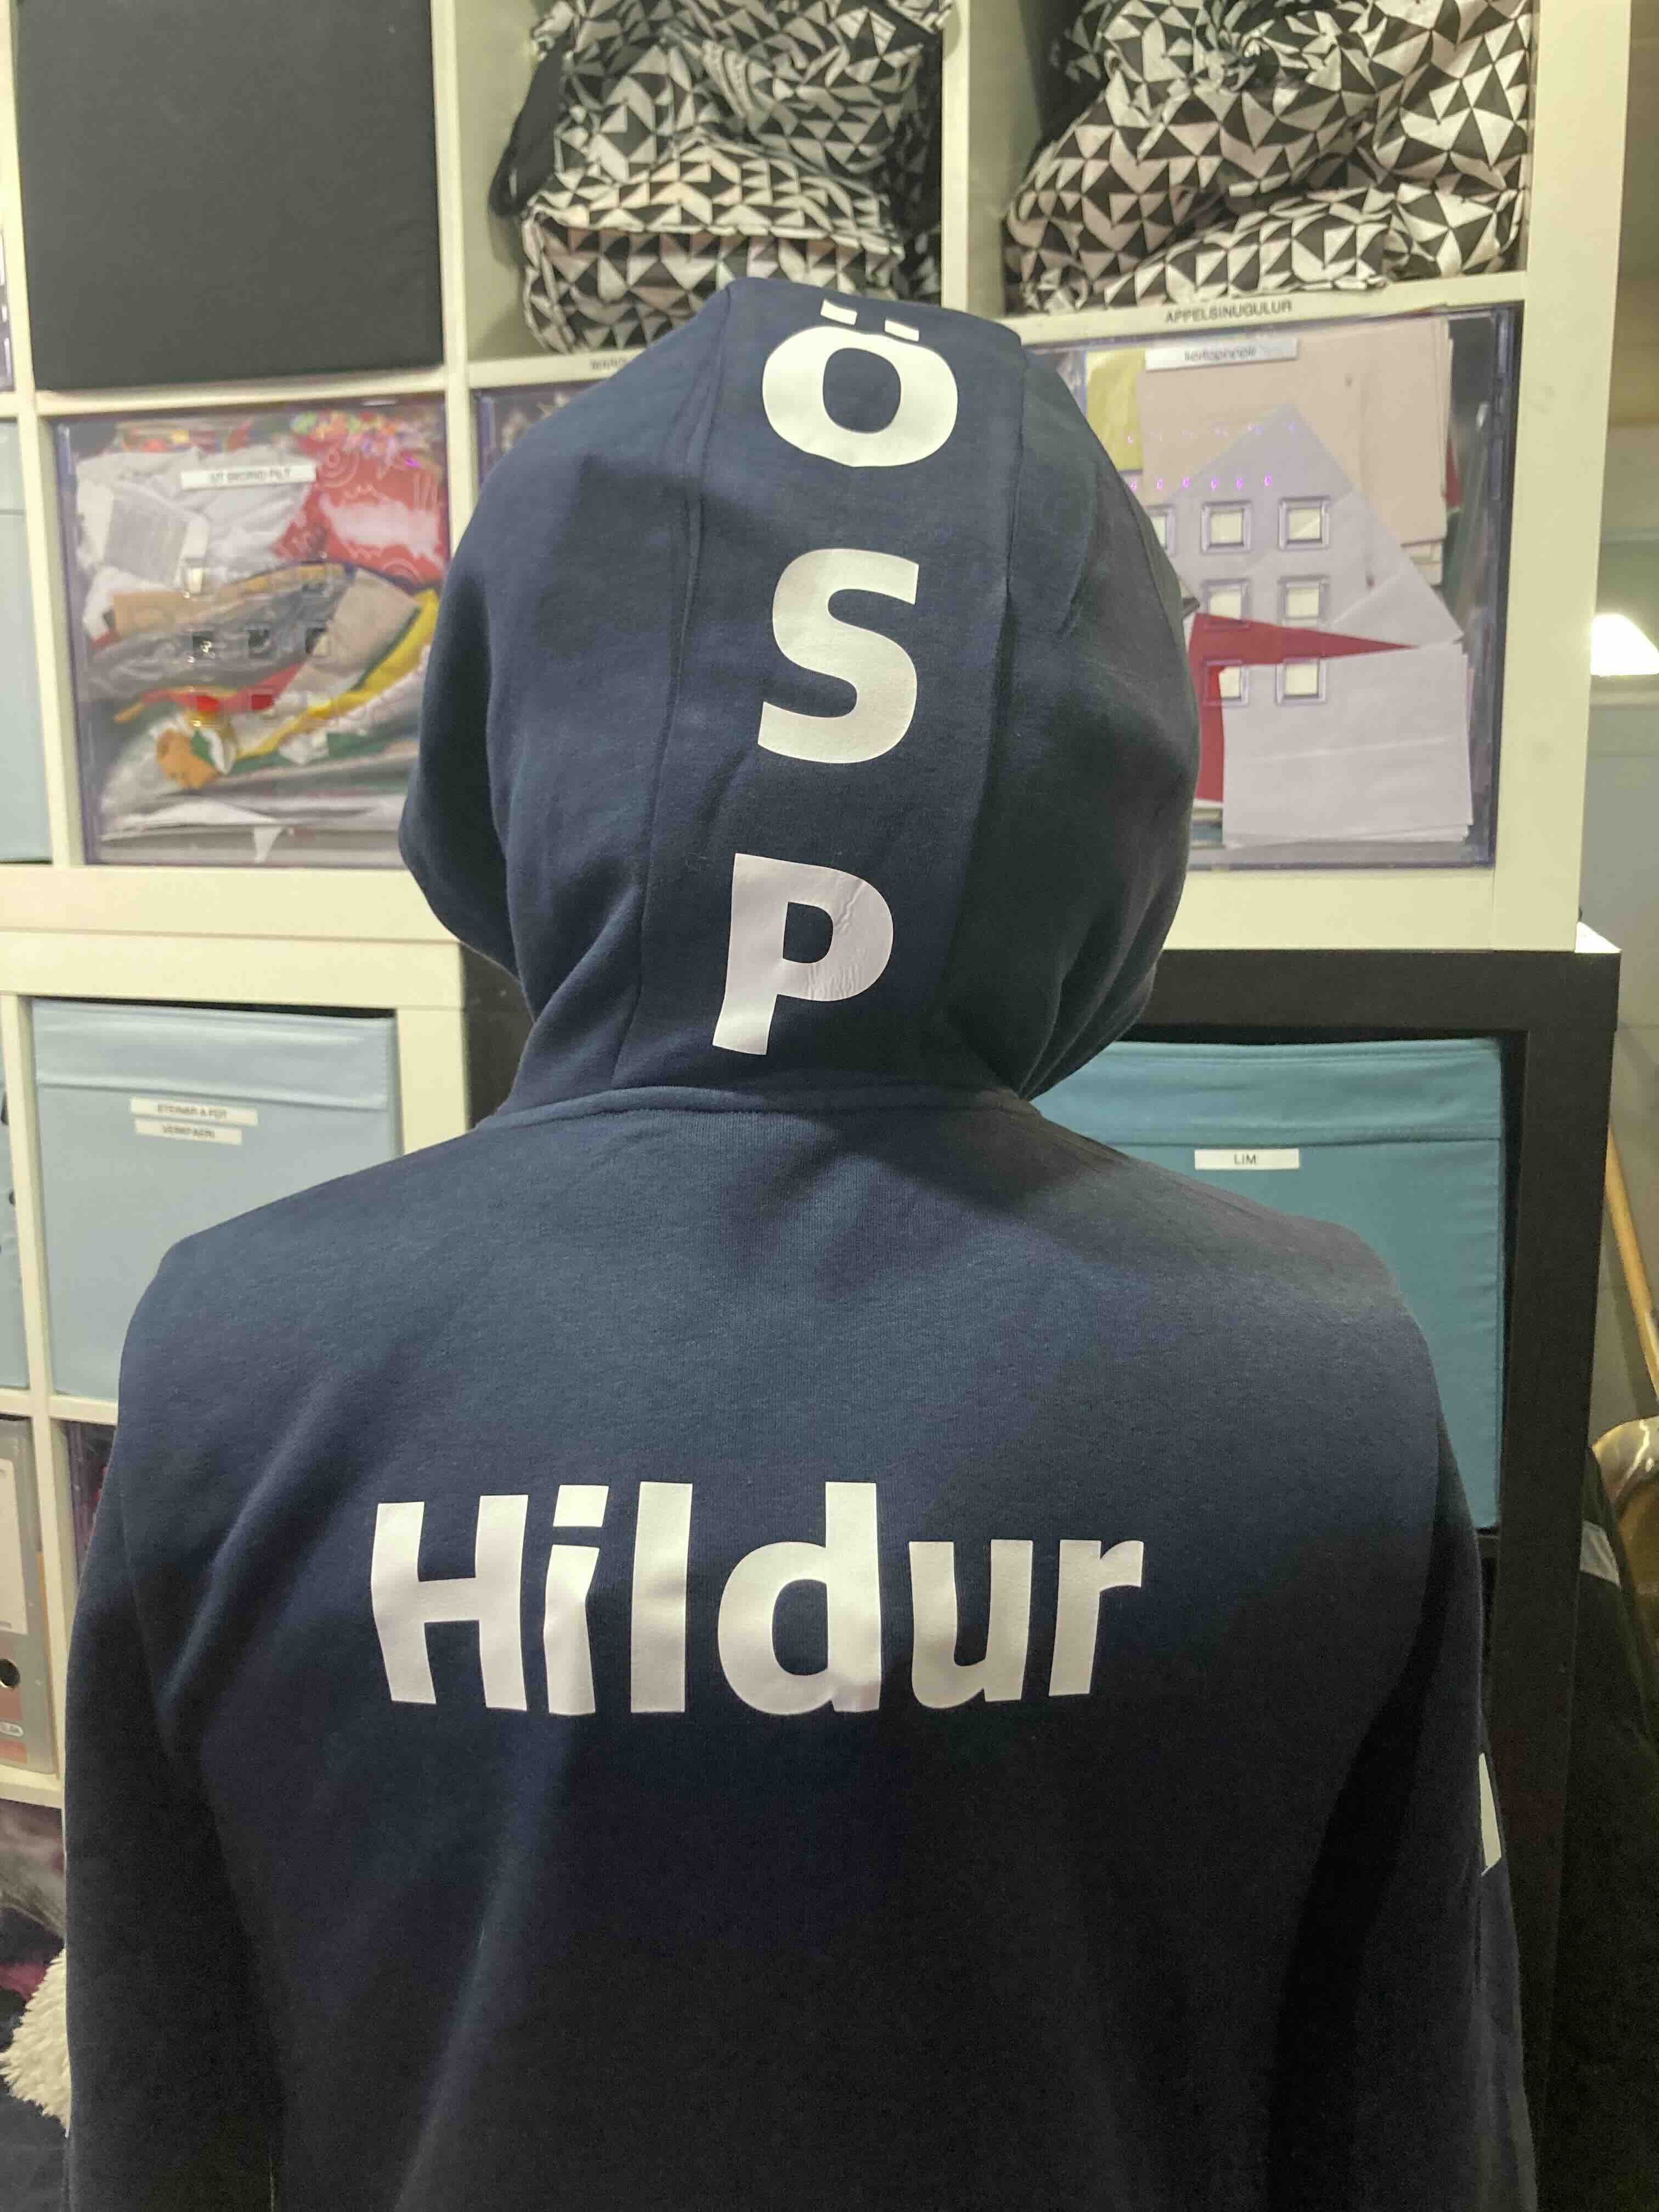
Marathon uniform that I added text to in two different ways.
