Interface and Application Programming
Project description
Group Assignment
compare as many tool options as possible
Individual Assignment
write an application that interfaces a user with an input &/or output device that you made
Mac computer, screen, GitLab, HTML site, patience.
this week I had to make a program. So I decided to make the WiFi program because I wanted to be able to use it in my final project.

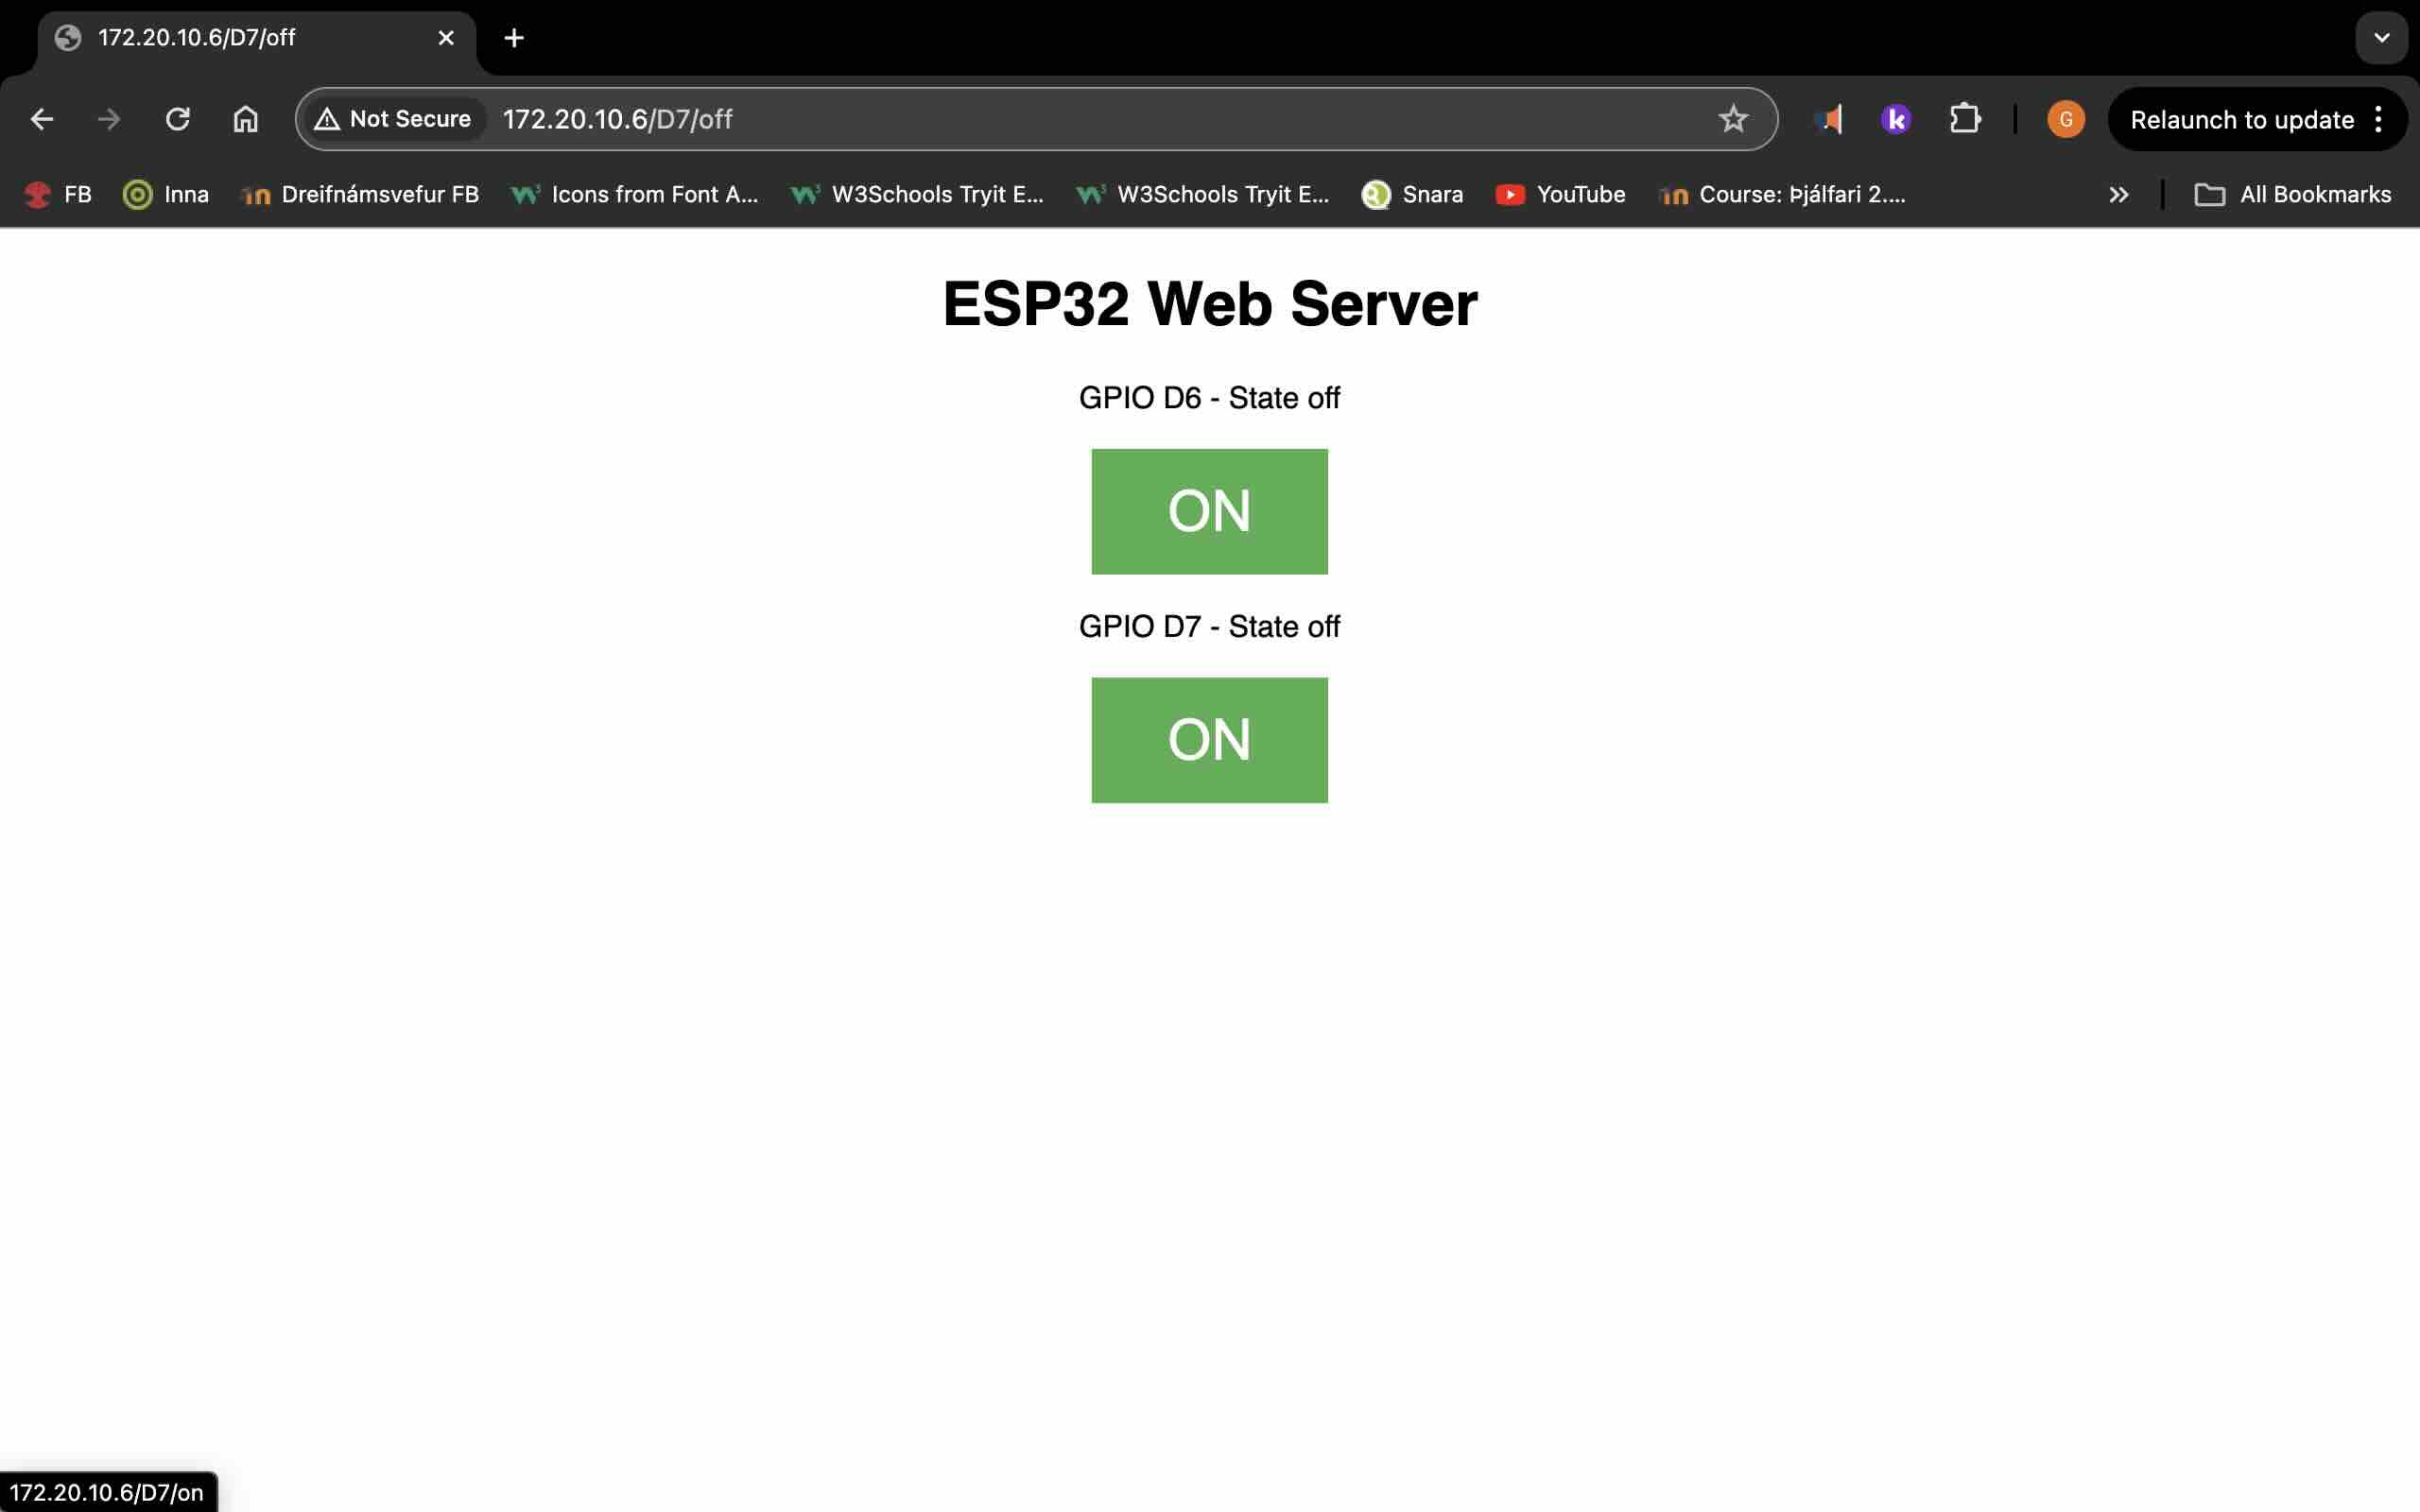
Robert board from a previous project. I used the following info to program the board links beneath. The UI is a simple HTML web pafe served by the ESP32-C3. It displays the states of two LEDs with buttons to turn them on or off. The buttons send a HTTP GET request to control the GPIO pins, changing their states accordingly. The CSS styles the buttons for a clean look. The application communicates with the embedded board (ESP32-C3) over a WI-FI betwire. when a user clicks a button on the web iterface, it sends a HTTP GET request to the ESP32 server. The server processes this request, updates the state of the specified GPIO pin, and responds with an updated HTML page reflecting the new state. I had problems uploading the code but after I changed the GPIO pins so that they fit my board the code uploaded.

ESP32 Web Server – Arduino IDE
Quentorres. swd+uart adapter+hello board - xiao rp2040
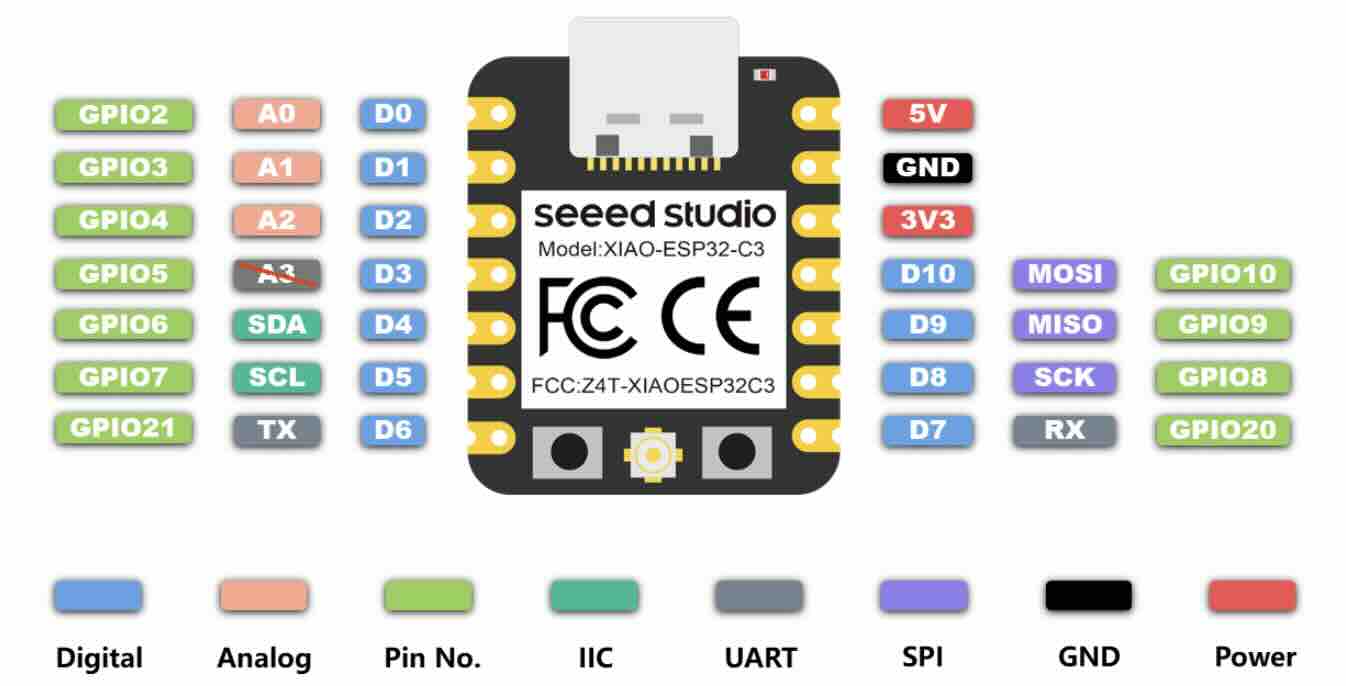
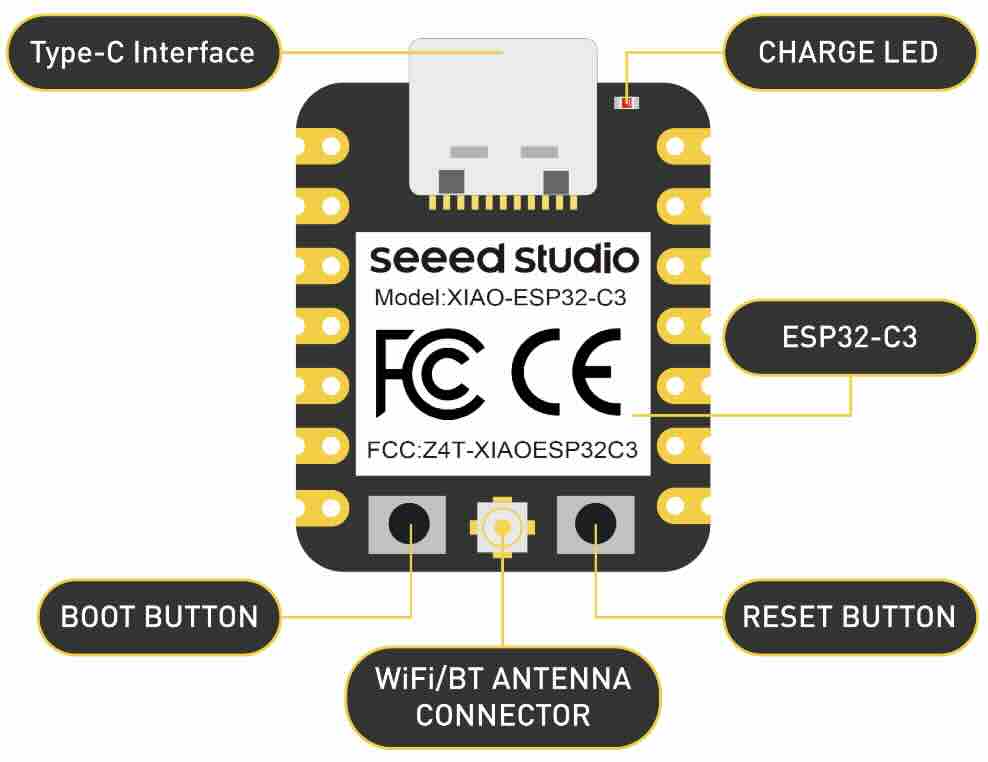
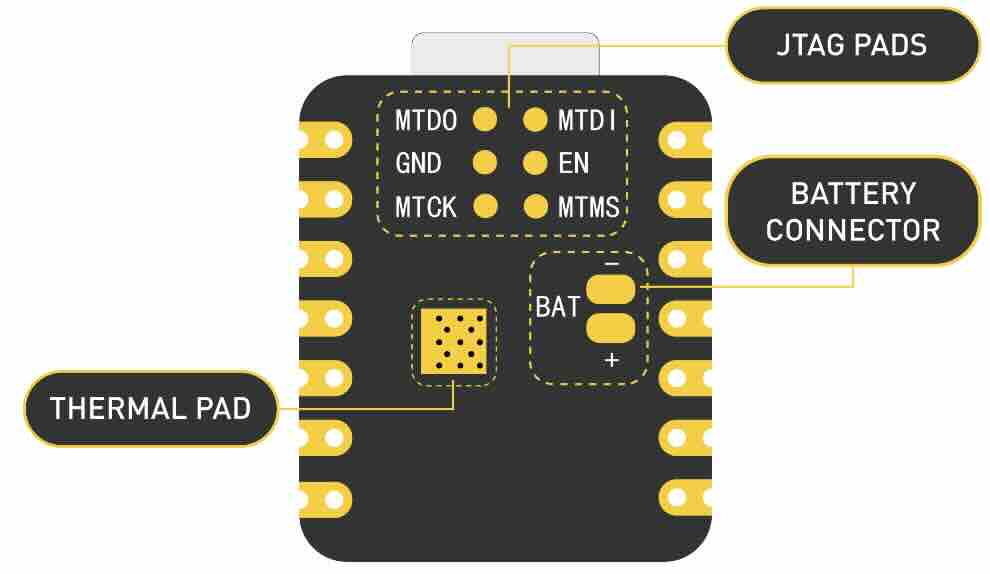
I used a code I found online but altered it so that LED and pins were according to my board. I also needed to put in my WIFI and password otherwise I didnt change the code.
/*********
	Rui Santos
	Complete project details at http://randomnerdtutorials.com
	Quentorres - XIAO ESP32-C3
  *********/

  // Load Wi-Fi library
  #include

  // Replace with your network credentials
  const char* ssid = "REPLACE_WITH_YOUR_SSID";
  const char* password = "REPLACE_WITH_YOUR_PASSWORD";

  // Set web server port number to 80
  WiFiServer server(80);

  // Variable to store the HTTP request
  String header;

  // Auxiliar variables to store the current output state
  String outputD6State = "off";
  String outputD7State = "off";

  // Assign output variables to GPIO pins
  const int outputD6 = D6;
  const int outputD7 = D7;
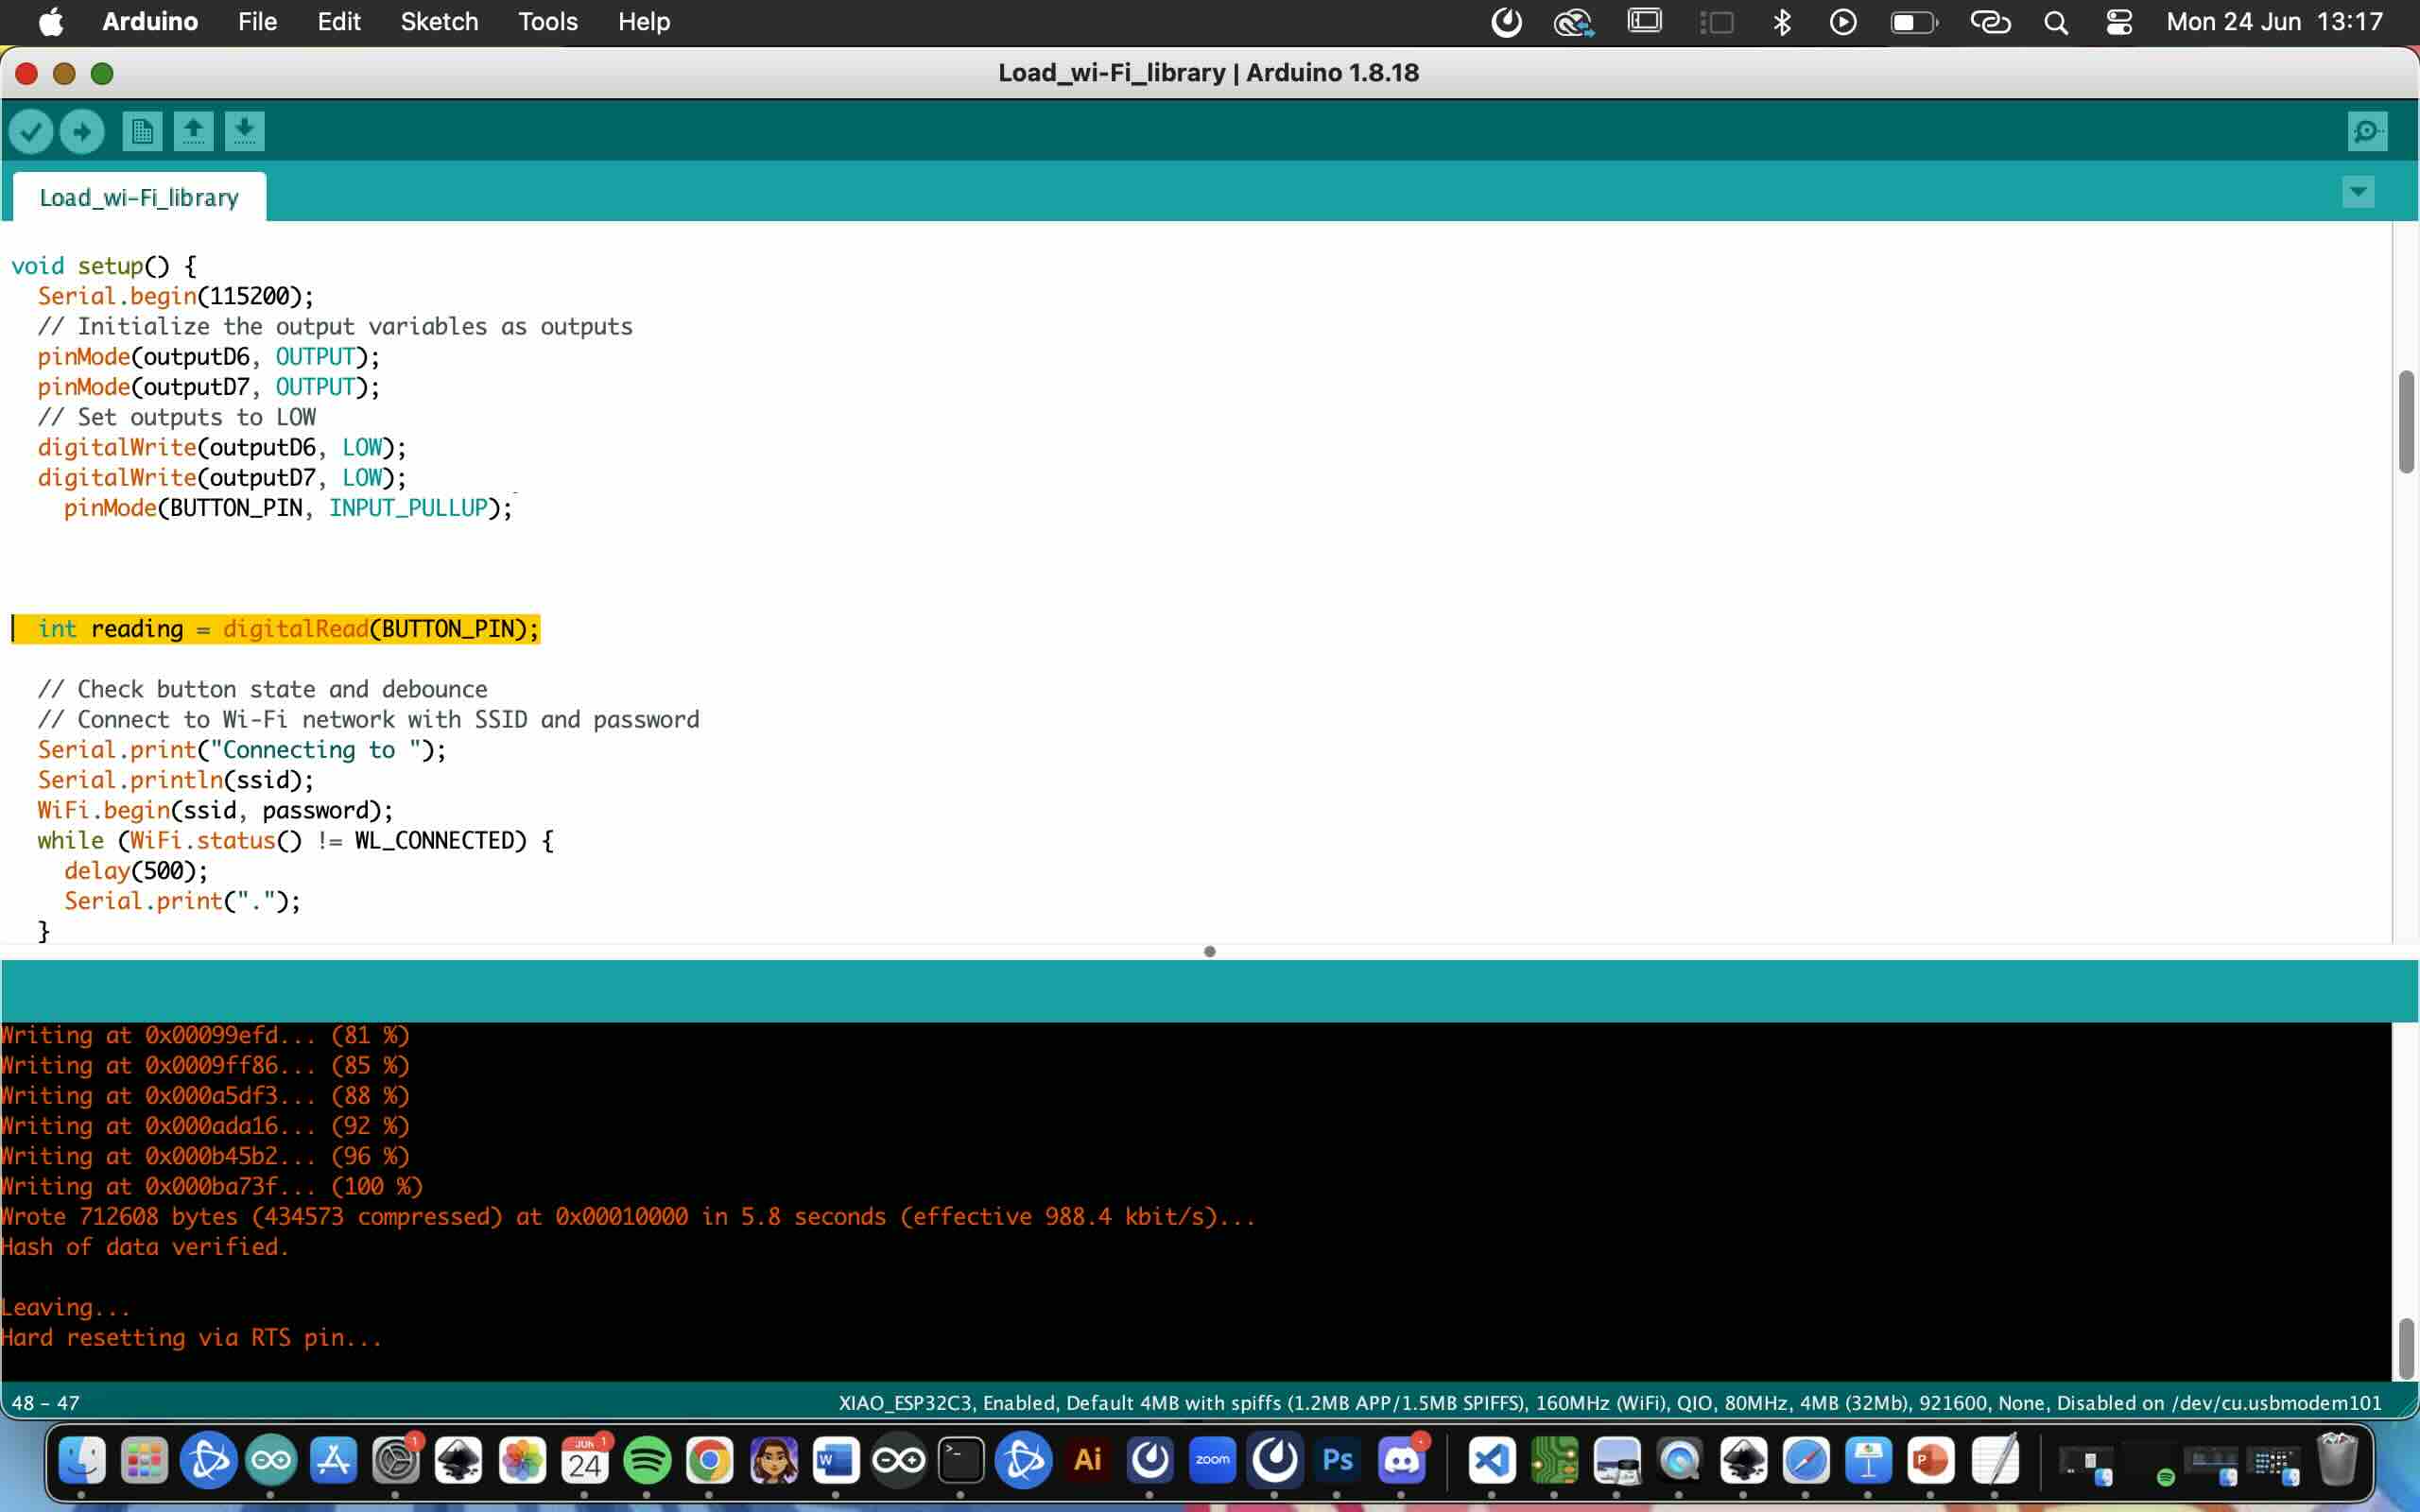
Pictures of the code how it looks in Arduino program.
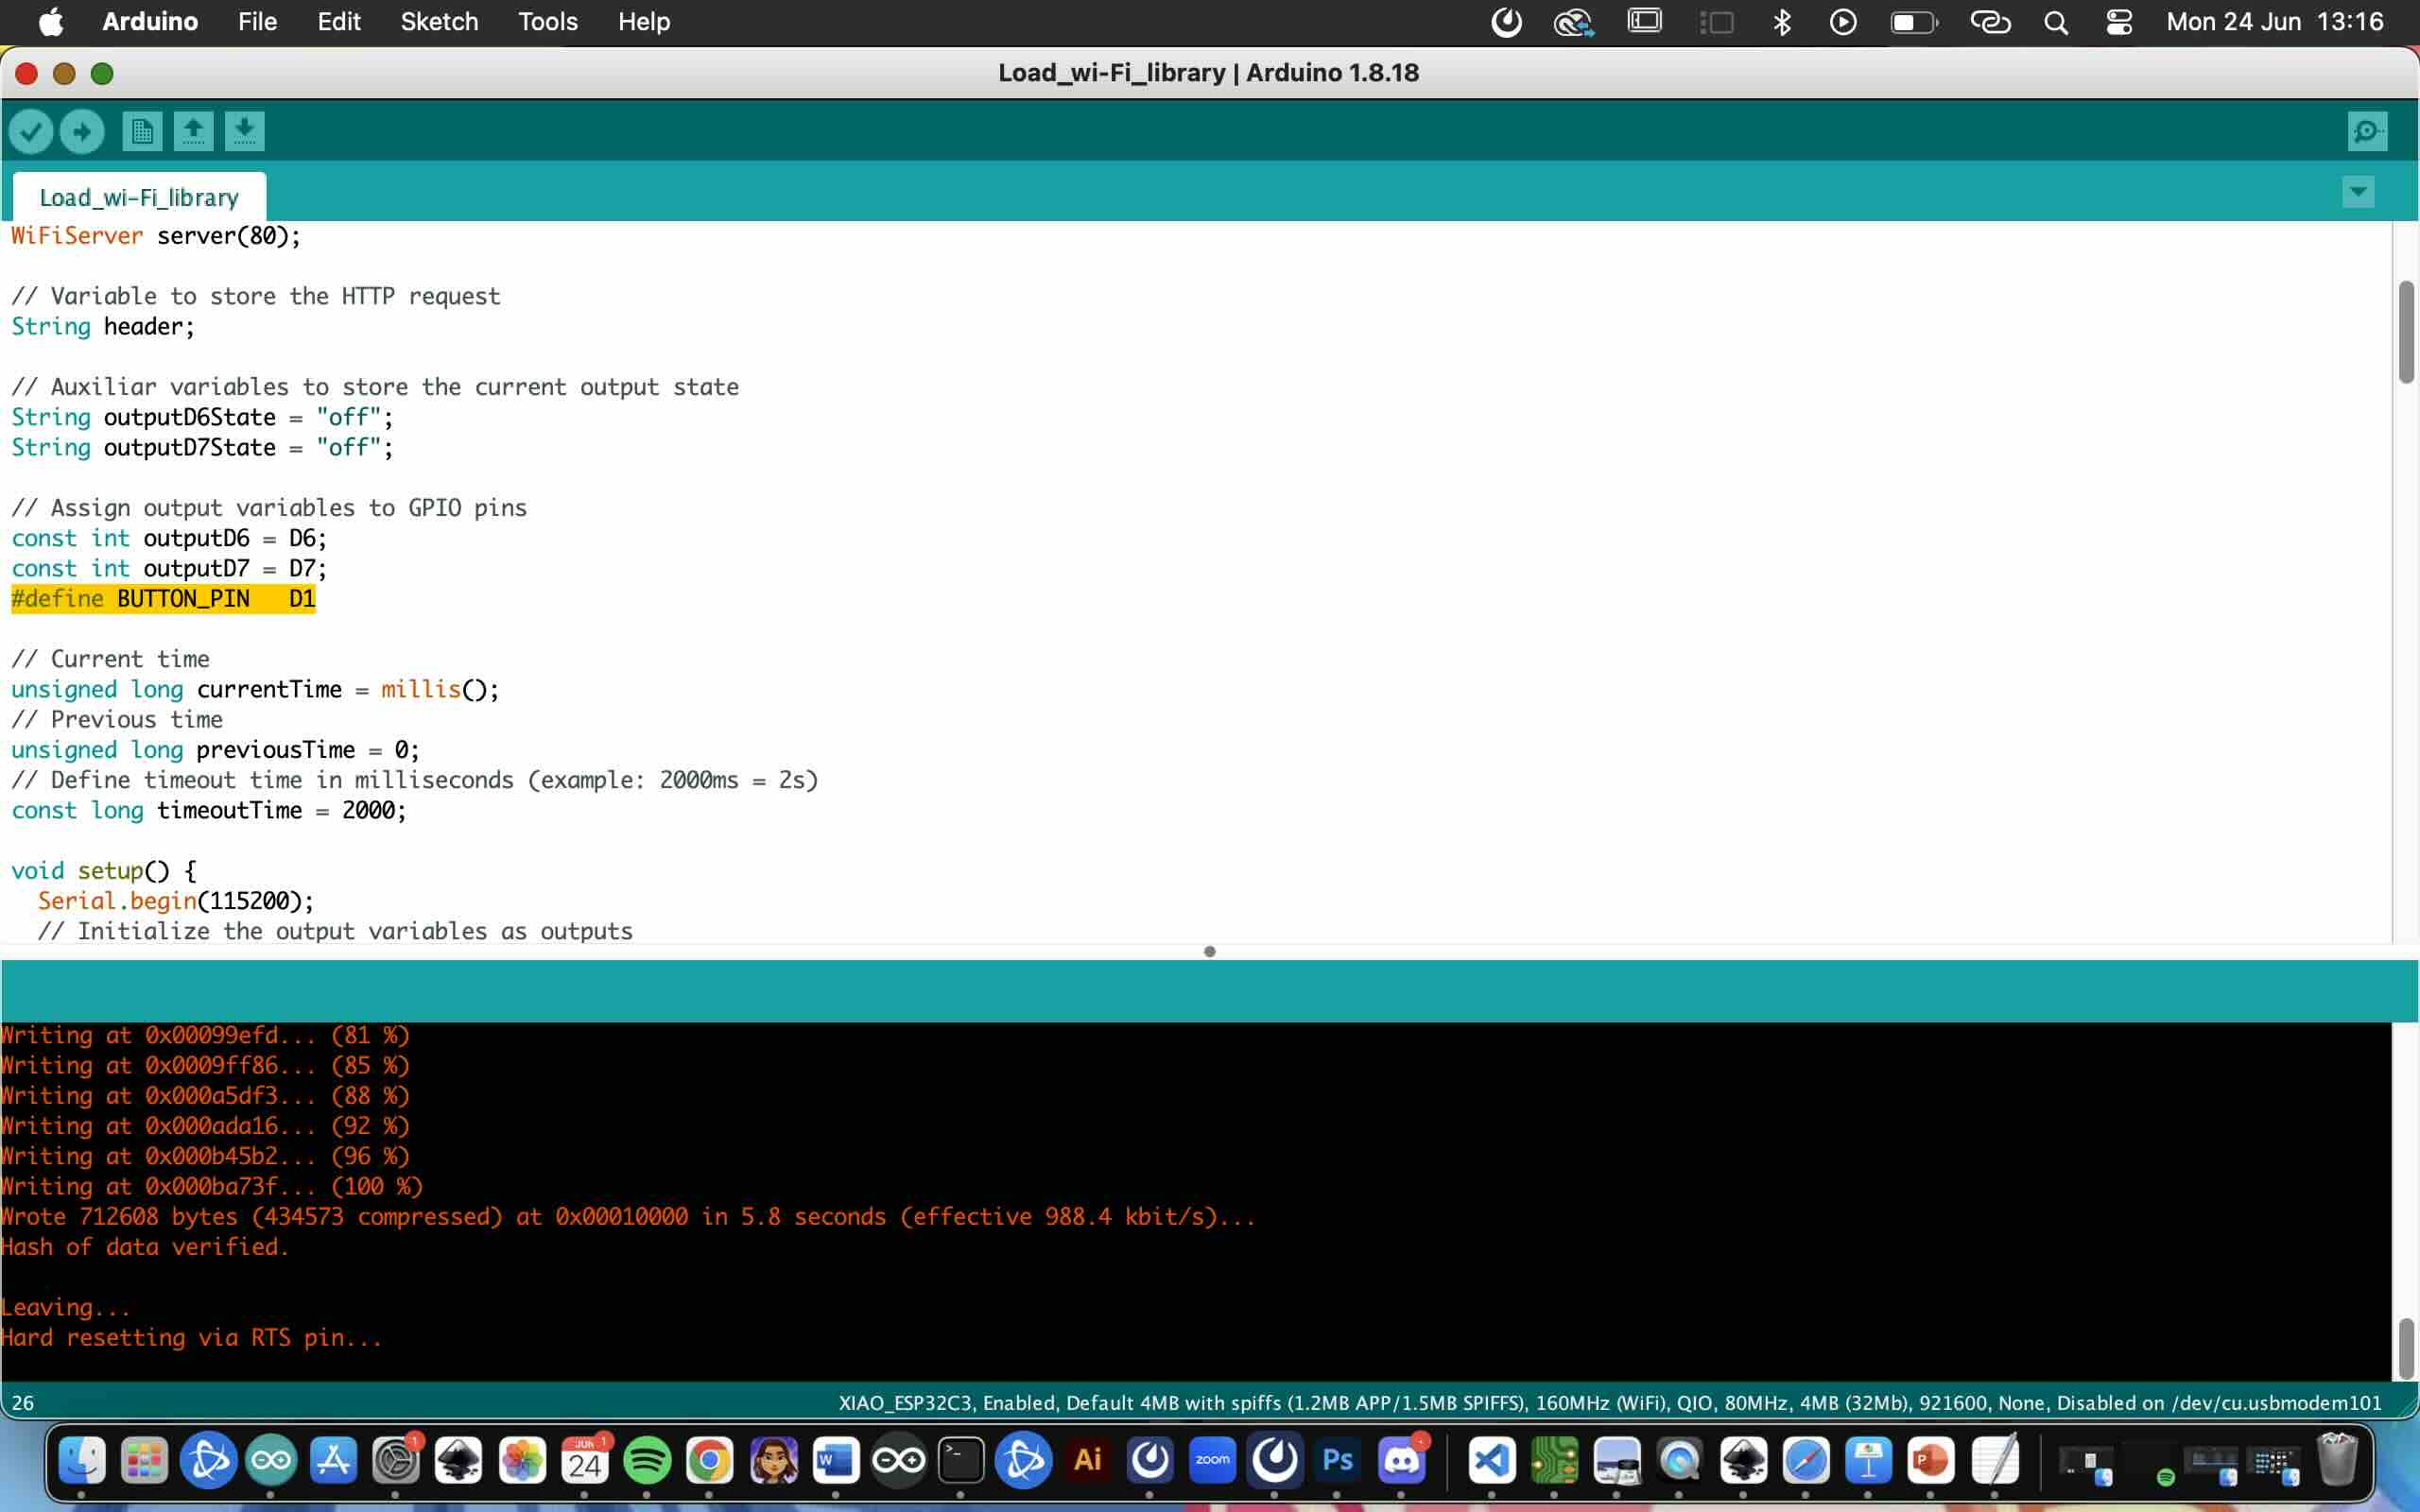

The display of the webserver.
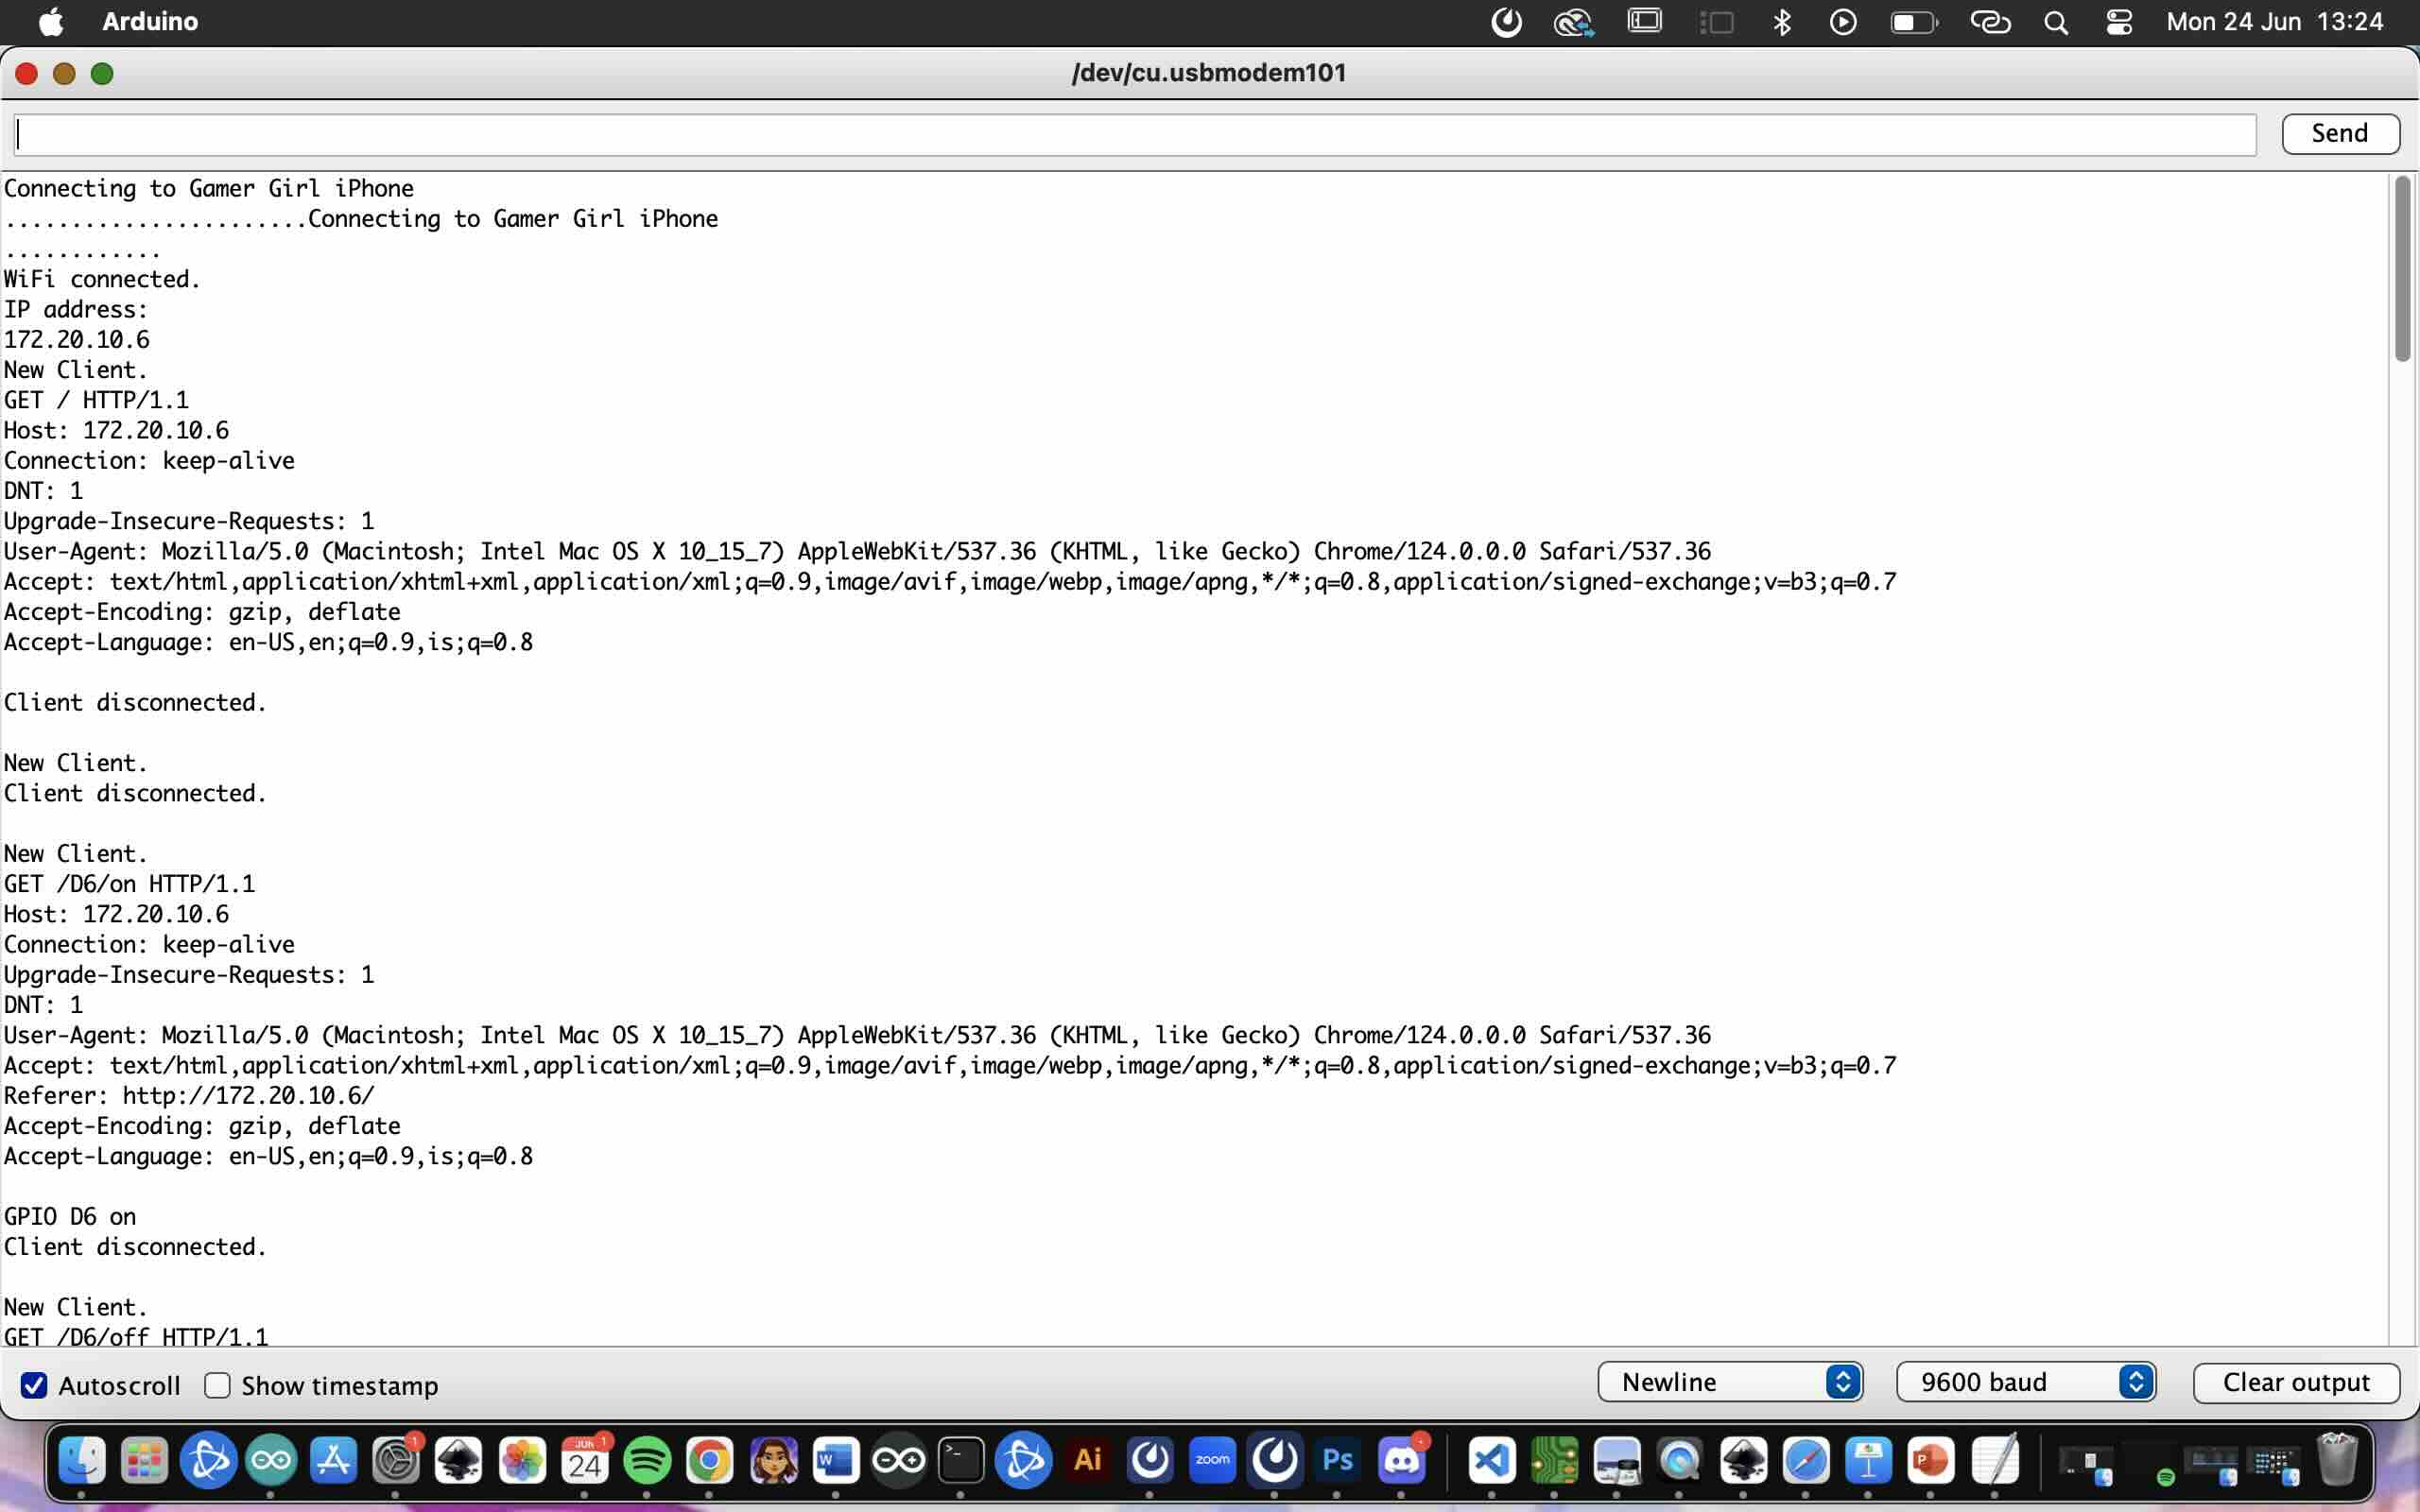
The text that comes up in Arduino on the computer screen.
I used a code I found online but altered it so that LED and pins were according to my board. I also needed to put in my WIFI and password otherwise I didnt change the code.
/*********
	Rui Santos
	Complete project details at http://randomnerdtutorials.com
	Quentorres - XIAO ESP32-C3
  *********/

  // Load Wi-Fi library
  #include

  // Replace with your network credentials
  const char* ssid = "REPLACE_WITH_YOUR_SSID";
  const char* password = "REPLACE_WITH_YOUR_PASSWORD";

  // Set web server port number to 80
  WiFiServer server(80);

  // Variable to store the HTTP request
  String header;

  // Auxiliar variables to store the current output state
  String outputD6State = "off";
  String outputD7State = "off";
  String outputD0State = "off";

  // Assign output variables to GPIO pins
  const int outputD6 = D6;
  const int outputD7 = D7;
  const int outputD0 = D0;
You can change the color of the button by changing the HEX #4caf50 (green) to for excample HEX #844caf (purple)
client.println(".button { background-color: #844caf; border: none; color: white; padding: 16px
I really wanted to implement a WiFi into my Wing design. It was hard to import the design so it would work. I ended up taking a break for the day and the day after it worked perfectly without me having to alter it. I altered the code so it would work for Quentorres Board and also for it to have two or three buttons. This worked well and I will implement it to my wings plan.