Machine Week 
Assignment
Group assignment
- Design a machine that includes mechanism+actuation+automation+application
- Build the mechanical parts and operate it manually
- Actuate and automate your machine
- Document the group project and your individual contribution
See more info and recording of the lecture here.
Presentation
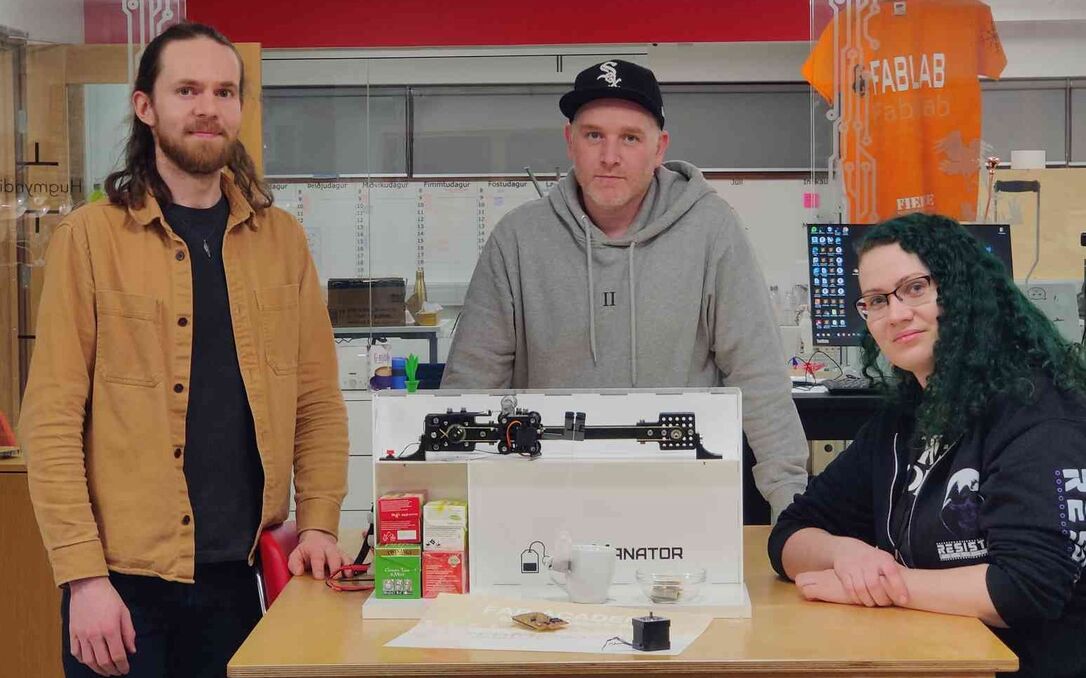 The Icelandic Machine Week team: Svavar, Andri and Hafey.
Machine Week was fantastic. Check out our project page here:
For an intense three-day weekend, Andri Sæmundsson, Hafey Viktoría Hallgrímsdóttir and myself joined forces in Fab Lab Reykjavík to build a machine. Here's our presentation video:
The build process and function of the TeaManator tea steeping machine.
But it's better to watch the video with commentary from Hafey:
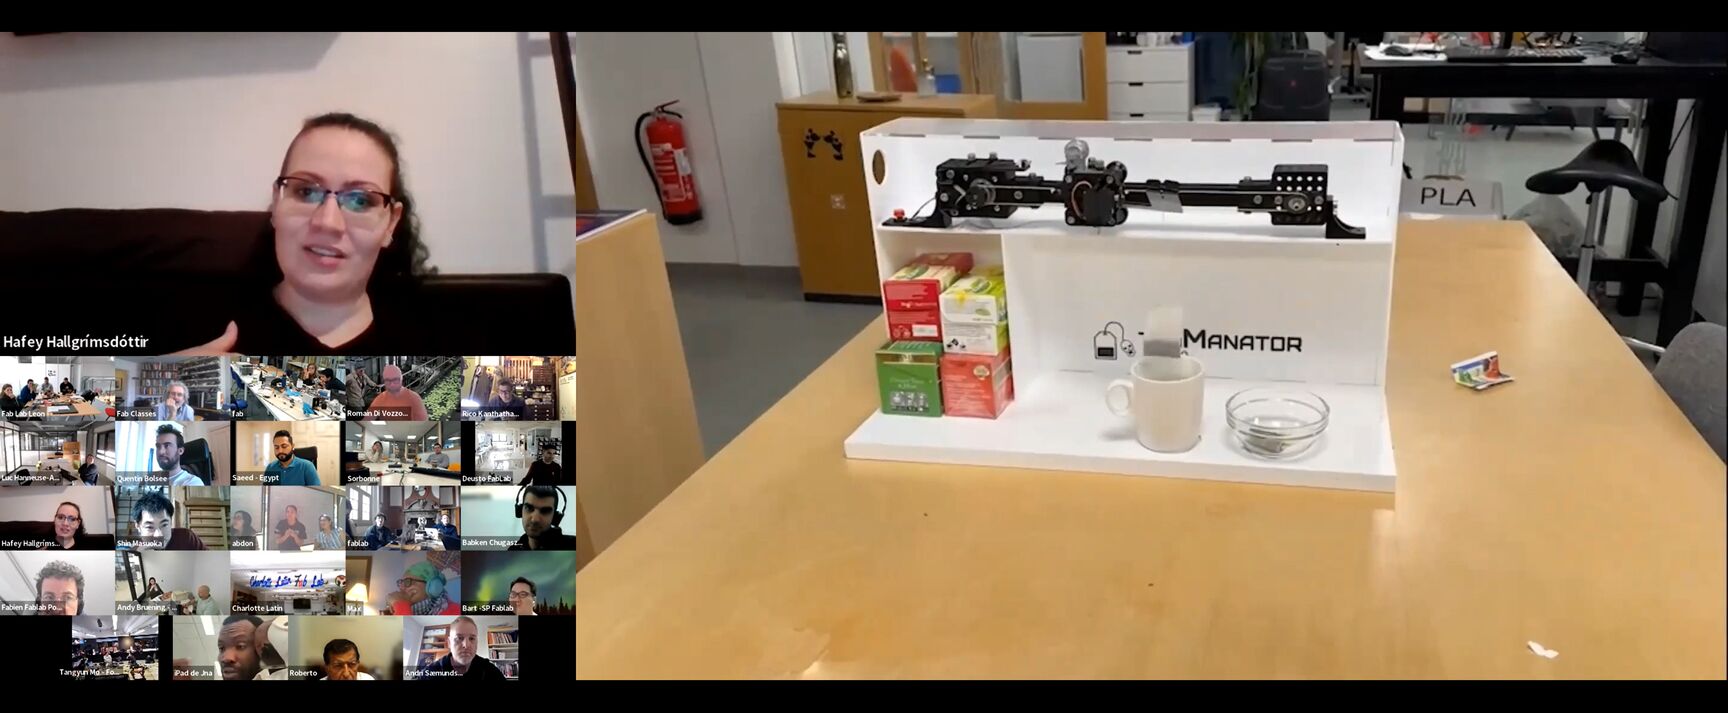 Hafey presenting the TeaManator tea machine to Neil Gershenfeld and the Fab Academy class 2023. Neil liked how the machine is nicely finished and presented. Link to video.
The clean aesthetics of the machine are thanks to Hafey, who designed and made the structure on the Shopbot and the laser cutter. She also made the logo on the vinyl cutter, which means that we used all the machines in the Fab Lab!
Travel arrangements
Our instructors, Árni Björnsson and Þórarinn Bjartur Breiðfjörð Gunnarsson came to support us during this intense session of work. Þórarinn and I flew in from Ísafjörður and Árni flew in from Akureyri.
Landing in Ísafjörður is more exhilarating than many people would like.
Ísafjörður is one of the most difficult airports in Iceland. When the plane comes in, it needs to take a sharp U-turn at the bottom of the fjord before landing on the tarmac. People are often quite shocked, and I heard that two of the designers of the Dutch Fokker aircraft that used to fly this route came along for the ride once and commented that the aircraft was not designed for this kind of thing. If there's even a little bit of side wind toward the mountain, the flight is cancelled. Fortunately, the weather gods smiled upon us this time.
Fab Lab Reykjavík
On arriving in Fab Lab Reykjavík, I discovered that I was one of the orphaned 3D scans on display in the lobby. No long hair or beard back then.
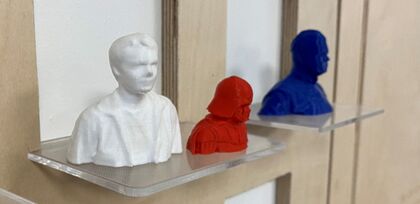 I made this with a Kinect 3D scanner many years ago with the help of Linda and Bas Withagen, soon after Fab Lab Reykjavík first opened. Then the Fab Lab was in Eddufell, in a small commercial center. I spent a lot of time there right after it opened. Good times.
I wanted to take many more pictures inside Fab Lab Reykjavík, because they have designed and fabricated all sorts of clever solutions that I would like to replicate in Fab Lab Ísafjörður. But there was no time!
Teamwork
We were all super productive the whole time. We worked from nine in the mornings to about ten in the evenings, and we made the machine work just in time to go back home. I'm really happy with my teammates and our instructors.
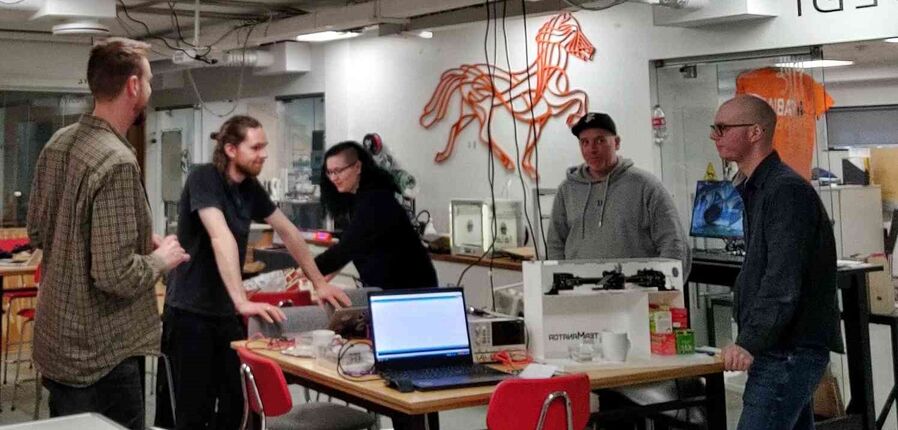 Árni, Svavar, Hafey, Andri and Þórarinn.
The concept
Why is the machine called TeaManator? Because my instructor Þórarinn thought we should use something distinctive as an end stop:
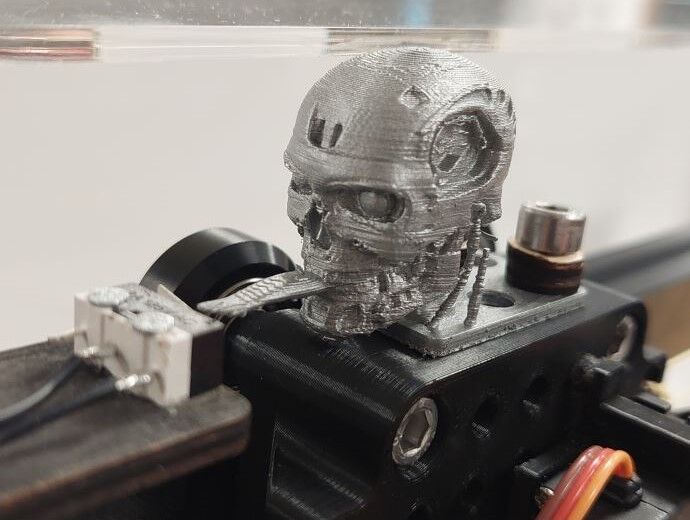 He added the tongue in Blender.
Andri made some concept art for our machine using a Generative Pre-trained Transformer:
 Andri used GPT-enabled Bing to generate the images.
Spiral 1
My job was to make the motors work. The first spiral was to control a stepper motor using an Arduino Uno and an L298N double H-bridge motor controller. I also added a servo to the Arduino Uno. The ATMega328 chip on the Uno is a bit old and outdated, but the Arduino Uno is still the best documented and supported microcontroller board in the world. So it's a good place to get something basic working.
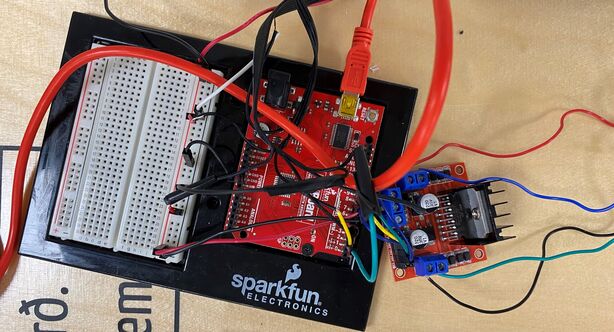 Machine control spiral 1: An L298N stepper driver module on a breadboard with a SparkFun RedBoard, which is essentially the same thing as an Arduino Uno.
Spiral 2
The second spiral was to make a custom board with a Xiao RP2040 microcontroller module, a DRV8825 StepStick motor controller, 12V input pins from a lab power supply and GPIO breakout pins for a servo and two buttons. In Machine Week I made my biggest leap forward in electronics design. I also developed my methodical method of breadboarding and testing the hardware and software, one element at a time, before transferring the design over to KiCAD.
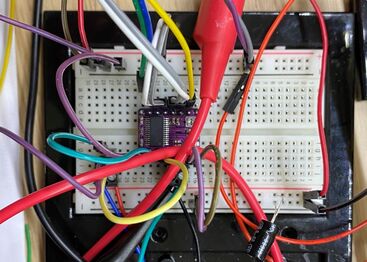 Machine control spiral 2 on a breadboard: A DRV8825 StepStick stepper driver module. I first connected it to the SparkFun RedBoard but when I had that working I switched to the Xiao RP2040 module.
PCB milling
The custom board that I made is an extension of spiral 2. The first board had mounting holes that were far too big and the board also came loose during milling.
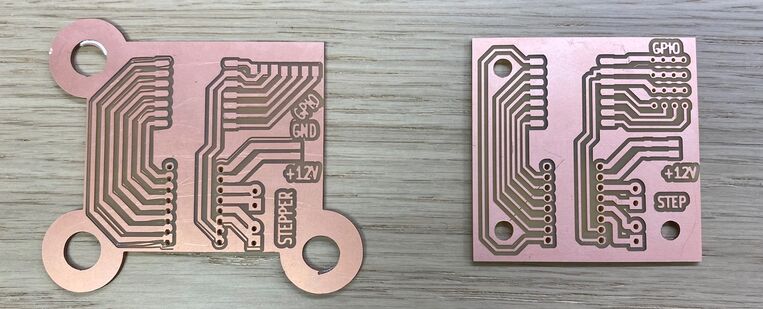 Bad board and good board. I input a radius for the mounting holes when I thought I was defining their diameter. So the holes are huge on the board on the left! And I didn't use enough double-sided tape to secure the PCB blank, so it shifted during the trace milling operation.
After a redesign, the second attempt to mill the board went well. The board on the right is the final version of the TeaManator controller board. I forgot the drilling holes for the electrolytic bulk storage capacitor for the stepper driver, so I drilled those holes afterwards.
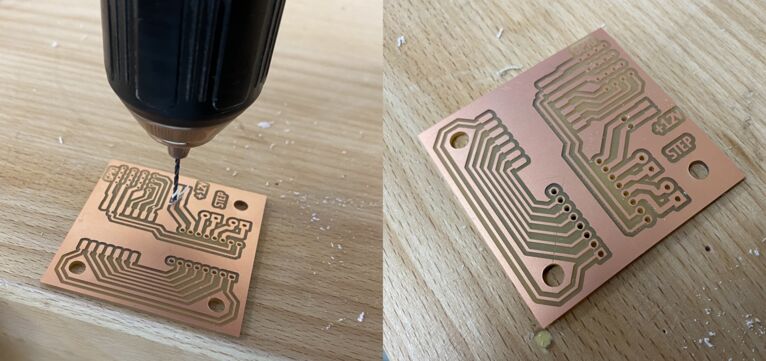 Hand drilling the last two holes in the board.
I only had through-hole female headers, so I bent their legs in order to be able to surface mount them.
 Bending the legs for surface mounting.
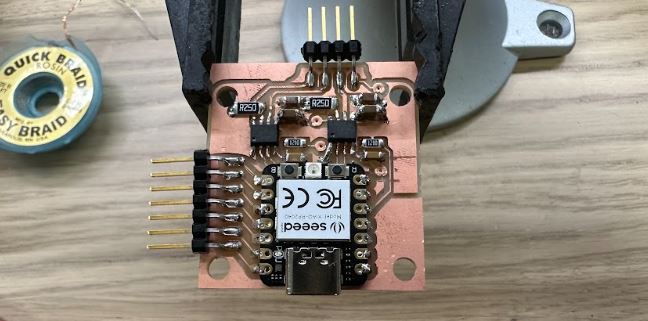
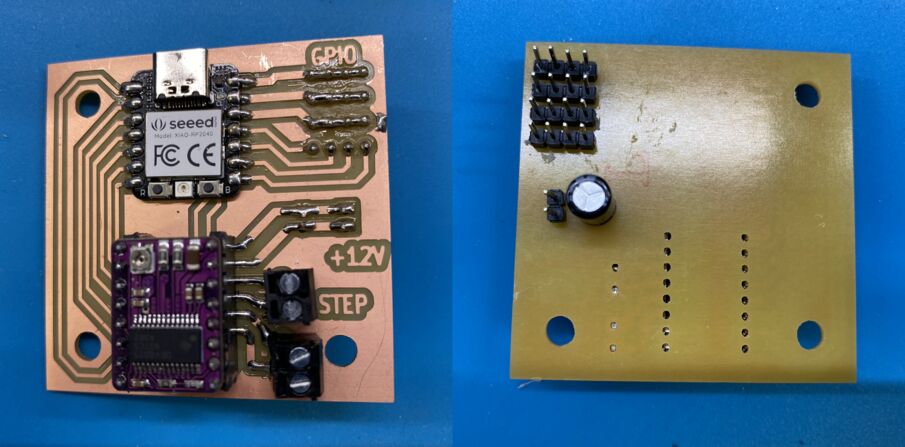 The final TeaManator machine controller, with a Xiao RP2040. I learned a lesson in considering which side through-hole components need to be on in order to touch the copper traces.
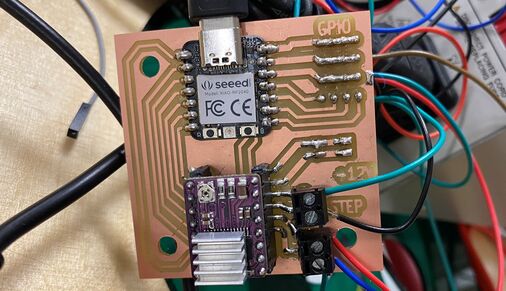 Close-up of the machine controller, all connected up.
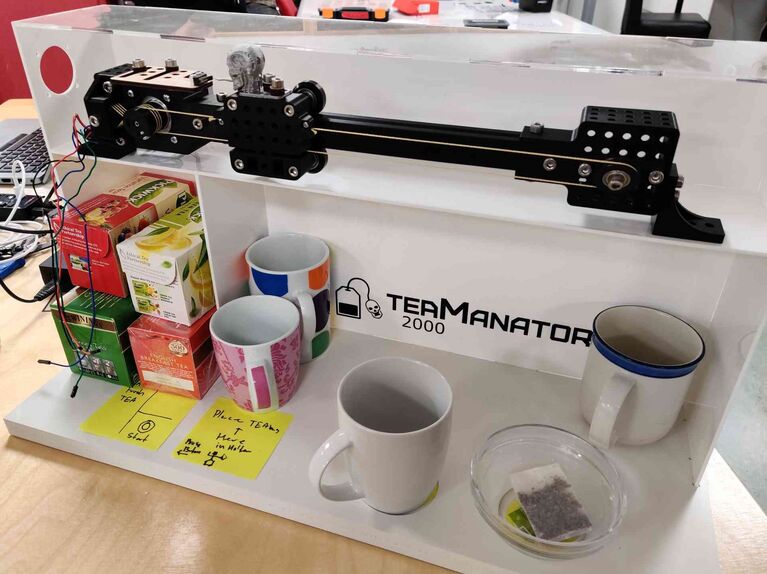 The TeaManator 2000 tea steeping machine. Clean and elegant.
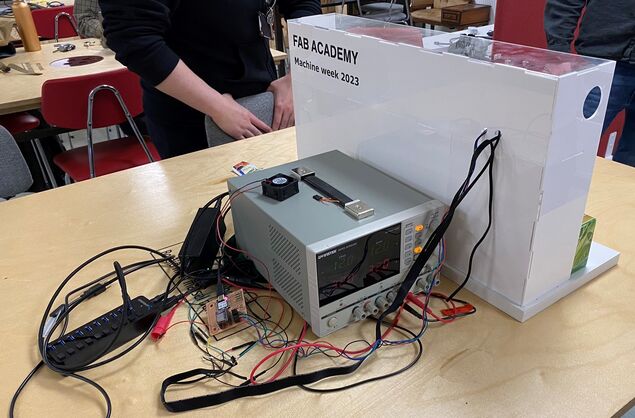 The reality behind the facade. The USB hub (with AC adapter) and the big power supply are only there to supply 5V to the Xiao and 12V to the stepper driver, because we didn't have time to learn how to make a power supply. I realized then that I need to think seriously about a neat way to power my final project.
Design files
Here are the KiCAD, SVG and PNG files for the TeaManator machine control board. I'm also including all the incremental test code. Other design files are at the bottom of our group project page.
Download tea_machine.ino (final code)
Download machine_week_nema17_l298n_test.ino
Download machine_week_nema17_l298n_servo_test.ino
Download machine_week_nema17_and_servo.ino
Download machine_week_xiao_servo.ino
Download machine_week_nema17_drv8825_test.ino
Download machine_week_nema17_drv8825_test-svavars_board.ino
Download machine_week_nema17_and_servo-svavars_board.ino
Download machine_week_button_test.ino
Spiral 3
 The first Stepper Modular Thing that Andri made. He had to do considerable editing to make the circuit fabricatable.
After 3D printing all the parts for the linear motion axis, Andri worked tirelessly on the third spiral, which was to make a Modular Things stepper controller board. We were really excited about this solution, but this design really thin traces and two layers, making it difficult to make. Andri made lots of modifications to the design in Fusion 360 in order to make the traces thicker and reroute everything so that it fit on one layer. He successfully milled the board and soldered all the components to it, but it didn't work. Unfortunately, the motor drivers in the original design need a higher voltage than 5V to work. The designer, Quentin Bolsée was very responsive to our questions.
Then our instructors Árni and Þórarinn, recalled that Yuichi Tamiya at Fab Lab Kannai made a working version of the Modular Things stepper control board at the 2023 instructor bootcamp in Amsterdam.
Andri proceeded to make the board and Árni soldered the components onto it. It worked on the first try!
The second Stepper Modular Thing that Andri made. Wow! It's powered by the USB port!
We didn't have time to integrate it into our machine, but I'm very glad that Andri and our instructors were able to make a working Modular Thing. Seeing the Stepper Modular Thing working and being able to make the machine control board successfully combined to give me the confidence to try to make a robot arm joint immediately when I arrived back in Ísafjörður. See more info in Output Devices week.
Our instructors
We are lucky to have these instructors. Here are some images to prove it:
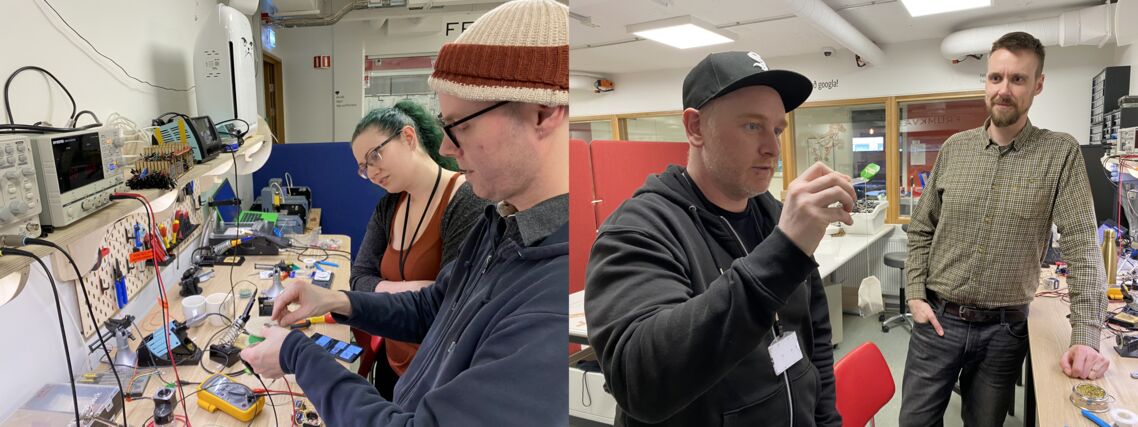 Left: Þórarinn explaining some electronics to Hafey. Right: Andri showing Árni the teabag holder that he made from bent acrylic.
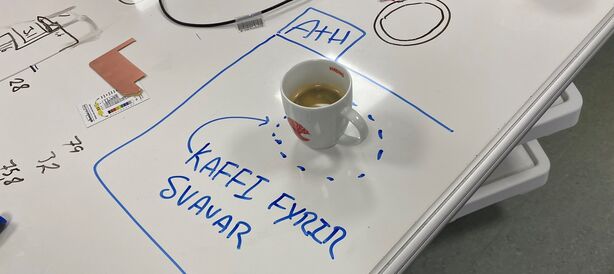 Attention: Coffee for Svavar! Our instructors took good care of us during this intense work session.
My instructor Þórarinn also disassembled a stepper motor and showed us how it works:
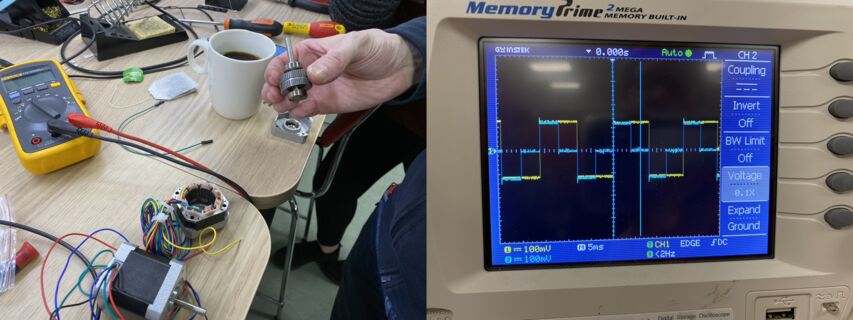 Left: The stepper rotor, with its many iron teeth visible. Right: The step signal that turns the rotor (two of the phases are connected to the oscilloscope).