3D Scanning and Printing 
Assignment
Group assignment
- Test the design rules for your 3D printer(s)
Individual assignment
- Design and 3D print an object (small, few cm3, limited by printer time)
- that could not be made subtractively
- 3D scan an object (and optionally print it)
See more info and recording of the lecture here.
Benchmarks
I made a few test prints to characterize the Ultimaker 2+ and Ultimaker 3.
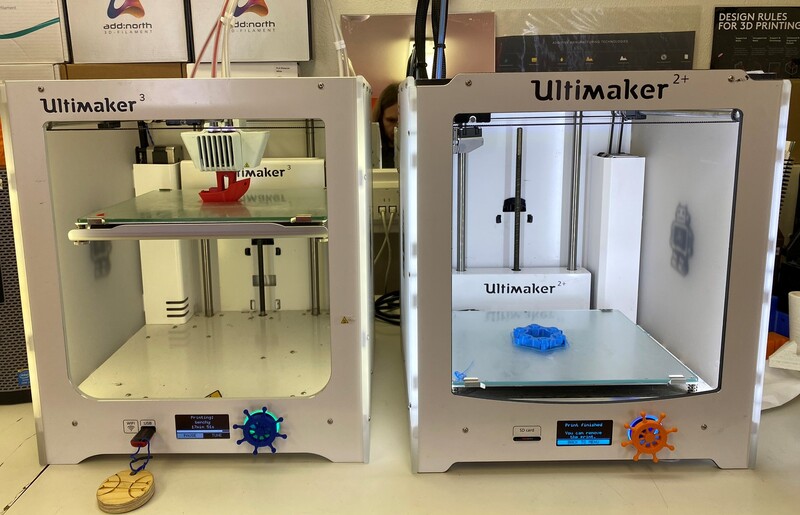 These are our two workhorses.
The classic 3D printing benchmark is the 3D Benchy by Creative Tools in Sweden. It came out well, with only a tiny bit of drooping in the top of the doorway.
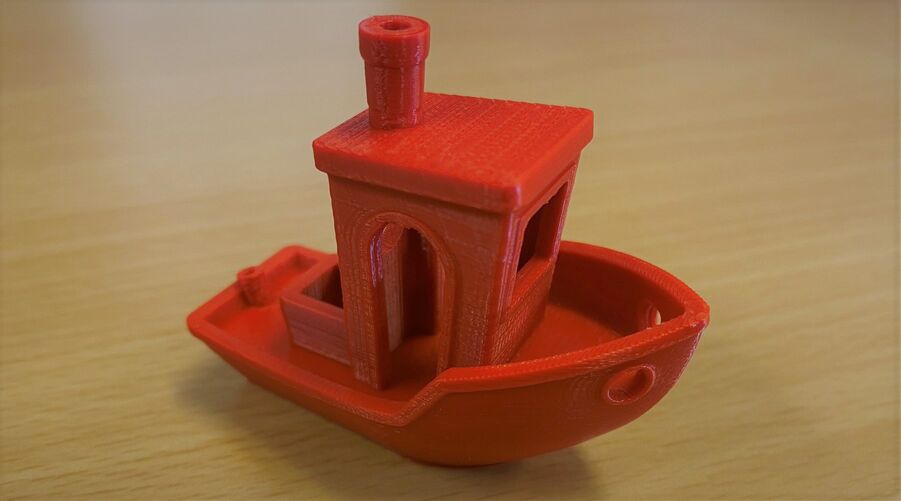 A nice 3D Benchy.
I printed this tolerance test by 3D Maker Noob. The clearance test turned out well, with only the tightest clearance (0.1 mm) getting fused together. I would say that's very good.
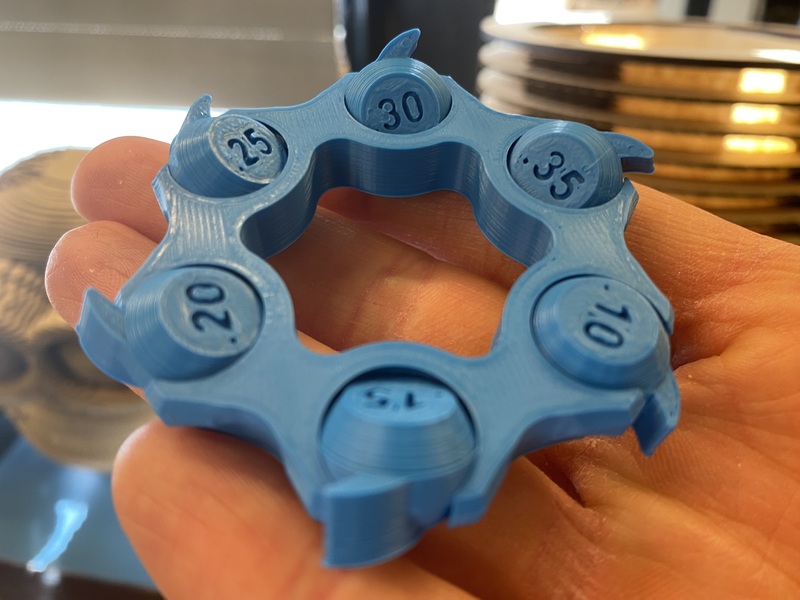 I've 3D printed professionally for years, but I'm still amazed how precise these computer-controlled hot glue guns can be. A hot glue gun is actually the origin of FDM 3D printing, by the way.
And here's a test of many things, including overhangs, small text, stringing and bridging:
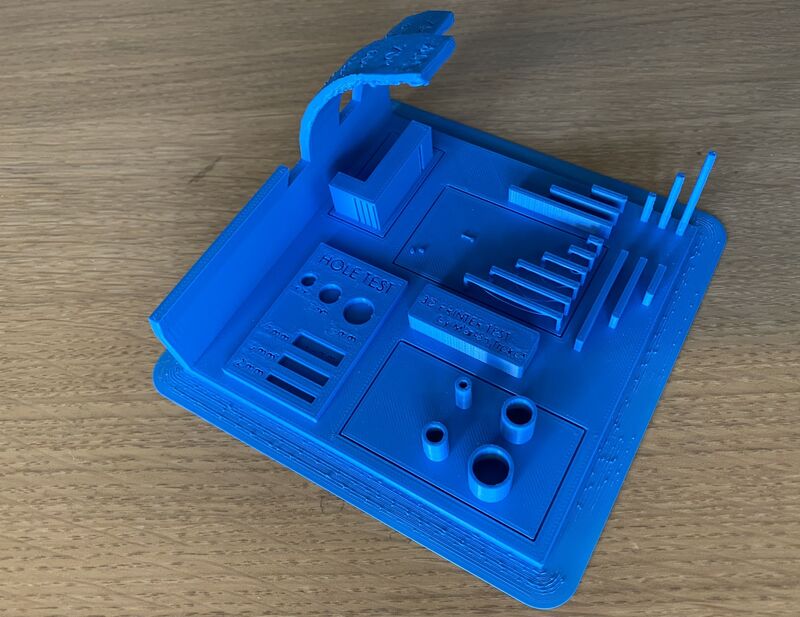 Pretty good, I think.
3D scanning
I couldn't think of anything to 3D scan but just at the right time, an artist came into the lab with a small sculpture and asked if we could 3D scan and print it. I gave it my best shot.
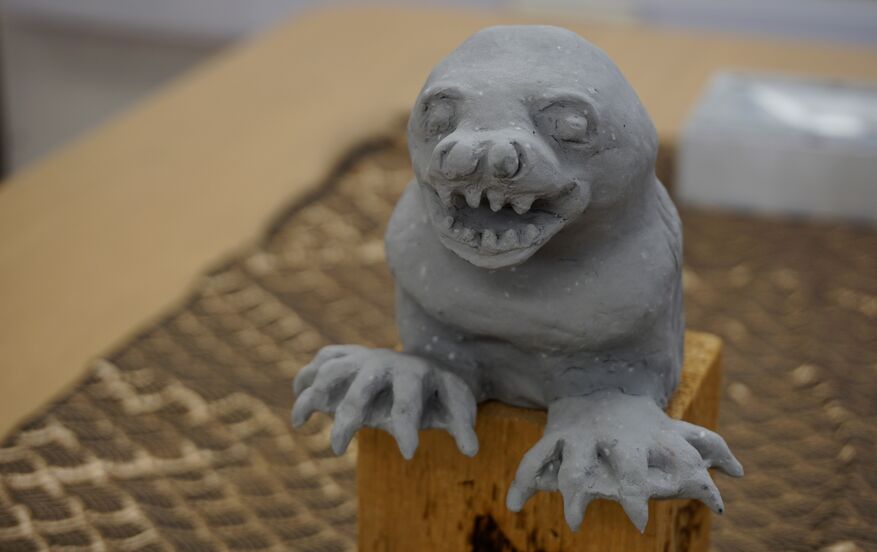 The sculpture to be scanned.
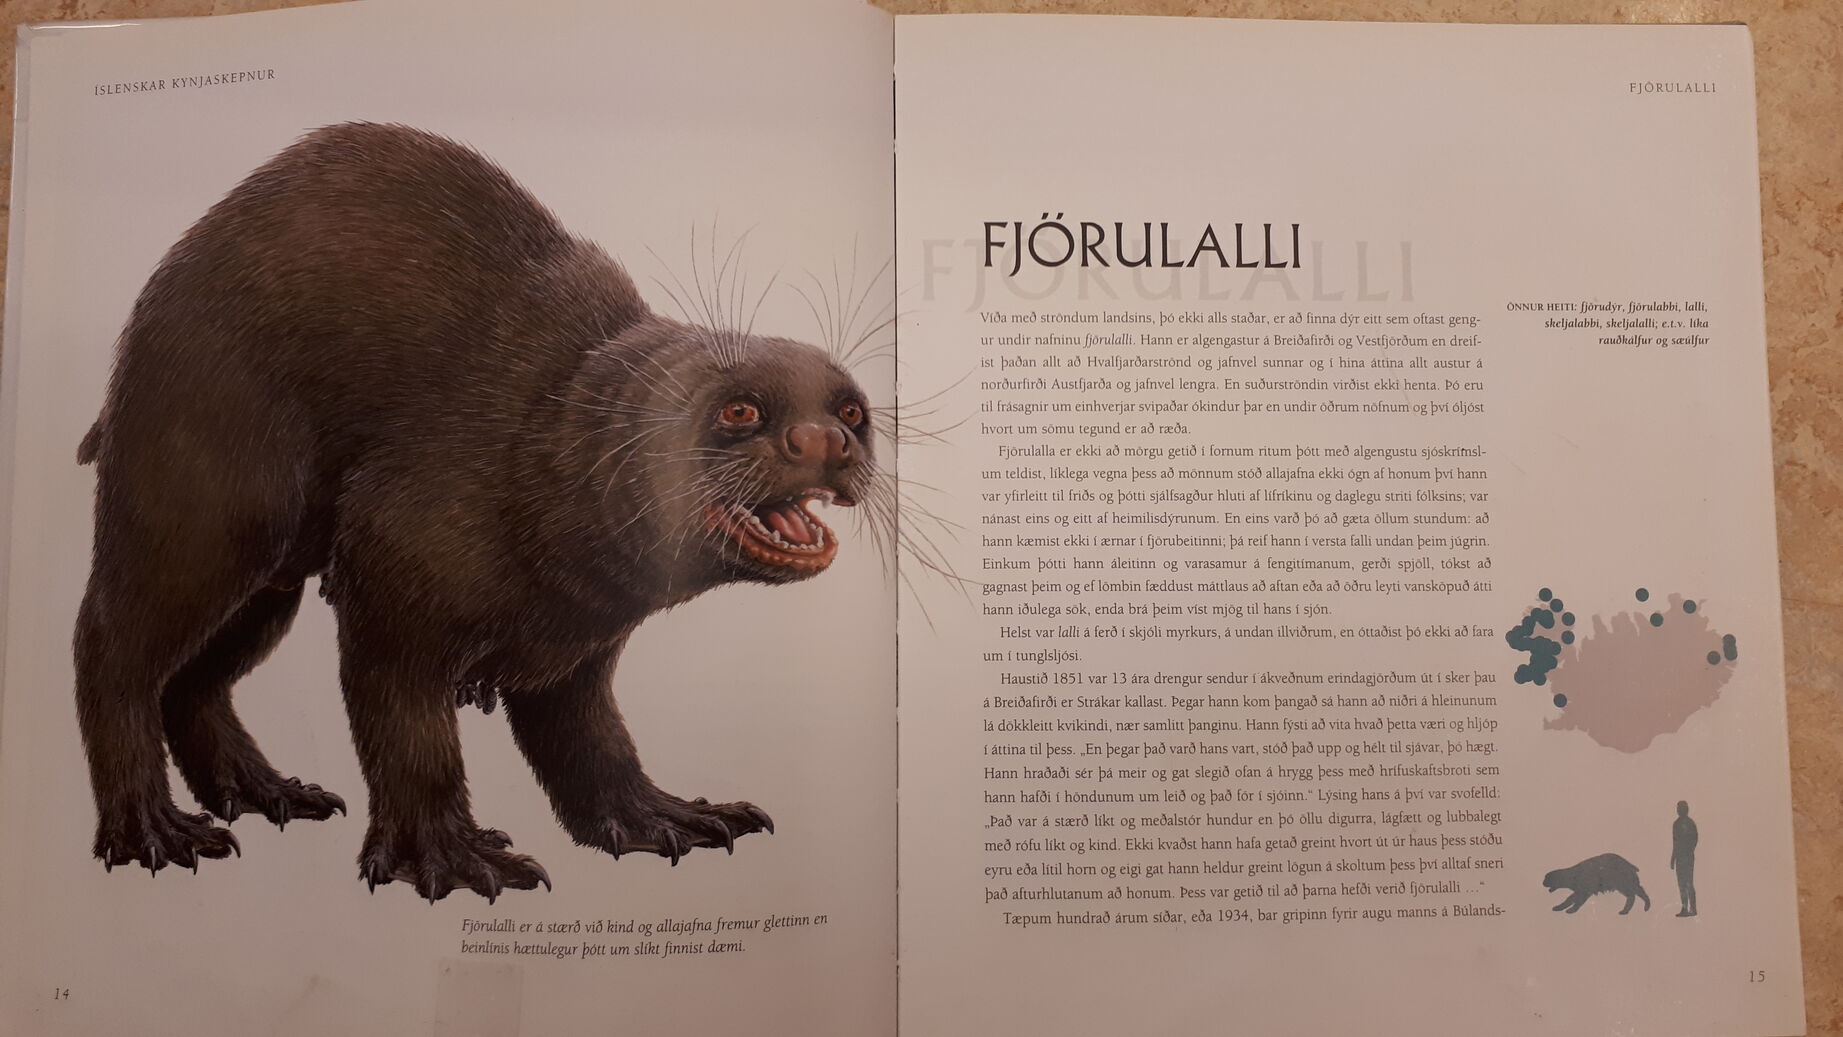
The creature is based on a picture of the old Icelandic mythical beast Fjörulalli, which looks mostly like a seal and lives on the beach. It's most commonly found in the West Fjords and Breiðafjörður.
 It looked like a seal and acted like a seal. The Fjörulalli is probably our least mysterious mythical creature. But I really like Angela Muenther's sculpture of it.
I followed Christopher Barnatt's excellent tutorial in this project. We started by clearing a table and closing the blinds, because you want nice, even light for photogrammetry. We placed the little guy on some fabric with a pattern, because that helps the algorithm locate the pictures in space afterwards and stitch them together. Then we took pictures on a small point-and-shoot camera all around the sculpture in circles with increasing height. Then I loaded the images into the excellent Meshroom, which is free and open-source. I had tried Meshroom once before, but it didn't work for some reason, so I gave up. This time there was time pressure, so I became more resourceful. I found that the path to the images contained Icelandic characters. Once I had fixed that, the program started running, the computer started humming and in about an hour and a half, I had a 3D point cloud!
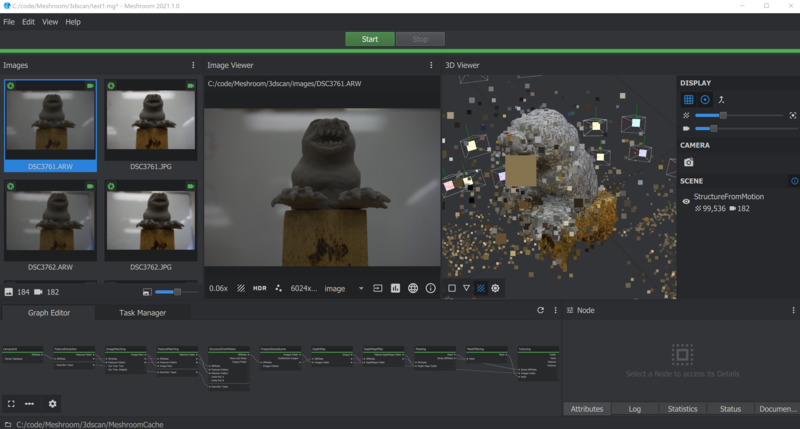 Raw point cloud in Meshroom.
Then I took the mesh into Meshmixer and deleted everything that I didn't want to include.
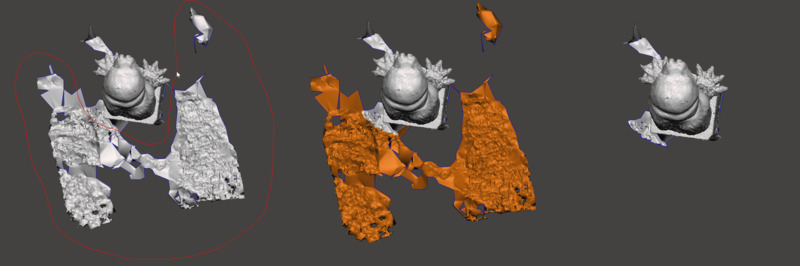
The final 3D processing step was in Blender, where I filled in the bottom of the model to make the mesh watertight and then smoothed it in a few places, using my new Blender skills from having gone through the donut tutorial last week.
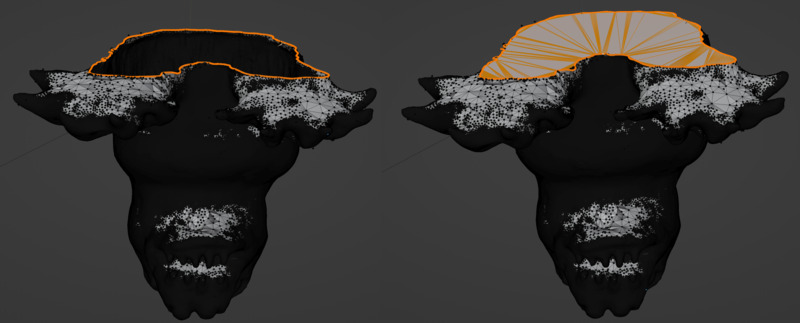 Loop select and fill in Blender.
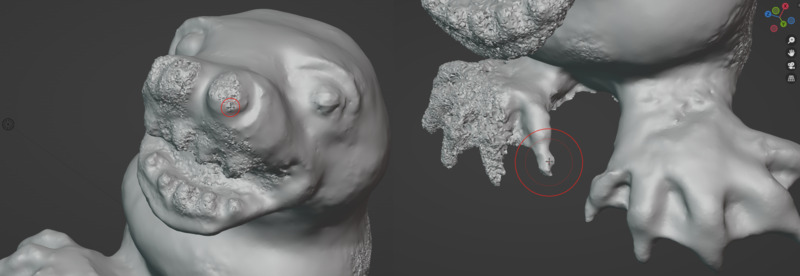 The smoothing tool in the sculpture environment in Blender.
Then I 3D printed two sculptures in almost exactly the same gray color as the original sculpture. One had smoothing, the other had none. When Angela came to examine them the next day, she said she wanted something in between, so I started again and did the smoothing with more finesse this time. Then I printed some more of them, in a few different materials. One in transparent PETG and one in glow-in-the-dark PLA.
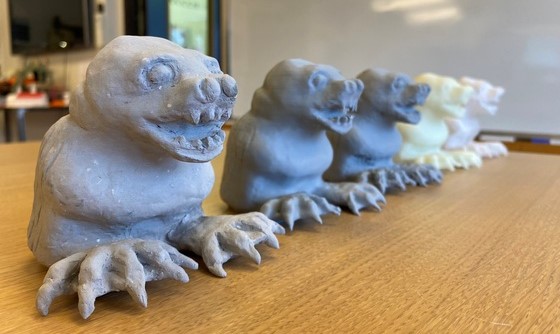 The output of this week.
I used this tip to get the printing temperature right for PETG, for the transparent sculpture print.
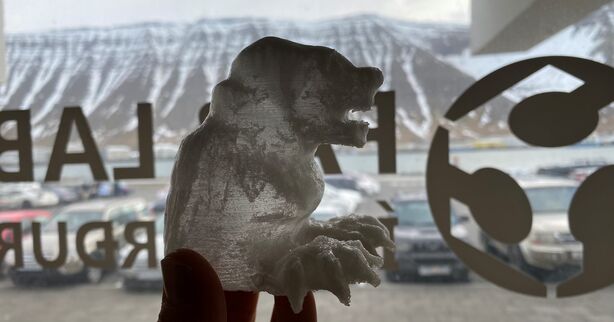 PETG print with Lighning infill in Cura.
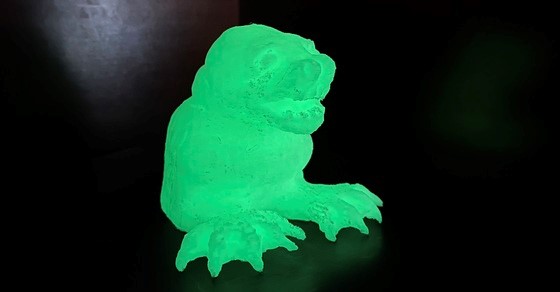 Angela really liked the glow-in-the-dark version. So do I.
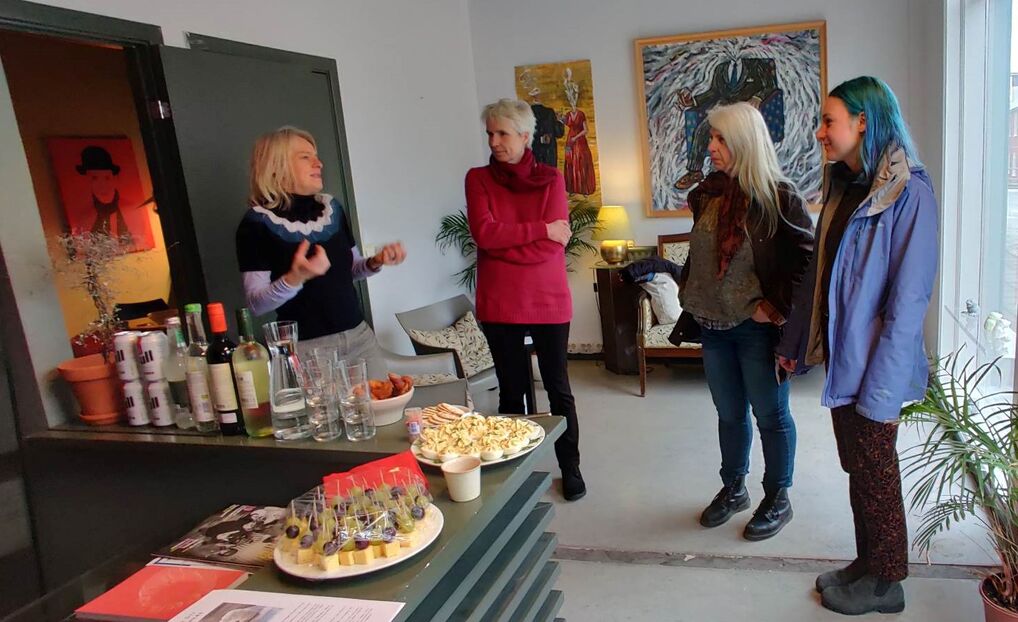 Angela, far left, describing her exhibition.
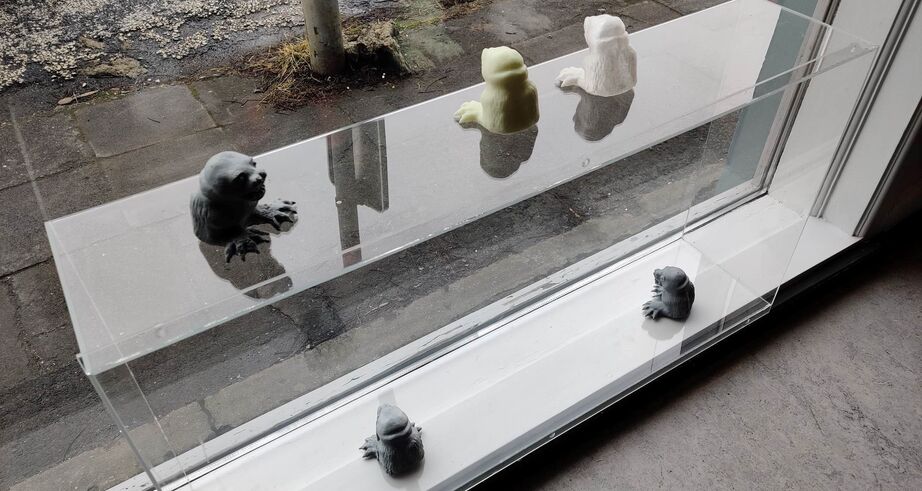 The exhibition at Gallerí Úthverfa.
Design for 3D printing
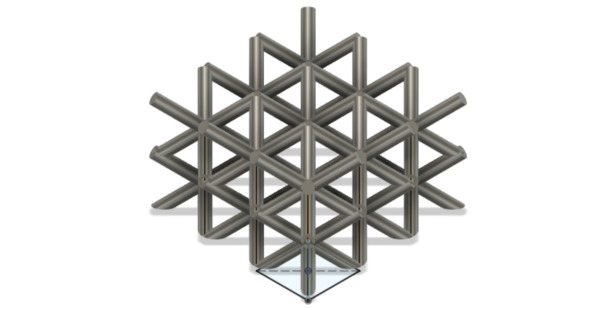
The next task was to design and 3D print something that you can't make subtractively (e.g. using milling). I've been interested in lattice structures for a while, so I took a stab at making one.
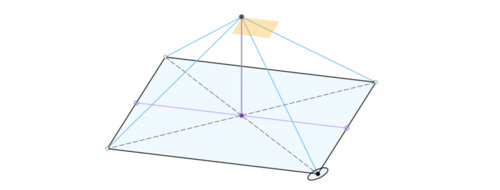 The 3D sketch in Fusion 360. I sweep the circle along the line to make a cylinder. Then I repeat.
 I made a rectangular pattern of this lattice and 3D printed it.
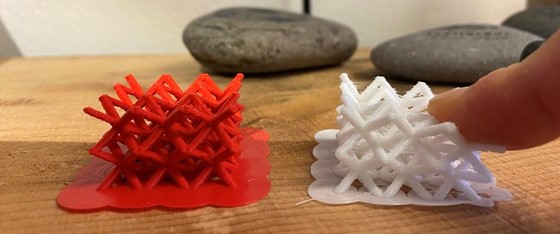 The red one is hard PLA and the white one is soft TPU.
I really liked the soft lattice, so I wanted to make a bigger version of it.
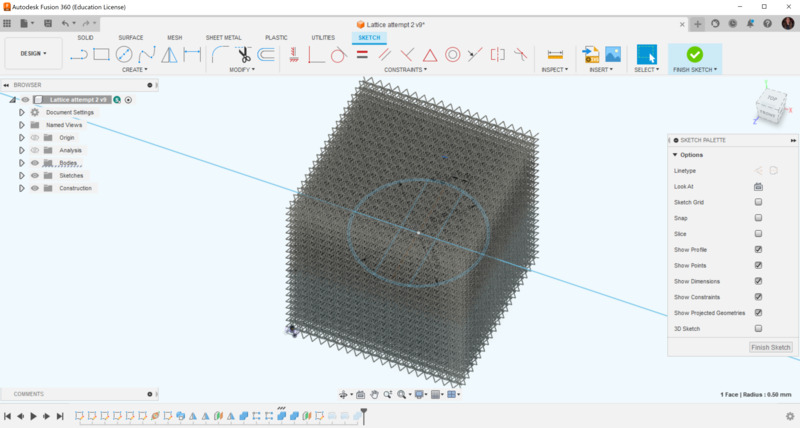 I made a much bigger rectangular pattern in Fusion 360.
Then I modeled a ball and used it to cut the pattern. Fortunately my laptop is quite powerful, so it went without a hitch.
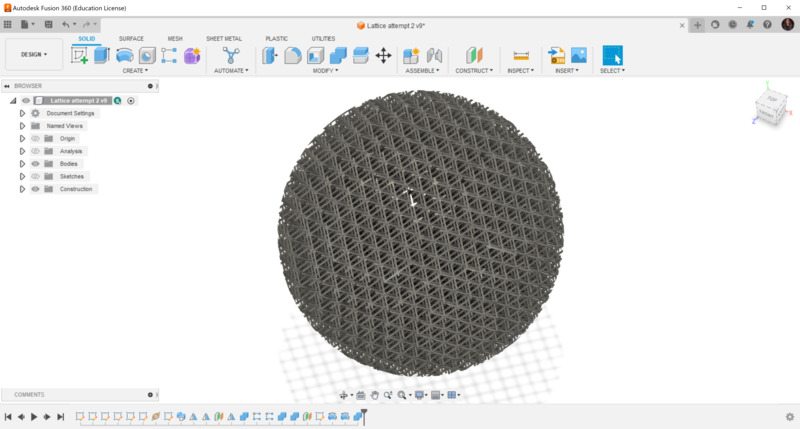 This is probably the biggest pattern I've made.
Then I thought about how to print this thing. It needs support on the bottom side, but will regular supports generated by Cura be good enough? I decided to model the supports myself. To decide on the gap between the model and support structure, I used this reference. I decided to go for a 0.2 mm air gap, so I offset the circle by 0.4 mm.
 Support bowl for the lattice structure.
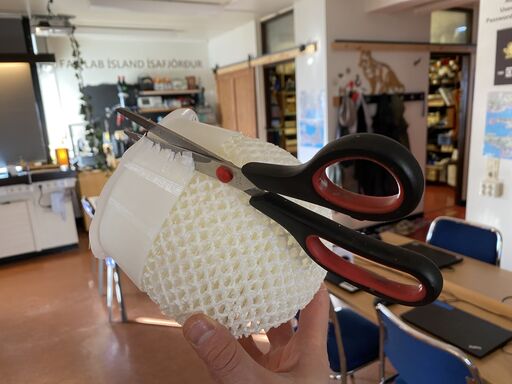 Removing the supports went really smoothly! After cutting with scissors, I could tear the ball away from the bowl.
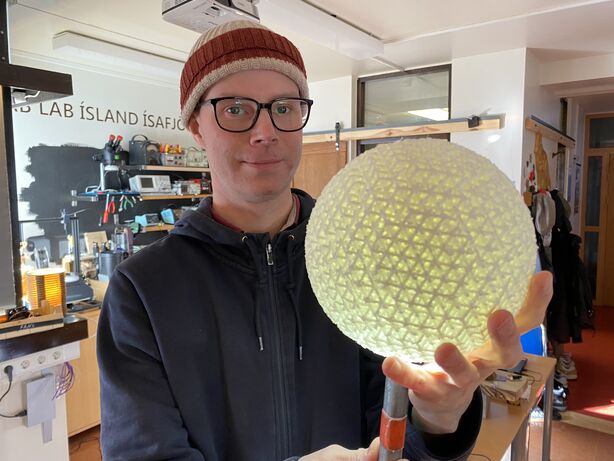 Þórarinn immediately suggested that I turn the ball into a lamp.
I used this guide from Creality to adjust the Generic TPU profile in Cura for the CR-10 printer. The CR-series printers are OK for tinkerers but not for Fab Labs or other professional users. I would not let anyone use the CR-10 printers unsupervised. You have to level the bed almost every time you print, and often make adjustments after you start printing. Usually I need to start printing two or three times. It's not an enjoyable experience.
Contrast that with the Ultimaker 2+ (I have one myself and it's my favorite 3D printer). It just prints, and you rarely have to level it. It's a real workhorse. I've printed for over 2000 hours on my machine and it's still printing like it's new. I don't like the direction Ultimaker is taking, however, with super expensive printers for professional users.
I printed the ball using TPU (thermoplastic polyurethane) and it bounces and works great as a ball to play with! I used 1.75 mm TPU on the Creality CR-10, which has a Bowden extruder. What that means is that it pushes on the filament and it acts like a long, soft spring. So to get good results I had to print really slowly. The print took five days to complete.
The lattice ball has become one of the favorite objects to play with in the lab. You can even bounce it off the floor without breaking it. Here are my students in the Fab Lab course at the local high school:
Design file
Unfortunately the Fusion 360 file is 65 MB, so I can't include it here. But I've put the STL file on Sketchfab.