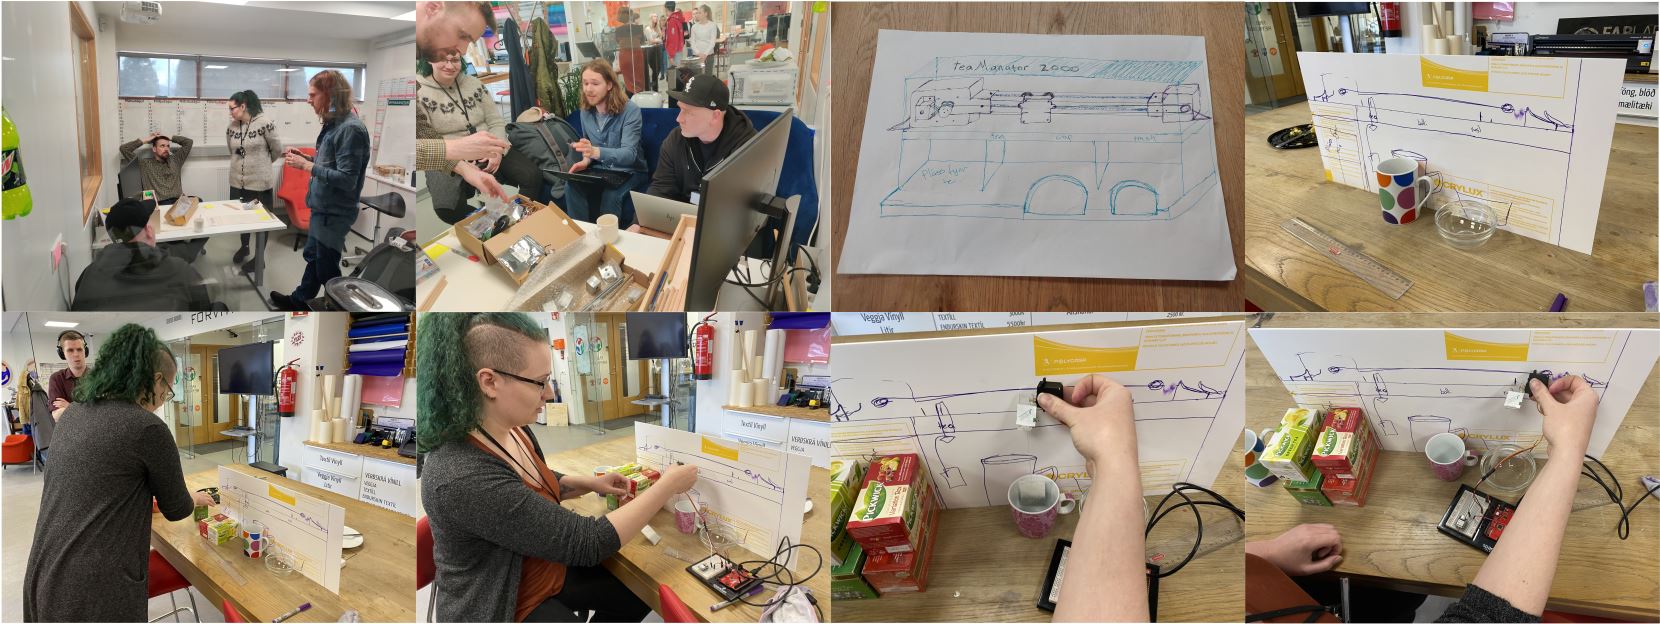
We got together and decided what idea to go with and went with the Teamanator, a machine that steeps the tea for the right amount of time and takes it out and throws it away.

We got together and decided what idea to go with and went with the Teamanator, a machine that steeps the tea for the right amount of time and takes it out and throws it away.
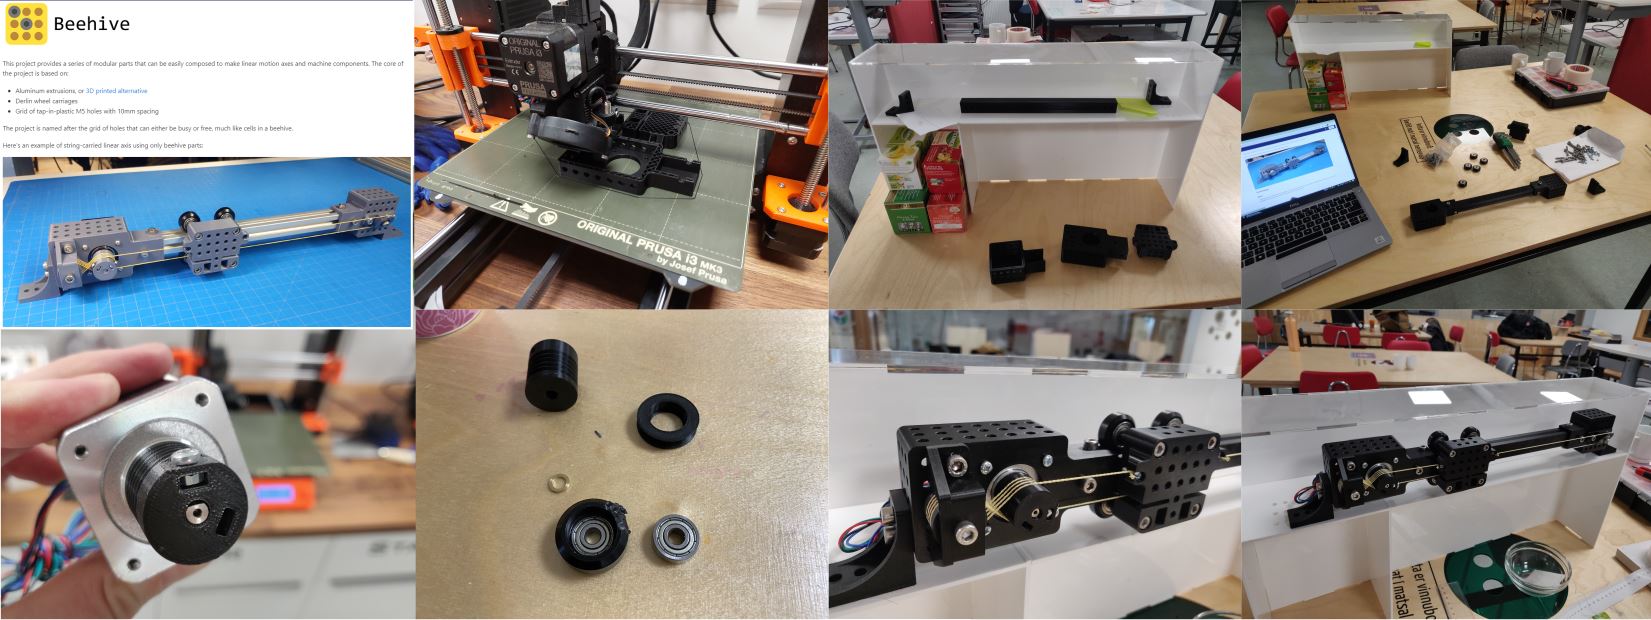
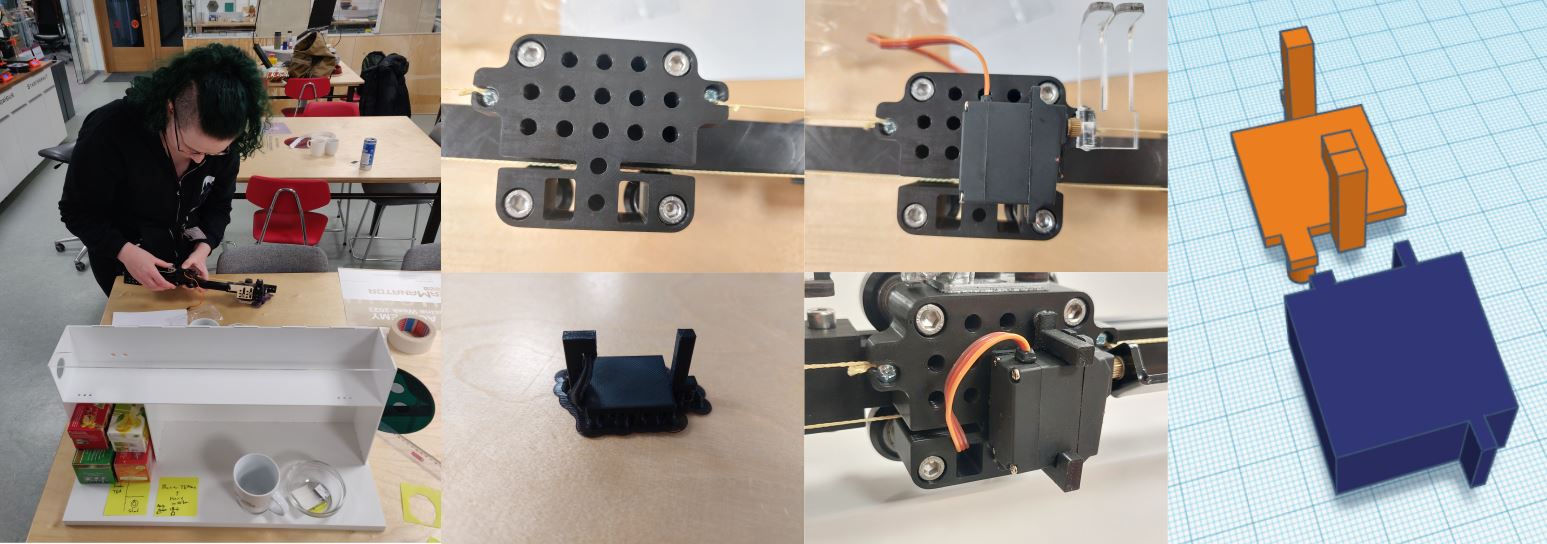
We decided to base the machine on the Beehive axes by Quentin Bolsée. That turned out super well. It's a good design and comes together easily. Svavar had ordered the Kevlar thread, bearings and Delrin wheels and Árni went out to buy the M5 screws and nuts that we needed. Andri 3D printed the rest of the components on the two Prusa MK3 printers at the Reykjavík lab. It turned out that the specified bearings were too big, but we cut apart two Delrin wheels and got four bearings that were a direct fit. Quentin updated his documentation immediately after we let him know about that. The carriage is remarkably smooth and stable, for such a simple setup. We didn't have an aluminum extrusion, so we printed the extrusion as well. That worked really well! It was convenient to have all the fastening holes, which we used for the servo and the end stop. The control board was also designed to be attached to the back of the axis using the fastening holes and 3D printed rods, but it sits at the back of the machine with the lab power supply for now.
Hafey made the structure around the tea machine. Links at the bottom. We used 3mm plexy all white except the top, we wanted to have that clear so everything would be visible, the plexy was laser cut with a kerf of 0.1mm that way it would fit together without having to use glue incase we needed to take it apart again.
For the bottom we used a 19mm plastic material that we milled in the CNC. Used a 3mm upcut for the slots that the plexy would go into and a 6mm upcut for the cut outs for the cup and bowl and for edge cut.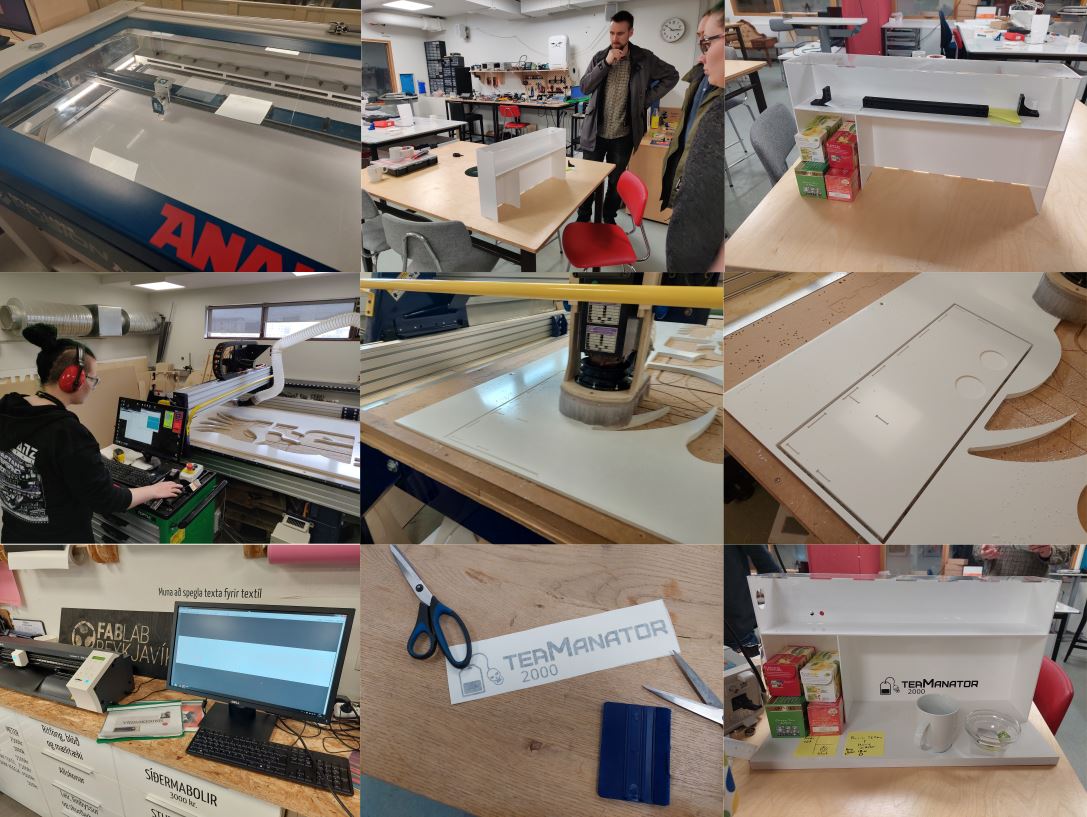
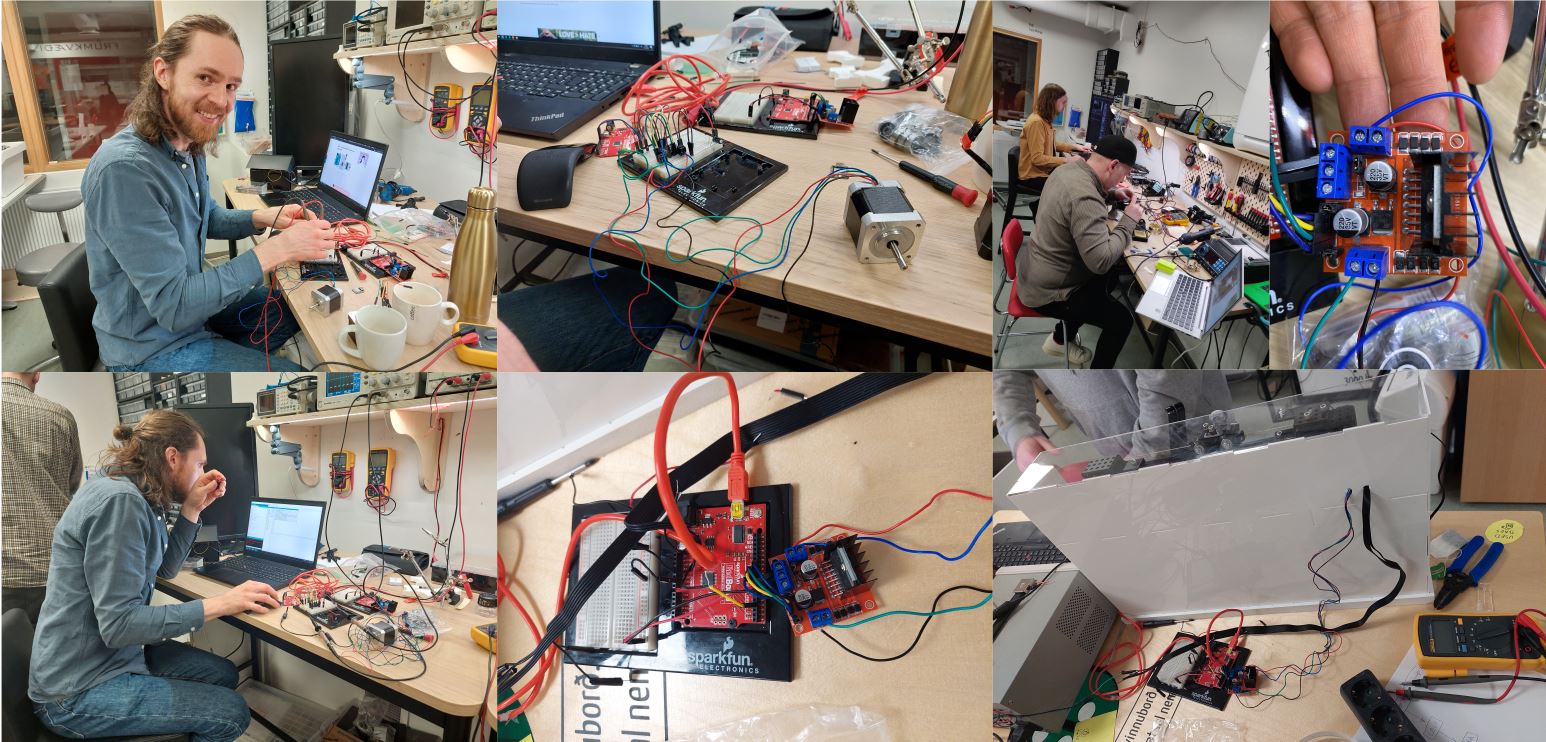
The first motor control spiral was an Arduino Uno (actually a SparkFun RedBoard, which is functionally the same) connected to an L298N double H-bridge motor driver module. Svavar connected that to a stepper on a breadboard and got it moving. A servo was added to the Arduino and some test motions run. Then the setup was connected to the stepper on the Beehive axis. The axis moved and the servo too. Spiral one complete!
The fork that holds the teabag was lasercut plexiglass. The fork was mounted on a servo motor to dunk the teabag and finally drop the teabag. The plexi was bent using the heat gun from a solder station. A few versions were made to find the right length and distance between the fork pins.

To hold the servo on the machine Hafey made a fastening that goes into the holes already on the machine, she measured the servo and drew it up in Inkscape and put that drawing into Tinkercad, put it in the correct thickness and made a fastening around that and 3D printed it.
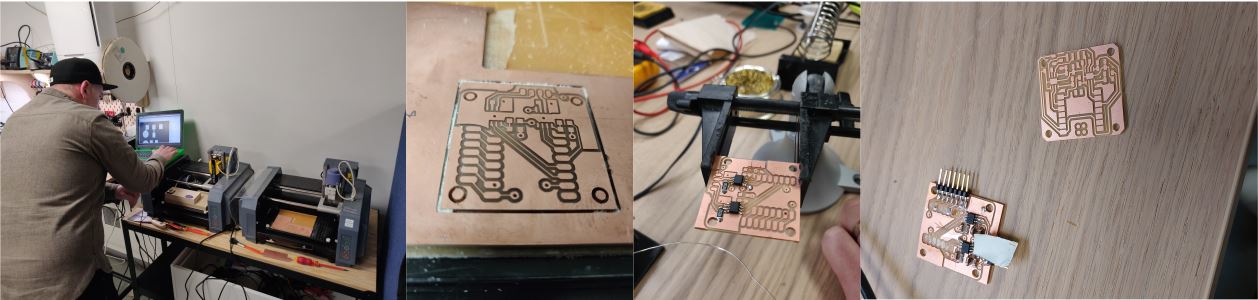
We used the oscilloscope to check signals from the boards we made. Some signals were measured from Andri´s first board but very weak. We later learned that the board did not have the right components and was lacking a power supply.

We used silicone covered wires to solder onto and connect it in the back.

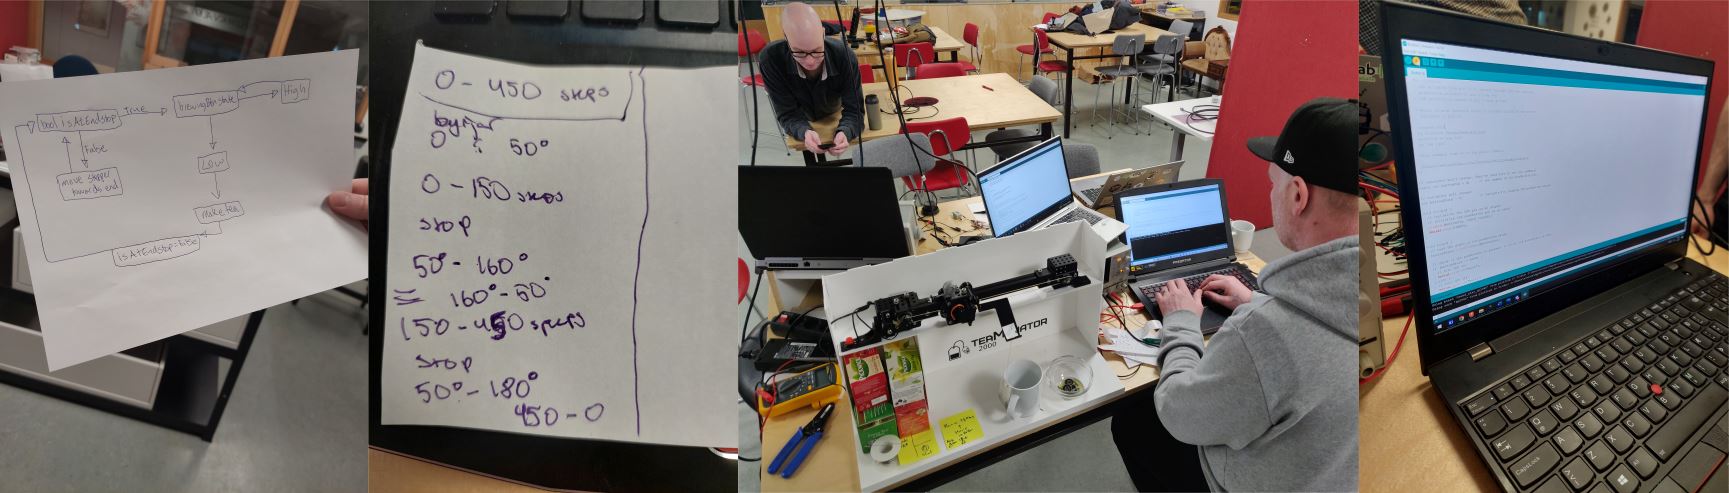
Andri made the rational loop and Hafey found out how many steps of the stepper and degrees of the servo would be needed, this would have to be adjusted in spiral 2 but this is it in spiral 1, Andri then brought that information together and made the code.
Spiral two was to make our own board with a Xiao RP2040 module, a StepStick DRV8825 driver and connections for 12V external power, a servo and two buttons. Svavar designed the board in KiCAD. Mistakes were made in the first milling attempt; the board moved while the process was going on and the holes to attach the board to the back of the Beehive axis were twice as large as they should be. It was a matter of getting the radius and diameter mixed up in KiCAD.
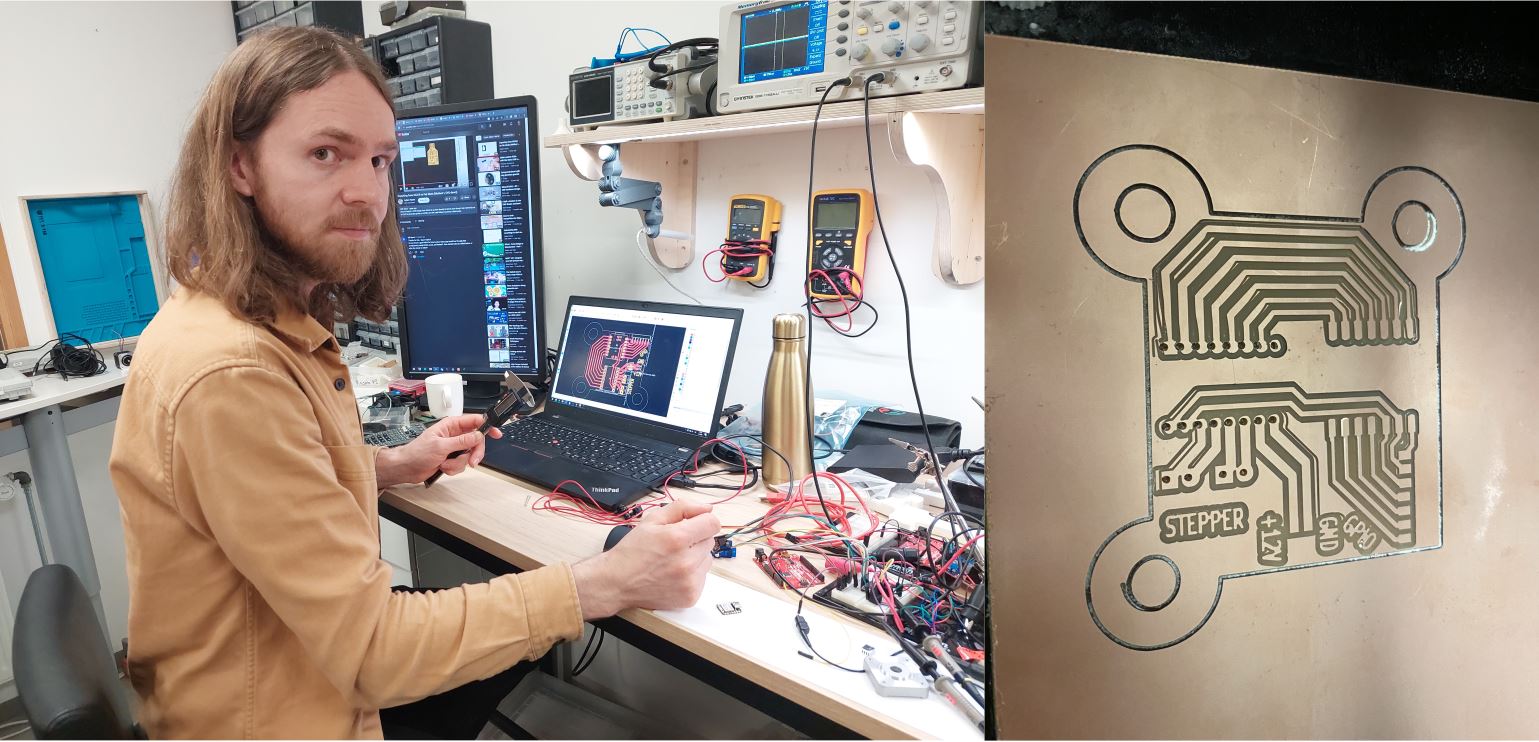
The next version was milled cleanly on the Modela MDX-20 using a local instance of Fab Modules. Components were soldered to both sides of the board. The Xiao RP2040, the StepStick and the screw terminals for the stepper motor are on the top side. Svavar bent the screw terminal pins so that I could surface mount them. This was a lesson in thinking about which side the components need to be on. On the bottom side are GPIO breakout pins with 5V, 3.3V and GND for each pin. The idea is that you could easily connect a button or servo to any of the available digital pins. In our machine, one servo and two buttons are connected to the pin headers on the bottom side of the PCB. One button starts the machine and the other is the end stop. On the bottom side is also a pin header for 12V power input to the stepper controller, with a through-hole electrolytic capacitor between +12V and ground. The custom board is much cleaner than the nest of wires that we had in spiral one. It was connected to the machine and everything worked! Spiral two complete. This is how far we got during the weekend in Reykjavík, and the tea machine works well, as you can see in the video at the top of the page.
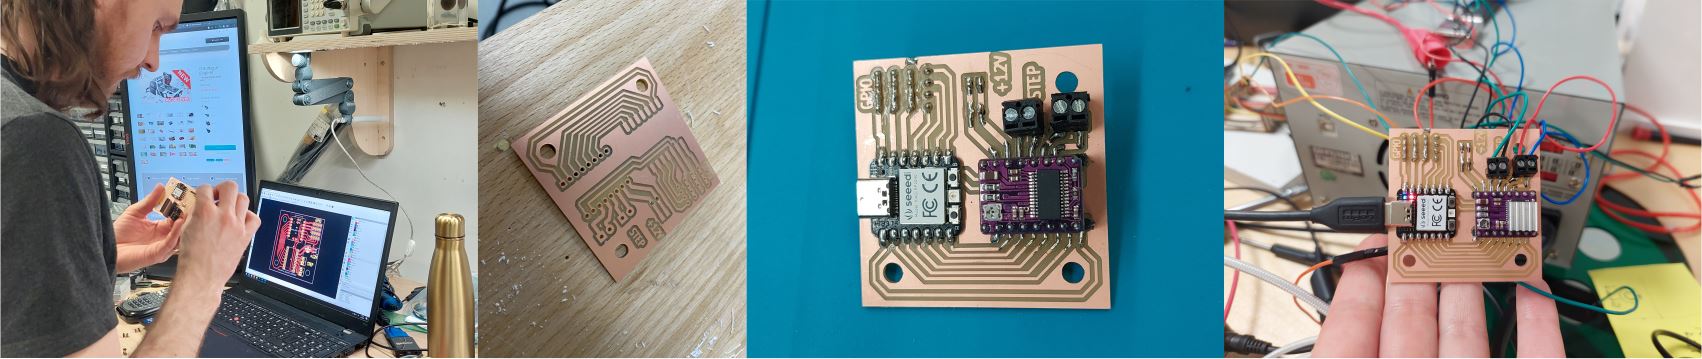
Andri´s first board was a modified Xiao stepper h-bridge board from the Modular Things project. We did not have all the components and we later learned that the board required external power supply so the Stepper H-bridge board did not work. We later tried the Xiao_RP2040 Dual H-Bridge board. This board did not need any modifications and was easily milled. We also had all the right components. We got the board working using the Modular things browser interface, controlling a stepper motor.

Here is Andri milling the Modular things boards. The first board, a modified Xiao stepper h-bridge board from the Modular Things project was milled on both sides and did not mill correctly the first time. The second time it milled perfectly. The board however didn´t work so the Xiao was removed and put on the Xiao_RP2040 Dual H-Bridge board which milled perfectly and worked like a charm.
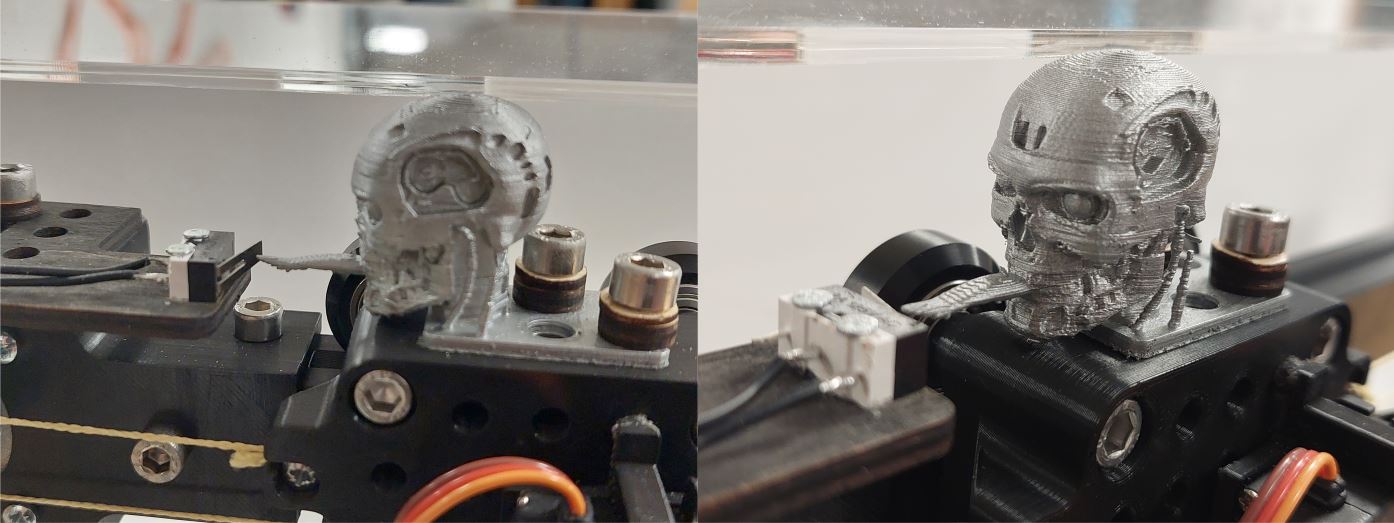
Our mascot moving back to the end position. The stepper motor rotates until the endstop button is pressed, then moves a few steps back and the machine is ready for action.
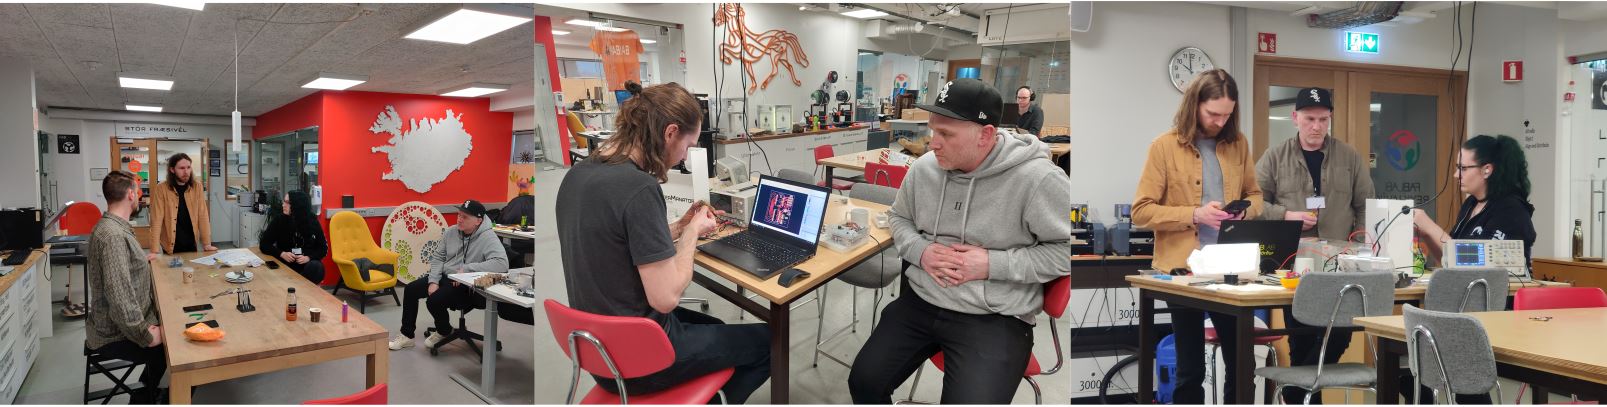
We worked very well together and are happy with the result. Everyone worked hard the whole time and we got a lot done. We actually used all the machines in the Fab Lab to make our machine! The base was milled on the Shopbot, the enclosure was laser cut, the logo was cut on the vinyl cutter, the Beehive axis was 3D printed and the custom board was milled on the Modela precision milling machine.
A big thank you to our instucters Árni and Þórarinn
