Week 13. Molding and Casting
In this week we are introduced with different types of molding materials and it’s safety measures. As a individual assignment we are supposed to design a 3D mold.
Assignment
Individual assignment:
- design a mold around the stock and tooling that you’ll be using, mill it (rough cut + three-axis finish cut), and use it to cast parts
- extra credit: use more then two mold parts
group assignment:
- review the safety data sheets for each of your molding and casting materials,then make and compare test casts with each of them
- extra credit: try other molding and casting processes
Group Assignment
In our lab there are two types of casting material(hydrostone and resin). For group assignment we used both materials demonstrate the process of casting.
Resin Casting
For casting with resin there are two components A and B. We need to mixed them in ratio (1:1). We used weigh scale to measure the components. Before mixing the component we need to shake it well. We used 29.15 g of each component.
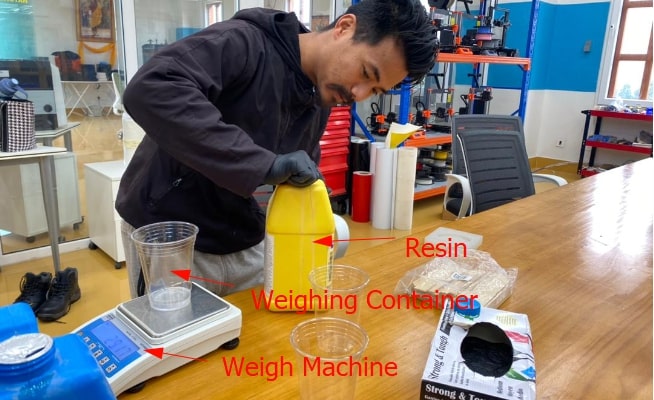
After weighting we poured B into A and stirred gently to let it mix very well with the wooden spoon and the poured it in the silicon mould. We gave the curing period for 30 minutes.
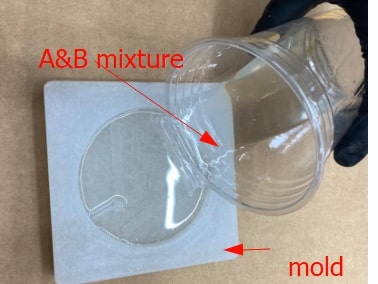
Coaster of our SFL logo got casted.
More on group Assignment is linked here
Individual Assignment
Mold designing and modeling
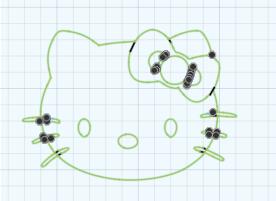
I want to make a chocolate mold using silicon mold. For this I designed a mold in fusion 360.For teddy and hello kitty I inserted SVG and extruded.
I designed using spline line to make a heart shape and extruded. For spherical shape I i used revolve tool as i want half sphere. For star I used equal constraint and used loft tool.
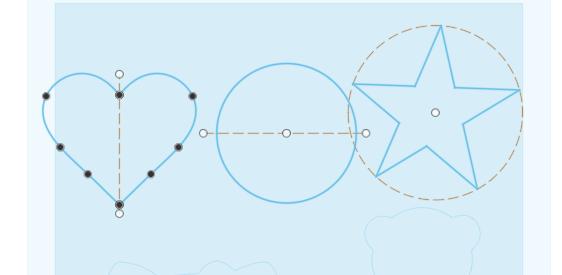
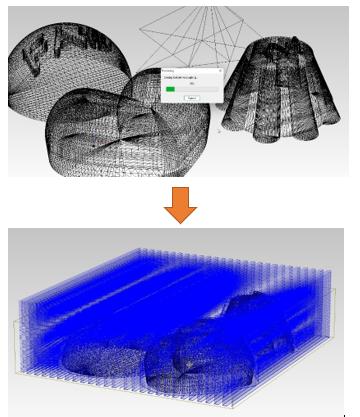
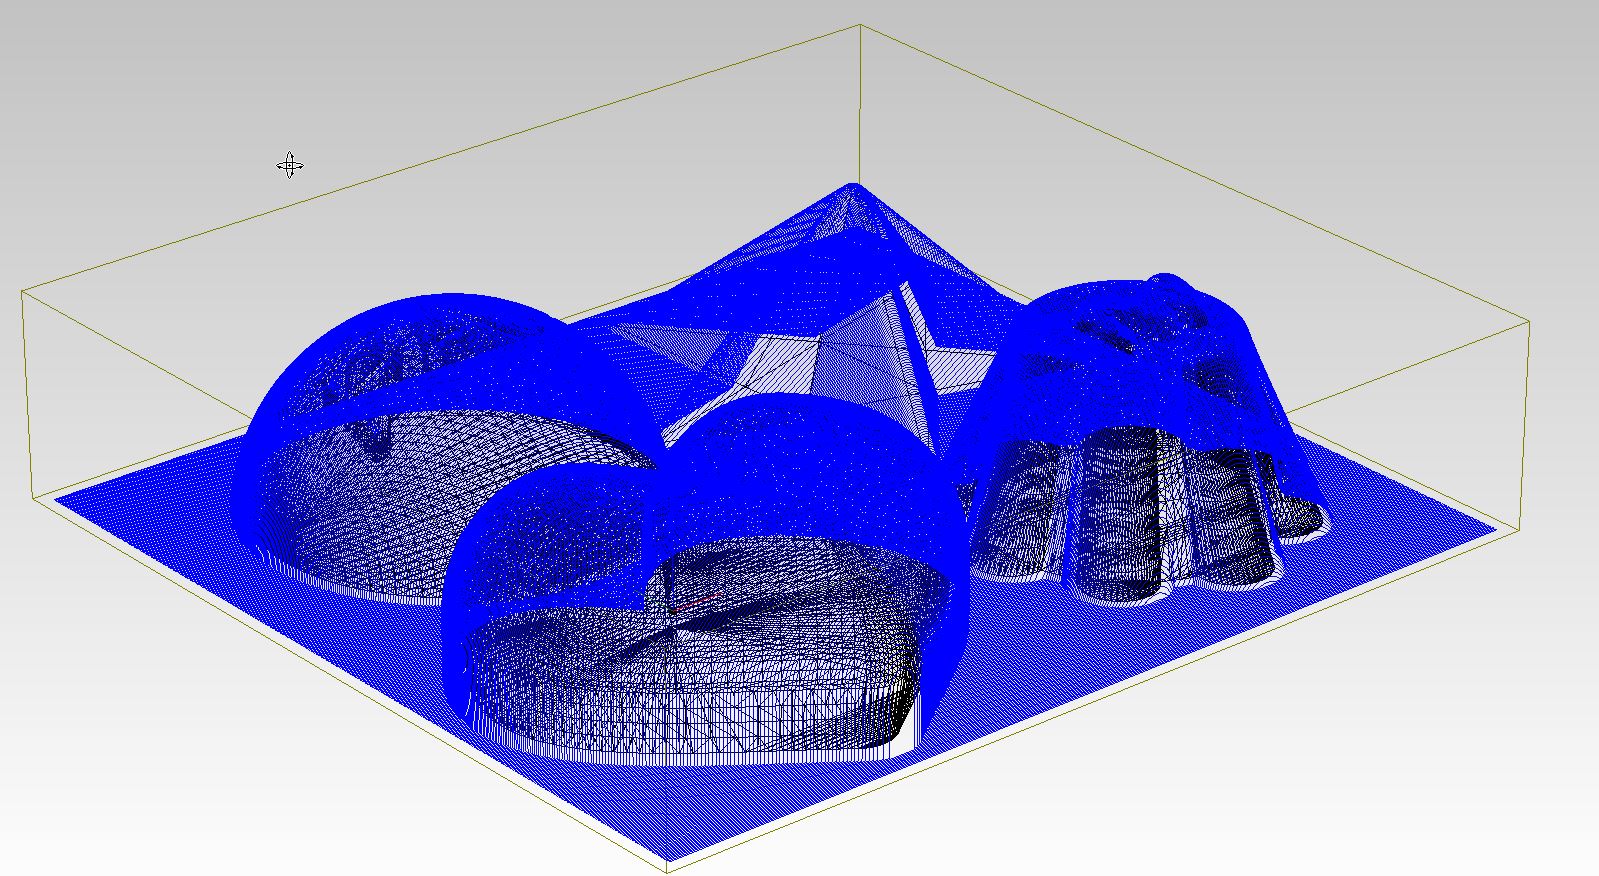
This is the 3D view of my mold design. I designed teddy and kitty specifically because I think this will attract small kids visiting the lab and make them curious to learn.
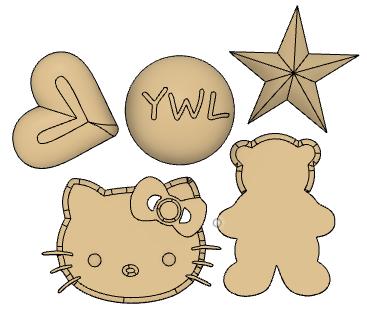
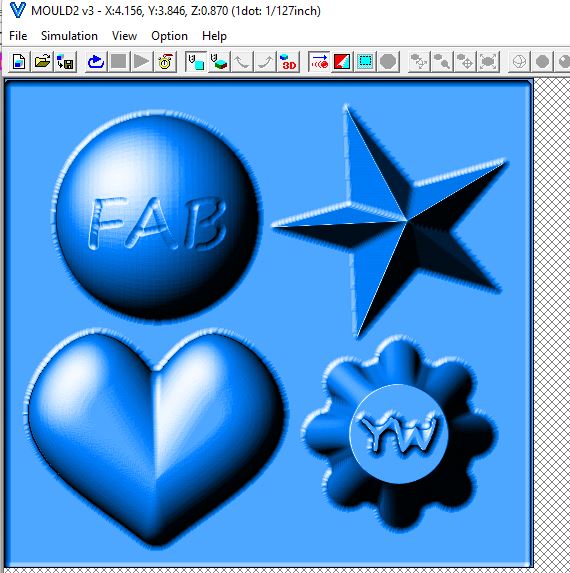
Unfortunately my design is bigger than the wax size provided. So I redesigned a mold with simples shapes.

I change its’s appearance to look like chocolate and exported the design in STL formate.

Milling the wax
For milling I need to convert the STL file into .prn file to feed in SRM Vpanel. To do this I used modela software to generate tool path.
Modela workflow
- Open software >> Open (To import the design file).
-
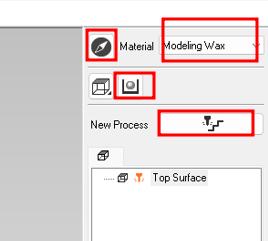
I am milling wax so I selected Molding wax.
-
To set origin click on Model (compass like symbol) and choose the origin select the top surface.
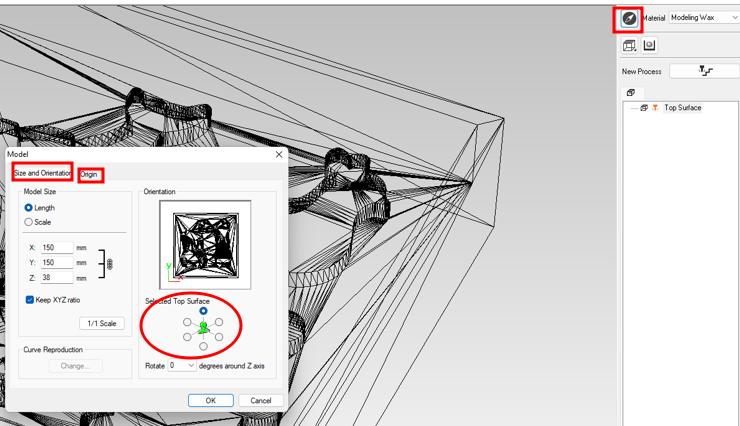
-
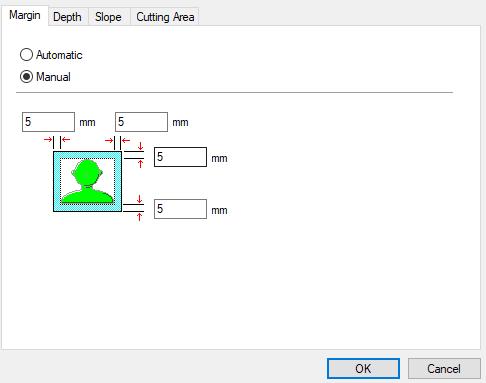
Under modeling Form set the spacing around the object. I kept 5mm from all 4 sides.
-
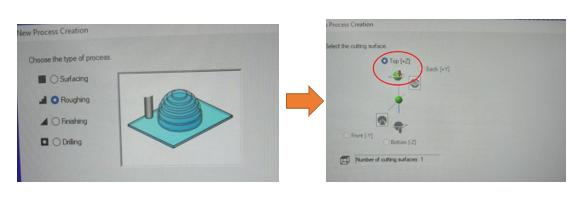
Firstly I need to do roughing. To do this go to New Process and select the types of cut. I selected Roughing first and selected the cutting surface to the Top.
-
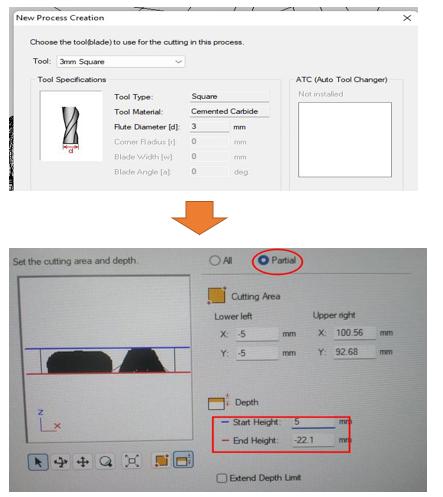
Choose the tool to 3mm Square and tool material get selected automatically to cemented Carbide.
-
In the next process we need to define the cutting area depth. To edit we need to choose Partial and set the depth height. I kept Start height to 5mm and the End depth it generates automatically as per the design.
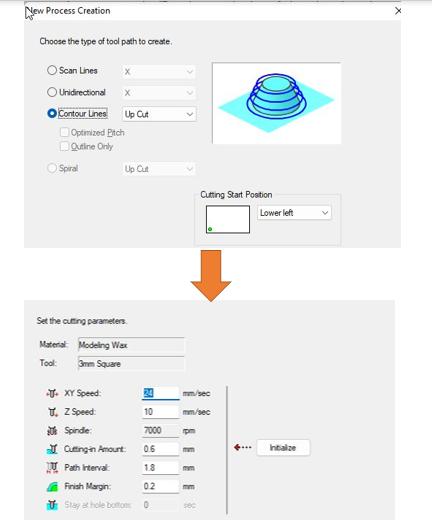
- In the type of tool path I selected Counter lines upcut and kept the cutting parameters as it is.
-
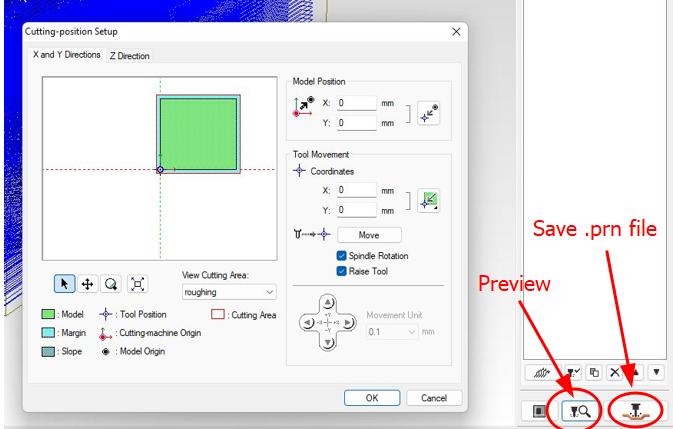
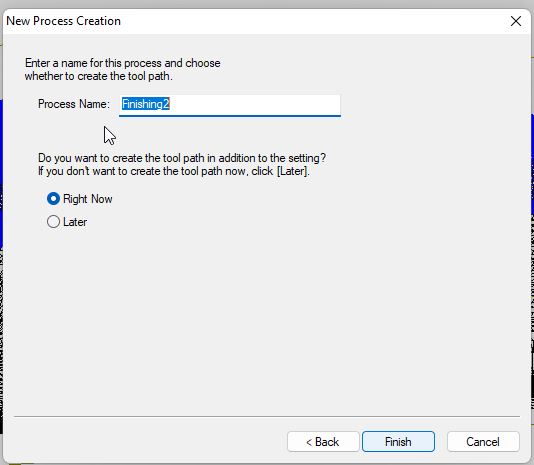
Click on Next and rename the file and click on Finish. The tool path gets generated and we can Preview the cuts.
-
To save the file click on the tool at the bottom right corner as shown below.
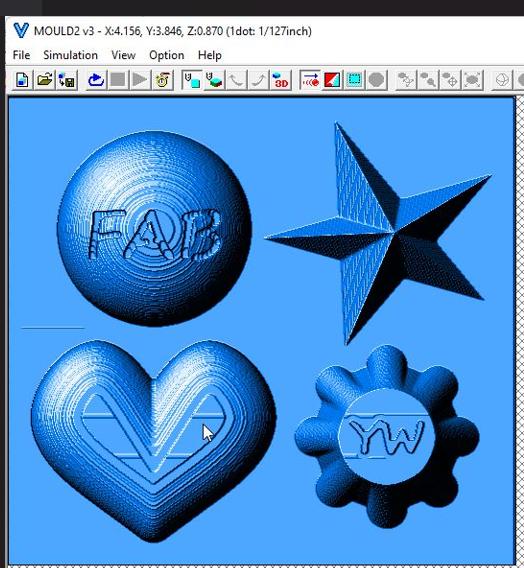
Preview of rough milling
Finishing
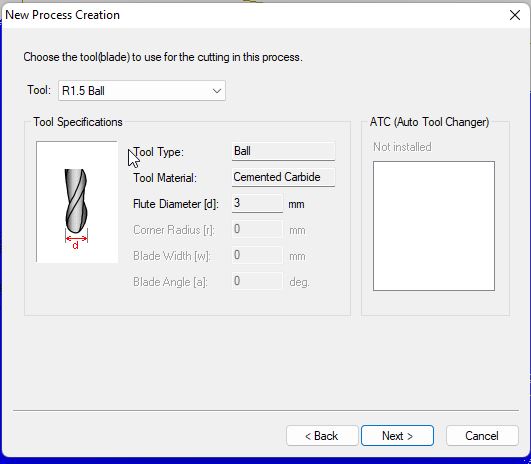
- Click on New Process >> Finishing >>
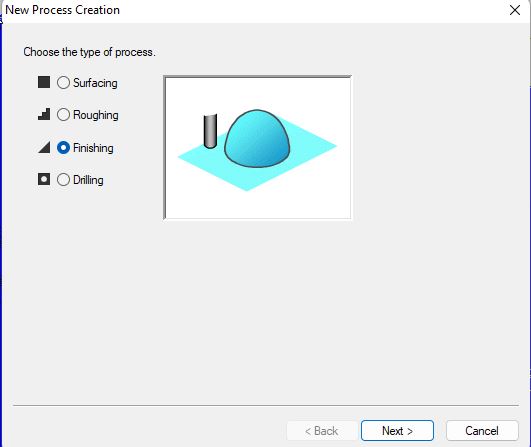
- I selected the tool to 1.5mm ball.
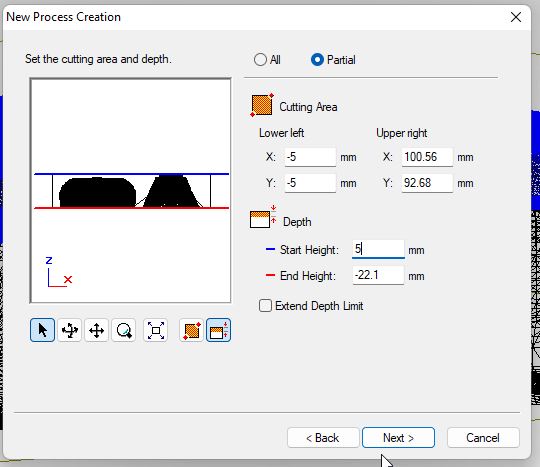
- Set the depth as same as I did for roughing.
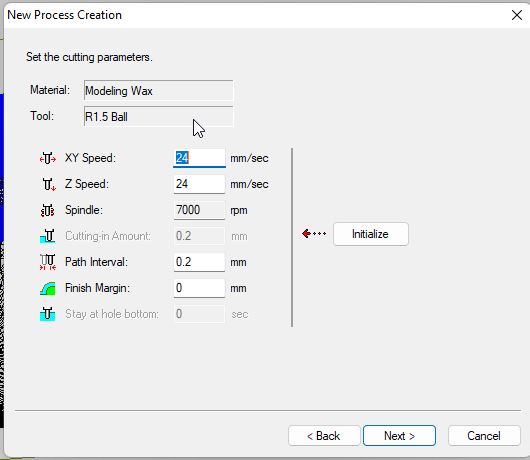
- Type of tool path to be Scan Lines

- Set the parameters as below and renamed the file.
- This is the tool path generated and the preview of the milling. Same as for roughing I exported the .prn file for finishing.
Milling the mold
I have to mill twice firstly roughing and than finishing.For this I have to use two different tools, flat end mill for roughing and ball end mill for finishing.
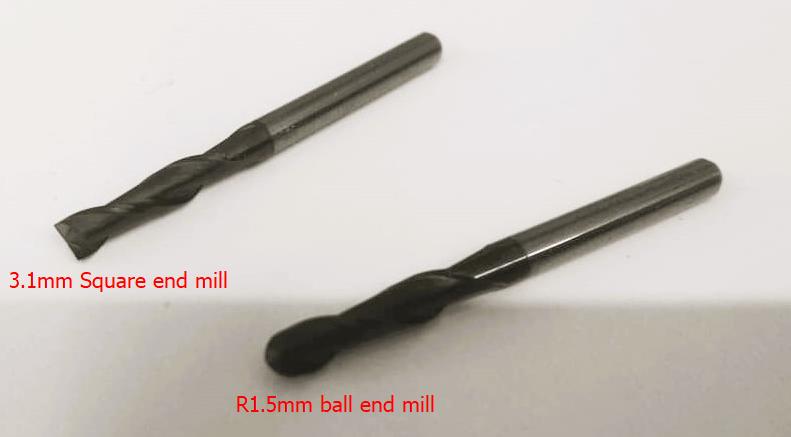
I placed the wax on the on SRM machine and and set the XYZ and Changed the bit to 3.1mm square end mill.
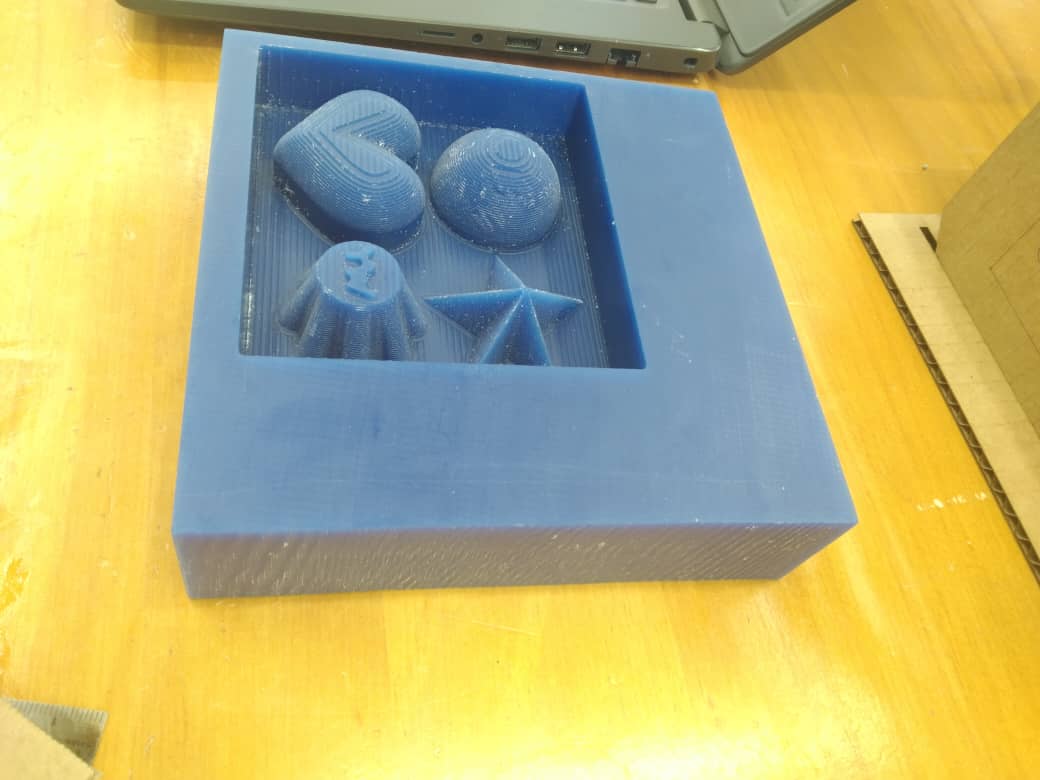
I milled the board and after finishing the rough cut I noticed that the top surface of mold got flushed. I tried gave different start depth and end depth but still I notice the same. So I proceeded on finish cut.
After milling for 6 hours my mould did not under go the finishing(around 3 hours for roughing and then for finishing) I think I made some mistakes when I was trying for the top height adjustment for roughing. I wanted to proceed on casting because I have limited time do again.
Mold material
To make a mold we have two different types molding material (SORTA-CLEAR TM 37 and OOMOO TM 25).It is important to read through the safety data sheet for the molding materials.
Some take away - Sorta clear-37 is food safe and can be used for culinary applications like casting chocolate and other confections. - Sorta clear-12 is not a food safe. - Sorta-clear 18 is skin safe.
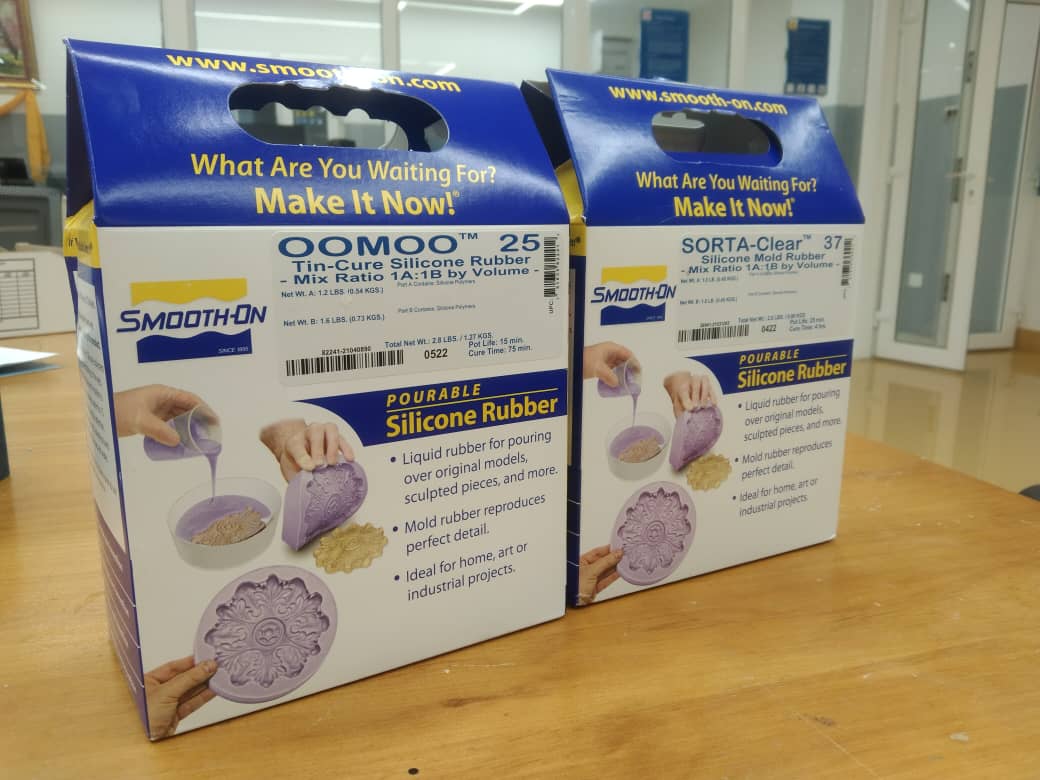
I found SORTA-CLEAR TM 37 si food safe so I want to use this one to make chocolate mold.
How to use it
Materials I used:
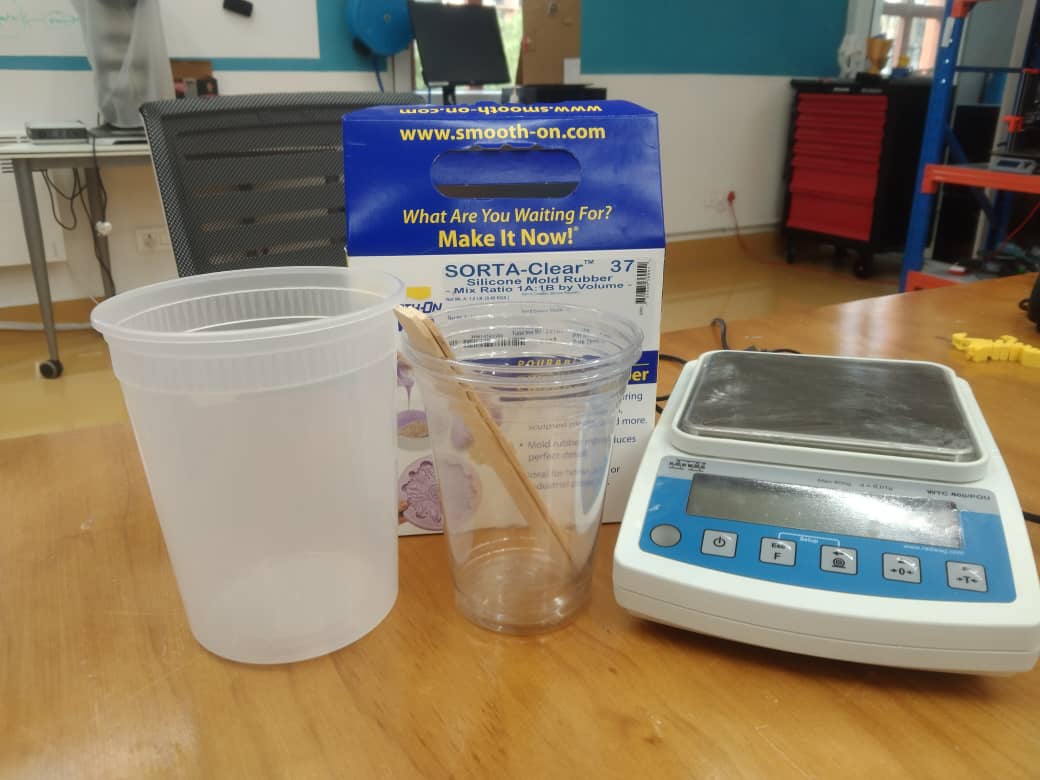
Steps:
-
I used a weigh scale to weigh component A and B to make equal ratio.
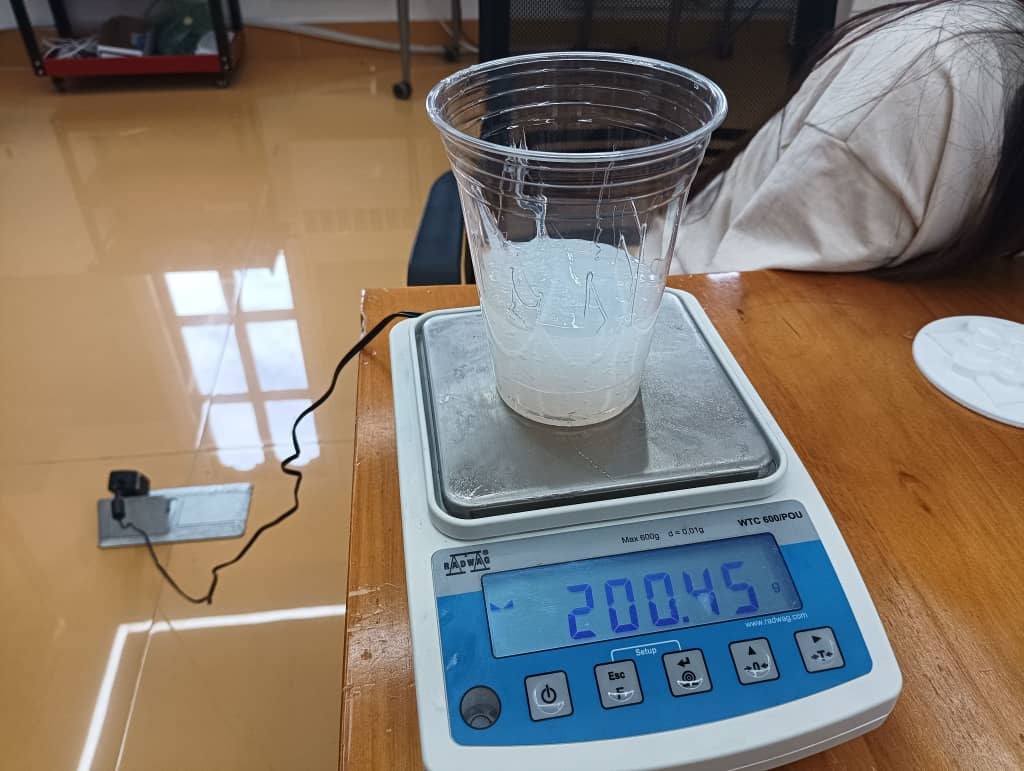
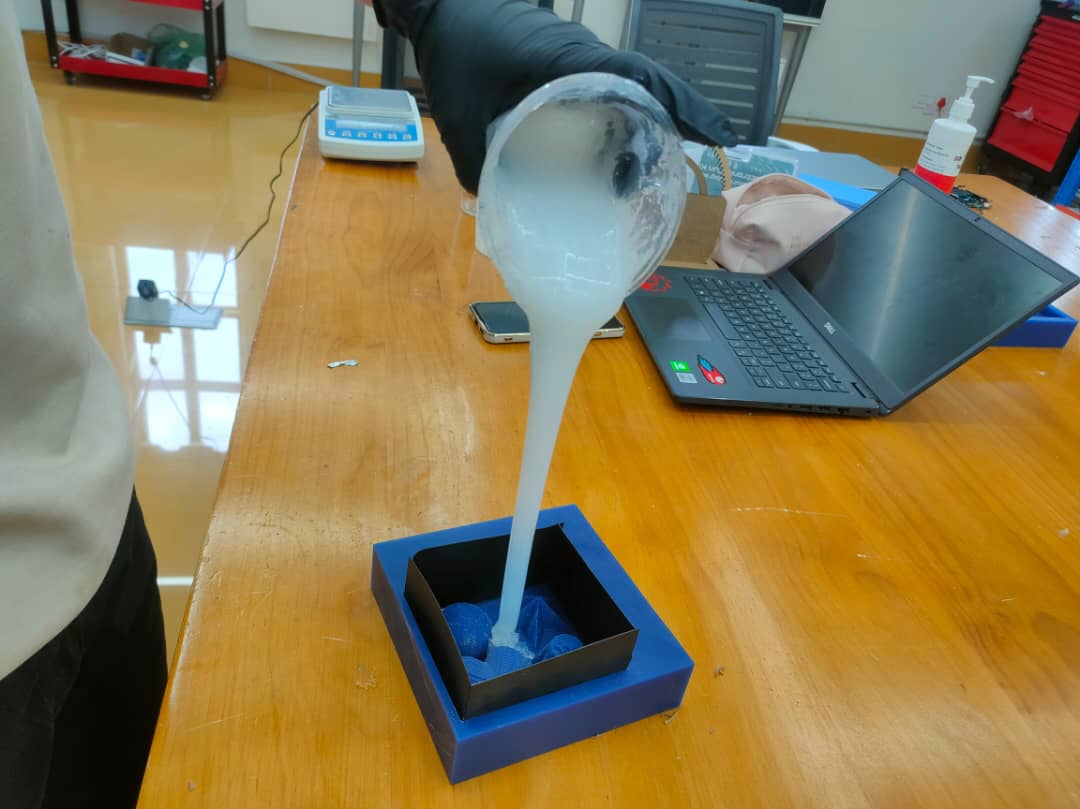
-
Pour both part A and part B (1A:1B) in a plastic cup and mix properly.
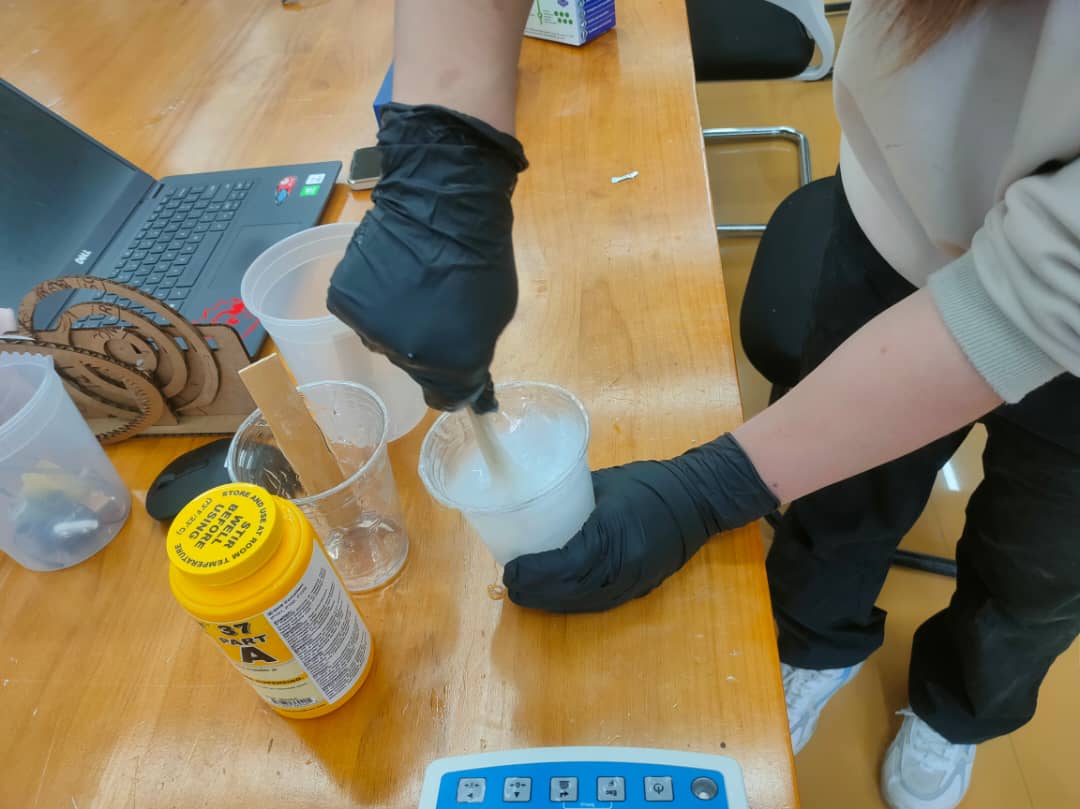
- Pour on the milled wax mold.Make sure no air bubble gets trapped. To remove the air bubbles trapped tap the wax mold on the plain surface.
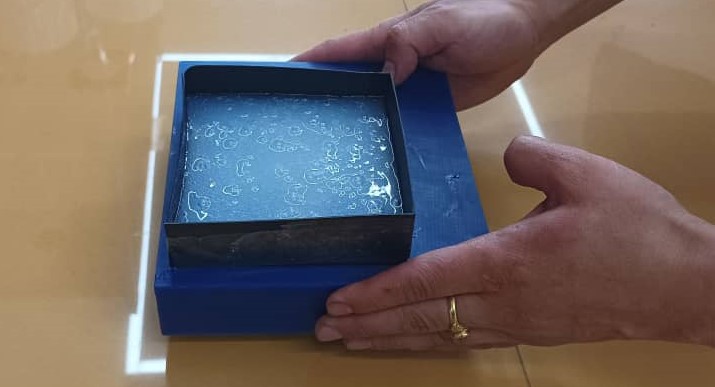
- To let the mold material set I kept it over night.
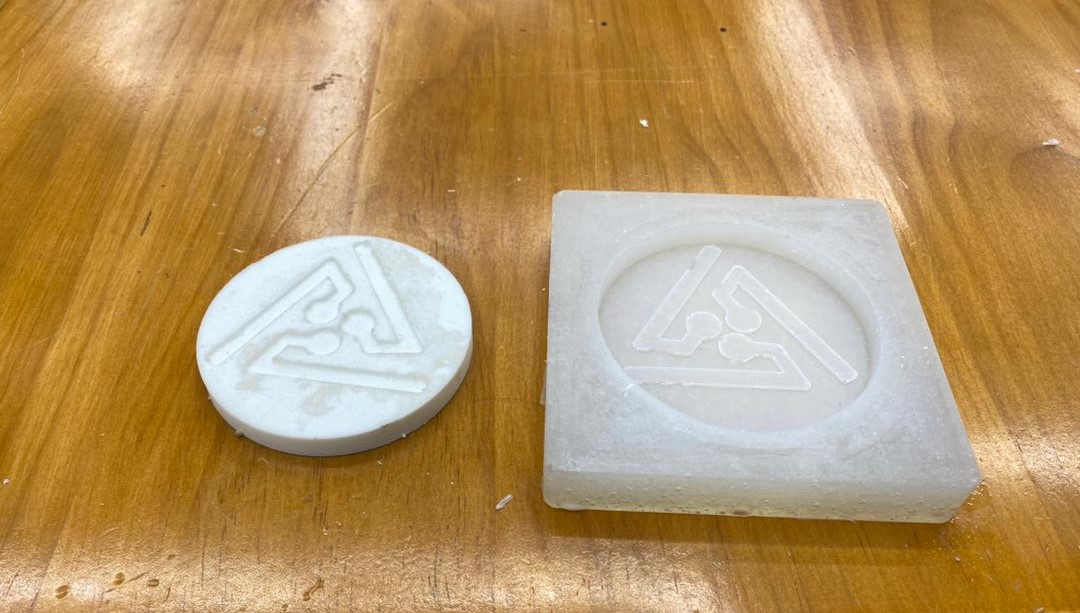
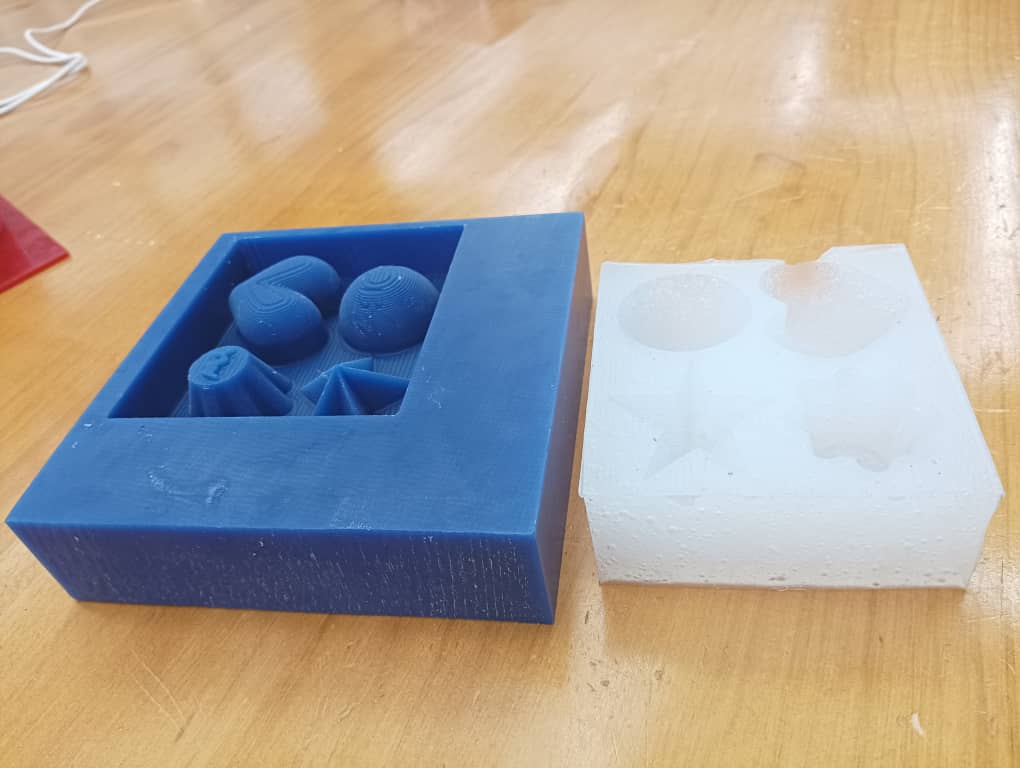
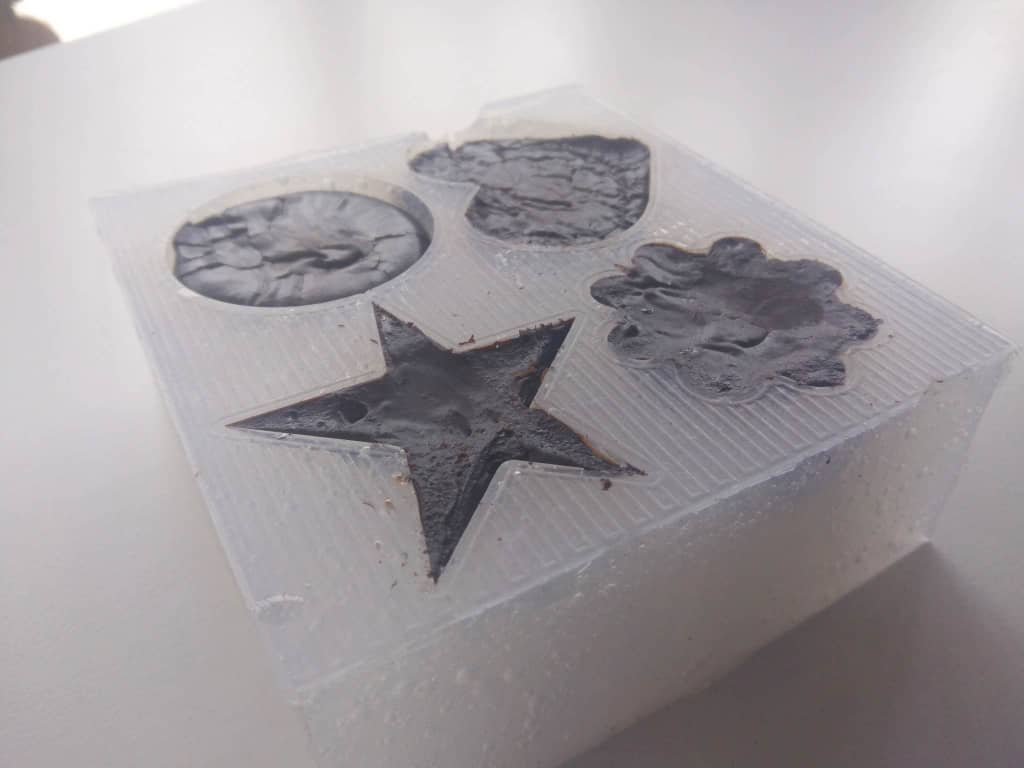
- Here are my two mold, wax mould and silicon mold. I will use silicon mold to cast chocolate.
Casting
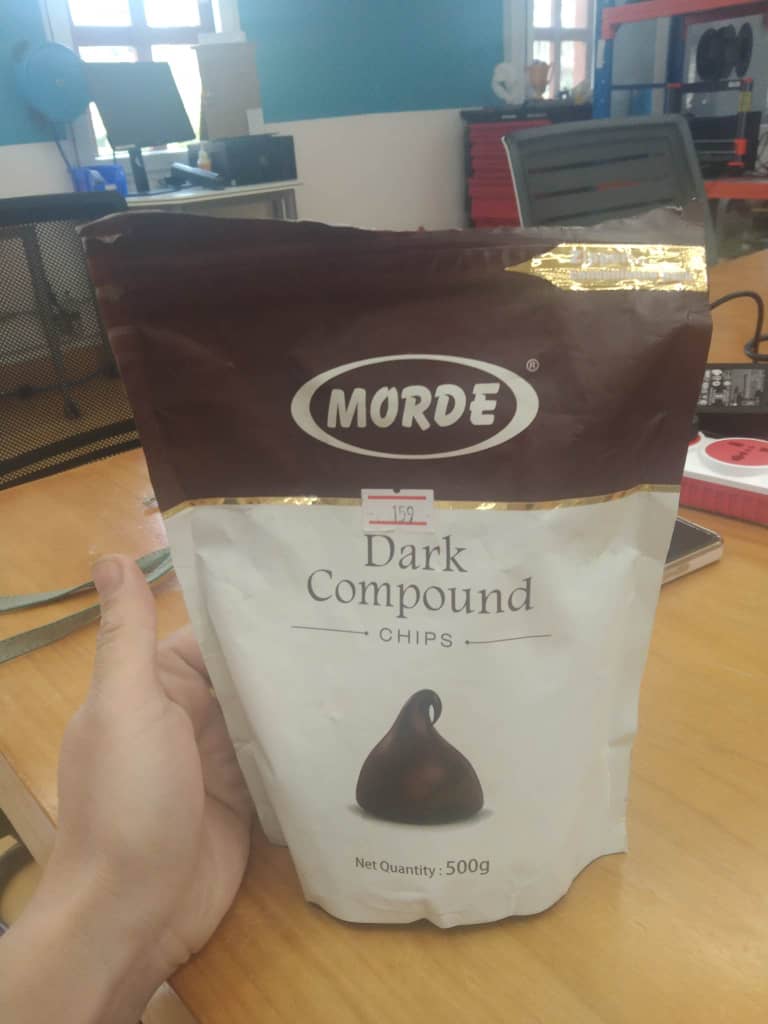
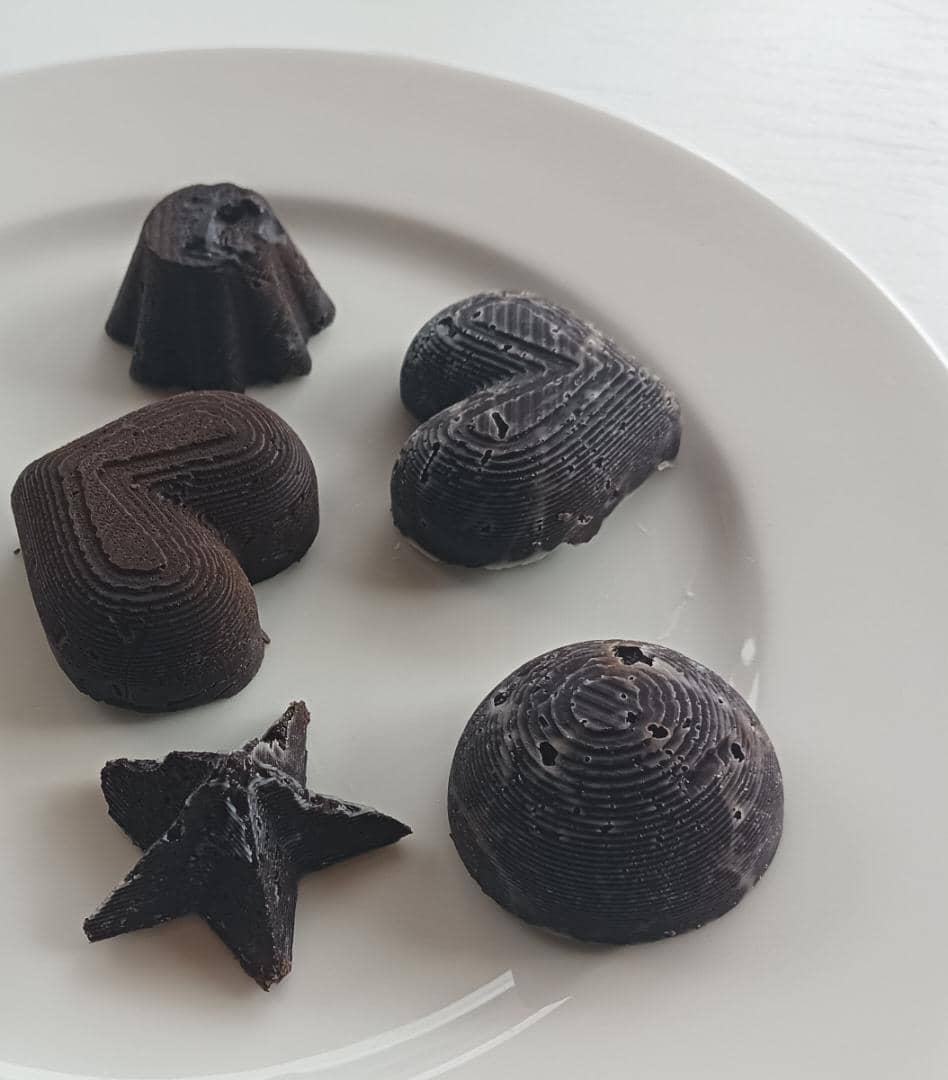
I melted the compound chocolate and poured it in the silicon cold. I kept in the fridge for an hour to get set.
Here is my casted chocolate. The compound chocolate didn’t melt properly as we do not have cooking stove in lab, so I dipped I in hot water and melted.
Design files are zipped here