Week 01. Principle & Practices and Project management
This was the first week of Fab Academy 2023 and it started with Professor Neil’s lecture where I understood the concept of Fab charter which describes the Fab lab as a global network of digital fabrication supporting and sharing resources enabling interested and innovative individuals towards digital fabrication. To go through Fab Charter here is the link.
Assignment of the week:
- Plan and sketch potential final project idea.
- Work through git tutorial.
- To create a personal website
- Sign and understand the Student Agreement.
Final Project Idea
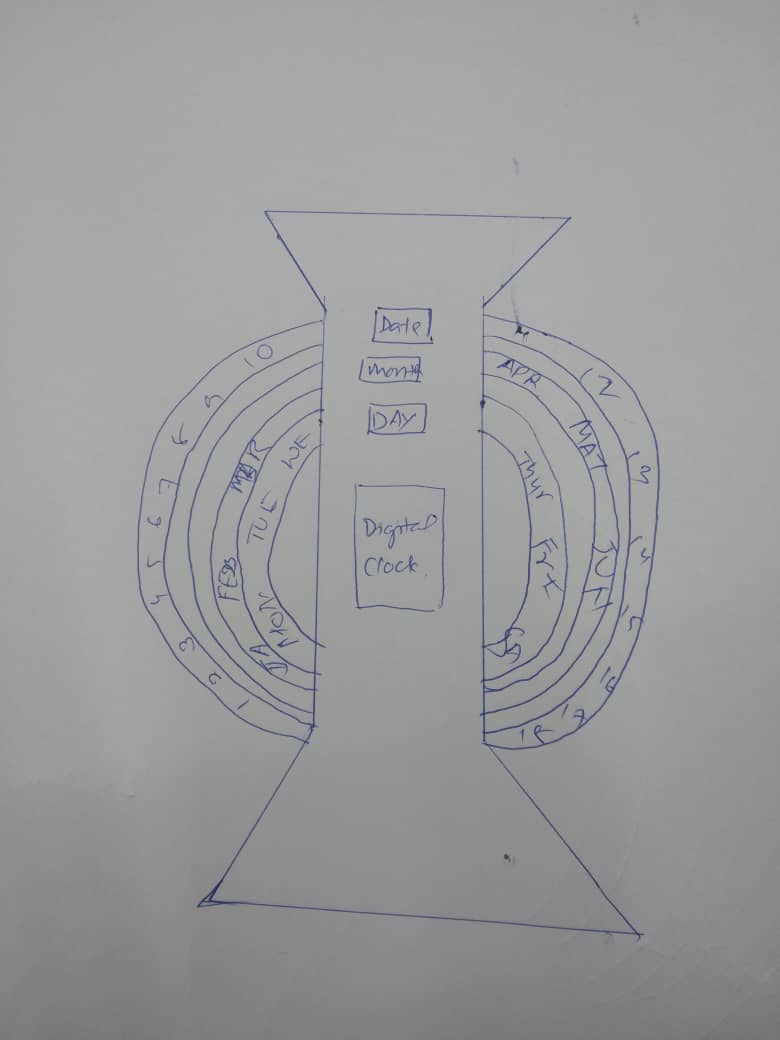
For my final project I decided to make Sliding Calender. As I am already intrigued by the making things with hand in this Fabacademy I want to make a small sliding calender and I want learn making circuit board and programming the board while working on my project because I am fresh beginner in electronics.
- When we are in the hall or busy doing things we don’t have to turn on Phone screen to check date or day
- Date and Day to be rotated and changed daily and the month to be changed after 30 days.
- Can be good for home decor
- Reduces the need of constant page navigation
- Can be useful in classroom for the students can easily view the different months an week.
- It can be convenient for placement
- I will use laser cut or shop bot to use frame
- RTC module will be used as a input
- Output will be the motor spinning the rings.
Project Management
As the boot camp started on 19-01-23 I repeatedly could hear the word “DOCUMENTS” from the instructors and past students and I understood that how important it is to to document all the learnings and findings throughout the Fab Academy journey.
For the documentation of our work progress and findings throughout our journey we are introduced to the git. I had little knowledge on git as it was already introduced by Fran and Sibu in FabZero session during lab installation in 2023 but I couldn’t understand much as I was attending the session remotely. In this programme I assure I will learn more to work with git.
To document our assignments and final project we need to create a website. For this we were given with HTML template which I cloned and edited in Visual Studio Code.
To understand HTML syntax I referred the tutorial video html and css for begginer during Pre Fab. I used this link w3school to get the syntax directly.
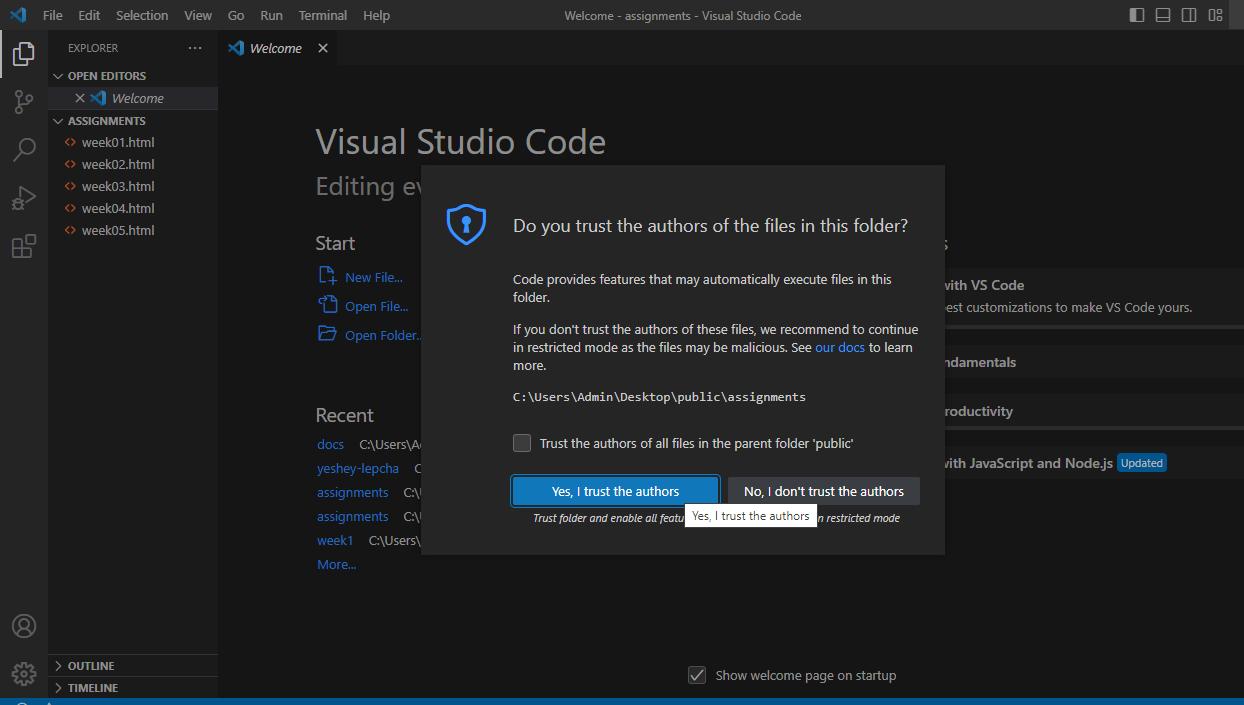
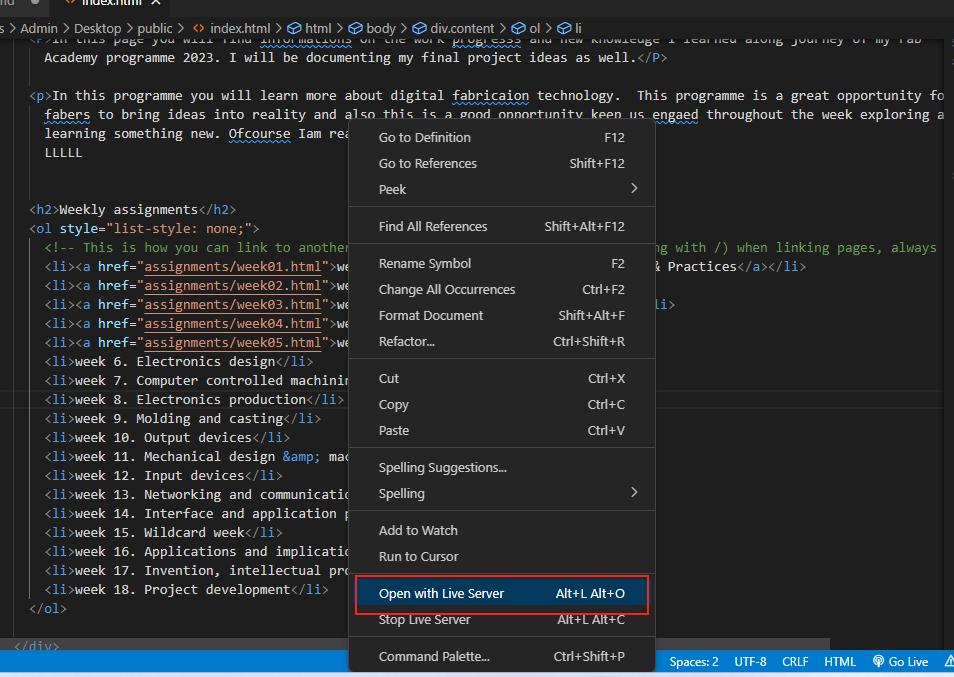
In VS code I opened a html file website template and edited with my personal information in index.html.
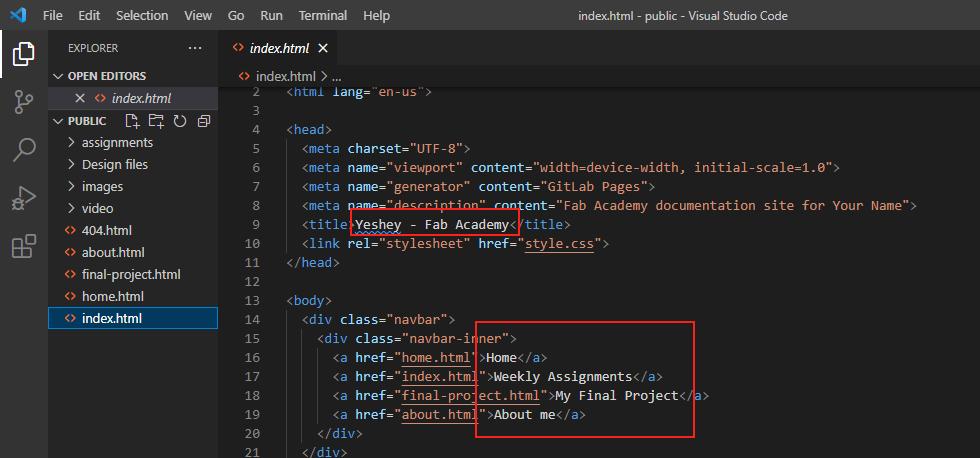
I created new html files under assignment folder and linked it to index.html.

I opened the html is browser to view the result by right clicking on the VS code page and select Open with Live Server to view it in browser.
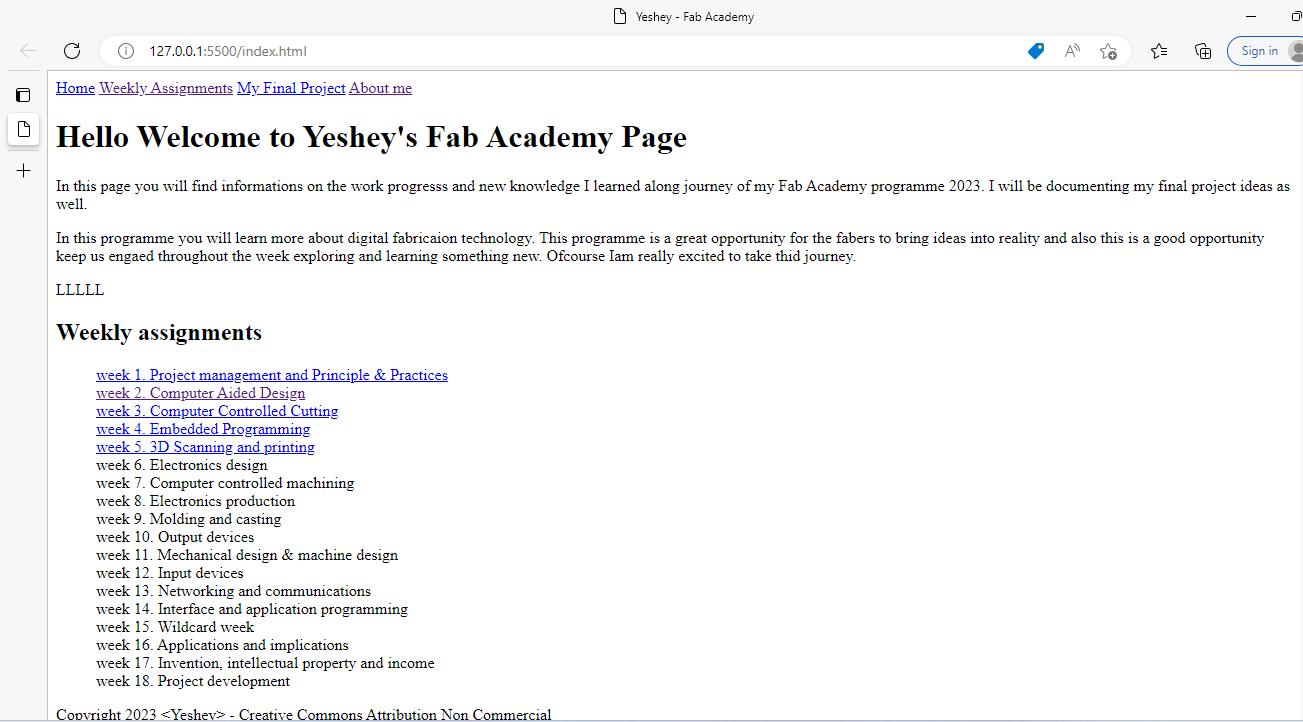
This the initial look of my website. It isn’t looking that attractive as I haven’t touch with styling.
Some of the basic html syntax I started with are:
- Opening tag: <>
- Closing tag:
- Paragraph text: < p >
- Heading: < h1 >
- single line break: < br >
- image: < img > , source of a file: (src)
- unordered list: < ul >
- ordered list: < ol >
- To define link: < a >, (href) attribute to define link destination
- Video: < video >
Introduction to Git
- As per Wikipedia Git is distributed version control system that helps us to keep tracks on changes in any set of computer files. Git allow us to manage projects with repositories and we can clone the project to local copy. Staging and Committing controls and track the changes in file. Git push allows to update the local projects to the main and also can pull the latest project to the local copy.
To download and install git click in this link git download.
Git is already installed in my laptop during Fab Zero session so I do not have to install it again. To confirm that I went to terminal and checked git version by typing git–verison.
-
Here is the tutorial for setting up git.
-
Some of the important keys for the begginers are in this link Simple cheatsheet
Setting up git
Step 1: Identify yourself
>>git config --global user.name "Yeshey"
>>git config --global user.email "yesheywlepcha@dhi.bt"
Step 2: Checking your setting
>>git config --list
>>git help
>>git help config
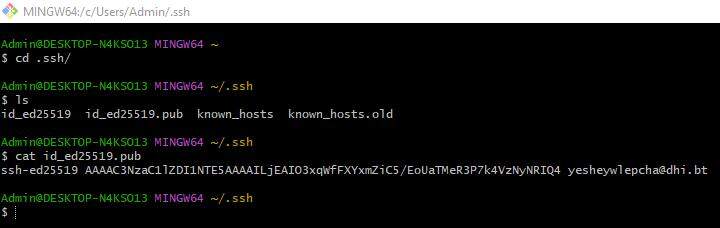
Step 3: How to set up SSH key
>>ls ~/.ssh
- It will show private key and public key with .pub extension
- We need .pub one
cat ~/.ssh/id_isa.pub —To view the key
Note: If you don’t see the key:
- mkdir ~/.ssh
>ssh -keygen -t rsa -c “yesheywlepcha@dhi.bt”
>ssh-keygen -o
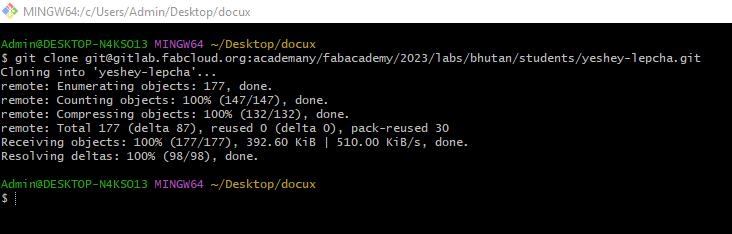
Step 4: git clone Use the following command to clone the repositories:
-
git clone git@gitlab.fabcloud.org:academany/fabacademy/2023/labs/bhutan/students/yeshey-lepcha.git
Copy the URL from repositories
Checking the status of the file:
> git status
- Changed not staged for commit > you have to run
-  *git add .*
Step 5: git add: After making any changes in local file we need to do >git add
Step 6: git committing your stage
git commit -m “Commit message”
Step 7: git push After committing any changes we need to git push to upload our local repo to the remote. To do this I use git bash and follow the steps listed below:
- Git status (enter)
- Git add (enter)
- Git commit >> -m “assignment1”
- Git push (enter)
The local repo gets push to the cloud server.
Using git bash
We use VS code editor to push the local repo as it is handy tool as we can directly commit by clicking on +sign committing the stages.
In the mid of documentation Mr. Rico recommended us to use git bash because it shows all in detailed of what ever we are pushing and the if any errors it is shown in the window. So we opt to use Git bash hereon.
- Open the git bash and to go into directory files >> cd folder name >> ENTER
-
To show the list of folders >> ls ENTER

-
Checking status >> git status ENTER. It will be shown as below.

-
To stage changes >> first I did git add . >> ENTER and wrote commit message >> git commit -m “edited week1 assignment” ENTER
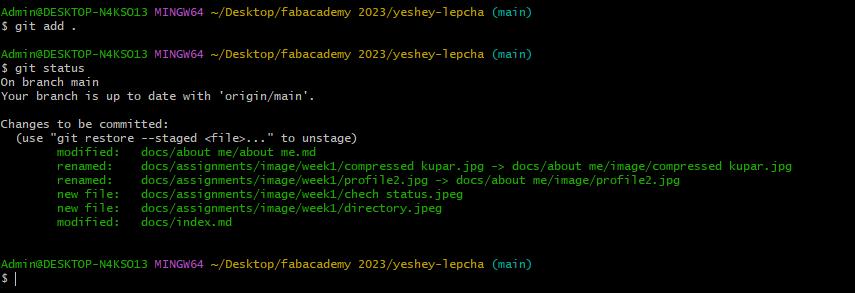
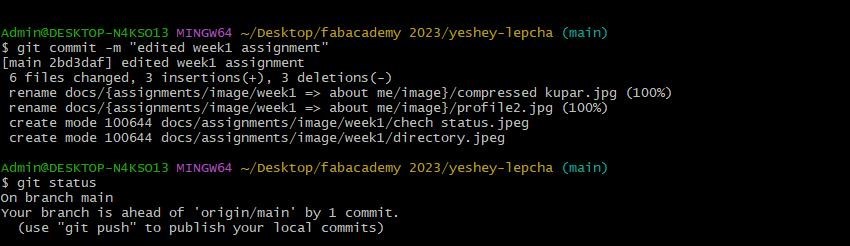
-
Finally I did a git push >> git push>> ENTER.
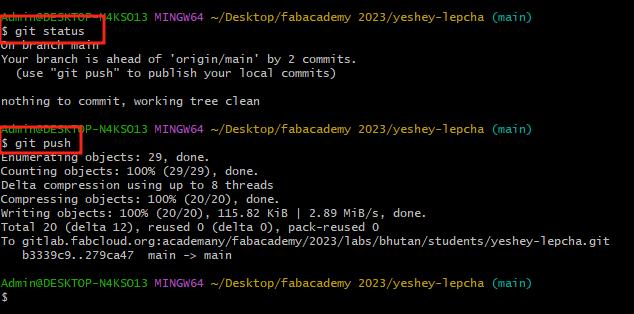
-
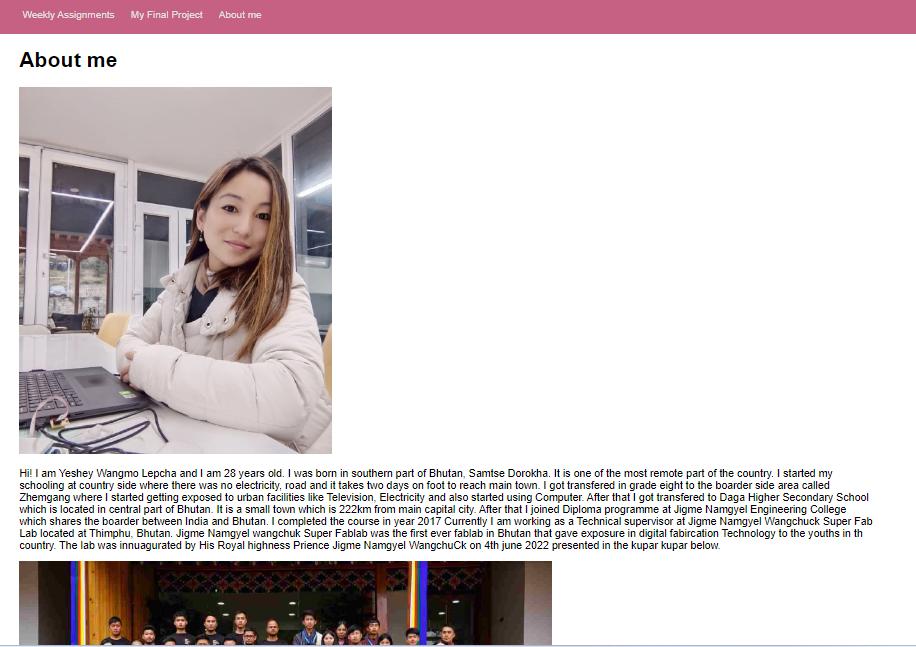
I just started writing on about me page and this is how it looks initially and hereafter I will be documenting all my findings and projects in this website.