'Sticks in a bundle are unbreakable.'
African Proverbs
Wildcard Week
Individual Assignment
For this assignment, I have decided to work on a circular composite lampholder. The following are how I intend to execute this assignment:
Lamp's CAD Design
To draw this, I first drew a line, then a circle of diameter 250. Then I offset the sketch by -5mm. After which I inserted another line and then trimmed off the unwanted lines.
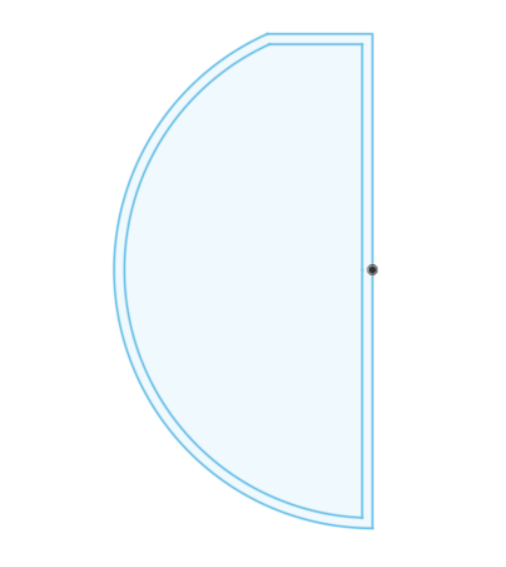
After which I used the revolve command to create a spherical shape.
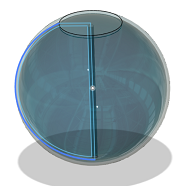
Then I pulled the flat surface down to create a hole at the top.
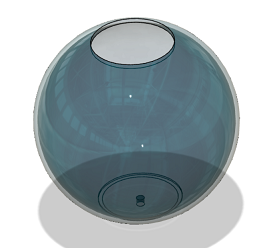
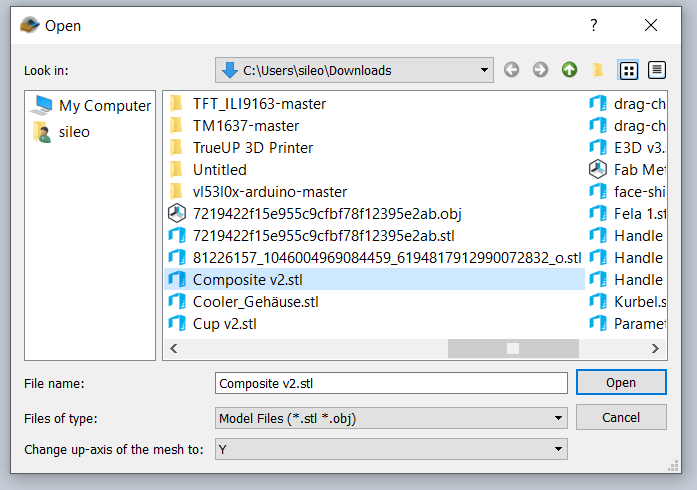
After this, save and export the file as stl or obj format on your local hard drive.
Slicer
After concluding my simple design, I simply used the slicer which I already installed on fusion 360. If you do not have it installed, then follow the instructions stated on this LINK. After this, you can use the software to slice any design for laser cutting.
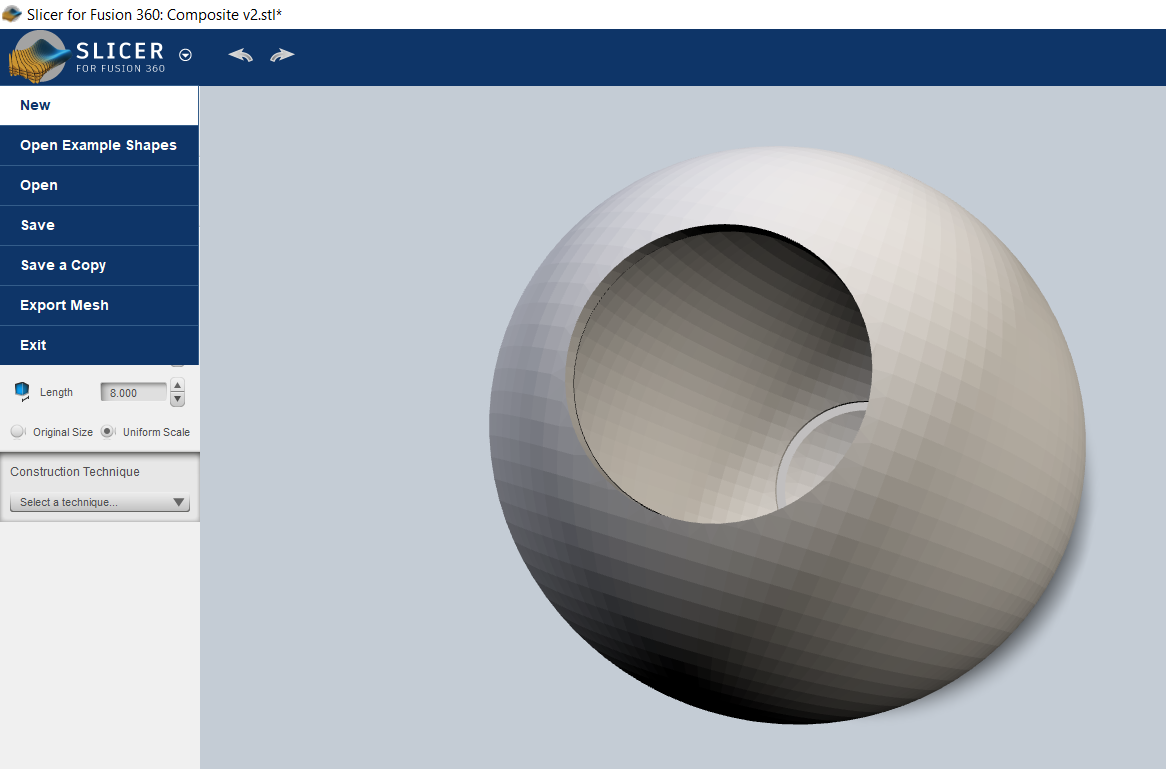
Now you can launch Slicer from your desktop or simply search for Slicer on the search pane of your computer. This should look like the picture below.
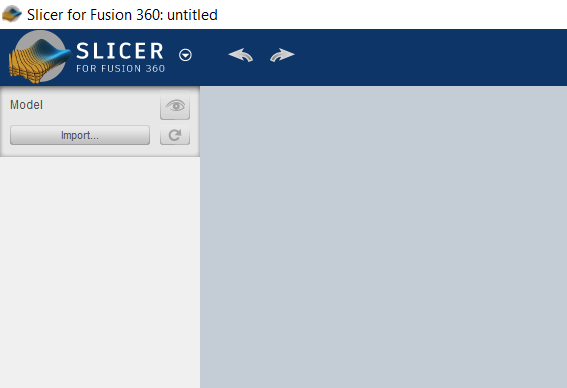
Then import the file into the software.
Then you can select the construction technique you would like to use to slice the object. Please feel free to experiment till you get your desired technique. I have presented the various construction technique below.
Stacked Slices
Interlocked Slices
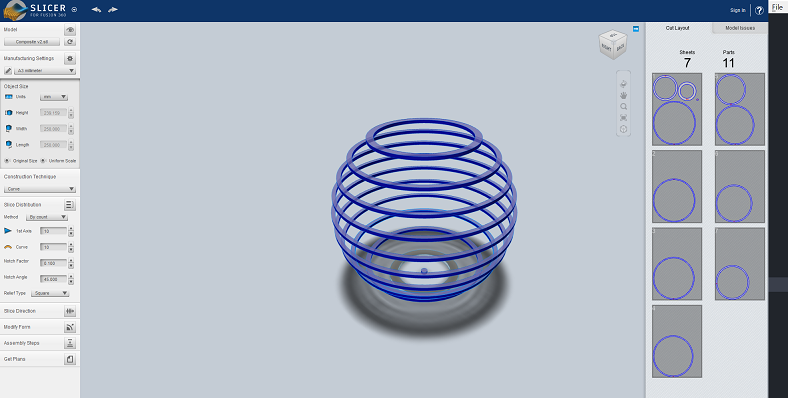
Curve
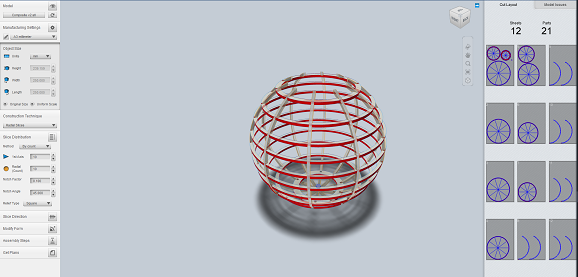
Radial
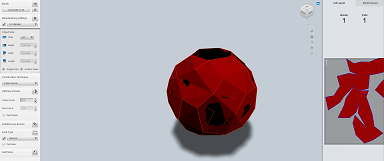
Folded Panels
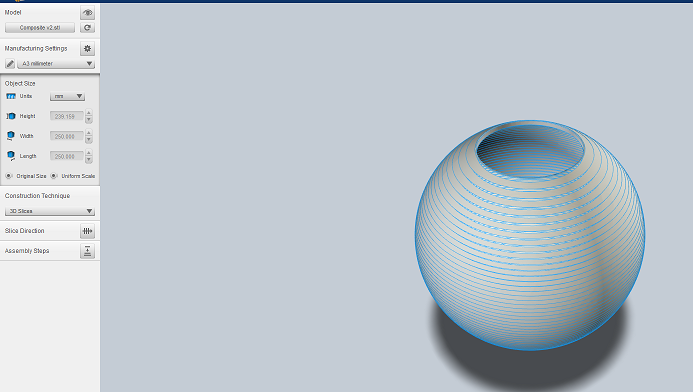
3D Slices
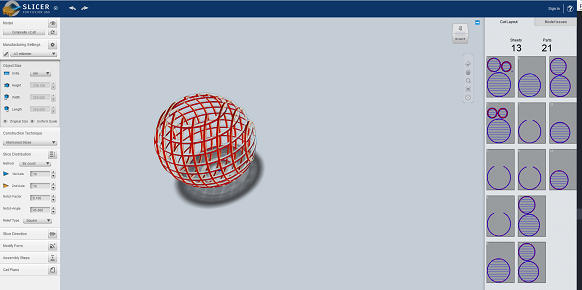
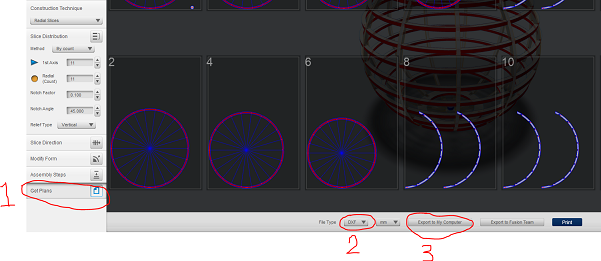
In my case I used Radial slices. Now that the construction techniques has been highlighted.
To export the file, click 'Get Plans', then select the 'File Type', then click 'Export to My Computer'. This will be exported to the folder you selected.
Laser Cutting
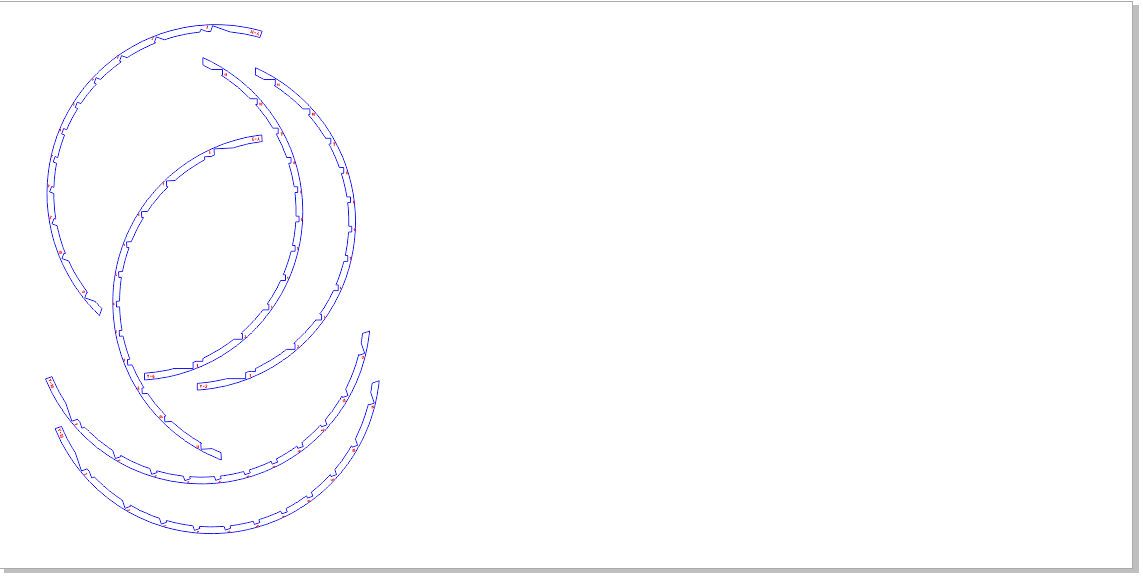
After this, the next step is to prepare the exported file for laser cutting. Since we use Corel Draw on our Laser cutter, I then launched Corel Craw, and imported the sliced design on Corel Draw.
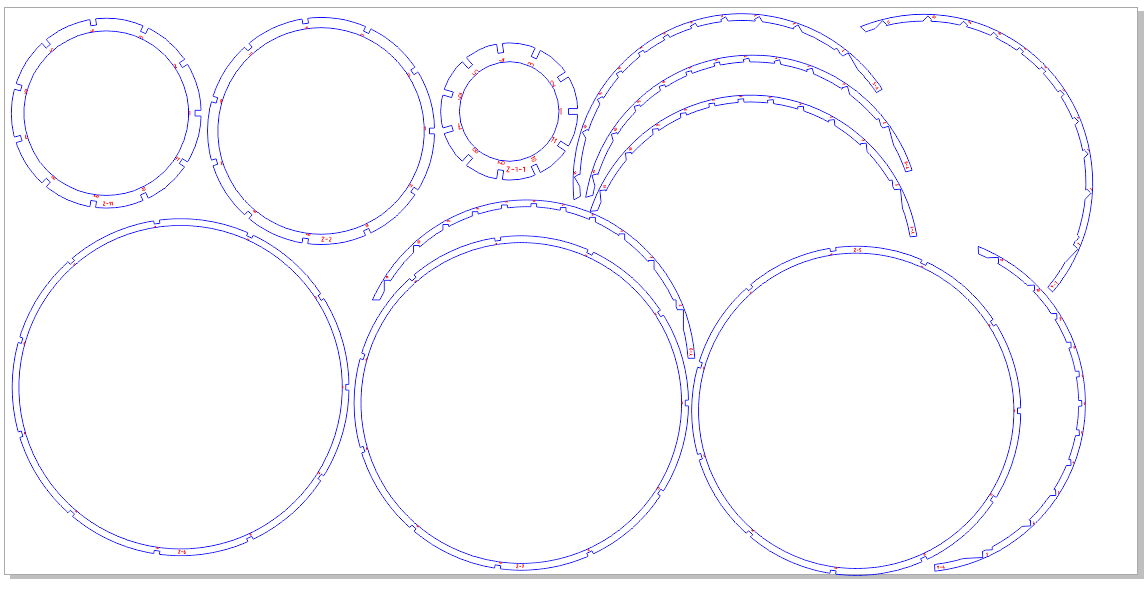
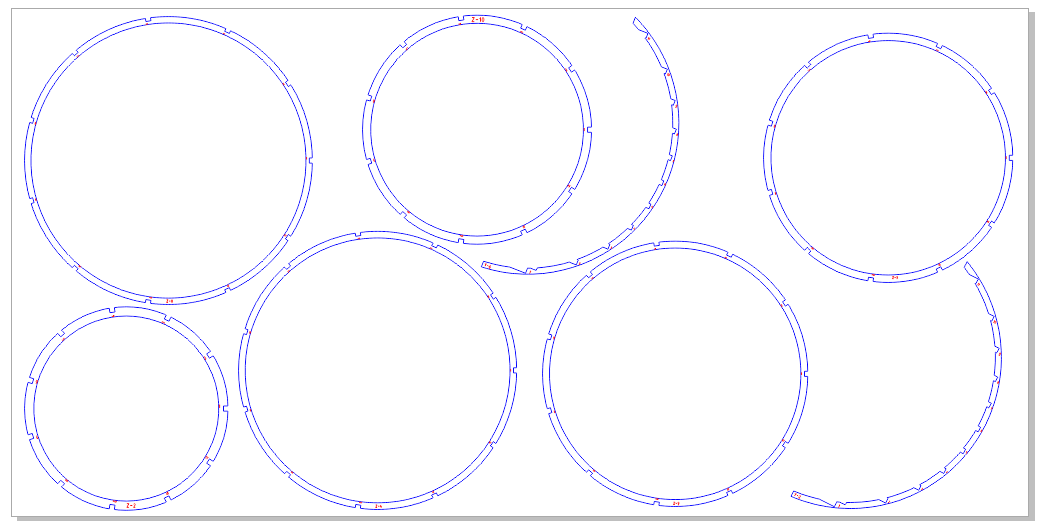
Being a person of sustainability, or you could simply put it as a 'Stingy Person'. I wanted to use limited resources to accomplish the task. So I rearranged the design on Corel draw to fit on 3 plates of 600mm x 300mm. Consult the pictures below.
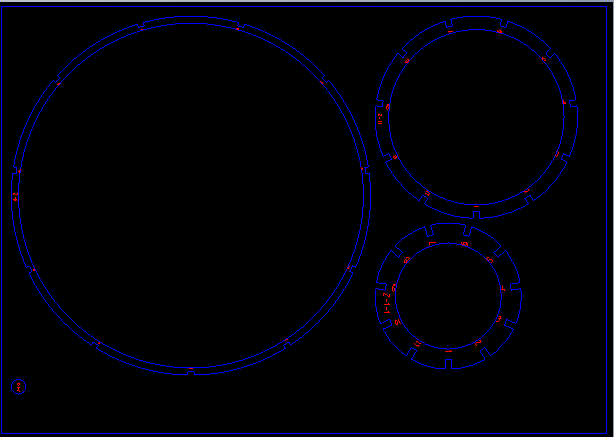
The pictures below, shows the layout after rearrangement.
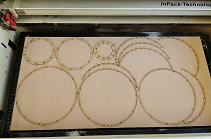
After this, I proceeded to the Laser cutting room to use my favorite machine.
Below, you will find the pictures of the job.
Next, I will be assembling the layouts, after which I will cover it with a linen fabric, and apply the epoxy resin to give it a solid structure.
Assembly
During the assembly, I noticed that one of the connector is not strong enough to handle the weight of the body. So I will be modifying this to be able to withstand the weight of the rings.
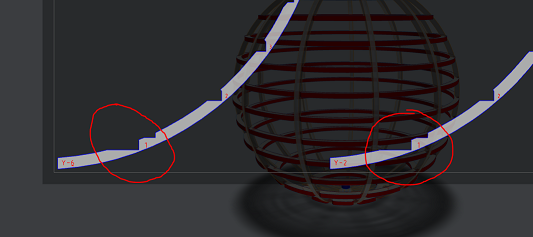

I modified the identified defective part on Corel draw, creating more room at the connections so as to avoid breakage. After this, I simply multiplied the new part by 13 to count for the parts needed for the assembly, as well as having 2 spares for a 'Just In case' moment.
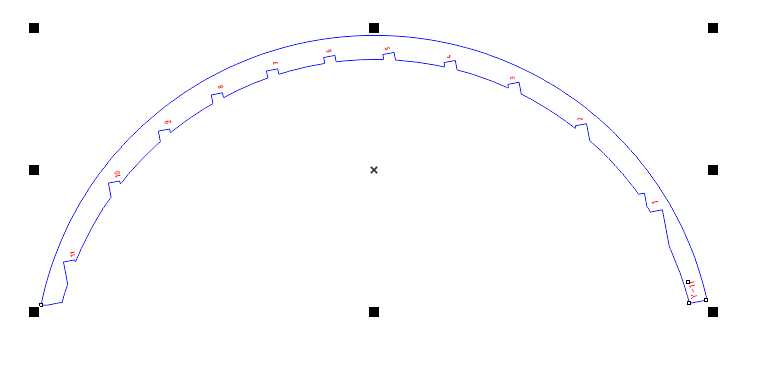
I have updated the modified file in the download folder. The next thing is for me to go back to the Laser cutter, and cut out the new frame. Then I can finalize this assignment.
After this, I assembled the model. However, I must be honest by saying that I found it difficult to resist the usage of super glue. Below you will find the pictures of the assembled model. Though it is smaller than I imagined. Which is technically my fault.
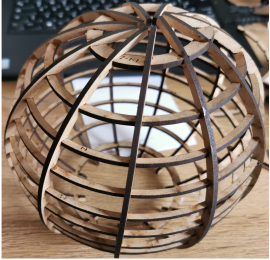
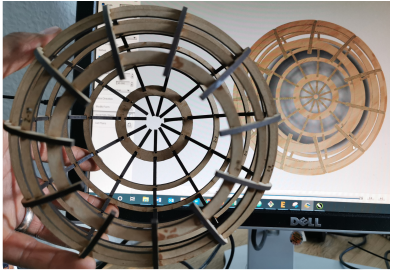
Next, I will be covering the surface with a linen fabric. After which I will proceed to the last step.
The next step is to mix and apply the epoxy resin on the fabric.
Epoxy
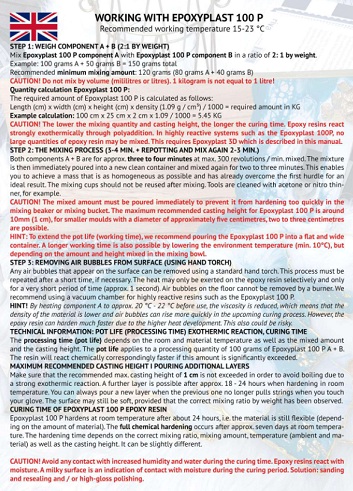
For this assignment, I purchased this Crystal Clear Epoxy Resin from Dipon. The Epoxy has a mixing ratio of 2:1.
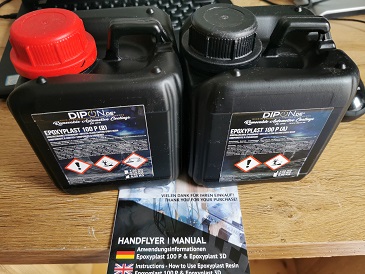
Suitable among others for the production of floors, terrarium, pond, aquarium construction and others for the repair and production of particularly light and exotic molded parts, e.g. by means of vacuum infusion processes, made of GRP, aramid, carbon for motor vehicles, aircraft and boat and ship building. Can also be used for model making.
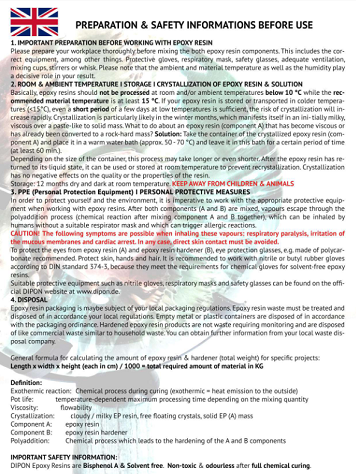
The data sheet of the Epoxy can be found HERE. However, a snapshot of the data sheet is appended belo.
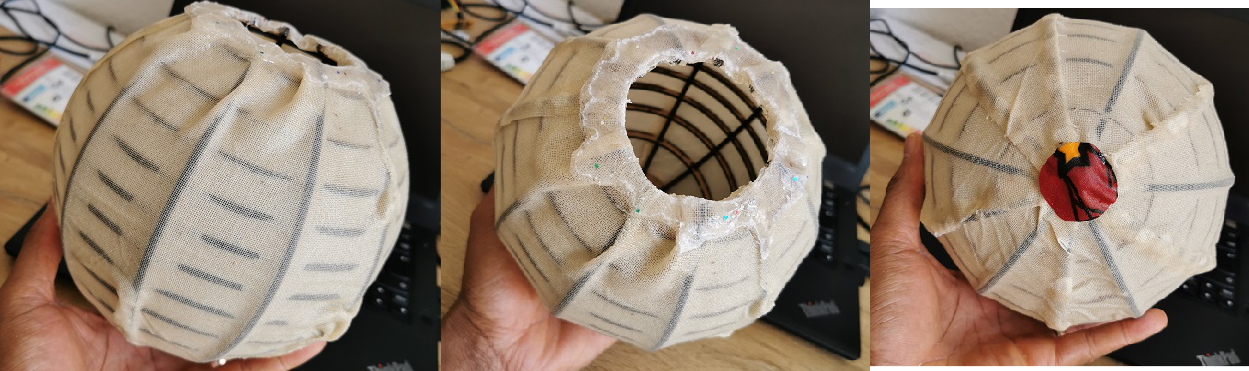
After this, I wound the linen material round the assembled model.

After which I then mixed the epoxy resin as a 2:1
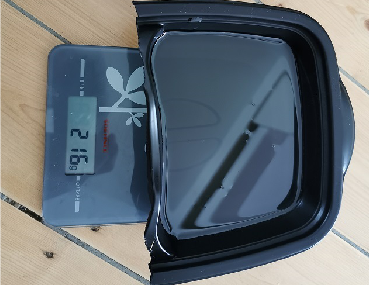
Then, I applied the mixture with a paintbrush on the linen model.
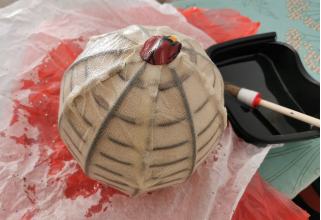
Then I waited for 24 hours for the epoxy resin to harden.
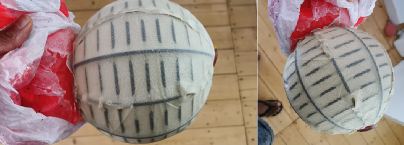
Then with the help of a cutter, i trimmed out the unwanted part of the model.
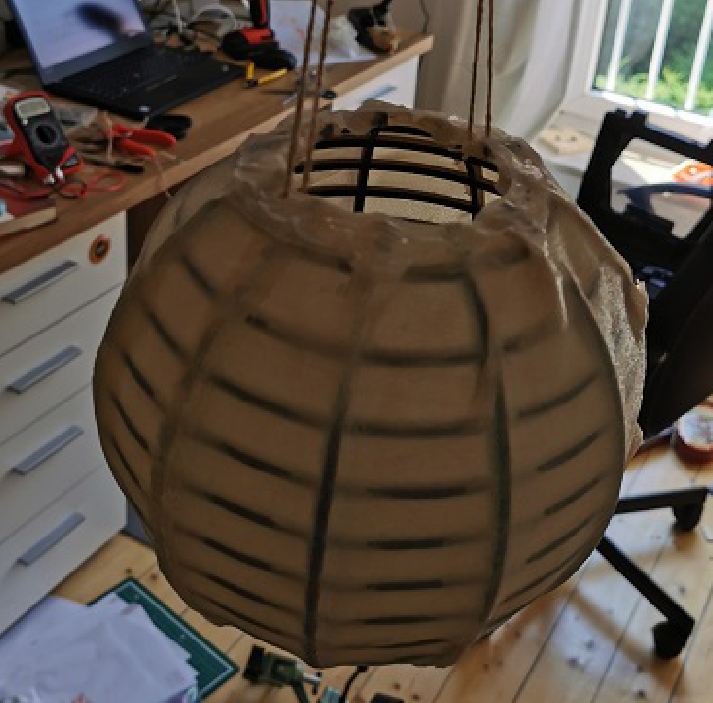
Then I attached some threads to te model so it can be hung.
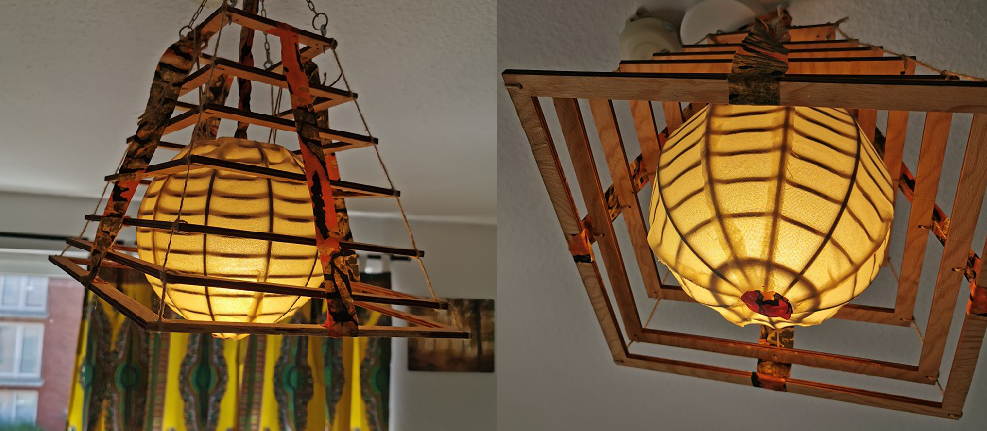
Hero Shot
Below you will find a picture of the Lamp holder in operation.
You can also download the files here Download Files.
You can follow the progress of the Final project HERE.