'To harvest palm fruits in a haste is to harvest many unripe ones.'
African Proverbs
Week 5 Assignment
This week, we are charged to do a group assignment, and two individual assignments. These are given below:
Group Assignment
You can view the Group Assignment on this Link.
Individual Assignment
Software
For this assignment, I will use my favourite CAD software (Fusion 360) to design the project for the assignment. Also, as mentioned in the description section, I will be making use of the Slicer software from Ultimaker (CURA 3.4.0) to enable adequate communication between the Computer and the printer.
Design (Fusion 360)
For this assignment, I decided not to stress too much because I have two weeks backlog of tasks to finish. So I decided to design a simple mug. As mentioned by Neil, we are meant to design and print something that cannot be machined by a CNC milling machine. From the design, only a 5-axis milling machine can fabricate the mug. I will detail how I got it done below.
Without further ado, I simply created a line as depicted in the illustration below.
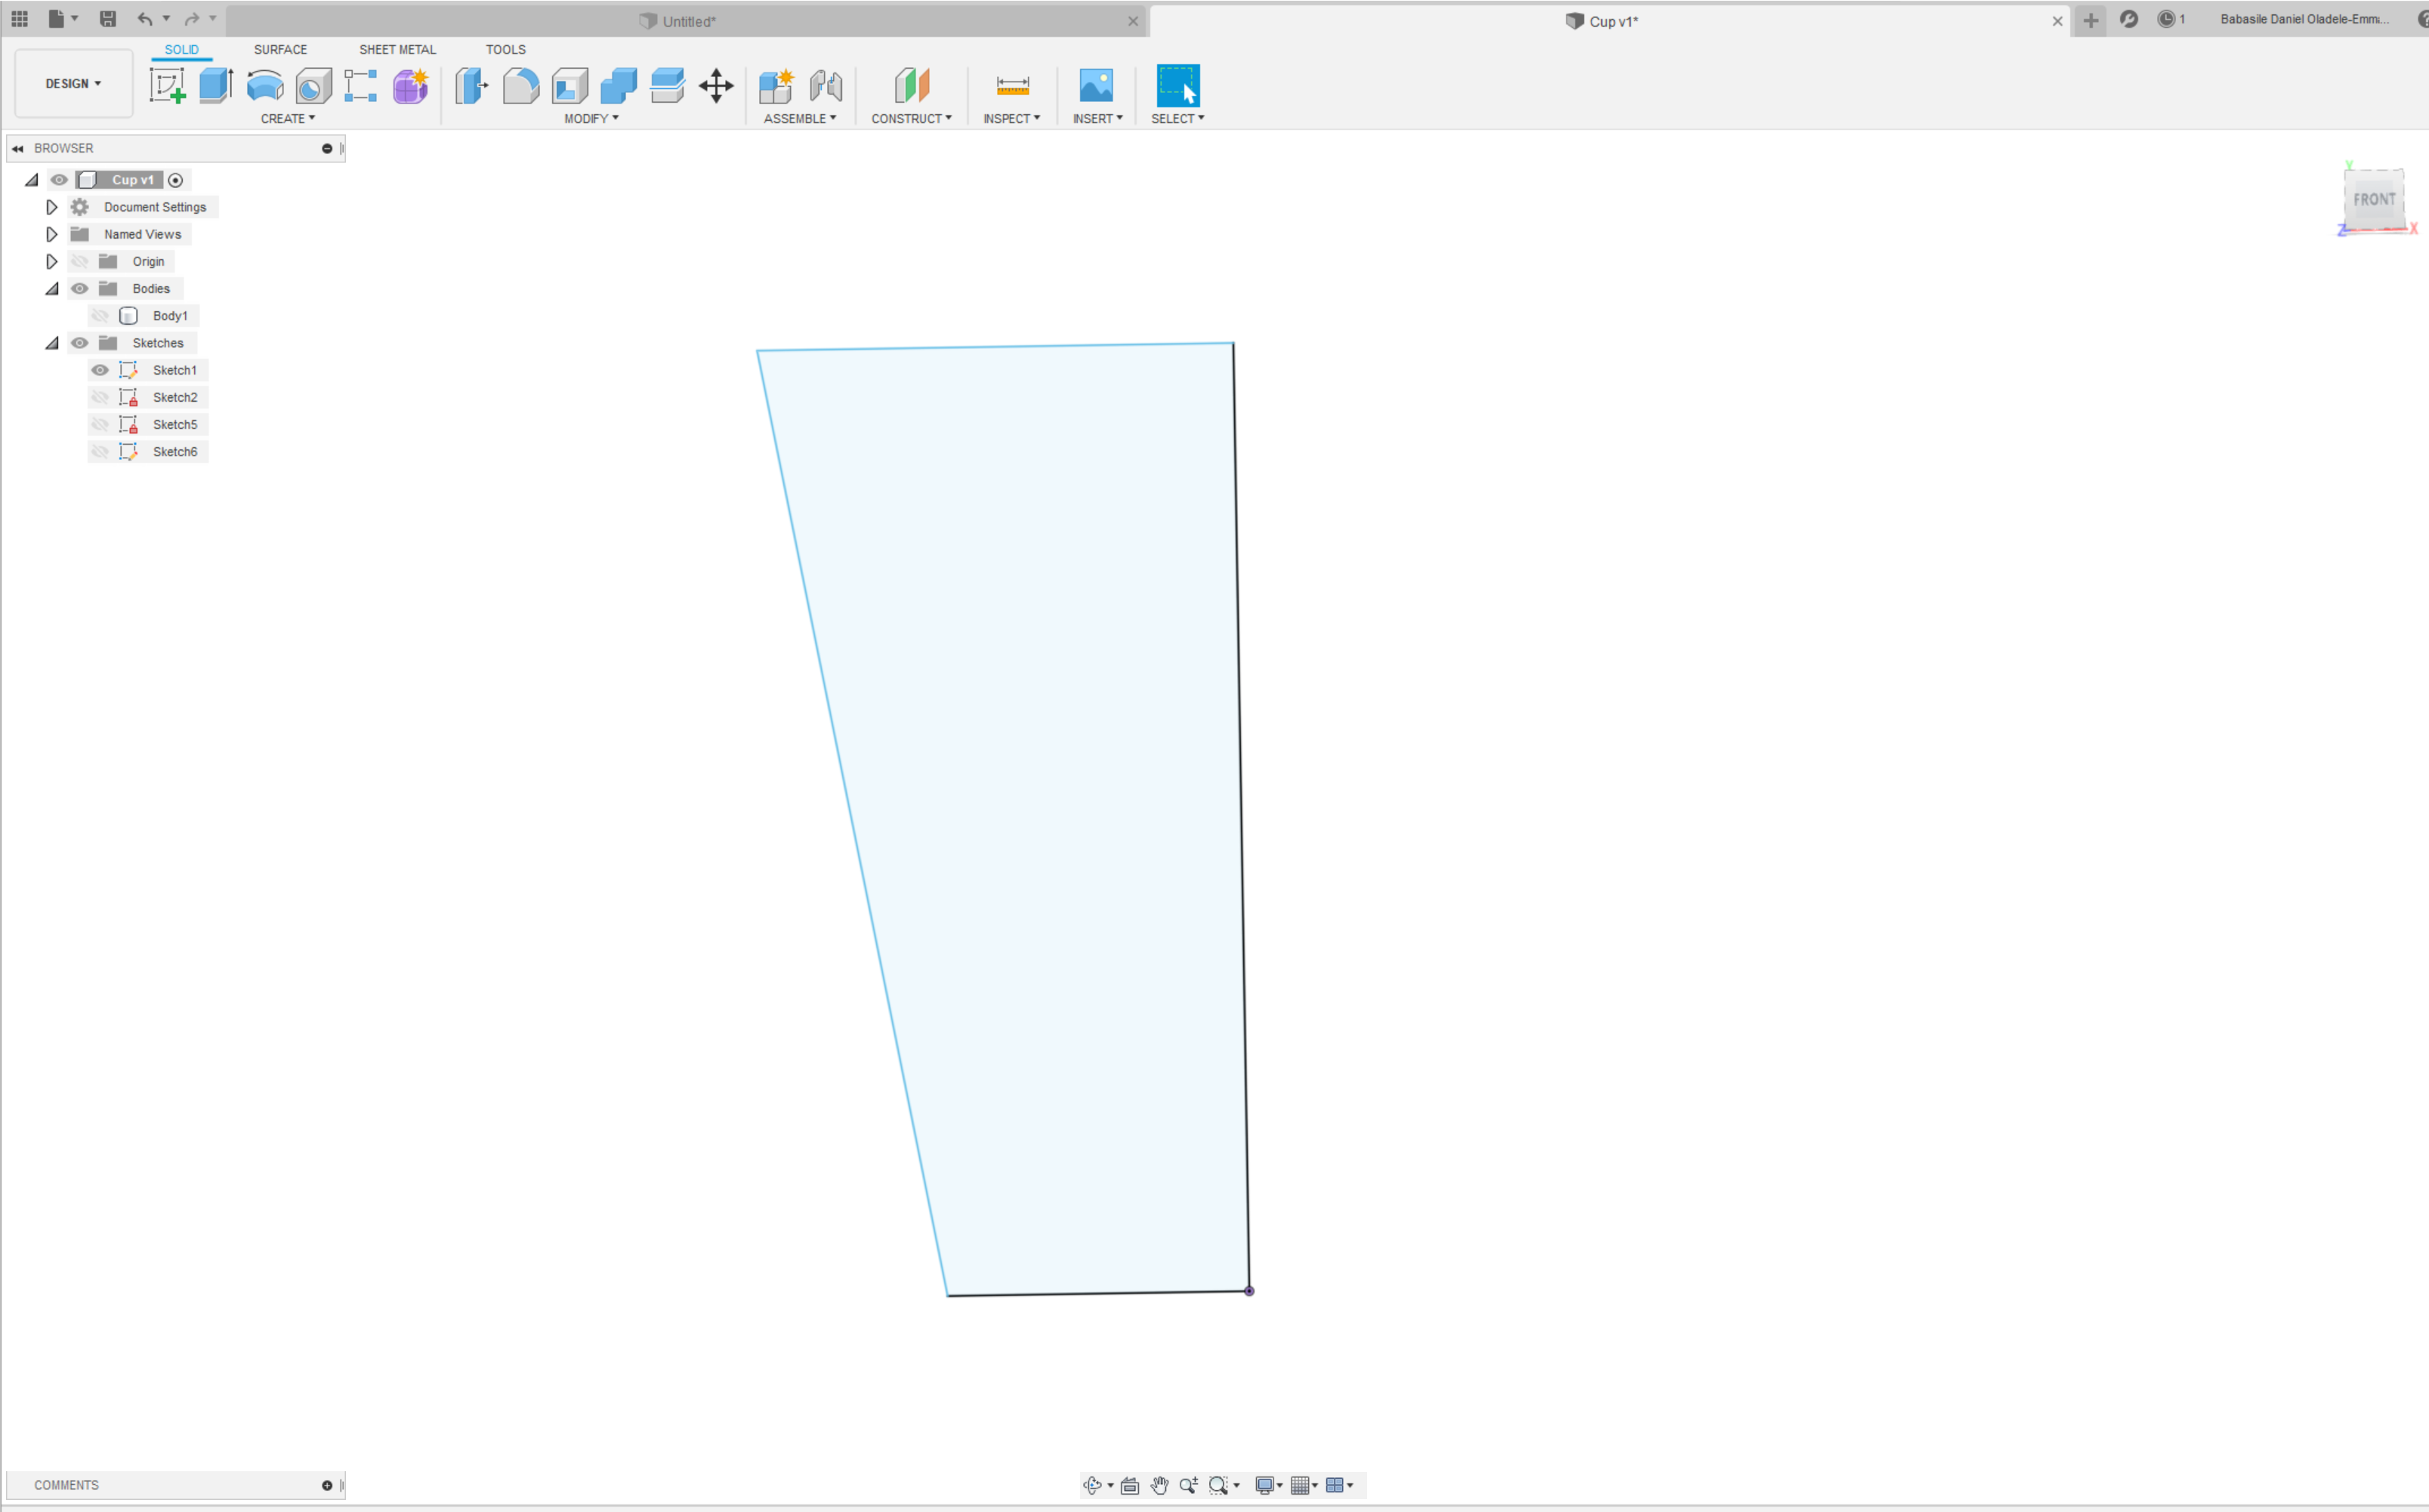
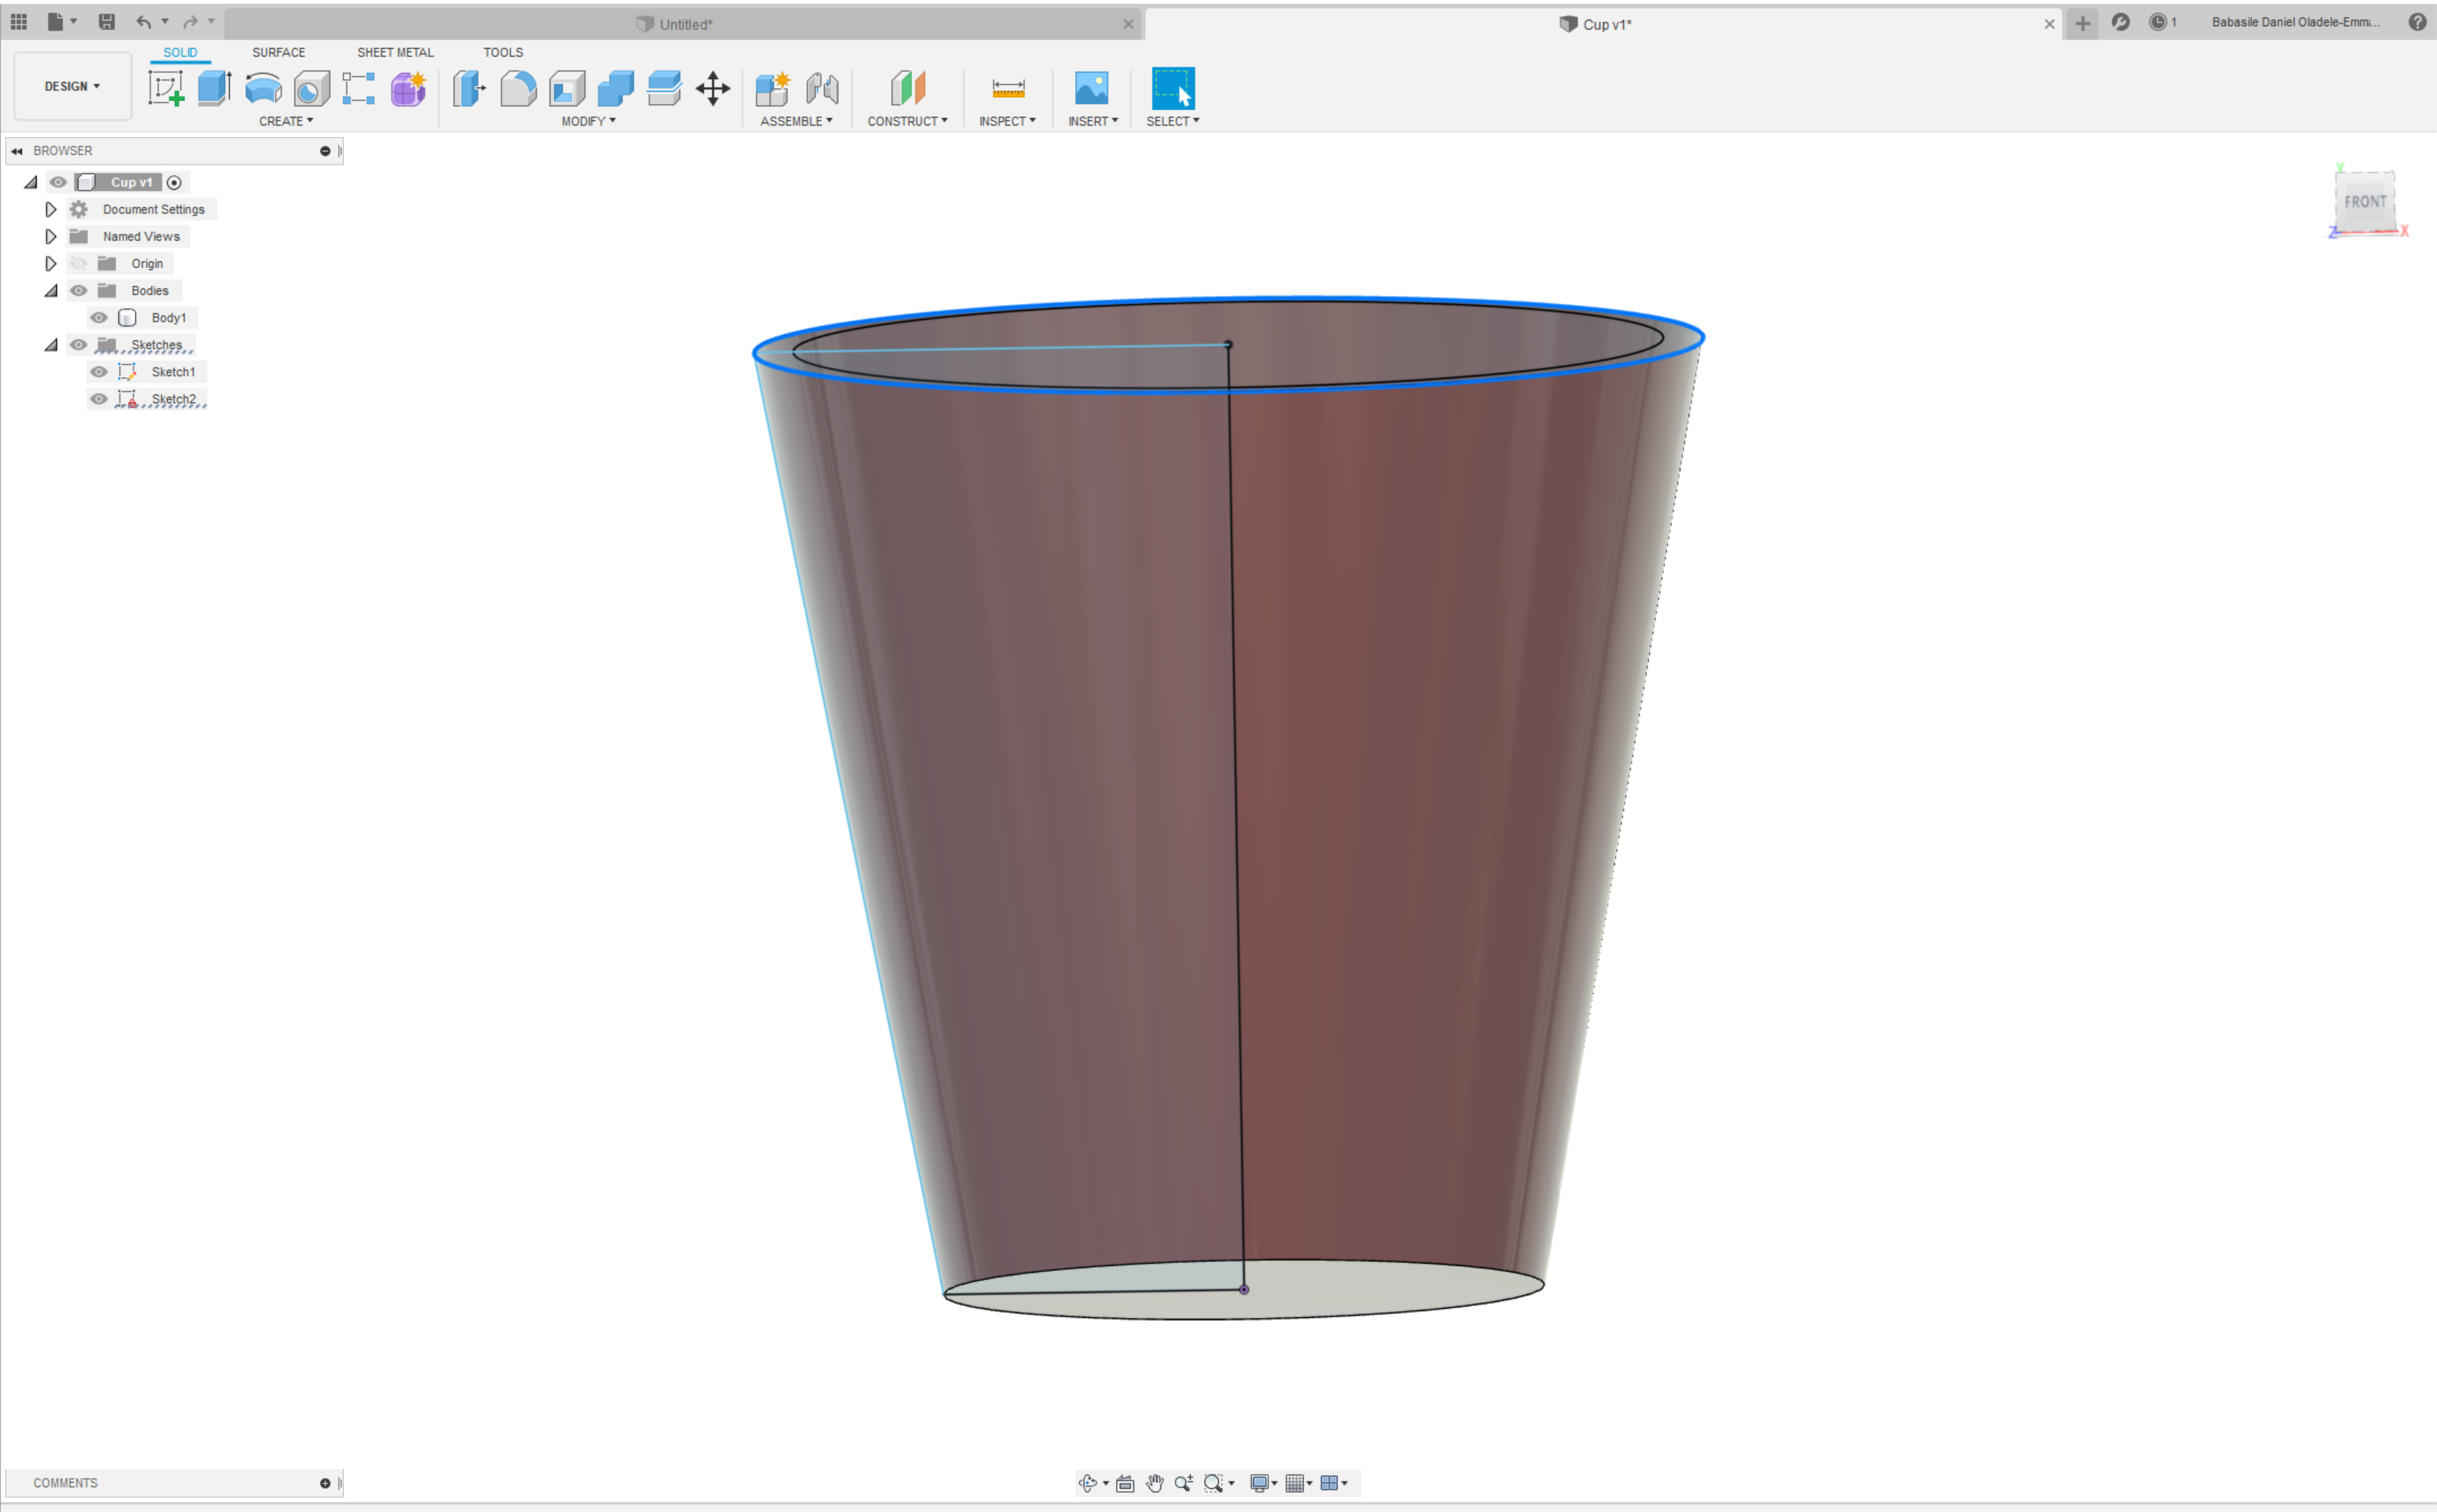
Then I selected the 'Revolve command' under the 'create' menu to create a circular design of the mug. After this I offseted circle internally by 3mm
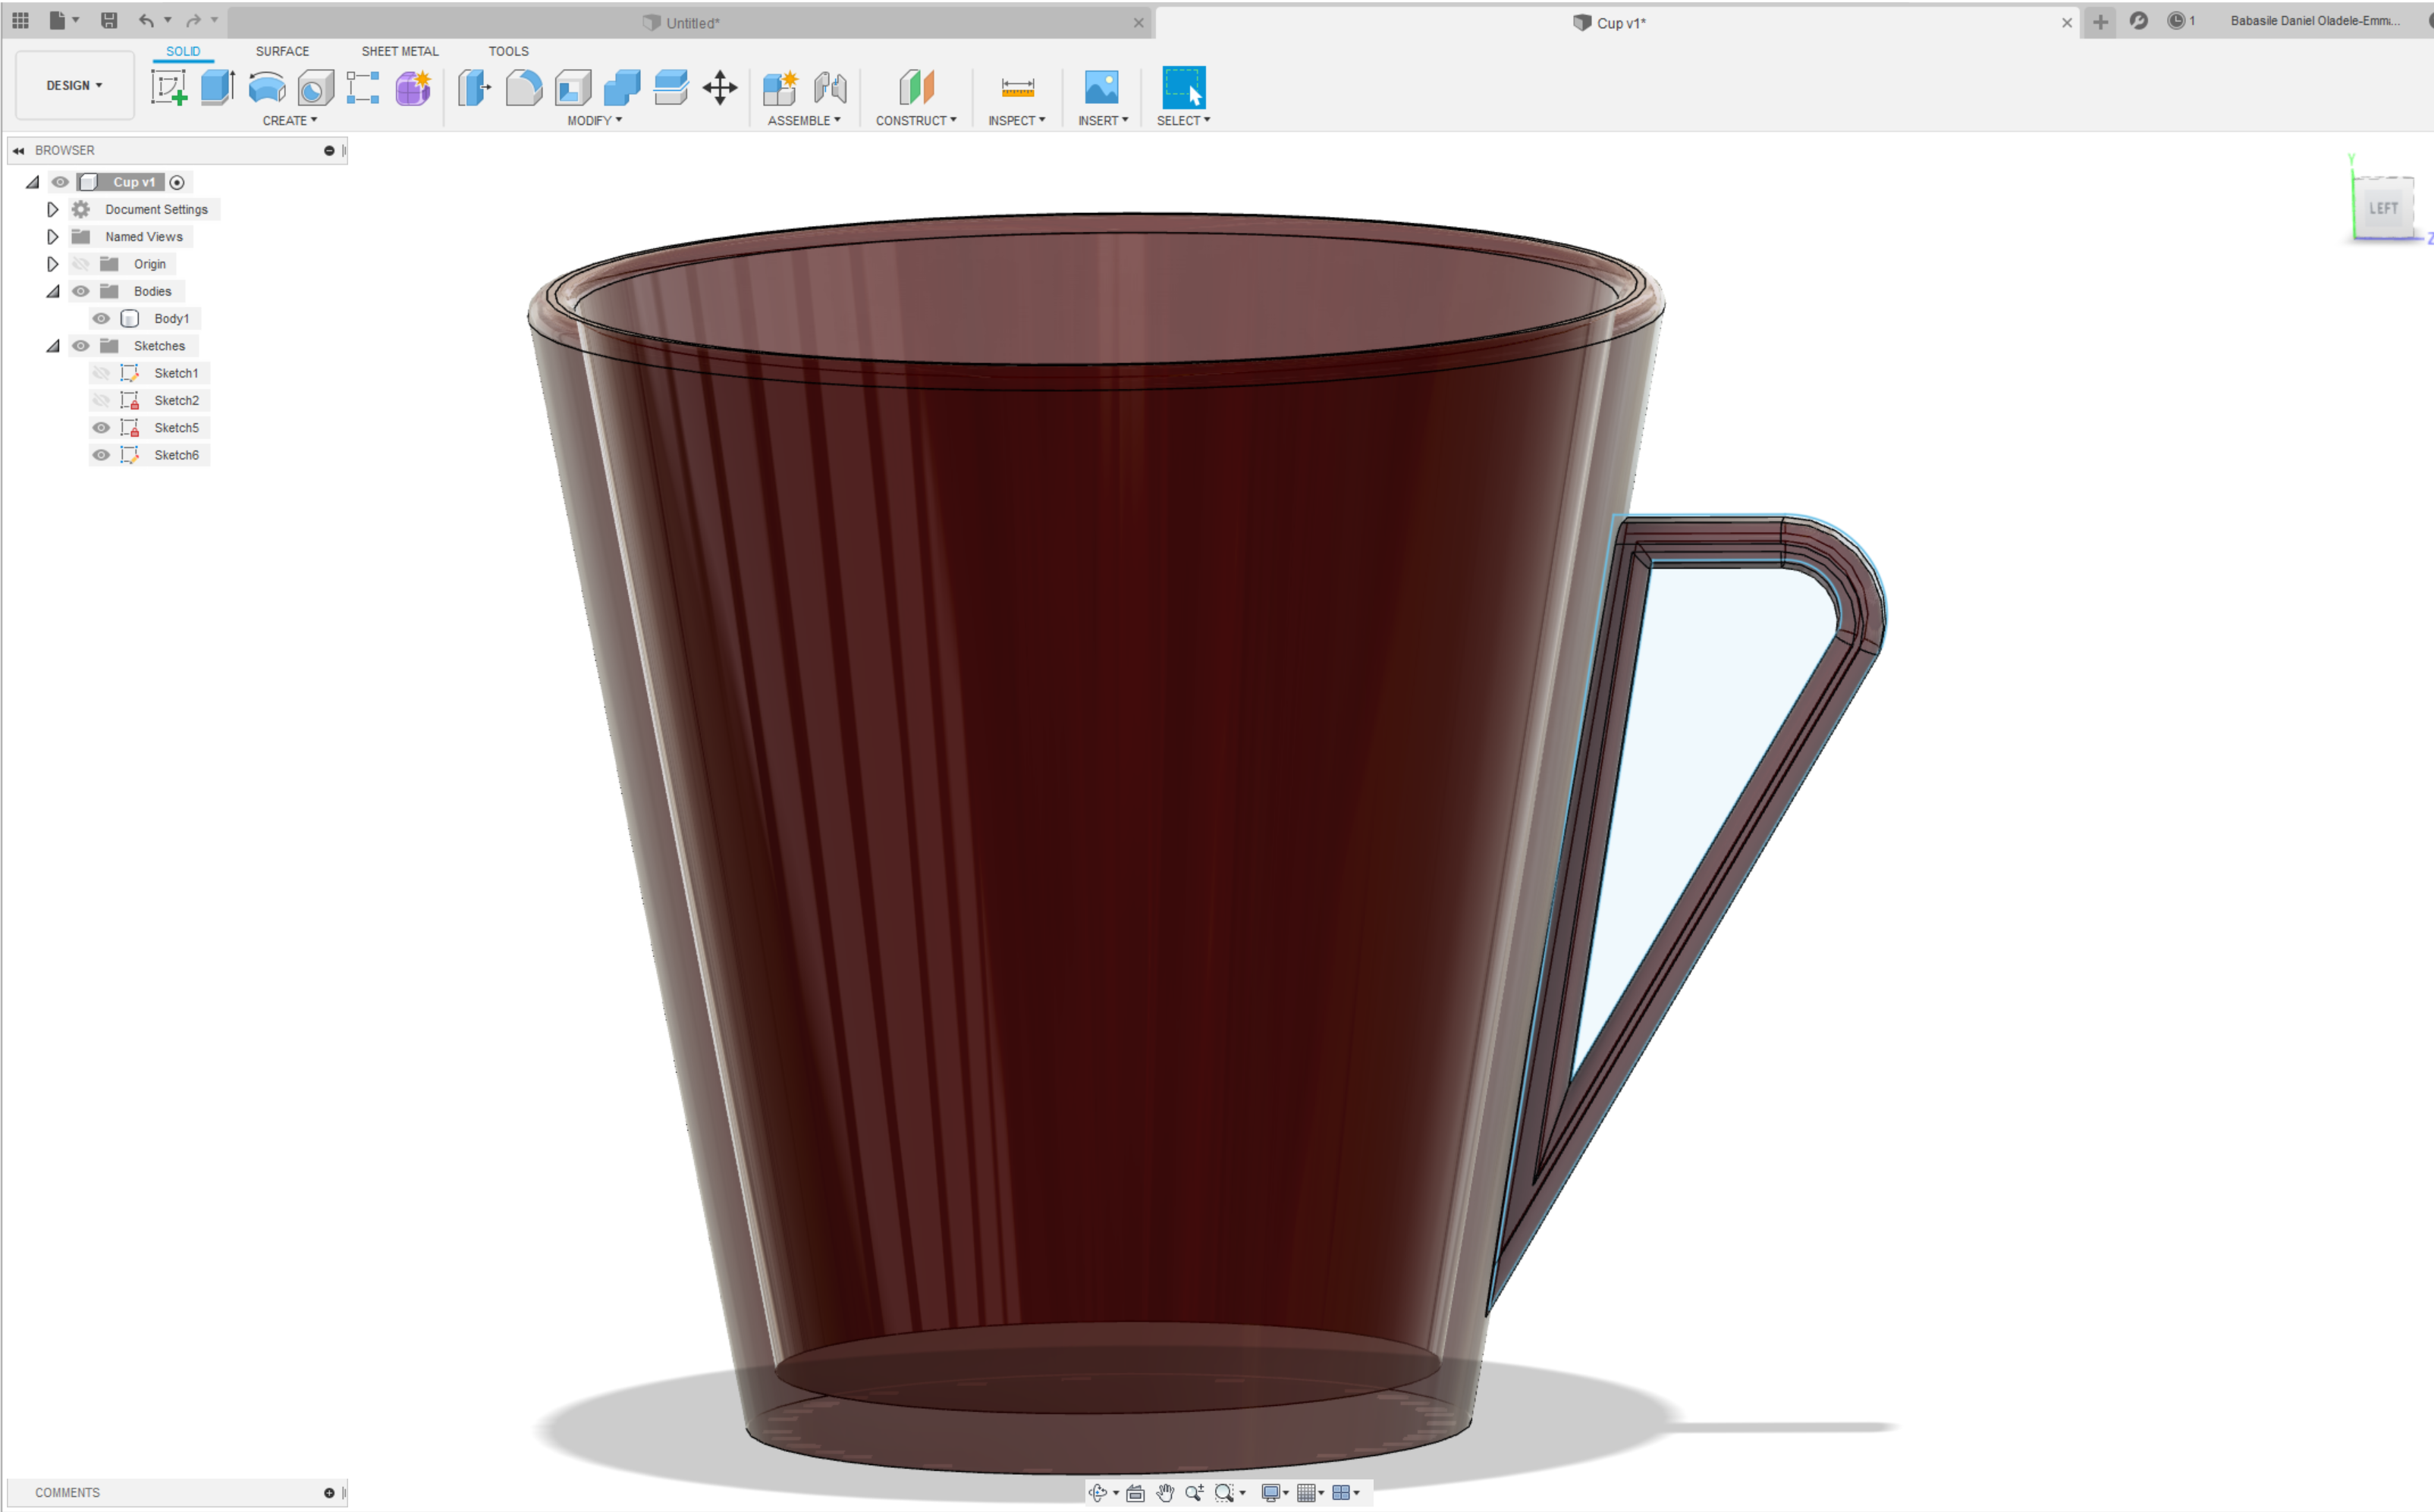
Then I created the handle.
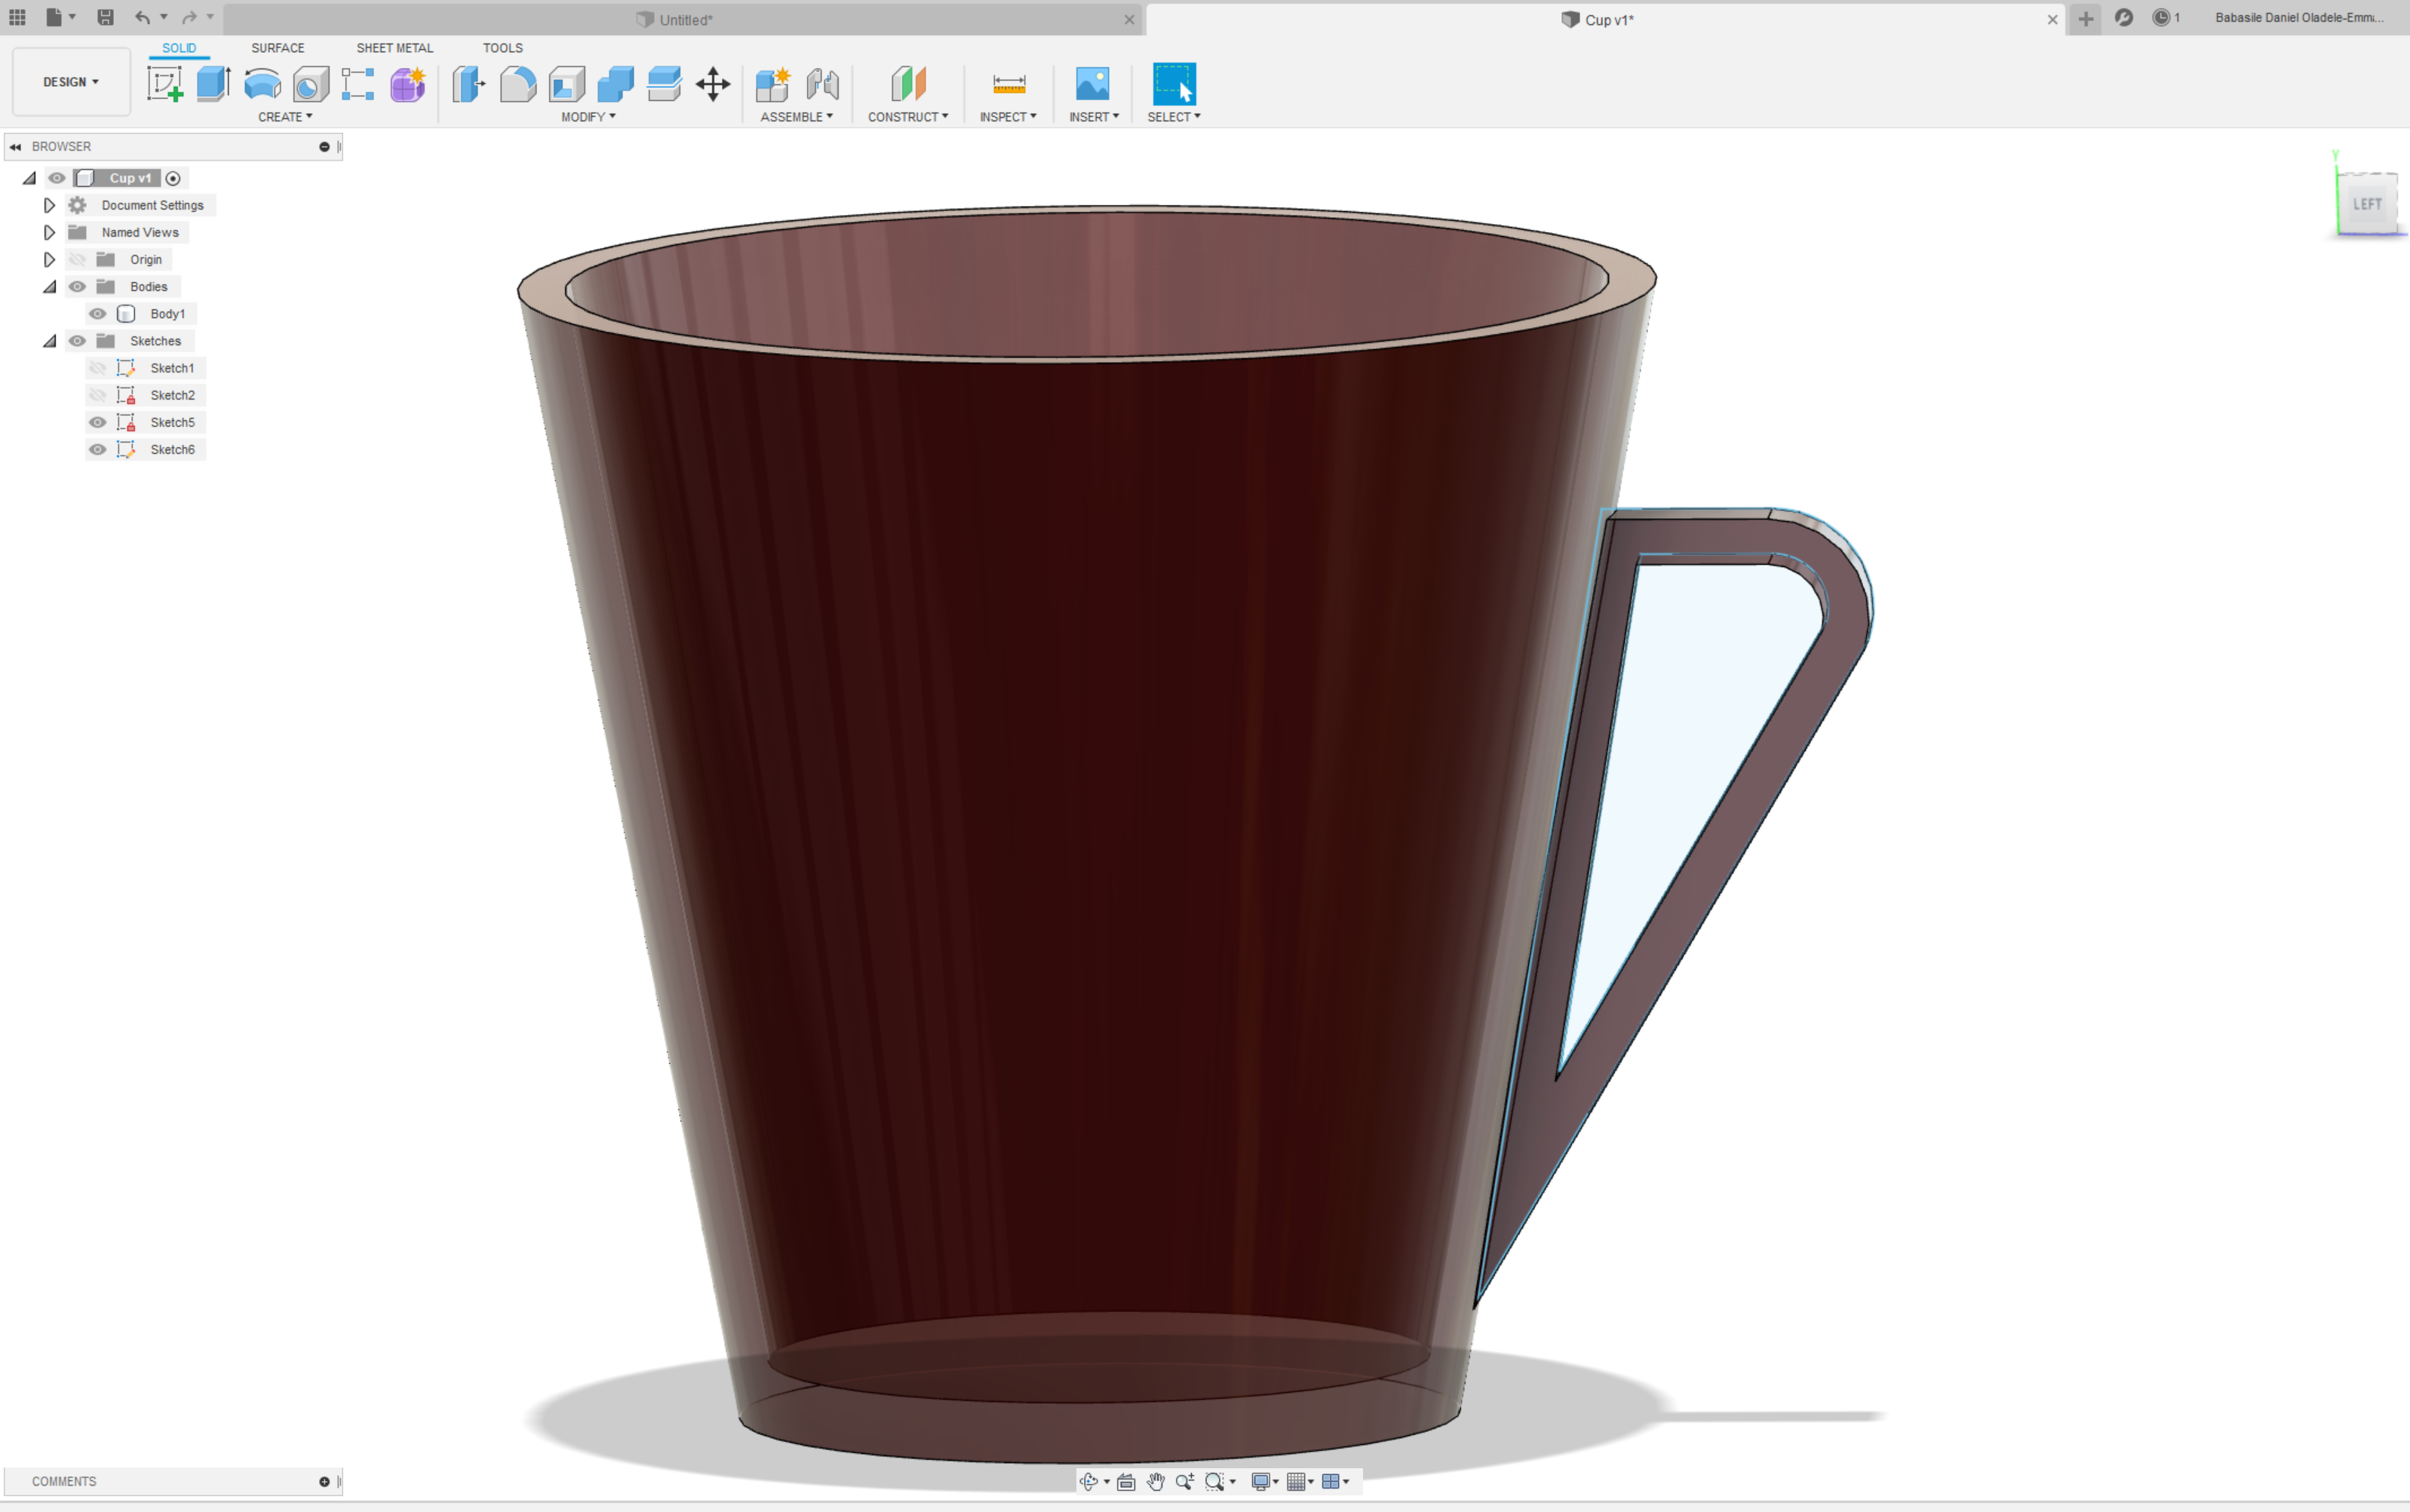
Lastly, I used a fillet to smoothen the mug.
To download the design please click on Download Files.
Slicing
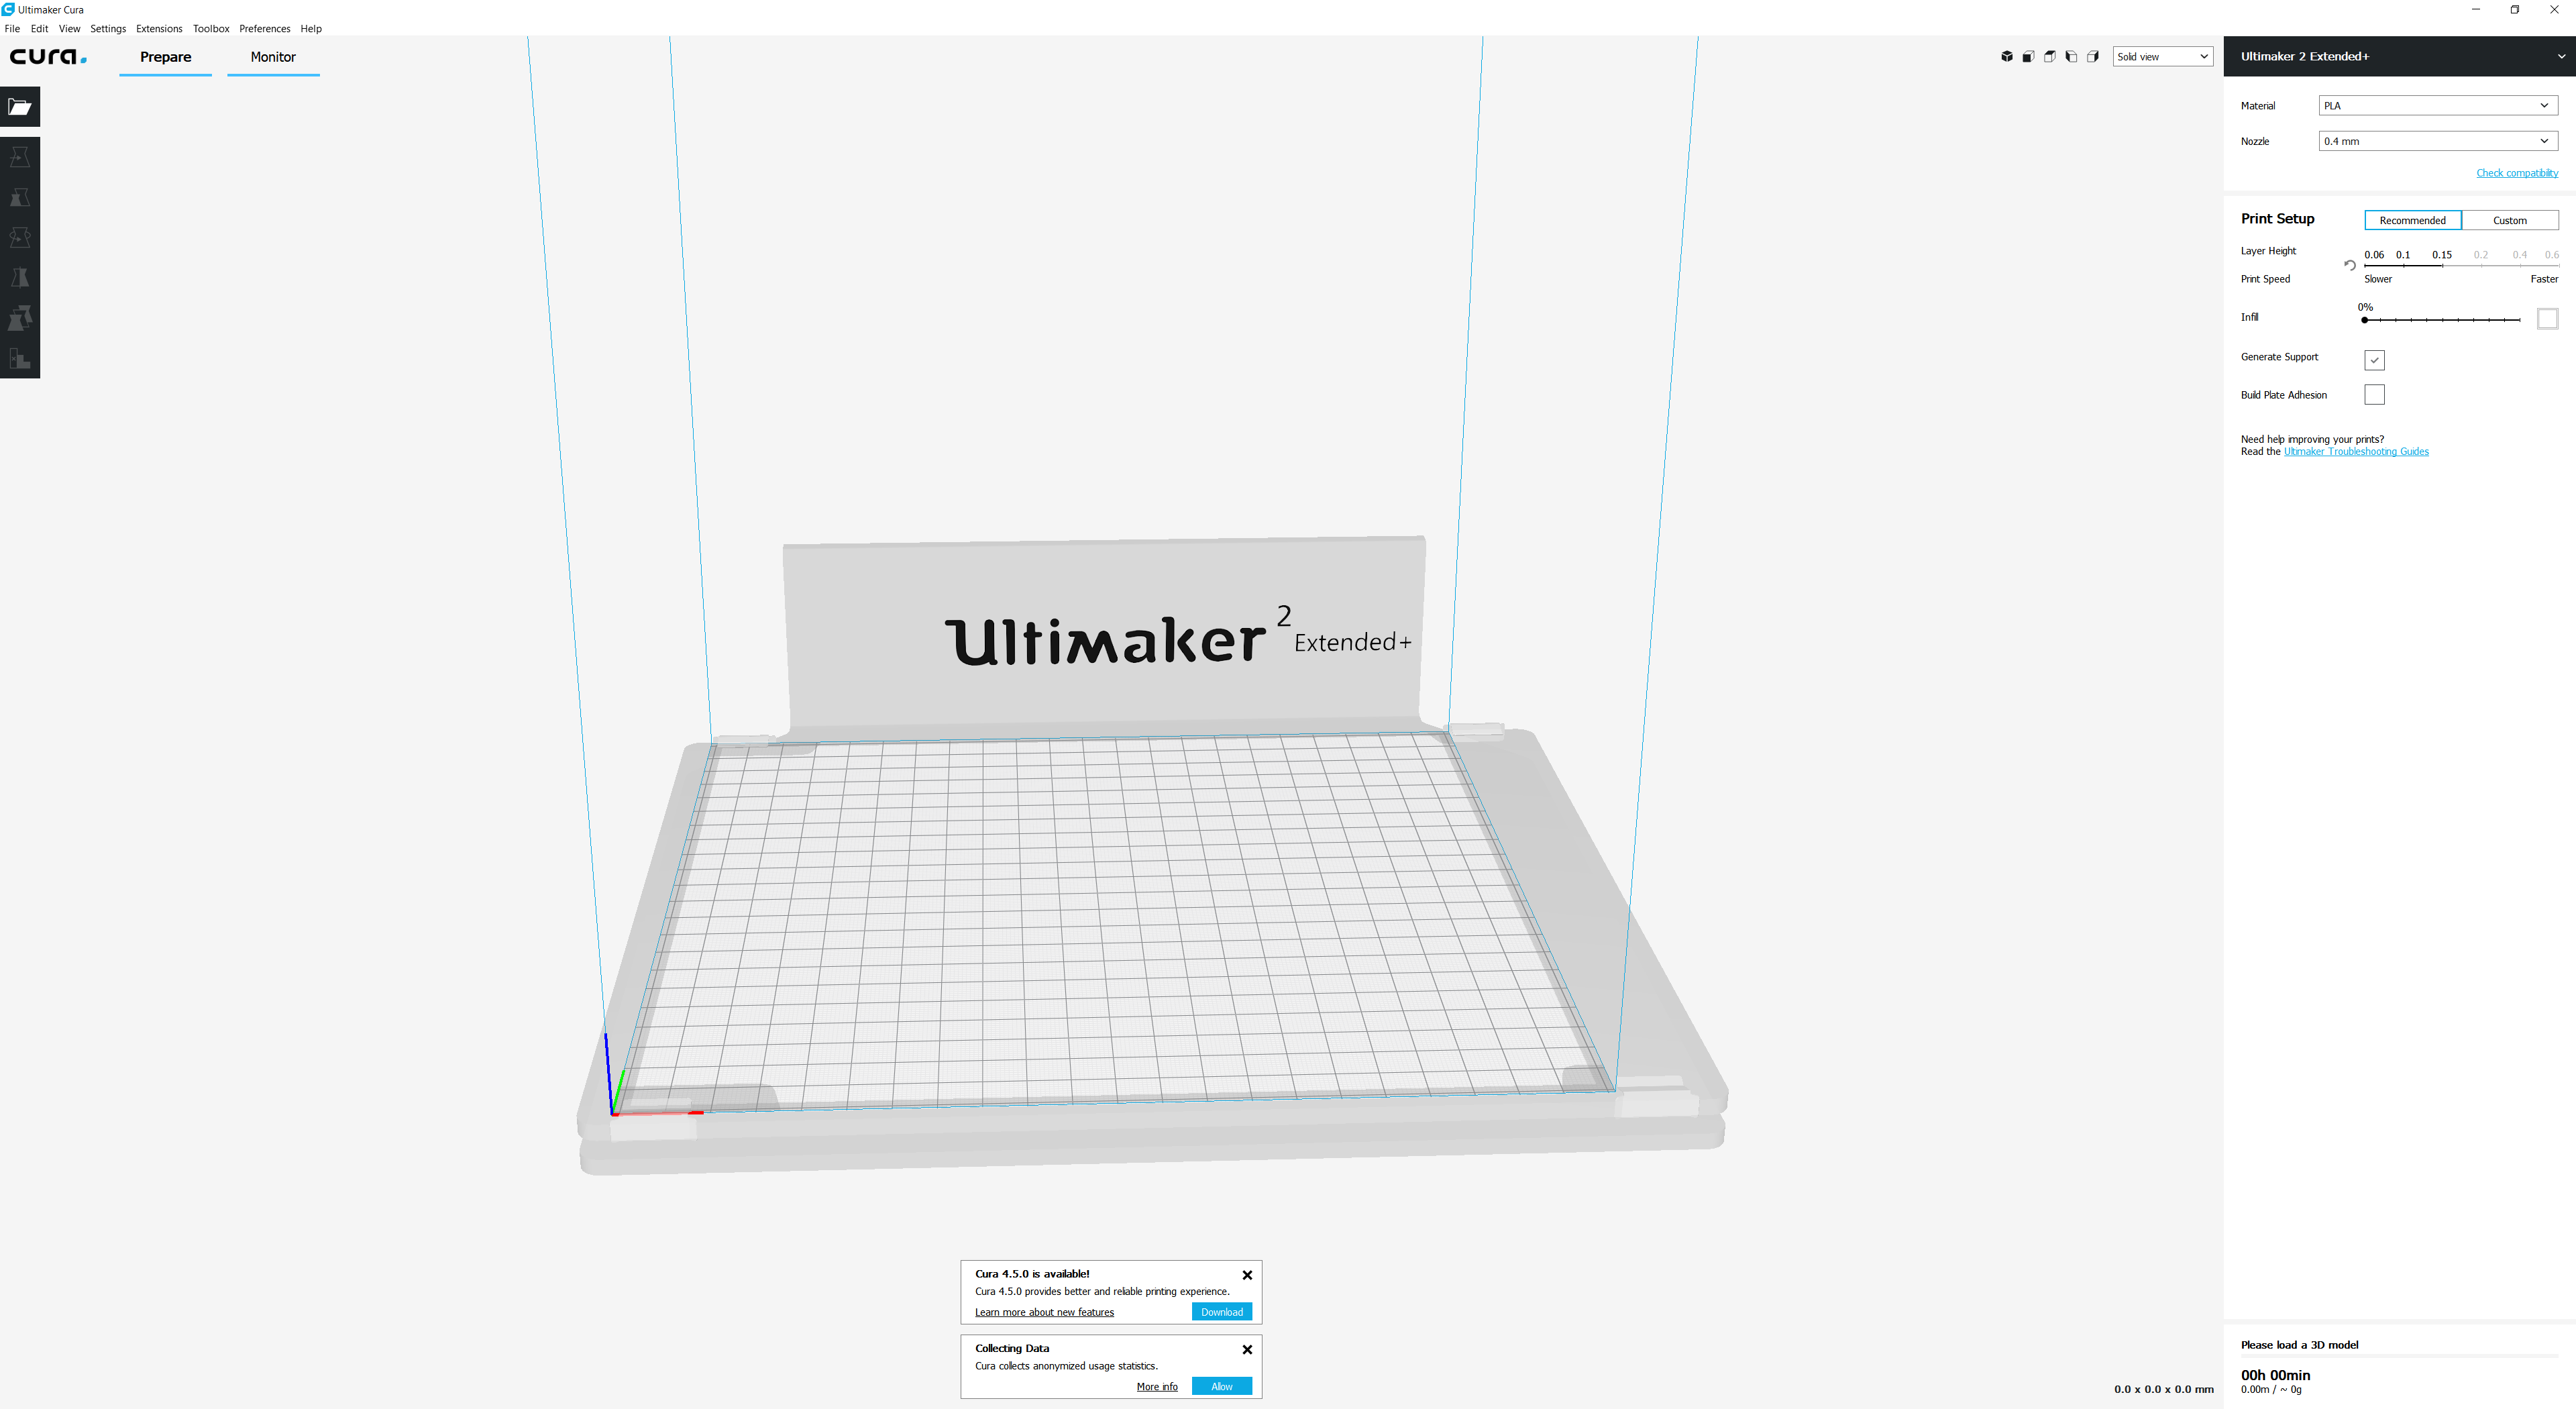
To print, I will use CURA slicer to print the design on Ultimaker. So the first thing to do is to download the cura software from the Website . After the download, you do not need a high school diploma to know the next step of action, which is to install. After the installation is complete, just open the version of the Slicer. As for me, I am using Ultimaker CURA 3.4.0 version. Which means my outlook might look a bit different from yours depending on the version you installed on your system. Mine looks like the picture below.
So now, you should setup the machine you will use. This can be done by clicking 'Settings', then 'Printers', then select the printer (Ultimaker 2 Extended+ in my case). Or you could simply just add a new printer by selecting the 'Add Printer' option.
To insert the STL file, you could use any of the two options:
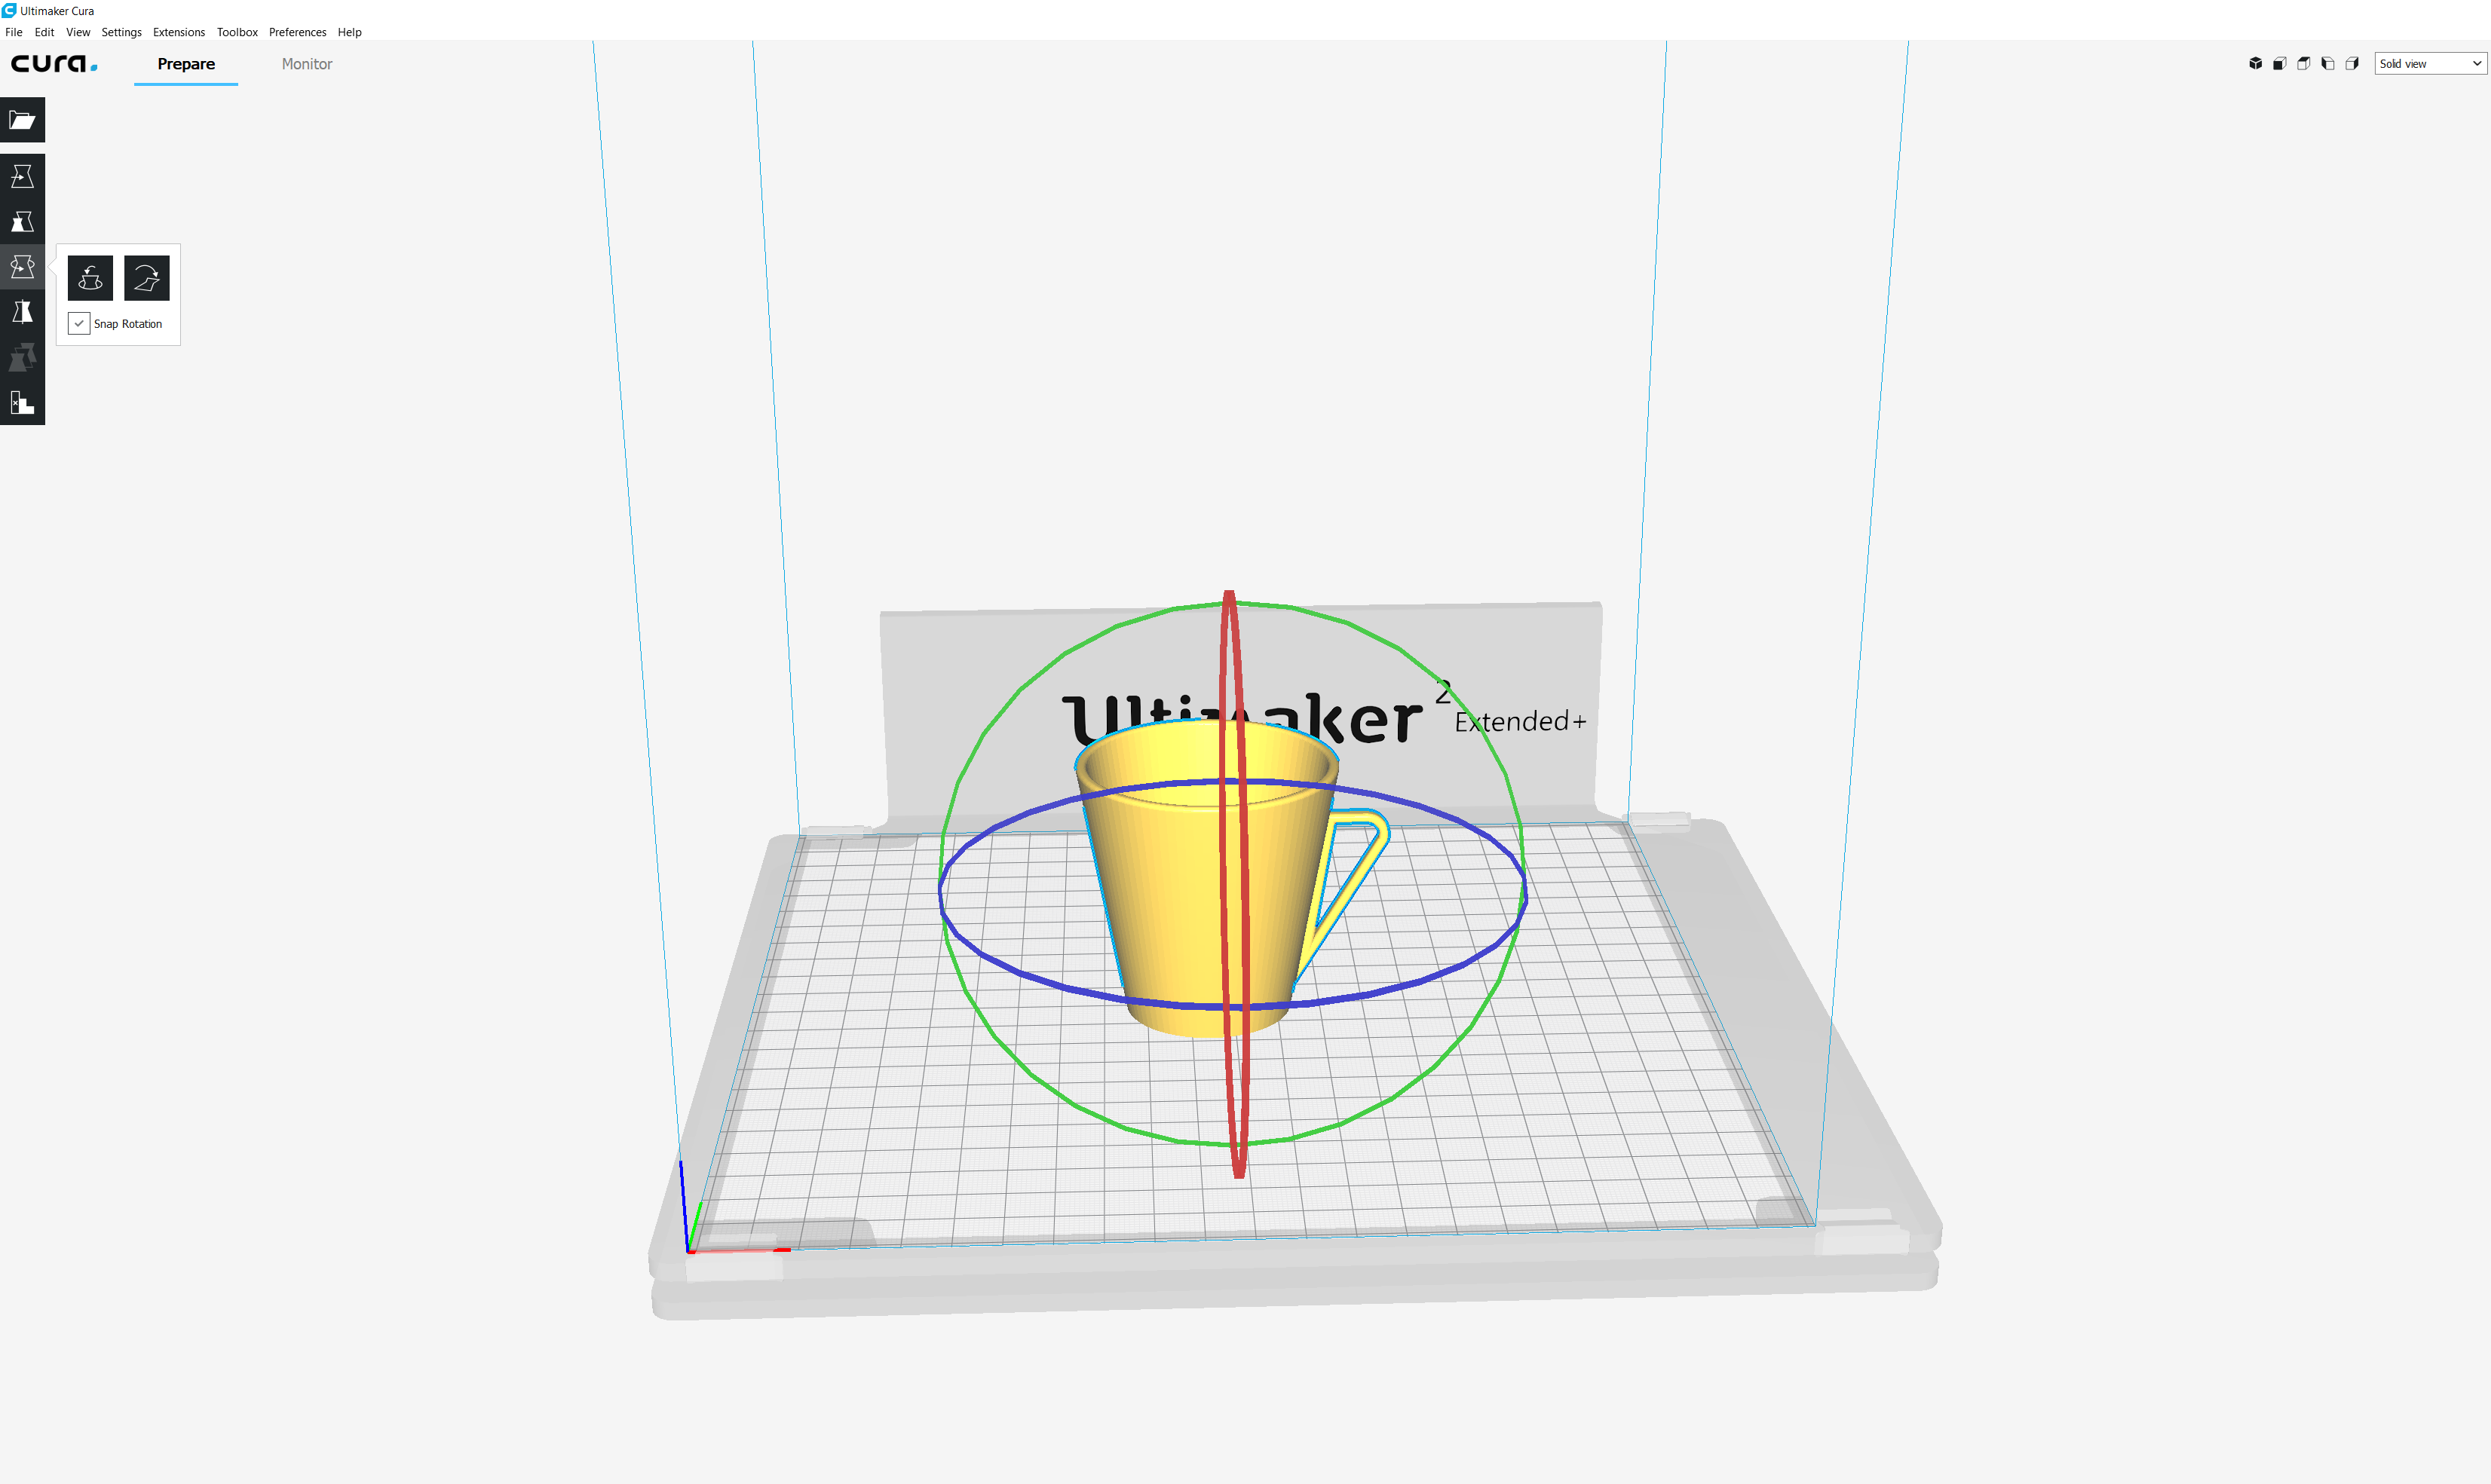
The Slicer should look like this illustration. This does not mean it should be exactly like the illustration.
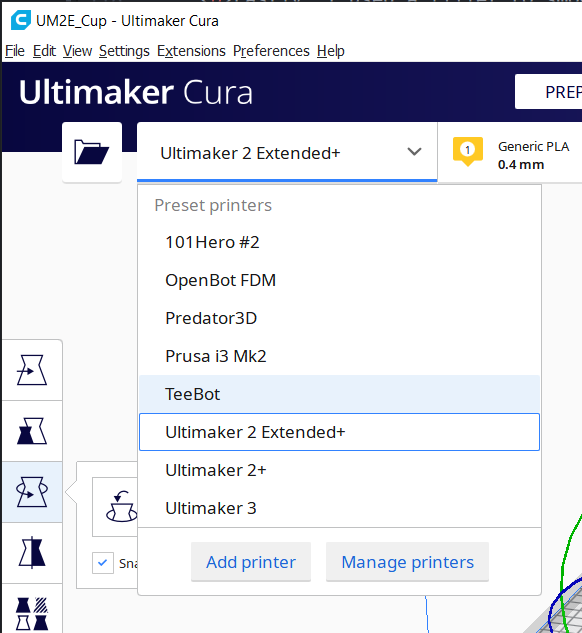
So after this, since there are many variations of the Ultimaker 3D printers at the OpenLab Hamburg, the next step of action for me is to select the printer that will be used to print the object. In my case, this is Ultimaker 2 Extended+. As can be seen in the picture below.
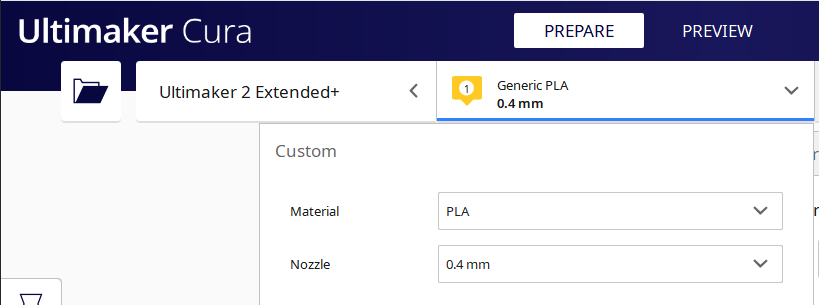
After this, the next thing I did was to select the type of filament I will use for the print. In my case I will be using the Polylactic acid, or polylactide (PLA) filament. Followed by the size of the nozzle of the extruder which is 0.4mm in diameter.
Then I rotated and rearranged the design by clicking the third menu on the left hand side of the picture depicted below.
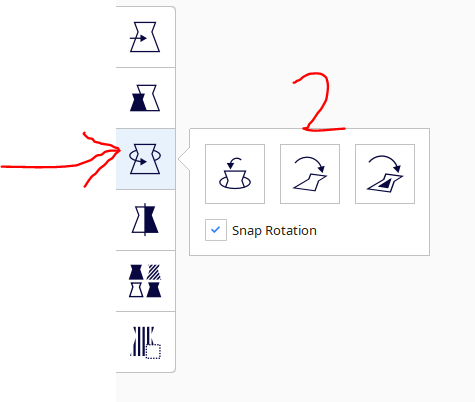
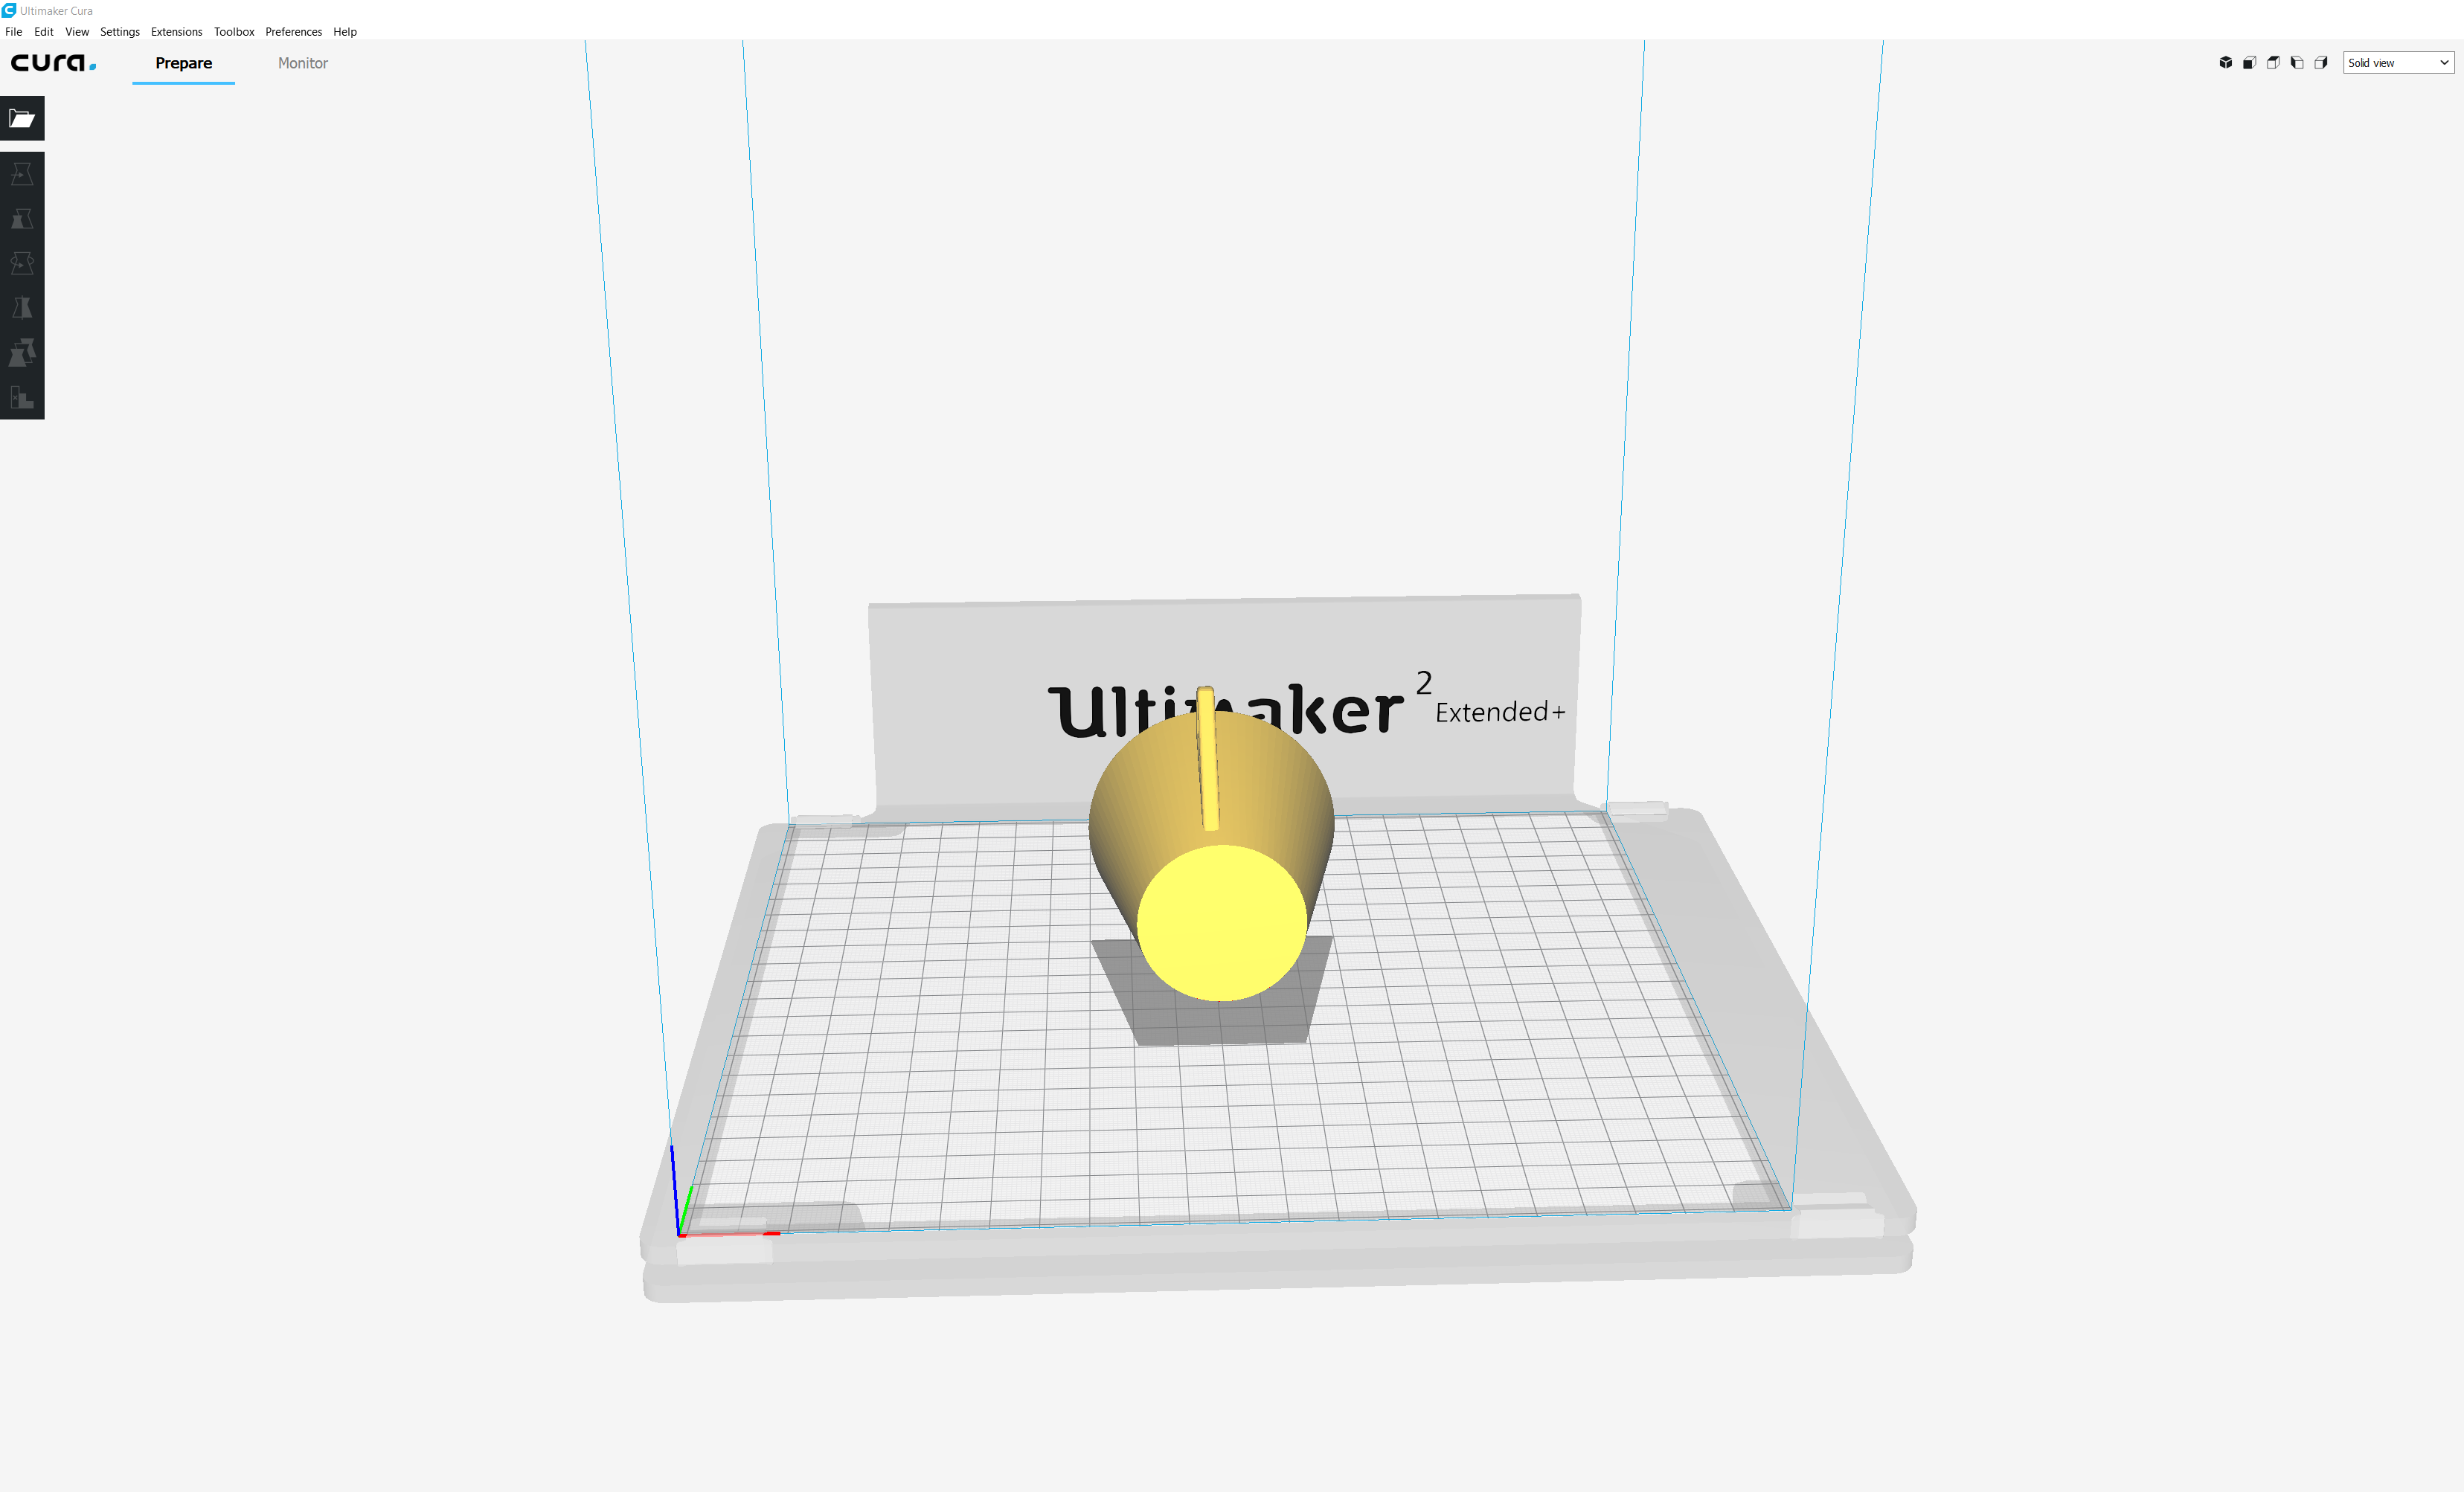
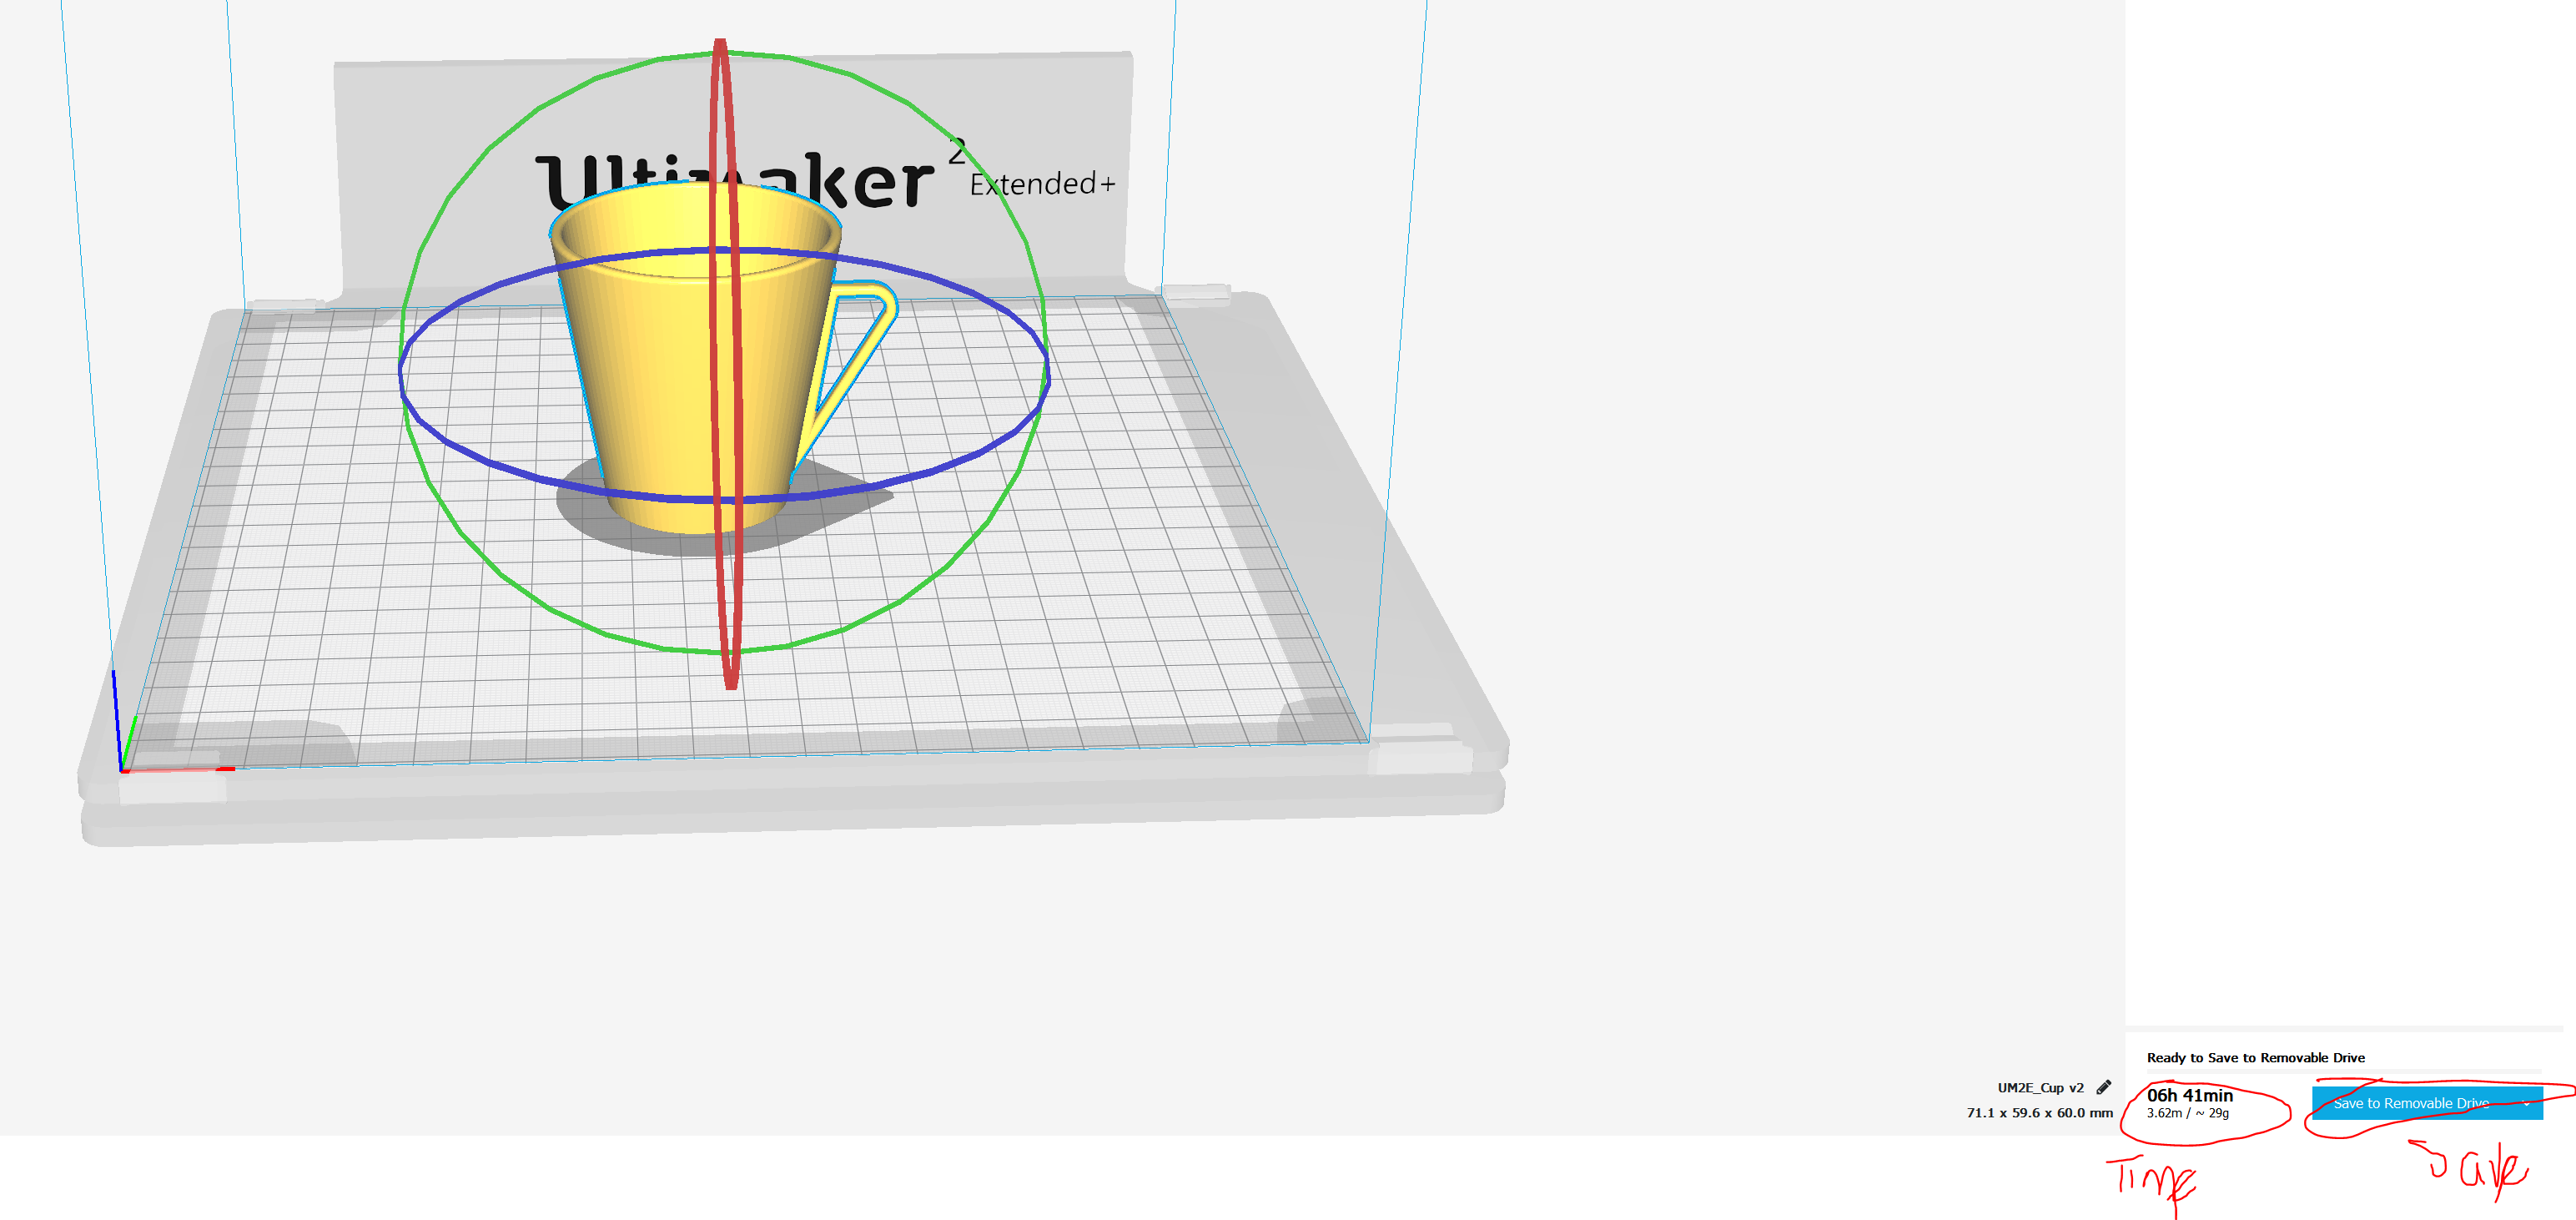
To rotate the object, you simply need to grab the circle depending on the axis you would like to rotate from. In my case, this is along the X-axis which is the circle coloured red. After this, you have to select the button number 2 'Lay Flat' in the picture above to ensure that the object is well seated on the buildplate. After which you should have a perfectly seated object as depicted in the picture below.
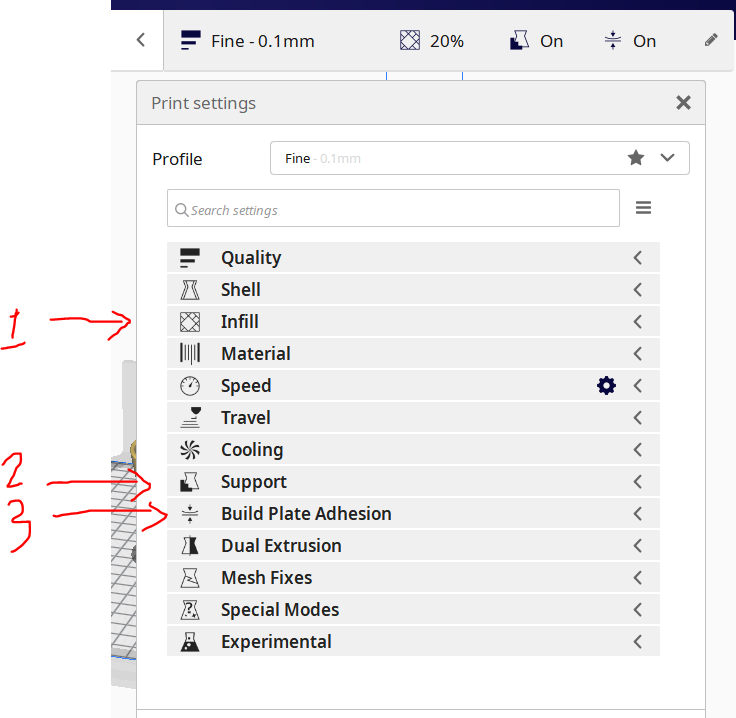
The next thing I did was to set the print setting parameters. According to the picture shown below (Infill, Support, and Adhesion), three areas are looked at in the print settings. The remaning parameters were left in their default settings.
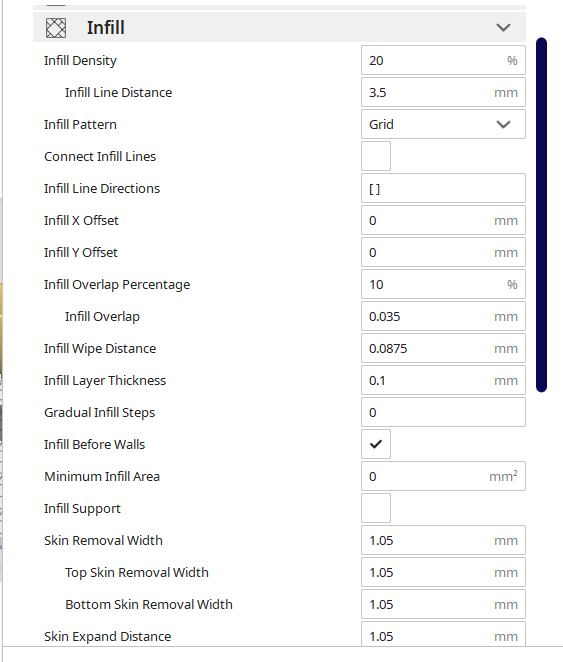
The other part after this is the Infill, which shows whether you want the design to be hollow or solid plastic. If you want a solid plastic, then what you need to do is to increase the infill to 100%. However, you should be aware that this exponentially increases the print time of the file. So if you want a fast print, then you should reduce the infill. I mostly stick to 20% depending on the usage of the design.
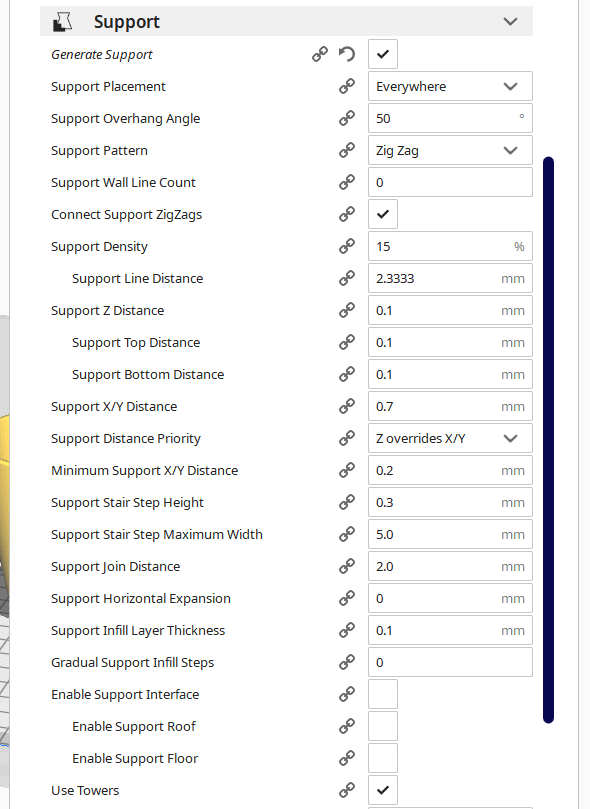
The other thing to also note are the checkboxes 'Generate support' and 'Build Plate Adhesion' which I ticked because based on the design, by the top of the handle, the printed object will require a support to have a good print. However, most people do not like cleaning the printed design after printing. Hence, the reason they sometimes uncheck the generate support. The parameters used for the printing can be seen in the picture below. All I had to do was to select 'Generate Support', then I used all other default parameters that came with the option.
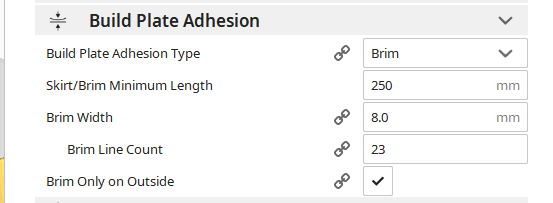
After this, I selected that the printed object should have an adhesion that ensures that the printed object is stuck on the build plate. This can be seen in the picture below. After this the next thing to do is to click the 'Prepare' button (labelled number 3 on the illustration).
After clicking the 'Prepare' button, the slicer will calculate the amount of time needed to print the design. In my case, it would take 6 hours and 41 minutes (See picture below). So after this, you just need to save it either as a file or on a removable Drive.
Another thing I omitted is that you have to select the type of Material you are using on your machine (It is PLA in my case), but you have the option of ABS, CPE, Nylon, TPU, PC to name just a few. Also, ensure that you entered the right nozzle size.
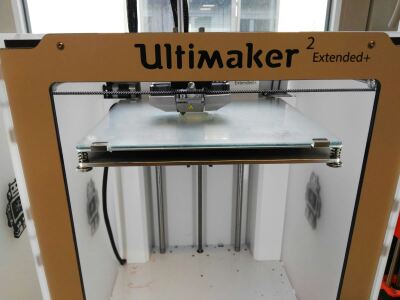
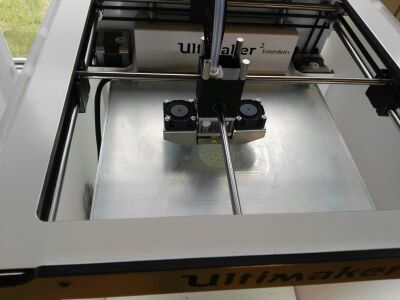
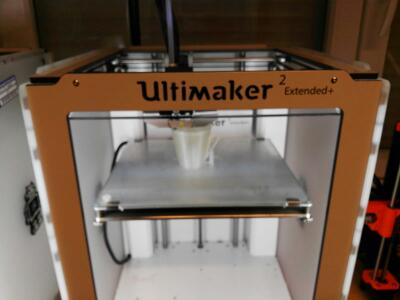
Just so you know, I have started the print on the Ultimaker 2 Extended+ machine. I will probably get the outcome by tomorrow morning and update the repo as soon as it is ready. For now, we can move over to the 3D scanning.
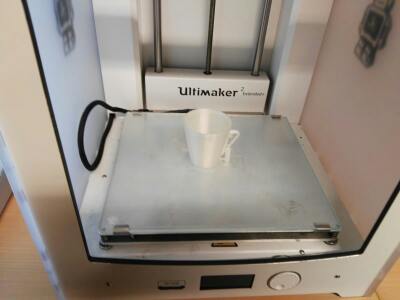
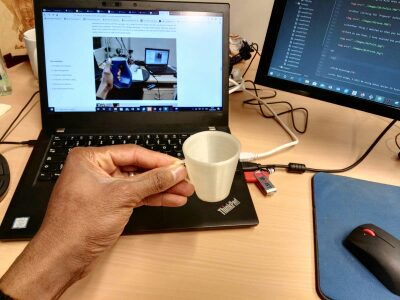
My Tiny Espresso cup is ready for service. Unfortunately, I am not a fan of coffee!
3D Scanning
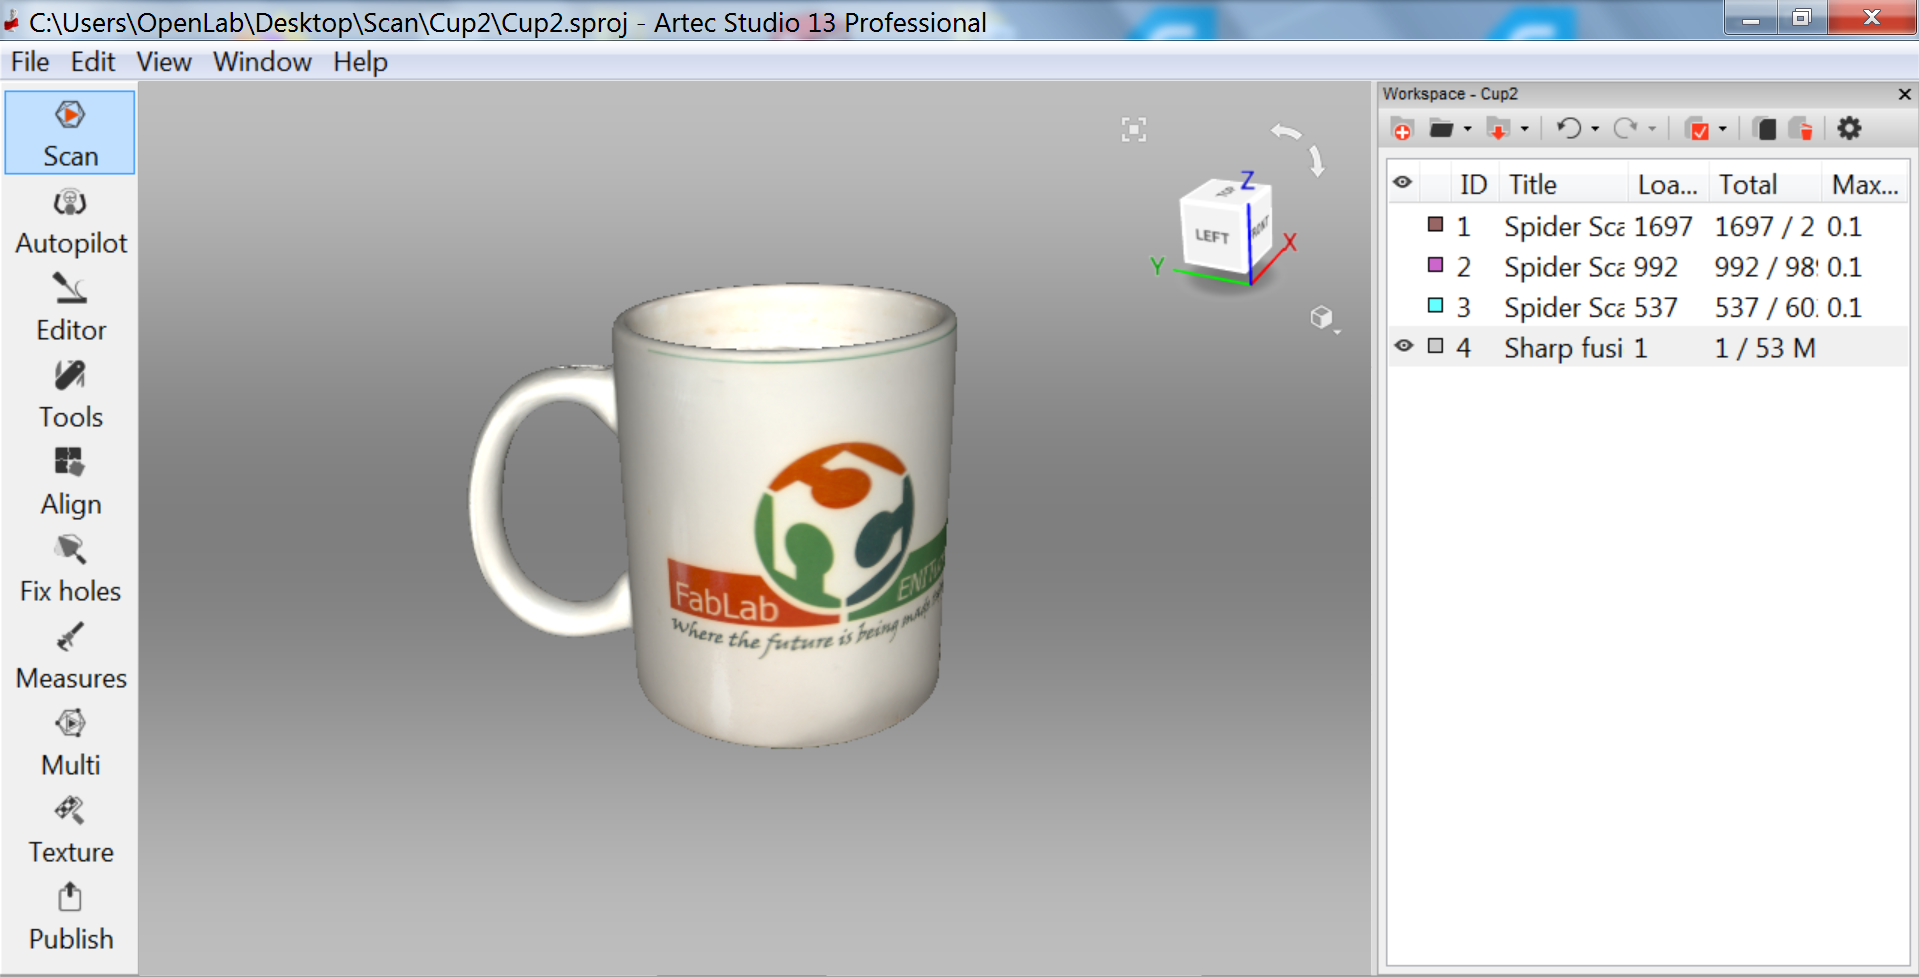
For this stage, I will be using Artec Spider 3D Scanner. You can check the specification of the scanner on this Website. In addition, I also used this Youtube Link to aid adequate learning. So some of the processes I followed can be found by listening to the Youtube channel.
The software used for this 3D scanner is 'Artec Studio 13 Professional'. Unfortunately, it is a commercial software and it comes with the package. So in order to turn an object into bits, you have to connect the object to the computer. Then launch the software package, in my case 'Artec Studio'. After this, what you have to do is place the object to be scanned on a rotary platform, this will ensure that the object can be easily rotated so as to capture all useful angles.
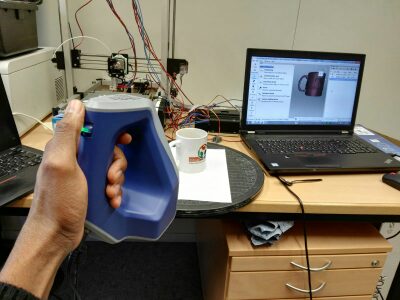
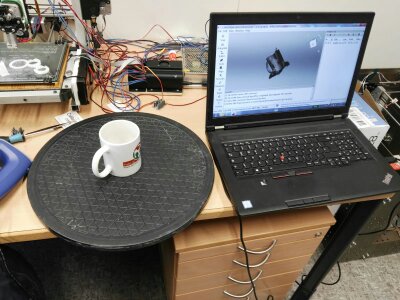
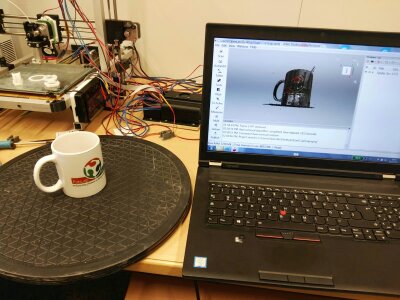
To scan, ensure that the scanner is perpendicular to the object to ensure proper scanning. Also, scan the object from two or more different angles to capture the full object.
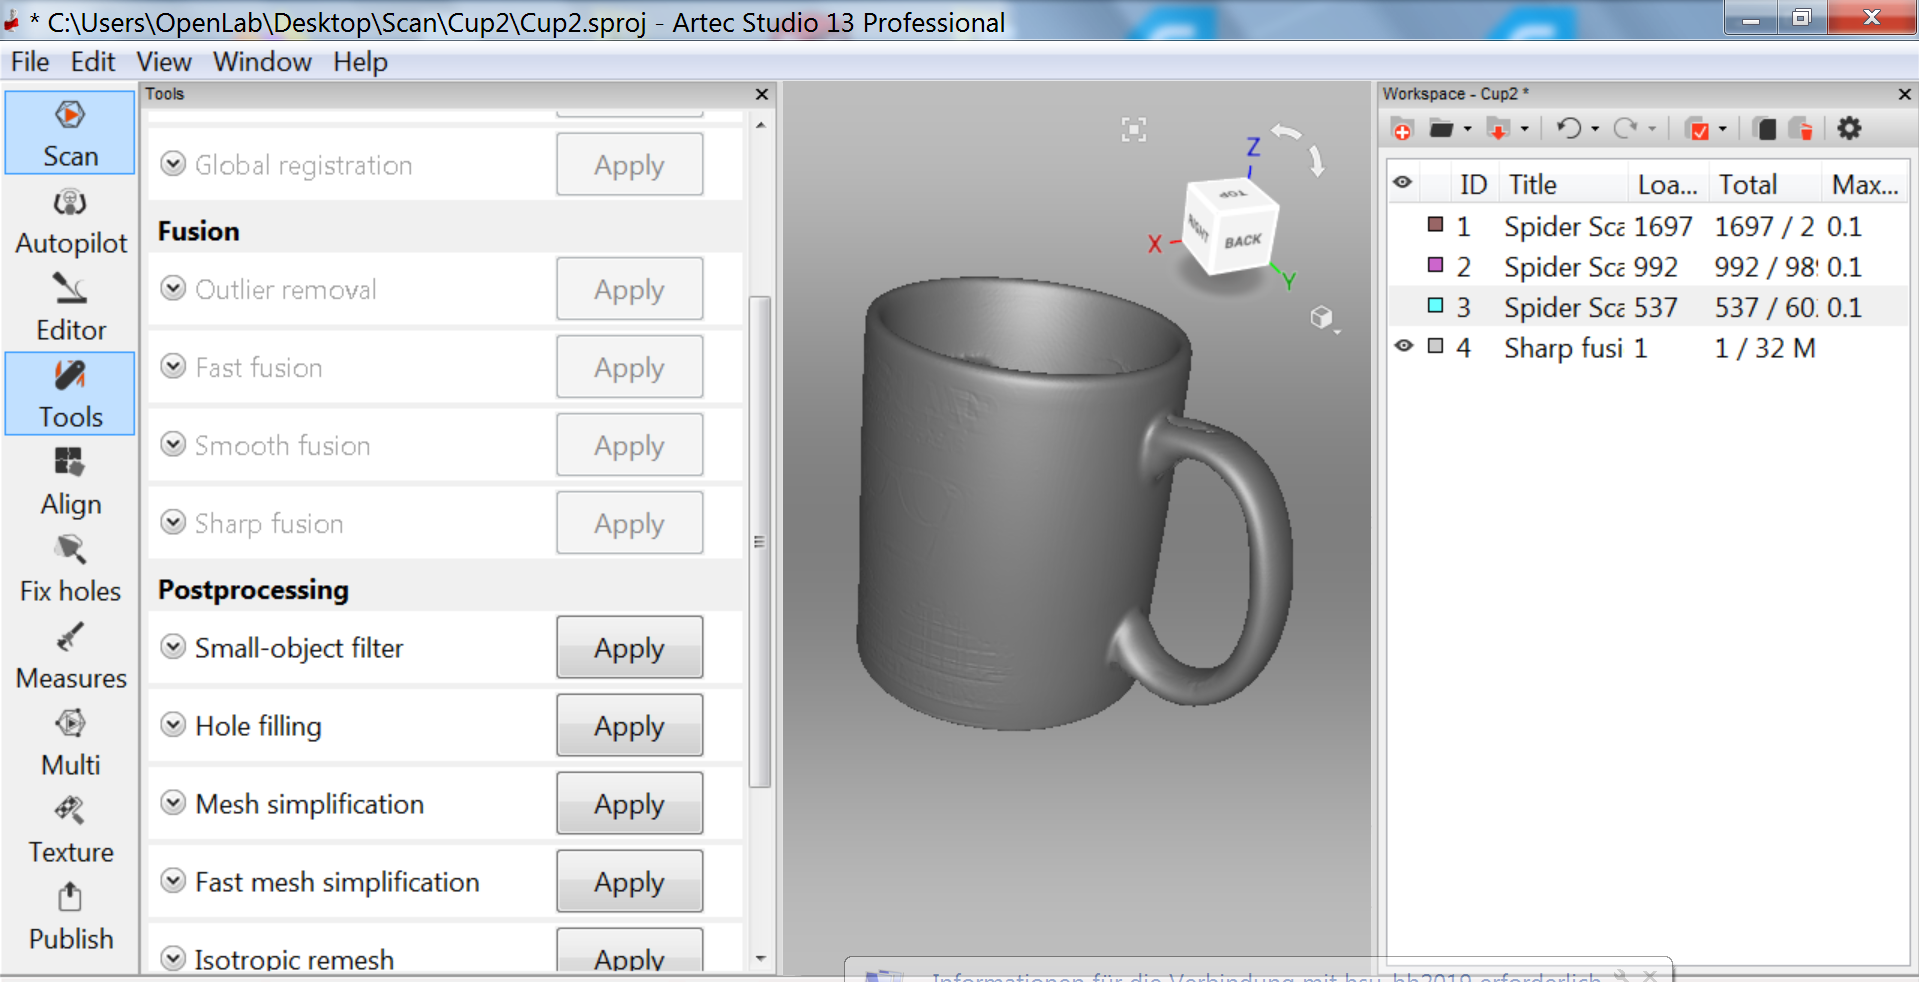
After scanning, what I did was to remove the base of the rotary platform. This was done by going to the 'Editor' menu, selecting the angle or orientation of the object. Then I clicked 'Erase' to remove the unwanted section.
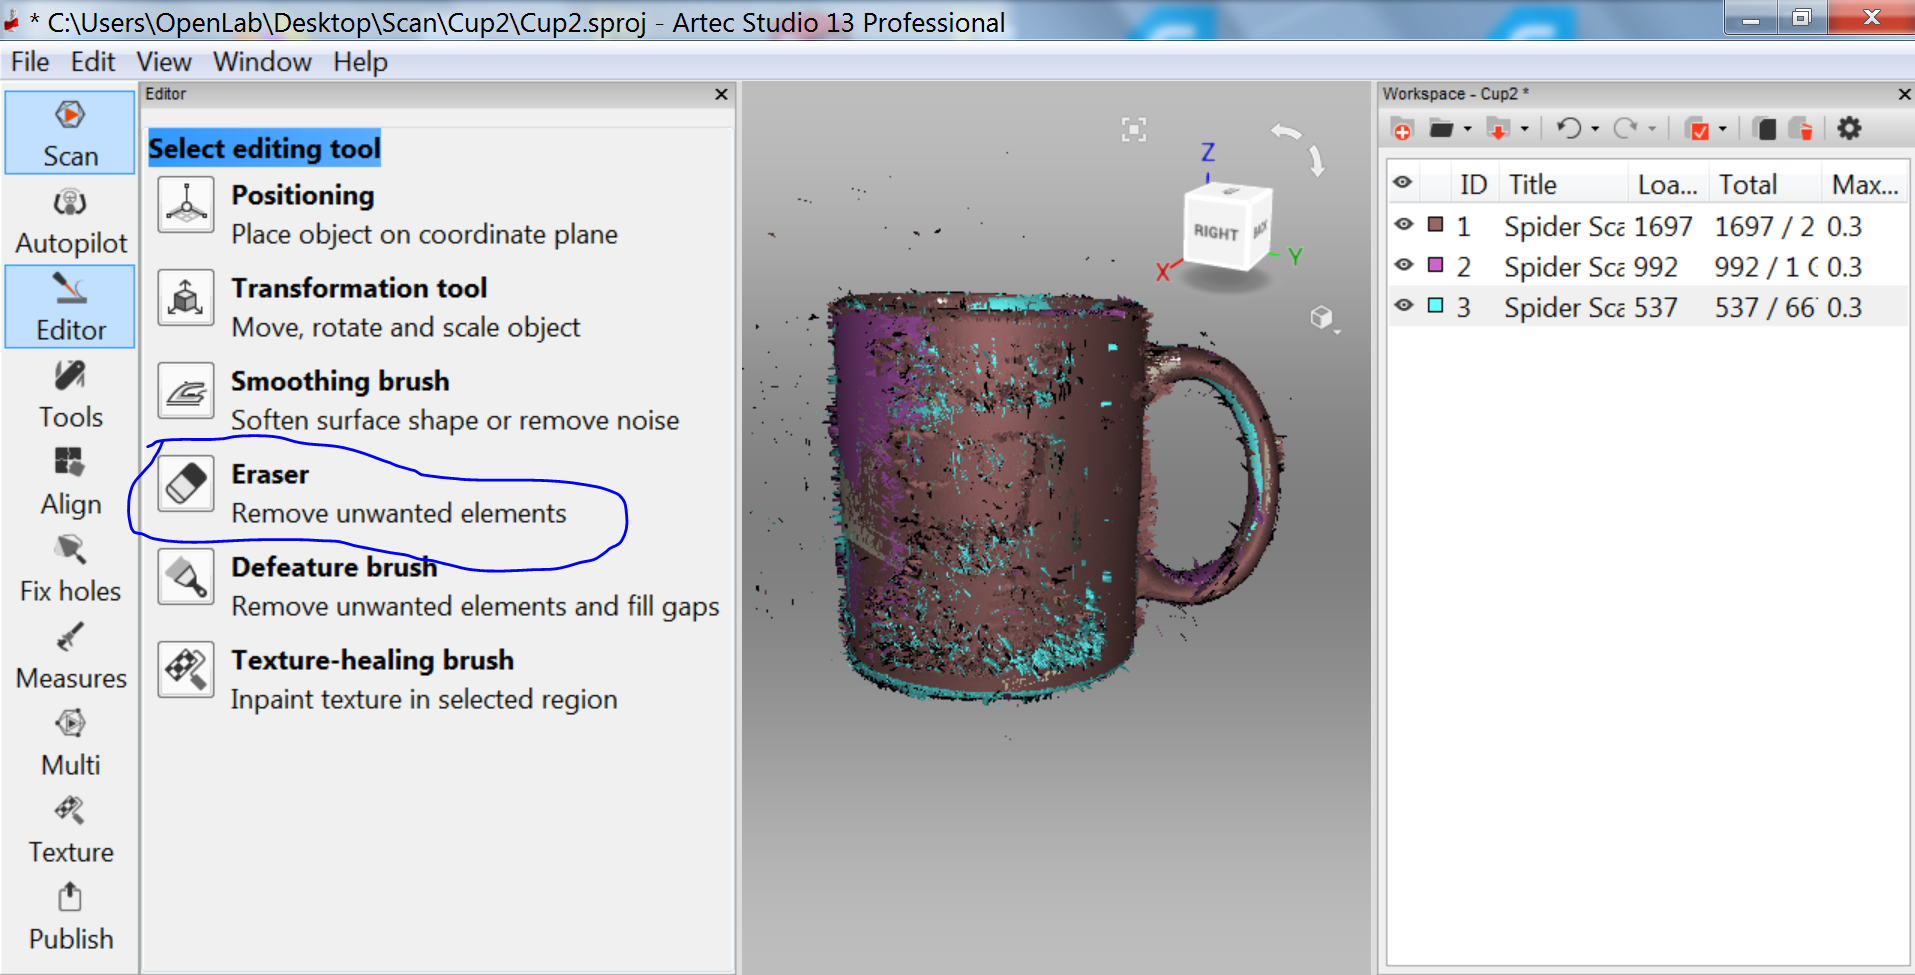
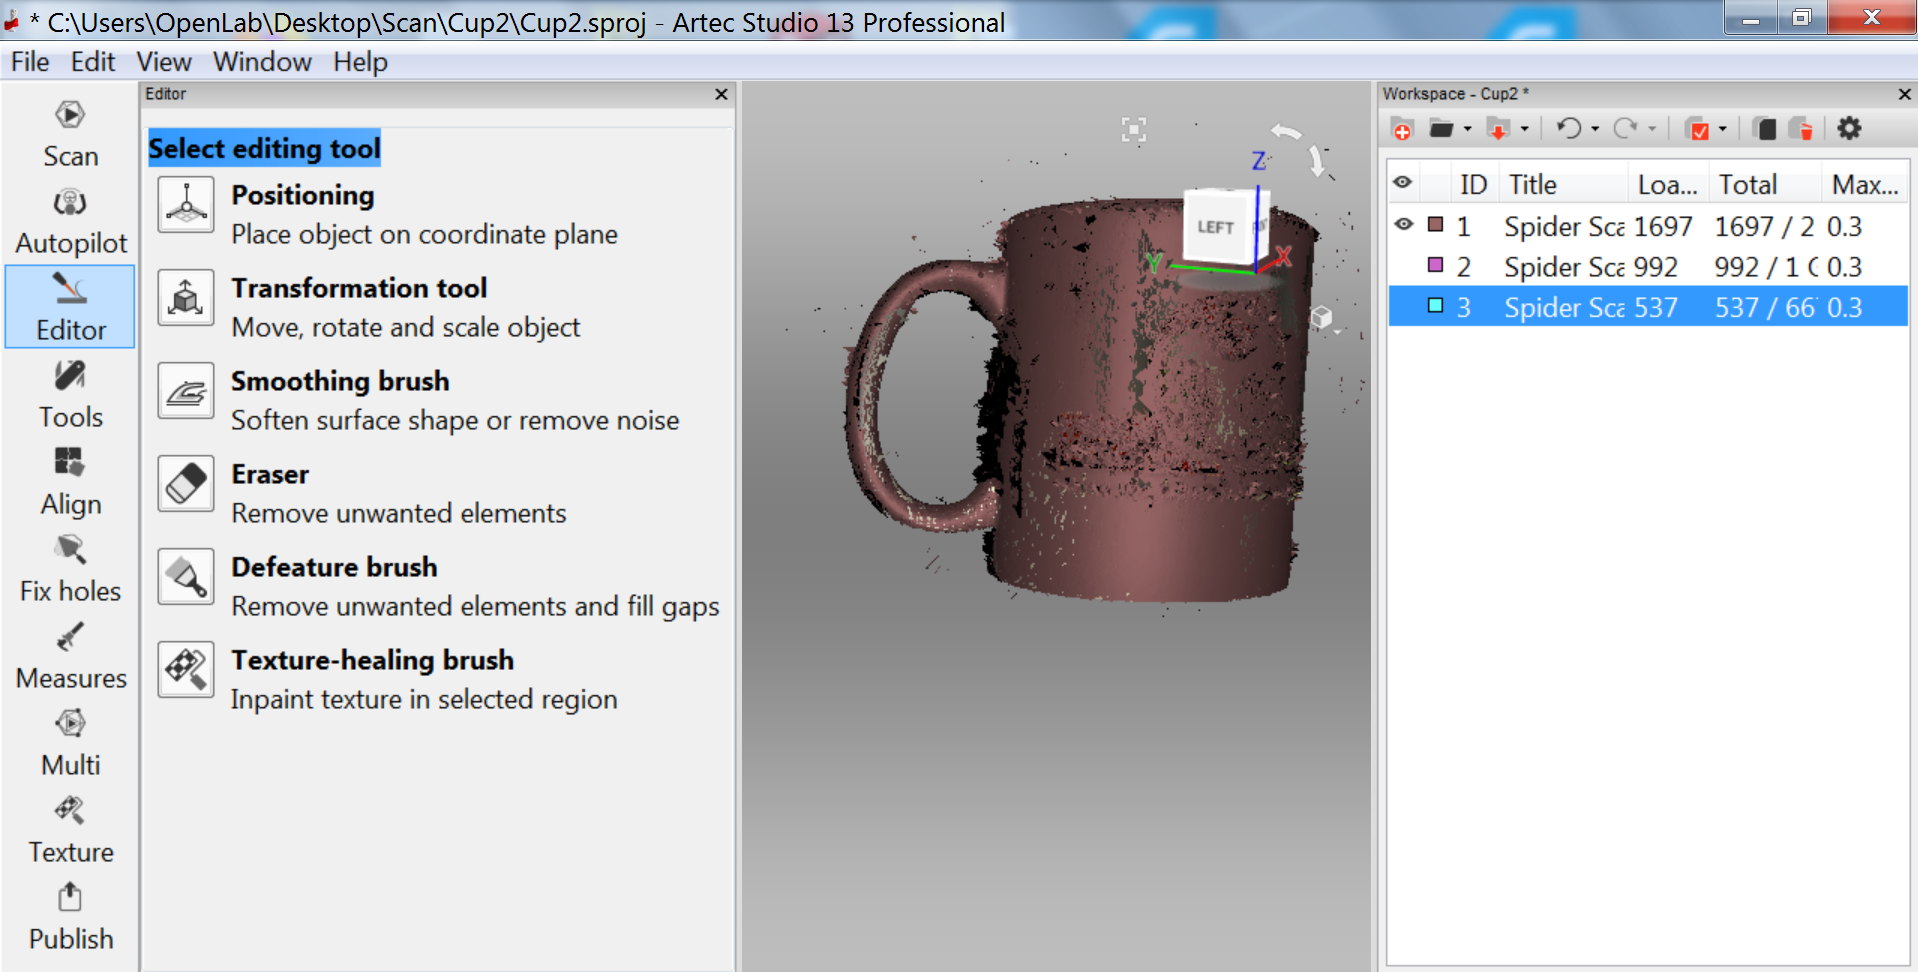
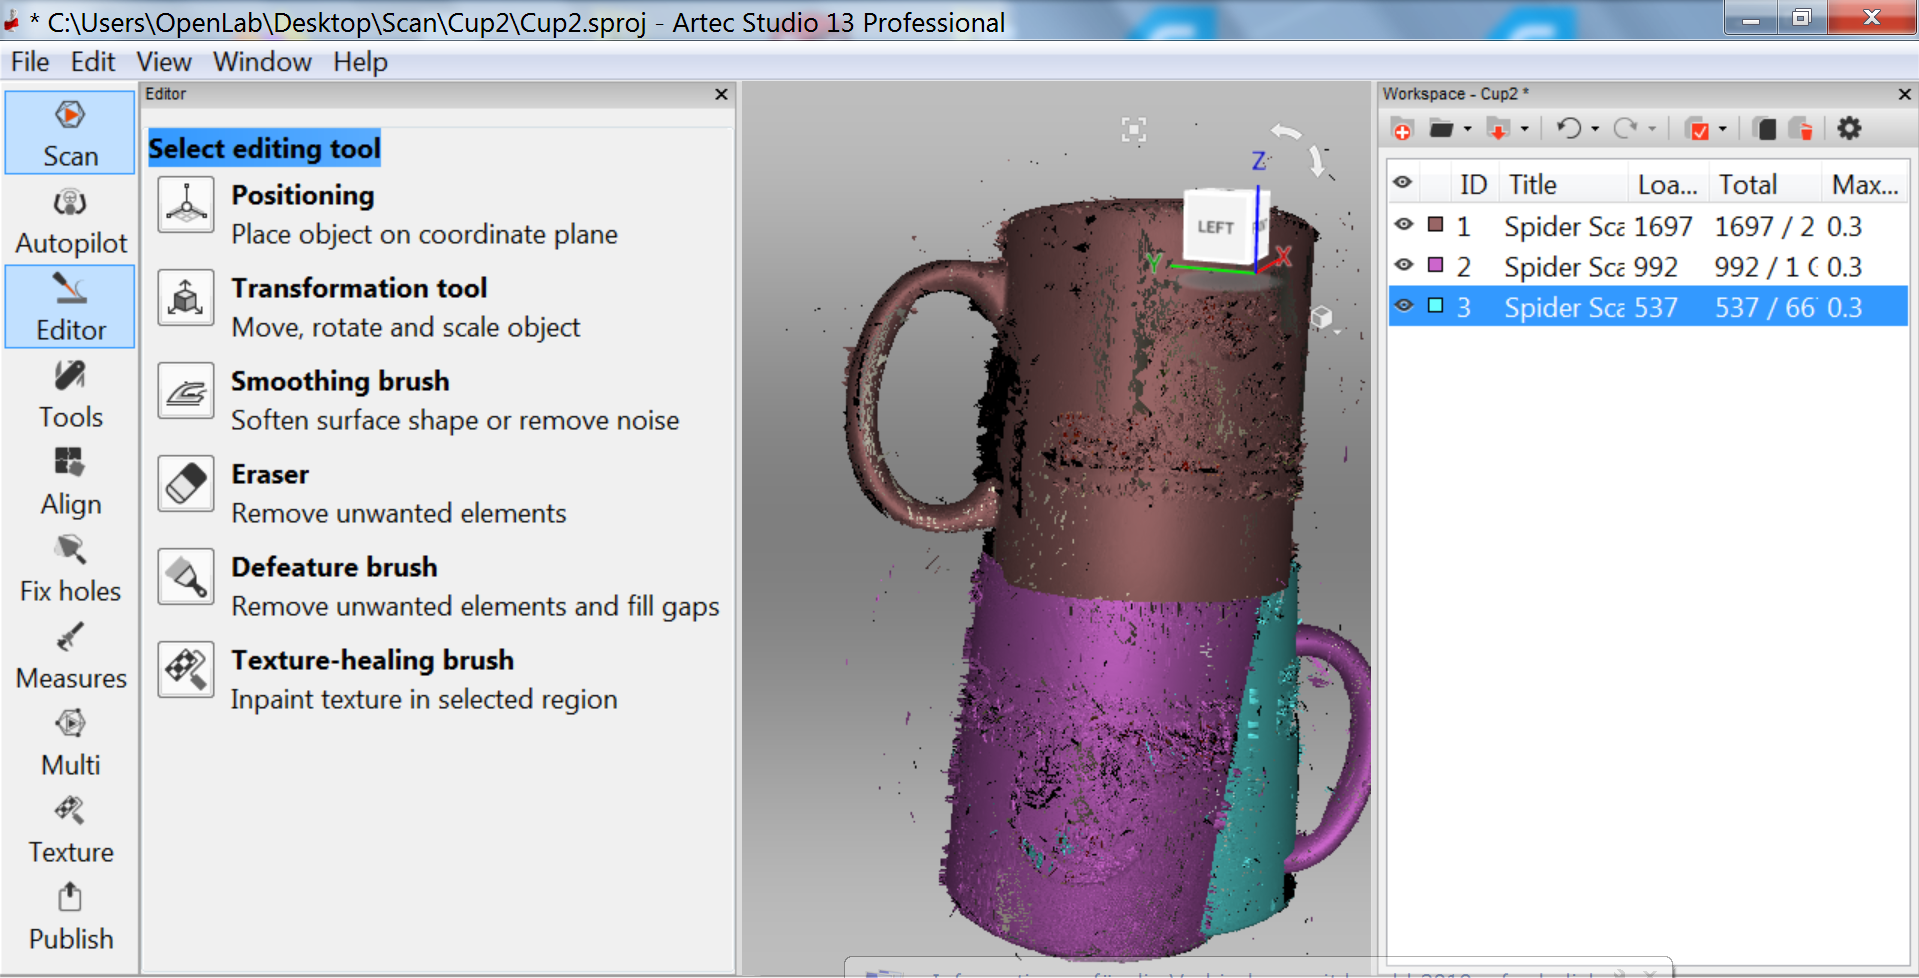
After this, I alligned all the different orientations of the scanned image.
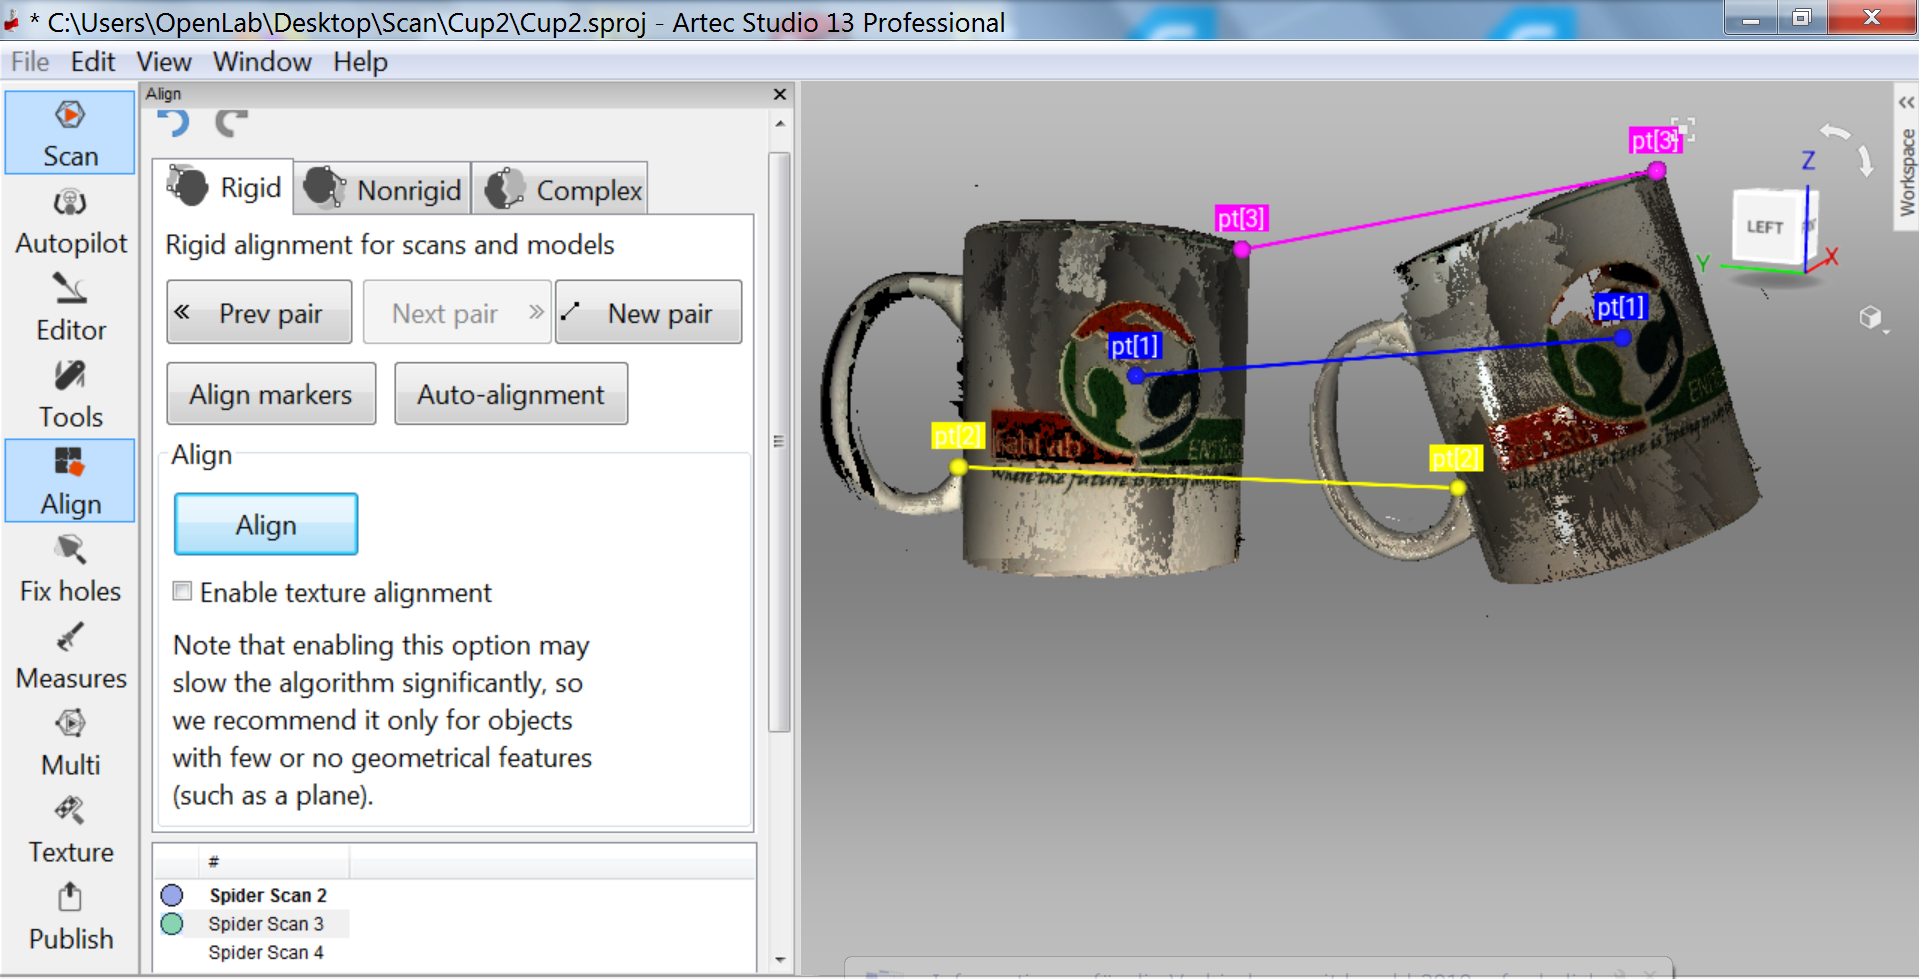

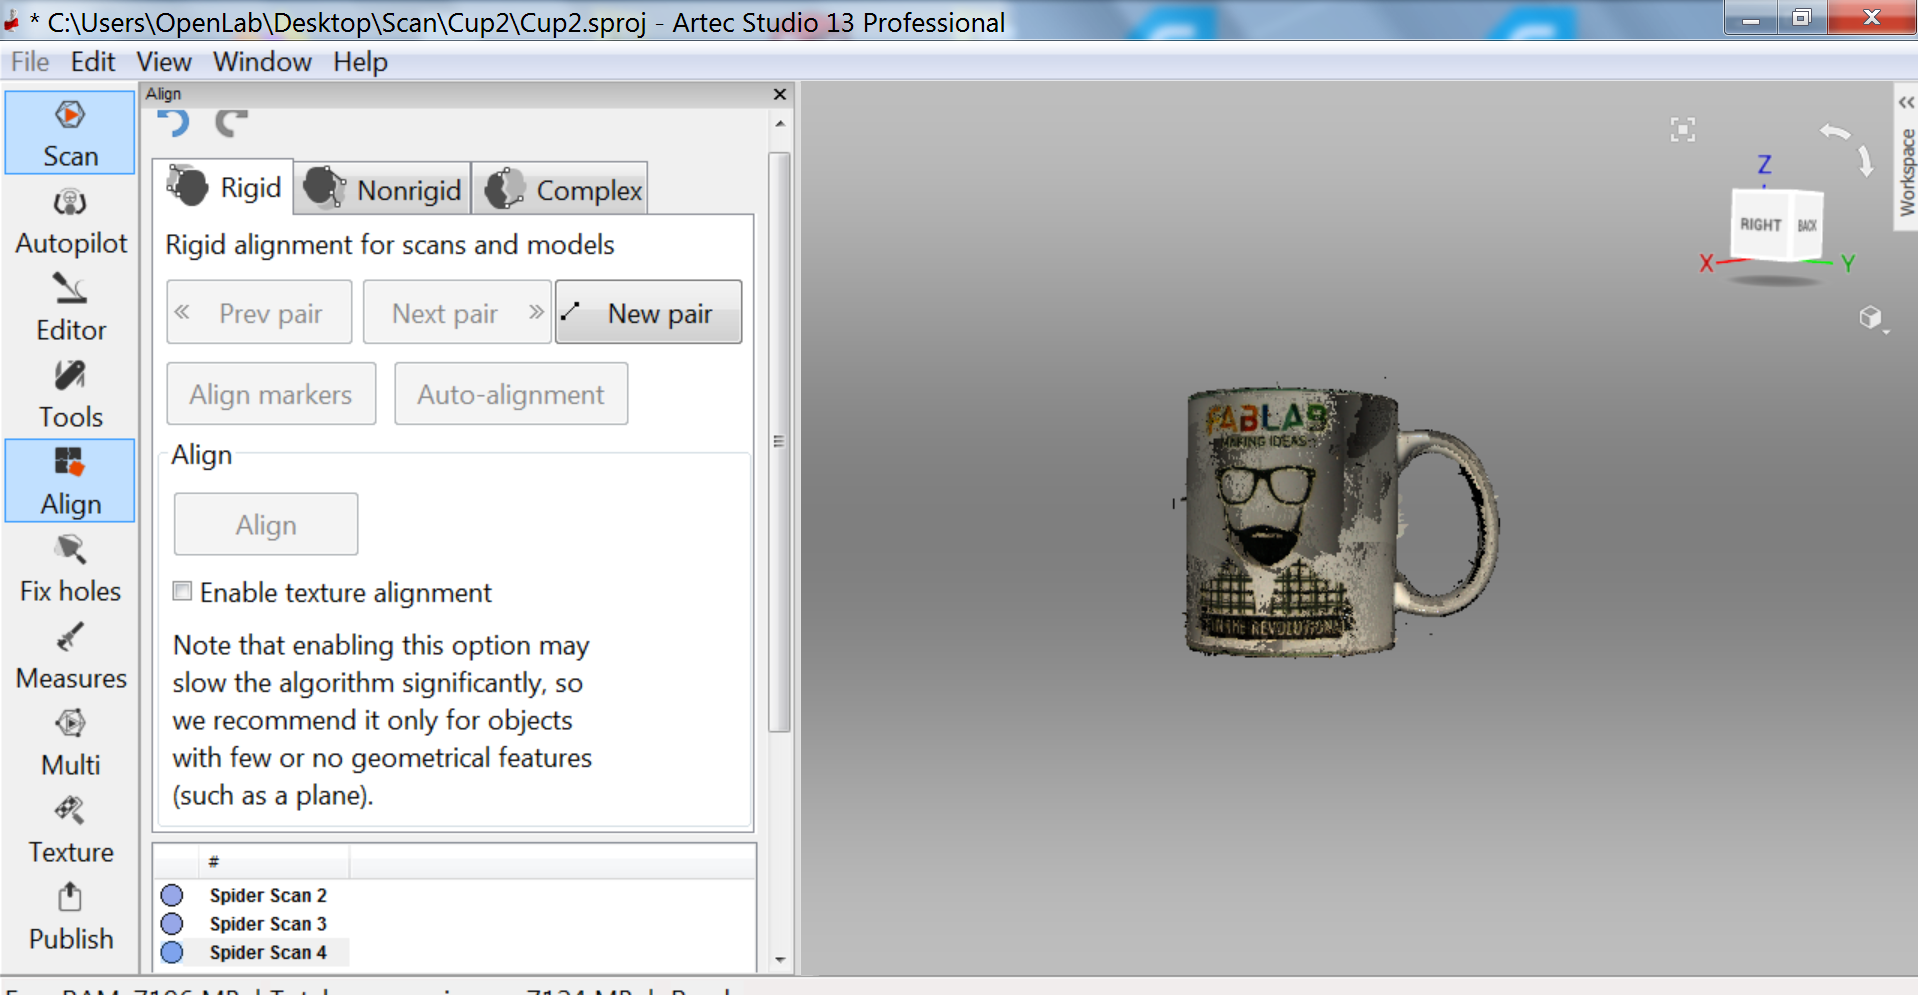
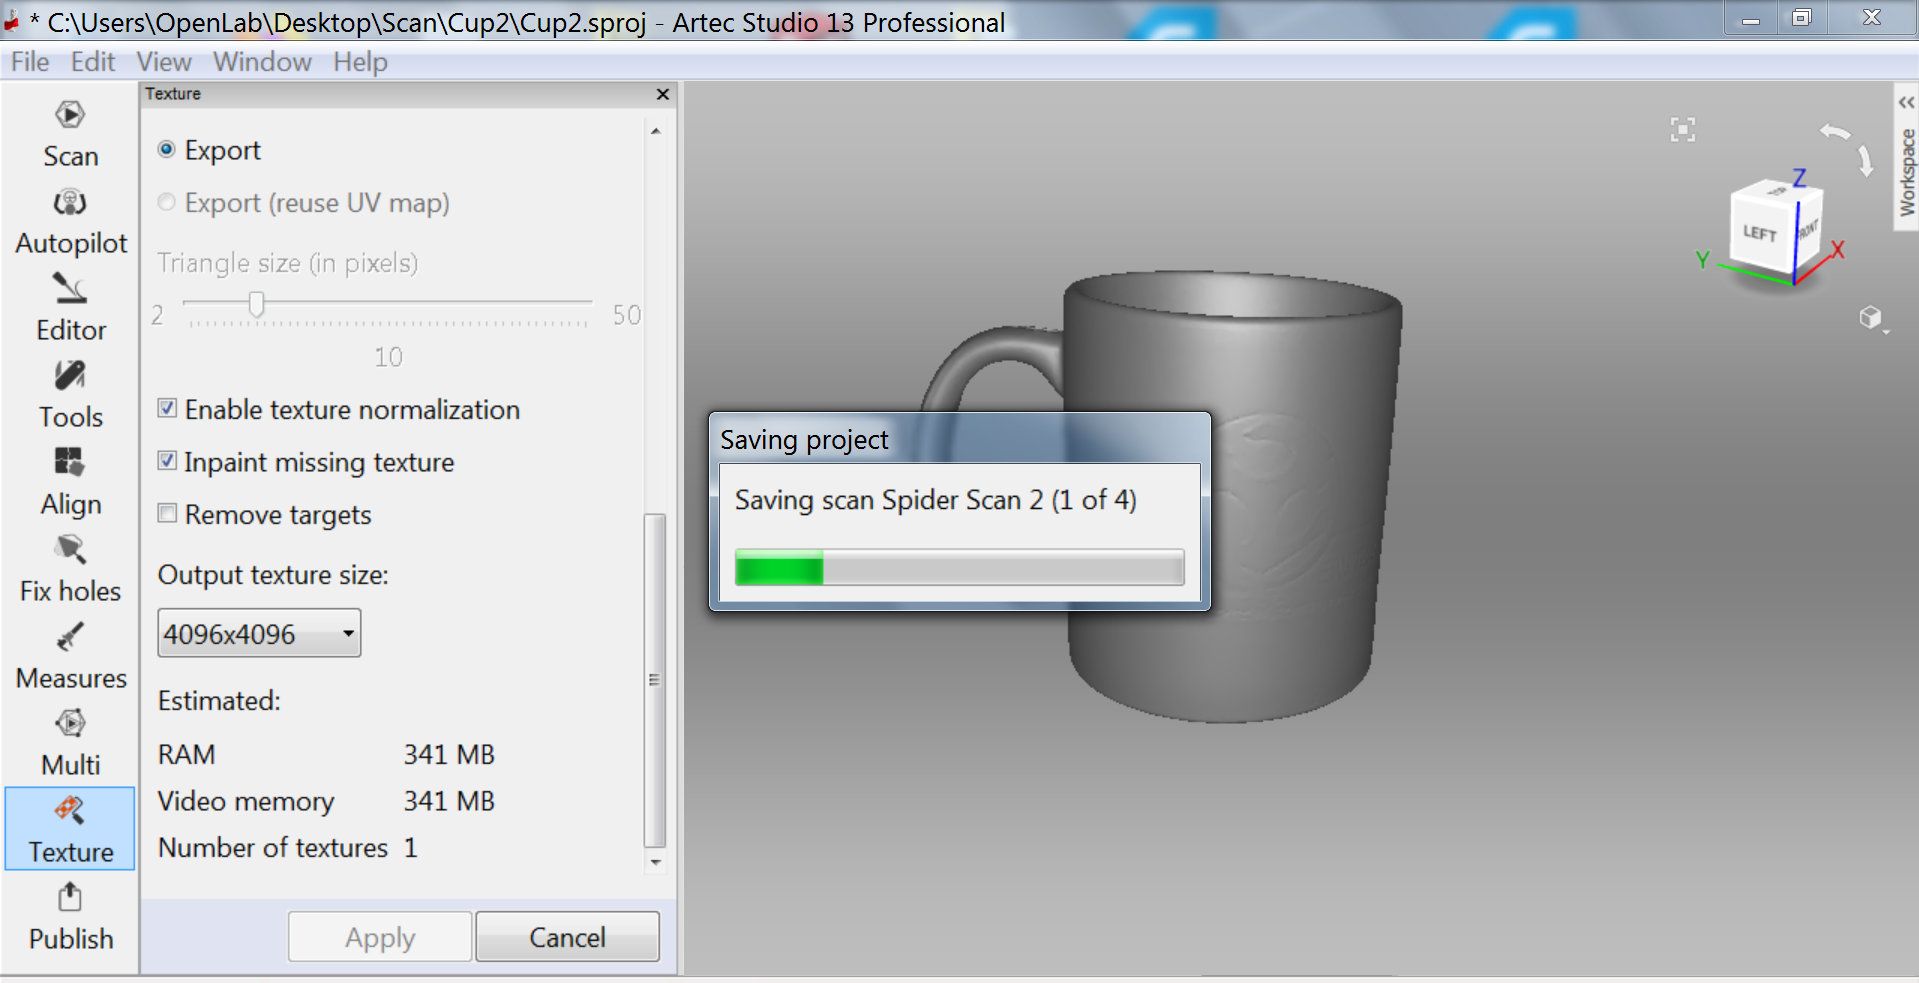
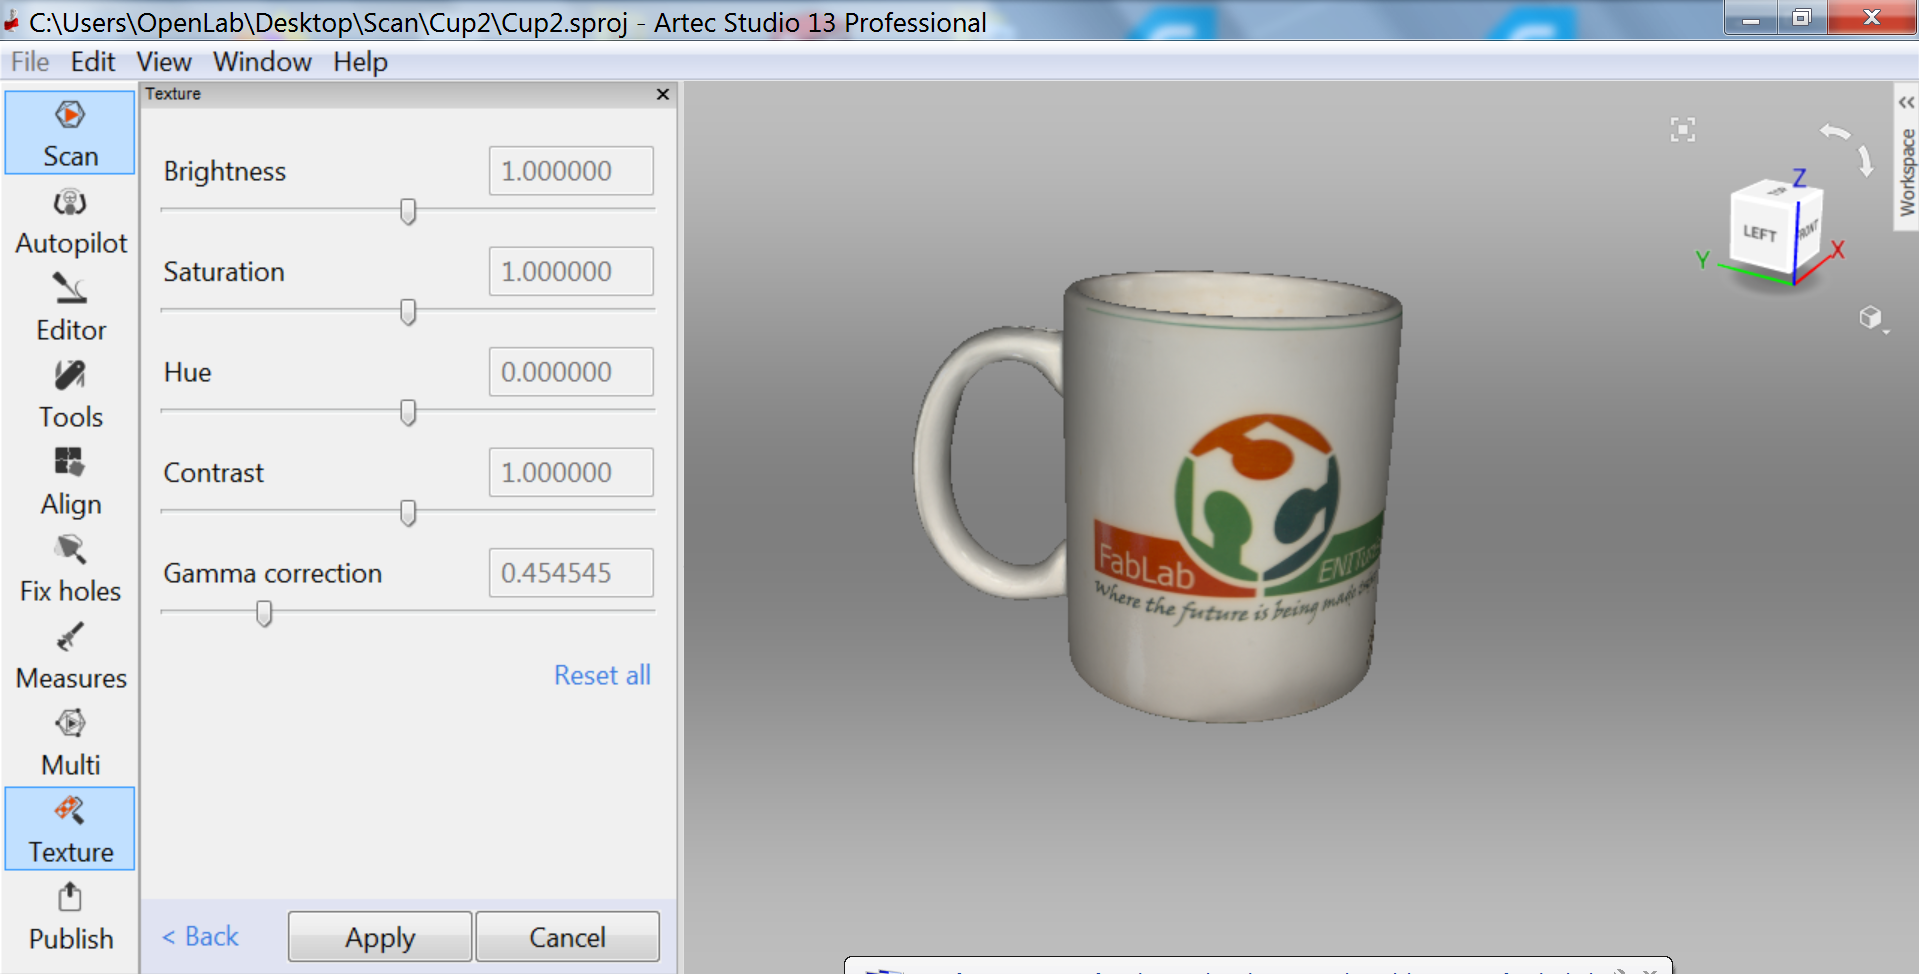
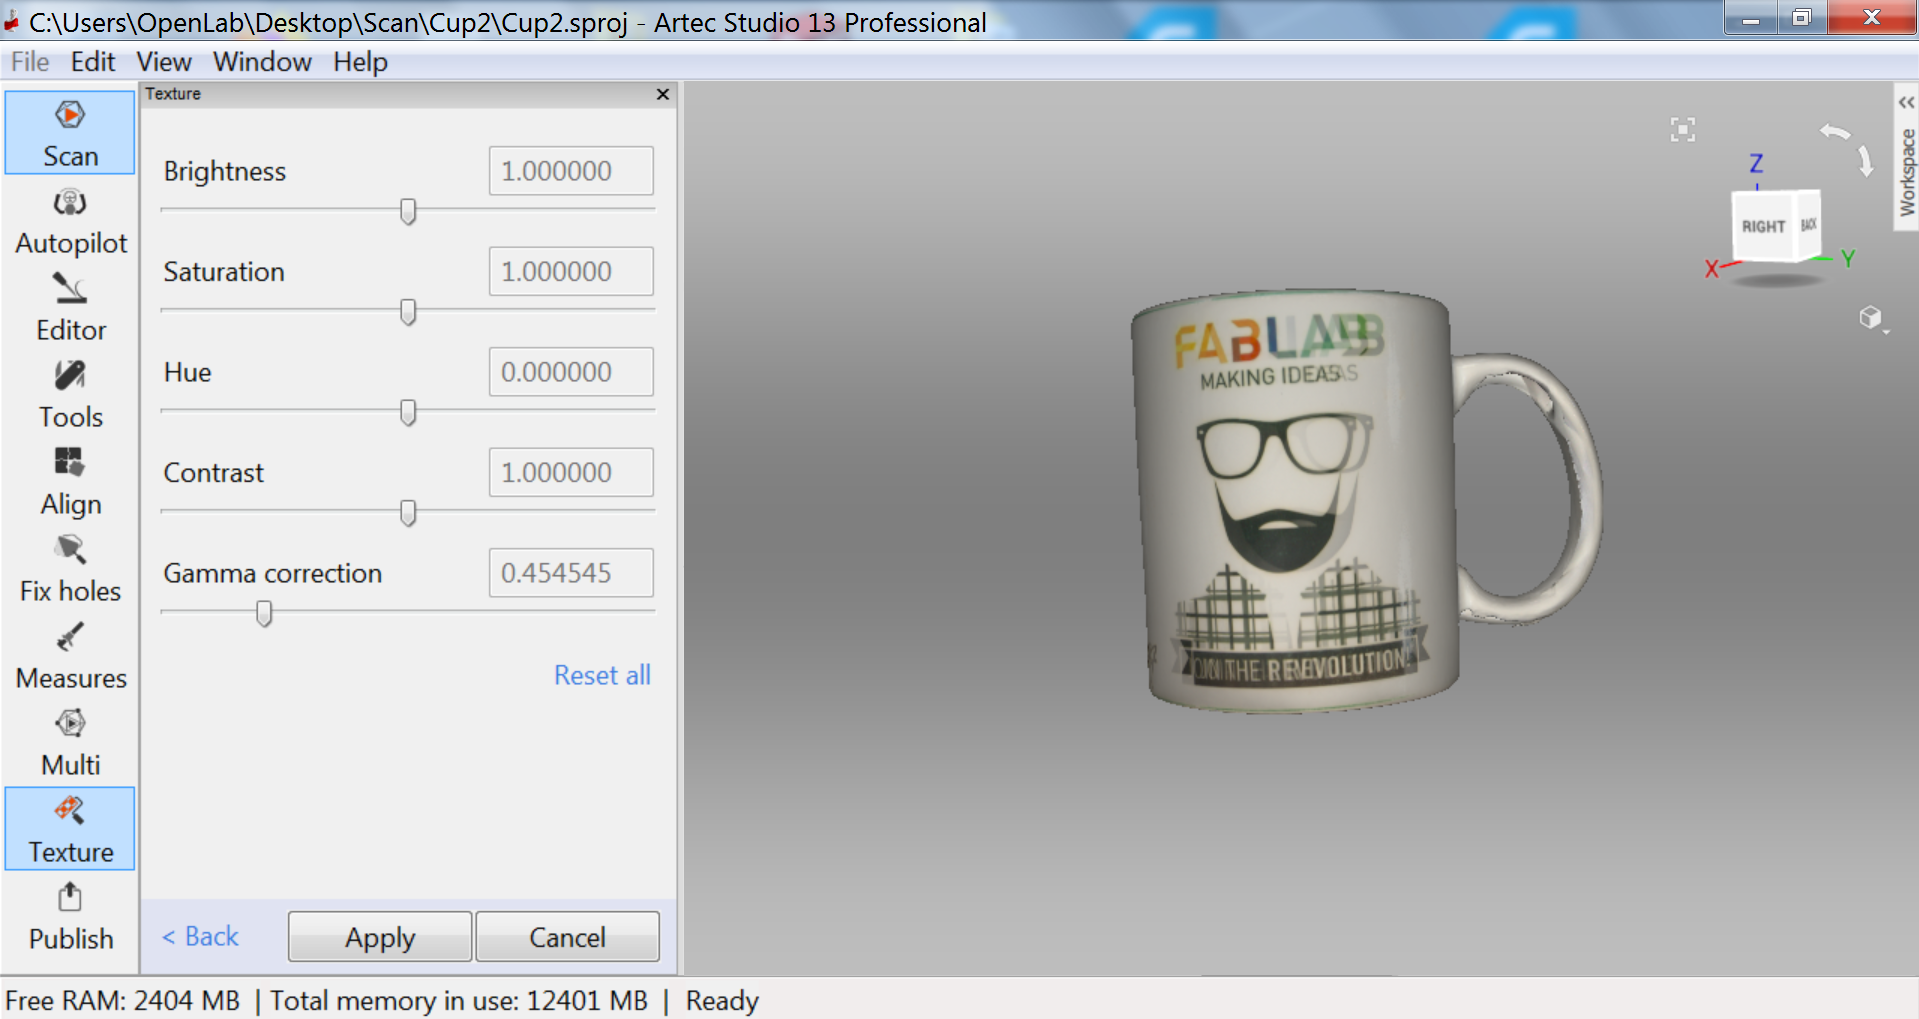
Some of the things I did were based on the tutorials from the YouTube link I shared above on how to use the 3D scanner. The illustrations below depicts some of the journey.
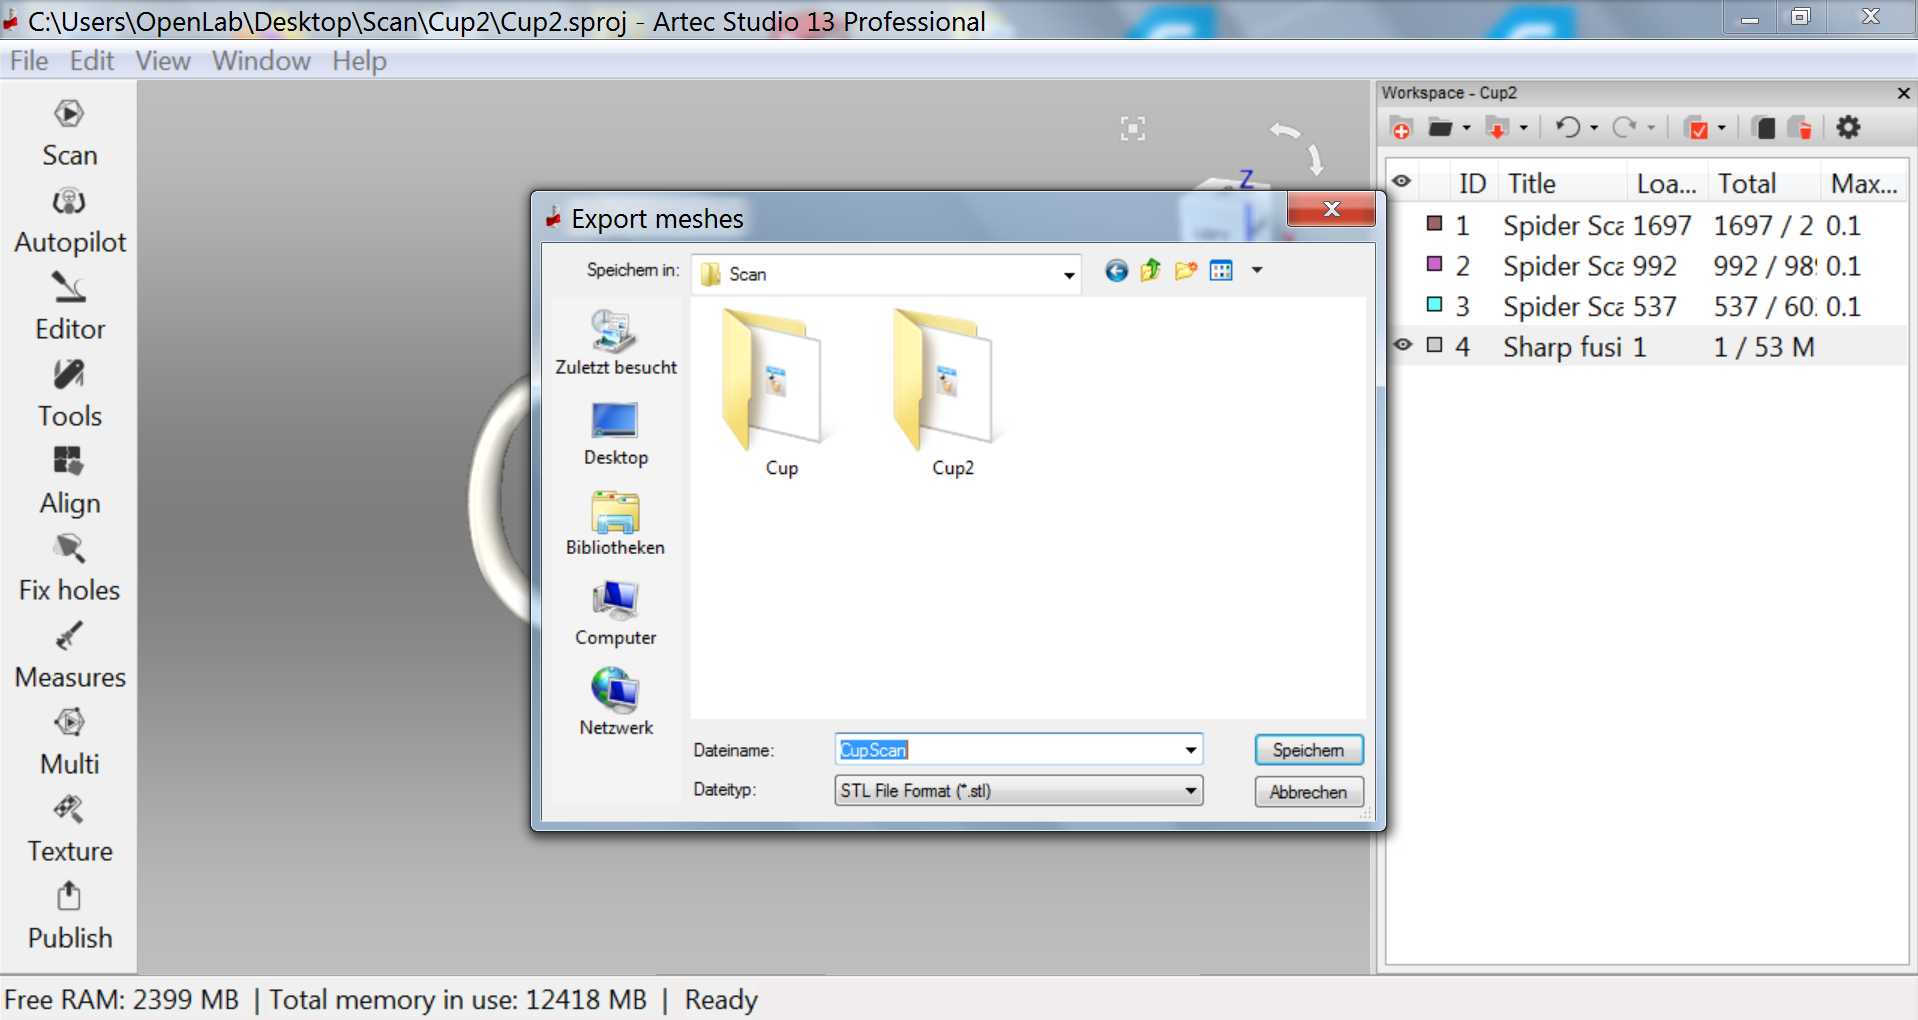
So after going through all the hassles, I exported the mesh and saved it as STL
The illustration below depicts what it looks like when I opened the scanned object on CURA.
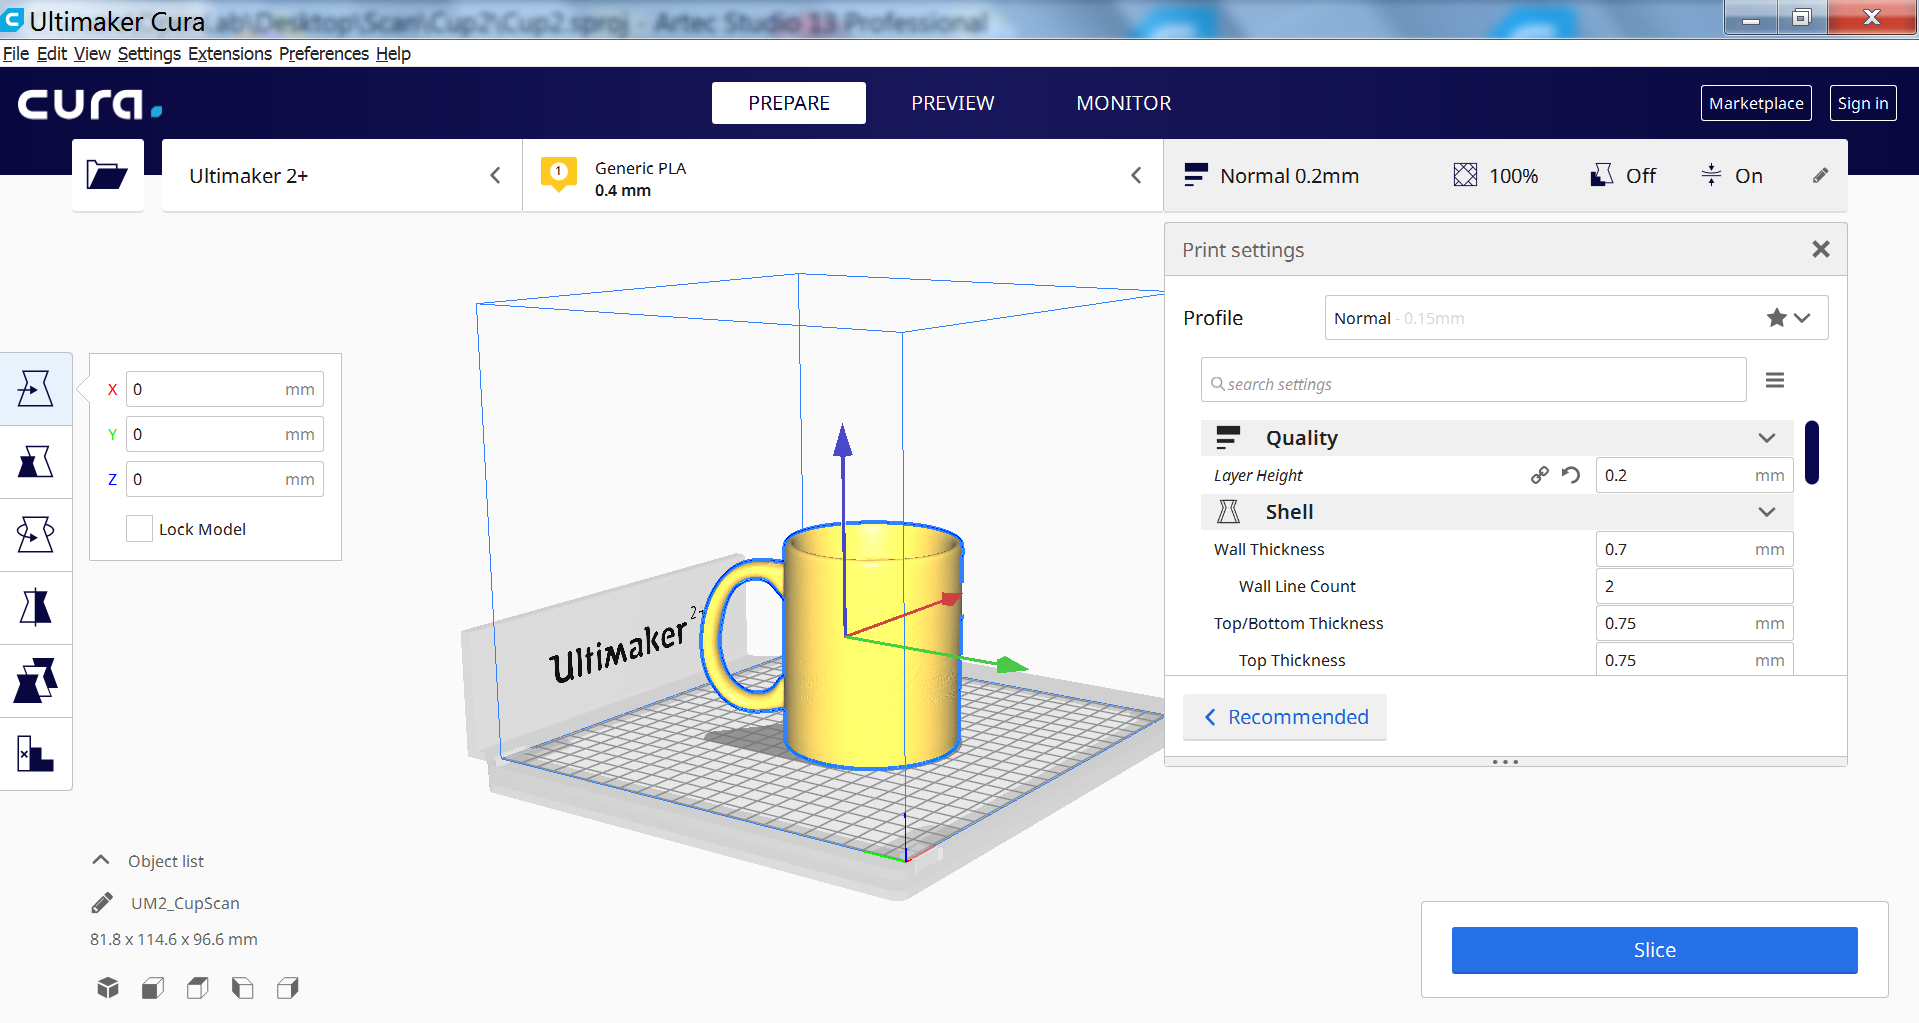
To download the design please click on Download Files.